


I began my machine learning journey with an Addi Plastic circular machine some time ago. Eventually I discovered circular sock machines which (while working full time) - I dove full into CSMS in 2018.
While working on the CSM I started adding split rings in late 2018 and then in early 2019 came up with a flat circular sock machine knitted cast on item utilizing 6mm split rings - I call these “Universal Cast On Bonnets”. I create them on a 96 needle slot CSM therefore they can be universally used on any CSM using 96 needle slots or less. More on CSM CAST ON.
When I started my Flat Bed self adventure, I didn’t like what was available to cast on. I later learned of something called a “Cast On Rag” which could be used with the transfer tool to load the knitted stitched edge so that each flat bed needle would have tension and therefore be ready to work. Needing to use a transfer tool to cast on seems like a of work.
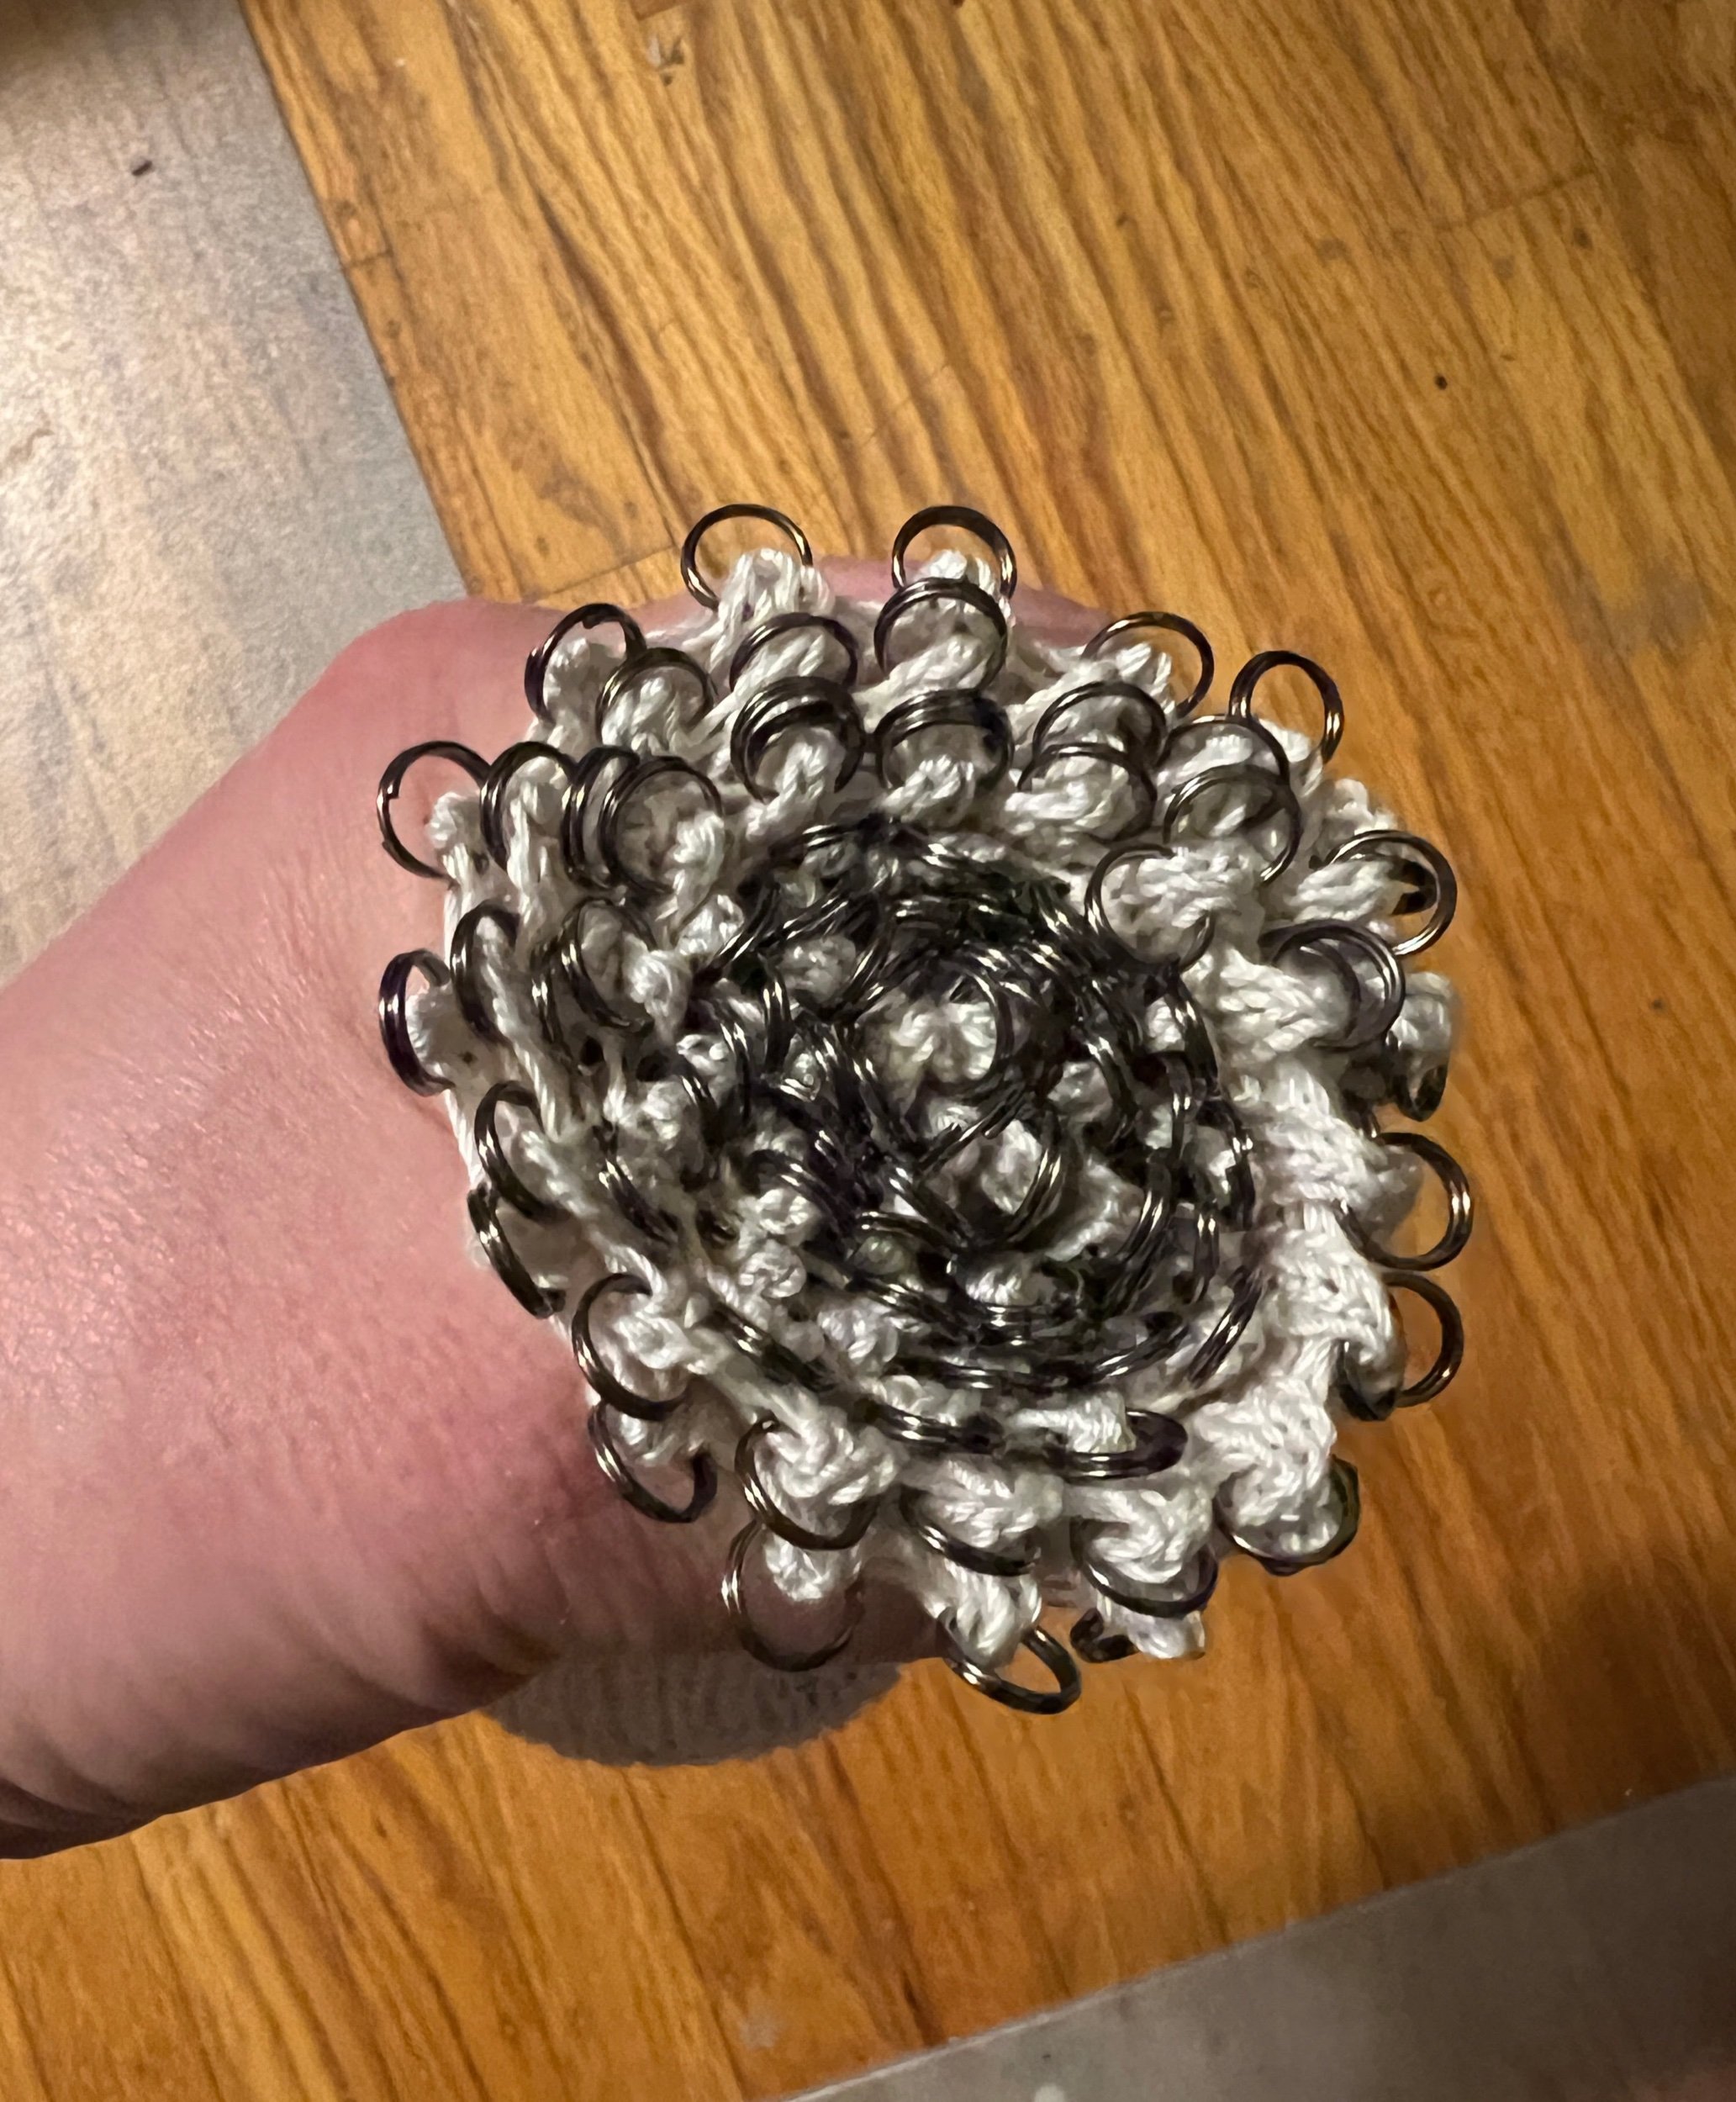
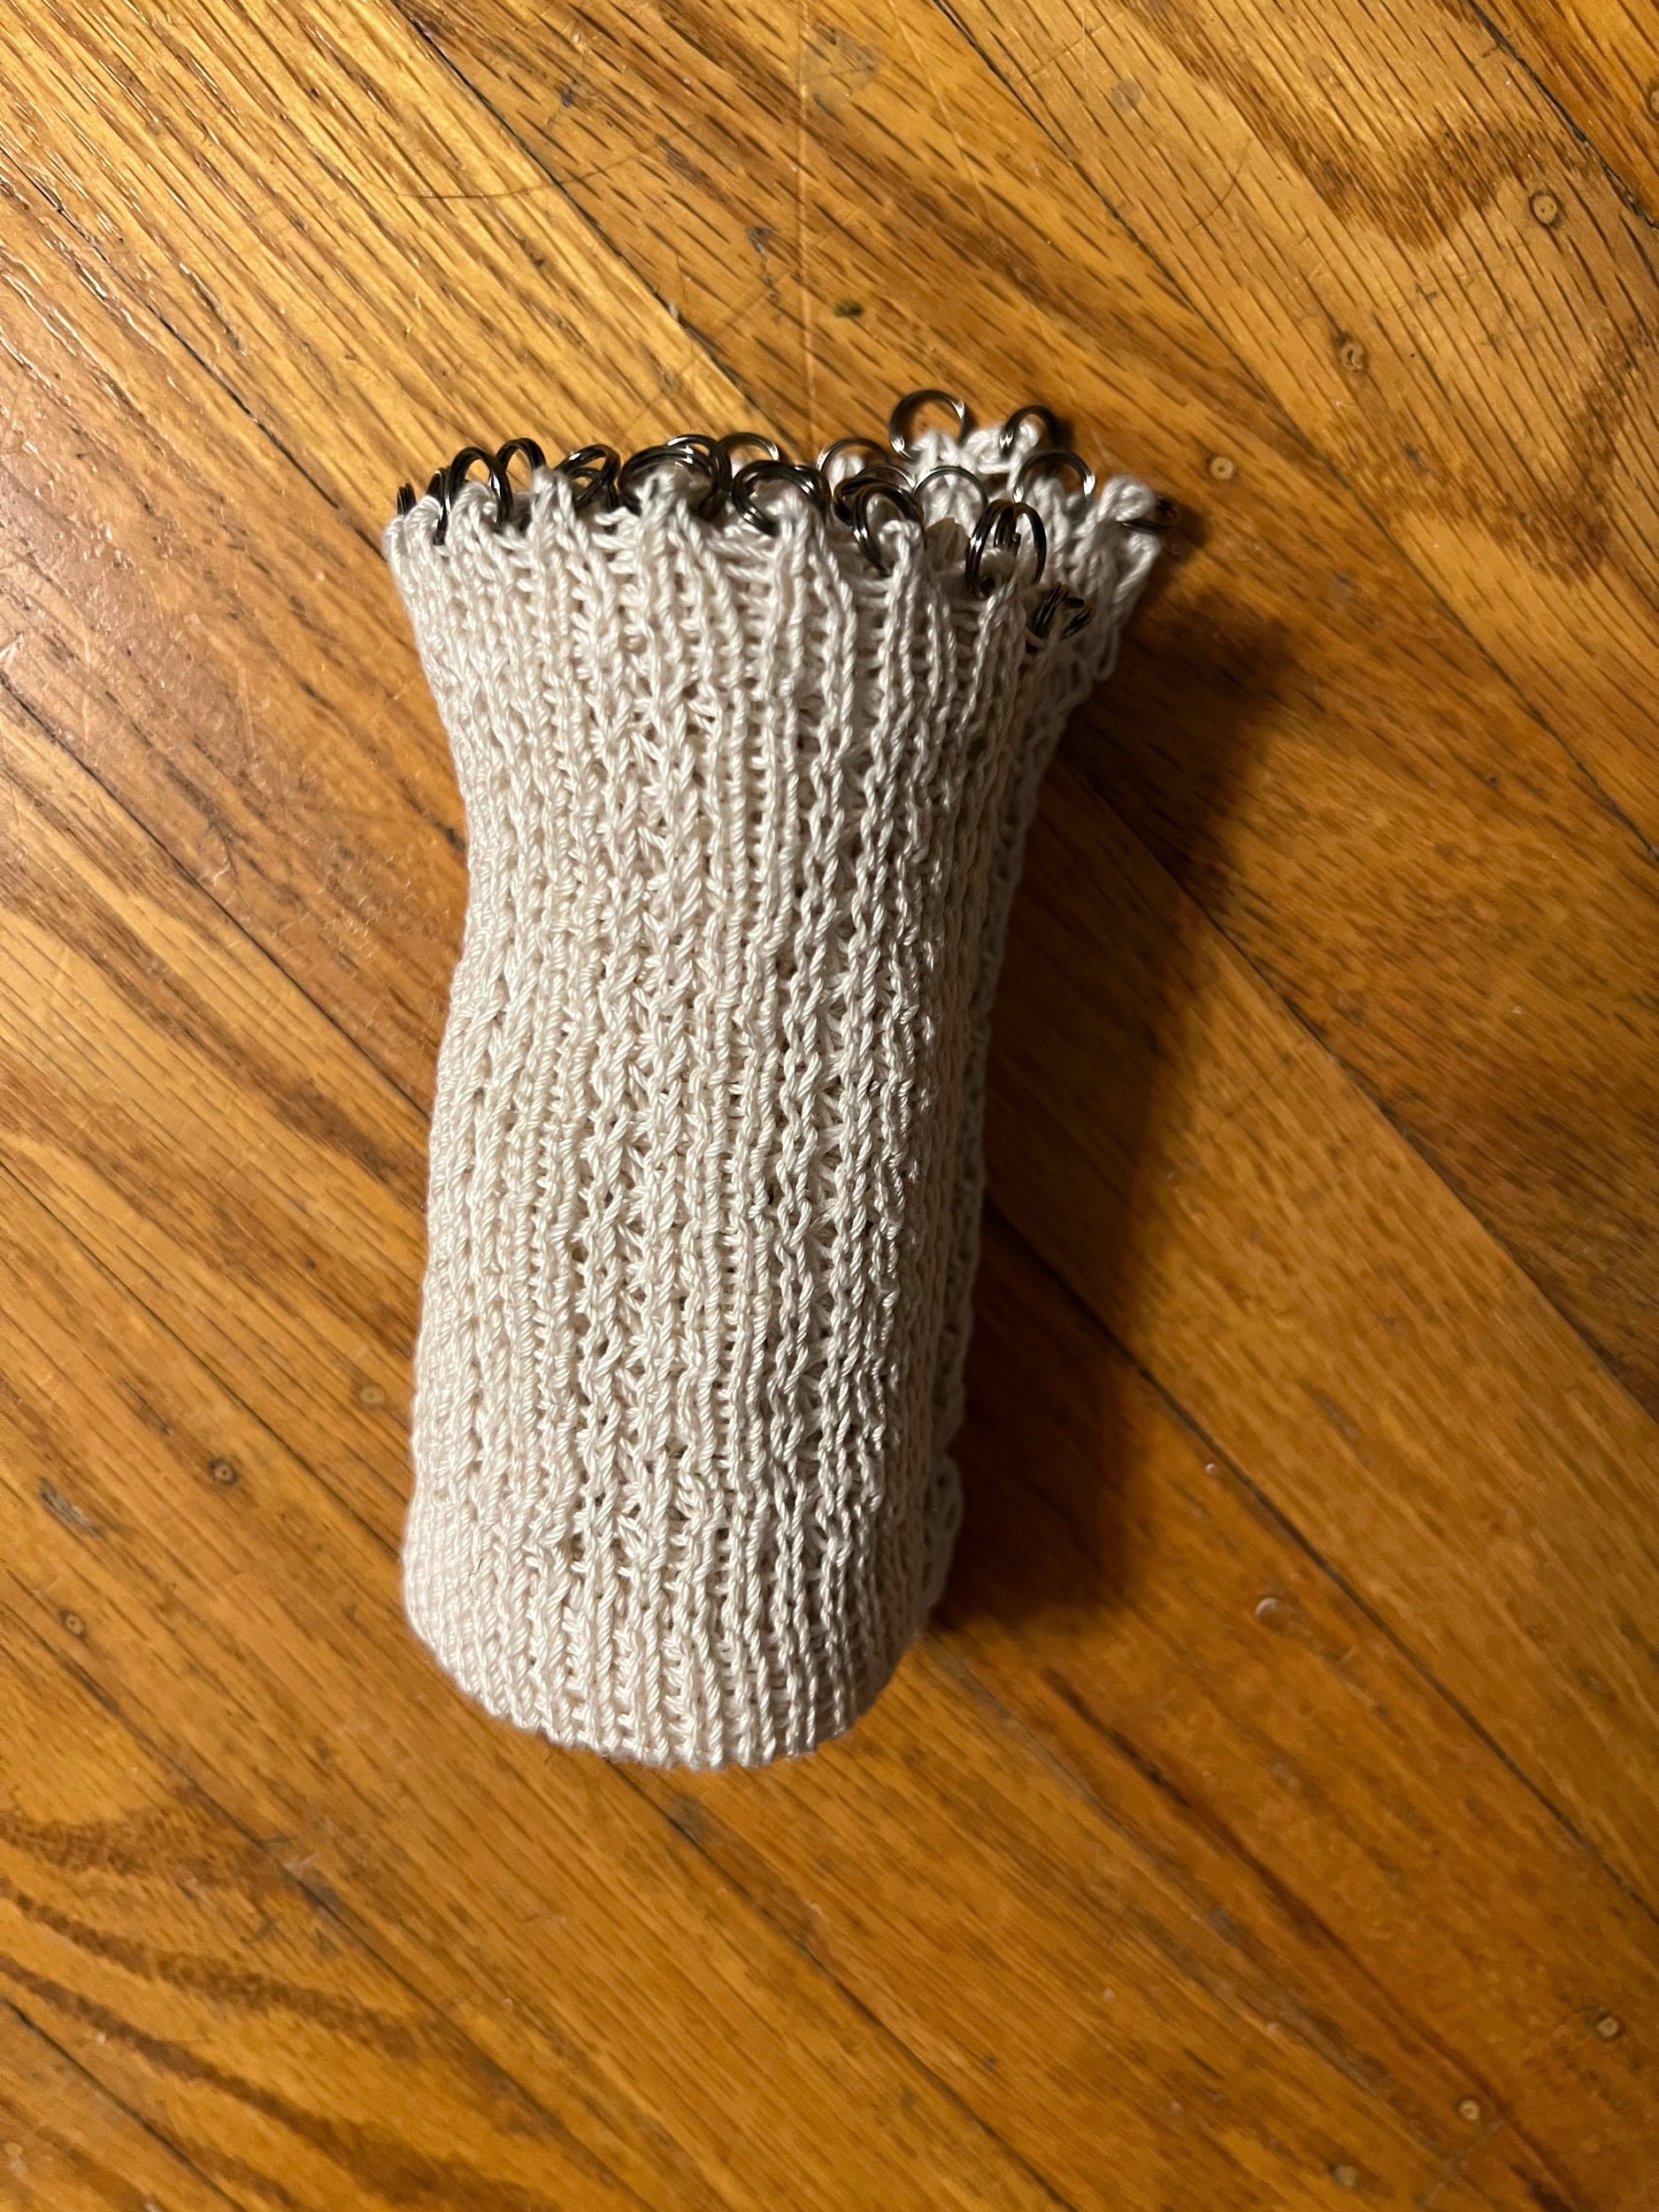
SINCE 2019 I’ve come up with a flat bed equivalent to my circular sock machine universal cast on bonnet - I prefer to call it the “Flat Bed Love Cast On Bonnet” (mostly because rag seems to demote it). Therefore I consider it a Cast On Rag Update as one surface can be used as it always has (with the transfer tool to place a stitch on each needle) OR instead the split ring edge can be used where a split ring can be placed onto every in work flat bed needle.
My initial work on this idea is outlined in the Dec 19, 2022 BLOG POST
Therefore - taaaa daaaaaa!
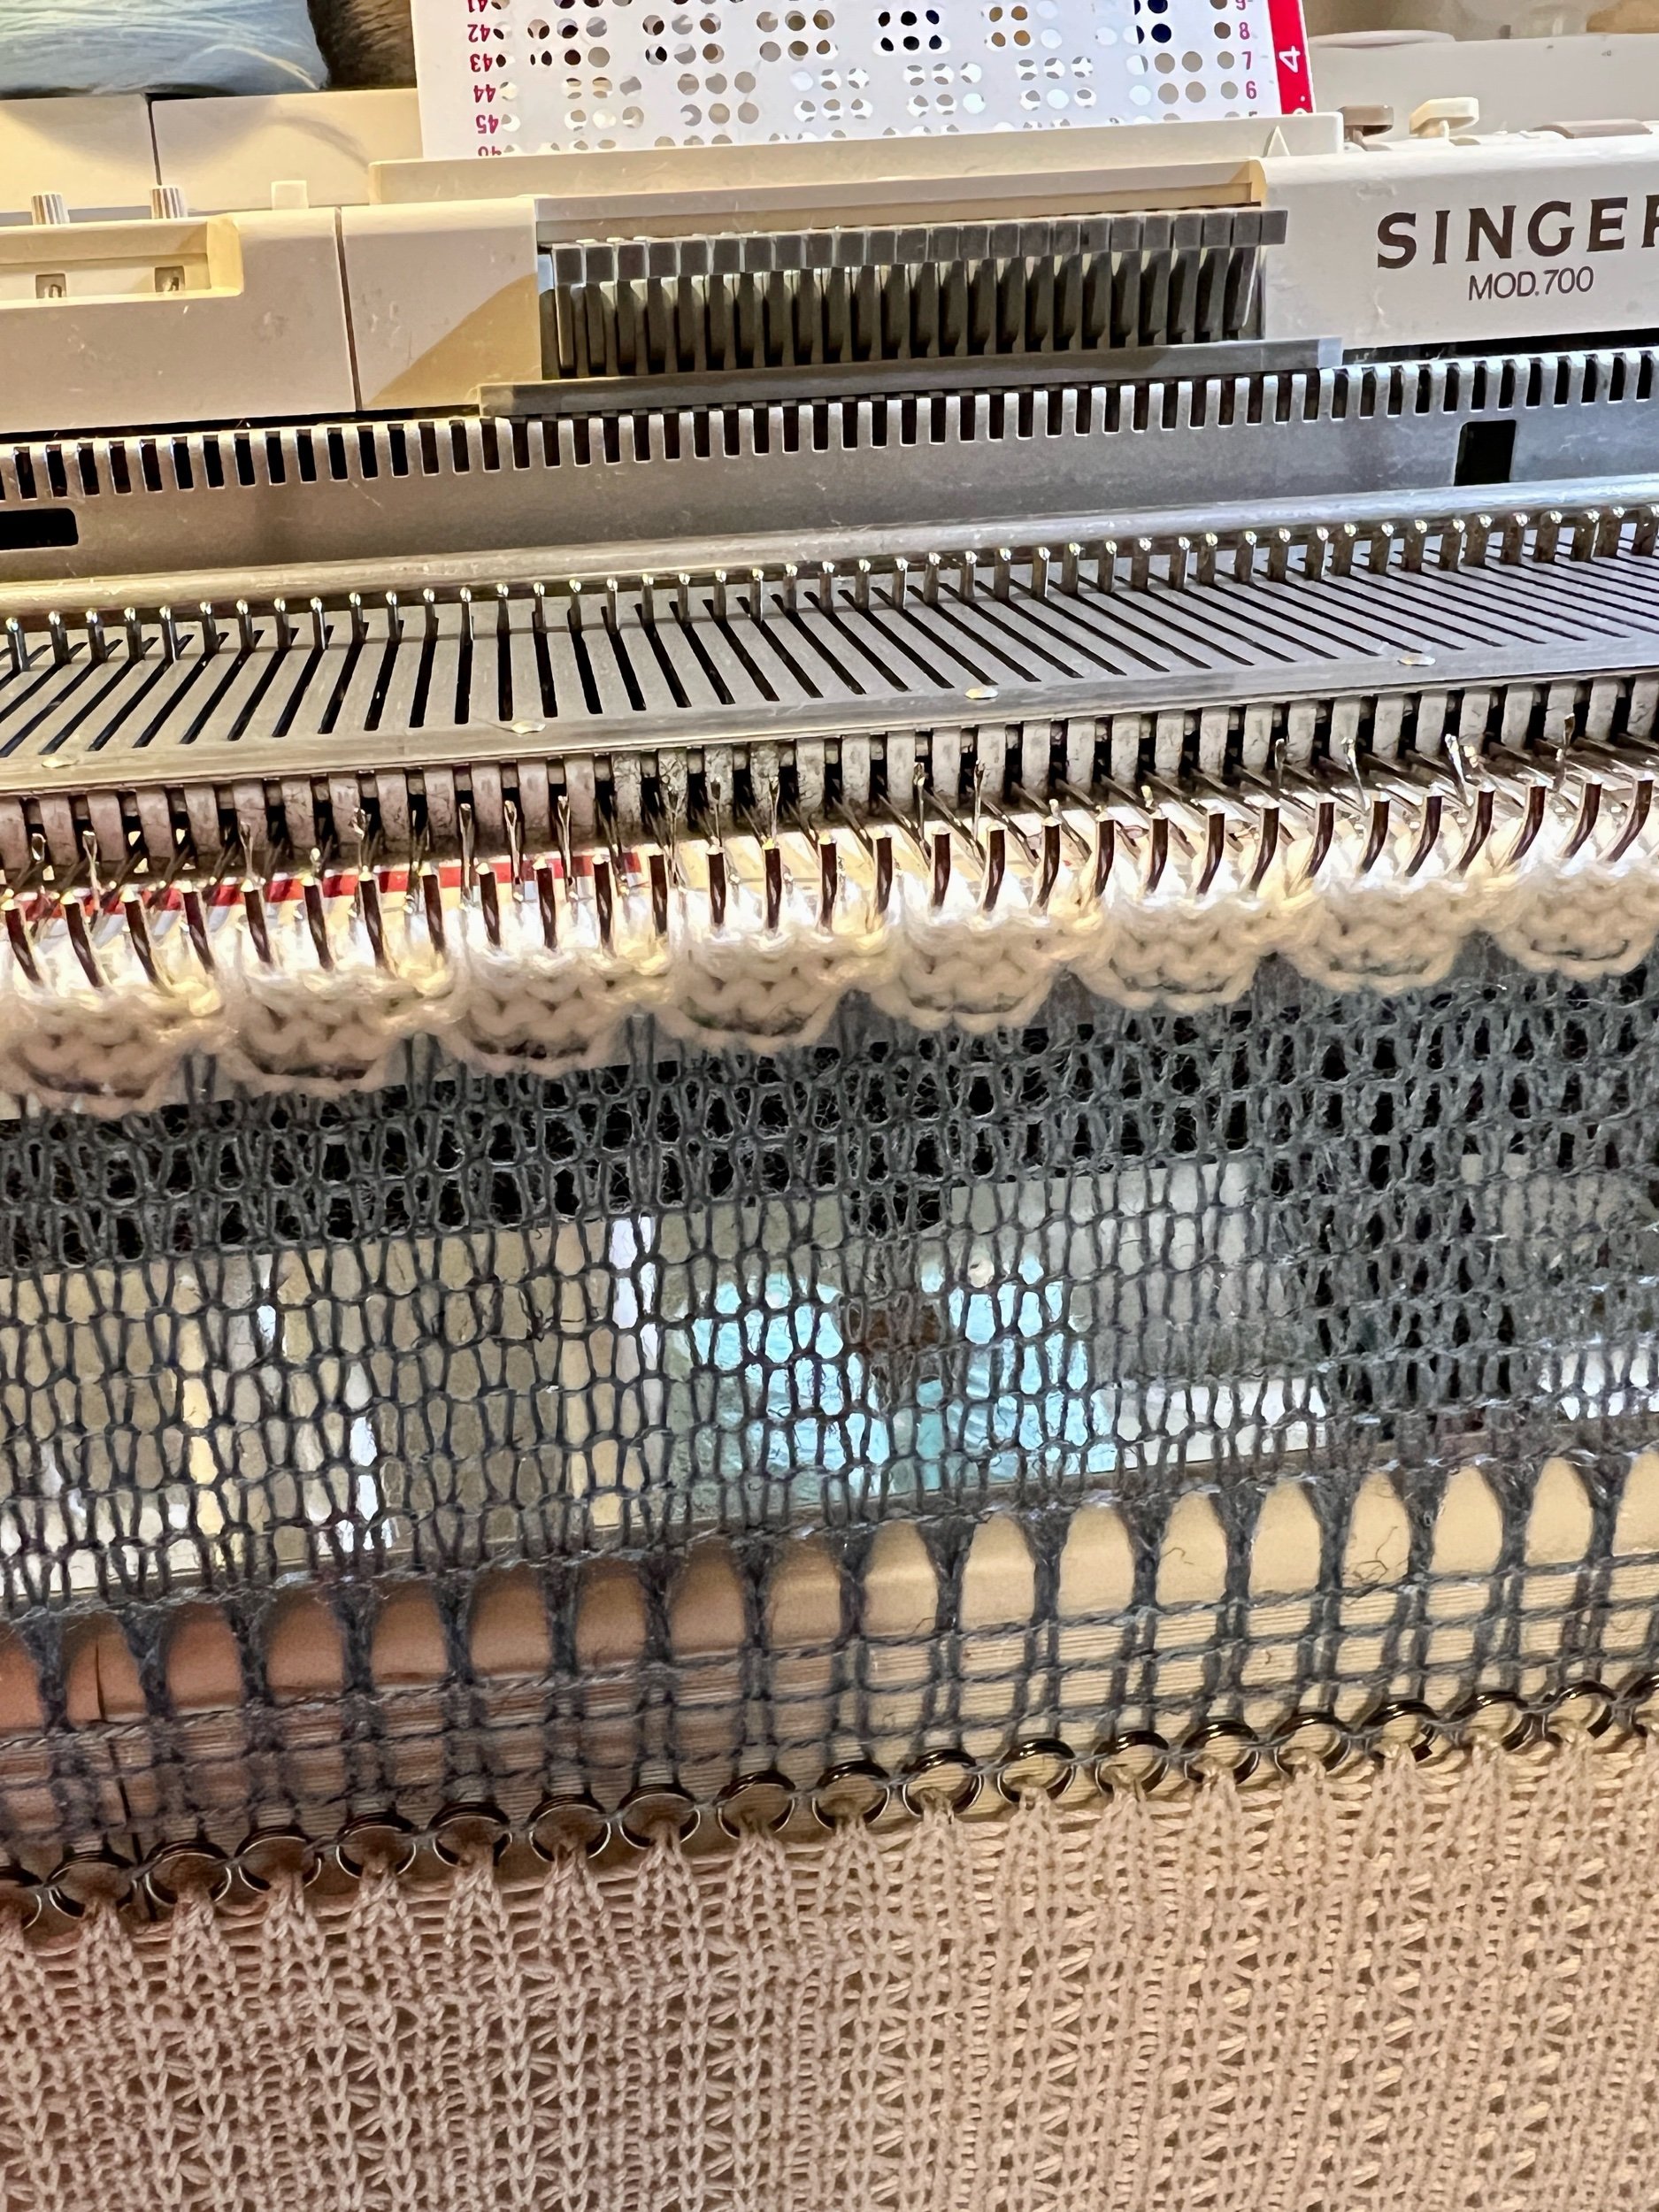
I would like to introduce this item I created on my standard 4.5mm standard flat bed knitting machine.
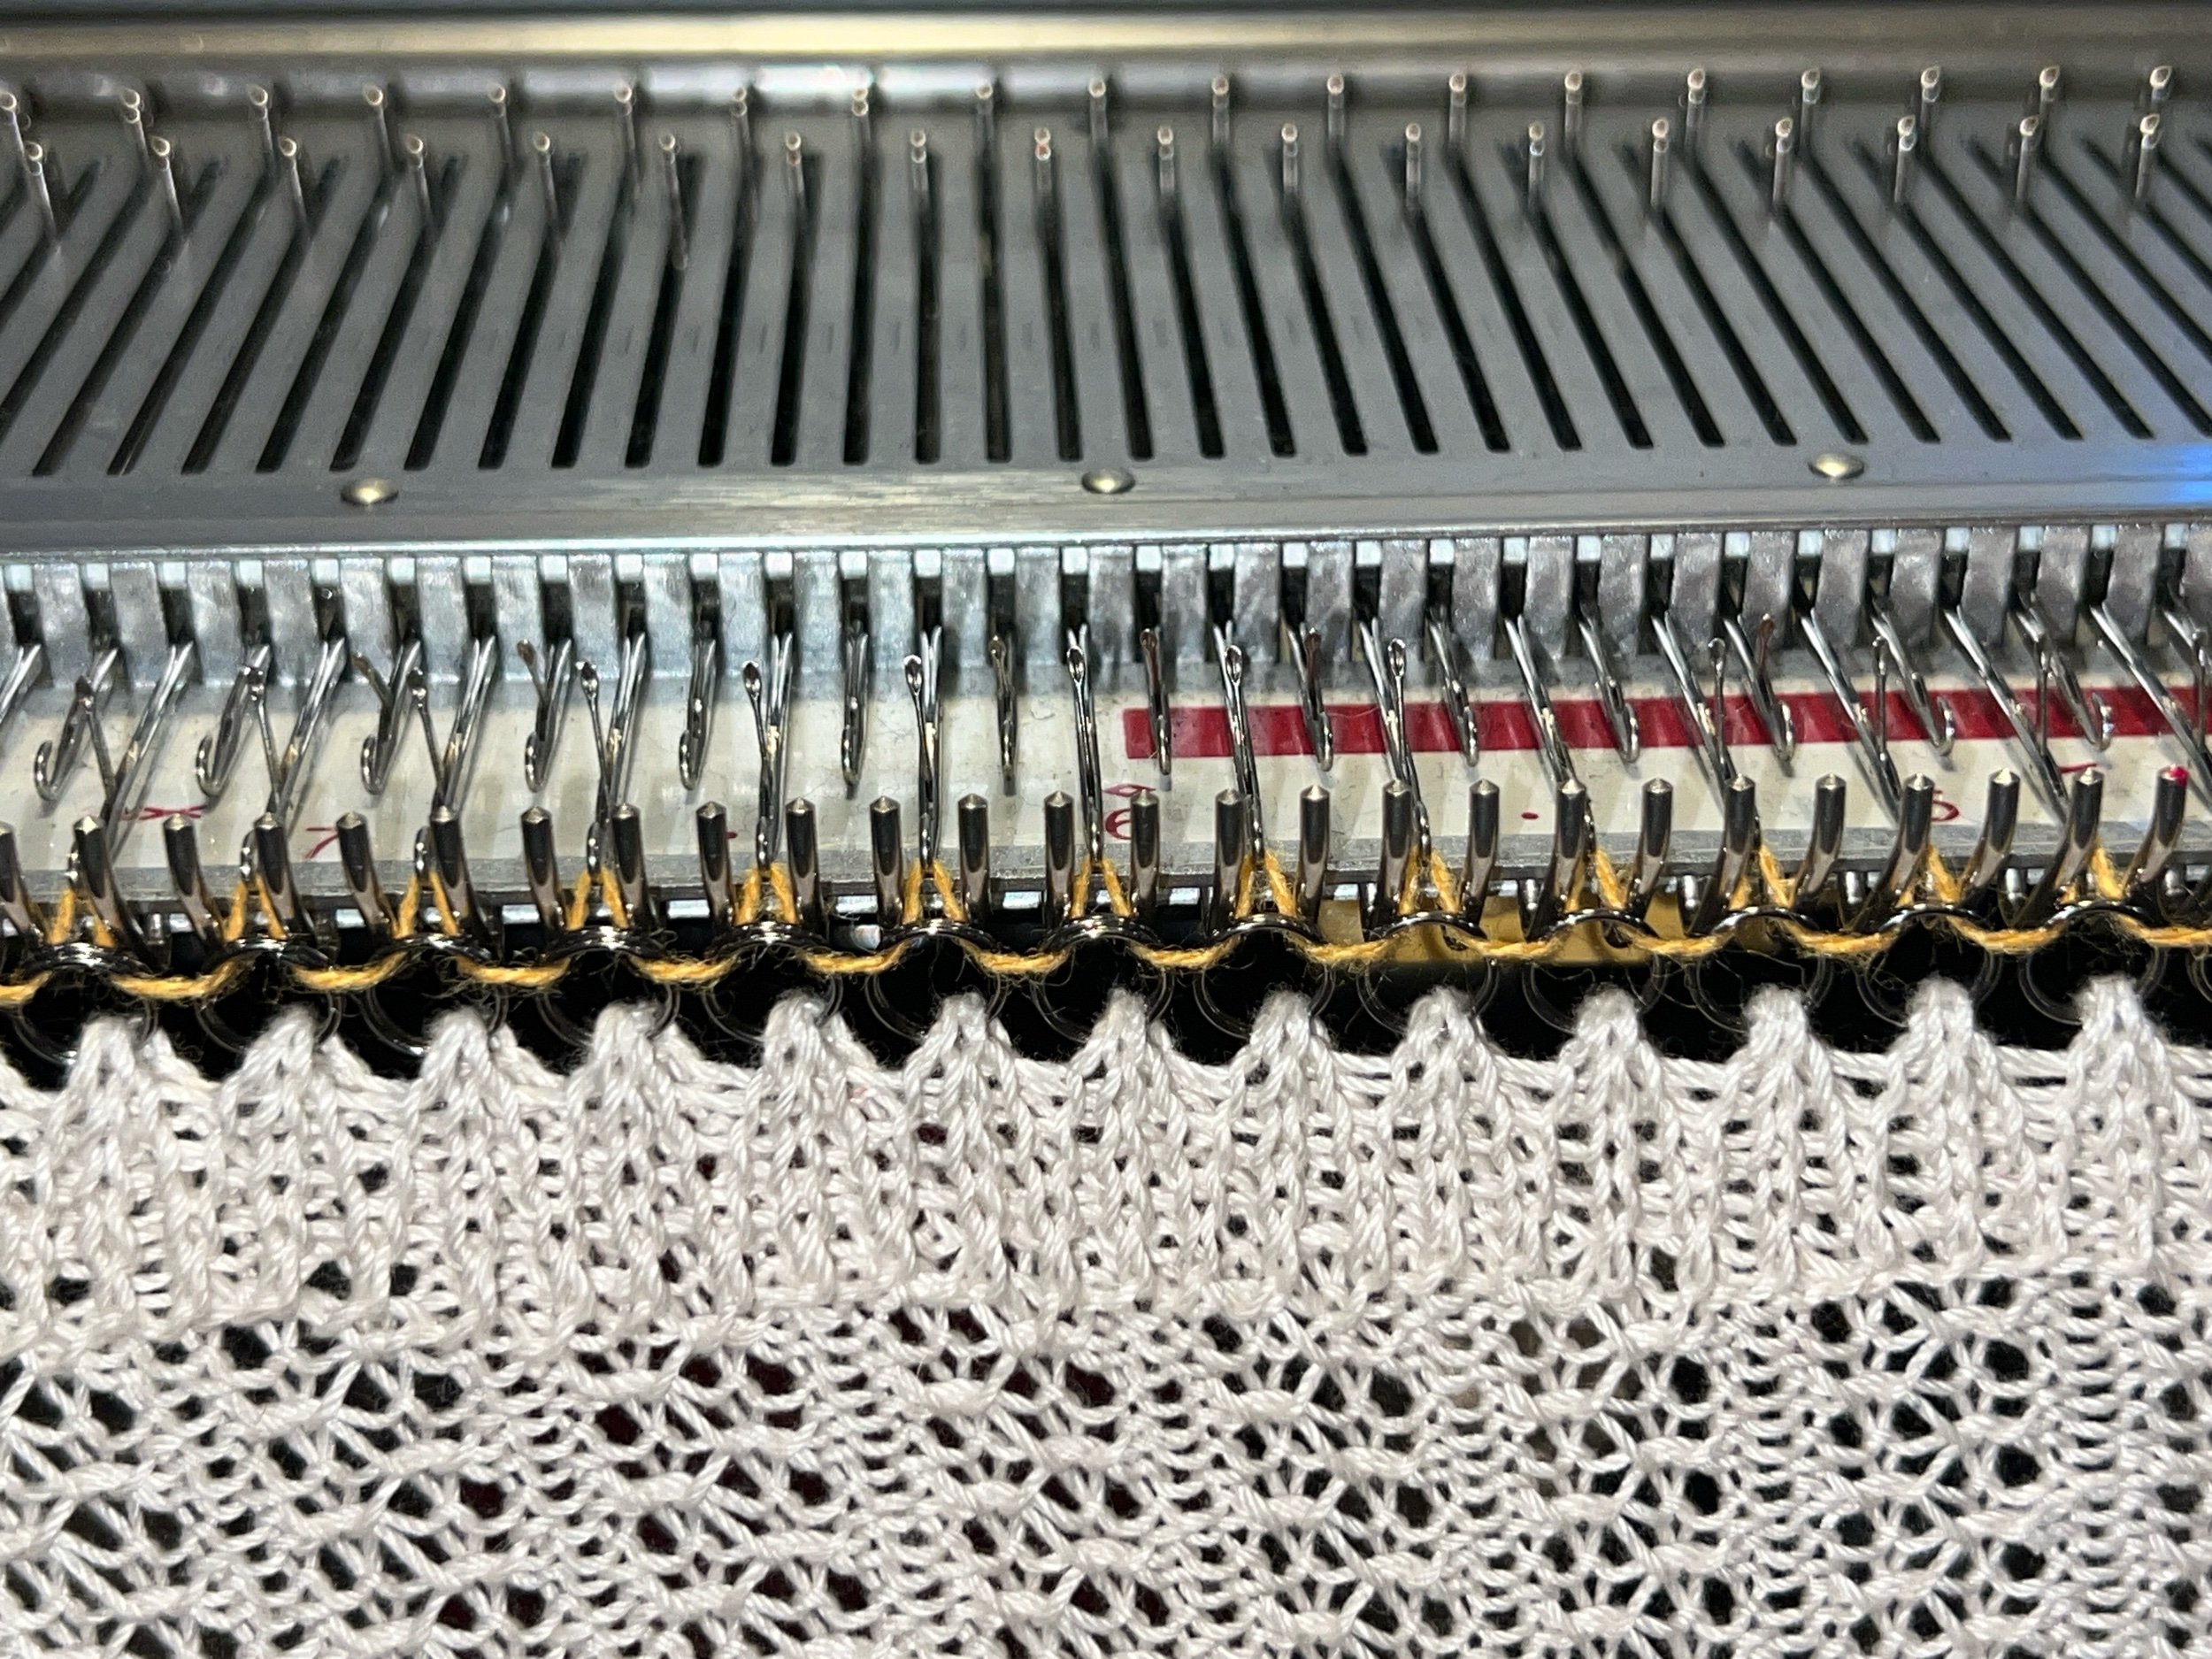
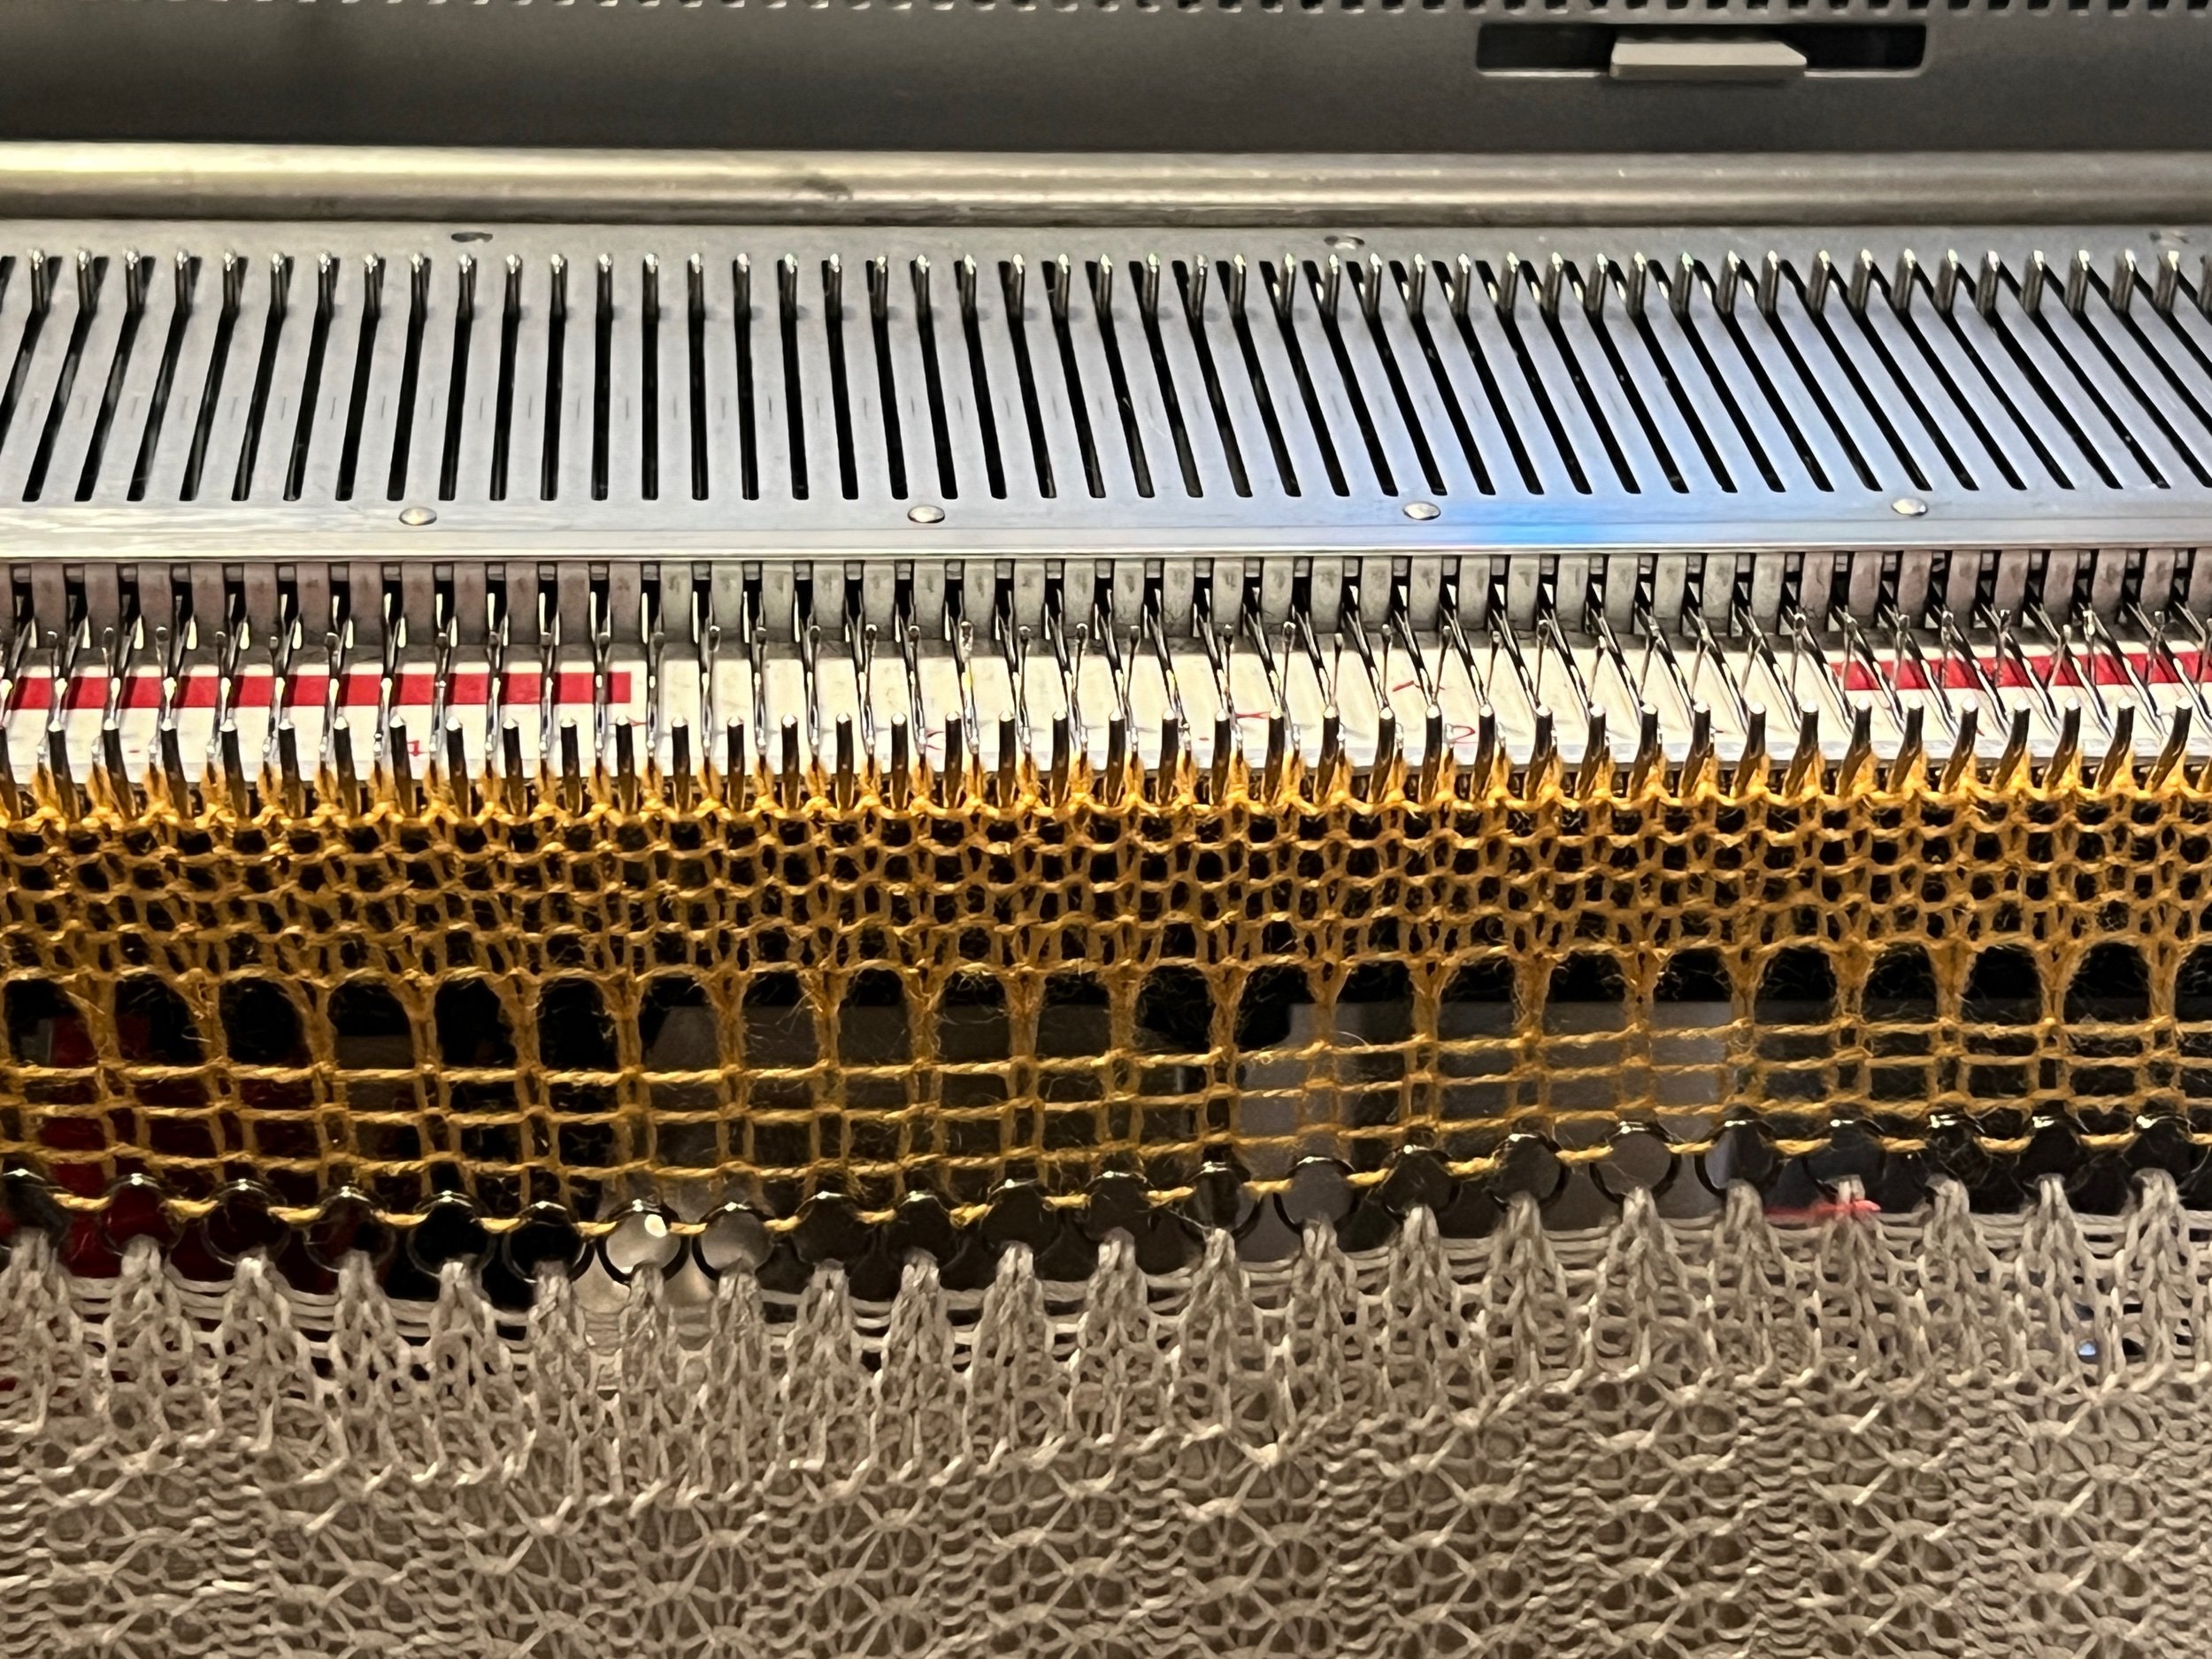
To USE this to cast onto a standard gauge 4.5mm flat bed machine: hang a split ring onto every in work machine needle, thread the machine as you would with your scrap yarn (or Ravel Cord), and pushing the cast on item back to the bed against the gate pegs, bring the machine carriage across slowly with all the regular cast on settings you’d normally use. I tend to prefer to use every second needle when casting on for a quicker start.
The benefits of having the split ring edge is the easy ability to load a needle without a transfer tool. The opposite edge is still available as a cast on rag transfer tool cast on.


MAKING ONE YOURSELF:
On the standard 4.5mm gauge machine simply cast on with scrap yarn using your preferred method. With all needles in work create a hung hem/turned hem then work 30-50 rows depending on gauge in your desired pattern. After the pattern switch to plain knitting and work 8 rows. Transfer every second stitch on the whole bed and once done, open the latches and then transfer split rings to each needle that was holding two stitches. For clarity the needle holding two stitches has those stitches picked up with the transfer tool where a split ring is then placed on that needle and then the two stitches are placed back onto that same needle. All the needles not with stitches are brought back into working position and for this row we go slower while working the carriage across. Now work 7 rows of plain knitting then change to scrap and off the machine and hand finish the live stitches with a darning needle and extra long yarn tail.
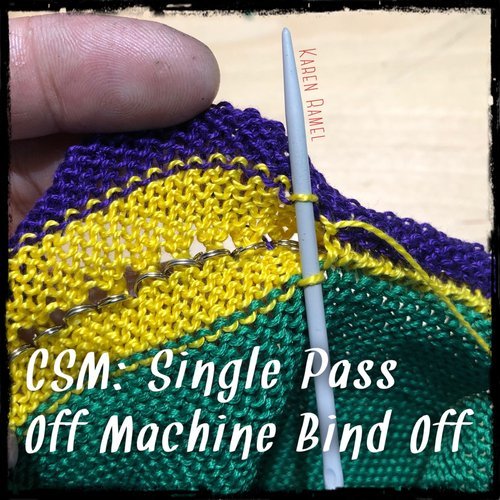
One way to finish the live stitches is to use what I call the Single Pass Off Machine Bind Off - see my VIDEO.
How to add a split ring on a flat bed VIDEO.
I have tested this extensively on my specific 4.5mm standard gauge flat bed machine and through trial and error recommend using the 8mm split rings as they play nice with the gate pegs. I have had no issues or damage to my machine using metal split rings.
https://tinyurl.com/intro-castonrag-upgrad
COMING SOON YouTube VIDEOS:
How to Make this on a Flat Bed | How to use this on a Standard 4.5mm Gauge Flat Bed
INSTAGRAM: One | two | three