

Inspired by the Instagram post by blackroseatelie - by creating a long rectangle of knitting you can form it into a quick knit bag. Apparently many persons are making this style bag - Instagram person |
My flat bed knitting machine version:
First I created a prototype - I ewrap cast on with scrap using 80 total needles. Carriage set at 10 and overhead mast tension at 1. Using punch card #3 on the tuck setting I worked 92 rows before calling it a night. On the machine it’s 30cm knitting both wide and long (to the needles).
I created a plan using a piece of paper plan to determine rectangle length. The finished project would than have a shoulder strap created. This project prototype was worked using 370 rows. The grey prototype used yarn that was old and breaking so it was created as a prototype. :)
The bottom left and right width of this bag as it lay on the floor straight from the machine is 42cm, The height of each side is the same 42cm. The diagonal top left to bottom right is approximately 57cm.
Now to make the bag for real :) While this is indeed a quick project, I wasn’t giving it full priority (why it’s not done on the day it was blogged about)
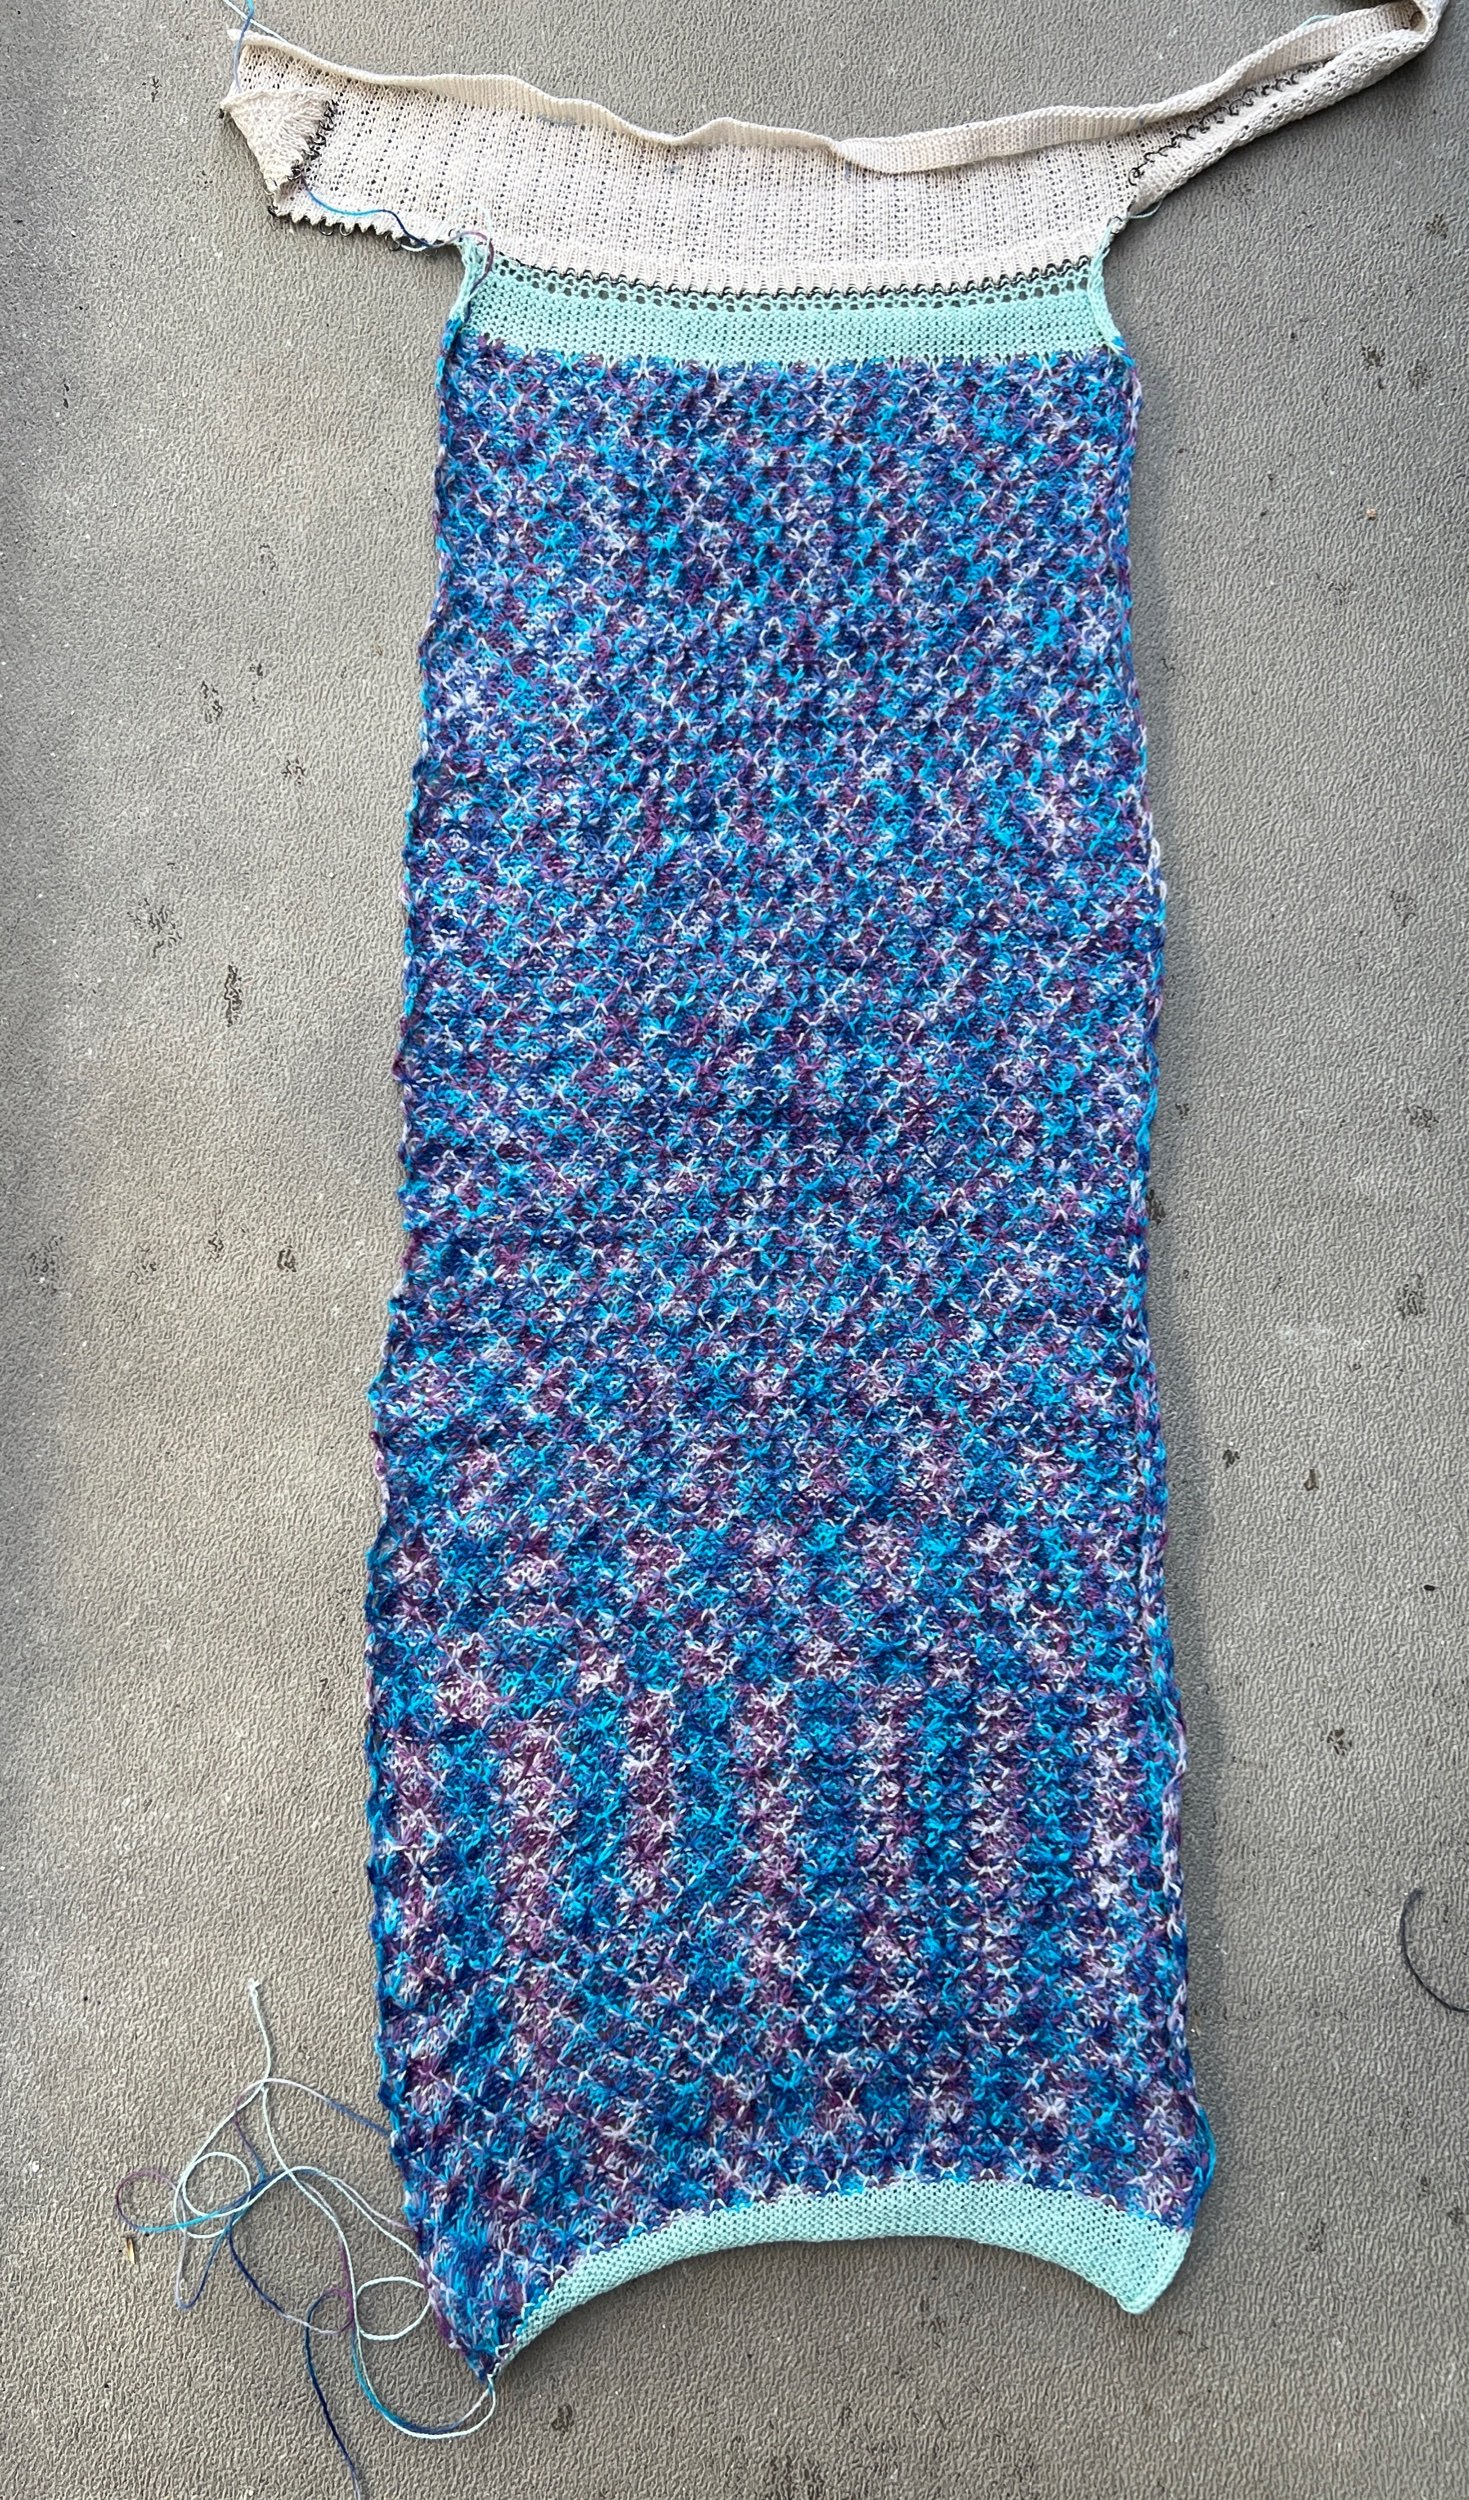
The blue variegated acrylic version I am making worked up to 360 rows in the same punch card tuck setting. Off the machine the fabric curled with total length 89cm now to steam it semi-flat. After steaming the length is now 90cm, the width is 38cm.
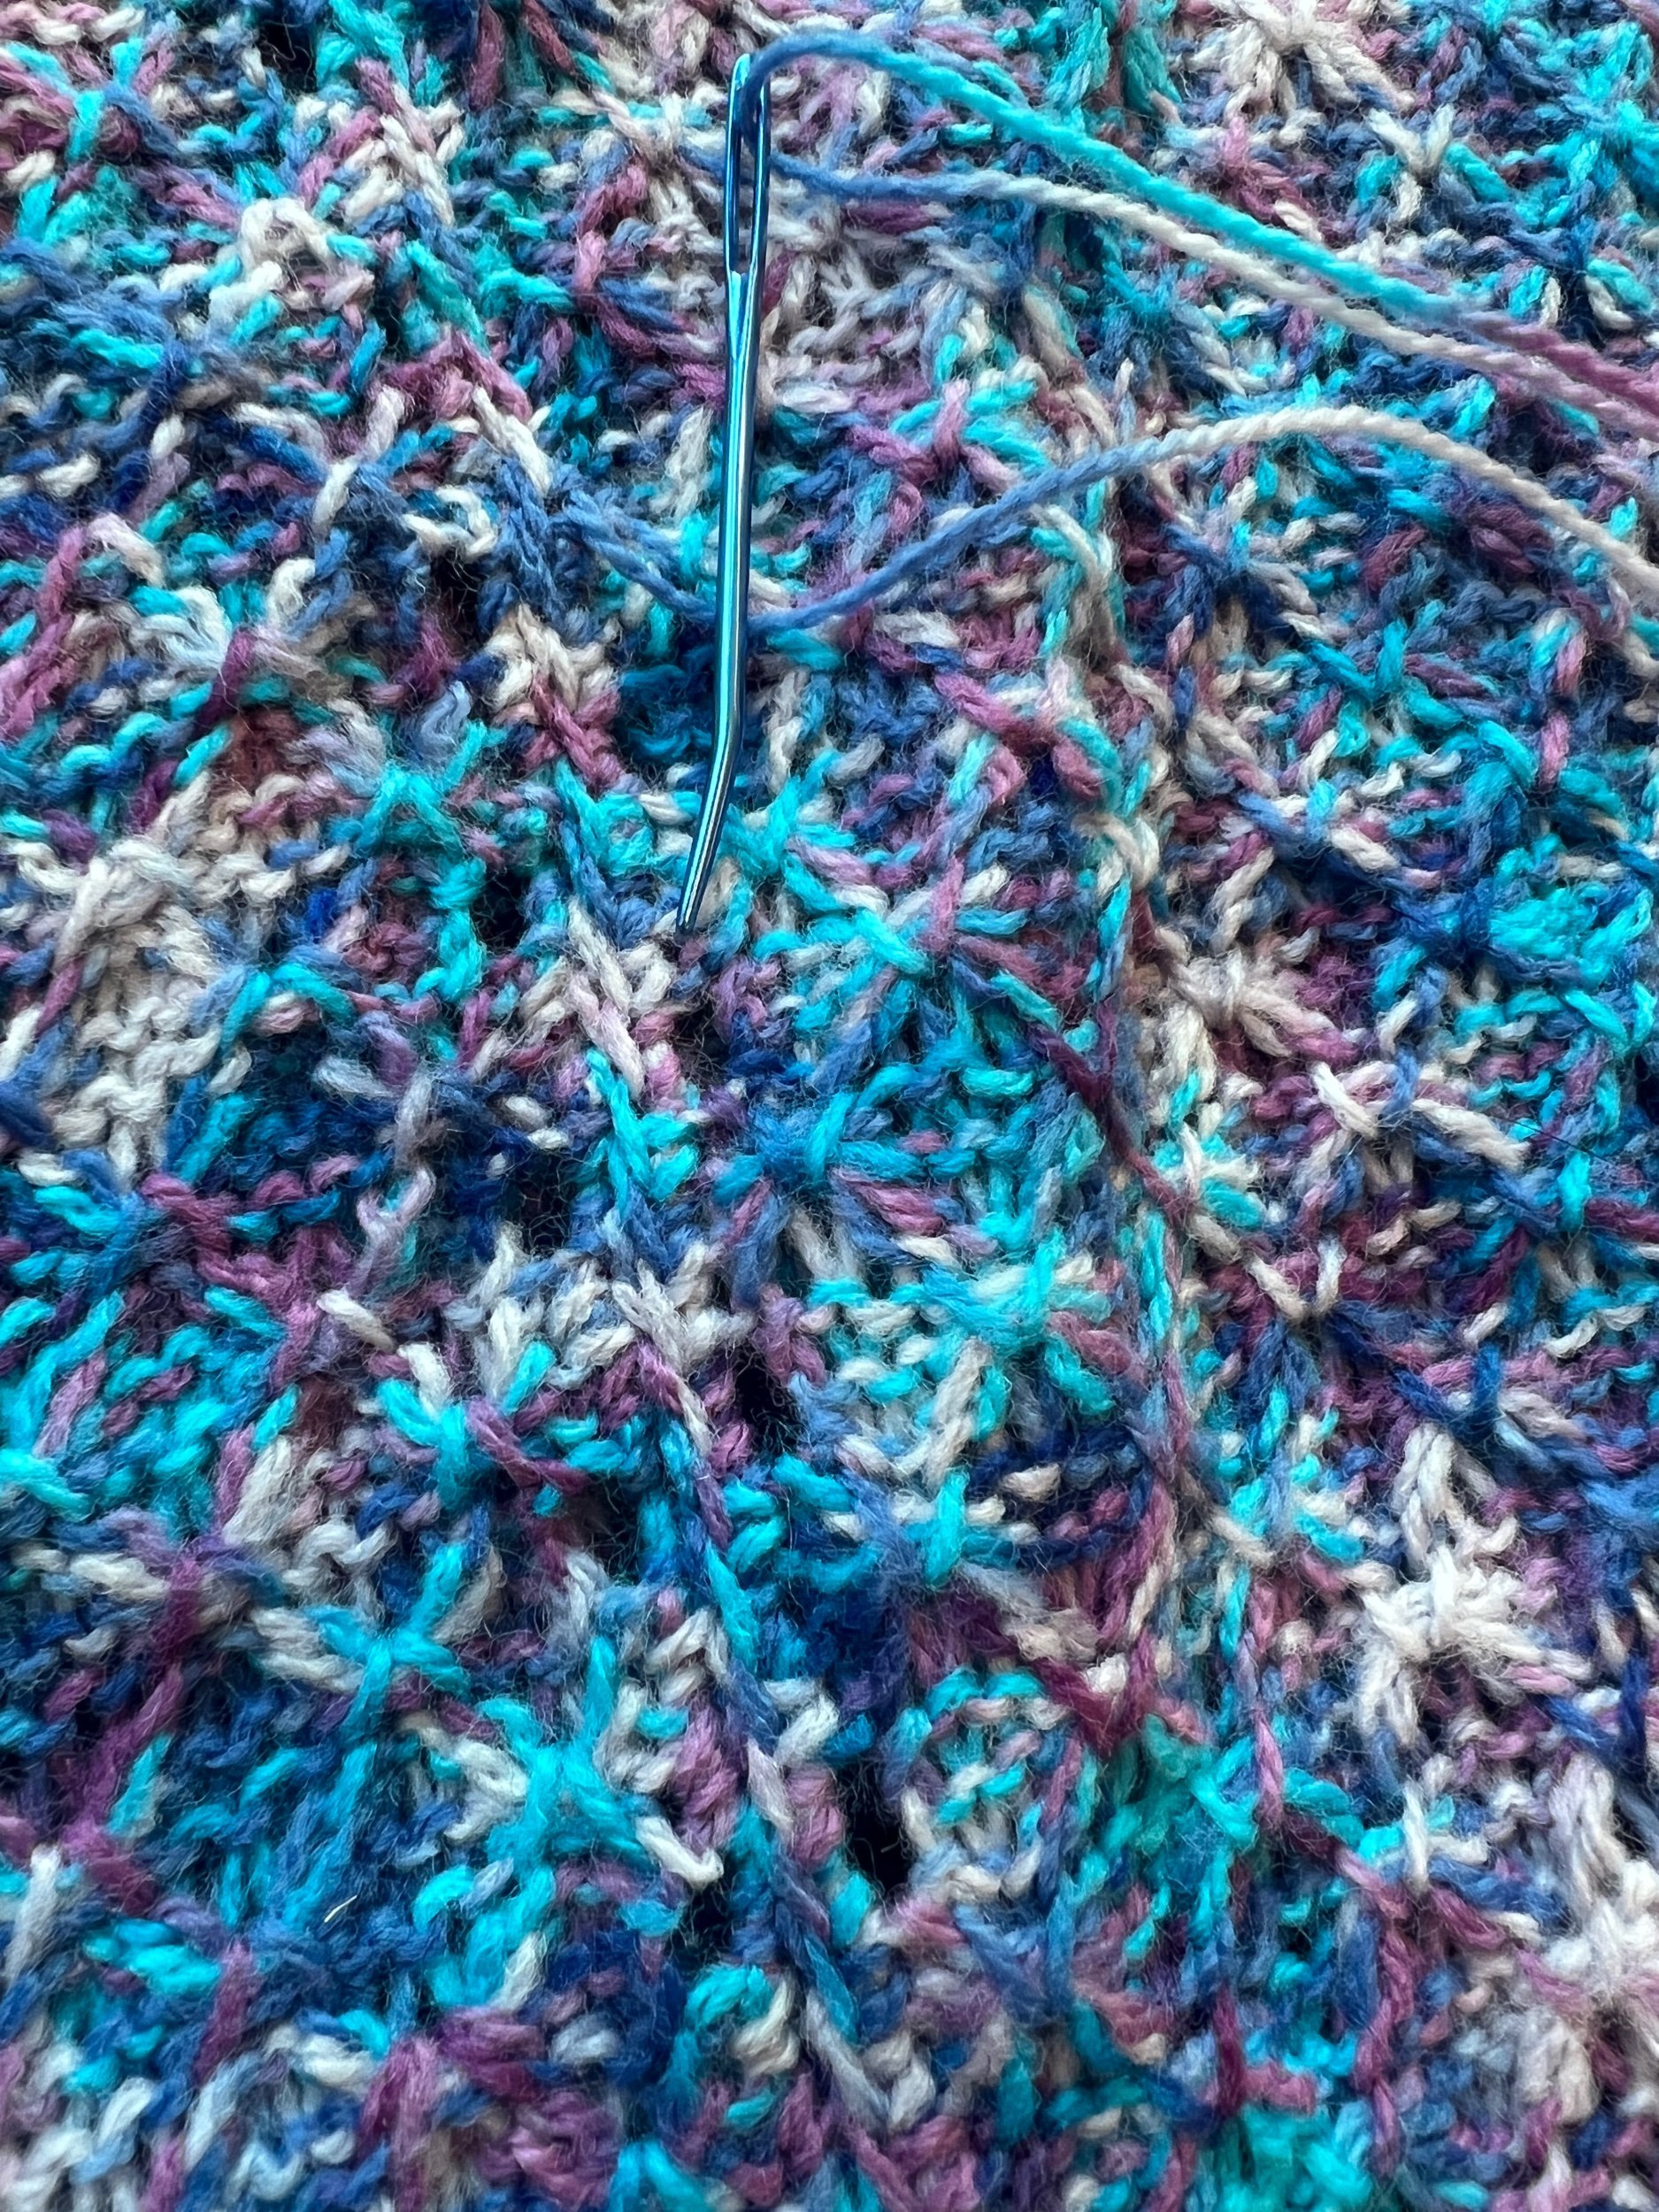
Now to seam.
An update:
Sunday I powered through on the quick knit bag, finishing seams wonderfully only to find the knitted rectangle was maybe 6 inches too short for seams to nicely align.
I had hoped somehow it would look okay - it really didn’t.
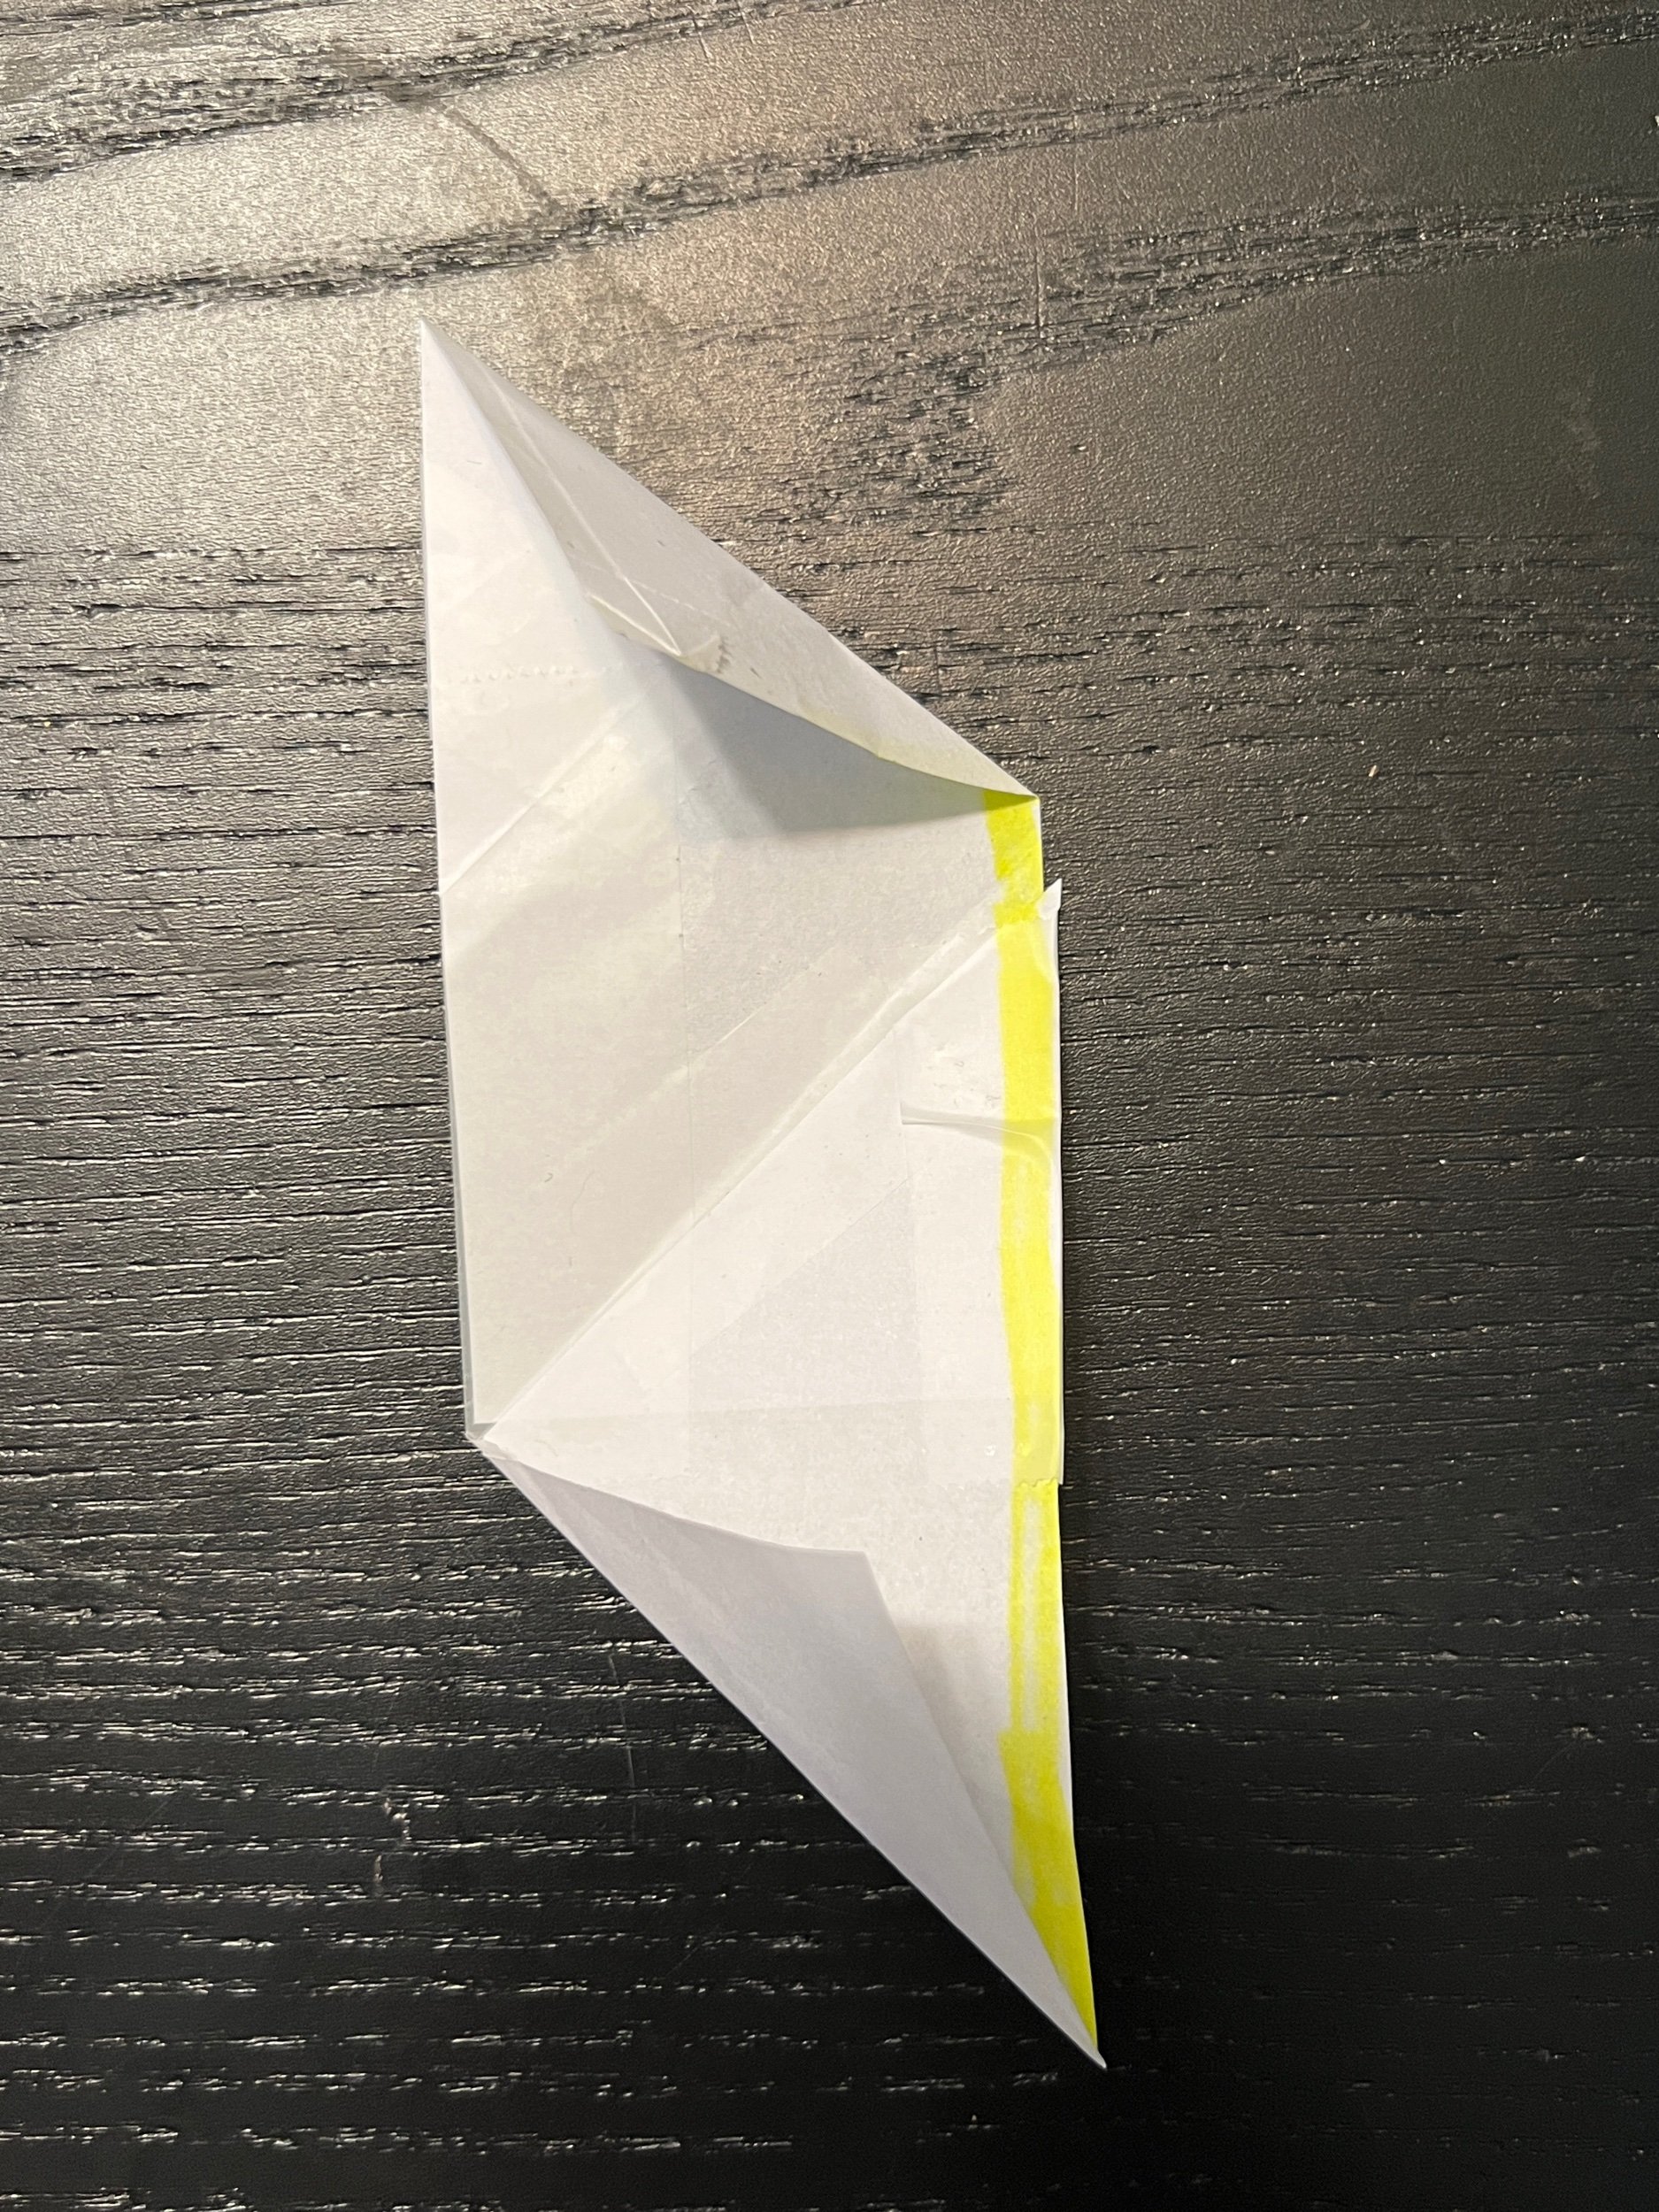
While at work today I pep talked myself into undoing the seams and considering how to make the flat bed knitted piece longer somehow. I ended up working 20 rows of single crochet on the short end of the rectangle. Here’s a poor triangle layout image planning how much more fabric is needed. This shows the shapes and further fabric needed still to extend with crochet.
Never give up!
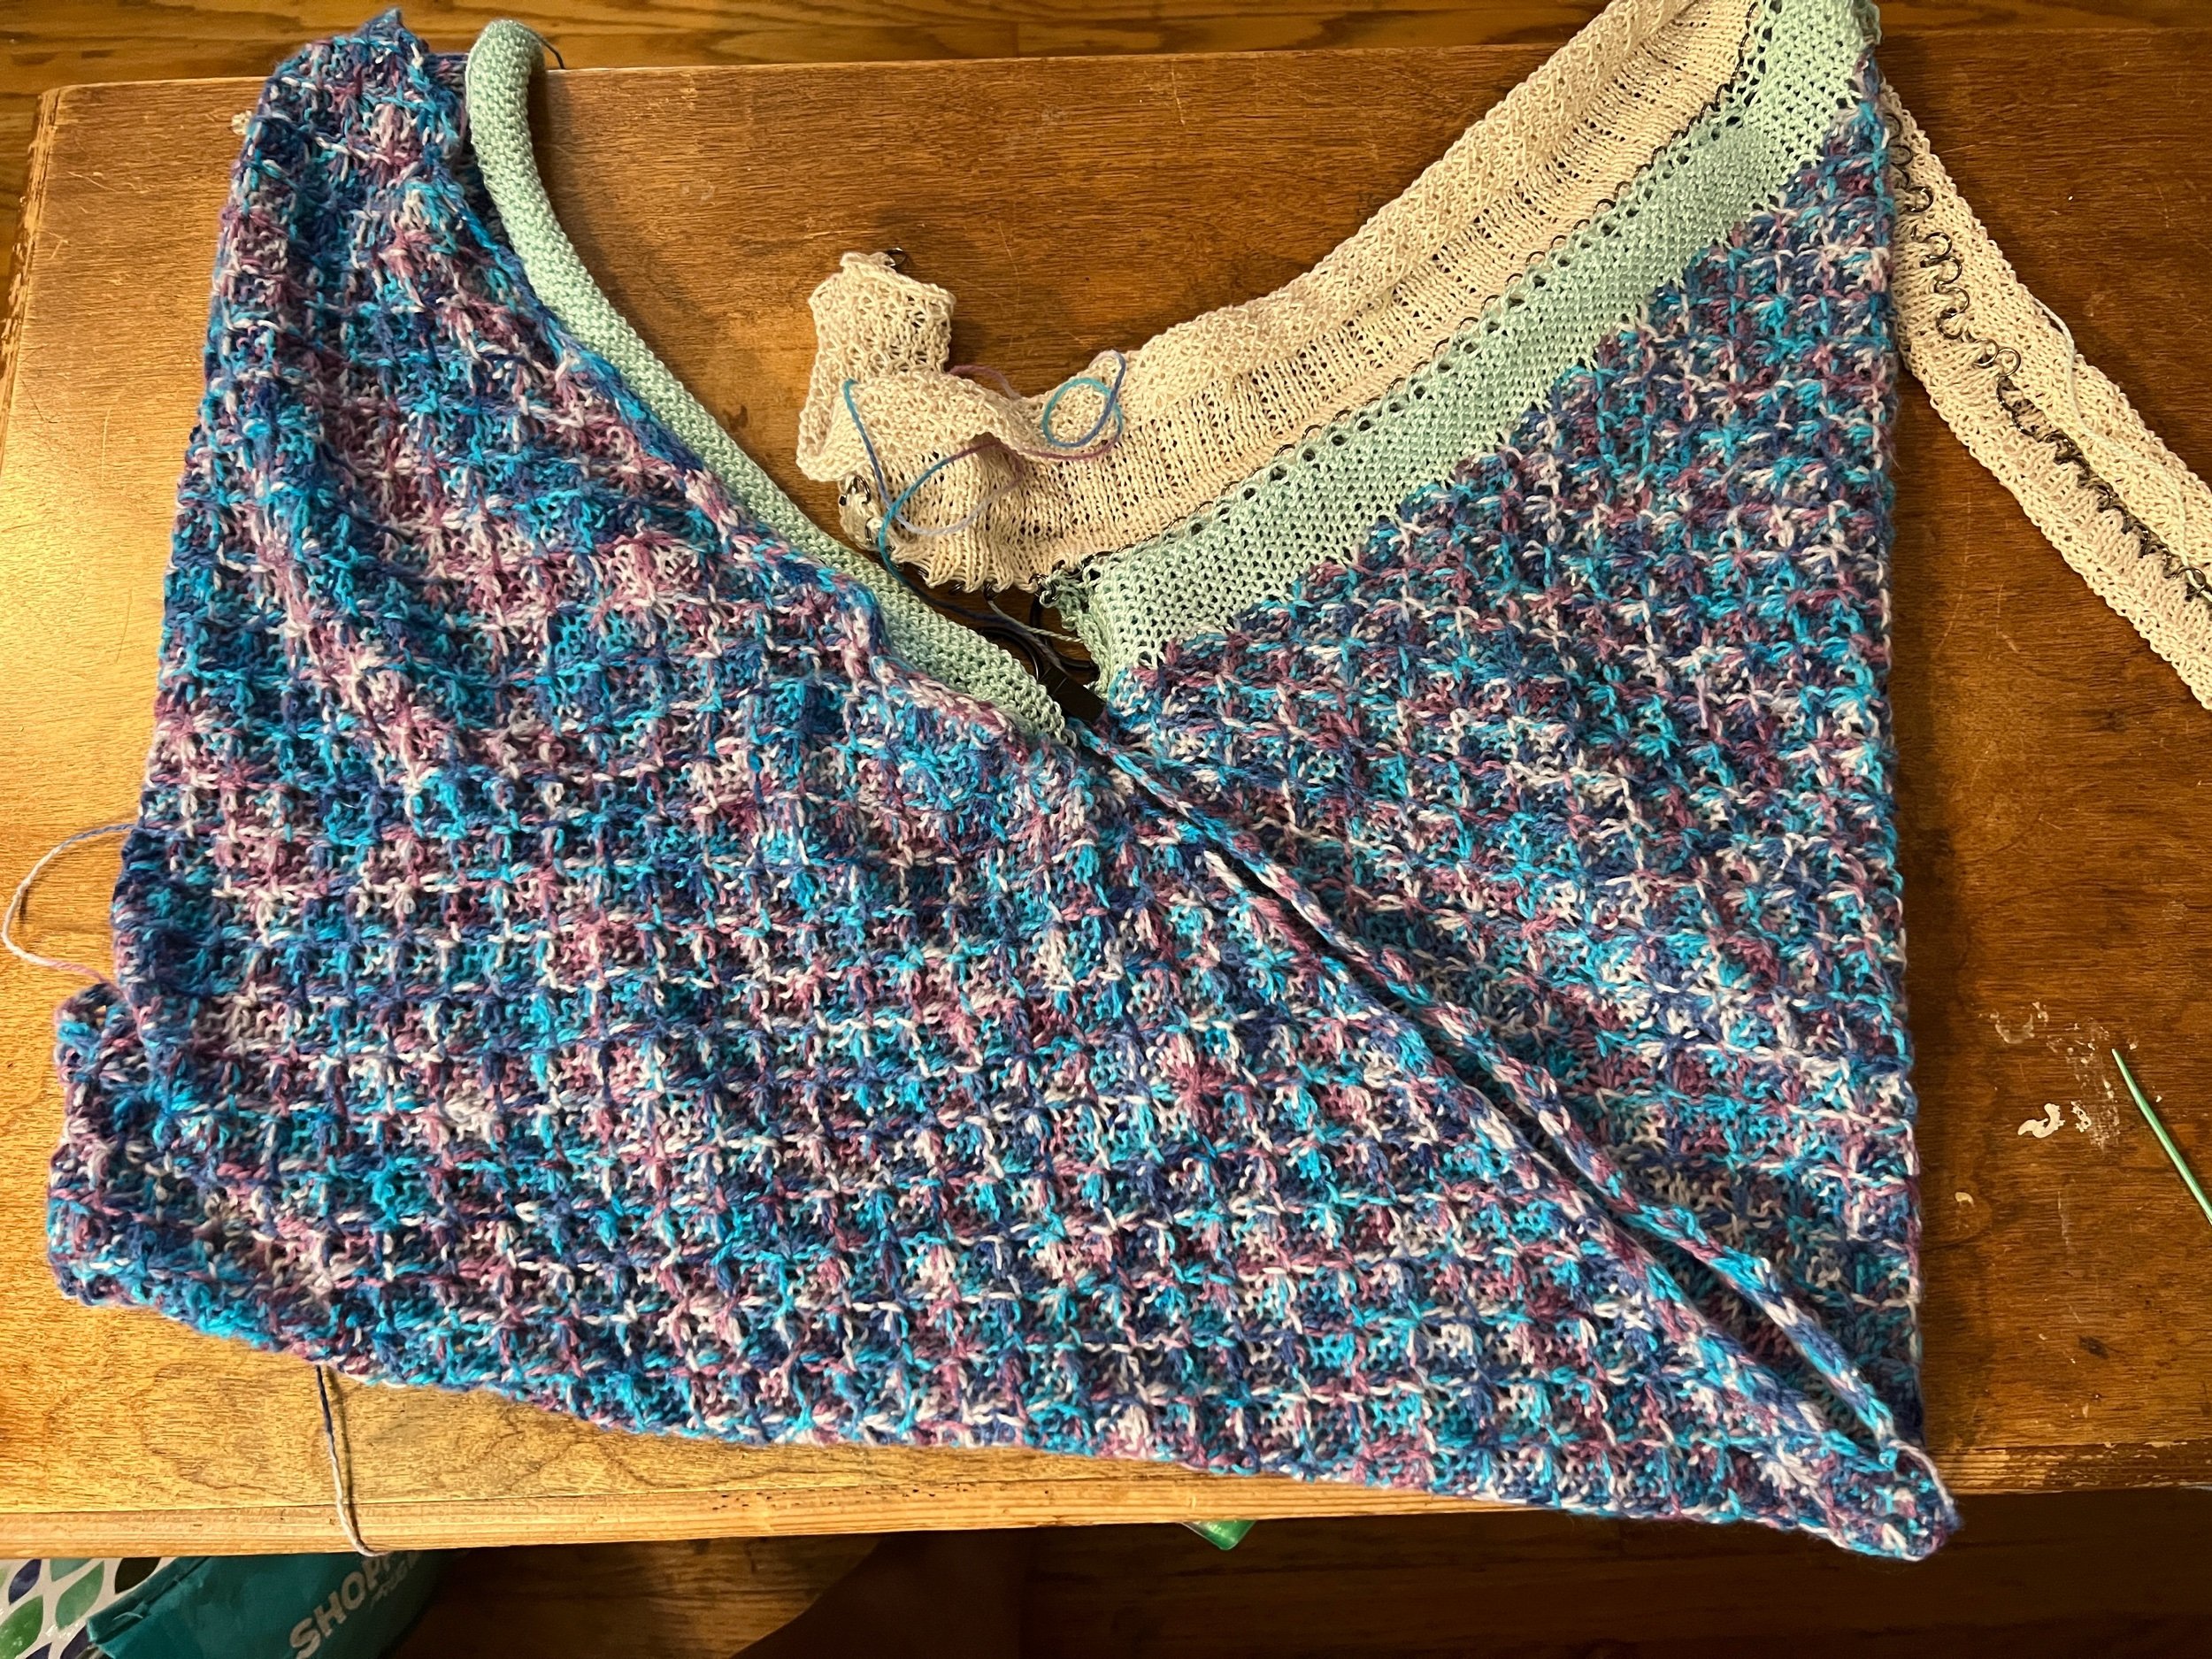
The final rectangle had enough length after adding enough crochet rows that the total piece could be folded into 6 triangles of identical size (this is the secret to this bag design). If you’re making it now it doesn’t matter my rectangle size as it depends on your worked gauge and fibre.
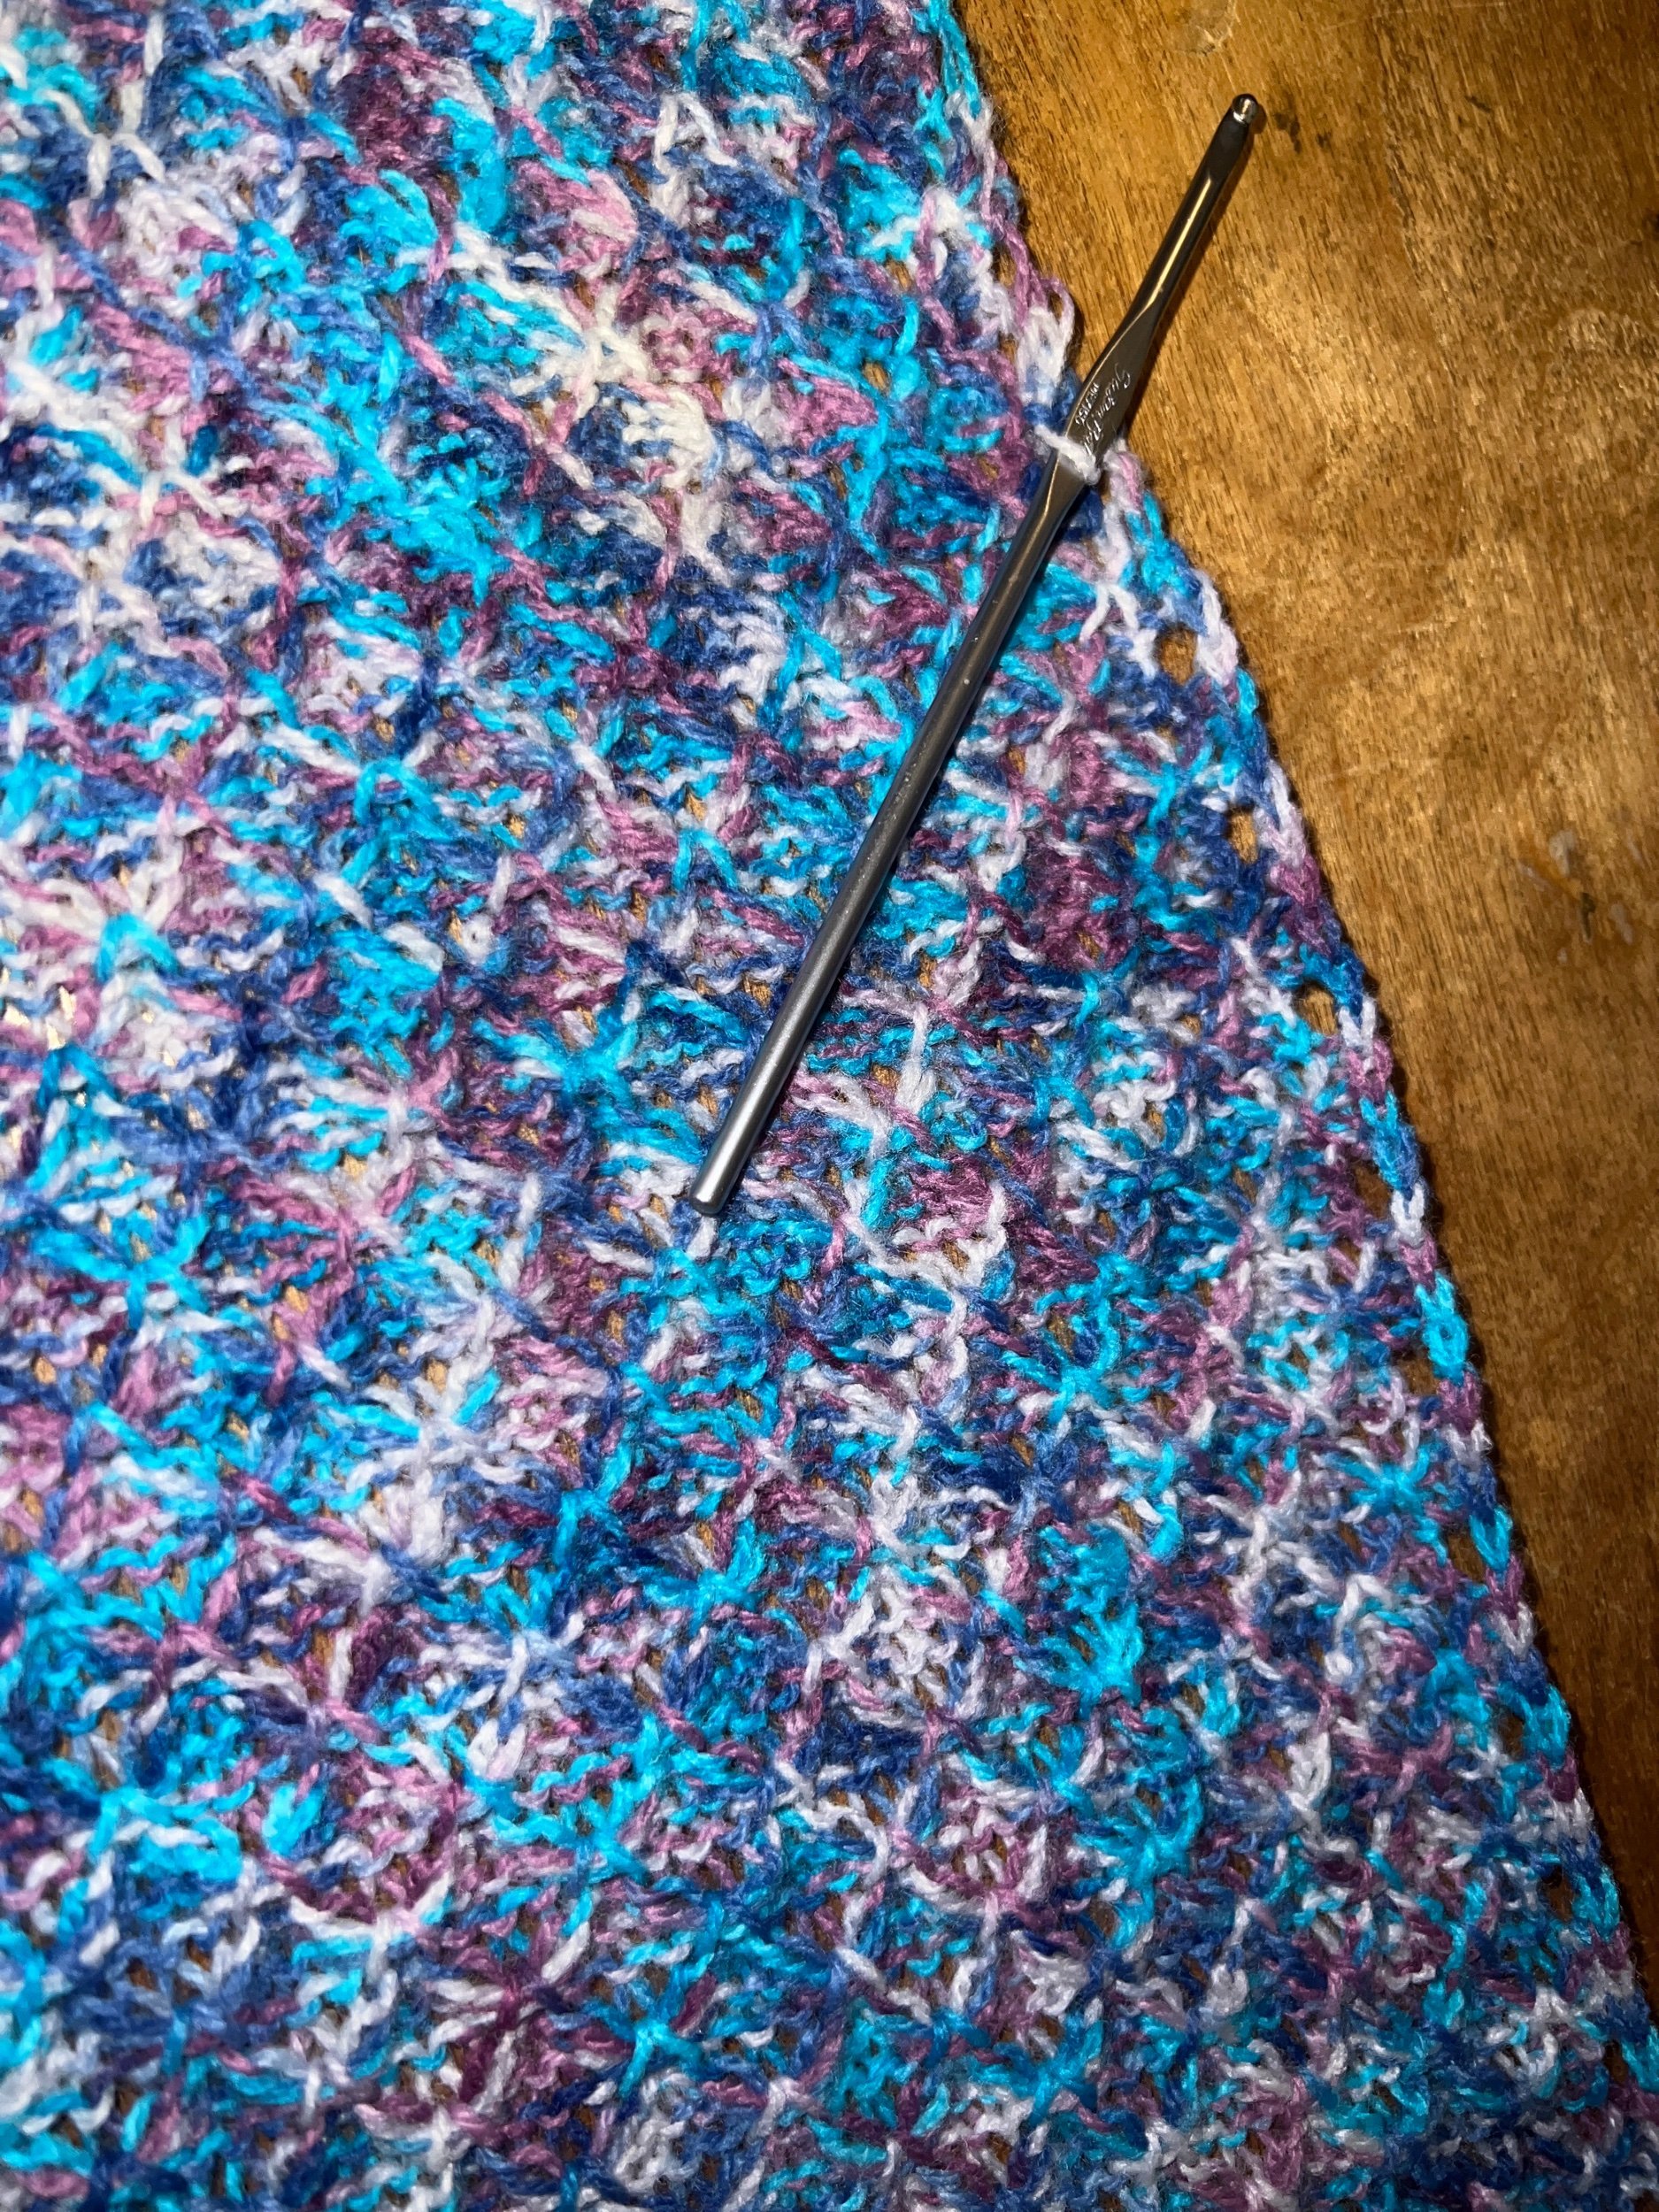
I reinforced all edges with single crochet then finished the main bag by seaming after steaming the fabric. I started again with two strands and 16 stitches for the strap and reinforced the join with a smaller triangle overlap of the bag to strap. A final steam it looks great!


Instagram posts: Page 1 |