2022 Nov 11 - Experimenting Wrongly with Punch Card 2-A

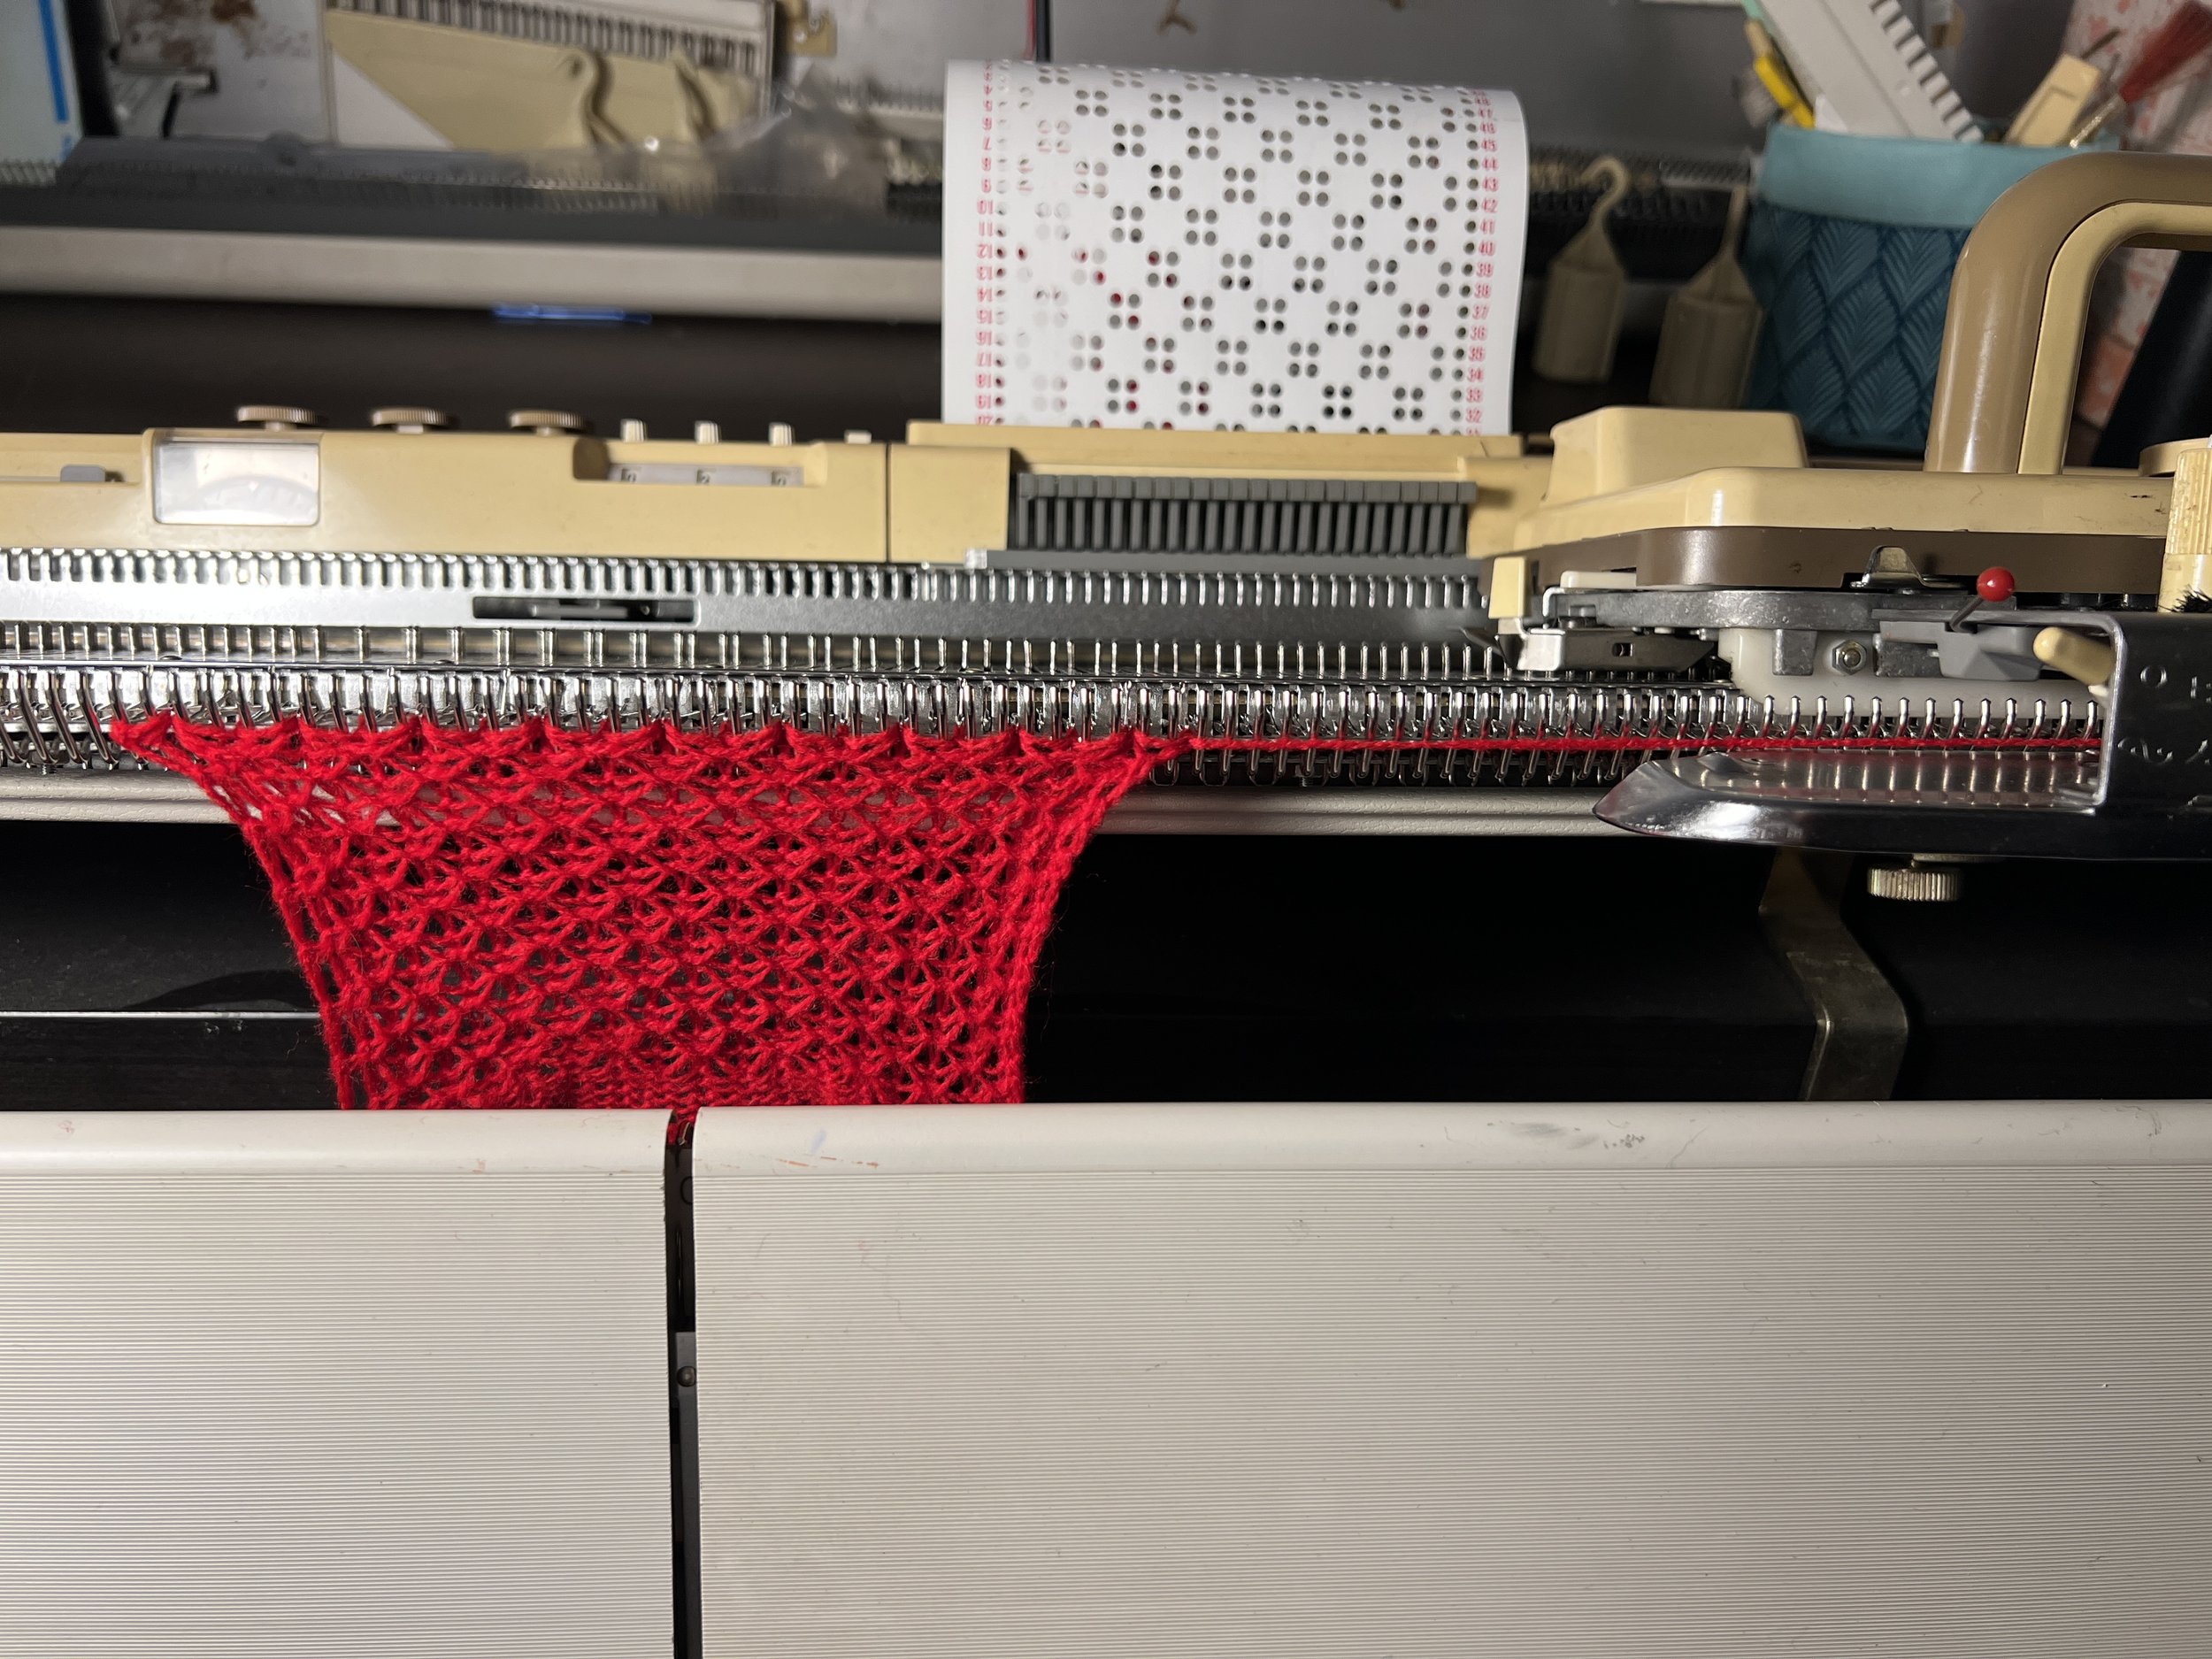
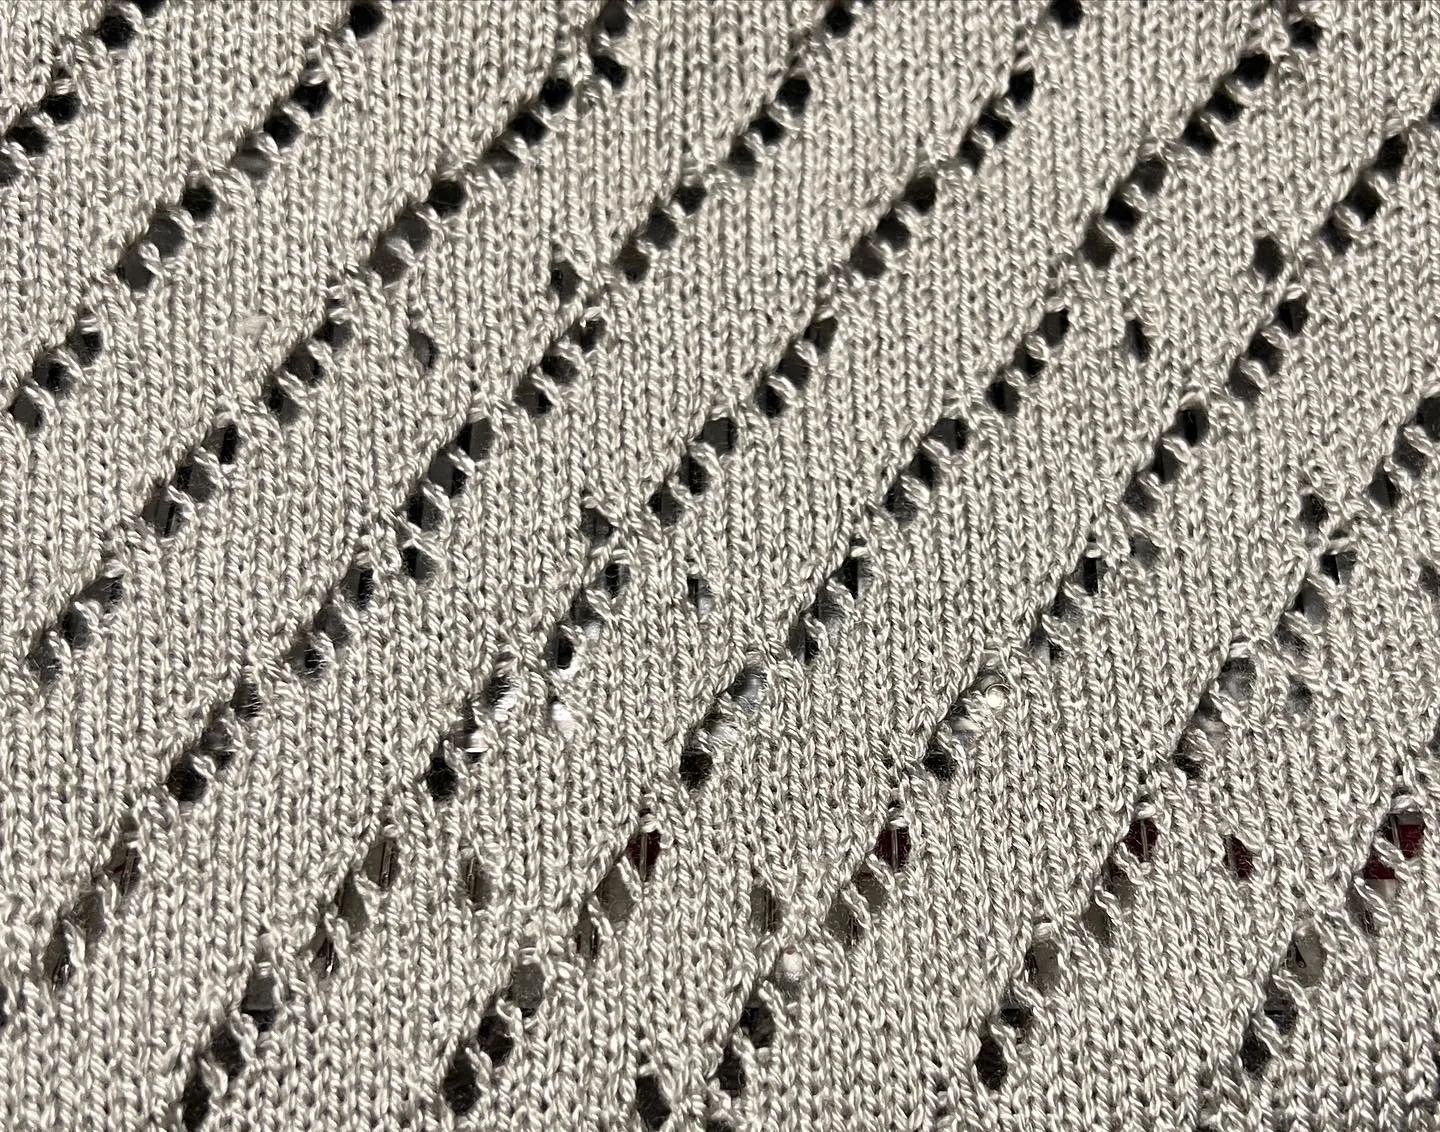
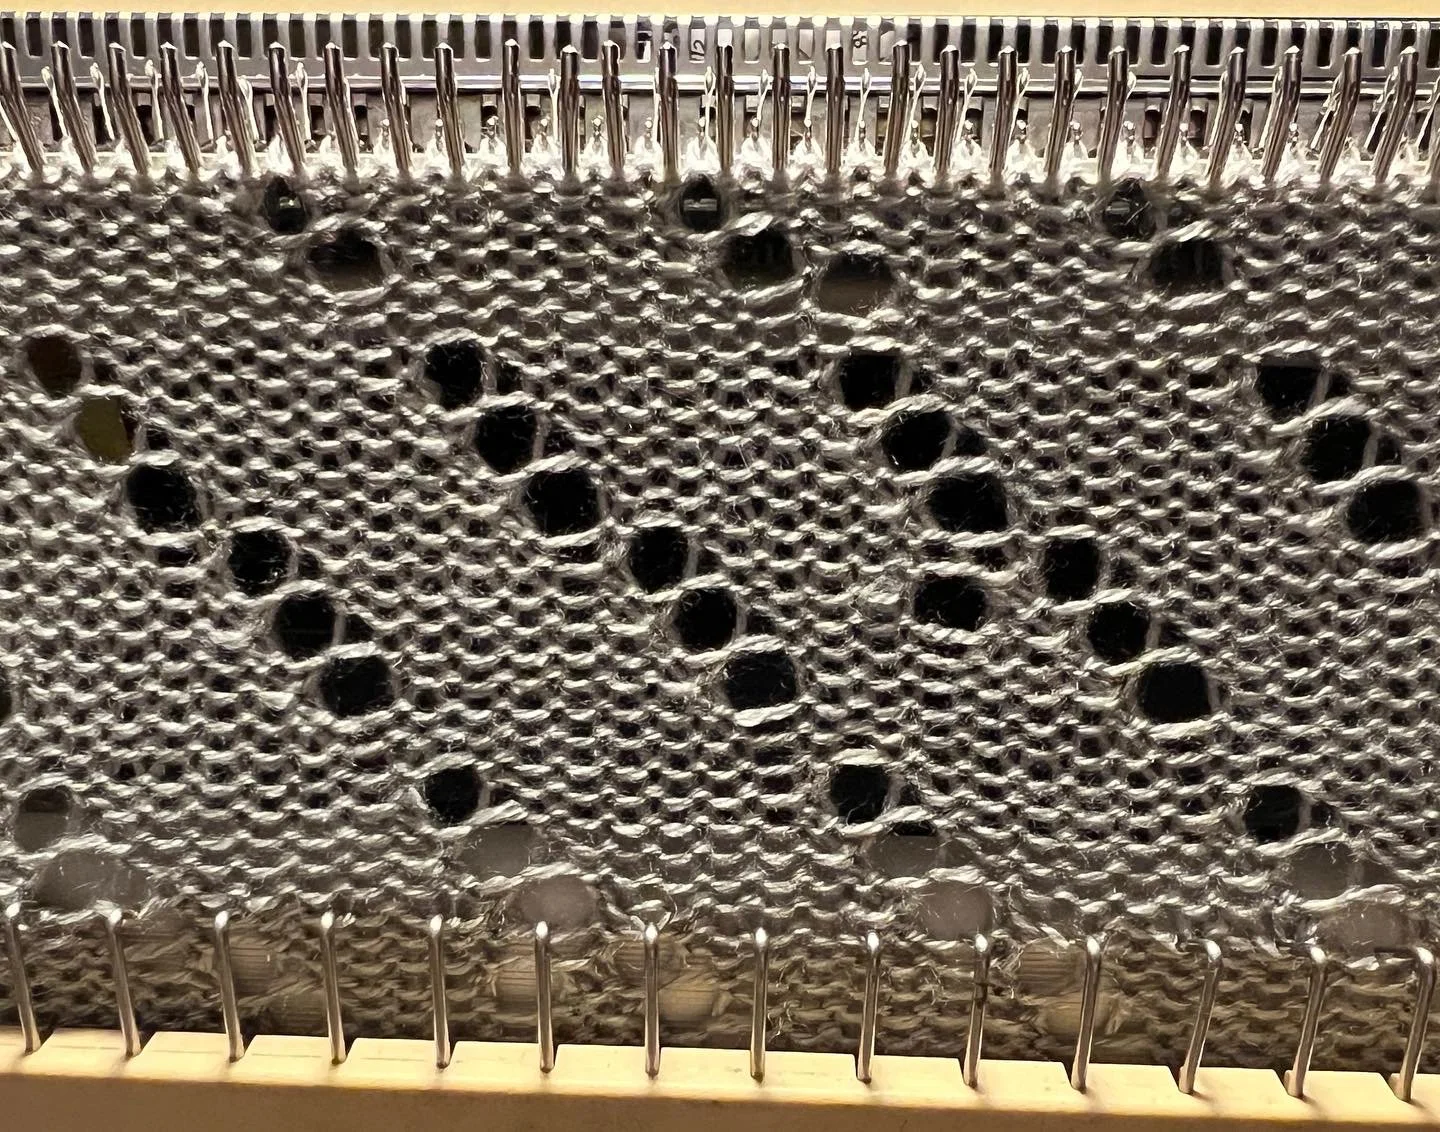
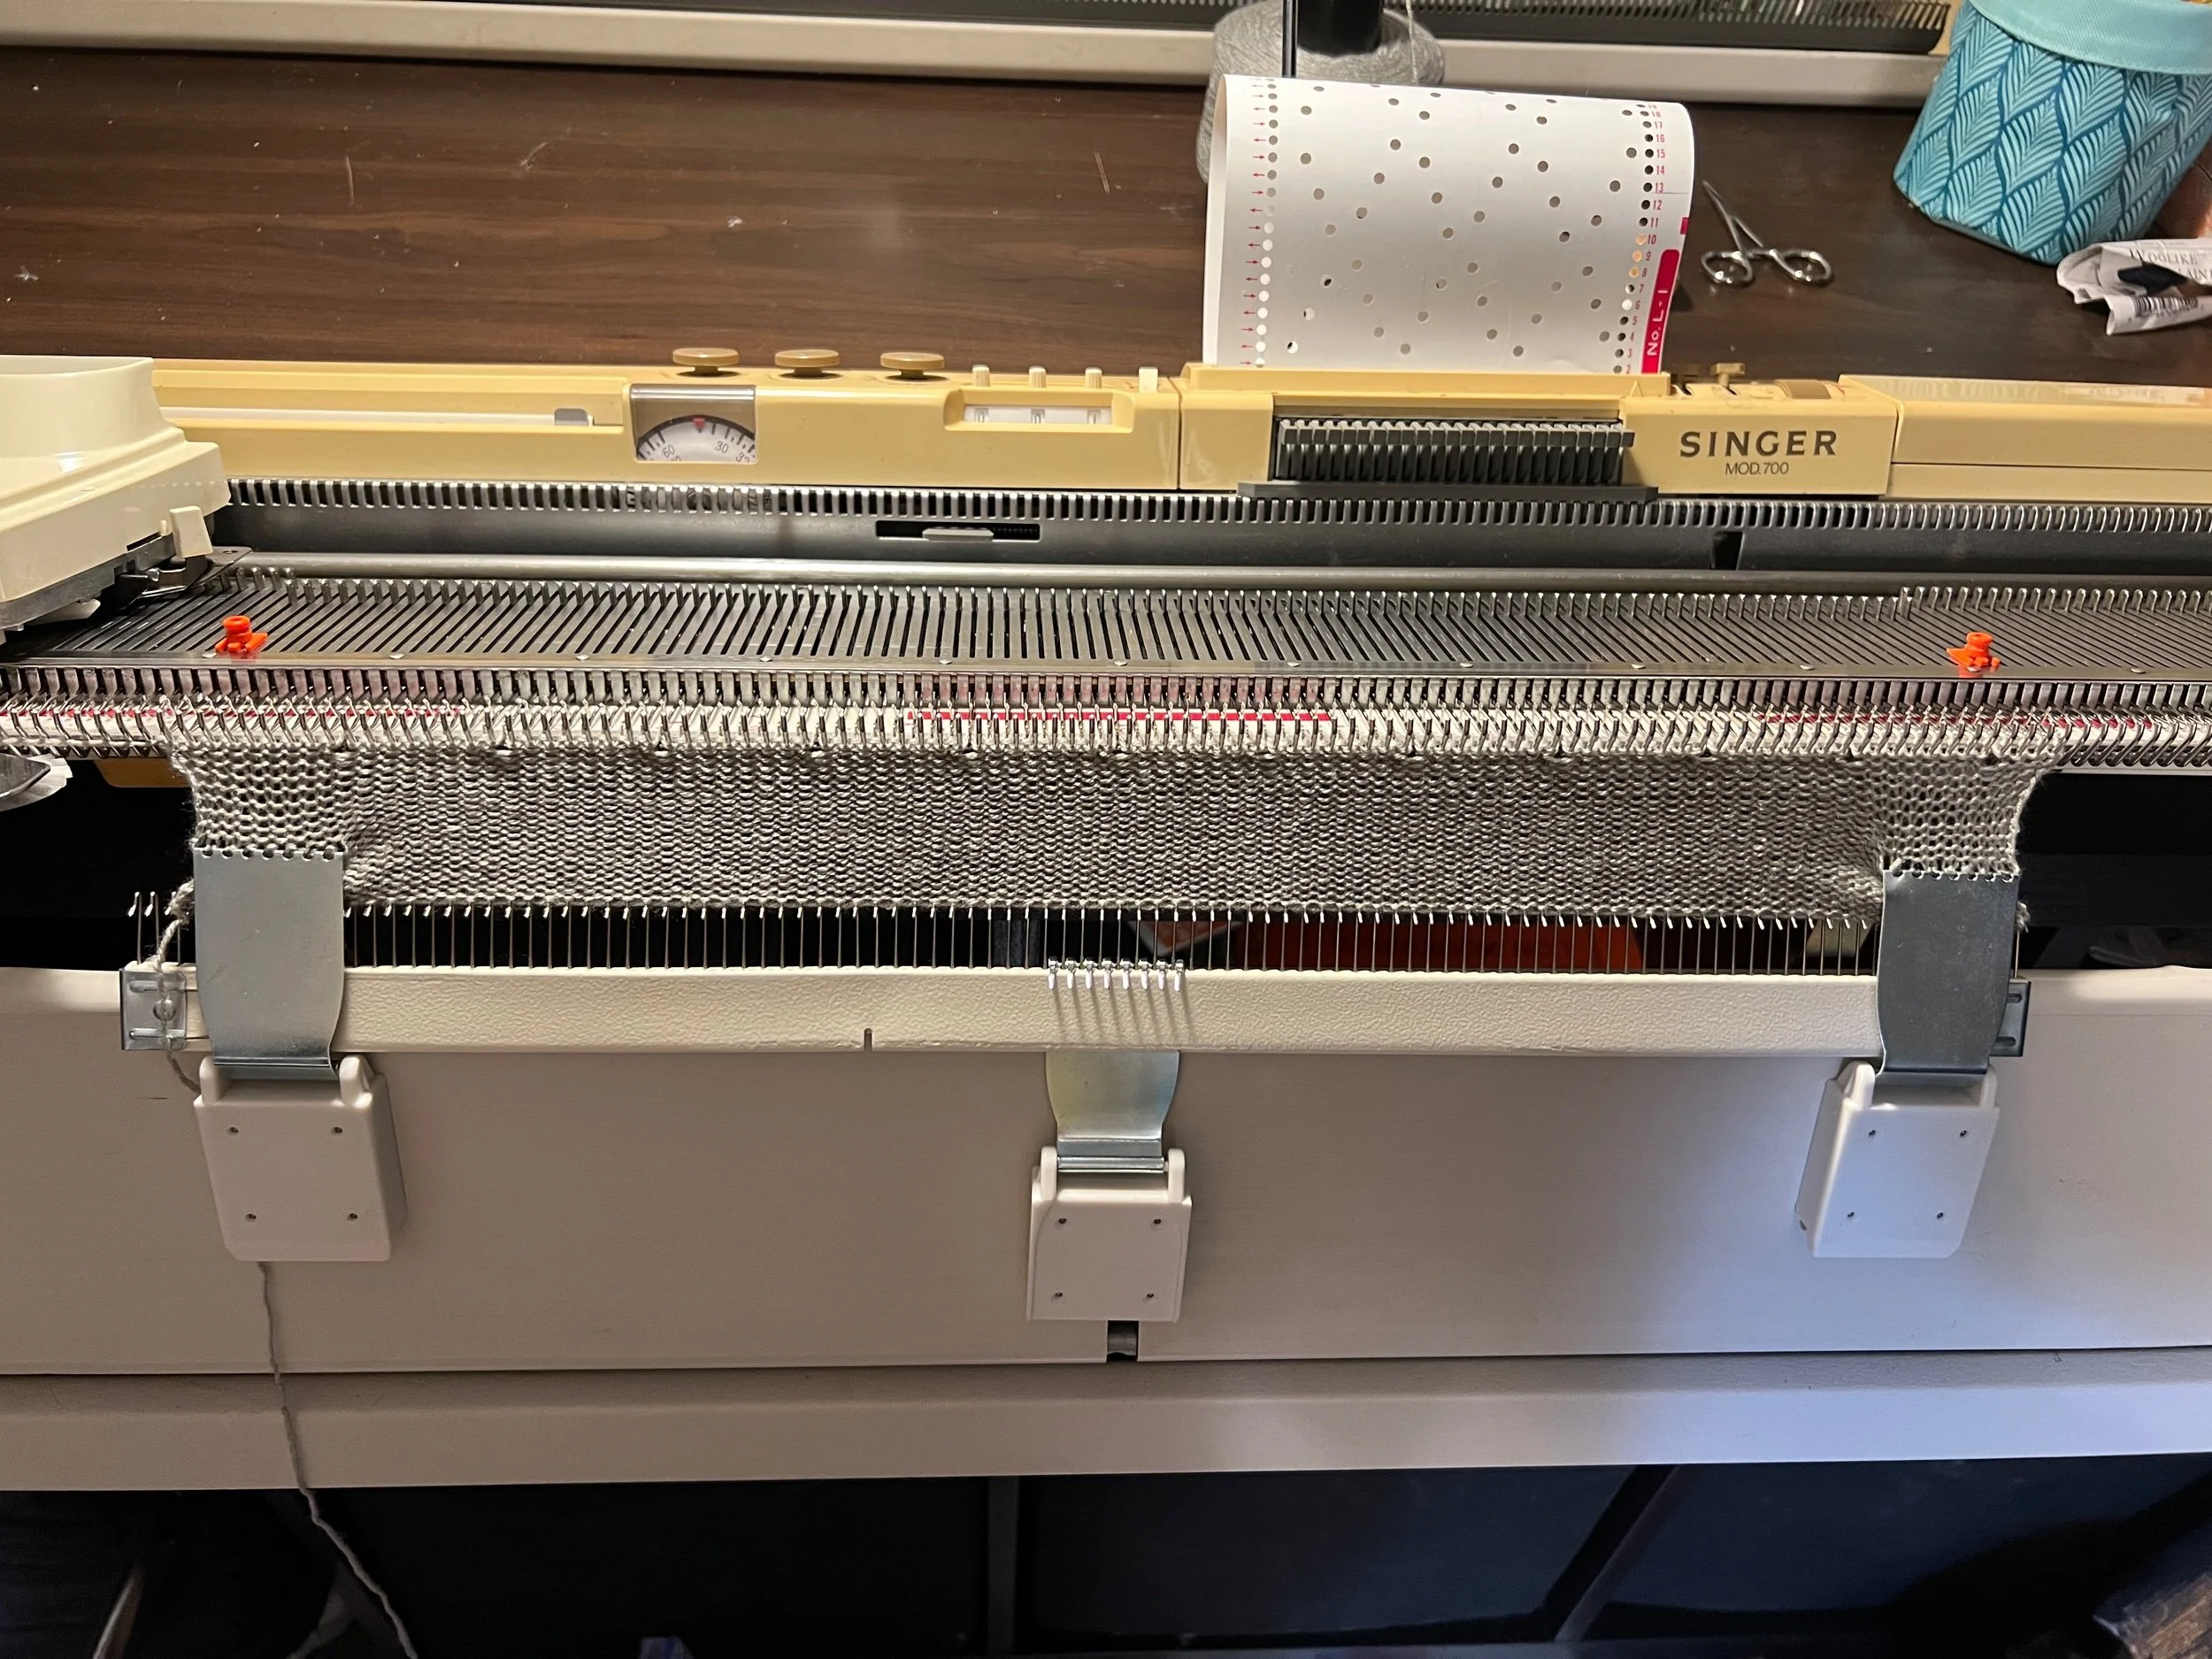
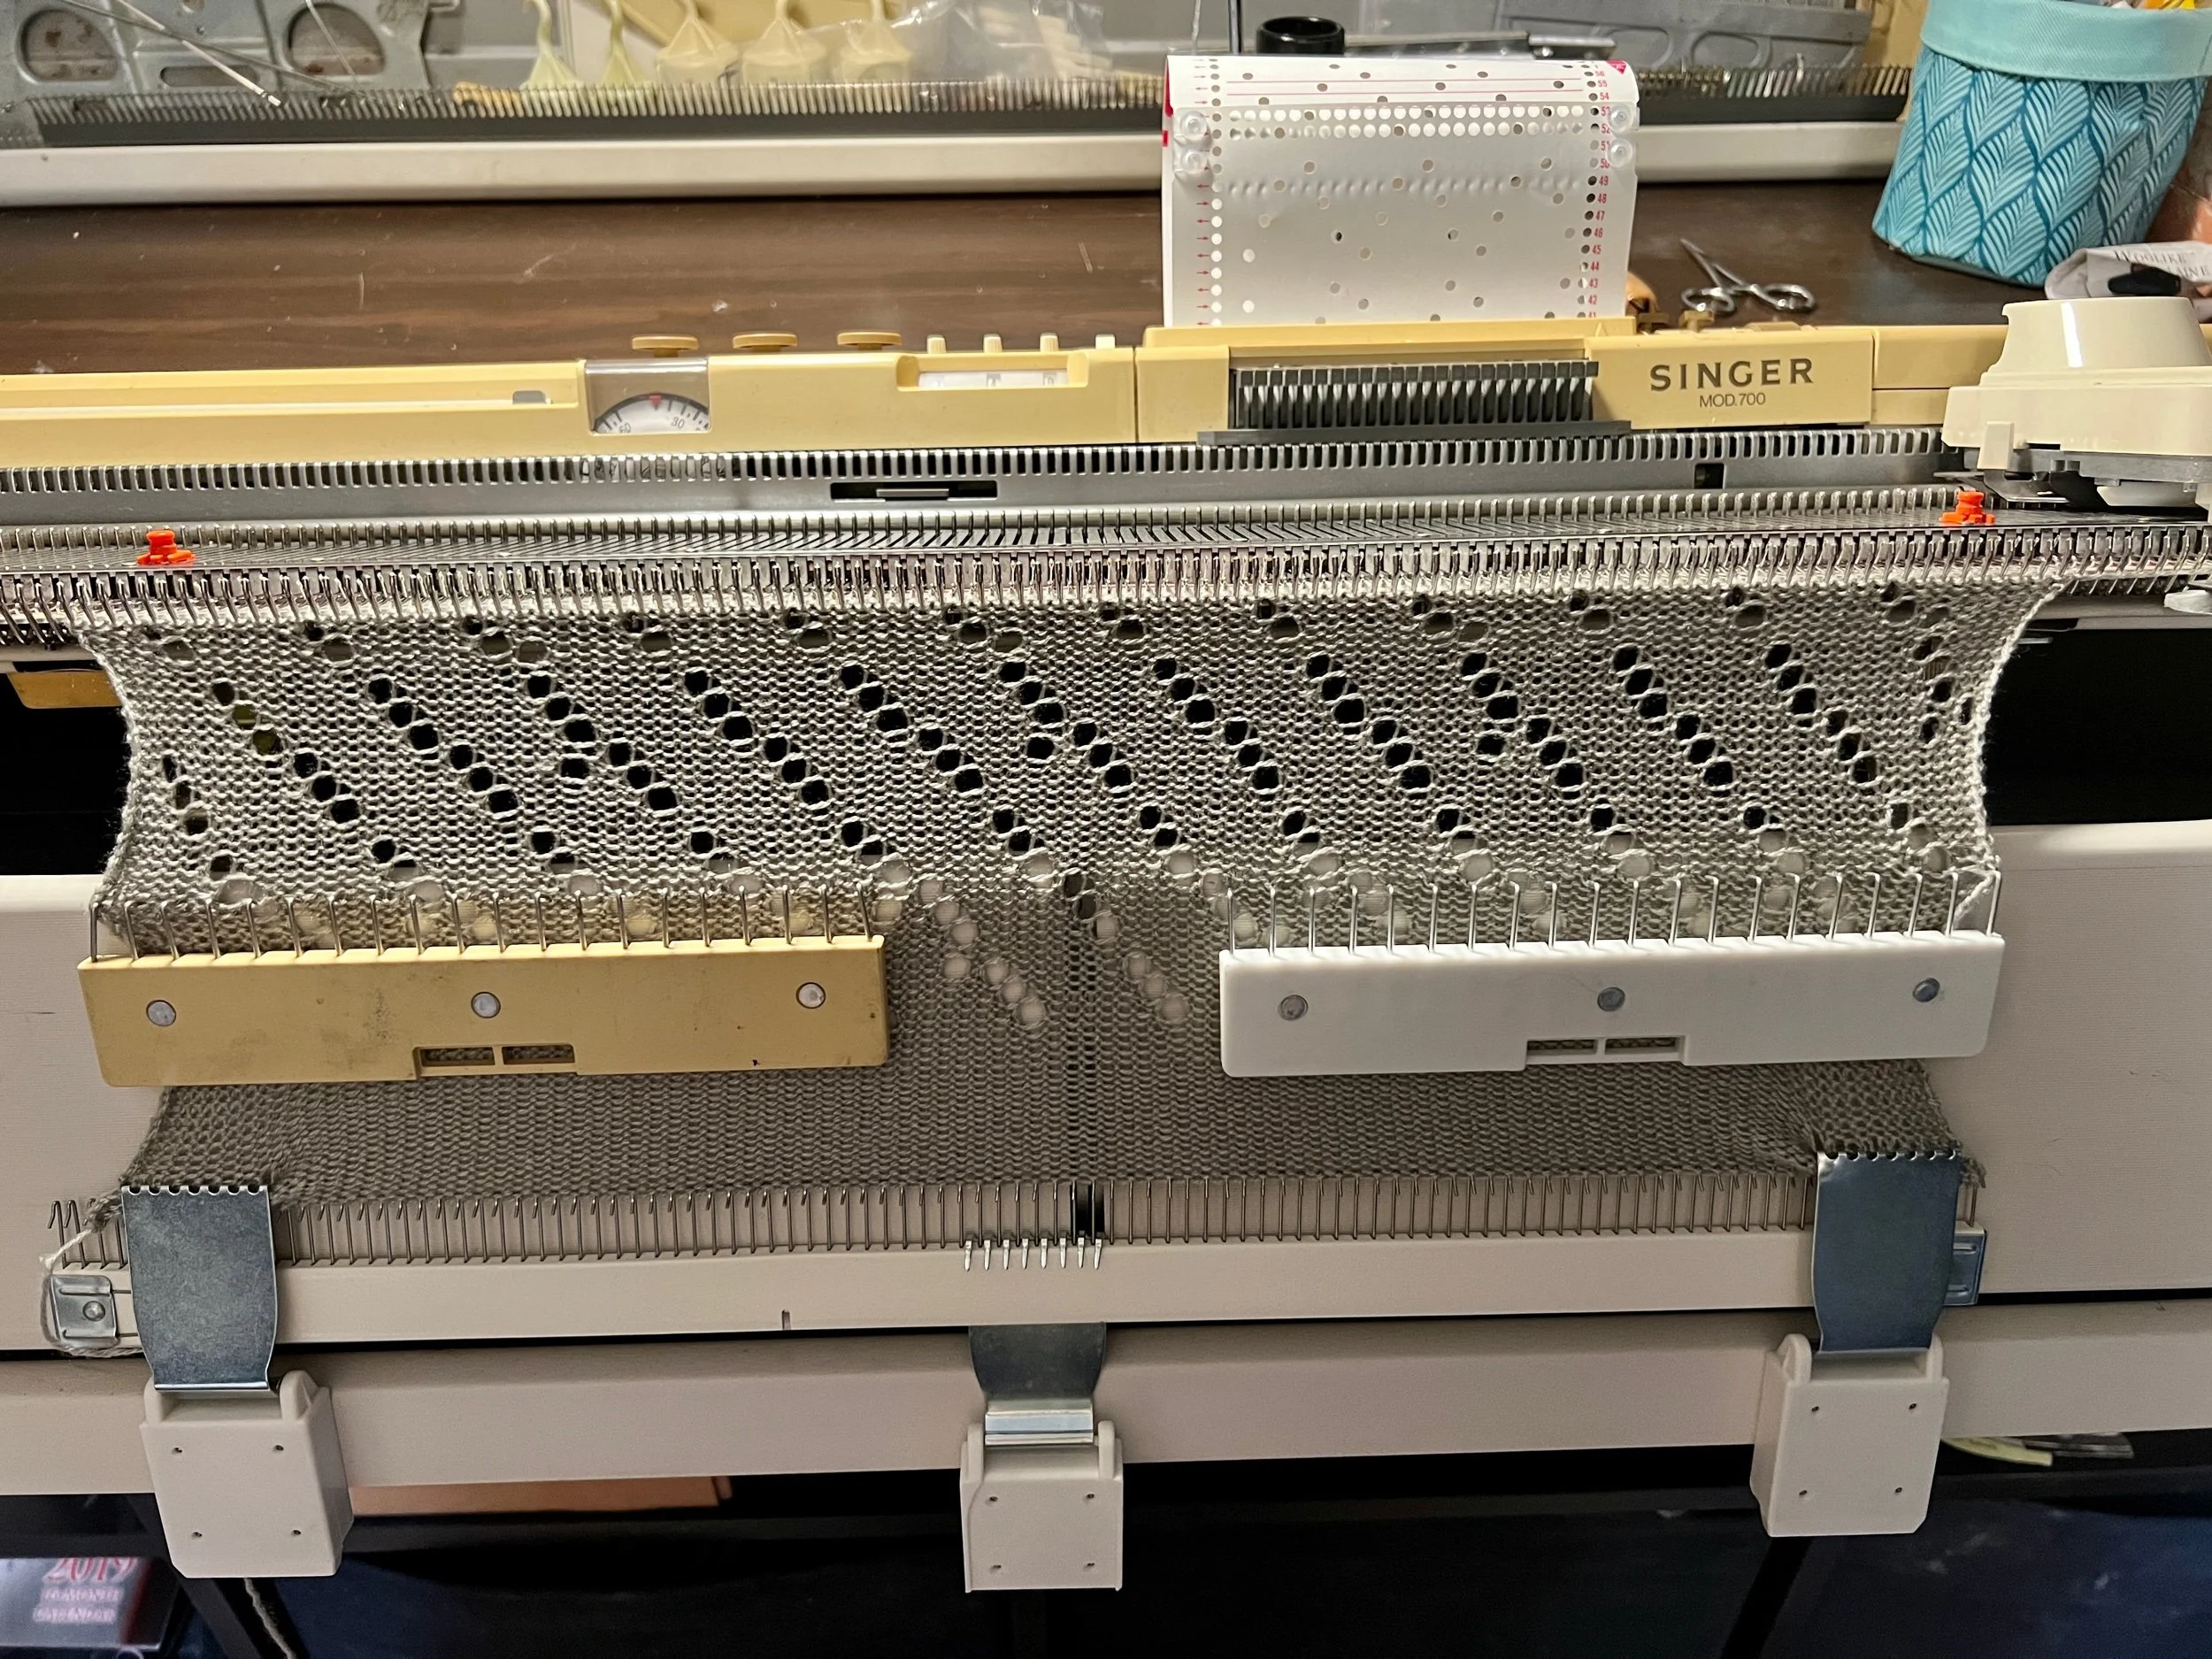
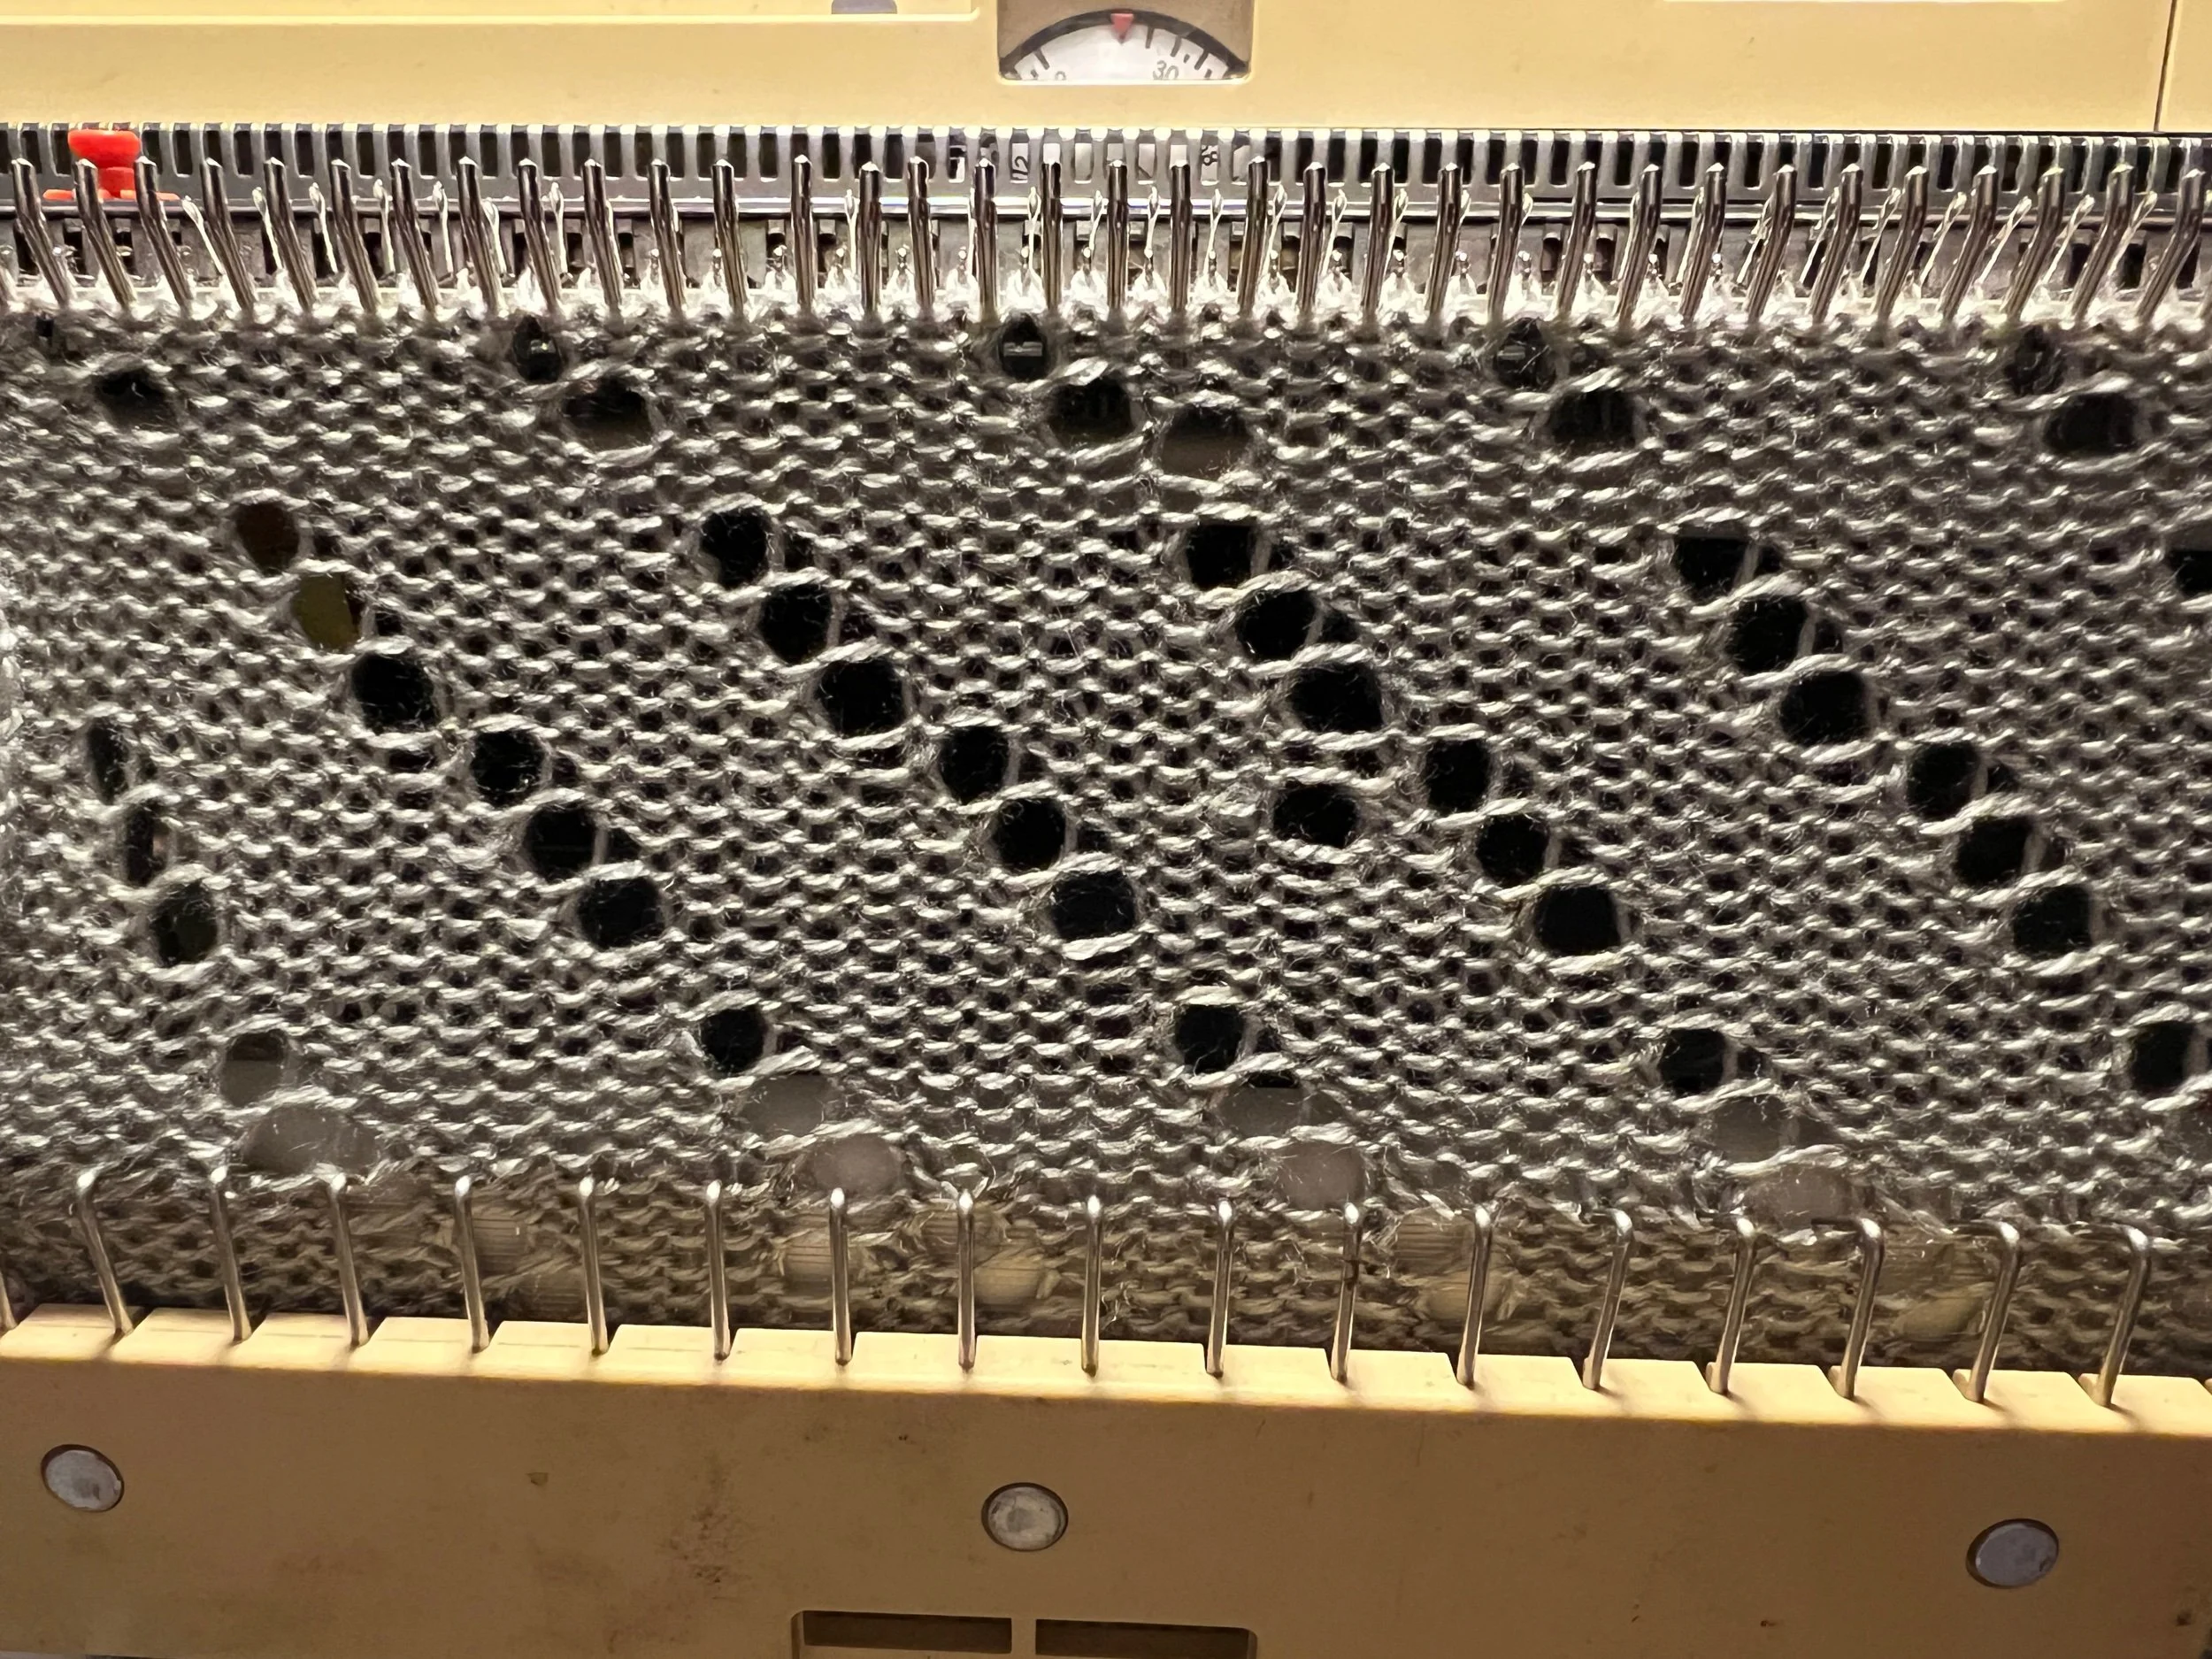
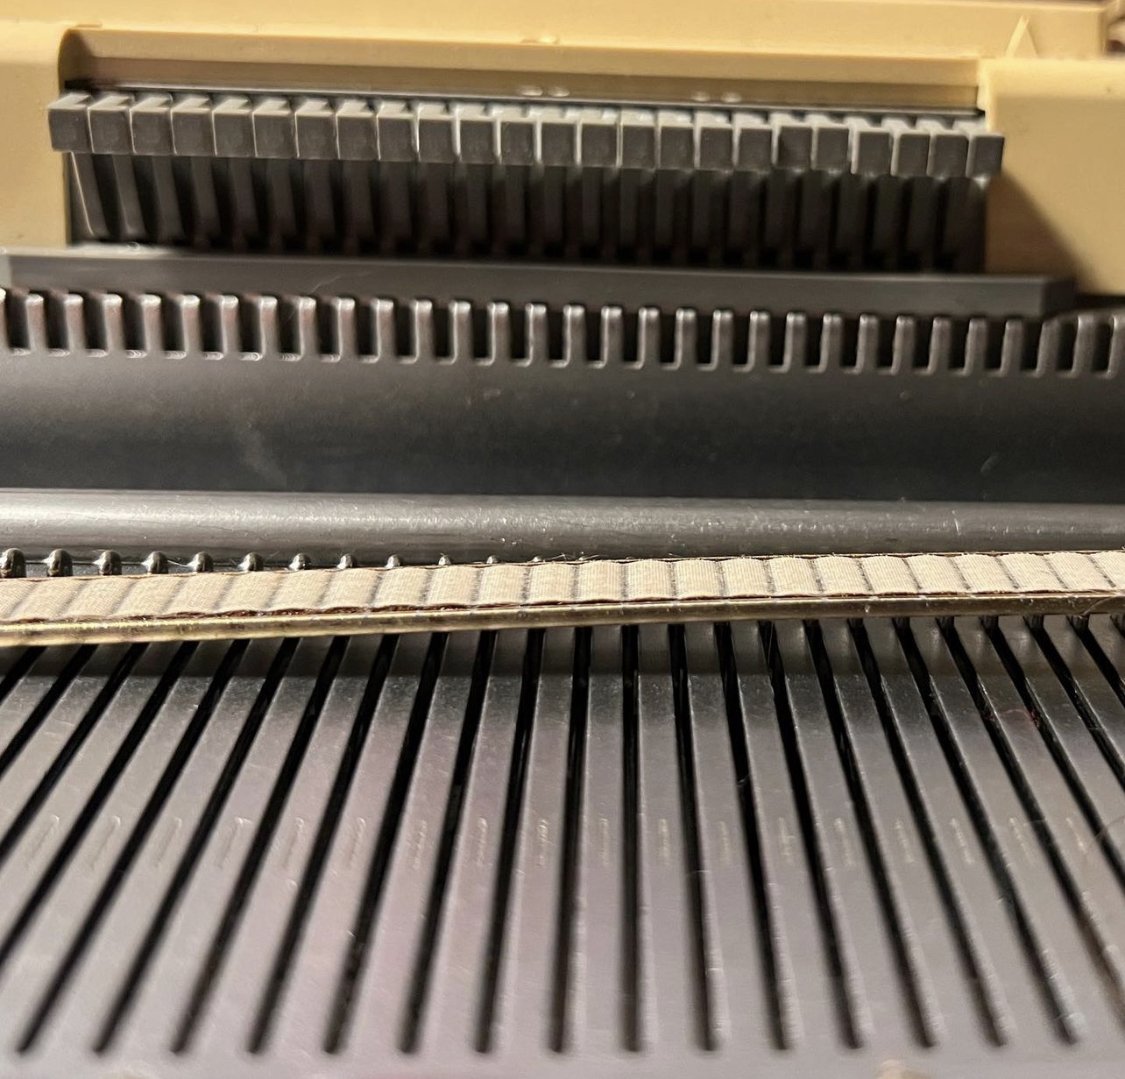
Experimenting wrongly how to work my SK700 machine punch card and finding a whole new fabric. Why are the manuals so poorly written!? The manual called this a tuck pattern so I worked the card how I thought and got this. With machine cards one needs to extend the first needle closest to the carriage to D prior to working each row (I forgot once or twice and somehow also managed to snag the work on maybe four gate pegs).

I have posted on a Facebook Flat Bed group a request for translating the instructions in this pictogram.


Does anyone know if you’re SUPPOSED to be able to use ALL of the flat bed needles in a project?

ANSWER!! “Louise Hall - I have knit a couple of kimono style jackets on all the needles for the widest part on a sideways knit and it worked fine on my Studio360”


With the help of the MACHINE KNITTING facebook group and two very kind souls, I now know and have written (and tried) the exact HOW TO - when using this punch card #2. :)

I’ve been advised this is referred to as “TUCK LACE” SK Machine Punch Card #2

HERE ARE THE COMPLETE INSTRUCTIONS to make things easier :)

I used an open cast on.

Thread machine and tie off yarn tail under machine | Carriage on the RIGHT | Dial on 5.25 (yarn) | Side levers DOWN | Stockinet (cast on) | Select 37 needles from A position and put in D position | Carriage moved from RIGHT TO LEFT | Lay Ravel Cord just behind GATE PEGS one gate peg outside of each outer needle. Hold Ravel Cord ends down and together with left hand and move carriage from LEFT to RIGHT | Repeat last step a couple times and finish with Carriage on LEFT | Remove Ravel Cord (worked knitting will unfold as cord held start) | Add claw weights | Either work more regular rows now or start the next step if you feel there’s enough weight applied

Carriage on the LEFT | Dial on Stockinet still | Side levers UP | Reader is locked - left switch DOWN “card will be ‘read’” | Move Carriage LEFT to RIGHT | Dial on TUCK | Move every other stitch to it’s neighbor. Ensure both outside needles are needles holding two stitches | Reader unlocked - left switch UP | Work as many rows as you wish | Work your preferred cast off.


UPDATE: I’ve tried this again and noted you DO NOT NEED TO TRANSFER THE NEEDLE CONFIGURATION in order to work this card.

Below is the new tighter gauge (no needle setup) compared to the looser gauge (needle setup) done in this post.

Sally Butcher confirms this in her video where she demos all the steps using punch card #3 - video

However the picture advising setup shown near the top of this post DOES show needles out and in hmmmm

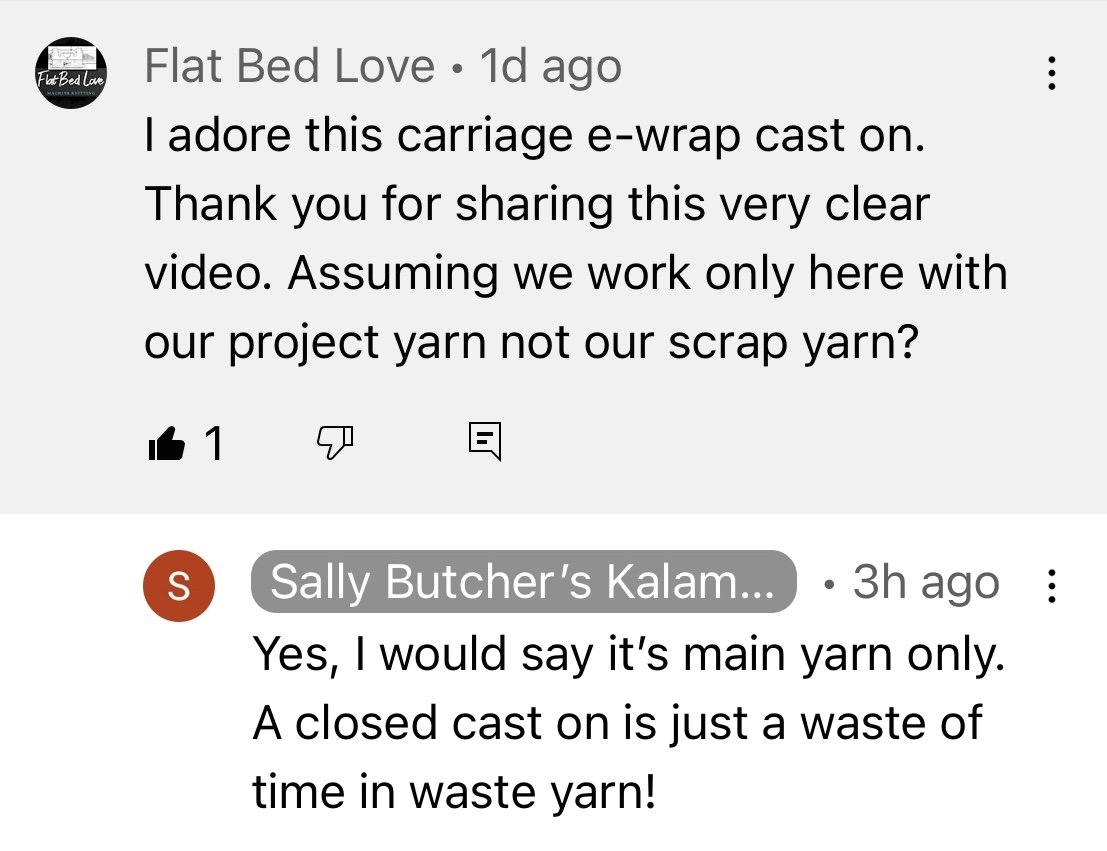
I asked Sally Butcher in the comments of her wonderful video - my question and her response below:


2022 Nov 11 - Lace Carriage Problems

My first Lace Carriage venture Nov 9 was a gift for a friend. I worked a Lace Card pattern punch card but it didn’t correctly mimic the pattern card. I felt I used enough weight and didn’t go “fast” but still the full pattern diamond shape not work correctly.

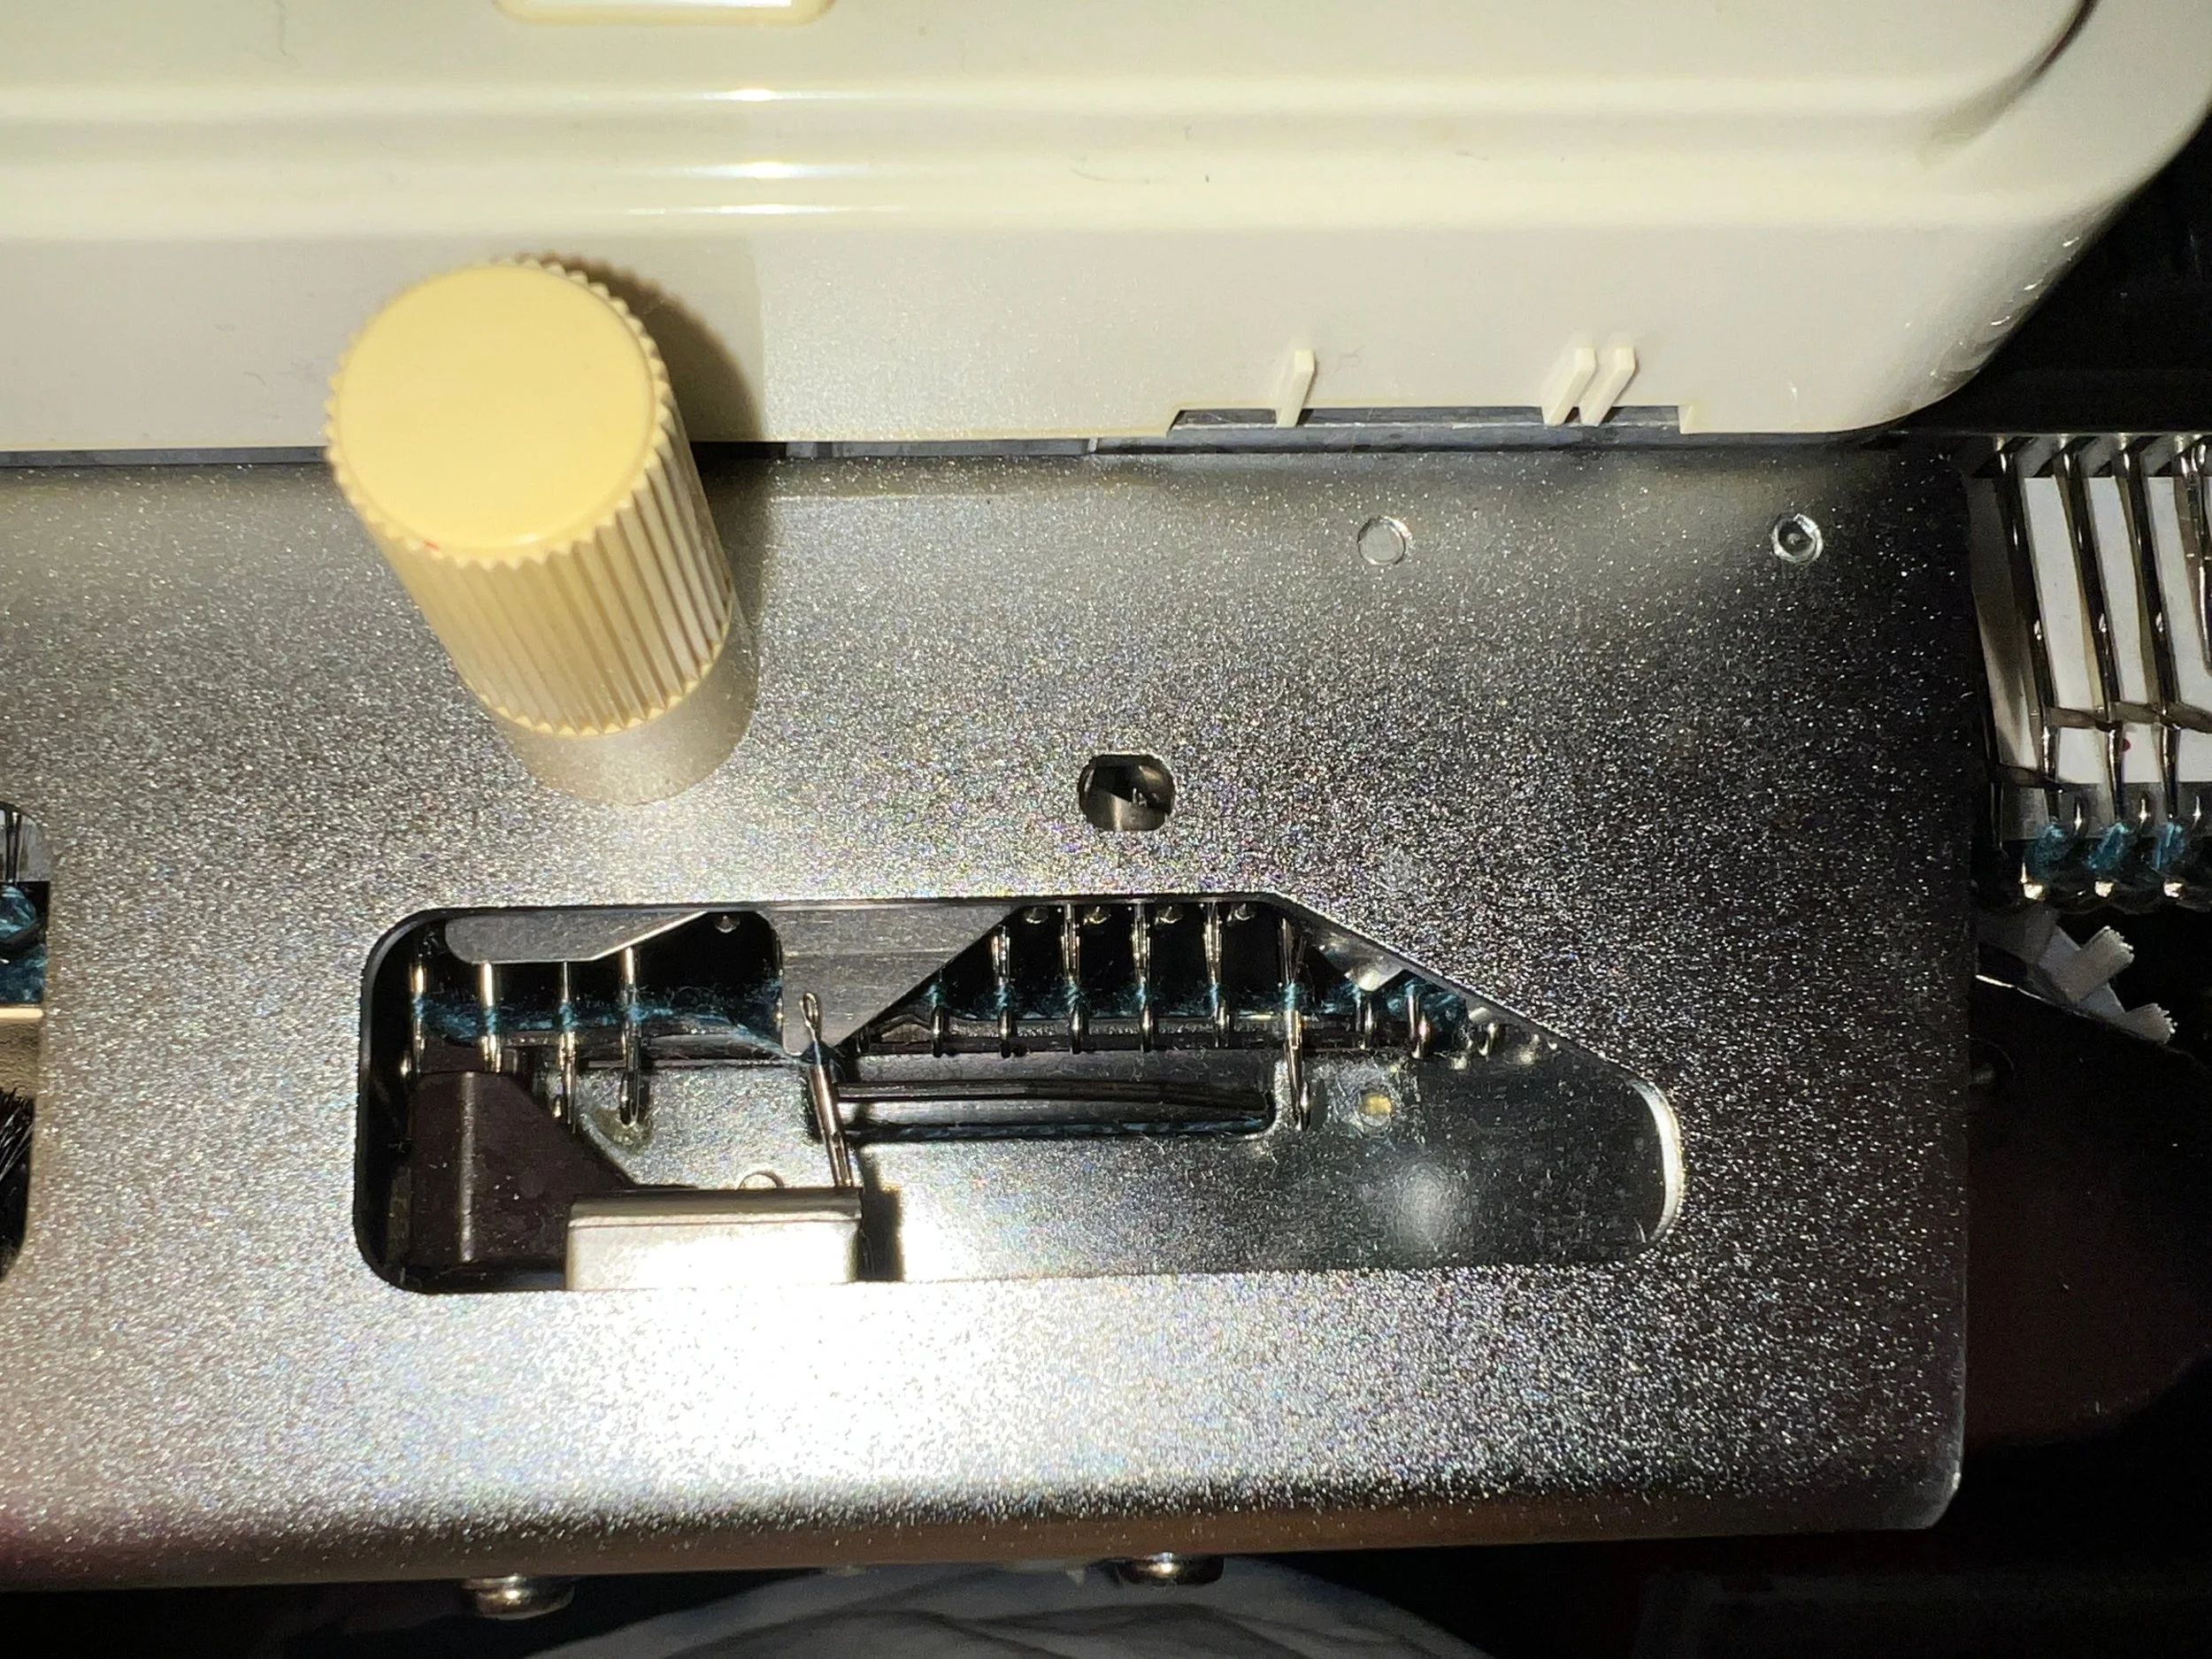
Once I removed the almost 1000 row project I removed the Lace Carriage and looked underneath.


I went onto YouTube and found The Answer Lady video on Adjustment and Testing of the LC2 or 360/260 Lace Carriage. The video is incomplete but reviews a working lace carriage and one that does not.

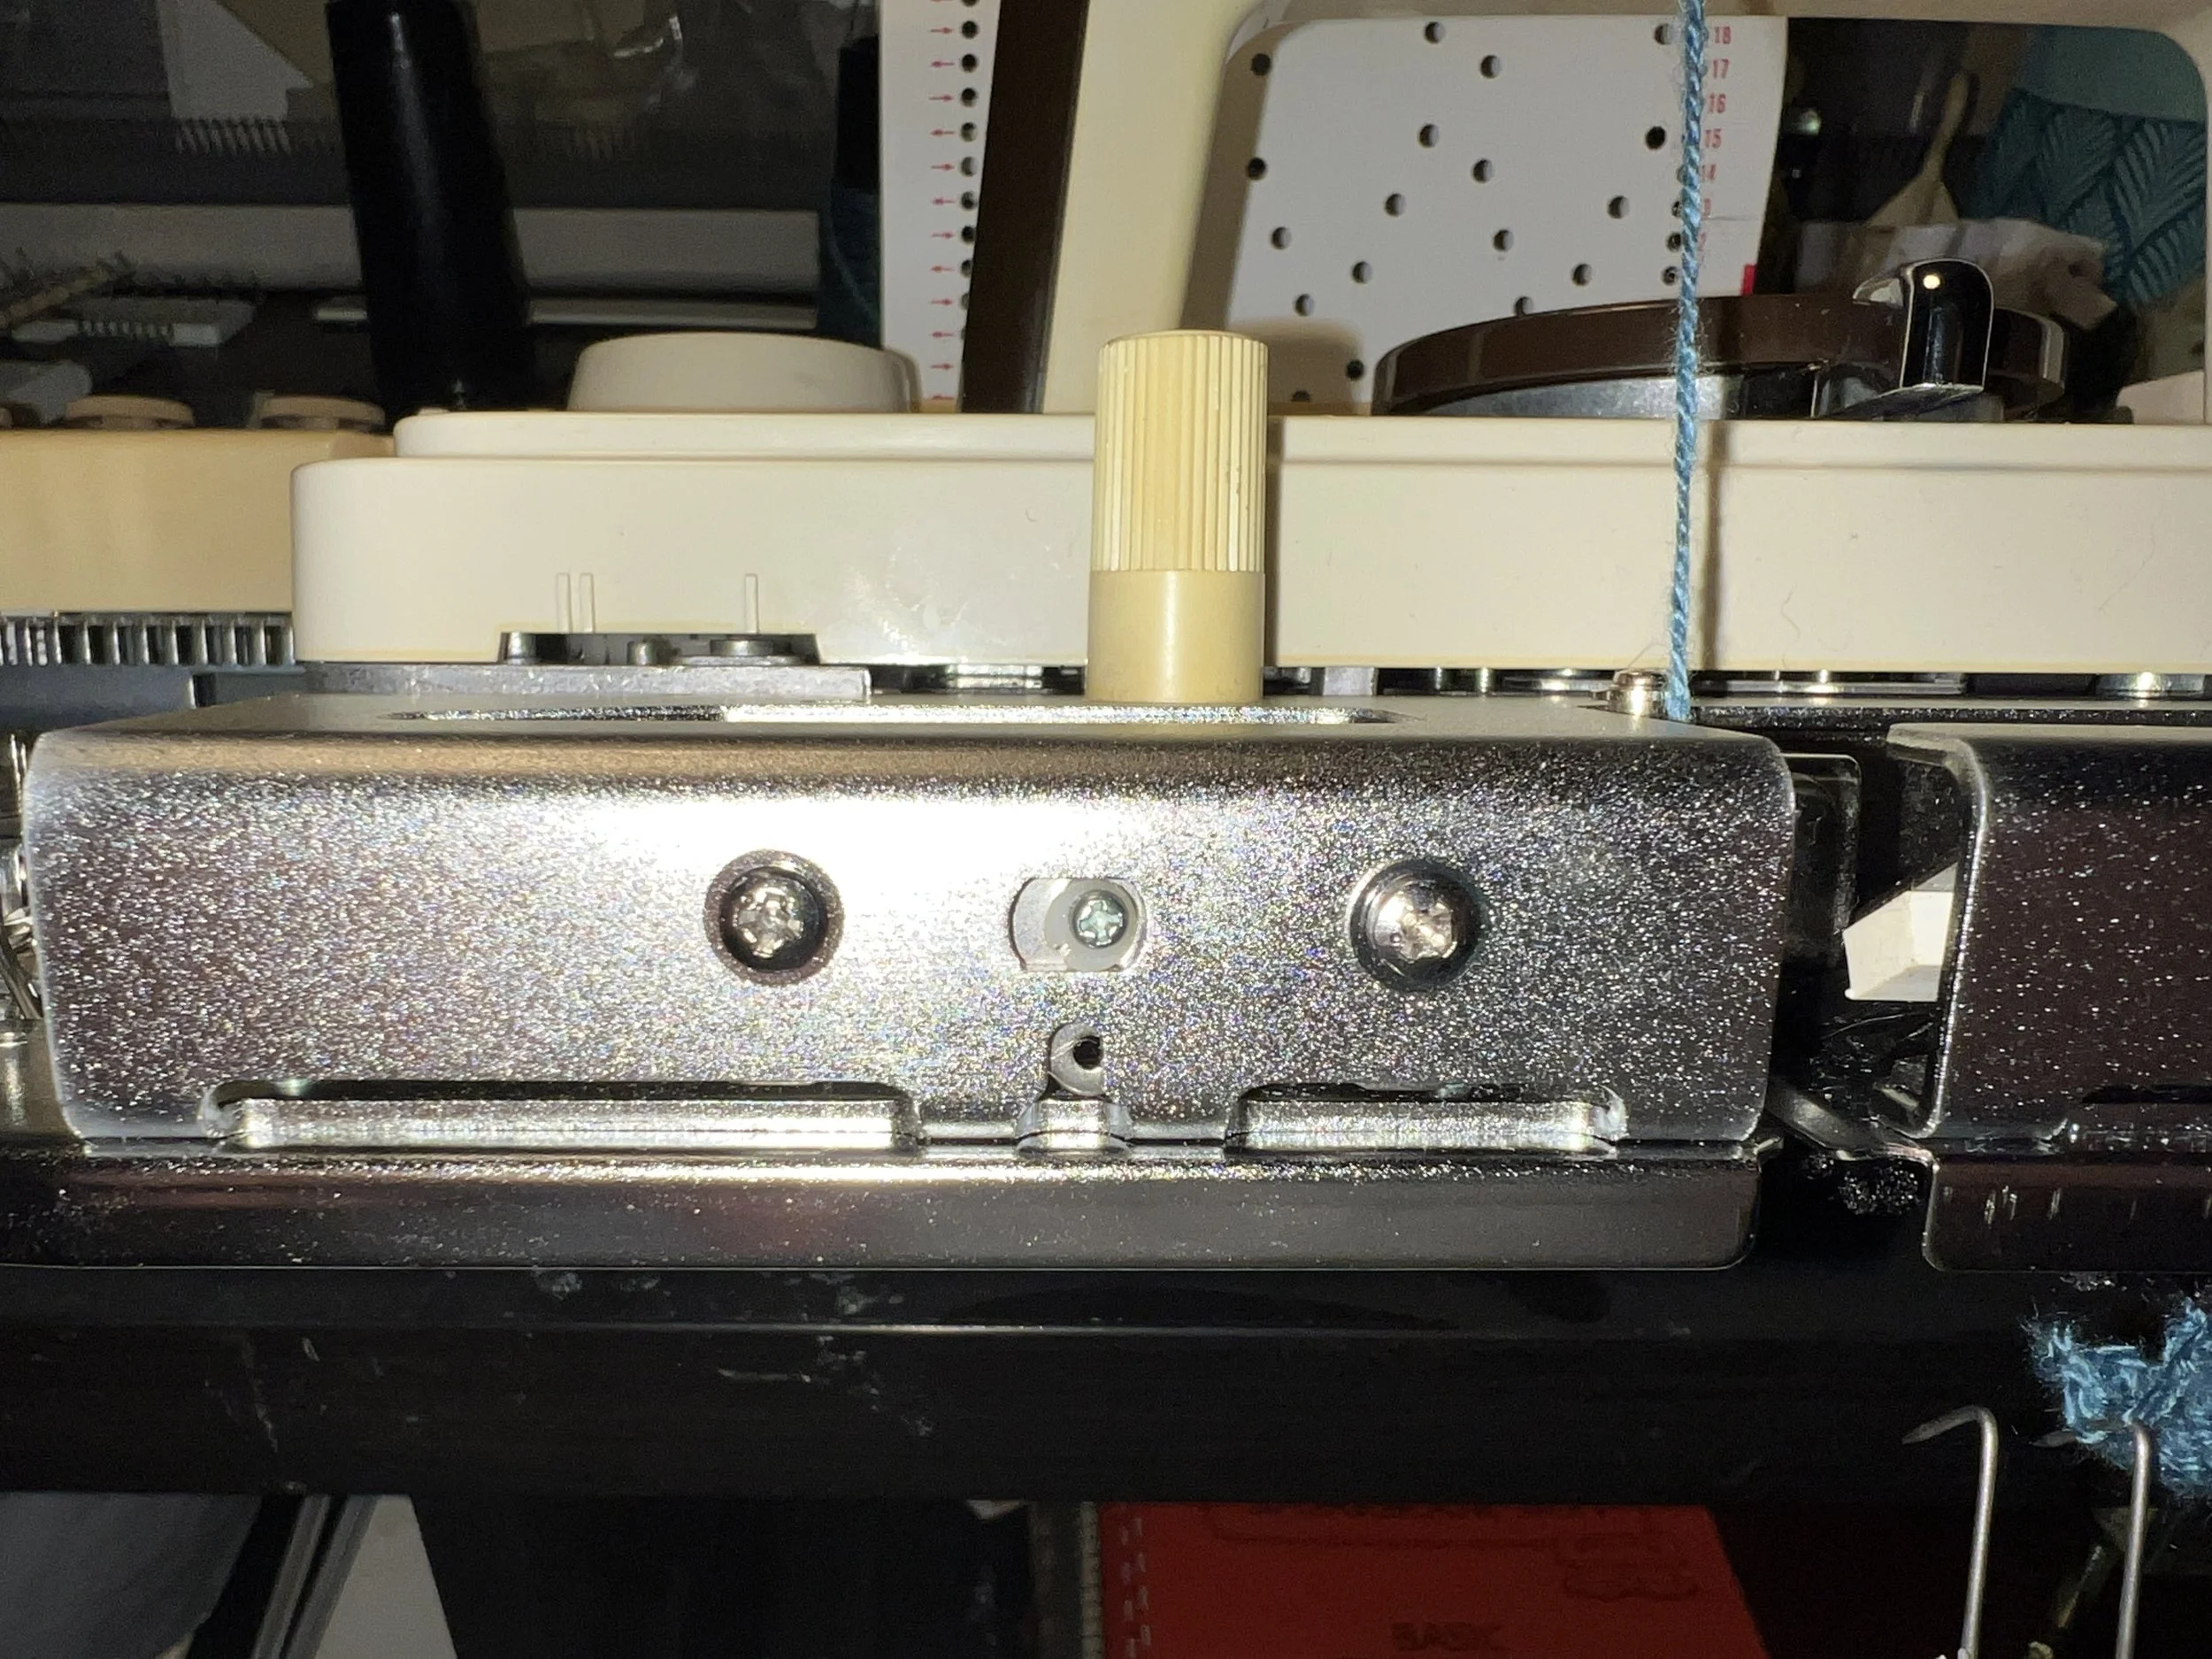
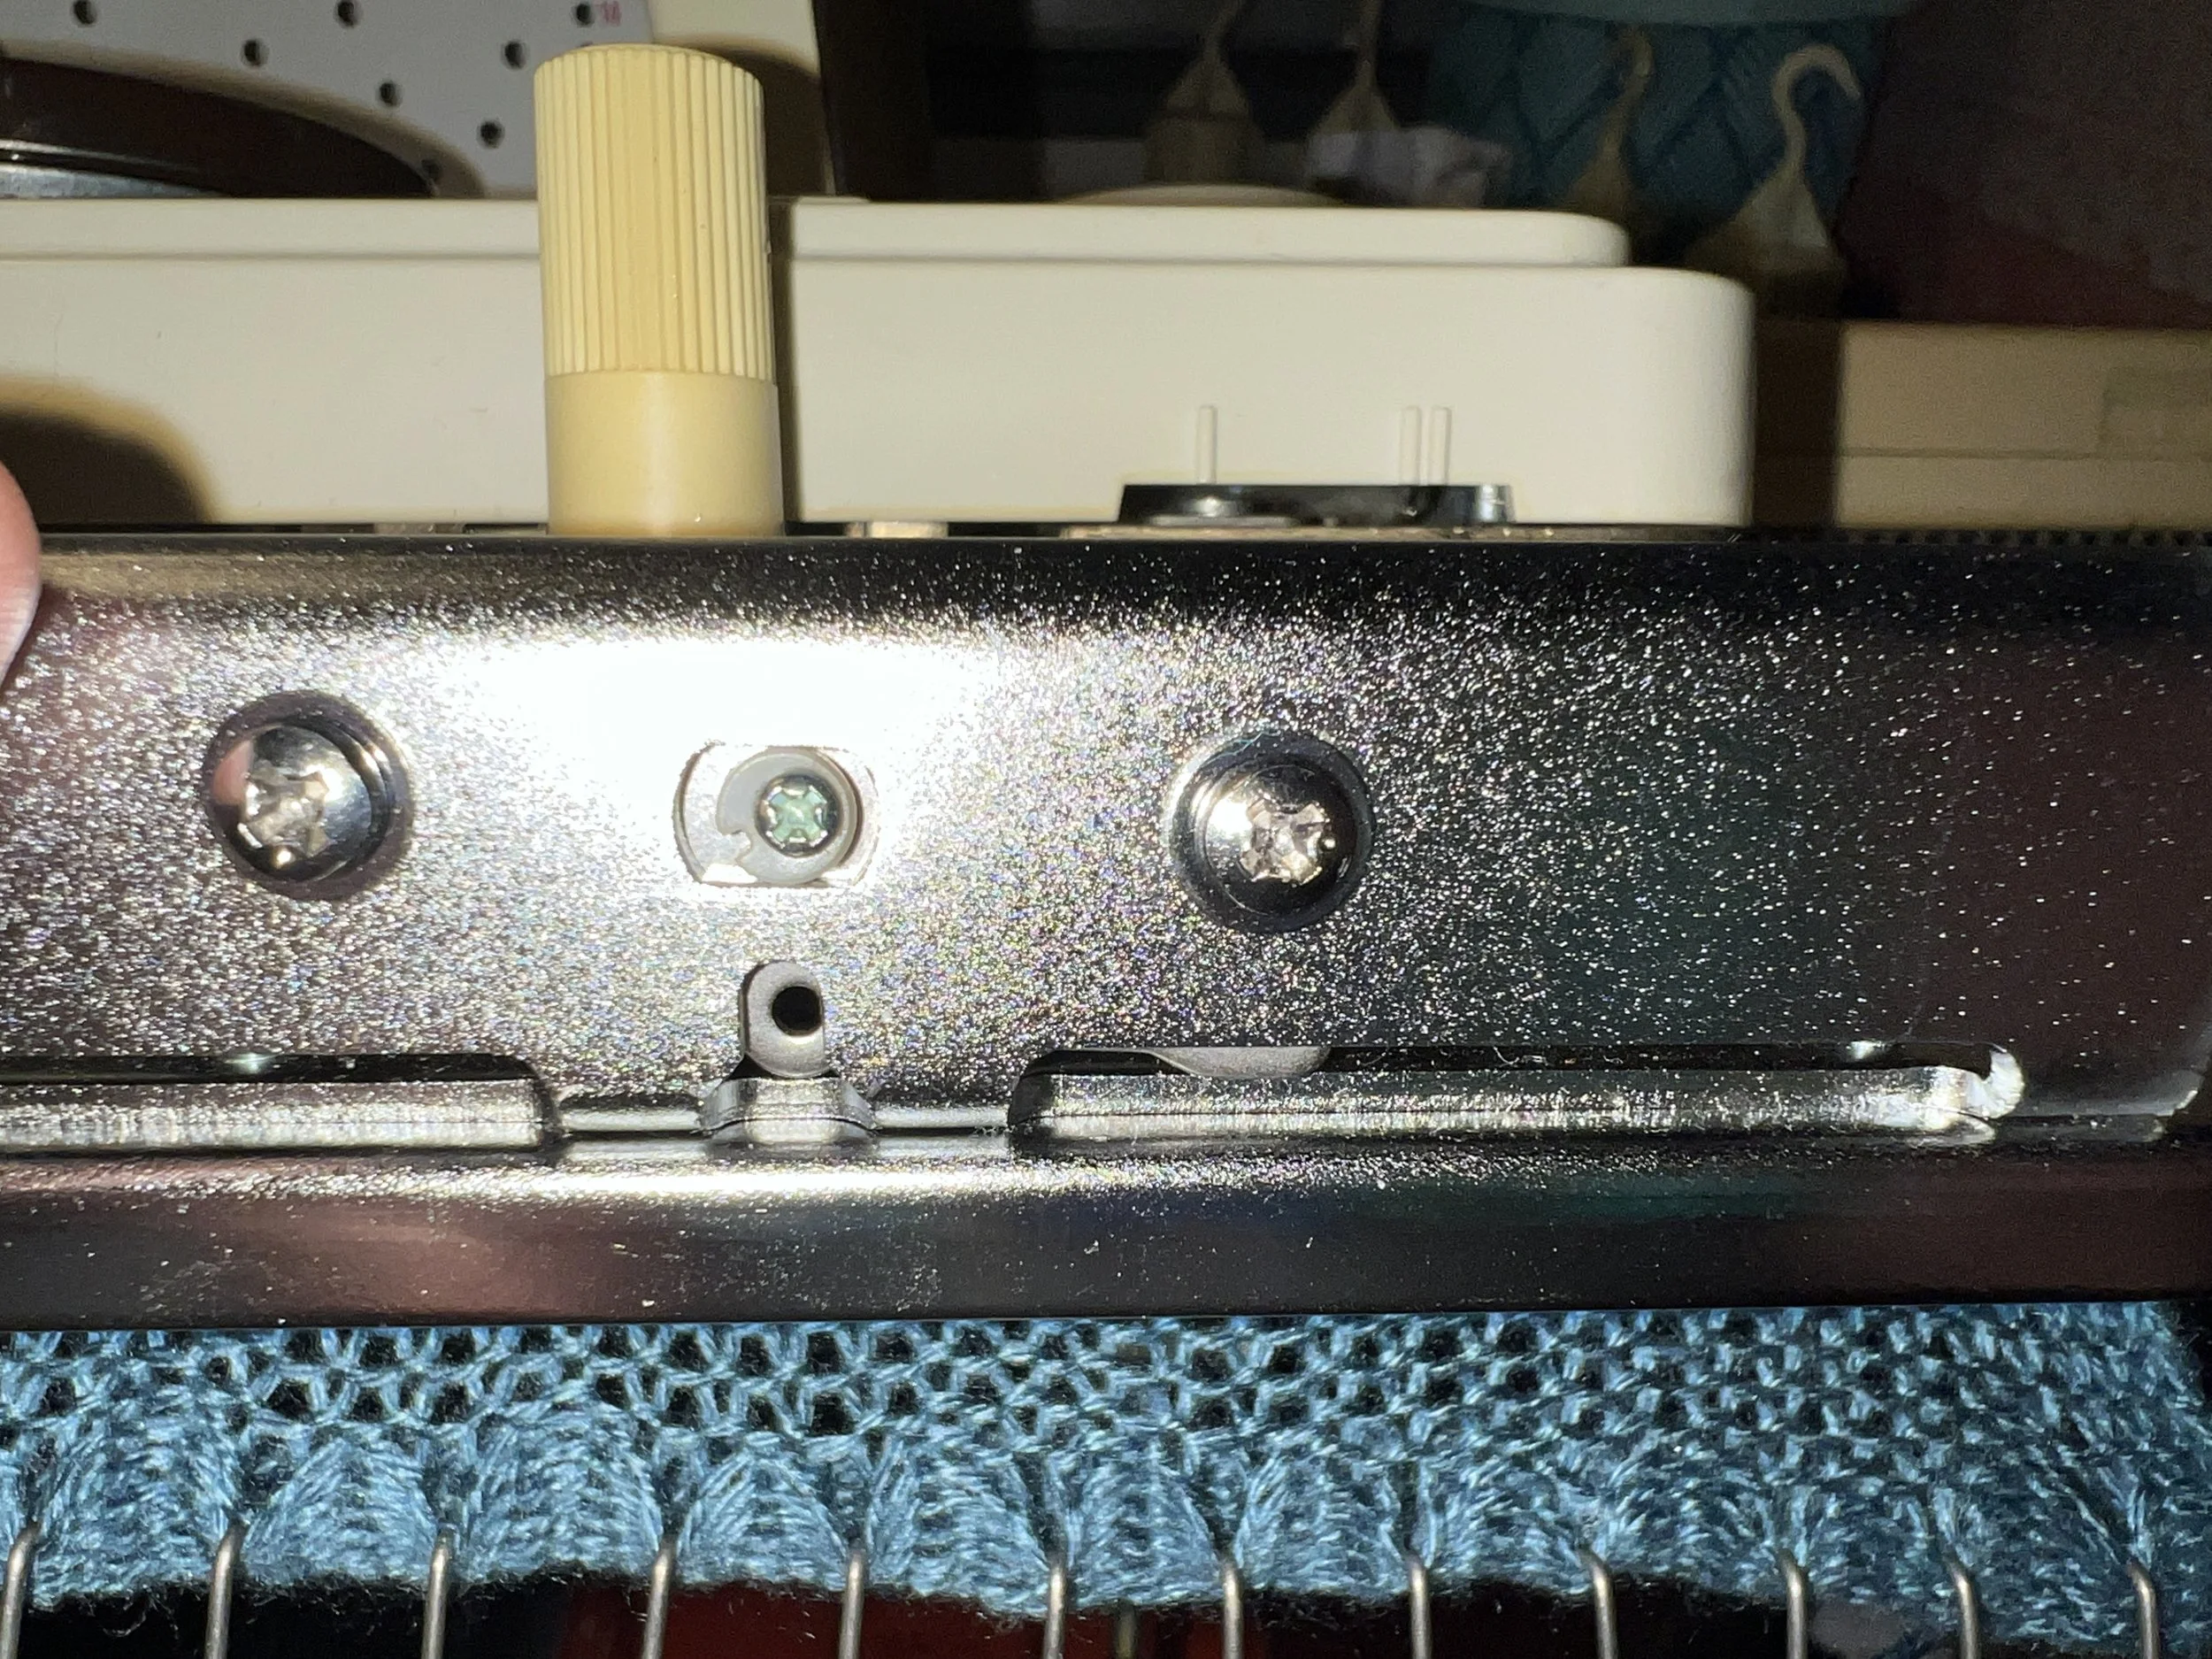
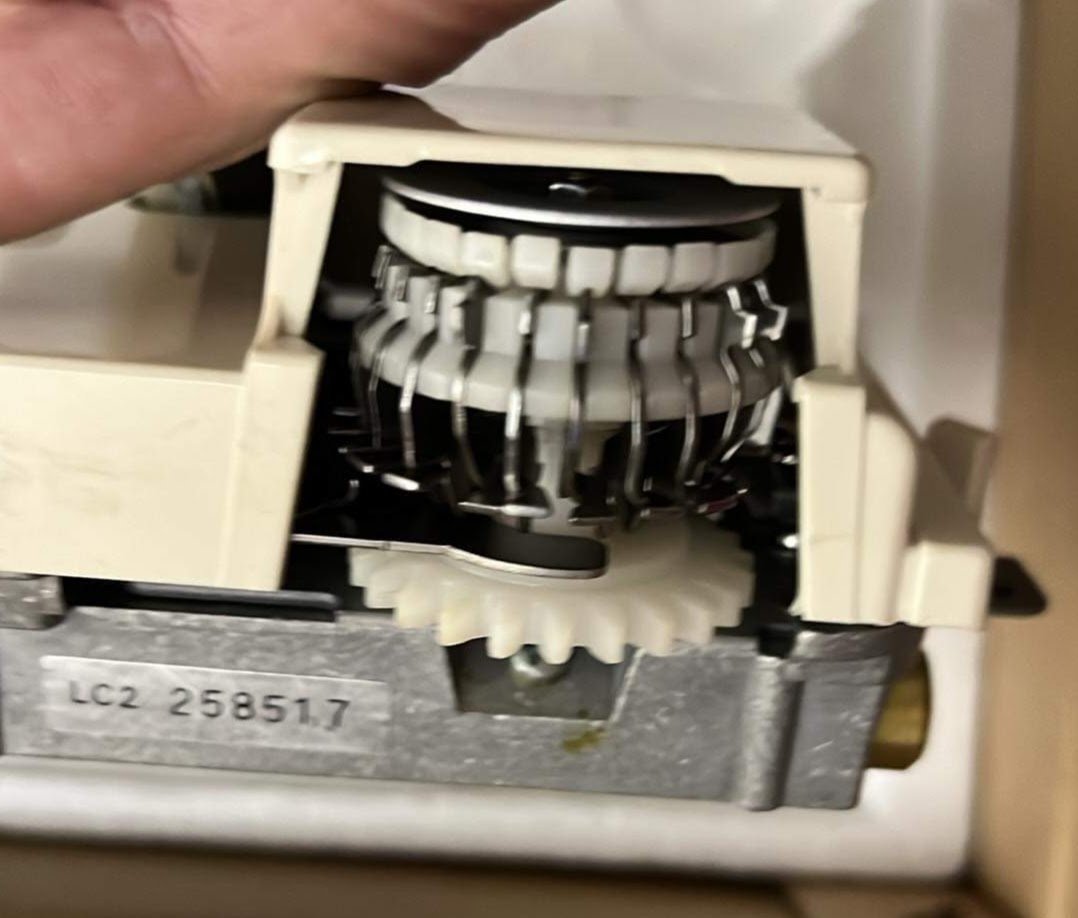
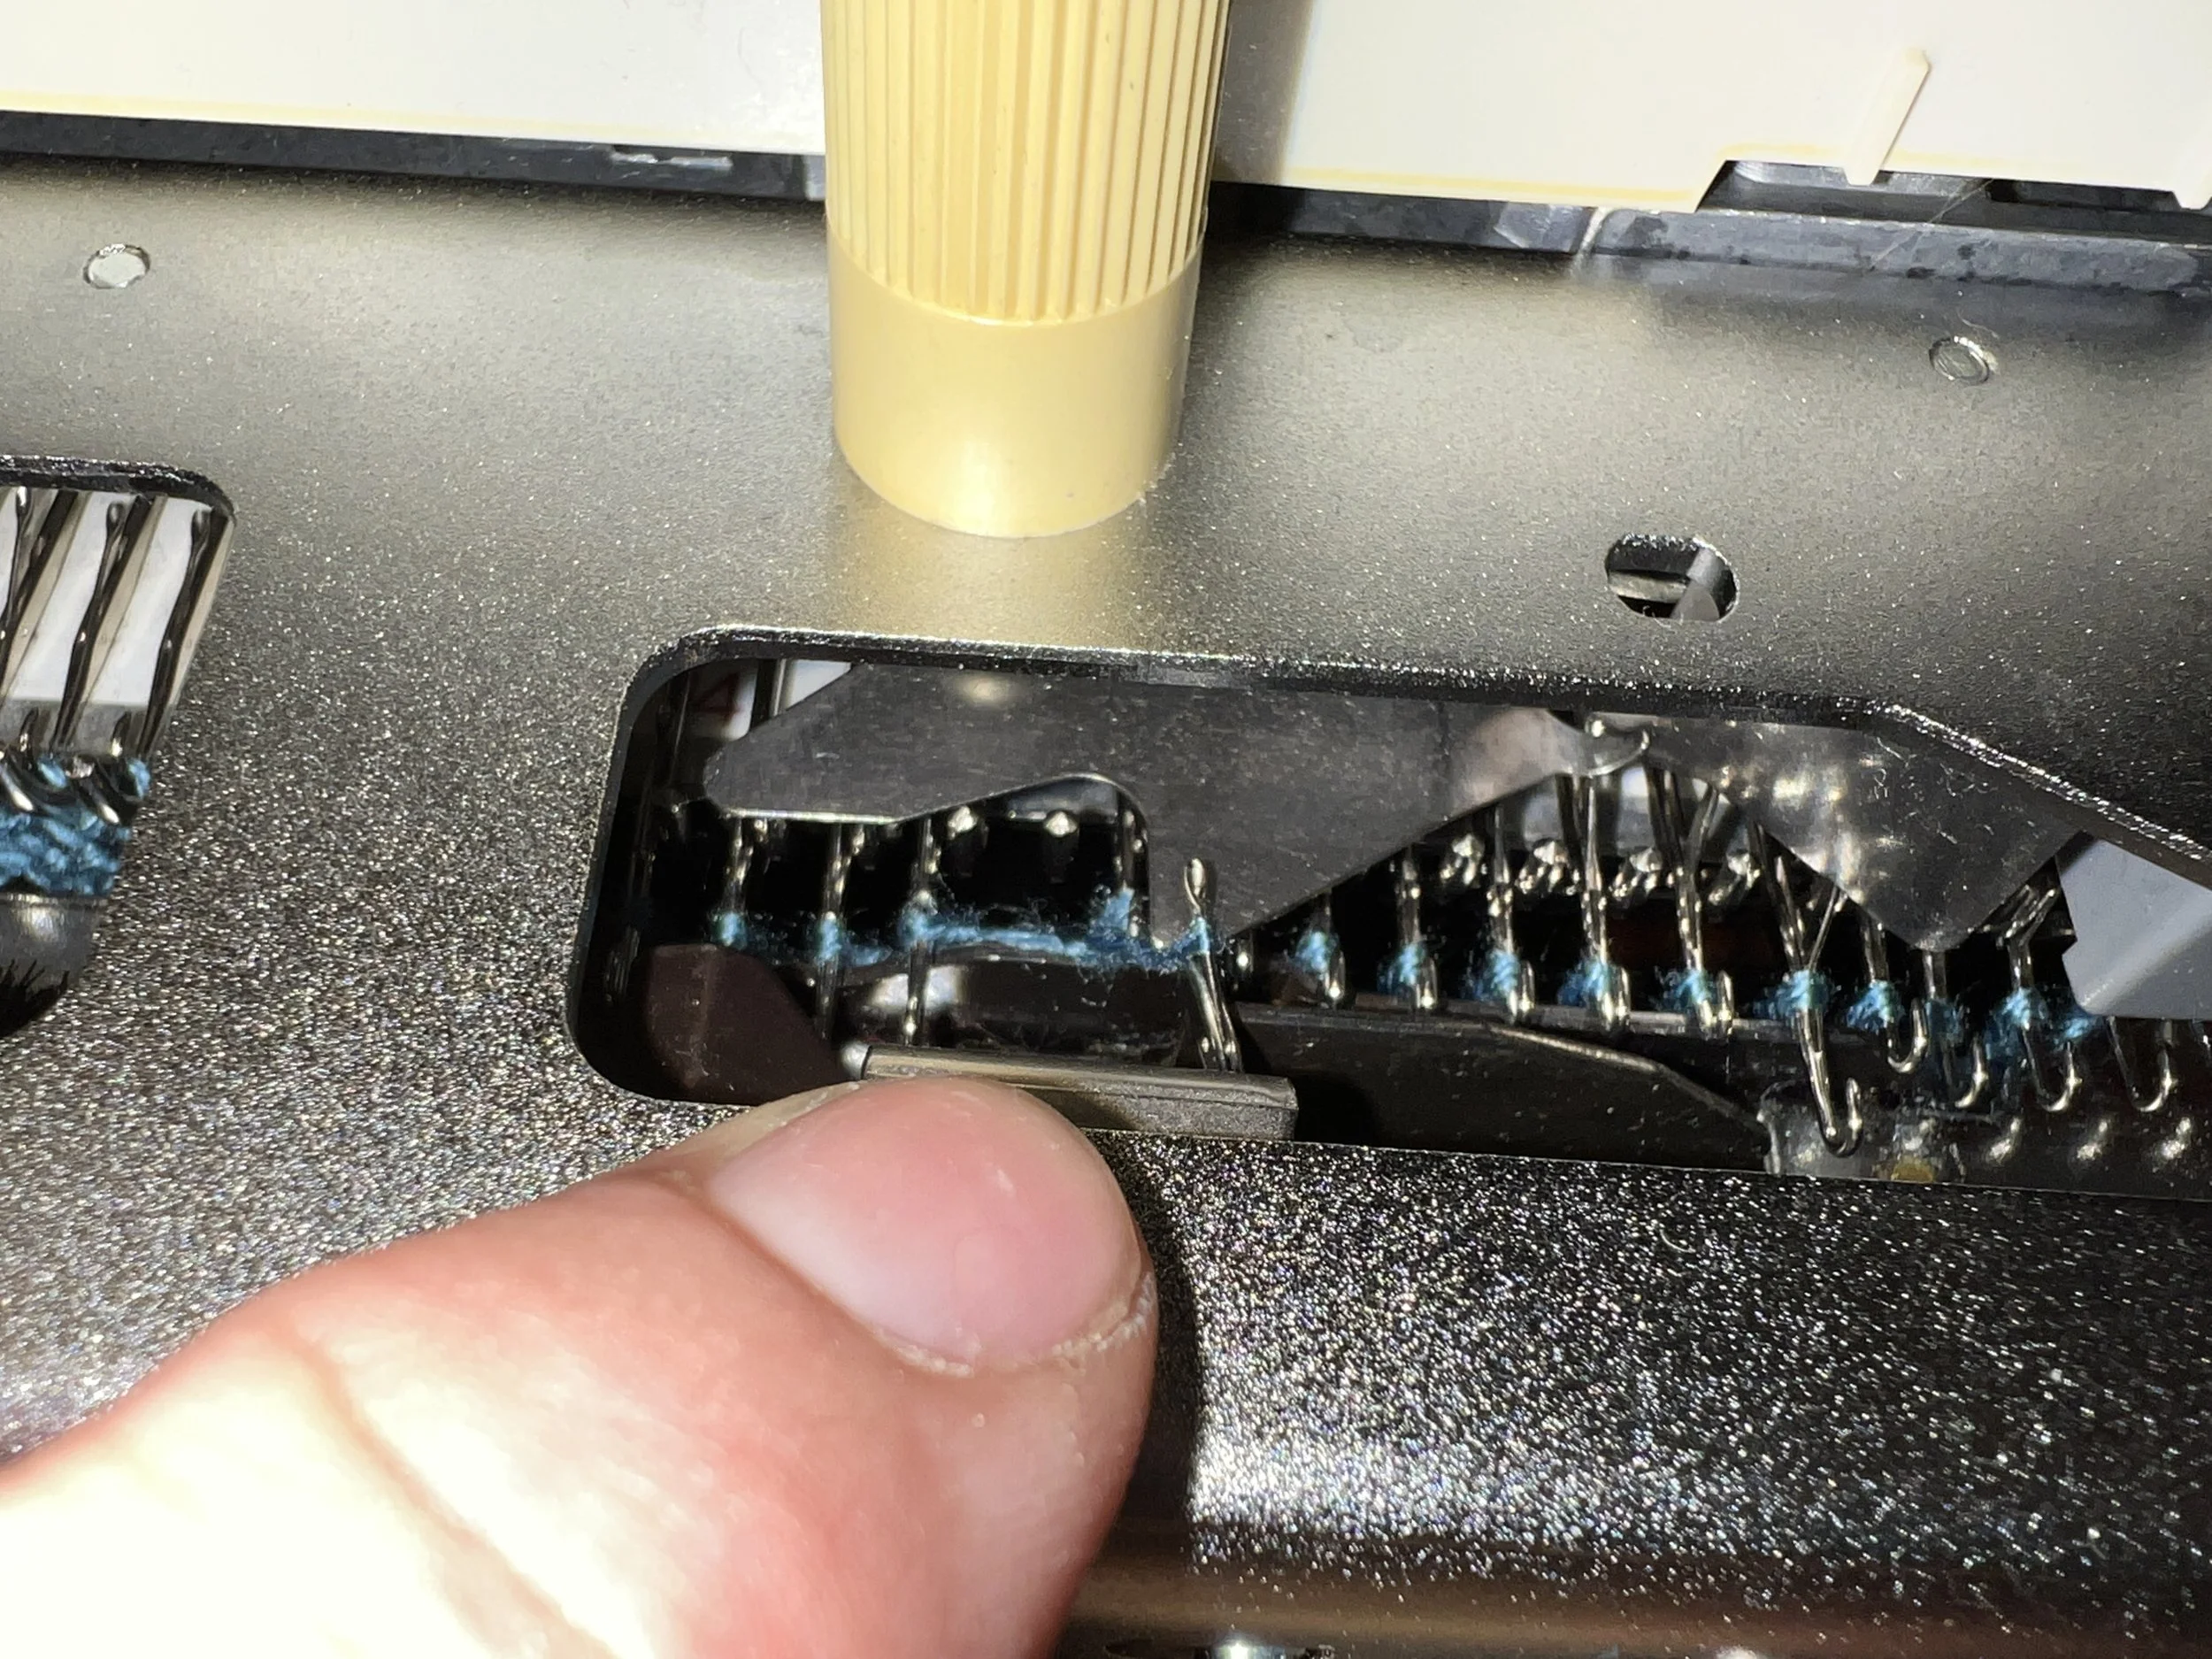
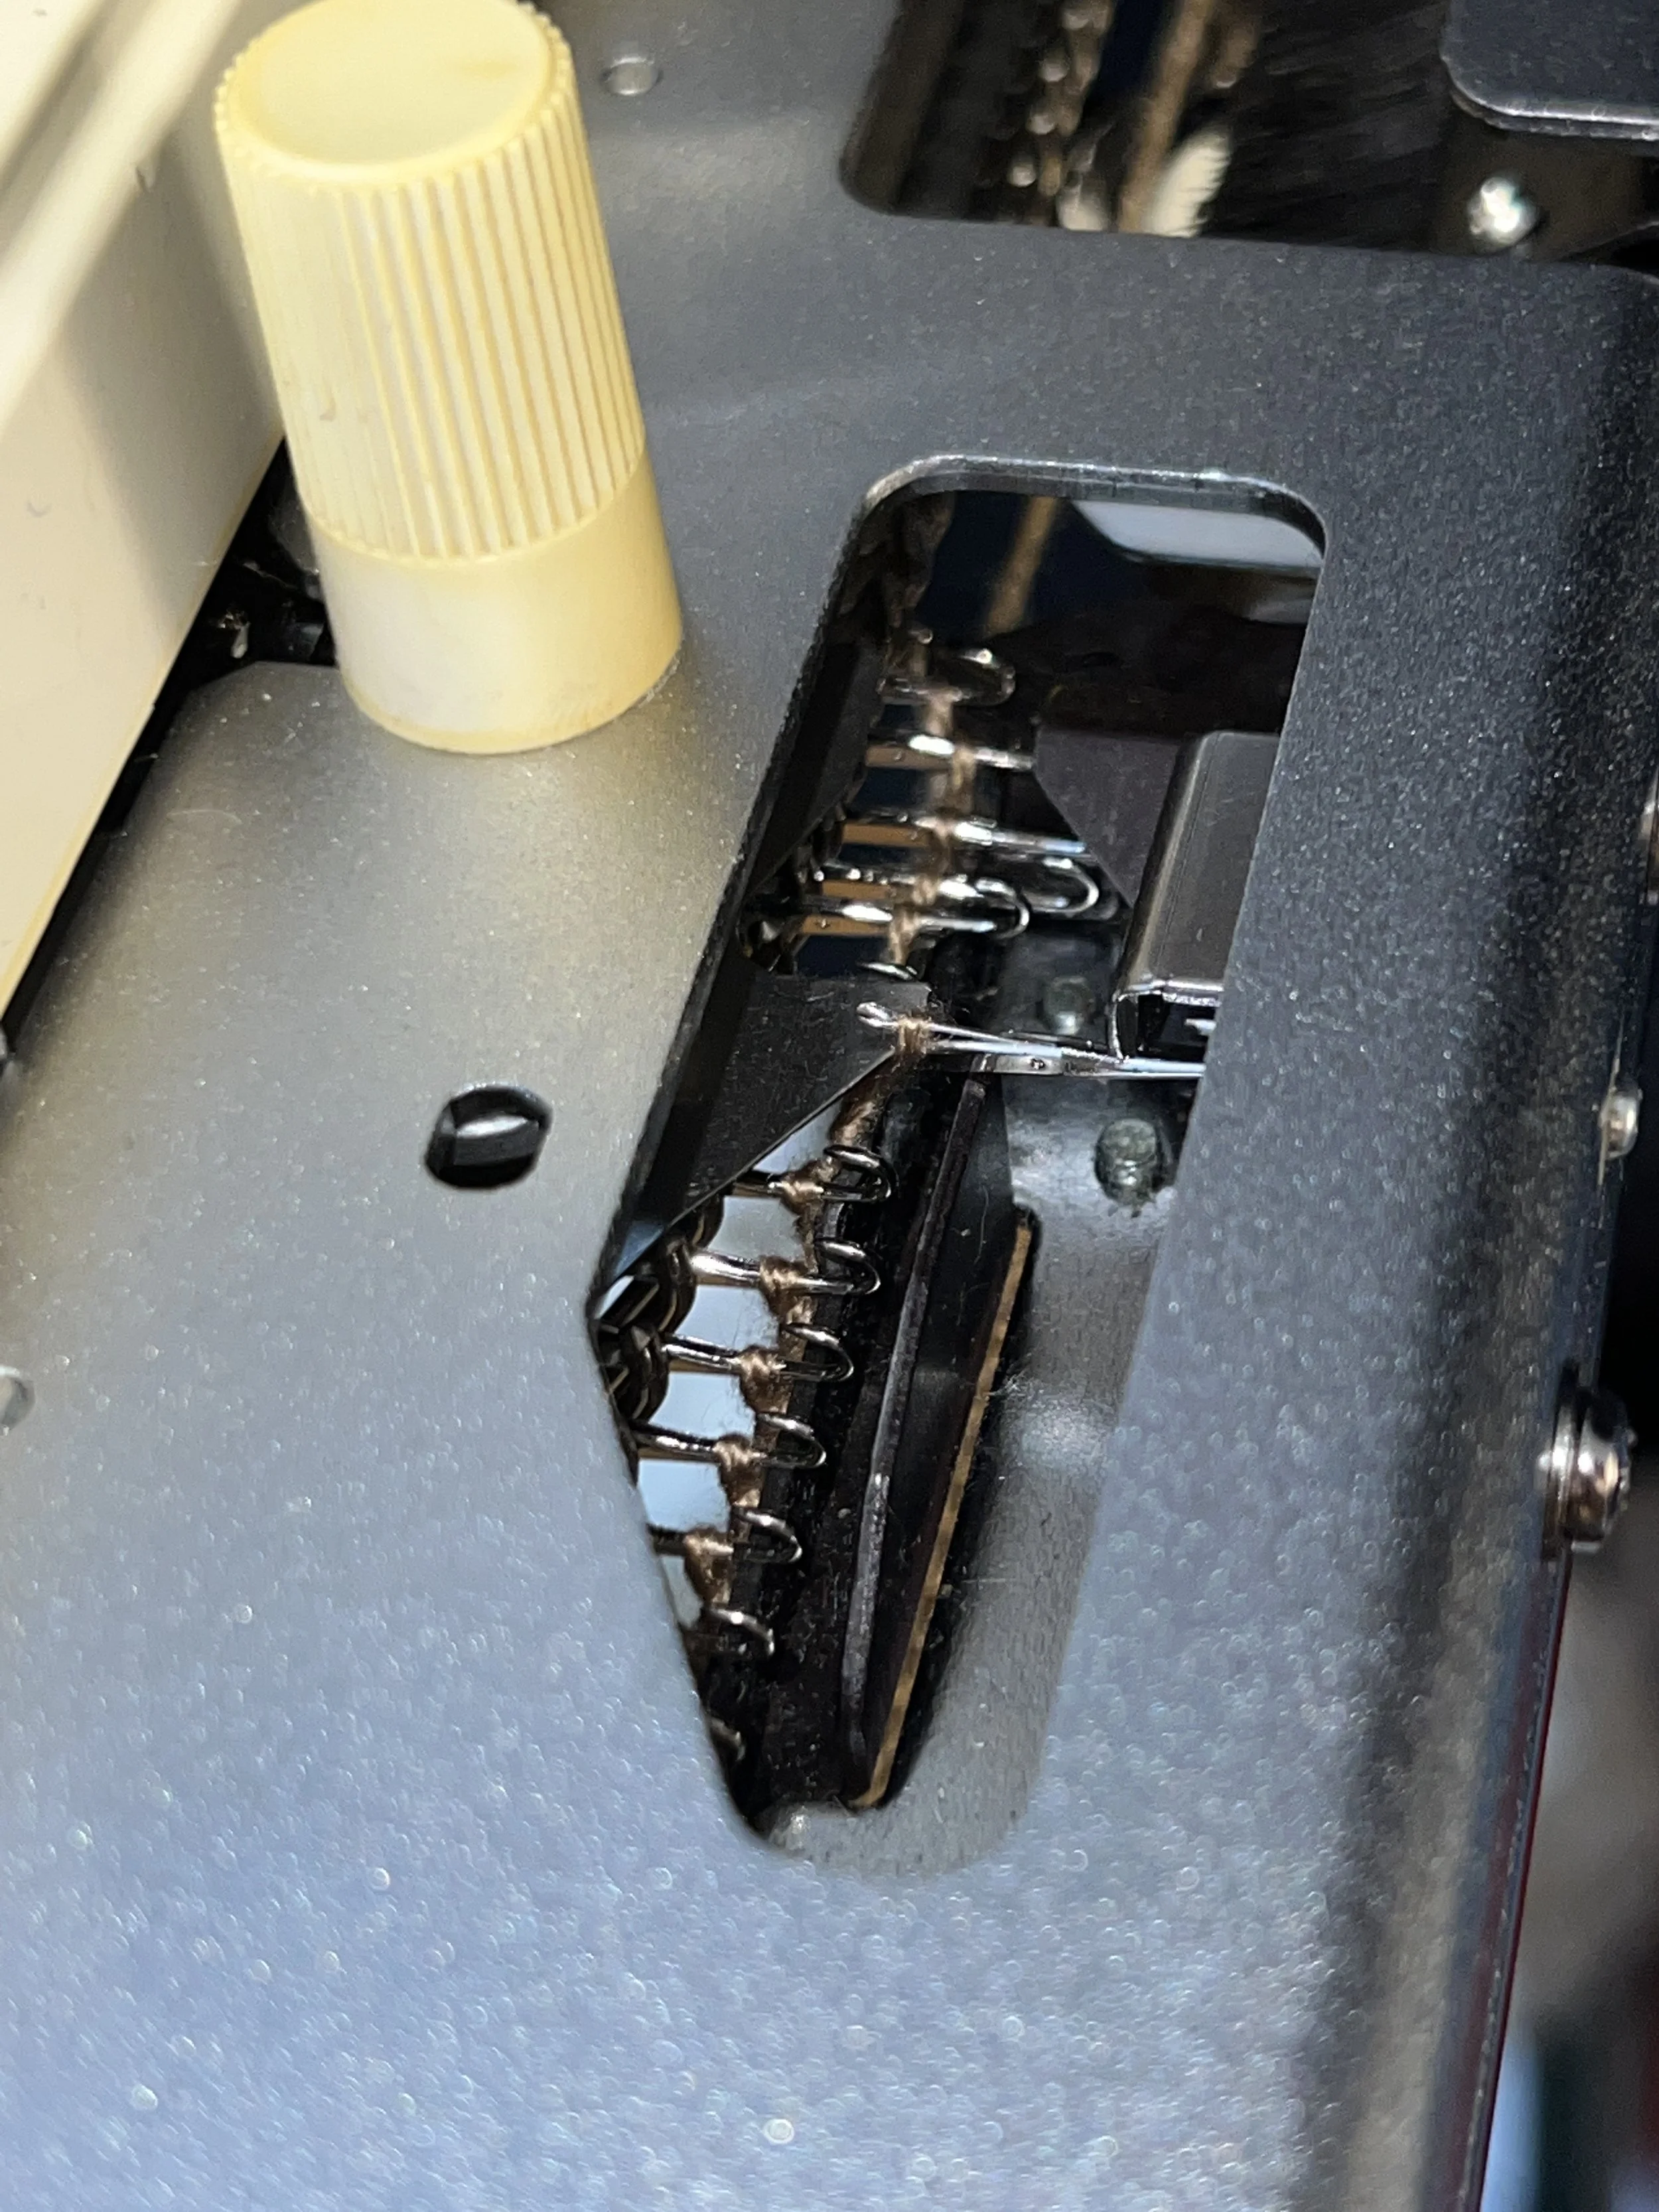
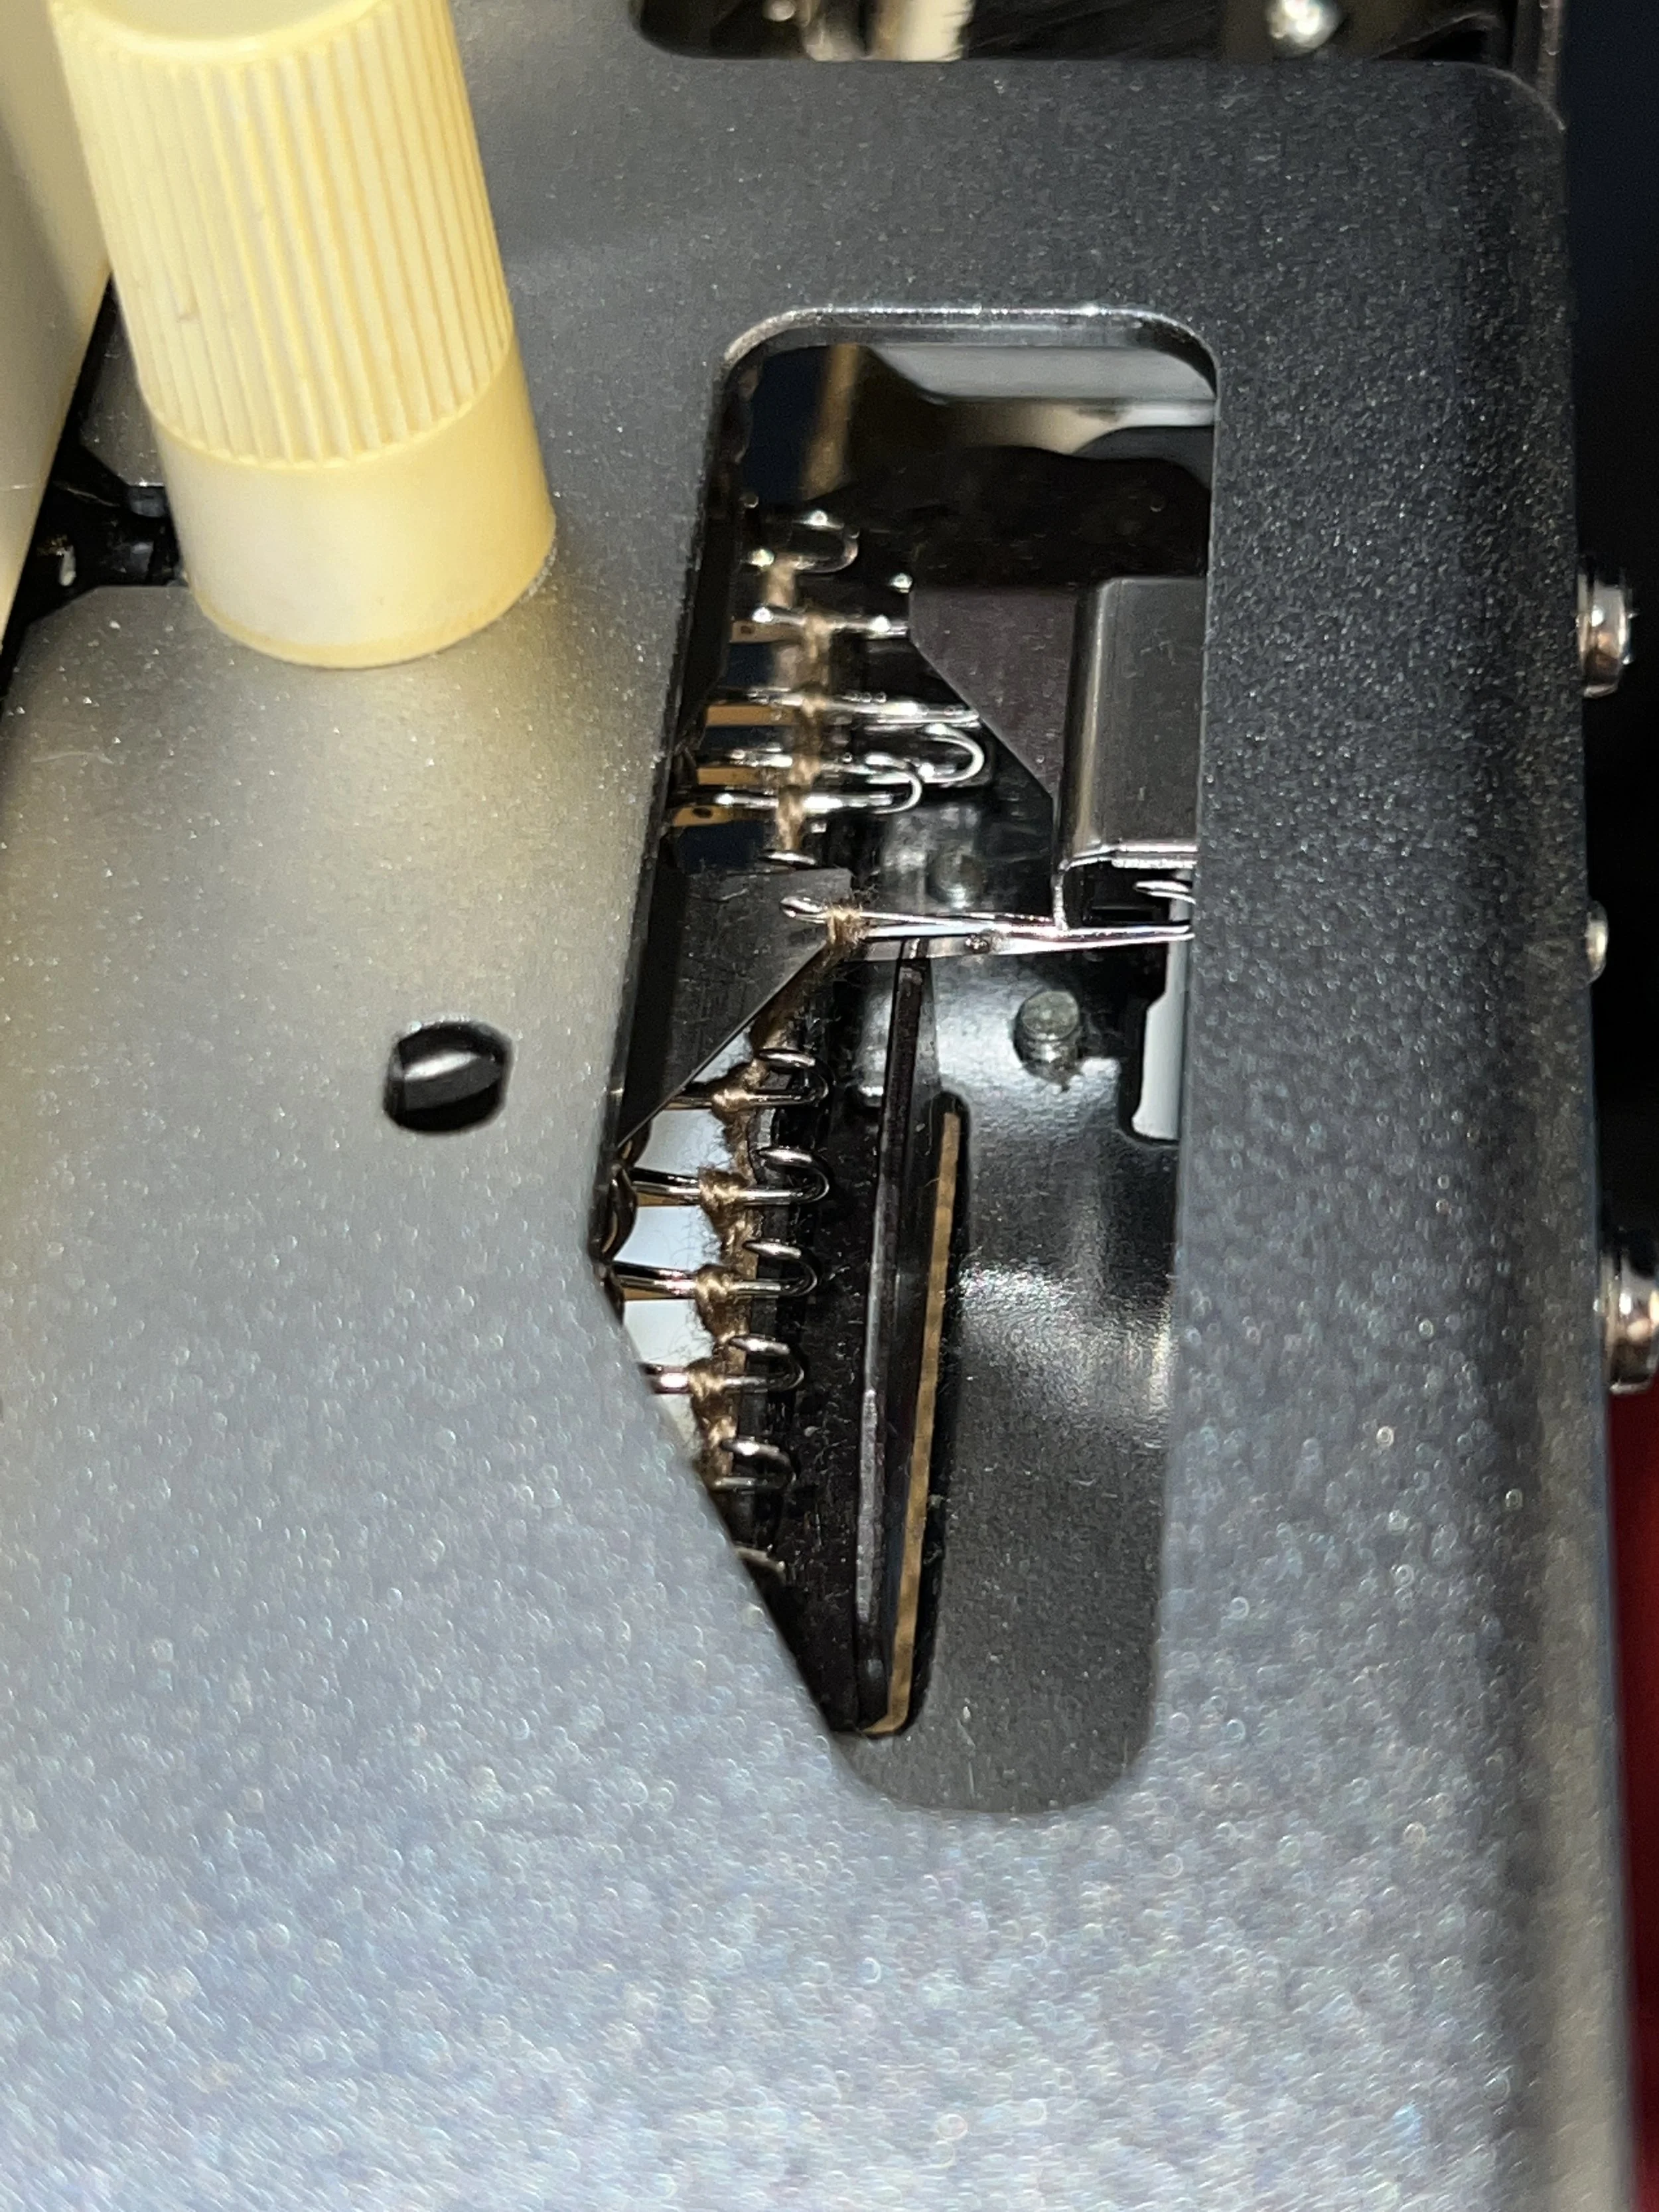
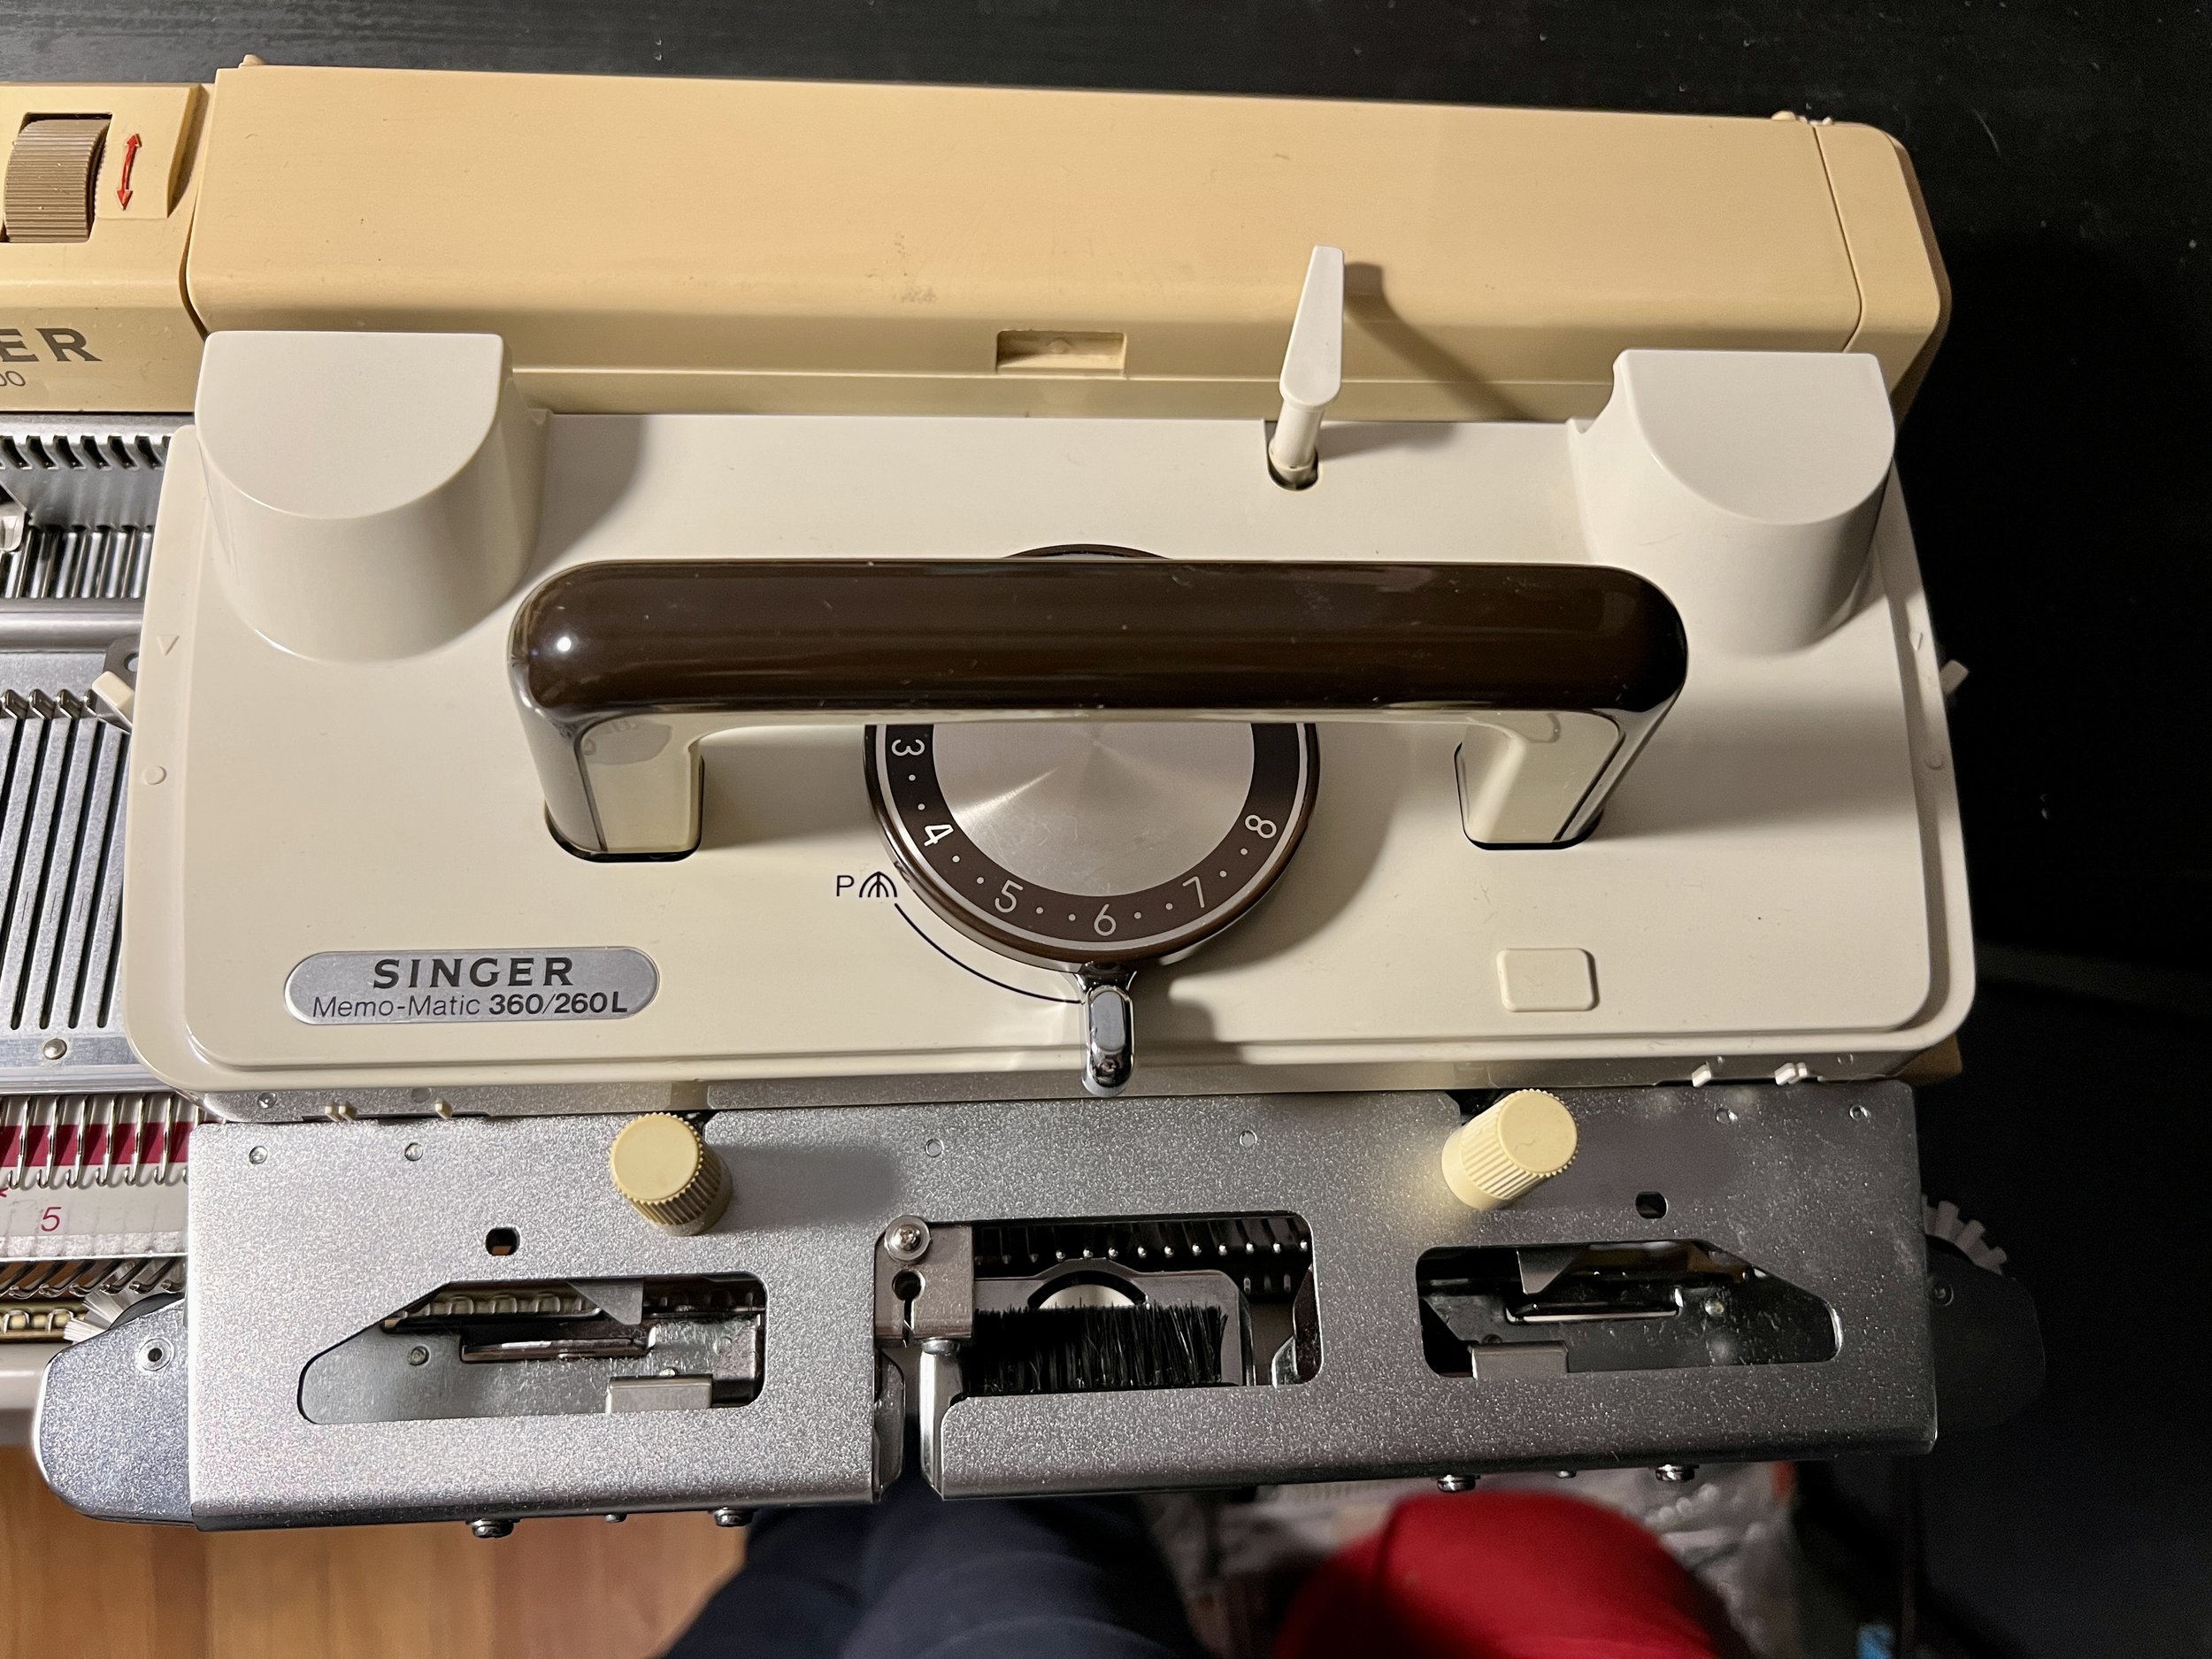
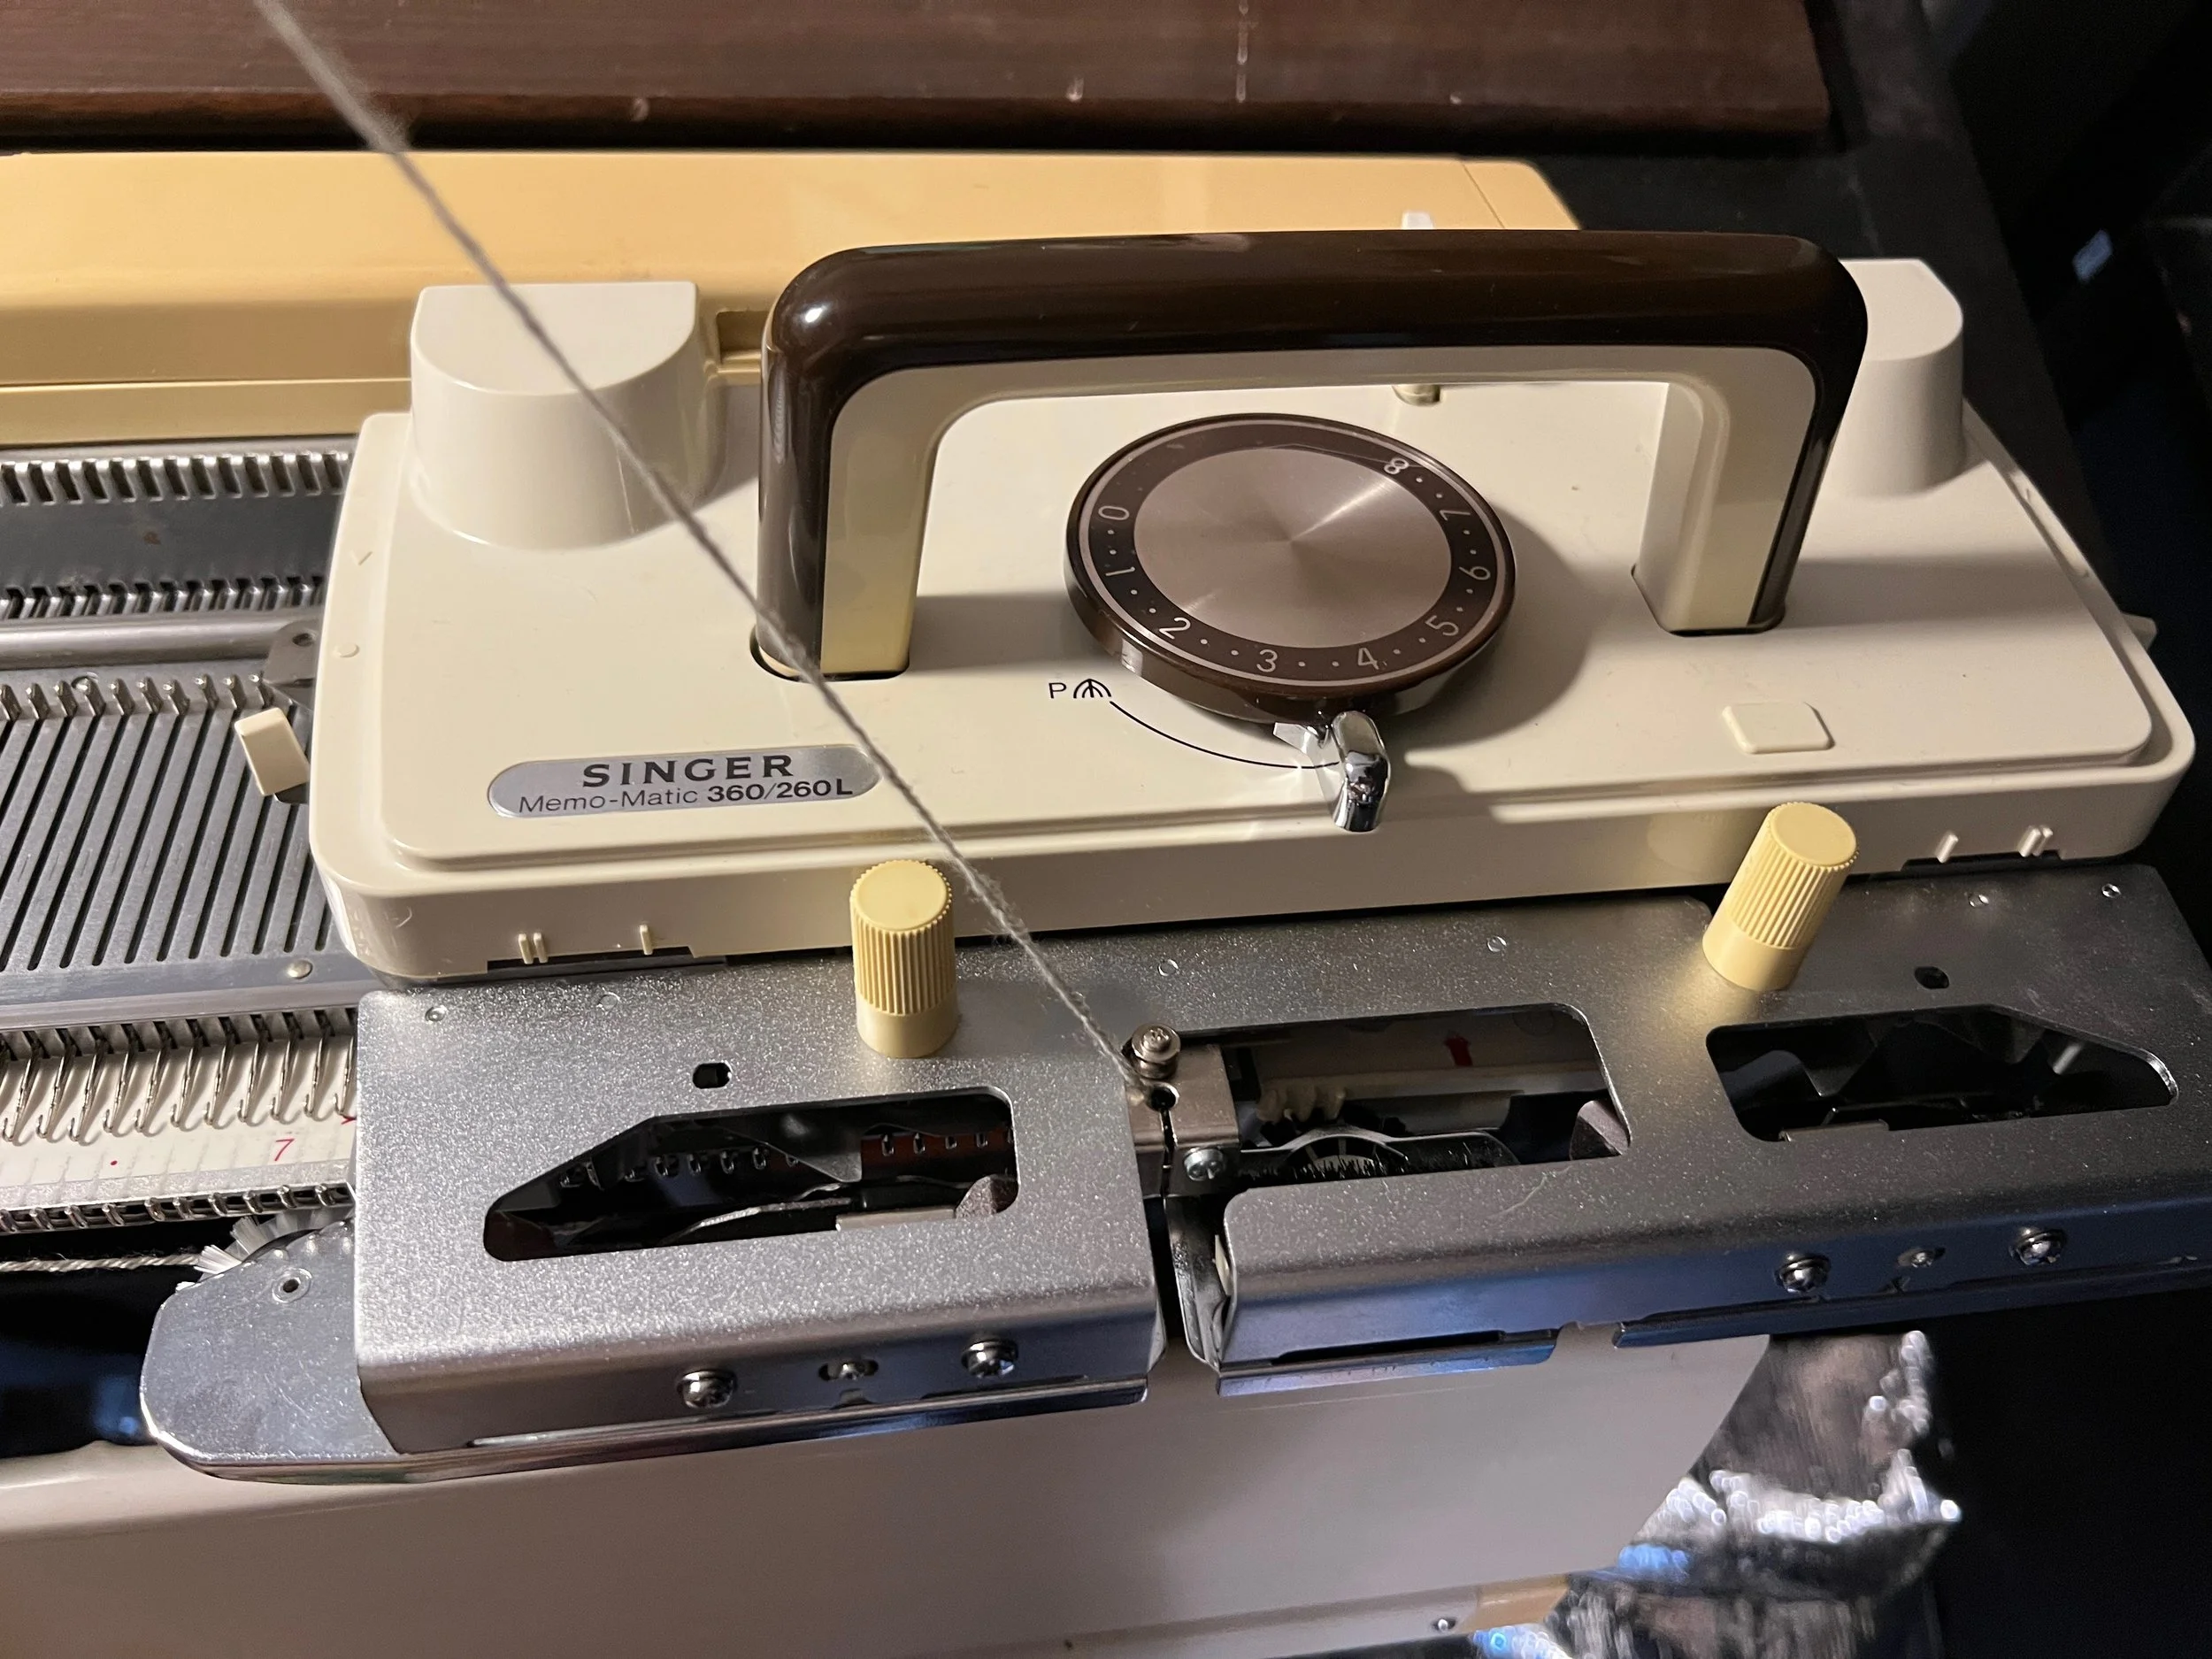
(These two images are of MY machine - the left and the right). They mention the two sides of the carriage that hold a piece within the needle movement area, how the left and right screw manage one setting, a smaller screw and white washer style cam manage another setting and that adjusted together they set the angulation and height of the component that pushes needles down within the mechanism depending on direction being worked. They review that the working one sits 4mm from the top of the carriage and that its mounted evenly.


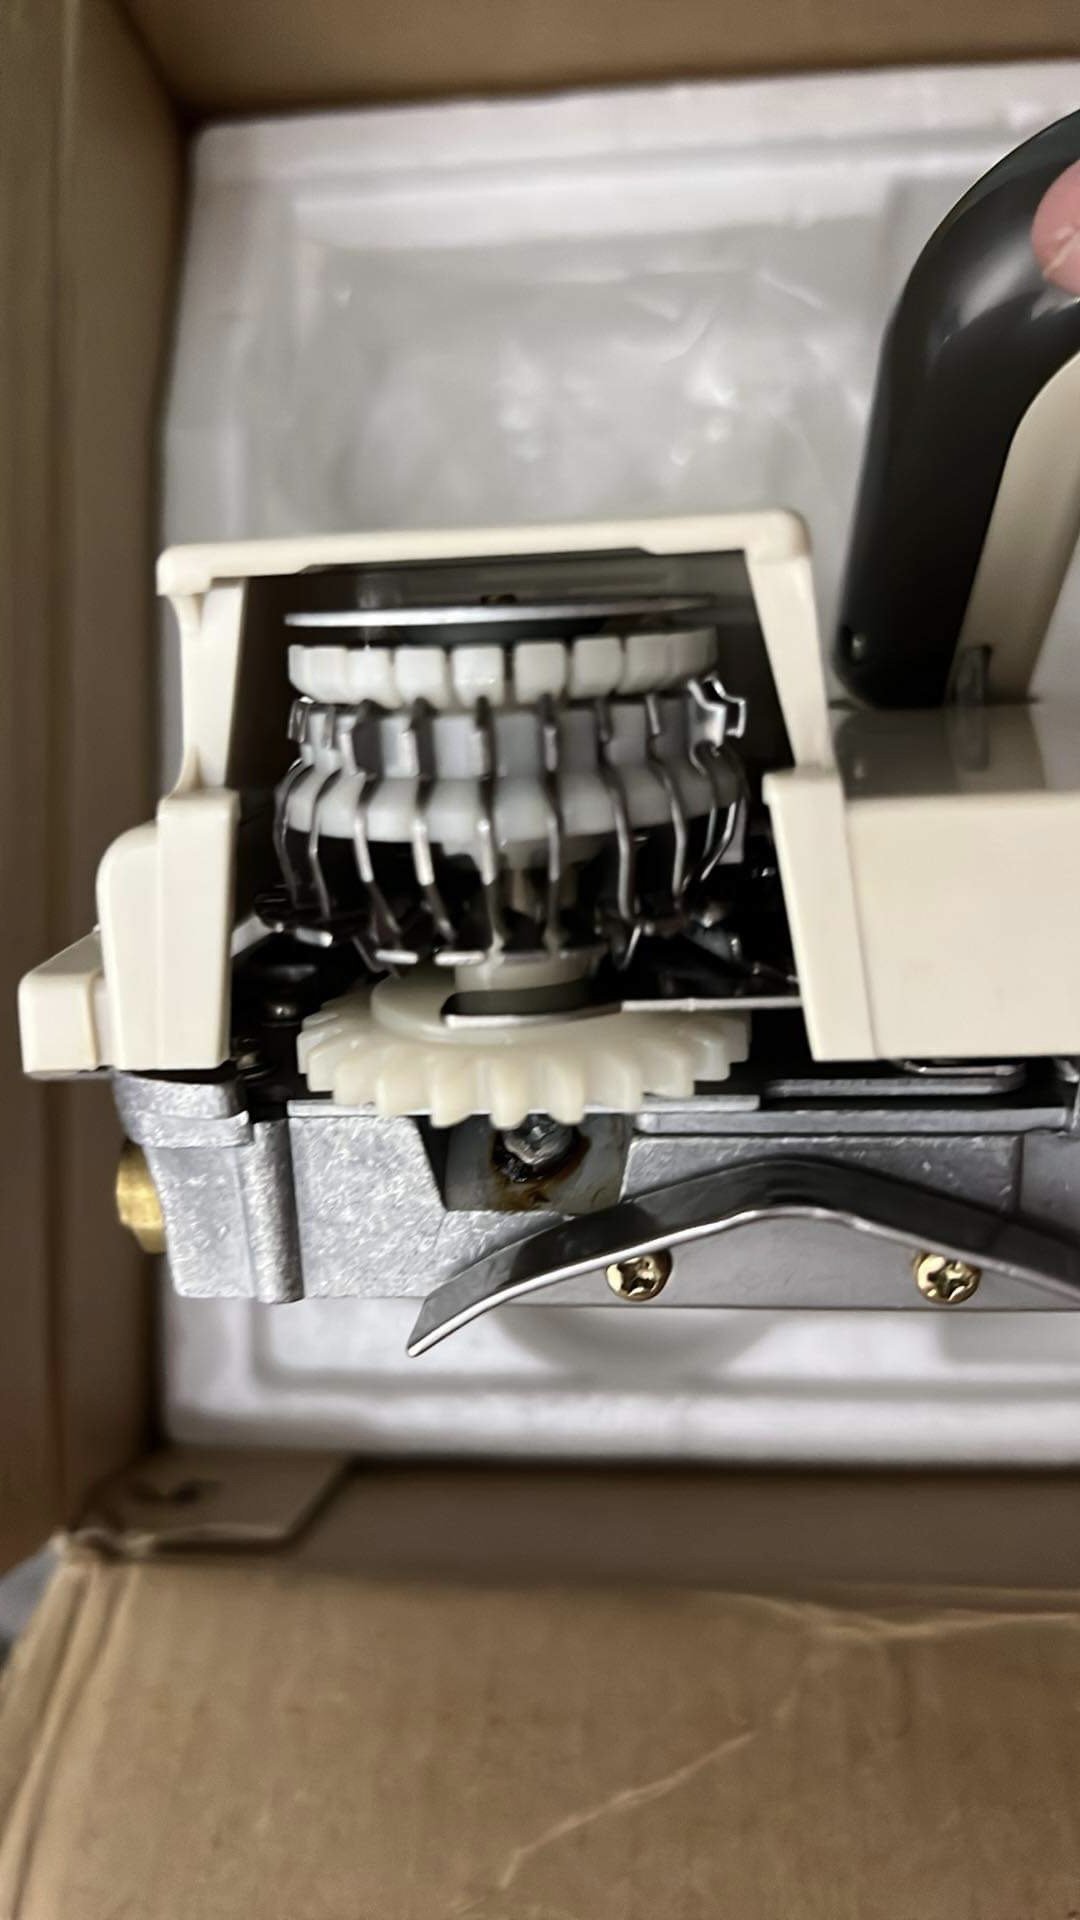
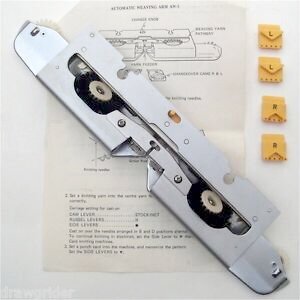
Before adjusting ANYTHING I checked screws etc and found that one of the white barrel patterning components had a loose screw on top - this seemed to make sense why something would be missed. The metal “legs” in that patterning device were initially very loose. (Images shown in this section are reference images only - not of mine).

I also thought it might be important to adjust the screws mentioned in the video above. I should not have done that. Now (even moving slow) the needles are being pushed out of alignment/their gate peg homes as either something is bent or just slightly out of alignment (the patterning still needs a look at though).

We have arranged a servicing of the Lace Carriage this weekend however I hope also to bring the main bed and carriage as well as the machine sat for sometime after the owner passed, was disassembled by someone other than the owner and probably in dire need of a good look over by experienced eyes.

2022 Nov 9 - My First Project!

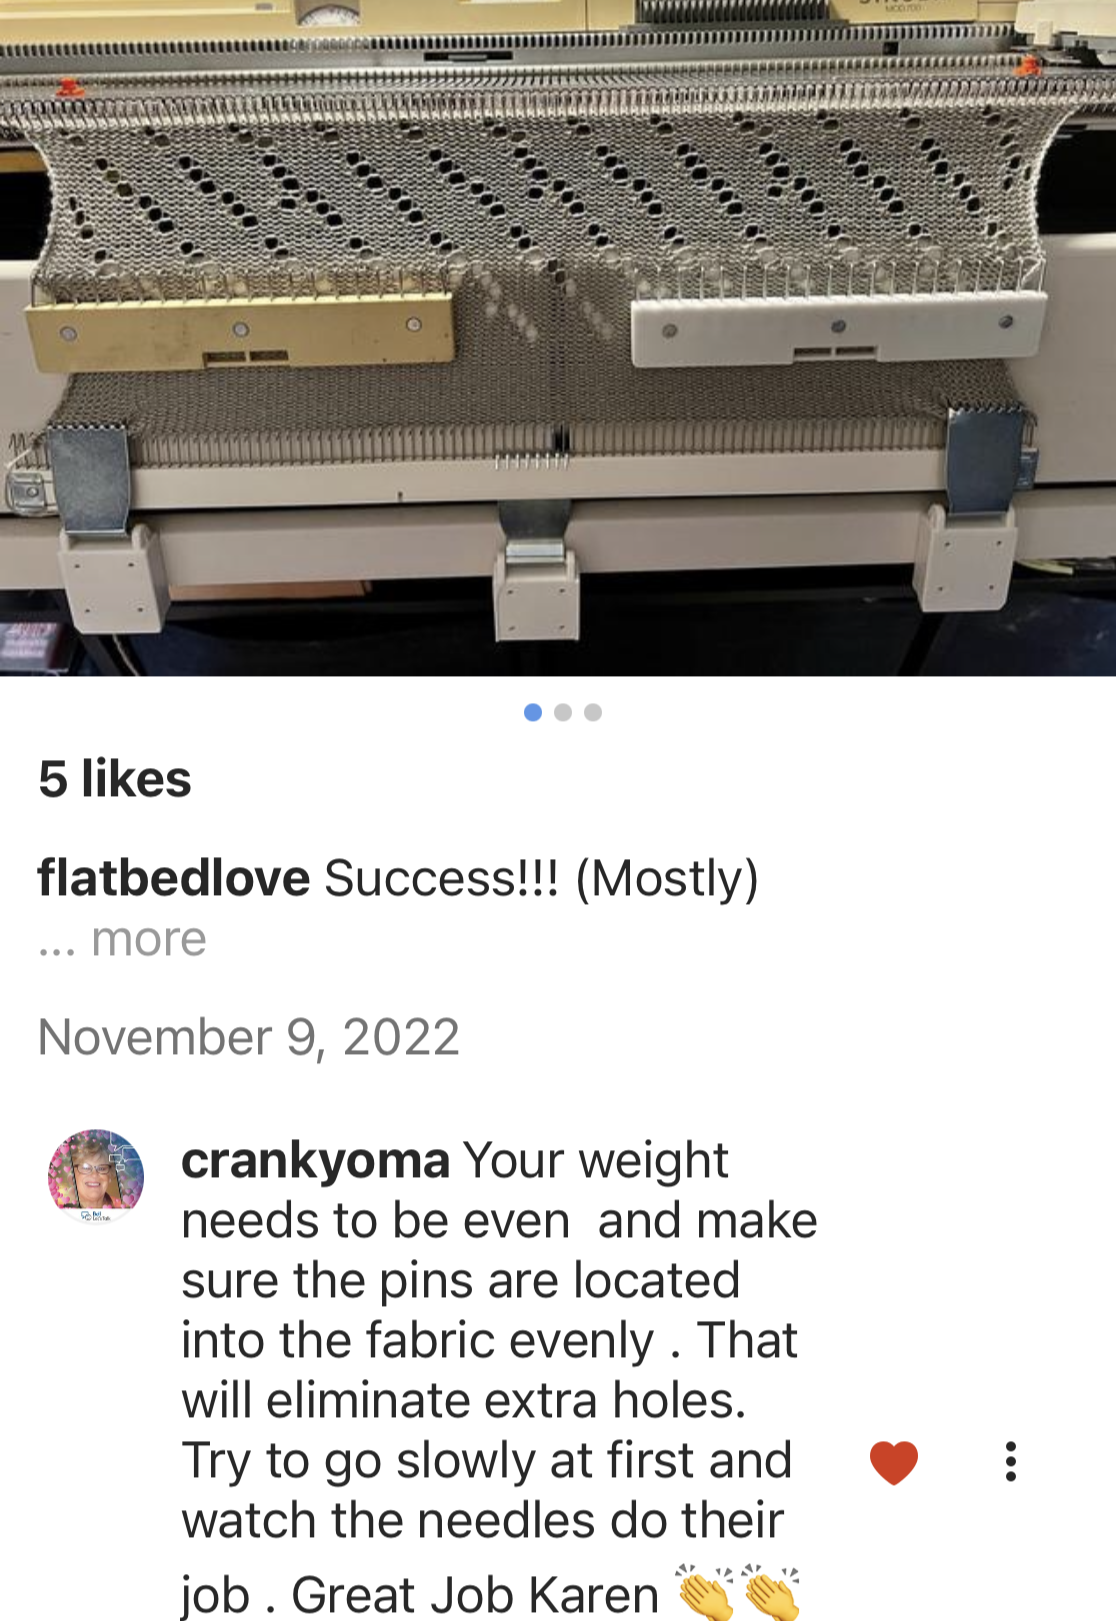
Success!!! (Mostly)

Started my first official project: a lacy scarf which is to be a gift

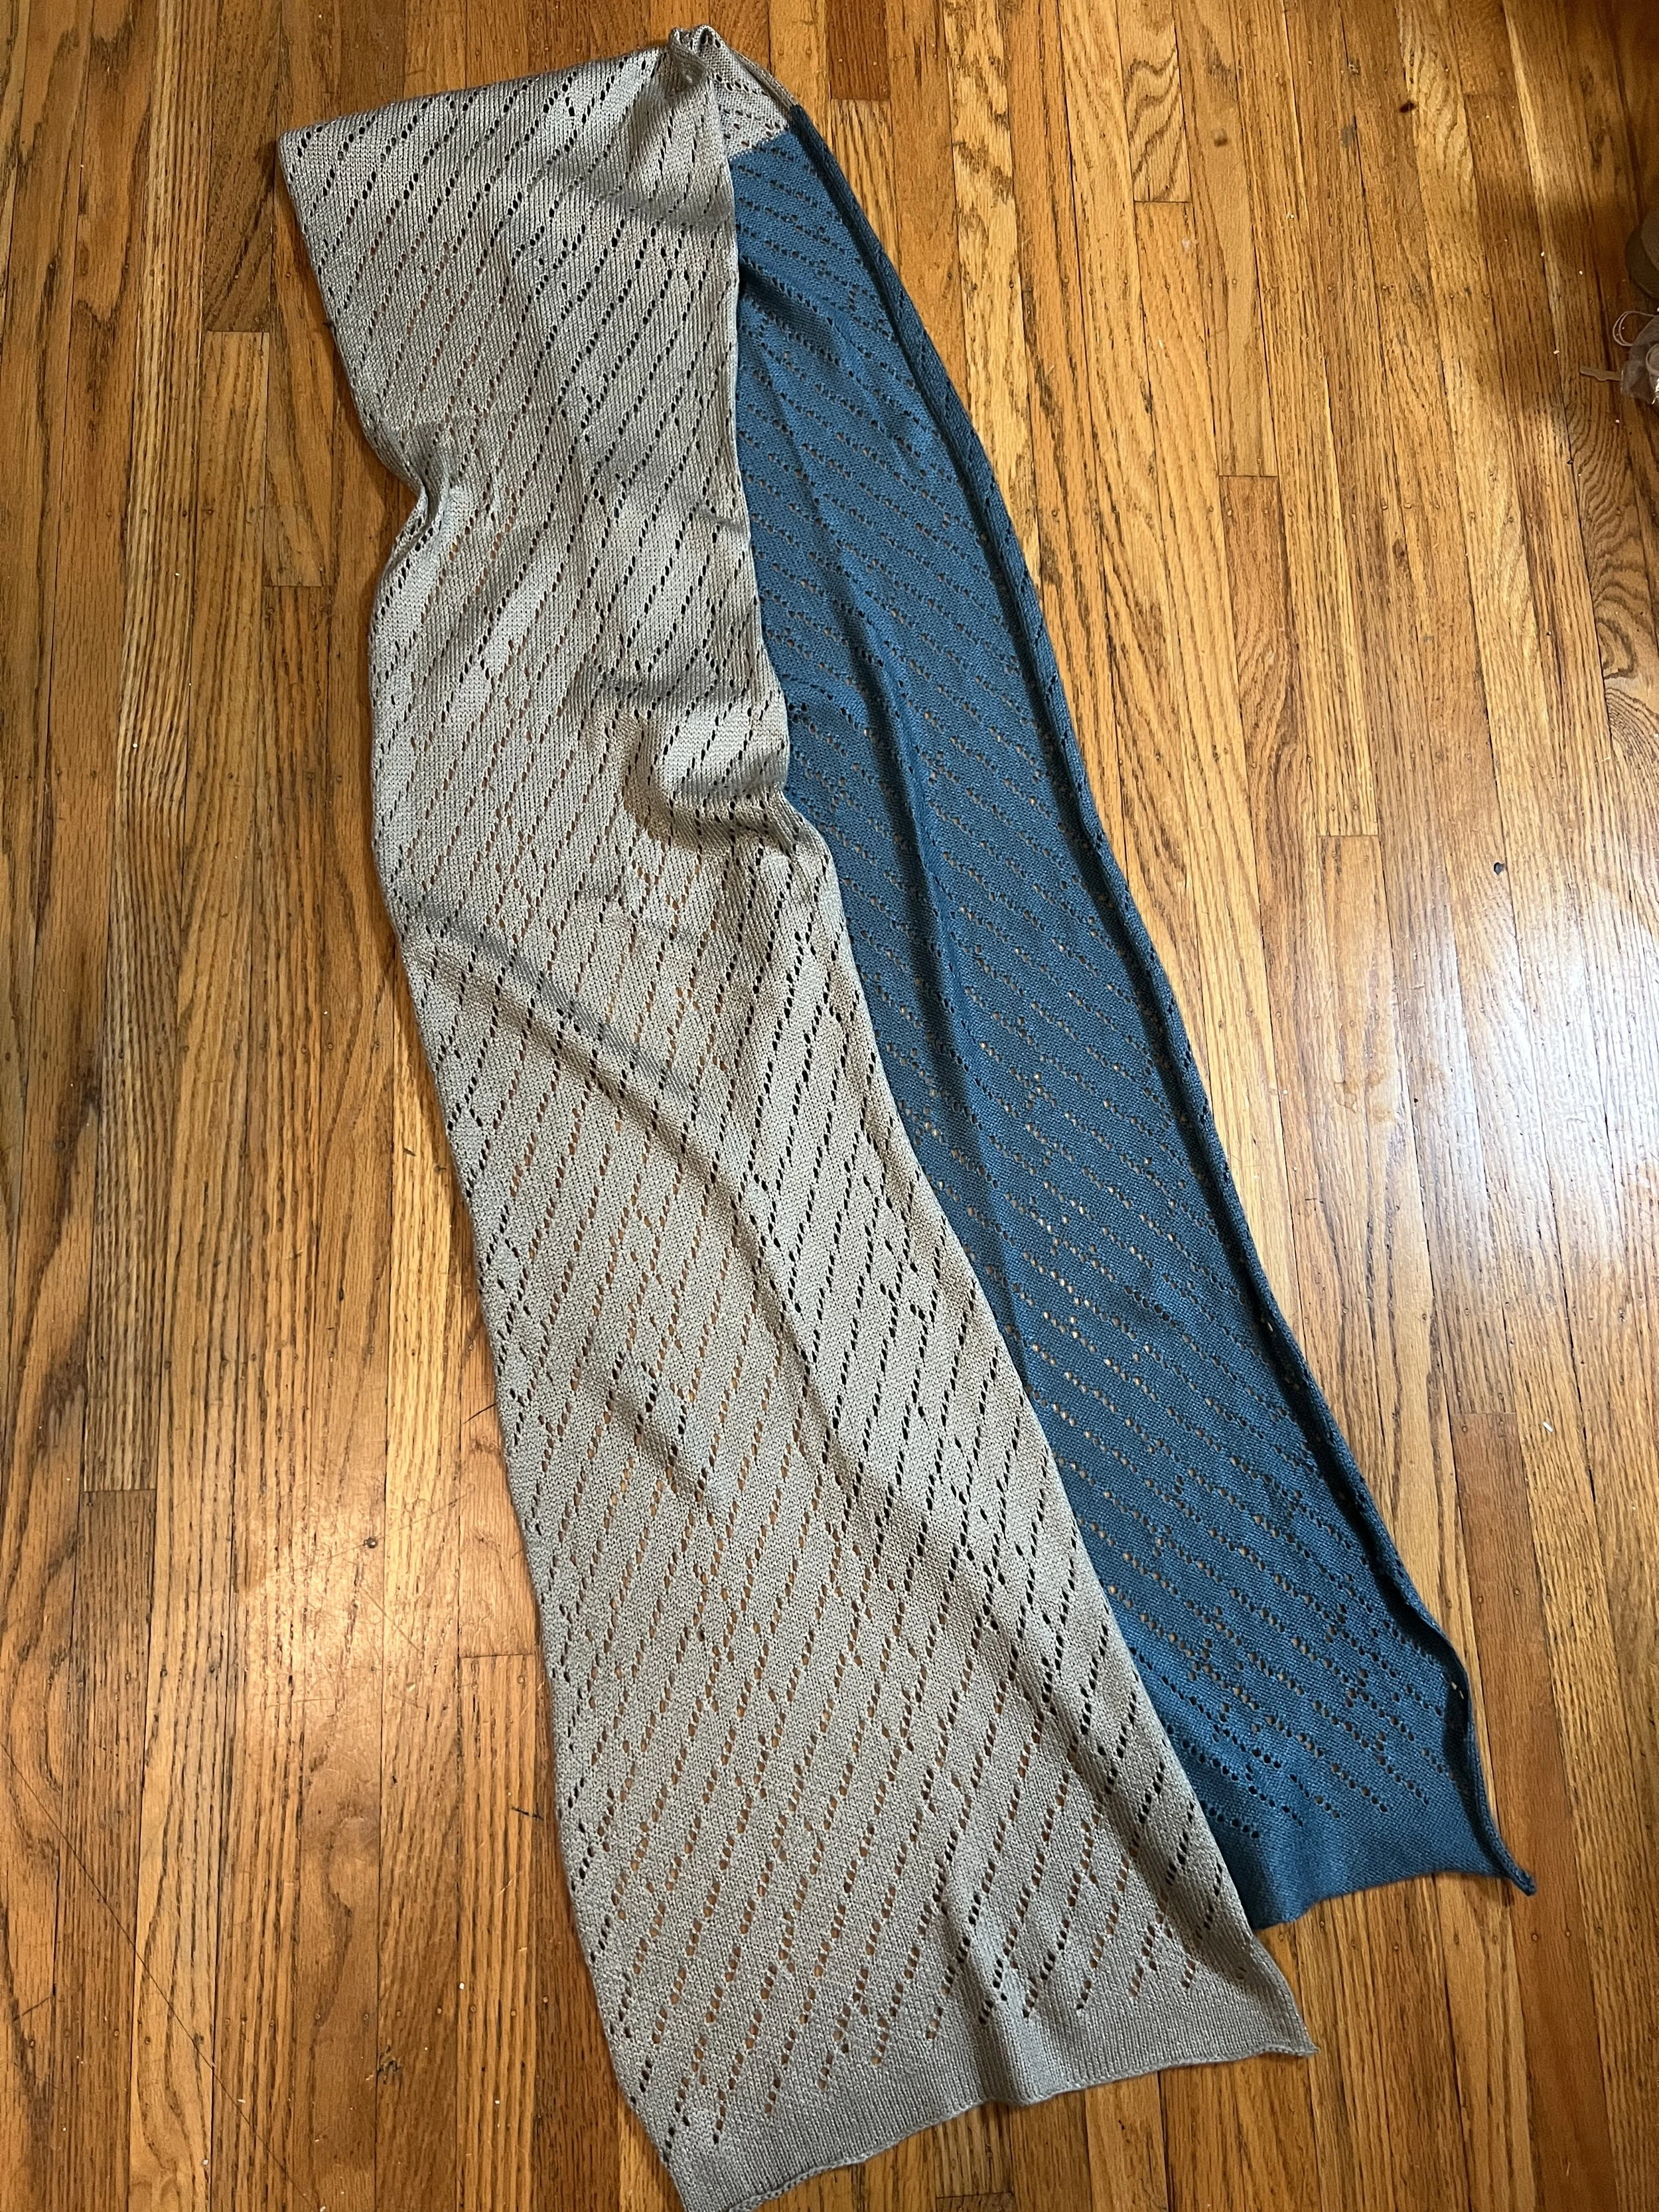
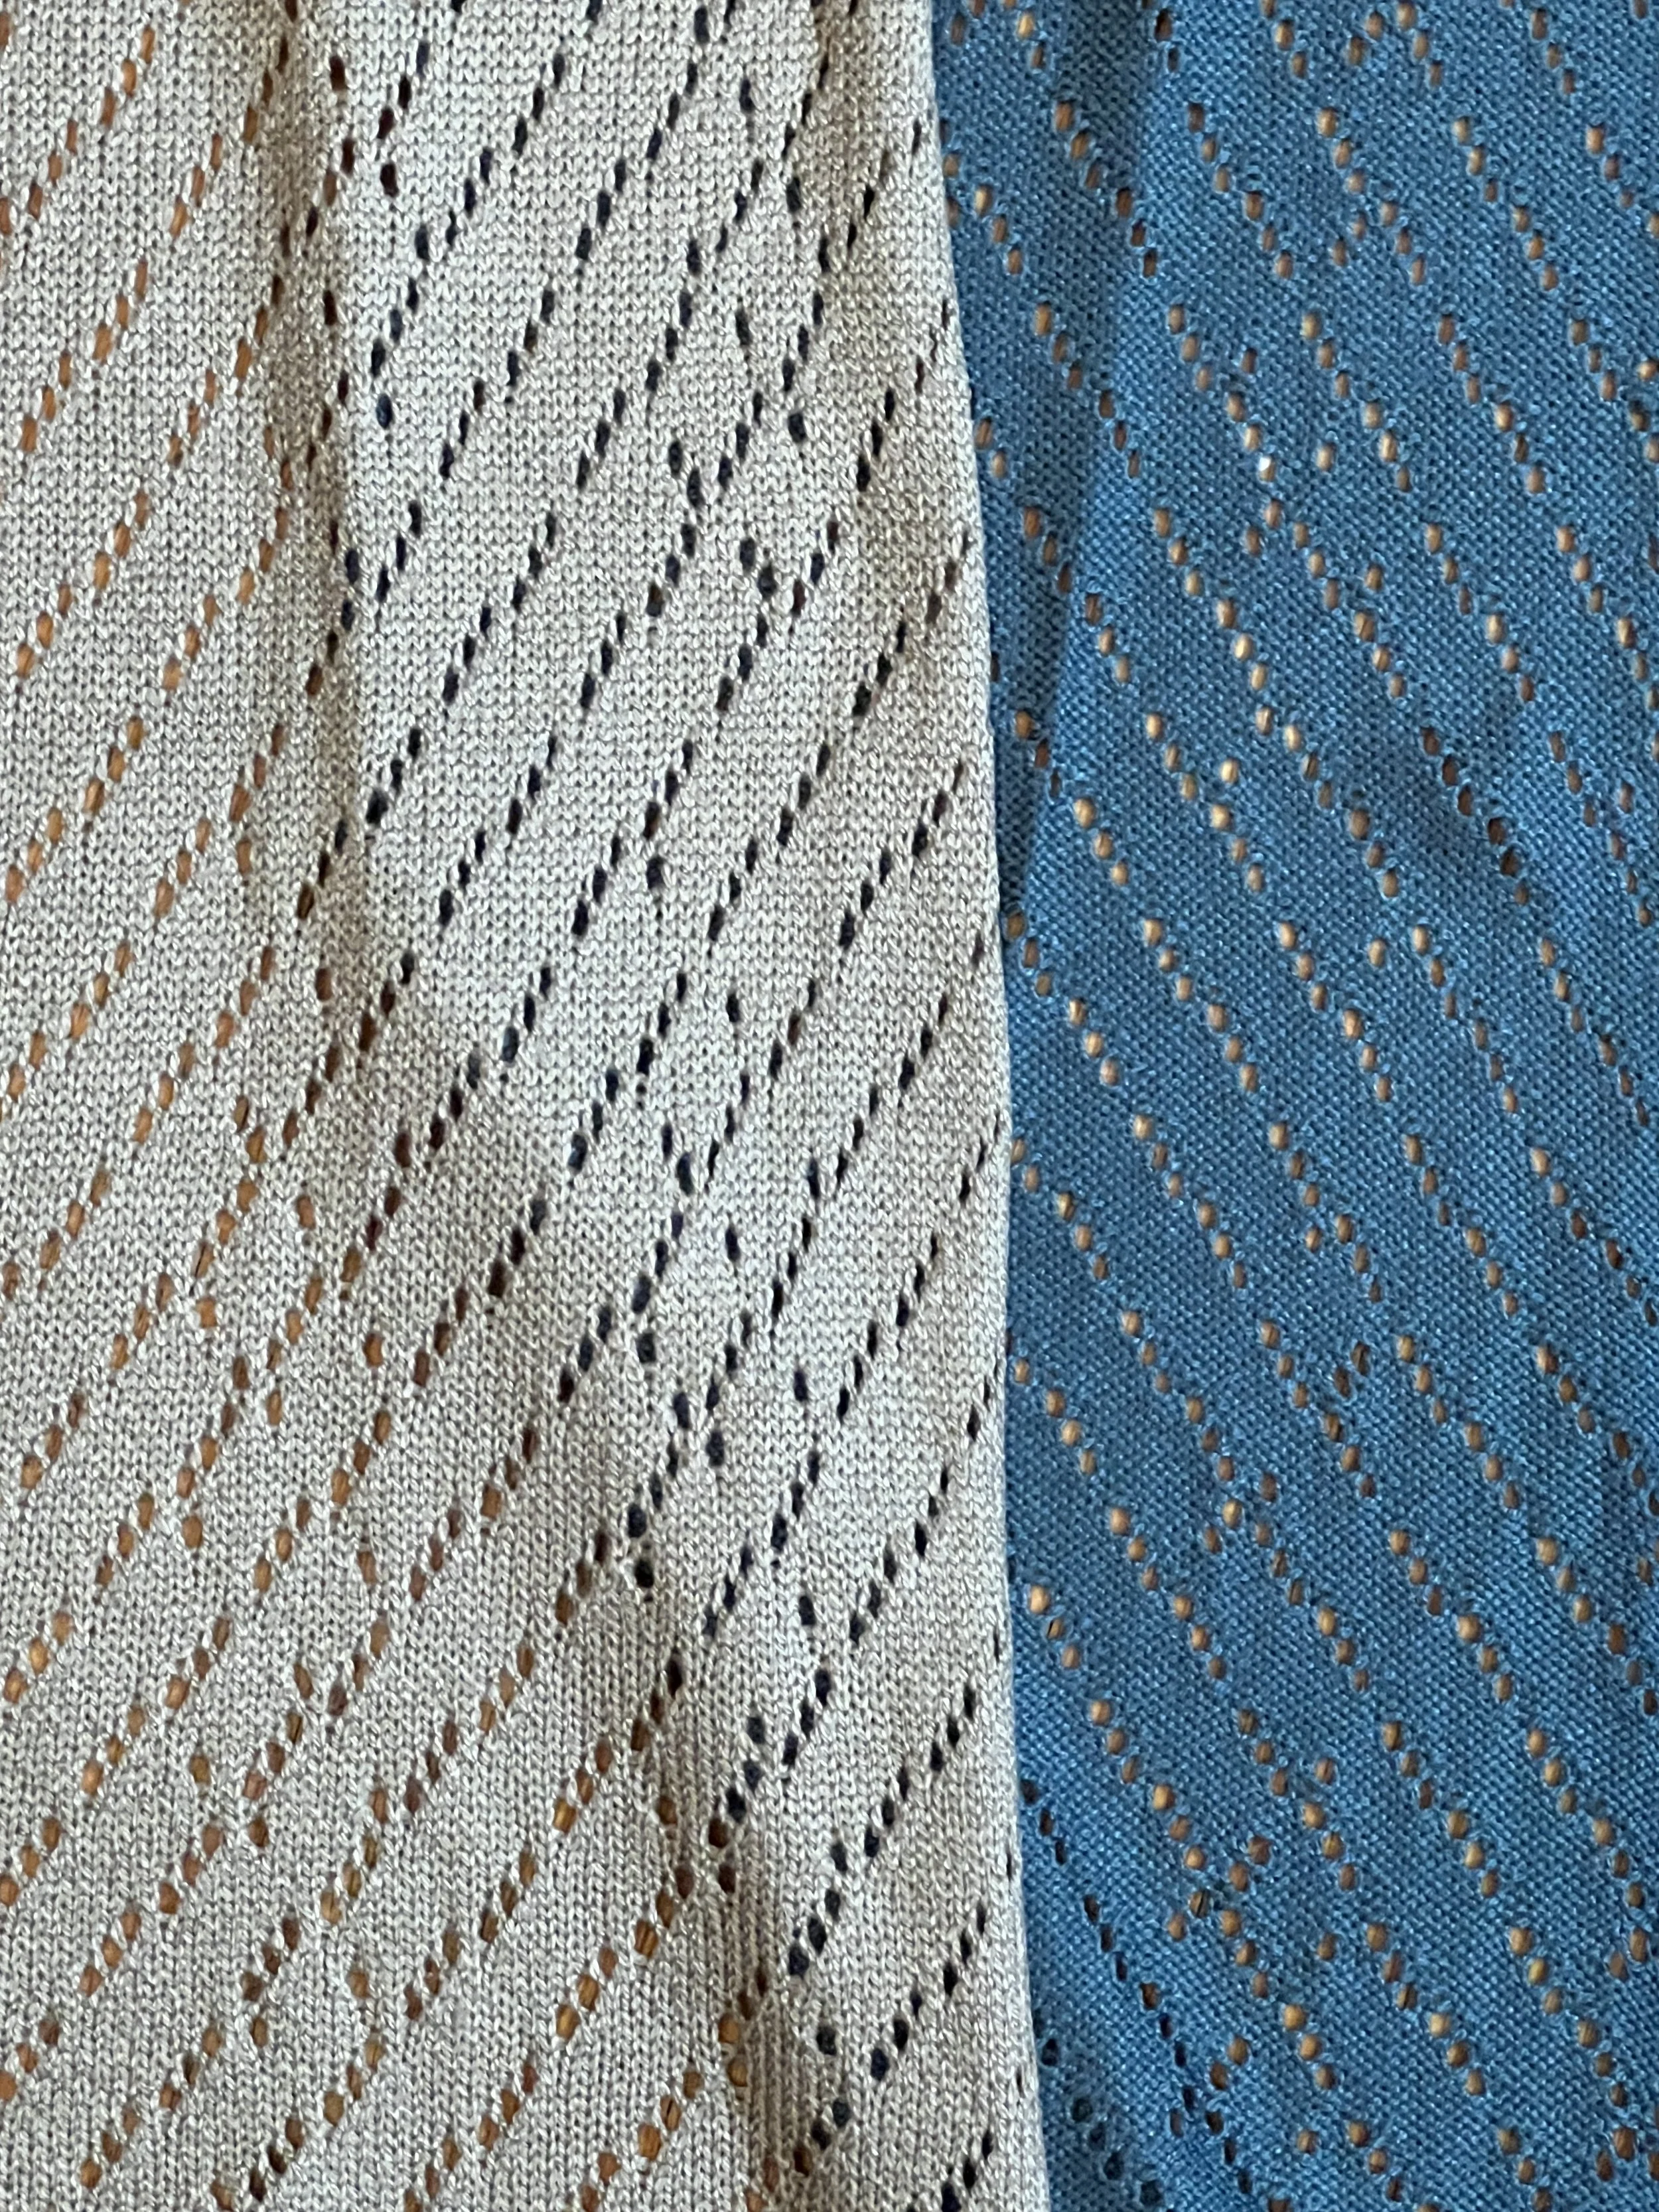
Discovered that one of the patterning wheels might be acting up in the lace carriage (not the pattern card reader itself as trial one with two color’s worked fine before). The result is a mostly sideways lace (not a diamond pattern) but boy am I still pleased as punch. Using a tension dial of 3.75, the 100 needle closed latch hook cast on with the Brother hook style cast on comb. This fiber is 85% acrylic/15% nylon Woolike Similiar-Laine yarn in “cool gray”.

Shortcut URL: https://tinyurl.com/laceproject1

This is the finished project below. It was gifted to my friend Mon Nov 14, 2022.

2022 Nov 8 - Punch Cards

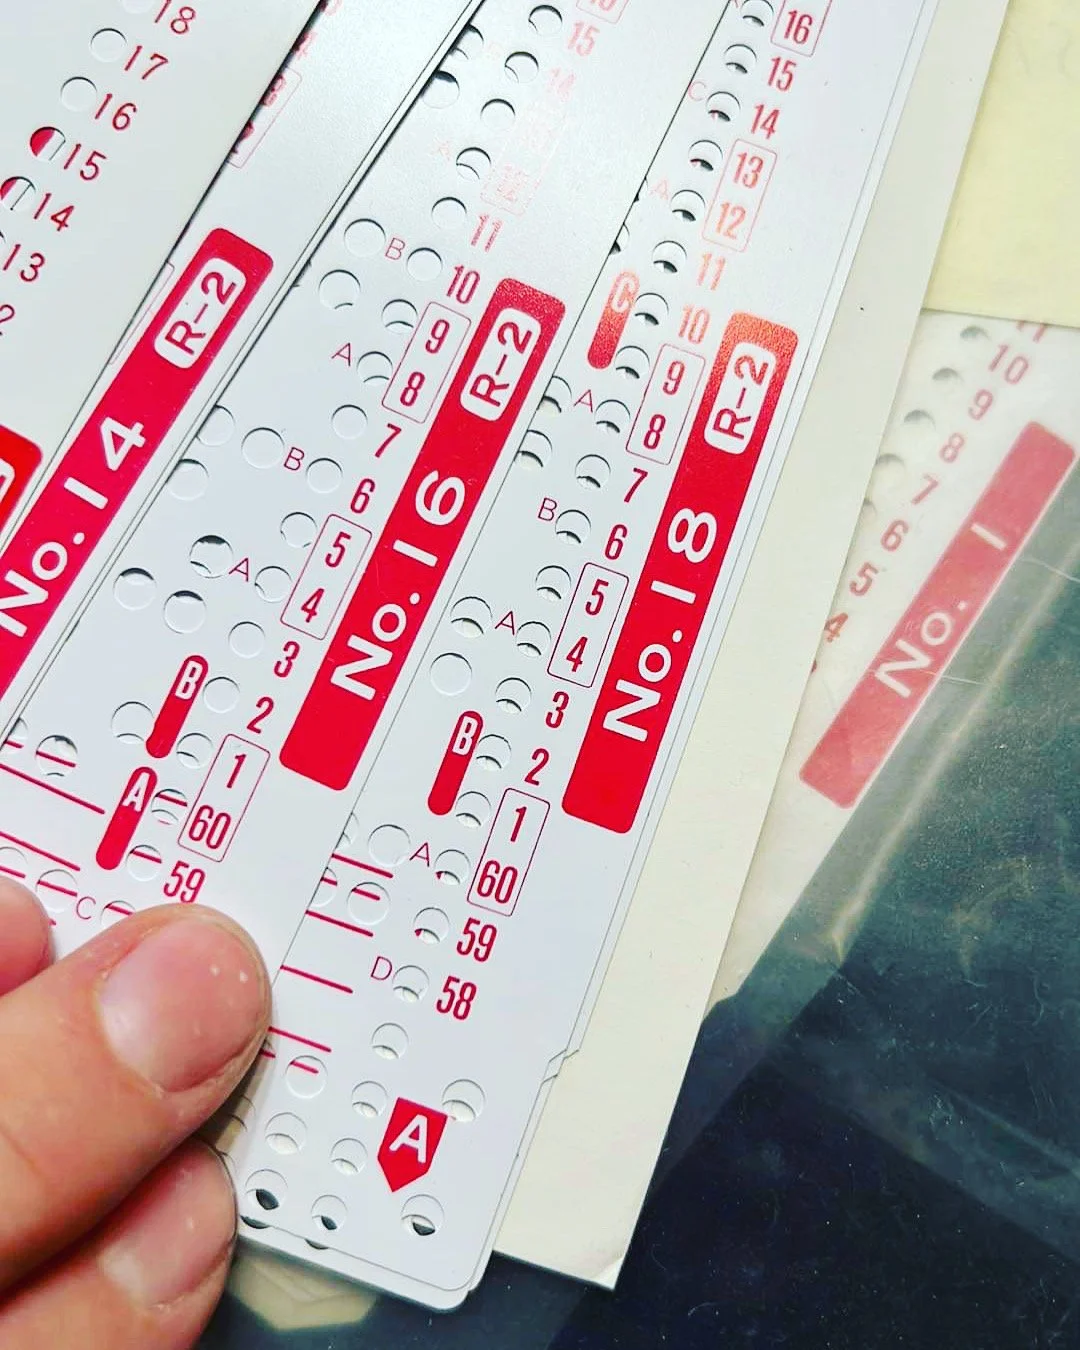
I was gifted an amazing thing - my singer 700 flatbed knitting machine (we won’t say how long it took for me to motivate myself to try to learn). Last night I began the task of identifying the punch cards (the hole punched pattern cards). Thanks to the internet I found the configuration of Ribber (R-2) No. 17 card that was missing (which I will plot out manually on a blank card with a black sharpie pen during break at work today). Exciting!

So far the machine itself has cards, the lace carriage has cards and the ribber has cards - then there’s the additional themes etc you can buy online still. Wow!

Follow me on Instagram/here and YouTube:

https://www.csmlove.com/fbl-home

2022 Oct 11 - Fixing a dropped stitch

Fixing a dropped stitch isn’t a new thing in machine knitting but knowing at least a couple ways to rescue dropped stitches is helpful.

In one of the two methods shown, Helen uses the single stitch transfer tool to first hang the active loop and all dropped stitch bars onto the machine needle above. The the next stitch bar is located for the next stitch to repair and before corrected, all the other bars are then allowed to hang free so that one by one, each bar is worked back into a stitch until all dropped stitches are re-worked.

The other method shown uses a latch hook tool held from the top down that similar to how we correct dropped circular sock machine stitches. I imagine a dropped ribber stitch (not shown here) can be latched from the bottom up (like on a circular sock machine)?

For best detail please see the informative video “Picking up dropped stitches” by Helen Sharp from the Knitting School https://youtu.be/VpjXiRZ_rLc

2022 Oct 10 - No Scrap E-Wrap Carriage Closed Cast On

Working a closed cast on means working in the project yarn - not the scrap yarn first.

This blows my mind coming from circular sock machines where scrap yarn plays a big part most of the time.

Found this wonderful cast on/off carriage assist e-wrap video by Sally Butcher https://youtu.be/v4AvgriC-Ww

2022 Oct 2 - Label the parts

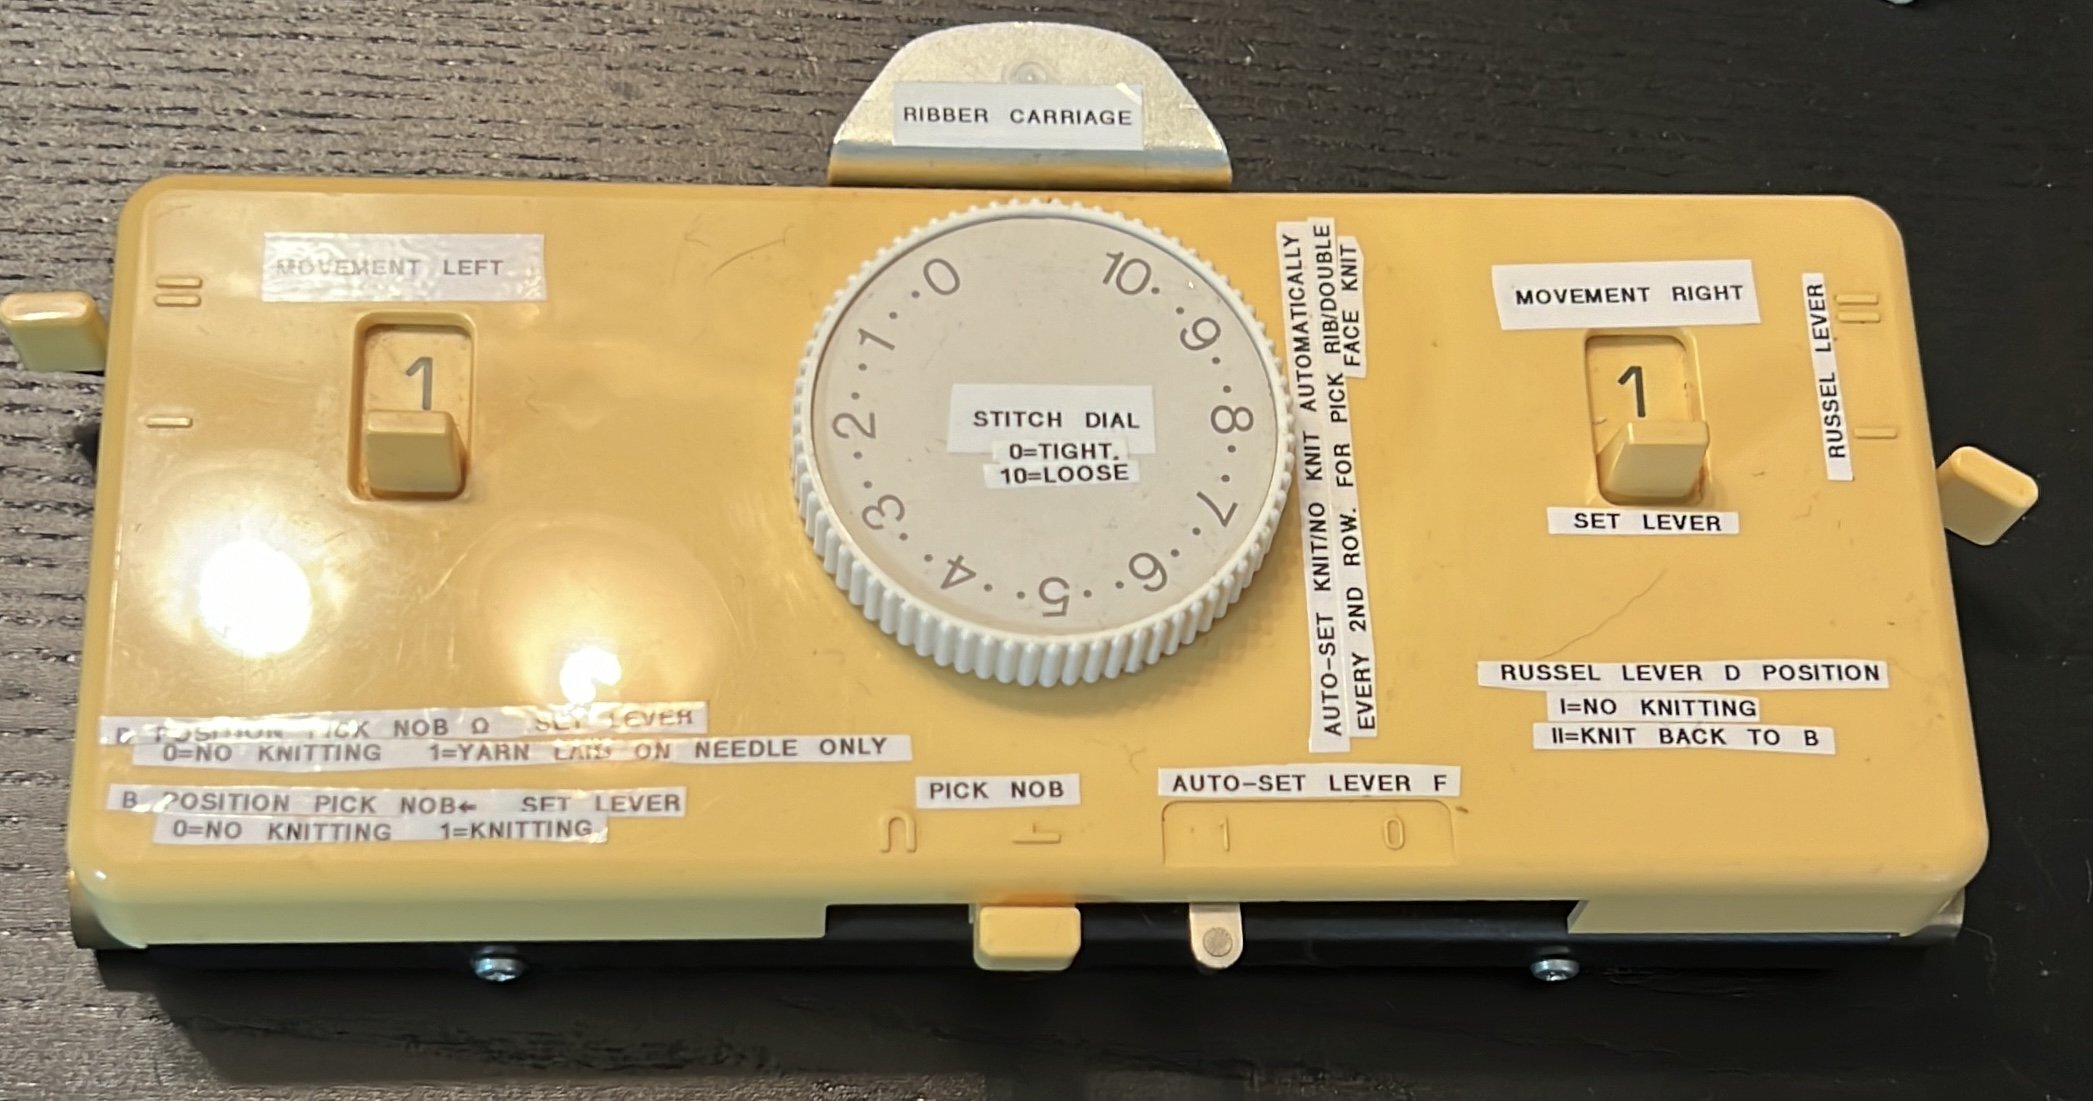
I’m so nervous! Working though the manual on casting on. See how much time I’ve already spent in the past with my label maker (to reduce my anxiety?) The machine and ribber are setup on the edge of our ikea Kallax shelving in our small 2 bedroom apartment. Wish me luck!

Instagram: one


See all Blog Entries on the BLOG INDEX page

2022 Oct 2 - Spongebar!

You have two main options with spongebars:

ONE: buy the complete component with factory installed spongebar already in place (pros: lasts years | cons: more expensive)

TWO: buy the correct spongebar replacement material and install yourself (pros: less expensive | cons: buying the wrong one means needing to glue it on/it won’t have the life of the manufacturer version/cleaning the old gunk away is messy and takes time / ensure to use sponge with a flexible surface that will touch the needles or it will be a nightmare

The sk700 uses a hard plastic spongebar on the ribber and a regular foam spongebar on the machine itself

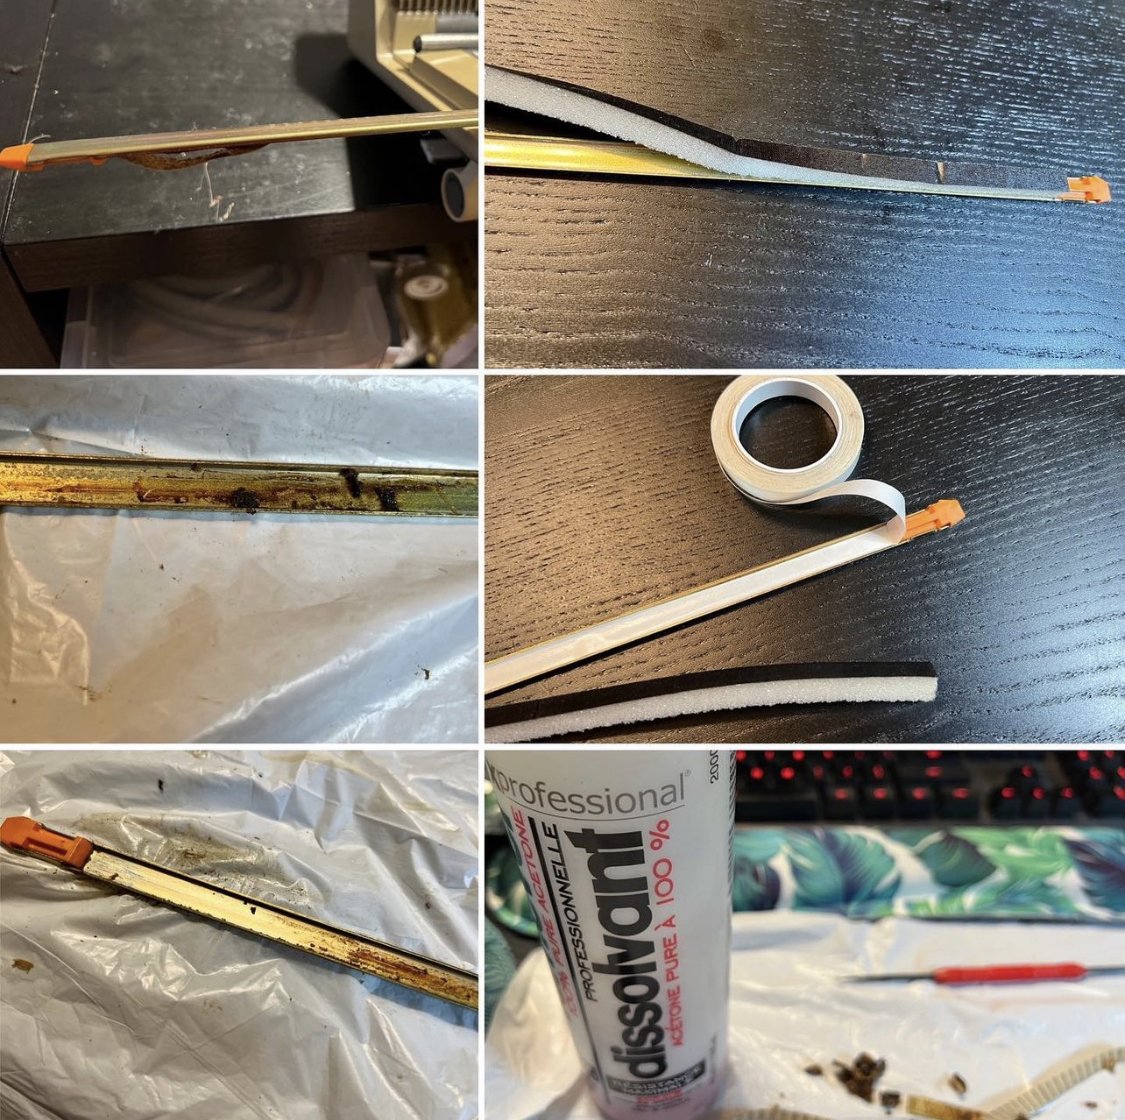
After watching 4 or 5 different videos to gain a perspective on those more learned on spongebars - I located the spongebar and noted it’s lack of sponge (but presence of brown grimy yuck). With screwdriver to scrape and a rag with nail polish remover, I made short work of the brown goo. After the cleanup I weighed the option of water soluble glue (and needing to wait 24 hours for it to dry) and instead chose the two sided tape to stick in the foam (ribbon side up). I tapered the clip ends with a bit of clear packing tape (duct tape disintegrates too quickly/gooey.)

The needles seem happier - we will see!

Now either I can see if I can get it to work without the sinker plate broken rubber disks or if I have to wait until ordered solutions arrive. EDIT: rubber wheel pieces were purchased off eBay and self installed without issue (yes it needs those parts).

Where to get supplies depends on where you live and how much shipping you’re prepared to pay.

At this point I’ve ordered supplies worldwide as no one supplier has the things one may need.

I live in Vancouver, BC Canada and found that sewknit.ca has the complete spongebar piece (with manufacture installed foam) for $40. I’m told it’s better and lasts many years. However their website is janky (errors) and their customer service has been very bare bones.

Previously I bought replacement foam from spongebar.com and eBay.

Looking for specific videos? See the extensive playlist by category on my channel:

Flat Bed Love

Instagram Post one | Post two |

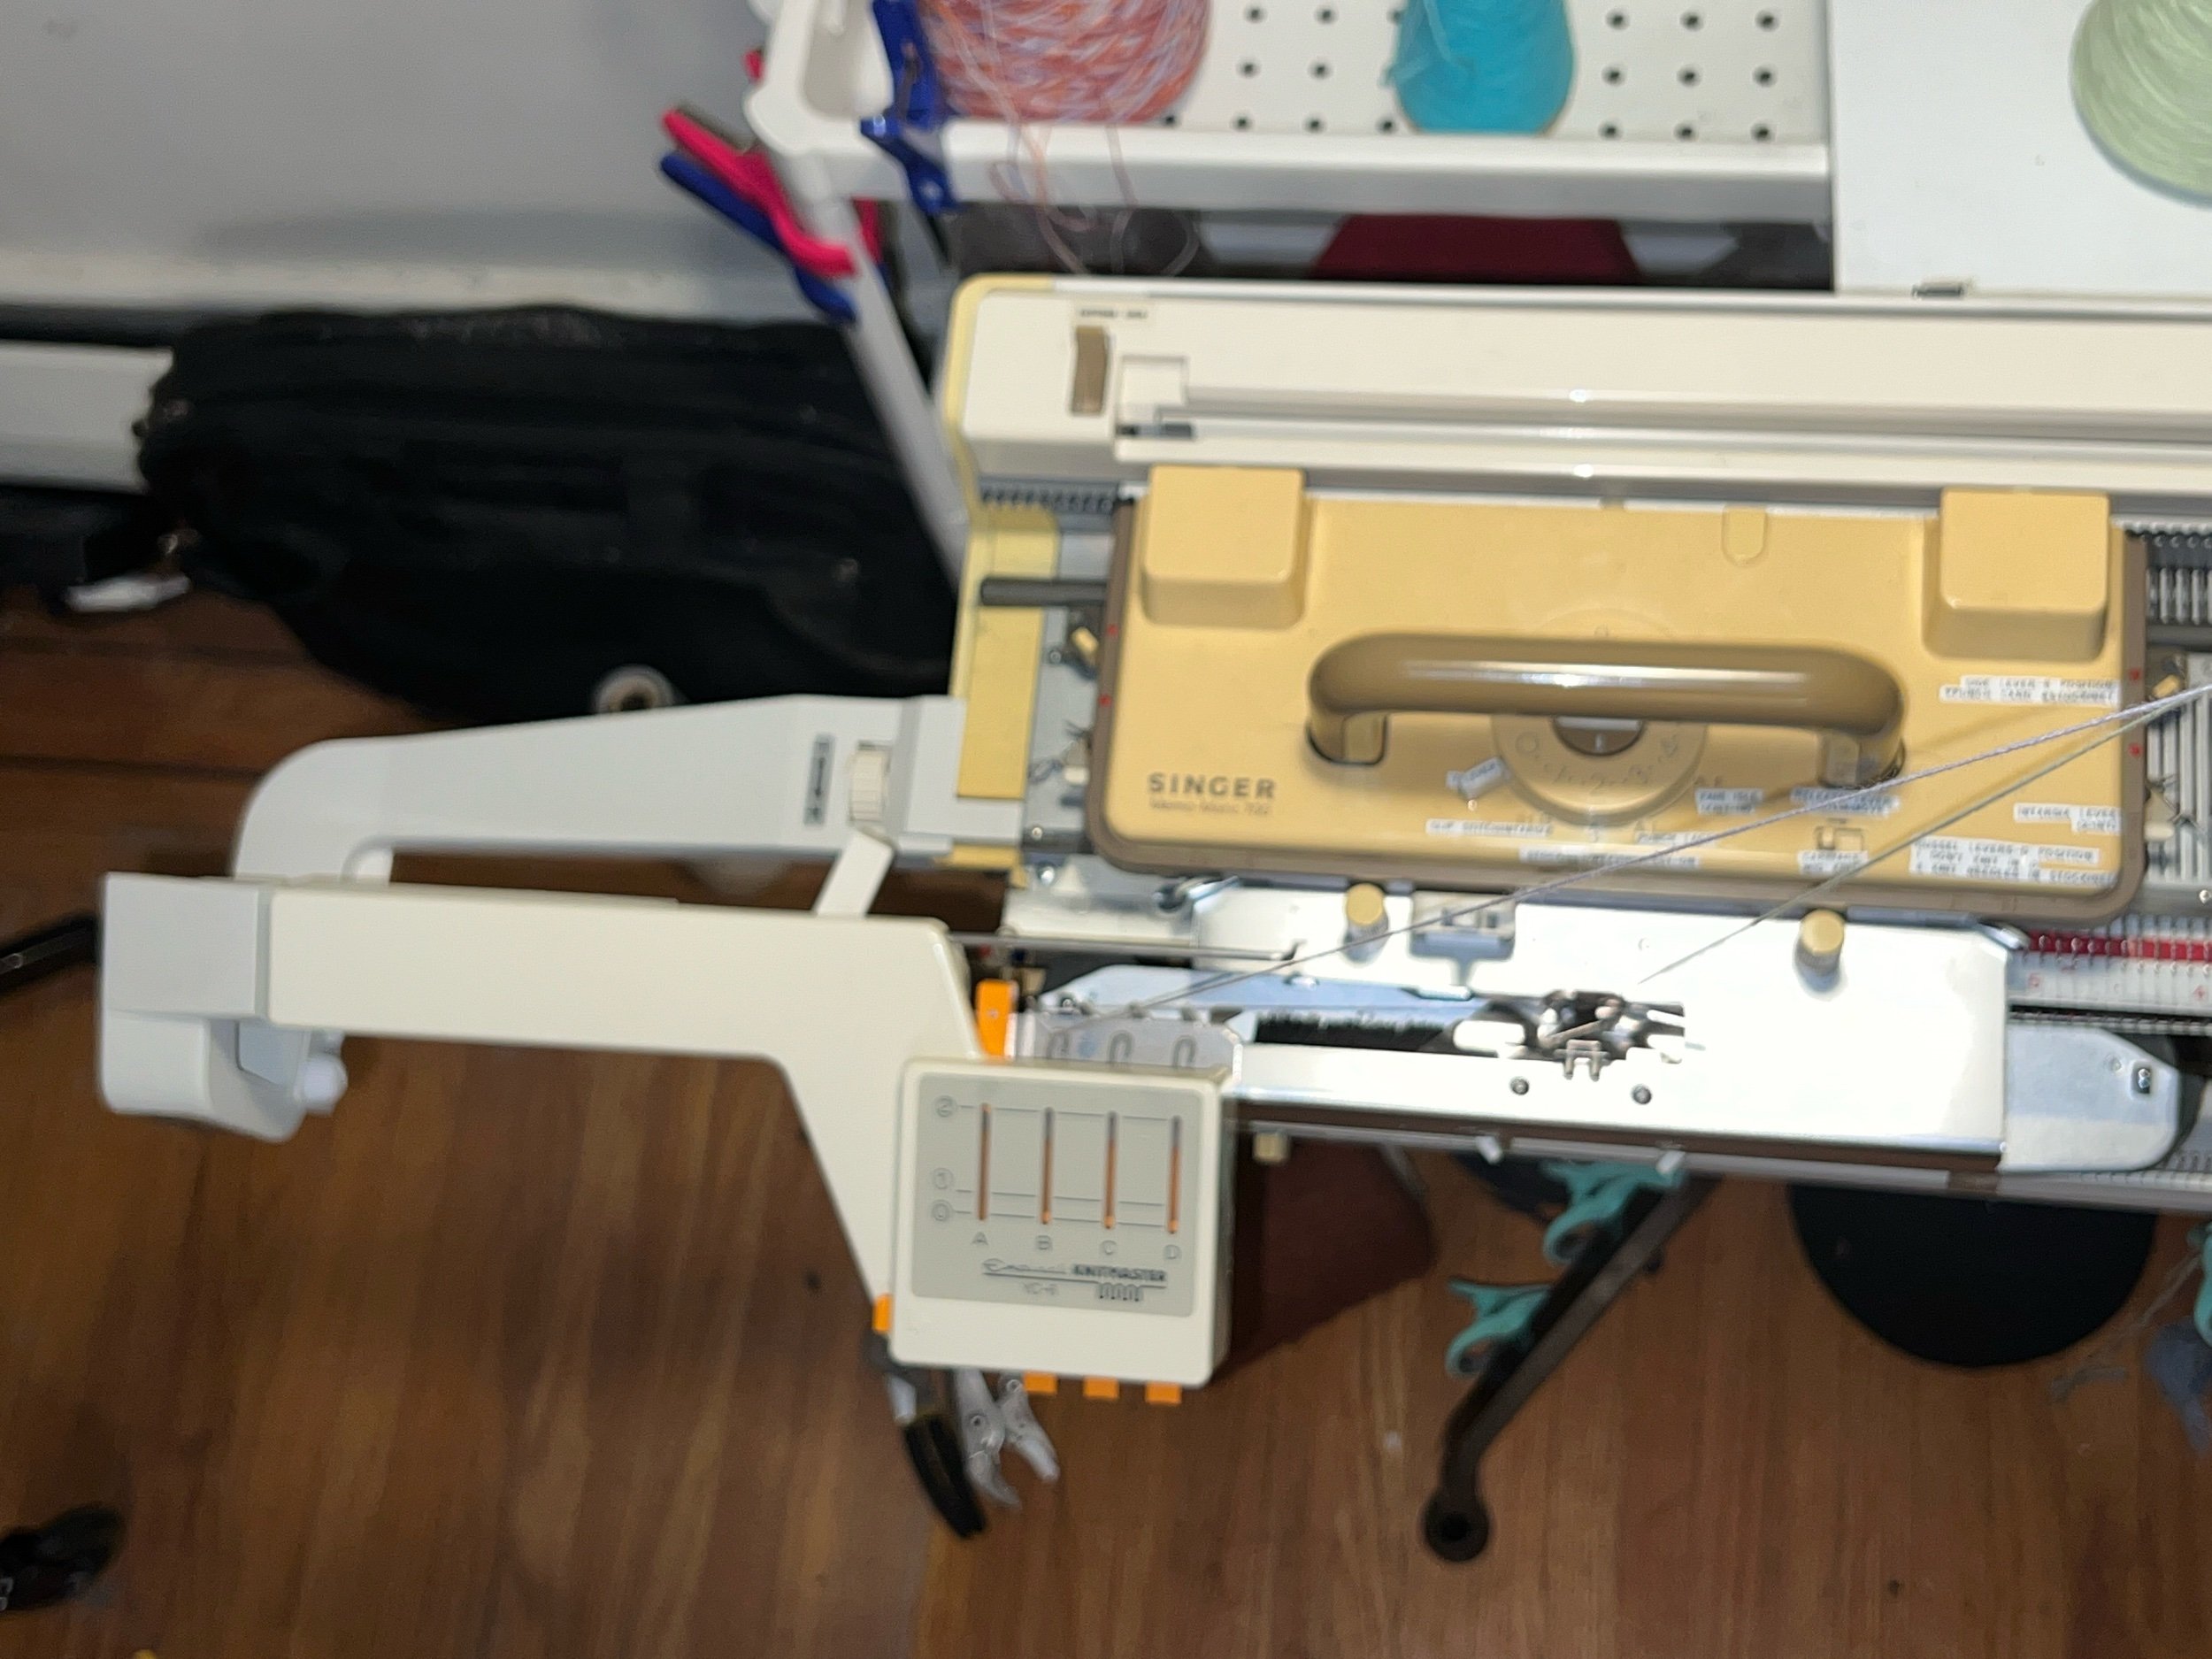
2021 Jan 22 - Singer Memo-Matic 700 Flat Bed Knitting Machine

This blog entry was originally on the circular sock knitting machine side of this page so that entry is now being moved HERE. :) All pictures can be clicked on and viewed FULL SIZE.


Special thanks to Andie of the yarn store near my boyfriend’s parents. When the original owner passed the family donated this machine to Andie so that it could find further future use. Andie asked me once in passing if I had interest in Flat Beds and initially I declined but after some time had passed I asked if she had any needing a home. Thank you to the original owner who created wonderful things for sometime with flat beds with some magazine resources in this treasure trove dating back 20 years BEFORE this 1985 machine was even made!

With the help of my boyfriend’s parents (and Andie), they drove the stash halfway to use during COVID, and on a very cold day we met on the side of the road - did a hello and thank you and drove the machine and us home. While I setup this flat bed pretty quickly, I was very hesitant about actually starting to learn or do anything with it due to my learning solo. (I actually started actively learning Oct 2022).


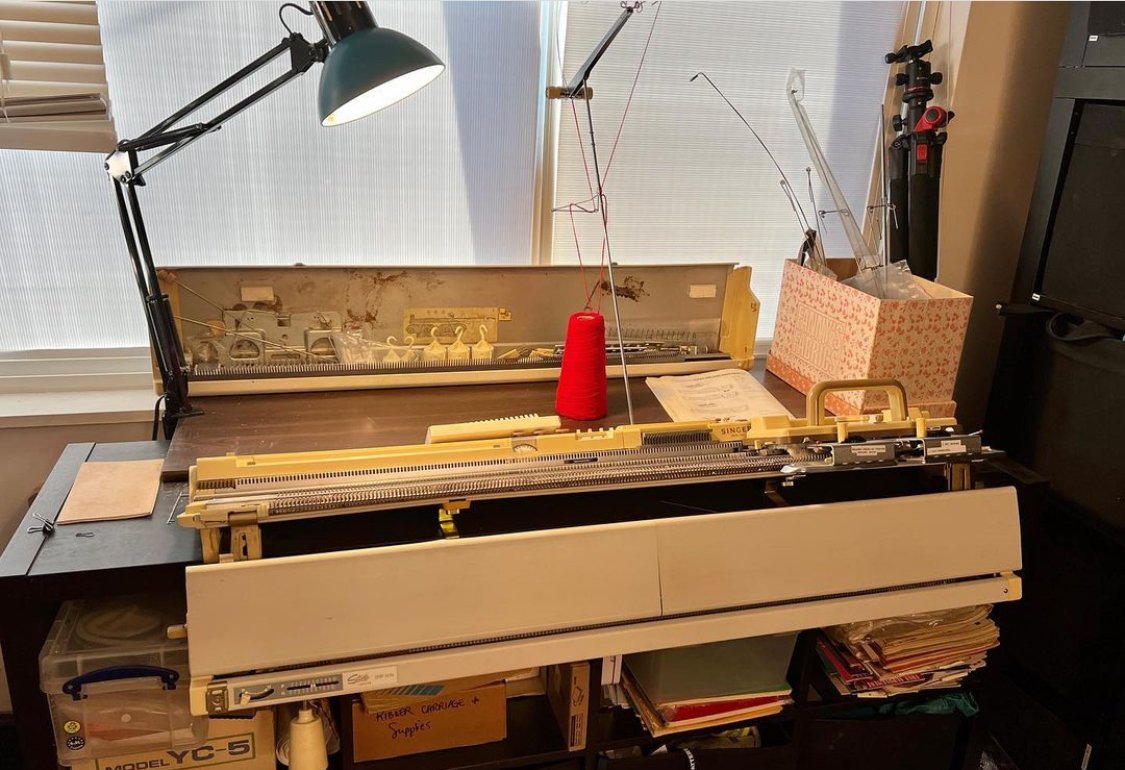
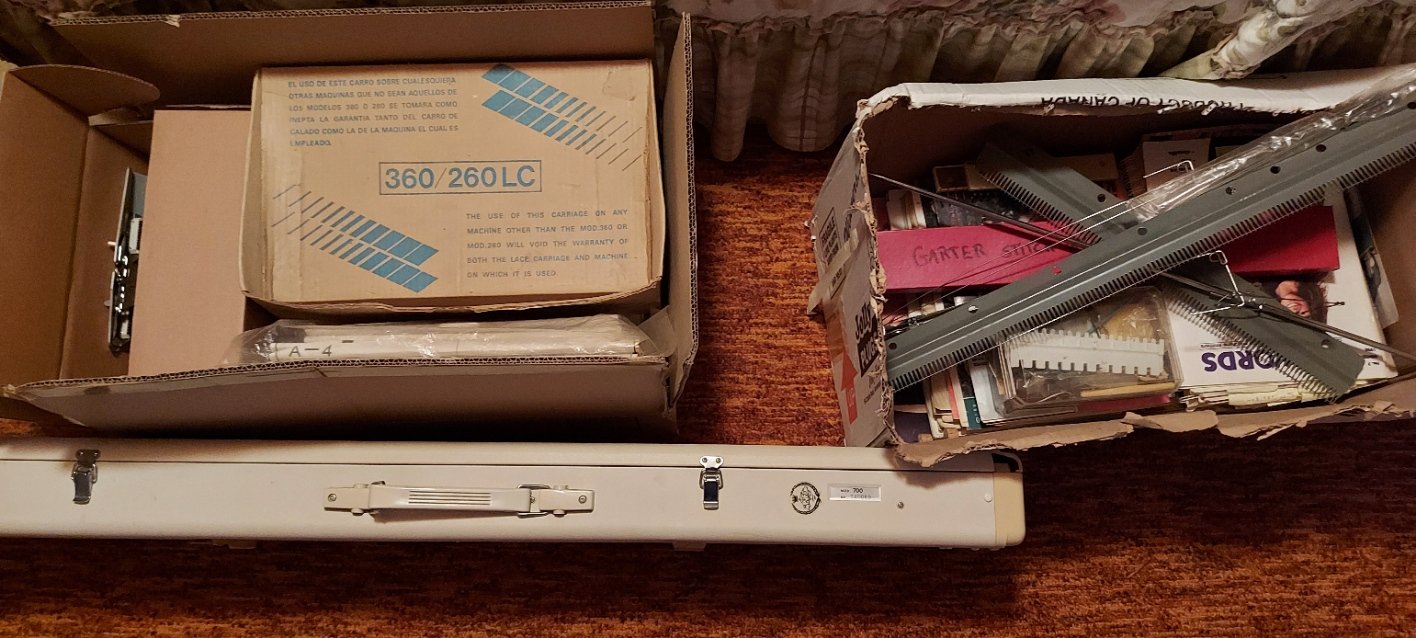
Today we picked up this machine and its many accessories. Photos below are the actual machine and accessories. Exciting!

Photos of the same make and model from later when I set it all up at home.

Also known as SK700 Singer/Studio/Silver Reed Punch Card Knitting Machine/Knitmaster Studio SK700

Detail on these machines: The maker is still in the business of making a range of punchcard and electronic machines similar to Brothers, with no significant design changes since the 1990’s. Generally considered to be less hackable. Previously marketed as Studio (U.S.), Singer (Canada), Knitmaster (UK) and Empisal (Australia). Also known as the Singer Memo-mastic 700.

4.5mm (standard gauge) 24st punchcard machine with built-in knit contour (knit radar) device. This brand is also known as Studio in certain countries.

Professional Home Knitting machine. The 4.5mm standard gauge 200 needle machine incorporates the automatic 24 needle width pattern selection system built into carriage. To knit beautiful patterns you simply insert the selected punch card into the knitting machine and start knitting a variety of patterns Punch Lace, Fair Isle, weaving, slip and tuck stitches. Punch cards come with the machine and additional pattern cards can be purchased or punch your own designs on blank cards that can also be purchased. Another feature is the machine has built in Knit Contour for putting in your pattern for a sweater in Men's, Women, and Children with a wide selection of sizes. Knit dresses for women and children even cute baby patterns. You can even draw your own patterns and insert into machine.

The built in Knit Contour/Knit Radar:

A - 4.5mm standard gauge ruler (also works for 3.6 fine gauge) 40 sts/60 rows

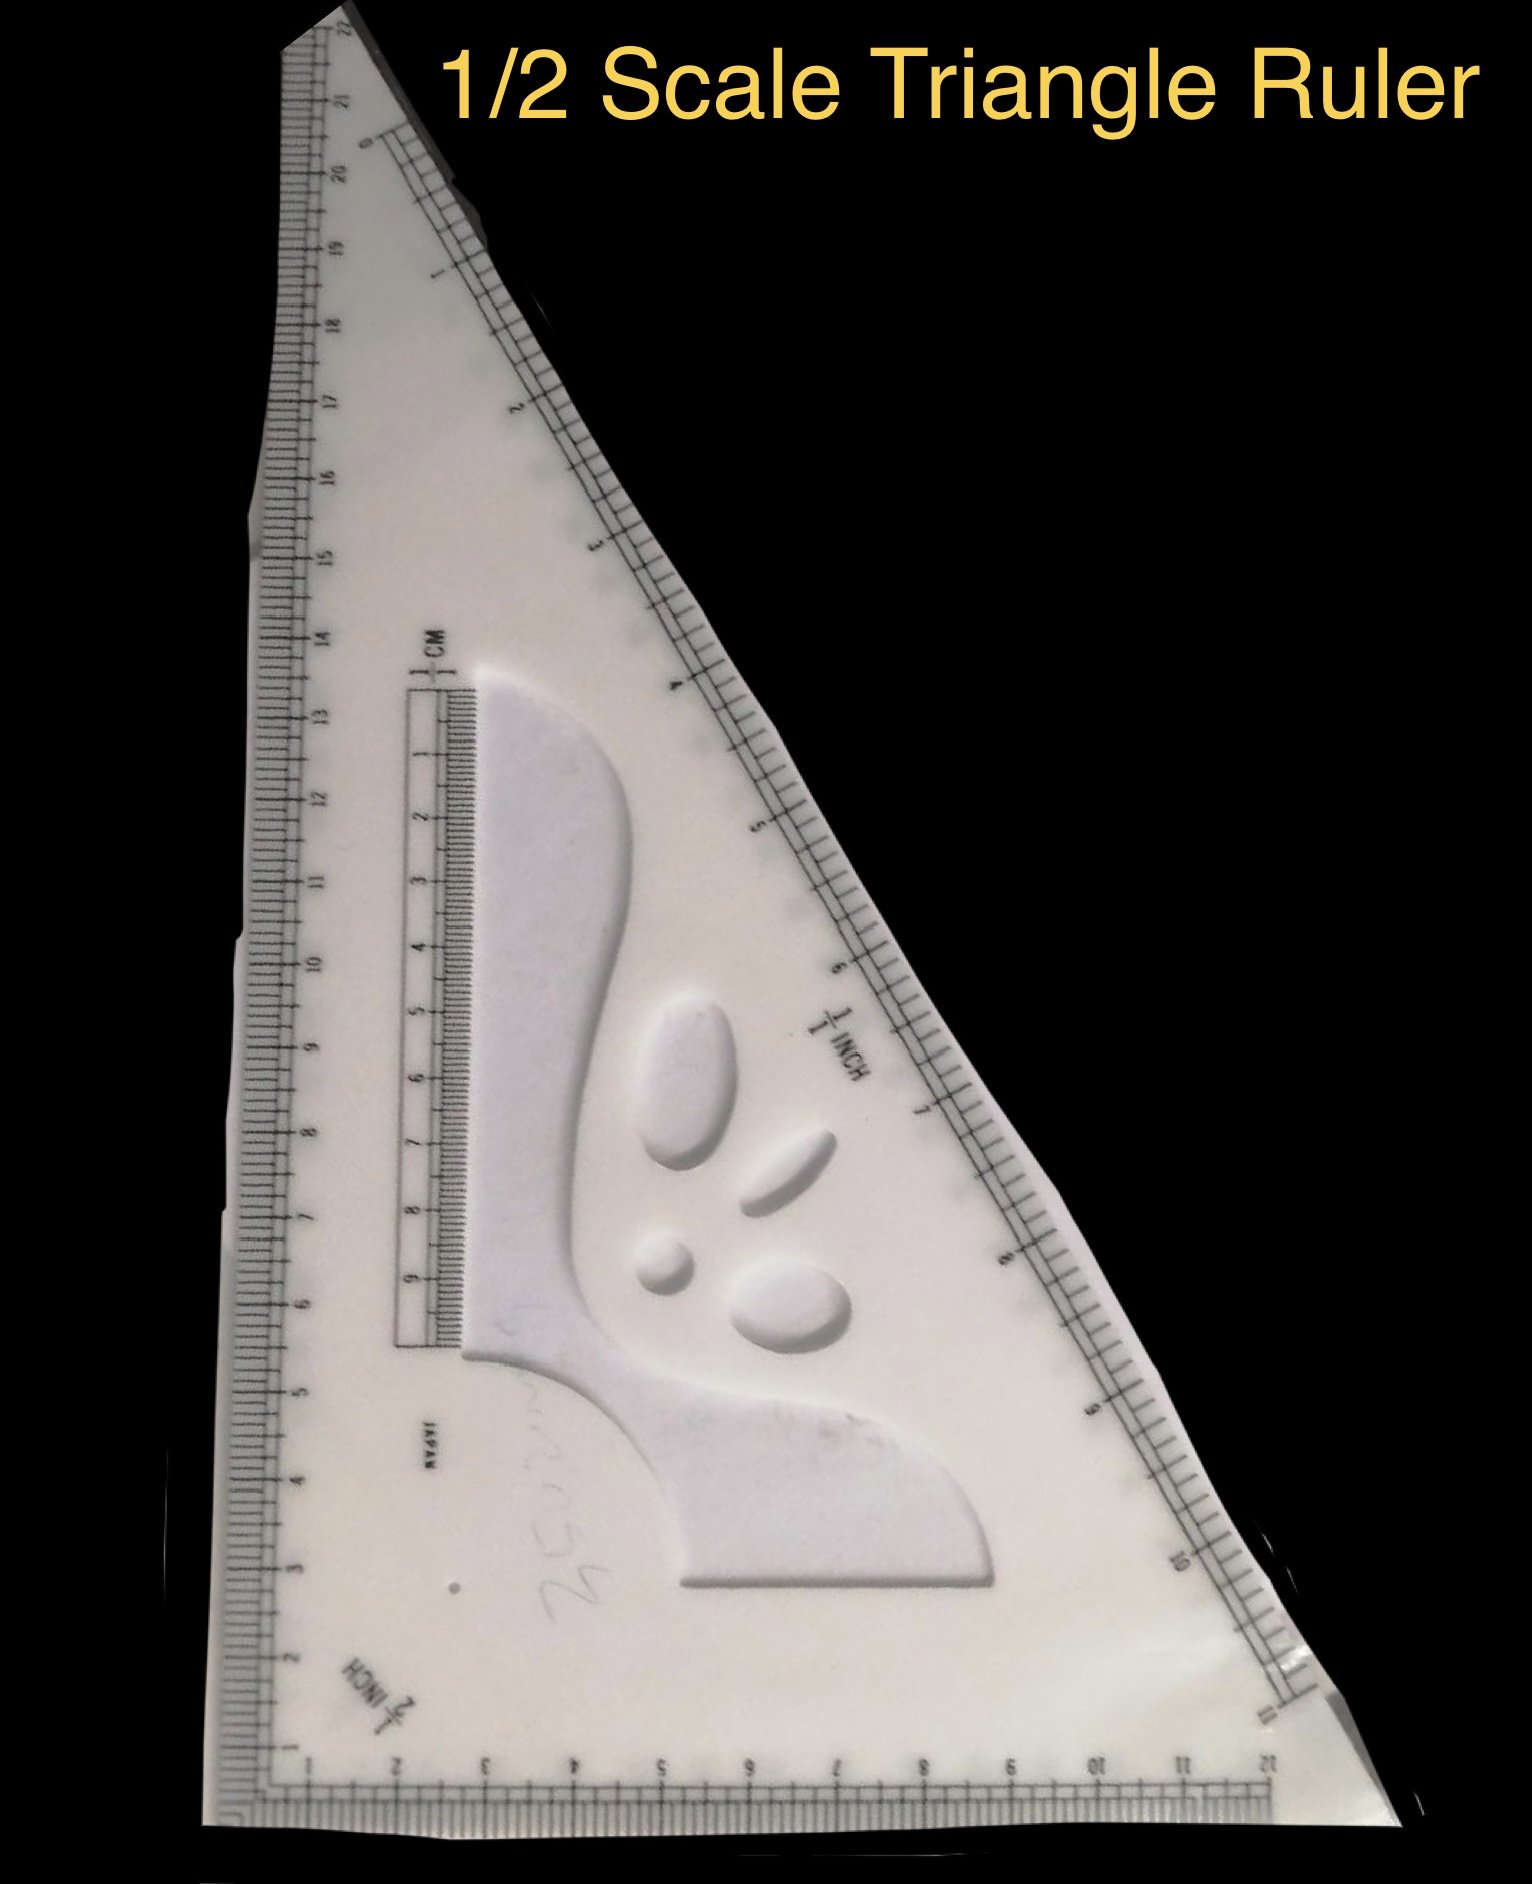
B - 13.5” yellow E (E1-E14) 1/2 scale rulers. Zero on the left. (gauges 9-30)

C - are 13.5” beige H (H8-H14) 1/2 scale rulers. Zero in center. (gauges 24-50)

D - are 13.5” aqua F (F2-F15) Full scale rulers. Zero on the left. (gauges 9-54)

Verified details of these gauge rulers by a kind person who shared https://mkmanuals.com/downloadable/download/sample/sample_id/432/

Useful supplies: 33cm wide paper, rulers for drawing      

Comes with built in carrying case. Easy to push carriage with ball bearing runners on carriage reducing friction.

Many machine knitting designs and pattern books are available. Also the Ribber Accessory is purchased separately for knitting knit and purl stitches and a variety for knit and purl designs. Machine is complete with tools and manuals. 

Specifications: 24st punchcard and built-in knitcontour

Recommended Yarn: 2ply - 3ply - 4ply - light DK

This model has the following stitches / patterning inbuilt: stockinette | slip | tuck | fair isle | intarsia | knit weave | motif | punch lace |

Compatible accessories:
SRP20/50/60/60N, YC5/6, LC2, AW1, RT1, SC3, PLUS AG24 | Garter Bar |

Note: this machine can use ANY 24st punch card of any make to try something new. This machine has punchcards that can be used with the RIBBER, the LACE CARRIAGE and the machine itself. The manual says that one can mix and match all the above for different results.

Manuals:

Knitmaster Studio SK600-SK700 Operation Knitting Machine Instruction Manual | SK600-SK700 Knitting Machine Service Manual | Punch cards | Silver Reed R-2 Ribber Punch Cards For SR50 and SR60 | Studio/Silver Reed Lace Cards for LC2 and LC360/260 |

Knit Radar 1/2 scale patterns

https://mkmanuals.com/downloadable/download/sample/sample_id/714/

Knit Radar 1/4 scale patterns

https://mkmanuals.com/singer-silver-reed-knit-radar-1-4-scale-patterns.html

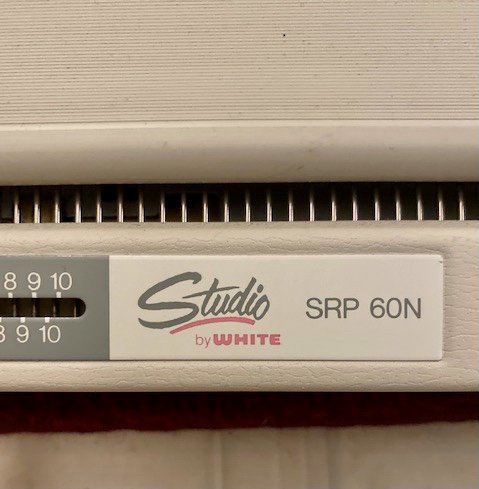
Studio Singer Ribber SRP-60N - download | Intarsia Carriage manual | Studio Rib Carriage Manual |

Video of sk280 setup | Video of Ribber SRP-60N Alignment |


SRP60N - Ribber bed and carriage. ($830 on Etsy) | Diagram and info | P-Carriage is used primarily to knit drive lace or pile stitch patterns. The P-Carriage will allow you to re-position the needles and/or drop stitches. It brings needles from working position B to upper working position C which helps the stitches knit off correctly and stops unintentional tucking, especially when working with heavier yarns. Moves all the needles up into upper working position thereby the ruler underneath taking the stitches behind the latches. P-Carriage Video


YC5 - Automatic color changer. ($80 on eBay) | User manual | Video used on sk360 | This is used when using double bed only, ie double bed jacquard. The YC6 is single bed. I am giving two of these away as soon as they find homes.


AW1 - Weaving arm. ($120) The automatic, high-speed weaving arm transfers the weaving yarn from side to side of the carriage automatically, thus eliminating the need to manually move the yarn. It will automatically produce all types of textures and designs as easily as knitting stockinette. The AW-1 weaving arm can be used on all standard gauge machines. Also fits fine gauge machines when equipped with fine gauge fabric gears. | Video on using | Manual | Another video:

https://www.youtube.com/watch?v=SvaEgJgBc3g


RT1 - Studio Rib Cartridge. It tranfers Stitches from the Ribber onto the Main Knitter bed. | Video how to use. | Demo by sweaterfactory | Manual |


SC3 - Automatic Linker (I ordered this off eBay $50) | Manual | Video how to use | This can be used only from the right to the left to “automatically” cast off - bind off is not very stretchy and not the best option for all applications.


AG24 - Intarsia Carriage ($88 on Etsy) | Video knitting with | Manual |


Garter Bar - Hooked bar used for casting on. Garter bars are simple, but invaluable tools for machine knitters. Use them to turn your work and create garter stitch rows. Use them as large multi-prong transfer tools for shaping. Why scrap off? Use your garter bar to temporarily hold live stitches | Detail on using | Video on how to use | Video using your garter bar |


Useful videos:

Fair Isle | No roll edge |


EDIT: Nov 27, 2022

The masters at machines who serviced it said it must have taken a castrophic drop which damaged the bed. The bed has been scrapped and a new secondhand SK700 purchased via Facebook seller in Ontario. It arrived and works great!

Edit: Oct 2023

RJ1 Birdseye Jacquard Carriage fits:

Silver Reed/Singer/Studio/Knitmaster/Empisal Punchcard and Electronic Standard Gauge Knitting Machine Ribbing Attachment SRP20 SRP50 SRP60 SRP60N SRJ70. It also fits Creative or Artisan 245 JBL245 4.5mm Ribber.

The RJ1 knits like a regular ribber carriage. It allows you to knit both sides of the fabric in Double Jacquard or Multi Colored Jacquard stitches, making every alternate needle knit Slip Stitch on the ribber side.It also creates Bird's Eye striped backing with just a flip of 2 stitches. It creates Jacquard picture knitting with no floats.The fabric is remarkably soft and stretchy.


EDIT: June 29, 2023

I purchased the newer color changer YC6 - it offers more options.

This YC6 color changer can be used on both single and double bed with ribber machines (srp60 srp60n) by changing the head angle, and allows you to automatically select any two yarns out of four with the push of a button! When the carriage moves all the way to the left end of the needle bed, the trip lever on the carriage arm activates the yarn changer and automatically exchanges one color for another. The YC 6 can automatically alternate any two colors row after row and you have the option of activating a third or fourth color at anytime by simply pressing a button. The YC 6 includes a single bed carriage arm for knitting stripes and multicolor tuck and slip patterns. It also enables you to knit Fair Isle patterns where one color (background) remains constant while the other changes. For double bed use, simply lift the trip lever on the ribber arm and enjoy a variety of colorful rib stitches and jacquards. The yarn mast has separate guides for the four yarns and increased tension capabilities.

The YC6 4 way Color Changer fits standard gauge 4.5mm knitting machines Silver Reed Studio Singer Knitmaster SK210 SK280 SK360 SK500 SK560 SK580 SK700 SK740 and SK840 Electronic.

The YC6 color changer will work on 3.6mm fine gauge SK270 and SK830 knitting machines if the sprocket wheels (plastic gears 062555269) are changed from 4.5mm to 3.6mm. It also fits our Creative SK280 and Artisan 245 4.5mm knitting machine.

YC6 Manual | VIDEOS ON USING THE YC6: Cindy MacTaggert | Claude Masculaine |

See my related INSTAGRAM posts: ONE | (Also on YOUTUBE) |