Sorry it’s not machine knitting….


We recently were visiting my husbands parents, while there on one of the days we were helping in the garden. They had a planter that needed further dirt and then plants added. With very little movement the bottom fell out. The planter had the base attached only with a line of screws in the same grain line of the last horizontal board (perhaps this made it weak?).
They offered it to us to rebuild - I was definitely excited at the challenge with some interest searchingly I had a basic design in mind
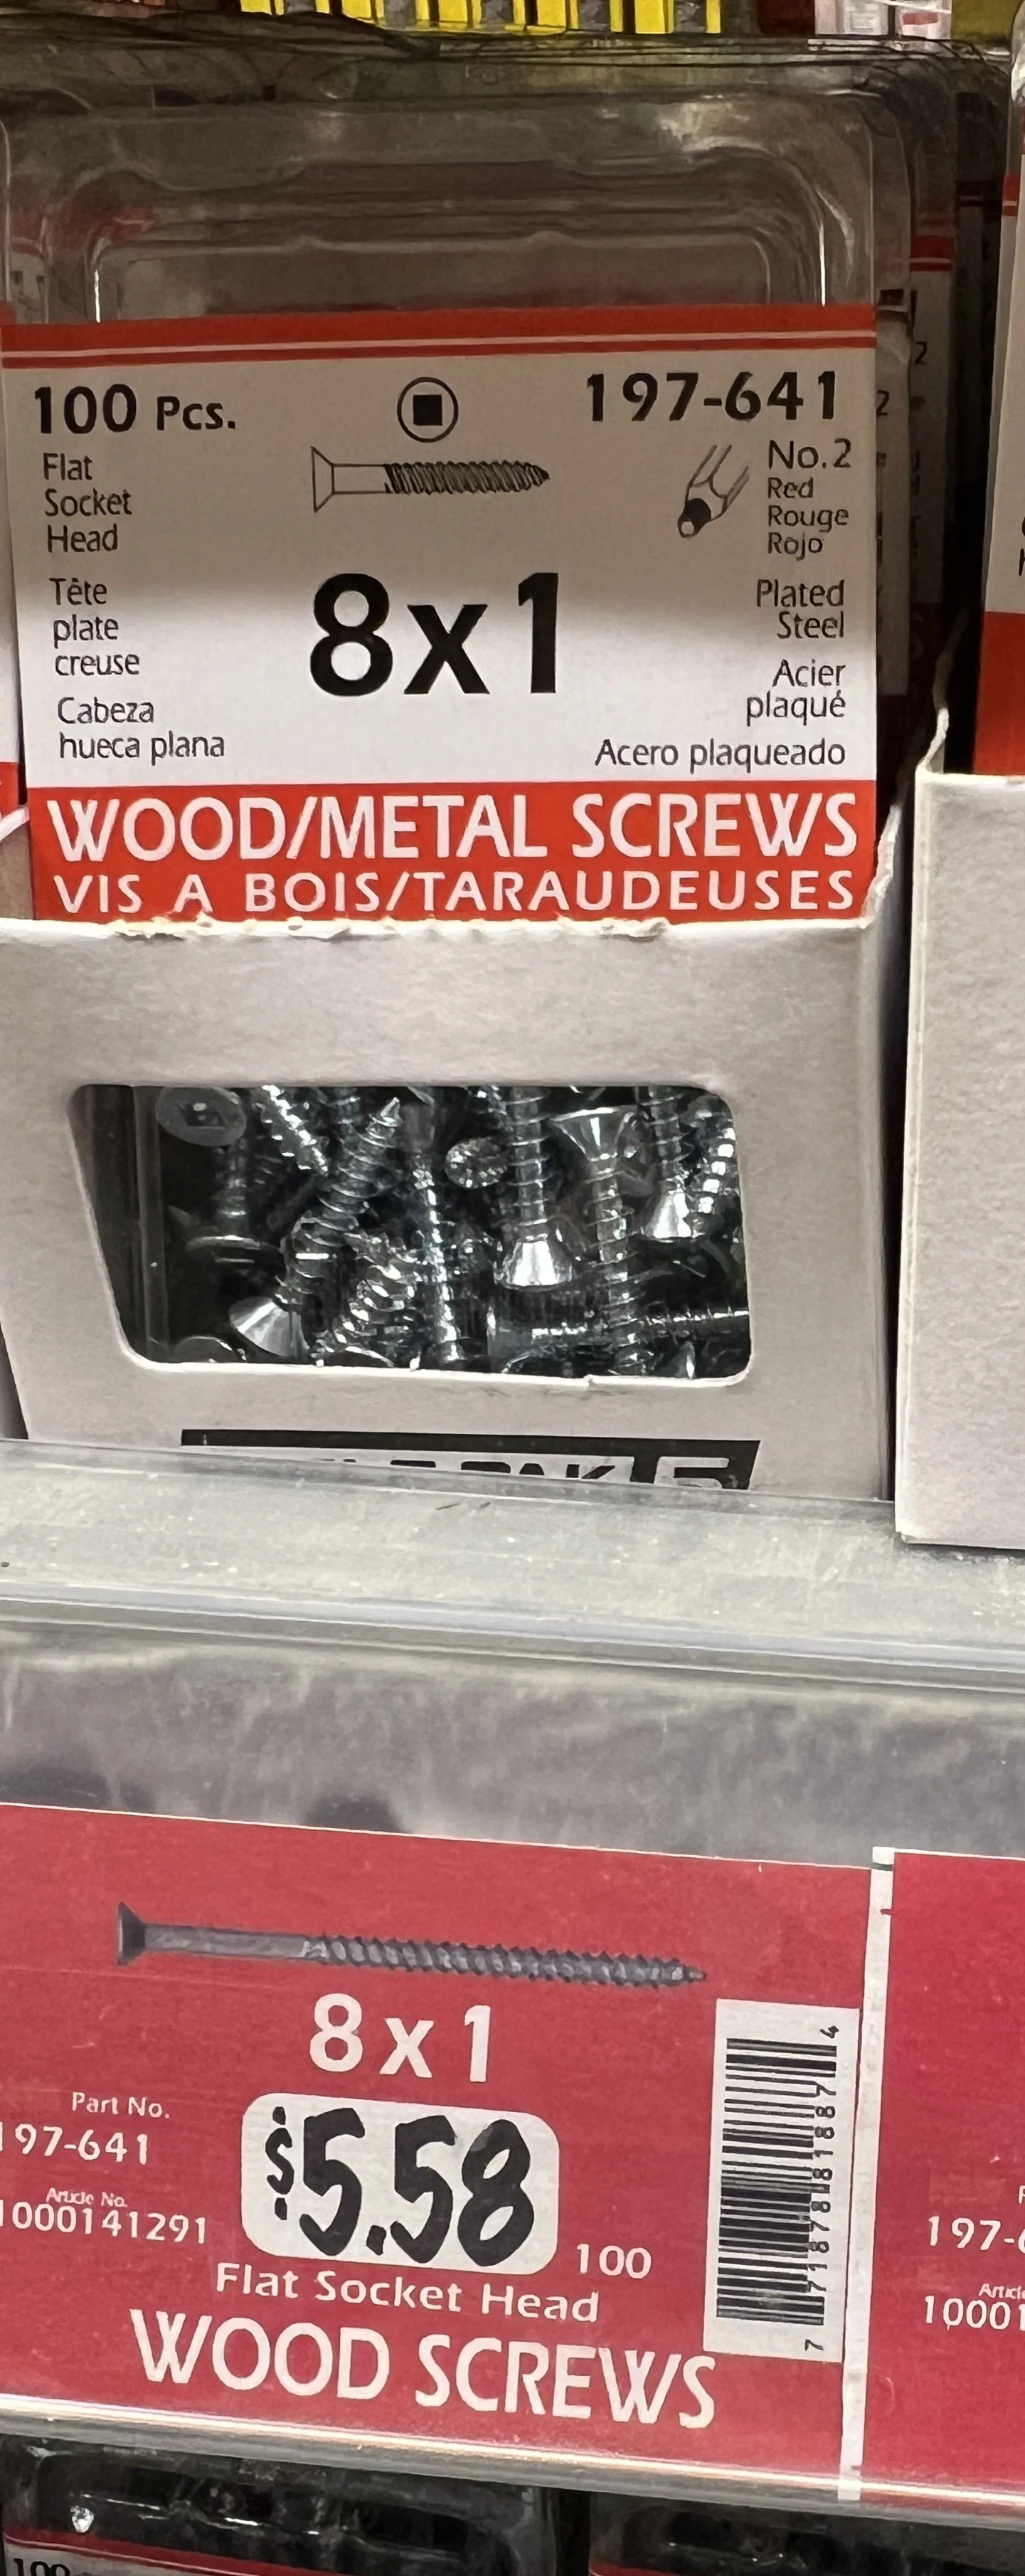
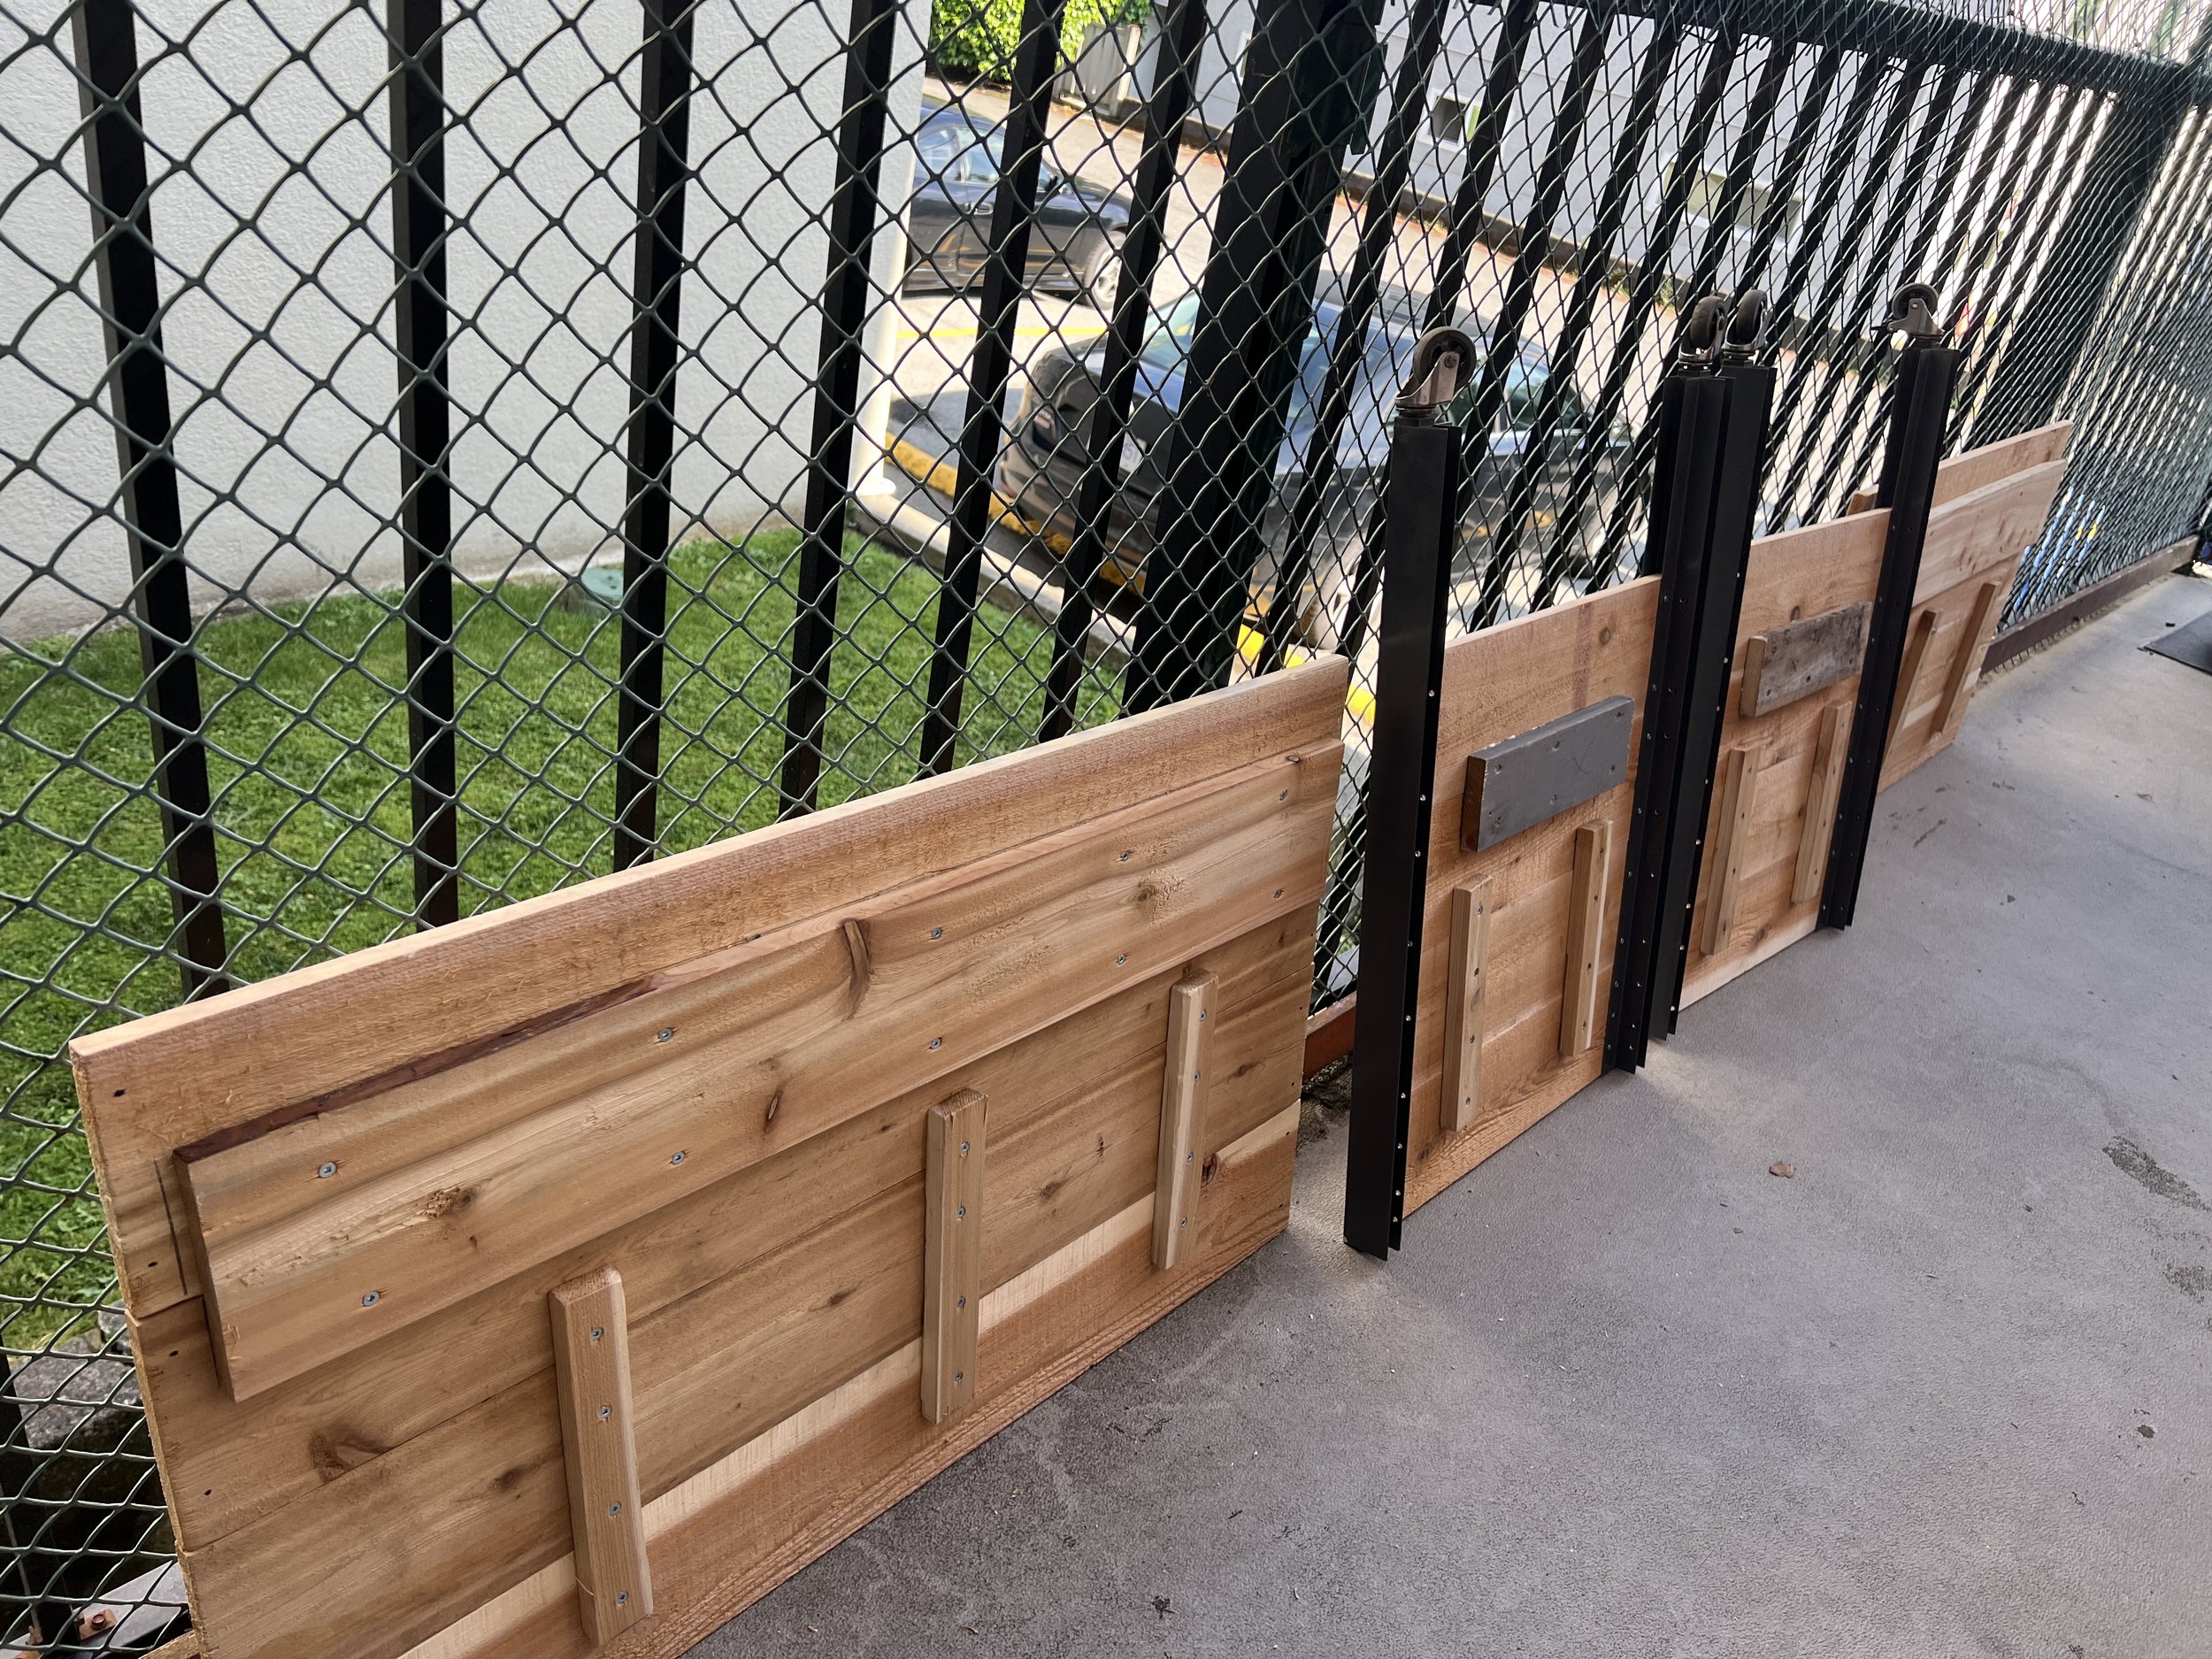
We would use the legs which have wheels and minimal repurposing of the prior wood for the base support we went to Home Depot Friday evening after work armed with a borrowed measuring tape and a paper/pen we spent two hours making a plan with the cedar boards they had in stock. We bought 1” wood screws to attach the vertical inner supports, red rolled the attachment holes on the legs and drilled further holes so that each horizontal board would have two attachment screws. We decided to purchase landscape fabric to line the inner planter once it’s finished and protected with stain
We used 5.5” wide boards laid horizontally four boards high with the lowest two being partially responsible for the base support . We used 1.5l wide boards for vertical supports on the inside of the planter
Today (Saturday May 31) we used an electric jigsaw to trim the hardware store cut boards and planned out placement and support . We had purchased an extra board cut in two as long side slat support for the inside er base. There was no way the bottom would ever fall out again
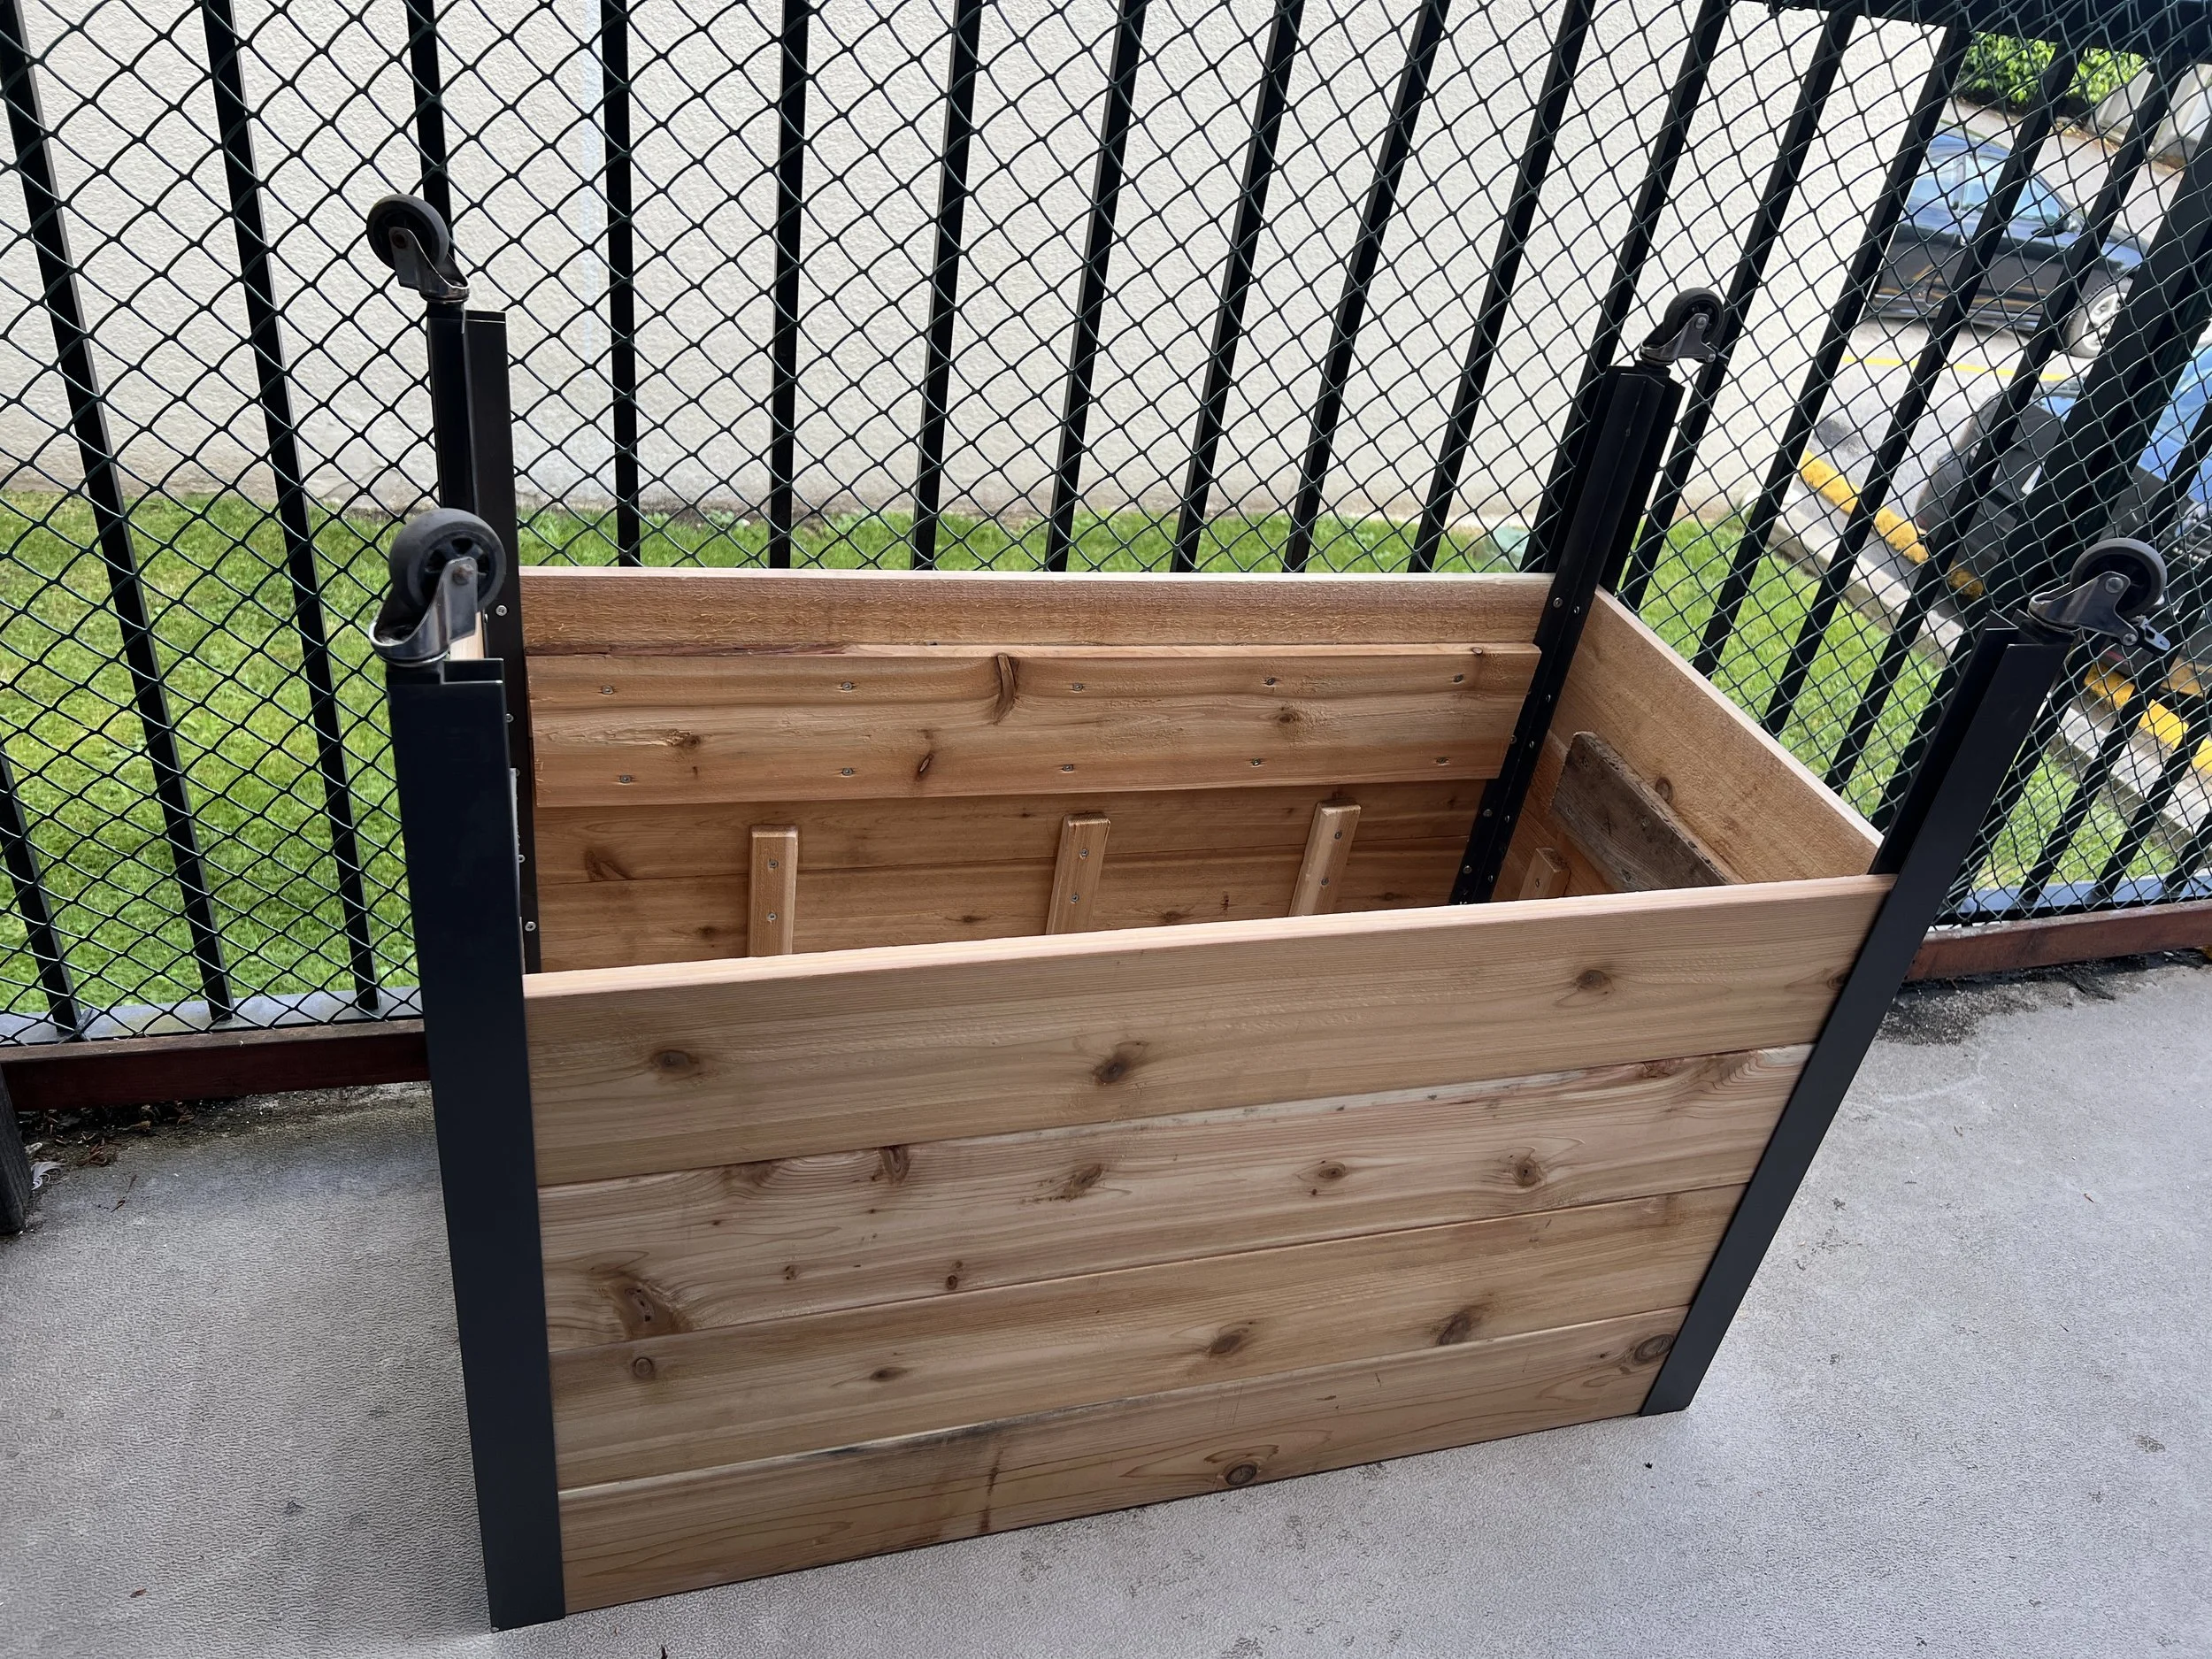
We finished building the planter!
Basic supplies came to about $150 Canadian. That plus labour makes an item that has far superior quality not found in planters sold online or at local stores. One online vendor sold a wood planter for $250usd and it has way less support and attachments
Wood was $75, the smallest amount of landscape fabric was $18. We already had the drill with 3/15” drillbit, an electric screwdriver, a jigsaw, project clamps to aid in securing the project, collapsible workstation we keep on our apartment patio, screws from prior planter further screws from our own supply, some wood from prior planter for wood slats on the base, prior corner legs with wheels, wood glue to further adhere all supports prior to screw attachment.
Next plans on another day is to sand and prep the wood with stain. we will need to add a net top portion to stop the cats from laying in the planter. We are considering cutting down to retrofit the plastic mesh tray from the prior planter to place above the bottom inside of the planter to assist in drainage
My husband trimmed the prior mesh tray to fit in the current planter.
Sunday June 1st we returned to the hardware store for more wood (for another project) and more stain/brushes. We also bought four narrow square wood pieces that will fit in the corners of the planters to support netting to discourage our cats once this is in use.
Monday June 2nd after work I put the second and final coat of stain.
Then next step is to place the black mesh trimmed plastic into the dried planter and add the landscape fabric I need to narrow the four square wood posts and locate our chicken netting then we need to buy dirt and plants
Next step
Is to