
Today I continued working on a new project I started last night - a CSM Sweater.
I consider this first version (until design decided upon after much testing) a version 1 prototype of an adult sized CSM sweater. Stay tuned. :)

I was inspired by some of the old CSM manuals showing clothing examples but no real directions. I feel a big part of a sweater is its design so I started by selecting a shirt I like from my own wardrobe, then measuring and testing gauge. Once I decided on an approach I began using sock weight acrylic coned yarn.
REFERENCES: INSTAGRAM REF1, REF2, REF3
MANUALS: Autoknitter manual | Creelman Mechanical Lessons and Parts List | Dundas | The Griswold Sock Knitter |


Tips and Tricks with working flat…


I have only ever followed top down hand knit patterns in the past so to help with a shape for a sweater I went into my closet and chose a top. I then scrutinized how I could approach this on the CSM, choosing to use my highest slot count 96 needle slot count cylinder on my Legare 400.
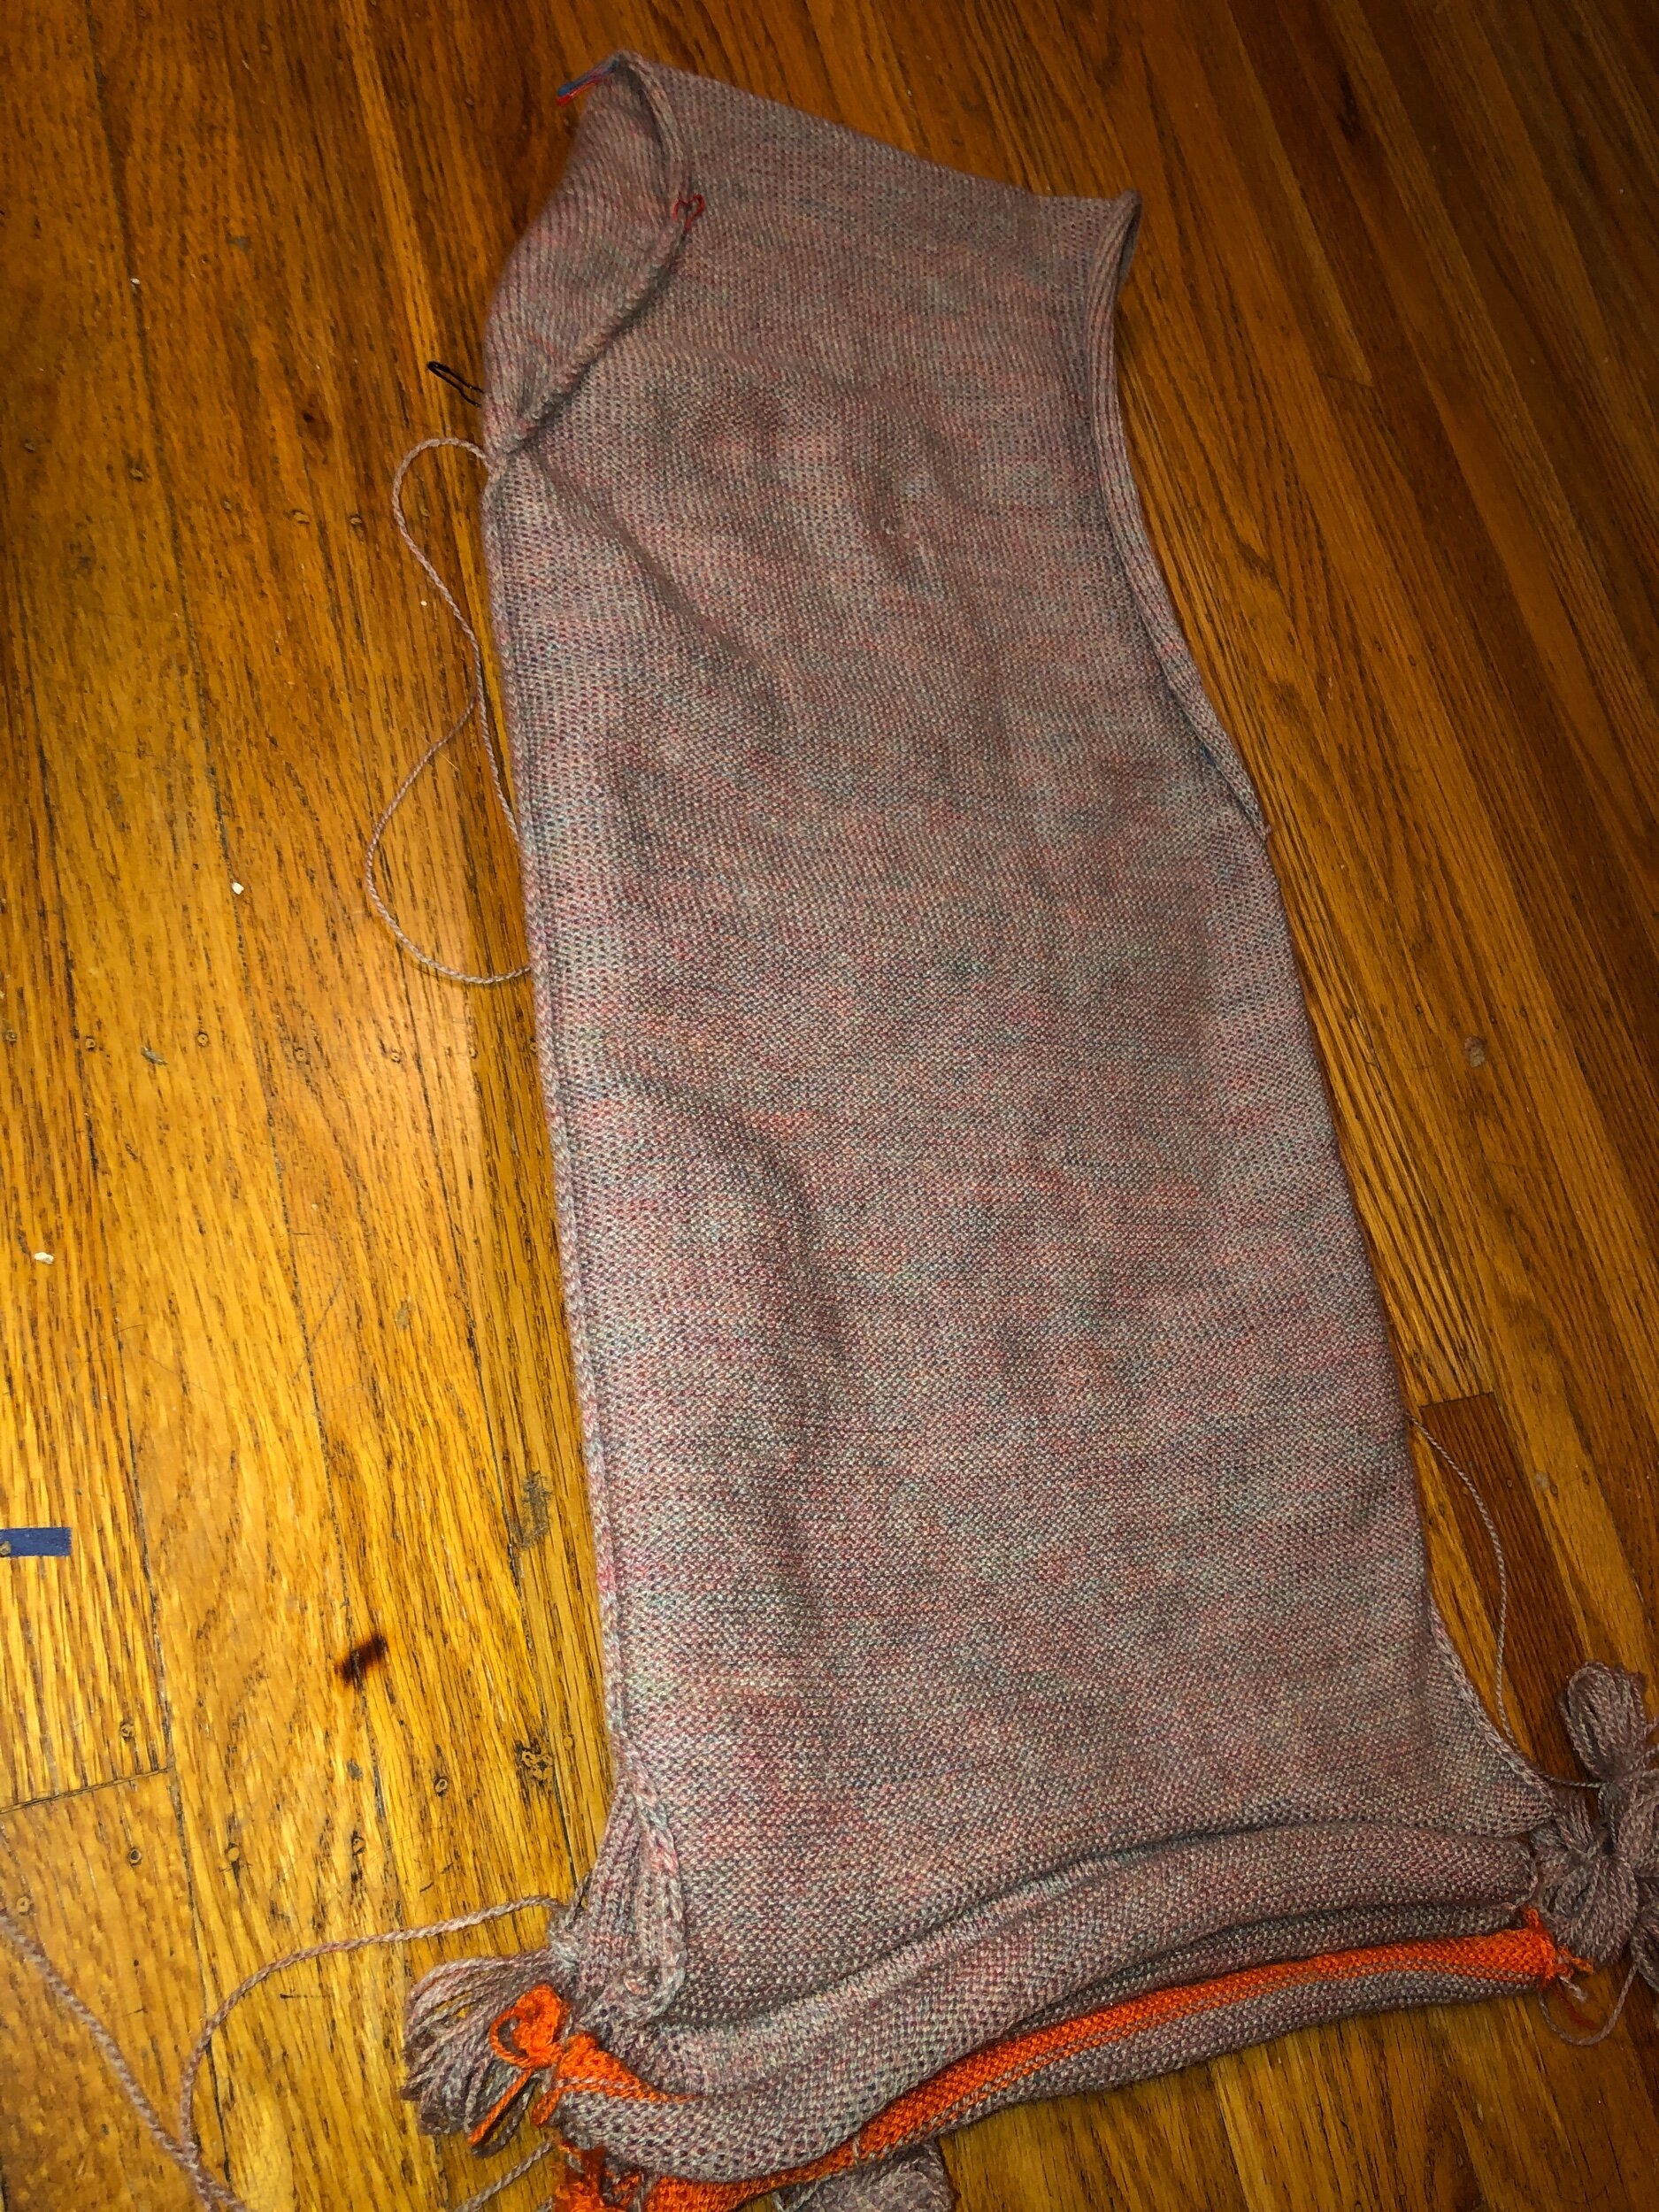
I created a front right panel from vertical midline to my right side, working flat after casting on, I started with scrap I then worked one row and on the return threaded in the yarn tail. Then I finished the row securing the yarn tail. I then hung the first row on the current needles as a selvage that would lock in the live first row stitches. The panel was worked from the waist up with slip stitch edges to above the bust where I then decreased one needle at a time to the 3pm halfway hash mark on my cylinder. I then worked a 3 inch narrowest section which would be up to the shoulder and then started increasing one needle at a time until all again were in work. I measured before, during and after, placing metal stitch markers at each segment and double markers at the top of the shoulder. As I worked the back right (still joined to the front) panel I compared the segments approximately.
Details and measurements: The front panel is 279 rows, as is the back totalling each panel at 558 rows (52” long). The narrowest segment is 96-24 wide with the narrowest segment spanning 3” with the decrease being one needle at a time until 24 needles were removed (I used the same technique but in reverse to do the increases). The rows per inch gauge is 12 with each segment at their widest - 96 needles wide (12”).
Lessions learned:
-don’t work increases or decreases on the edge if that edge will be joined with another bit of knitting. Instead hide increases or decreases a couple needles from the end (easy).
-*don’t work the slip stitch edge on any edge that will be sewn to another piece of fabric as it doesn’t easily offer a easy to use edge to seam (as easy as a regular straight forward edge)
later found a seaming method from the knit side which worked regardless to whether the edge stitch is slipped or not.
-disregard the point noted directly above - when researching knitted fabric joins I read that joining a regular edge is easier and nicer - an issue if all my edges are slip stitched - however the method I used works regardless.
-working a prototype with an acrylic cone yarn is easy to knit but creates panels that roll up. I could low temperature barrier iron the acrylic to relax the fabric but perhaps not at this time
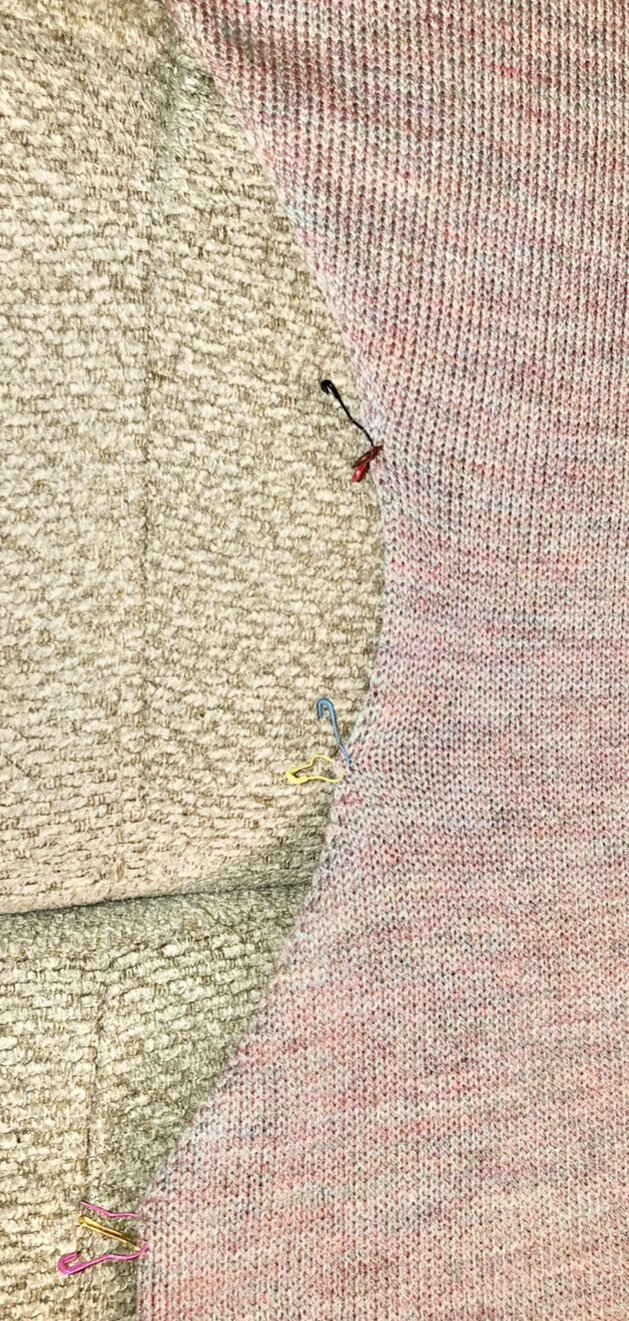
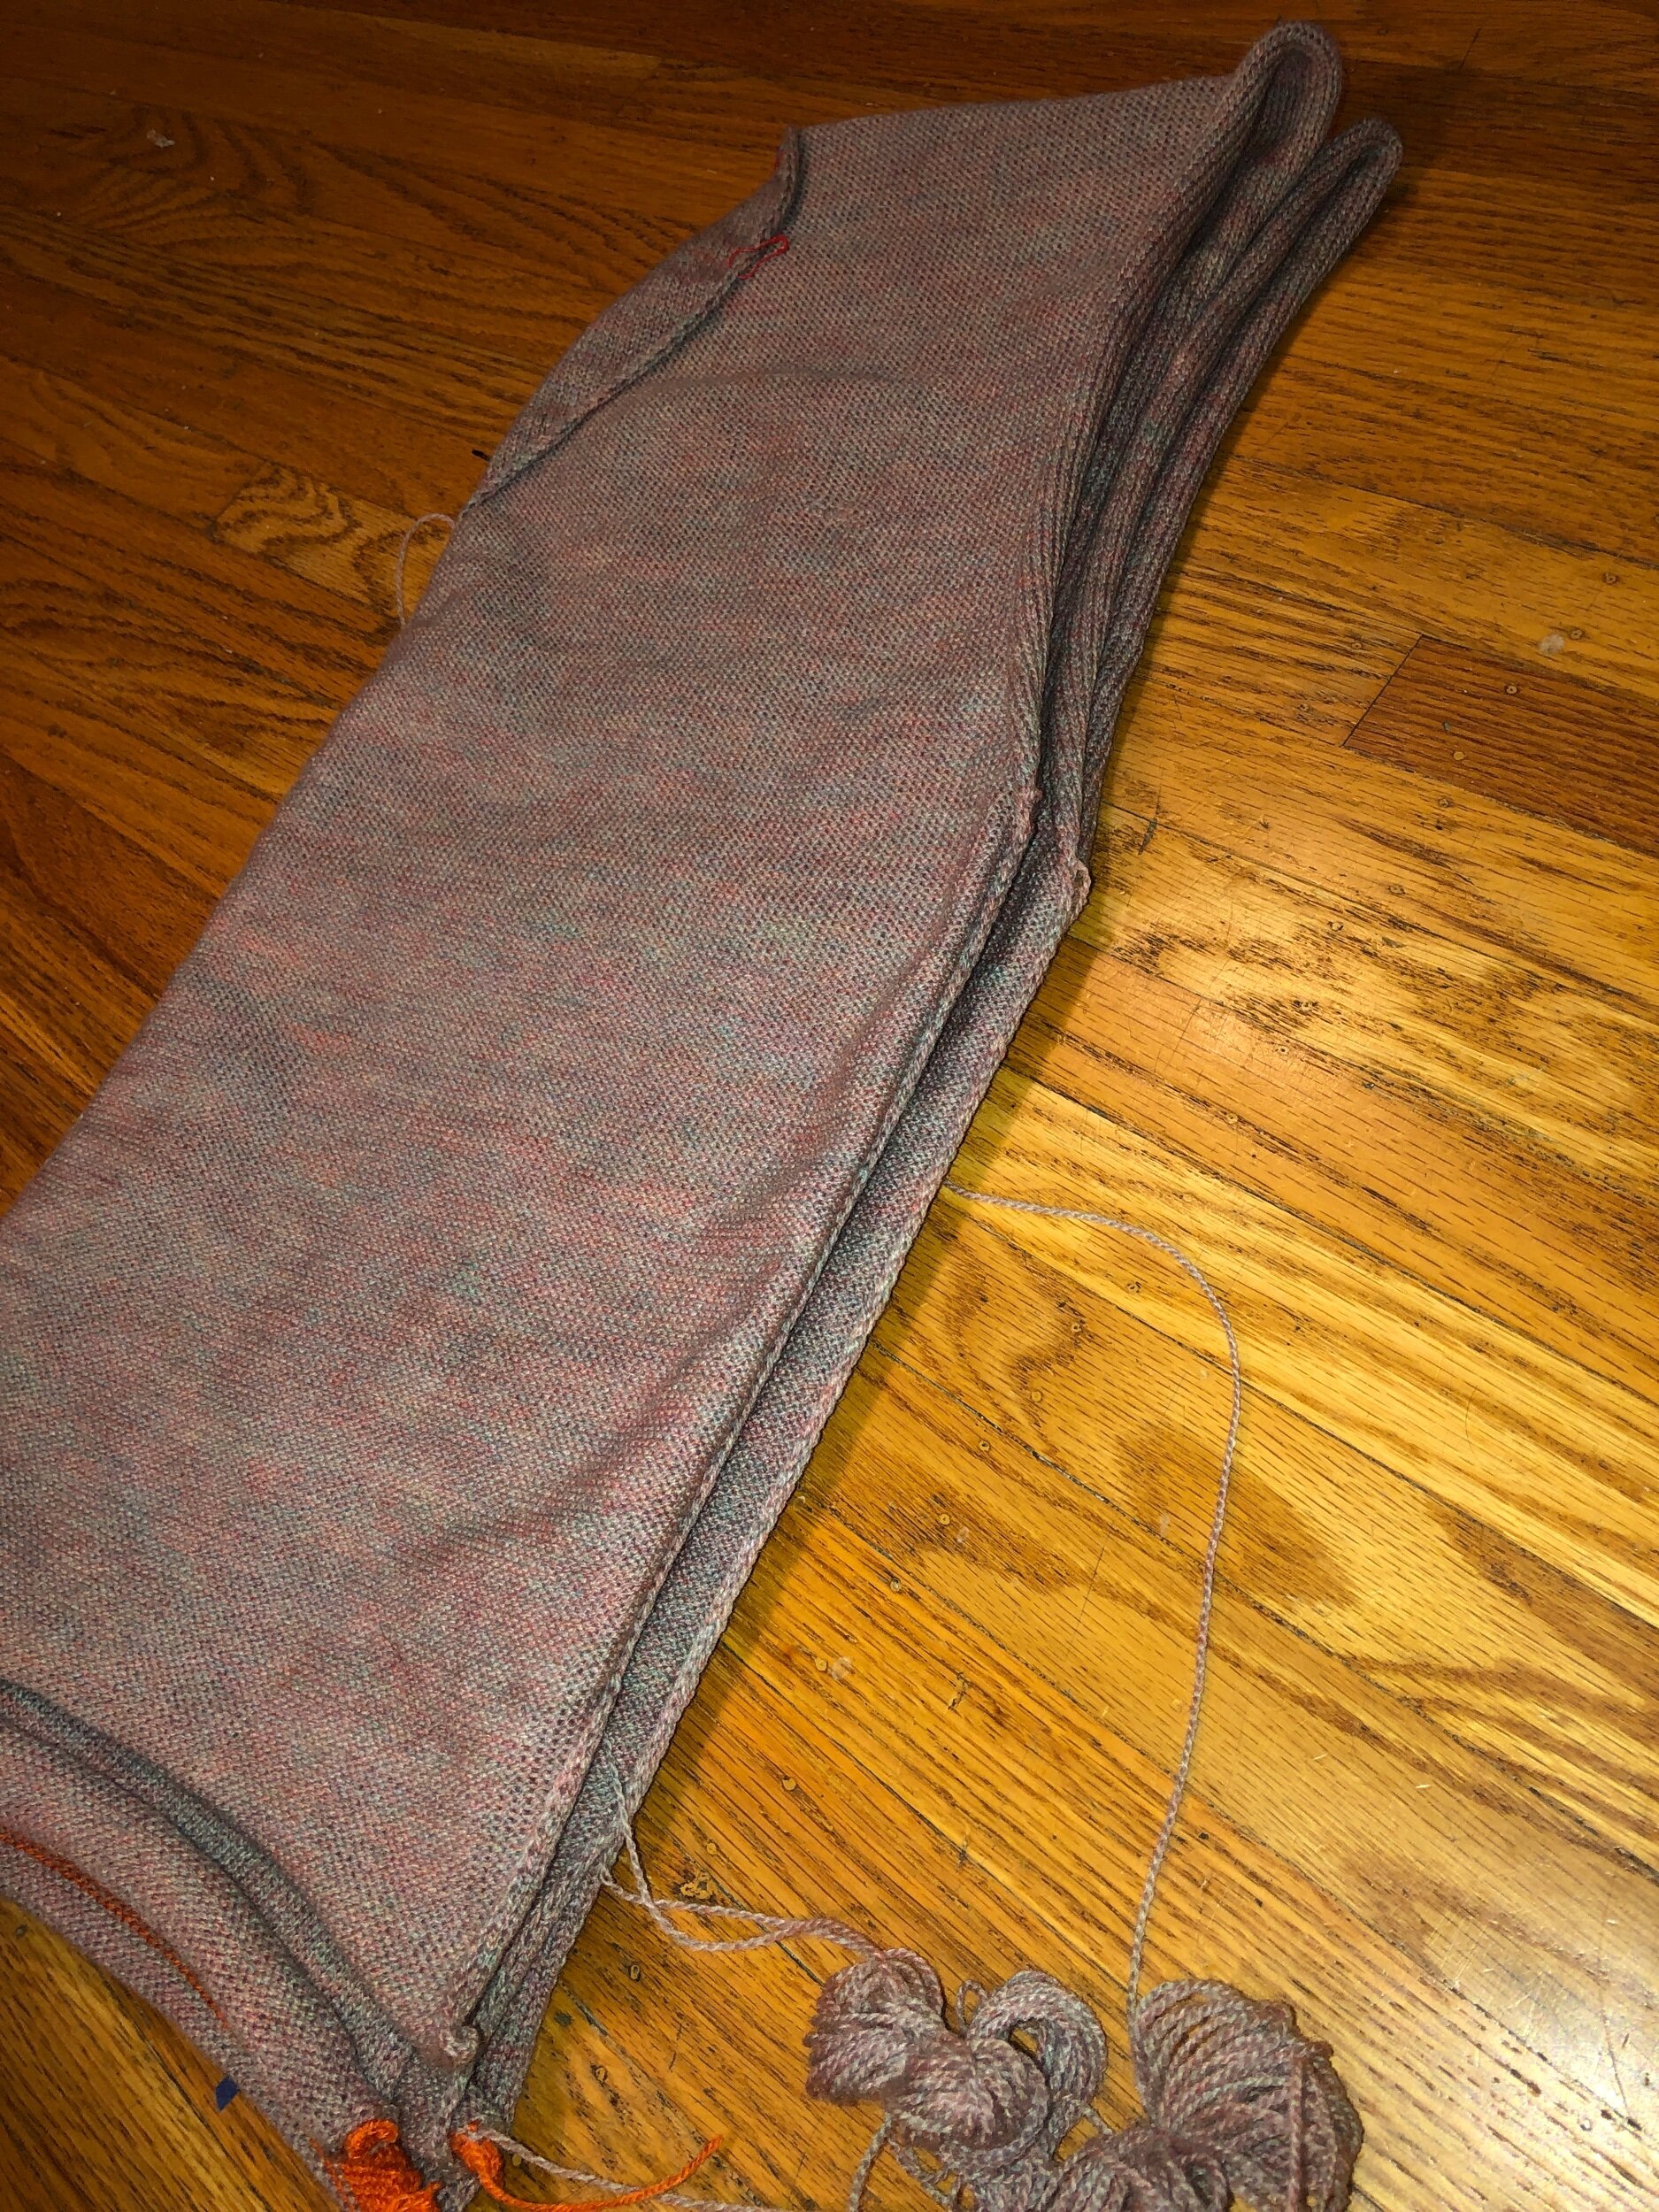
Today I laid out the two panels for measuring and photos (see below). Tonight I pinned the panels together partially from bust to halfway to the waist and “tried” the sweater neck opening to see if it would fit over my head. Success! I then started seaming the panels using this method.
Findings: I slip stitched every edge (I worked flat. With the increases I worked the row then hung the horizontal bar between the last two needles on a new needle. Then on the return pass, raised the new needle to make it the next slip stitch row. When I did homework on seaming one video suggested not making a slip stitch edge on the edge that will be seamed to another (which I worried) but then further review found the method I used had no issues with that edge. It also suggested not putting the add or decrease on the edge for easier seaming. Edge increase/decreases were of no issue for me tho.
Because of how I built the panel the front of the sweater the stitches are going from the waist to the neck however on the back of the sweater the stitches are going from the neck to the waist so they’re upside down which isn’t 100% a problem but may prove an issue if doing a decorative stitch. To create the sweater with the stitches all going the same way one can easily just build the back panels separate from the waist up to the shoulder.
See the updated YouTube video list “Joining Knitted Fabric edges”


Tonight I seamed the front and back panels and pinned the outside seams to get a feel for the fit.
When I was making these panels I had some issue trying to keep track of what row number I was on. I’ve ordered a couple things to be able perhaps to better count each flat worked row as my own installed row counter only counts complete rows.
I’ve now closed the sides of the sweater and now need to even out the four panels were they end at the waist. I’ve turned it inside out and will unravel to an even row all the way around and then determine what to do next.

I think I’ve learned my lesson whenever I am working on a flat piece that will be connected to another flat piece I will definitely not do the slip stitch edge as it was very easy to not be exactly parallel when seeming. When I joined all the panels and then trimmed so all the waist edges were even, I found that I had slightly joined the front vertical midline seam 9 stitches ahead of the neighbor front panel - which I feel wouldn’t have happened if the seamed edges were regular. Even with care somewhere during the busy to waist seam, one stitch here or there was missed - something not noted until attempting to level out the waist seam.
Now to decide what to do on the waist seam. All waist edge live stitches are temporarily on two knitting needle size “0”(2mm) circular needles.

I’ve decided to hand knit the waistband in ribbing by switching to a slightly bigger needles (the 2.5mm) than the first used size “0” (2mm) initially used.
Why I chose not to use the machine for the waist segment: Most ribbers only work going forward (not reverse) so working flat is only possible without a ribber. If I wanted a machine segment it would need to be a ribbed tube - I don’t want a tube and I would prefer not to steek (cut the tube). 🙂
I could work a narrow strip without the ribber and manually reverse the stitches in a 2 row knit 2 row Purl with a slip stitch edge and then attach. It’s a contemplation-although slow it might be a faster way. Perhaps a future option.


I installed a contact style row counter (from Erlbacher Gearhart) which works when working flat or in the round on the CSM. I installed it non-conventionally to allow my continued flat work to be done at the 12 o’clock position. For more info see my ROW COUNTERS page.