


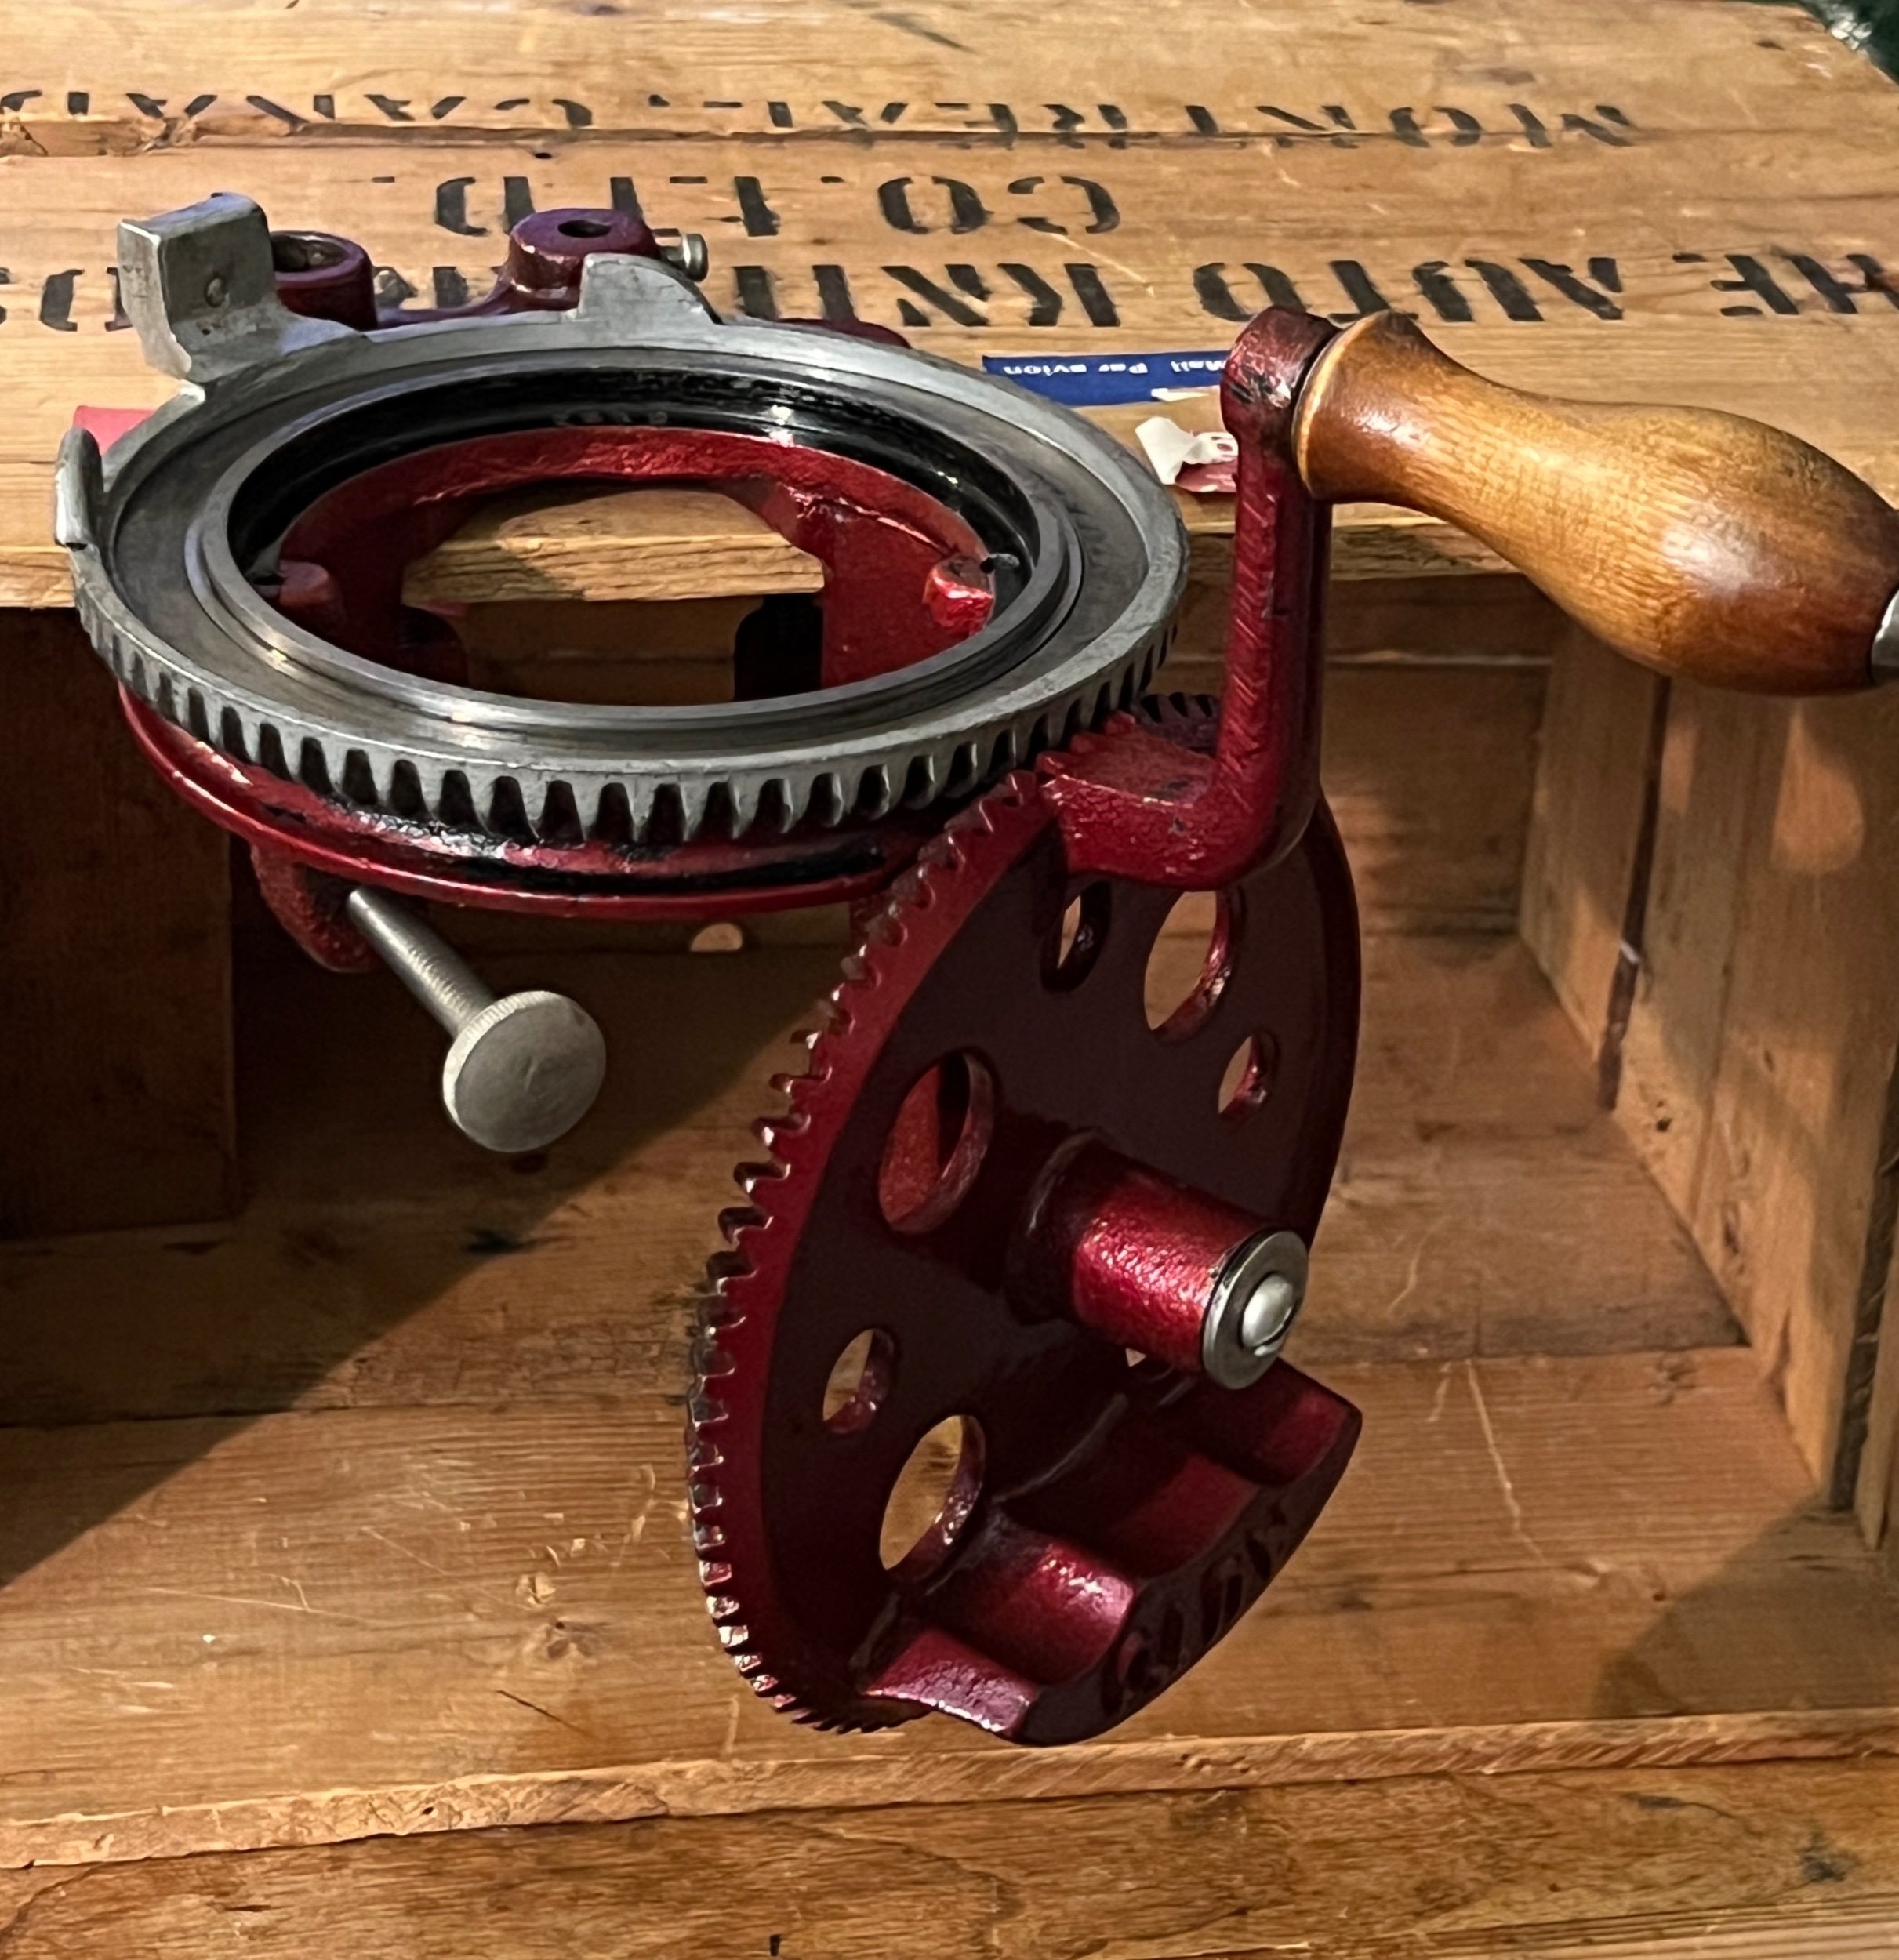
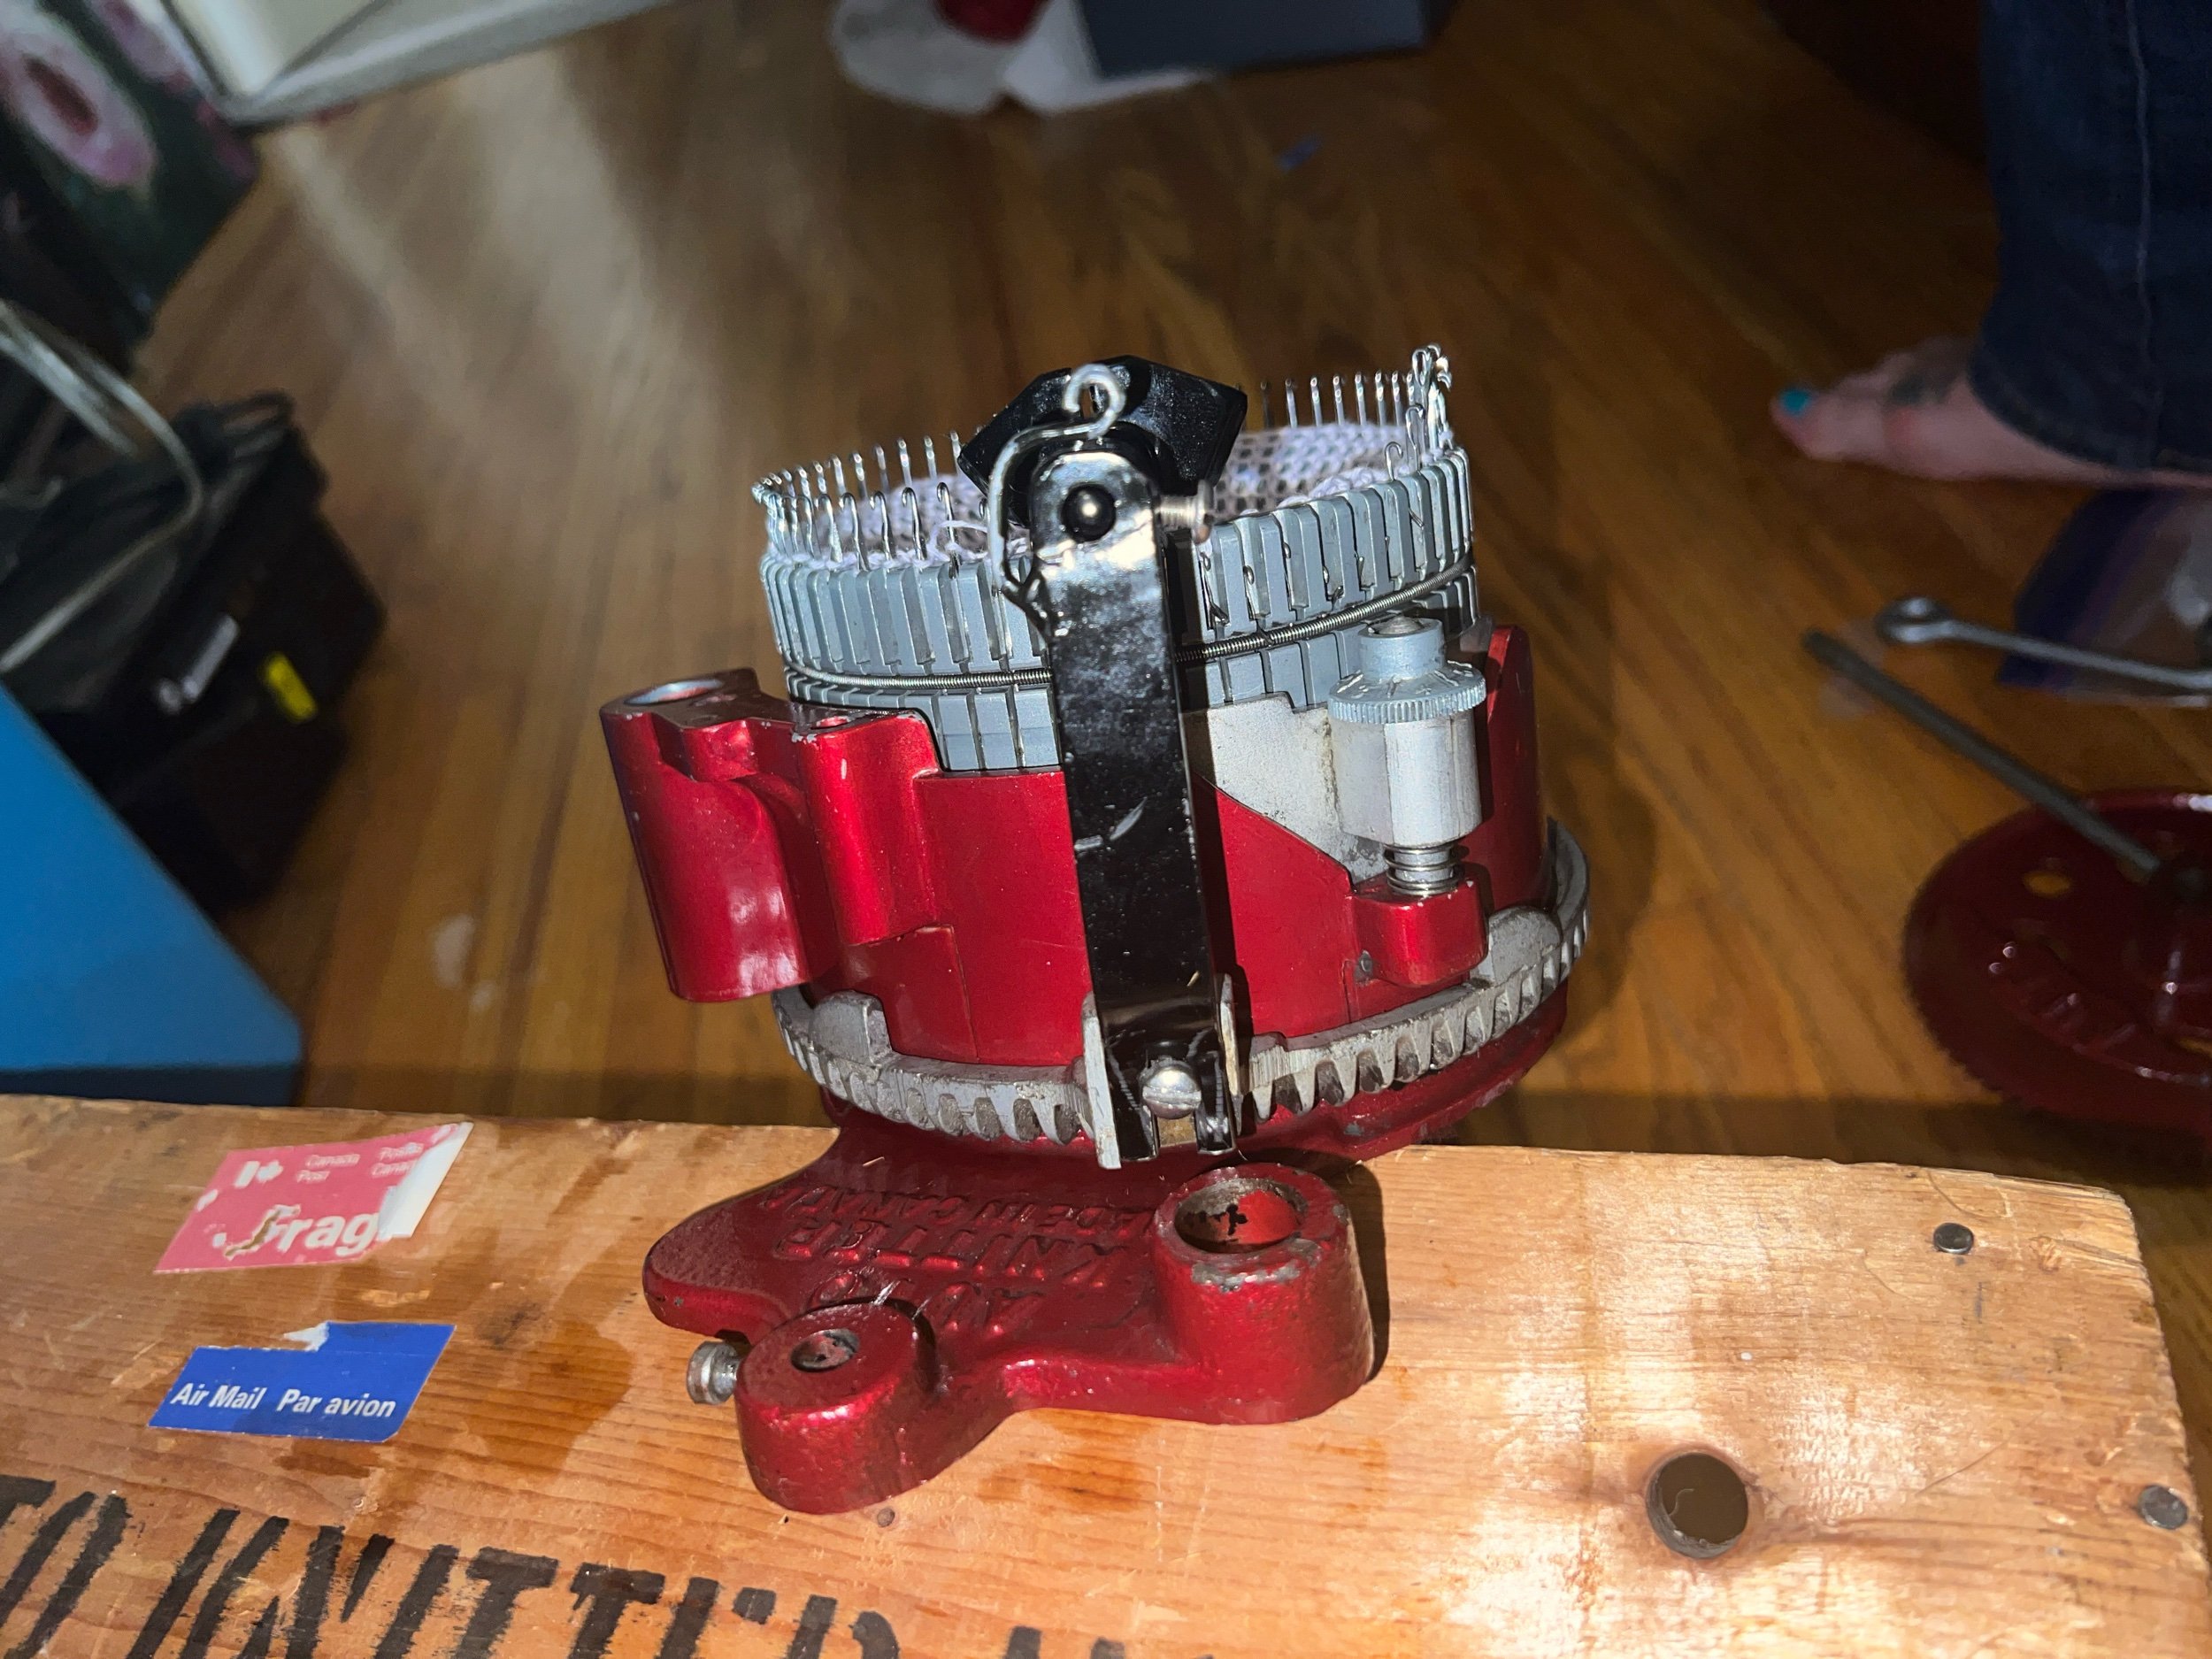
This machine is a circular sock knitting machine and is owned by an individual who prefers to make sock tubes (and off machine after thought socks) and has had issues with machine function for some time.
April 4, 2019 while having a work lunch break I had managed an impromptu cylinder clean - Instagram post.
See our full dismantle/reassemble Autoknitter video.
Unfortunately oil isn’t being used most of the time and cleaning isn’t being done as much as the machine needs.
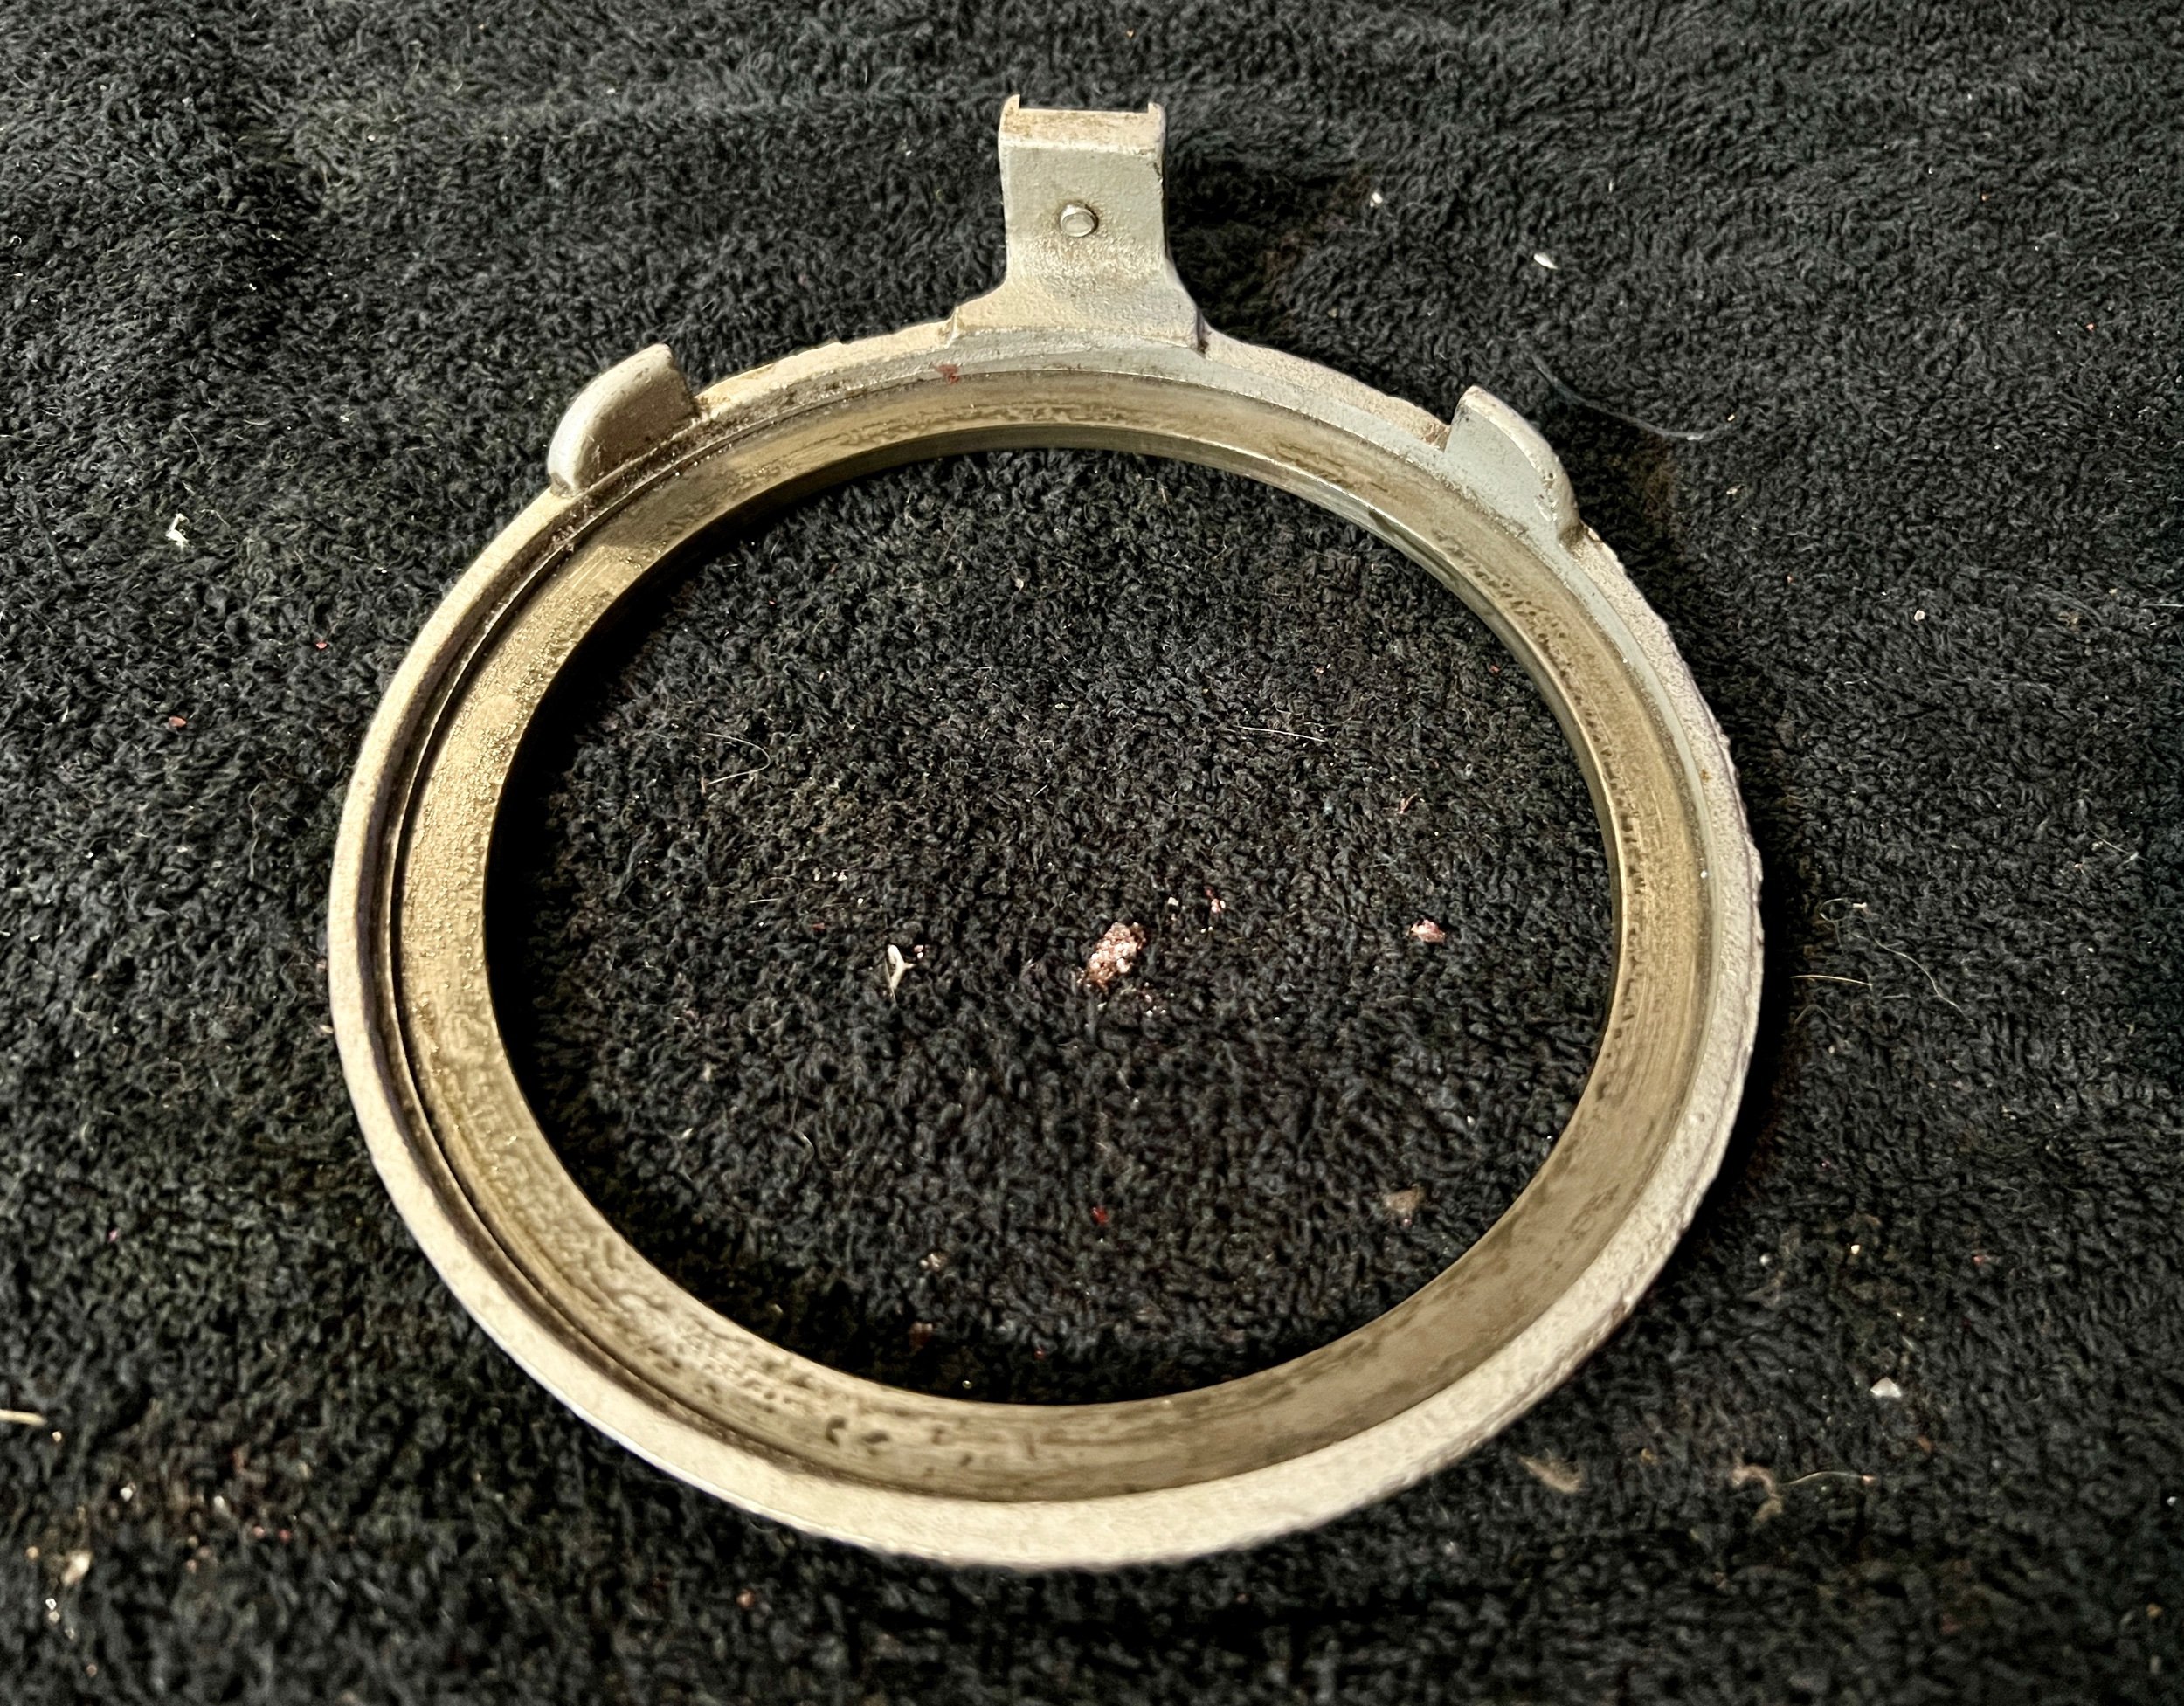
I noted a bent thumb-screw, a slightly bent handle and a yarn carrier stem part that’s still loose in its mount even with tight screw attachment. Machine was retrieved for servicing without extra needles, a buckle, tools or weights. I removed the ribber stop and screw from the inside of the cylinder as the owner chooses to use the machine with the ribber (and these are only used with a ribber on the machine).
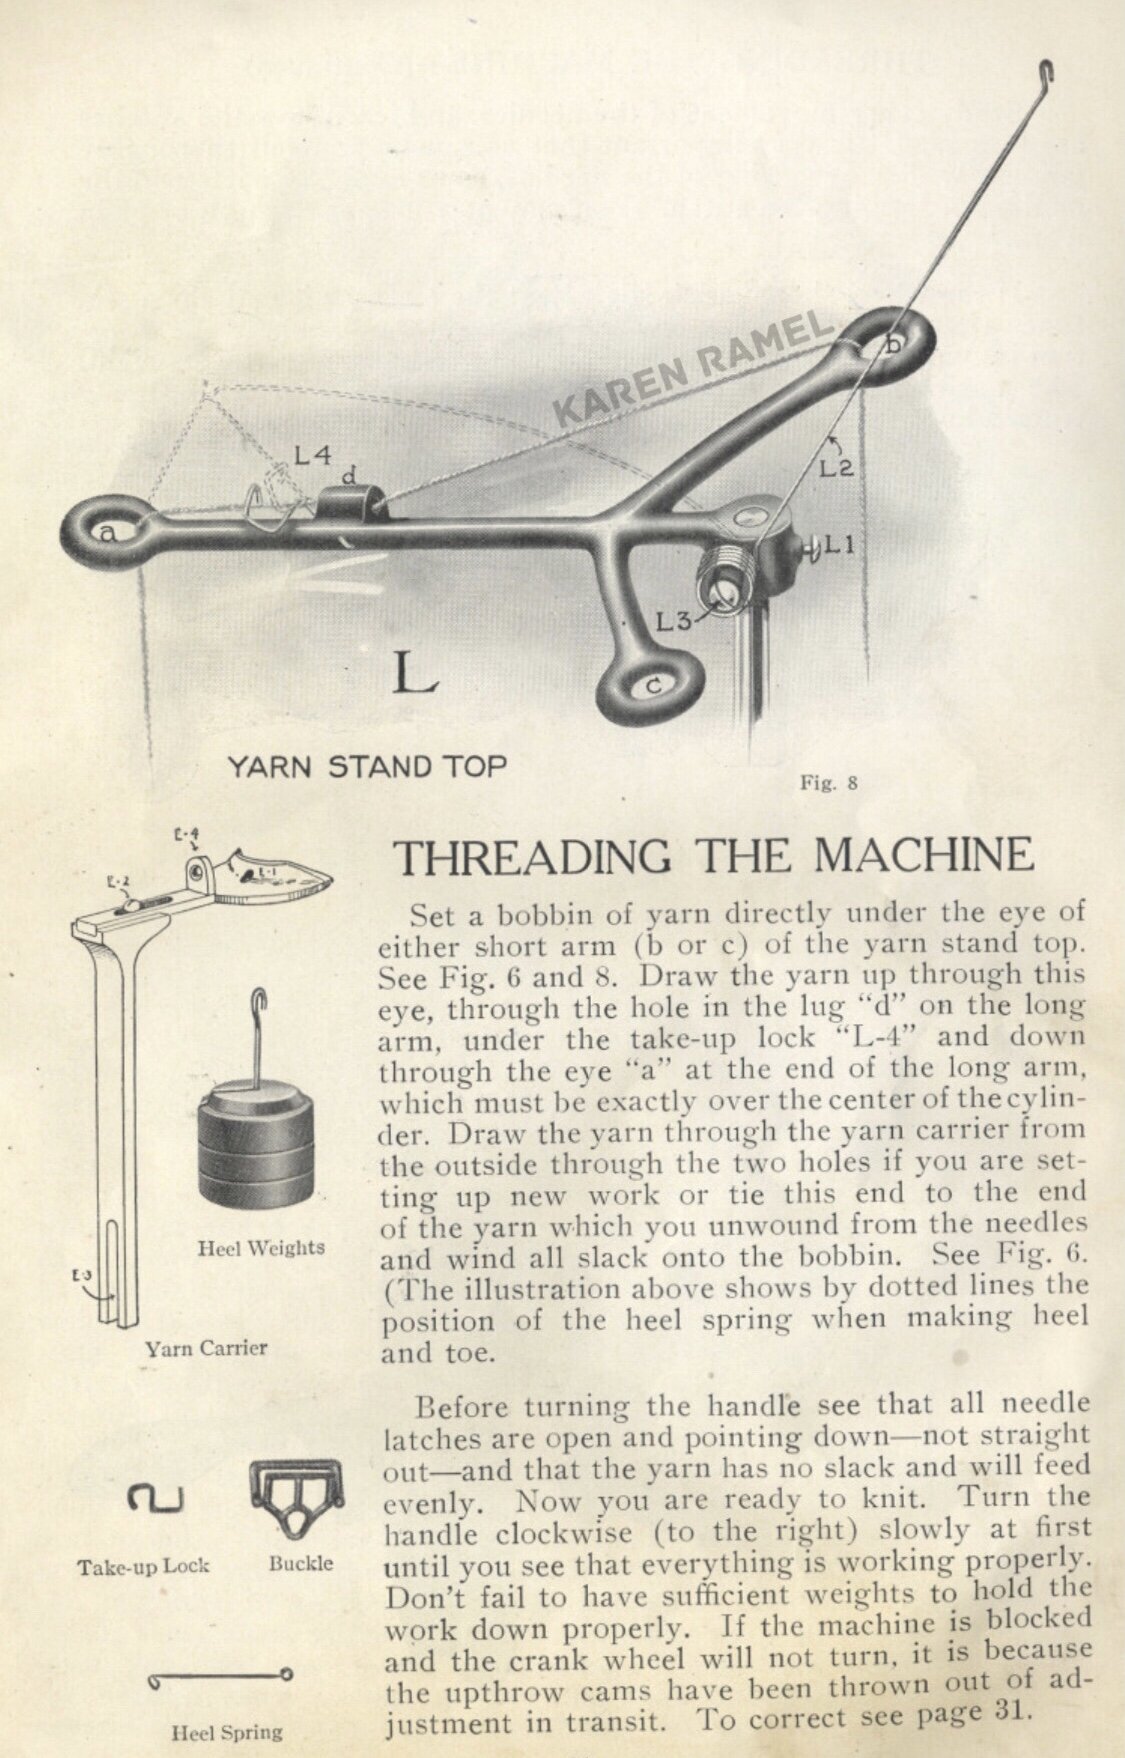
Whomever slotted the top yarn mast in the past didn’t angle the cut correctly on the middle tunnel area so now when having yarn come up from the table on the left it doesn’t sit where it should so I’ve added a clip to help the yarn path stay aligned.
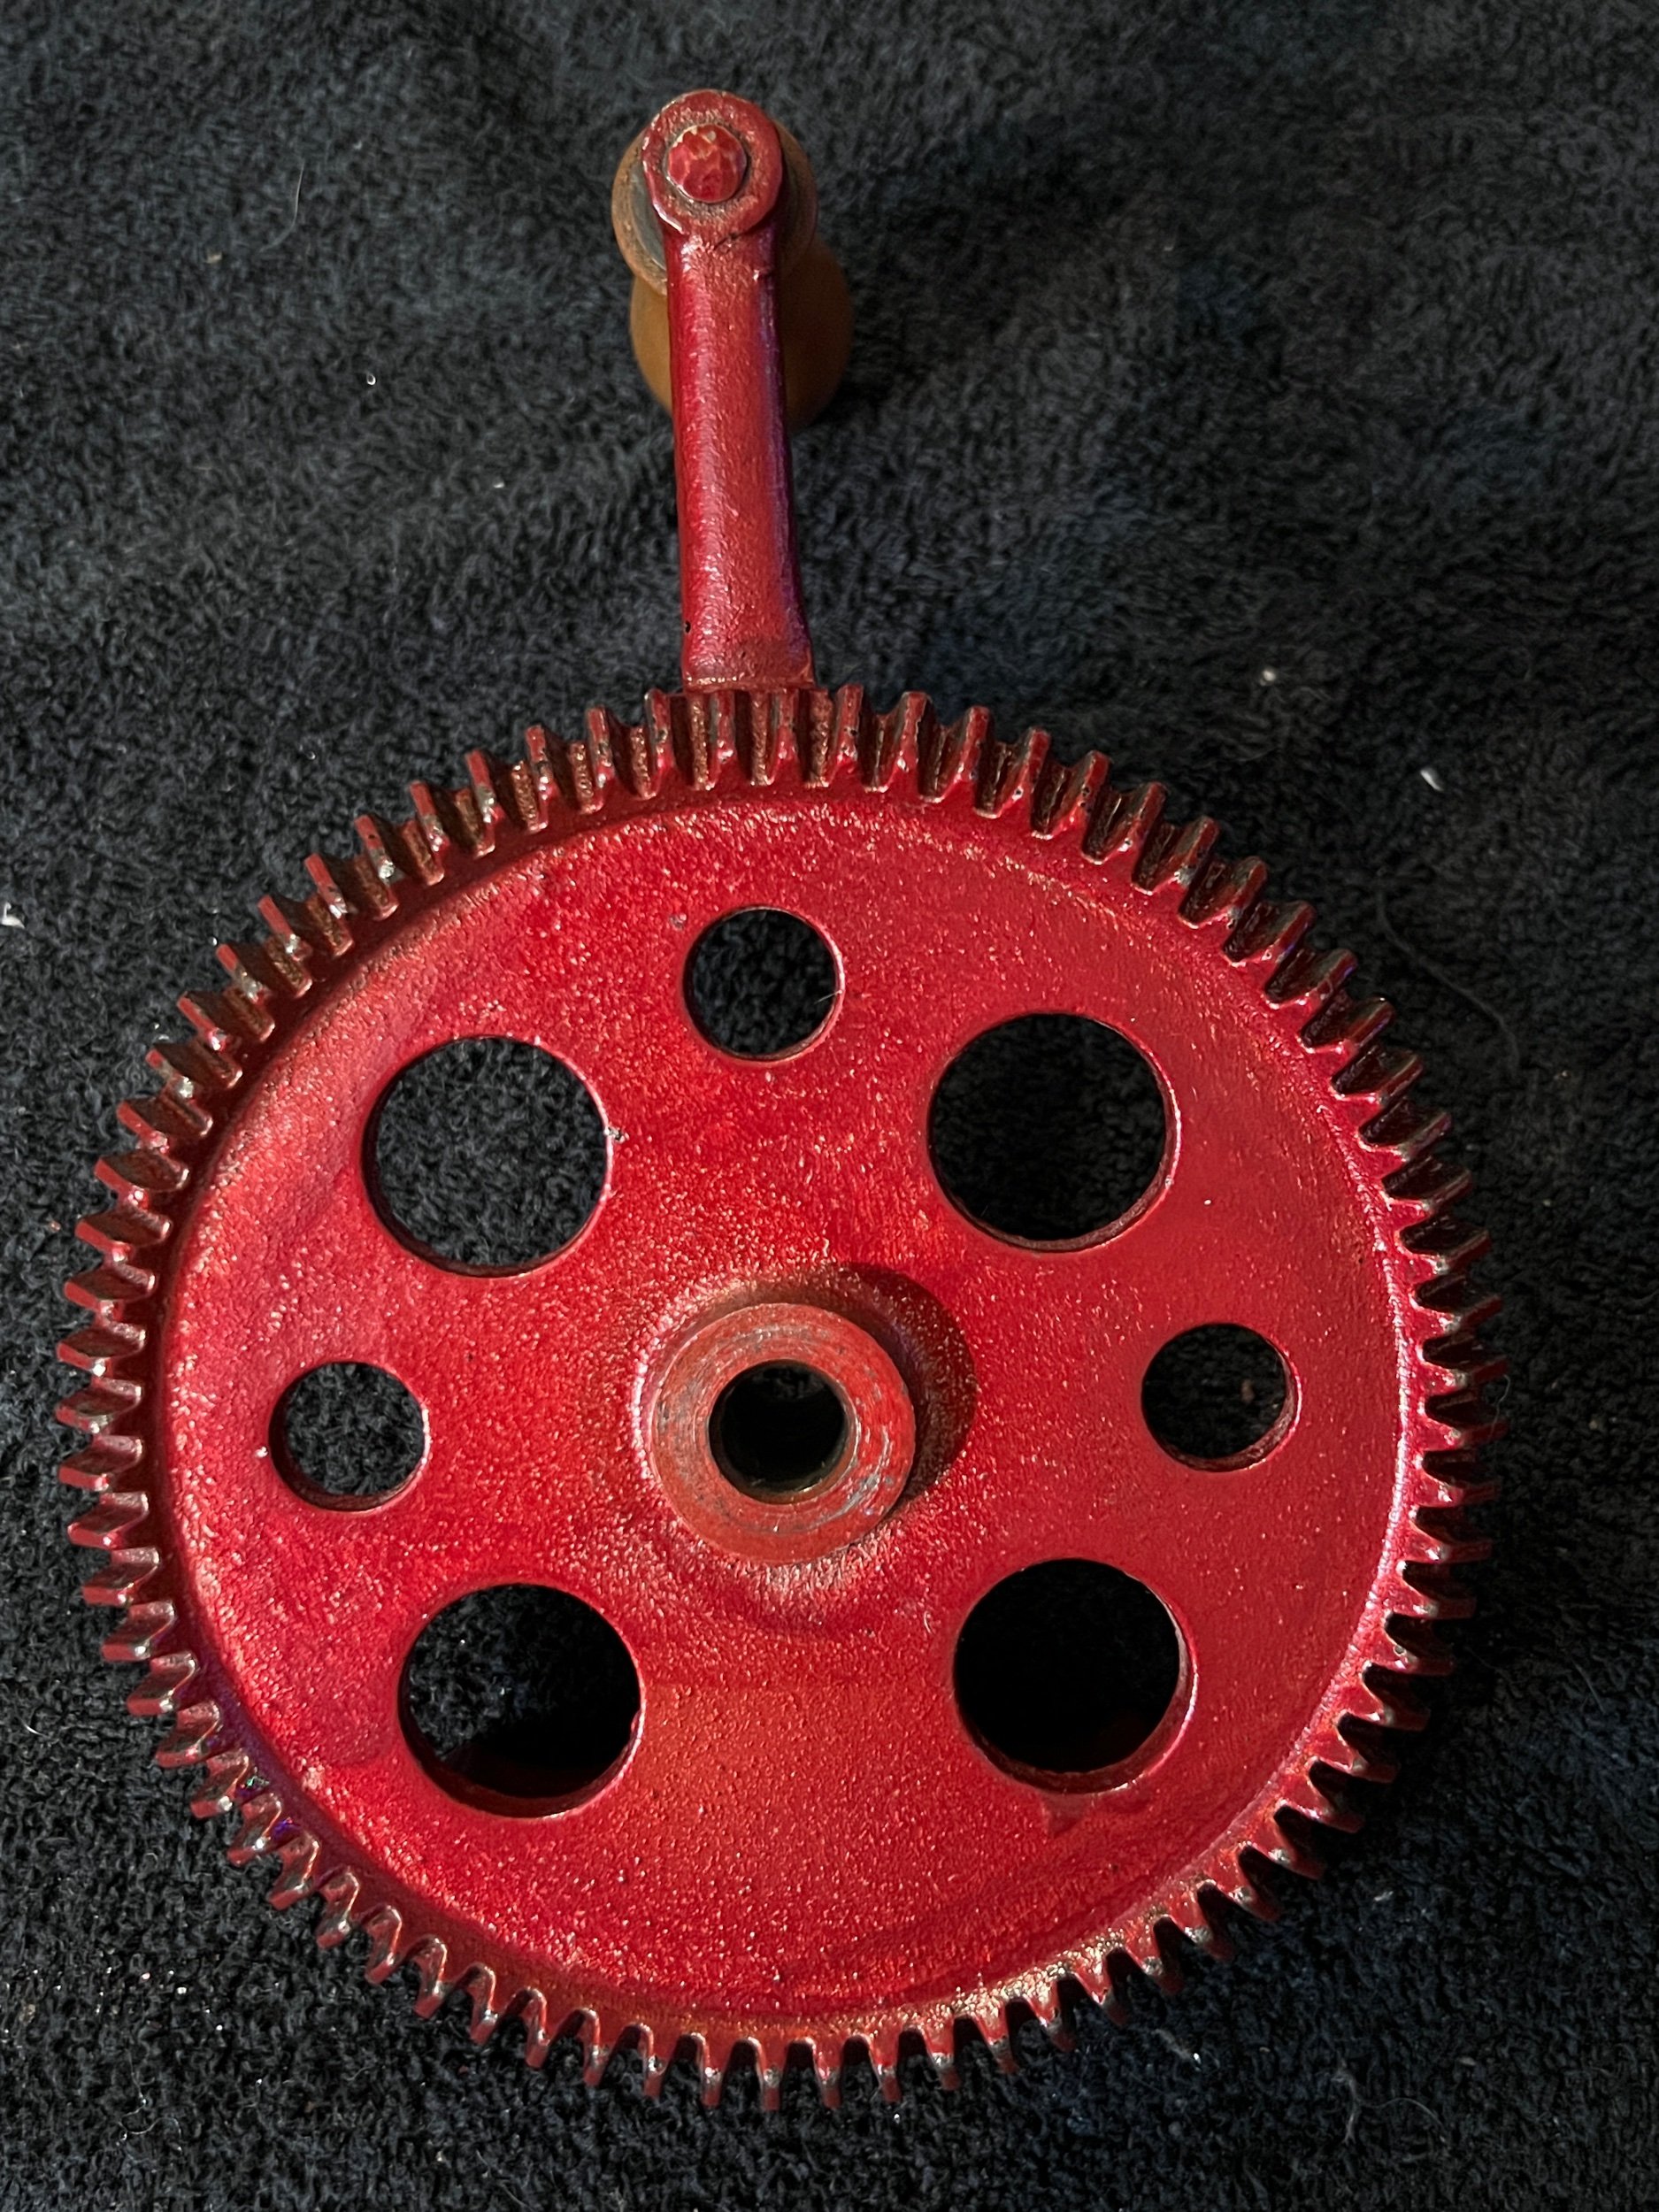
I straightened the thumb-screw allowing full motion now being able to better clamp the machine to a table.
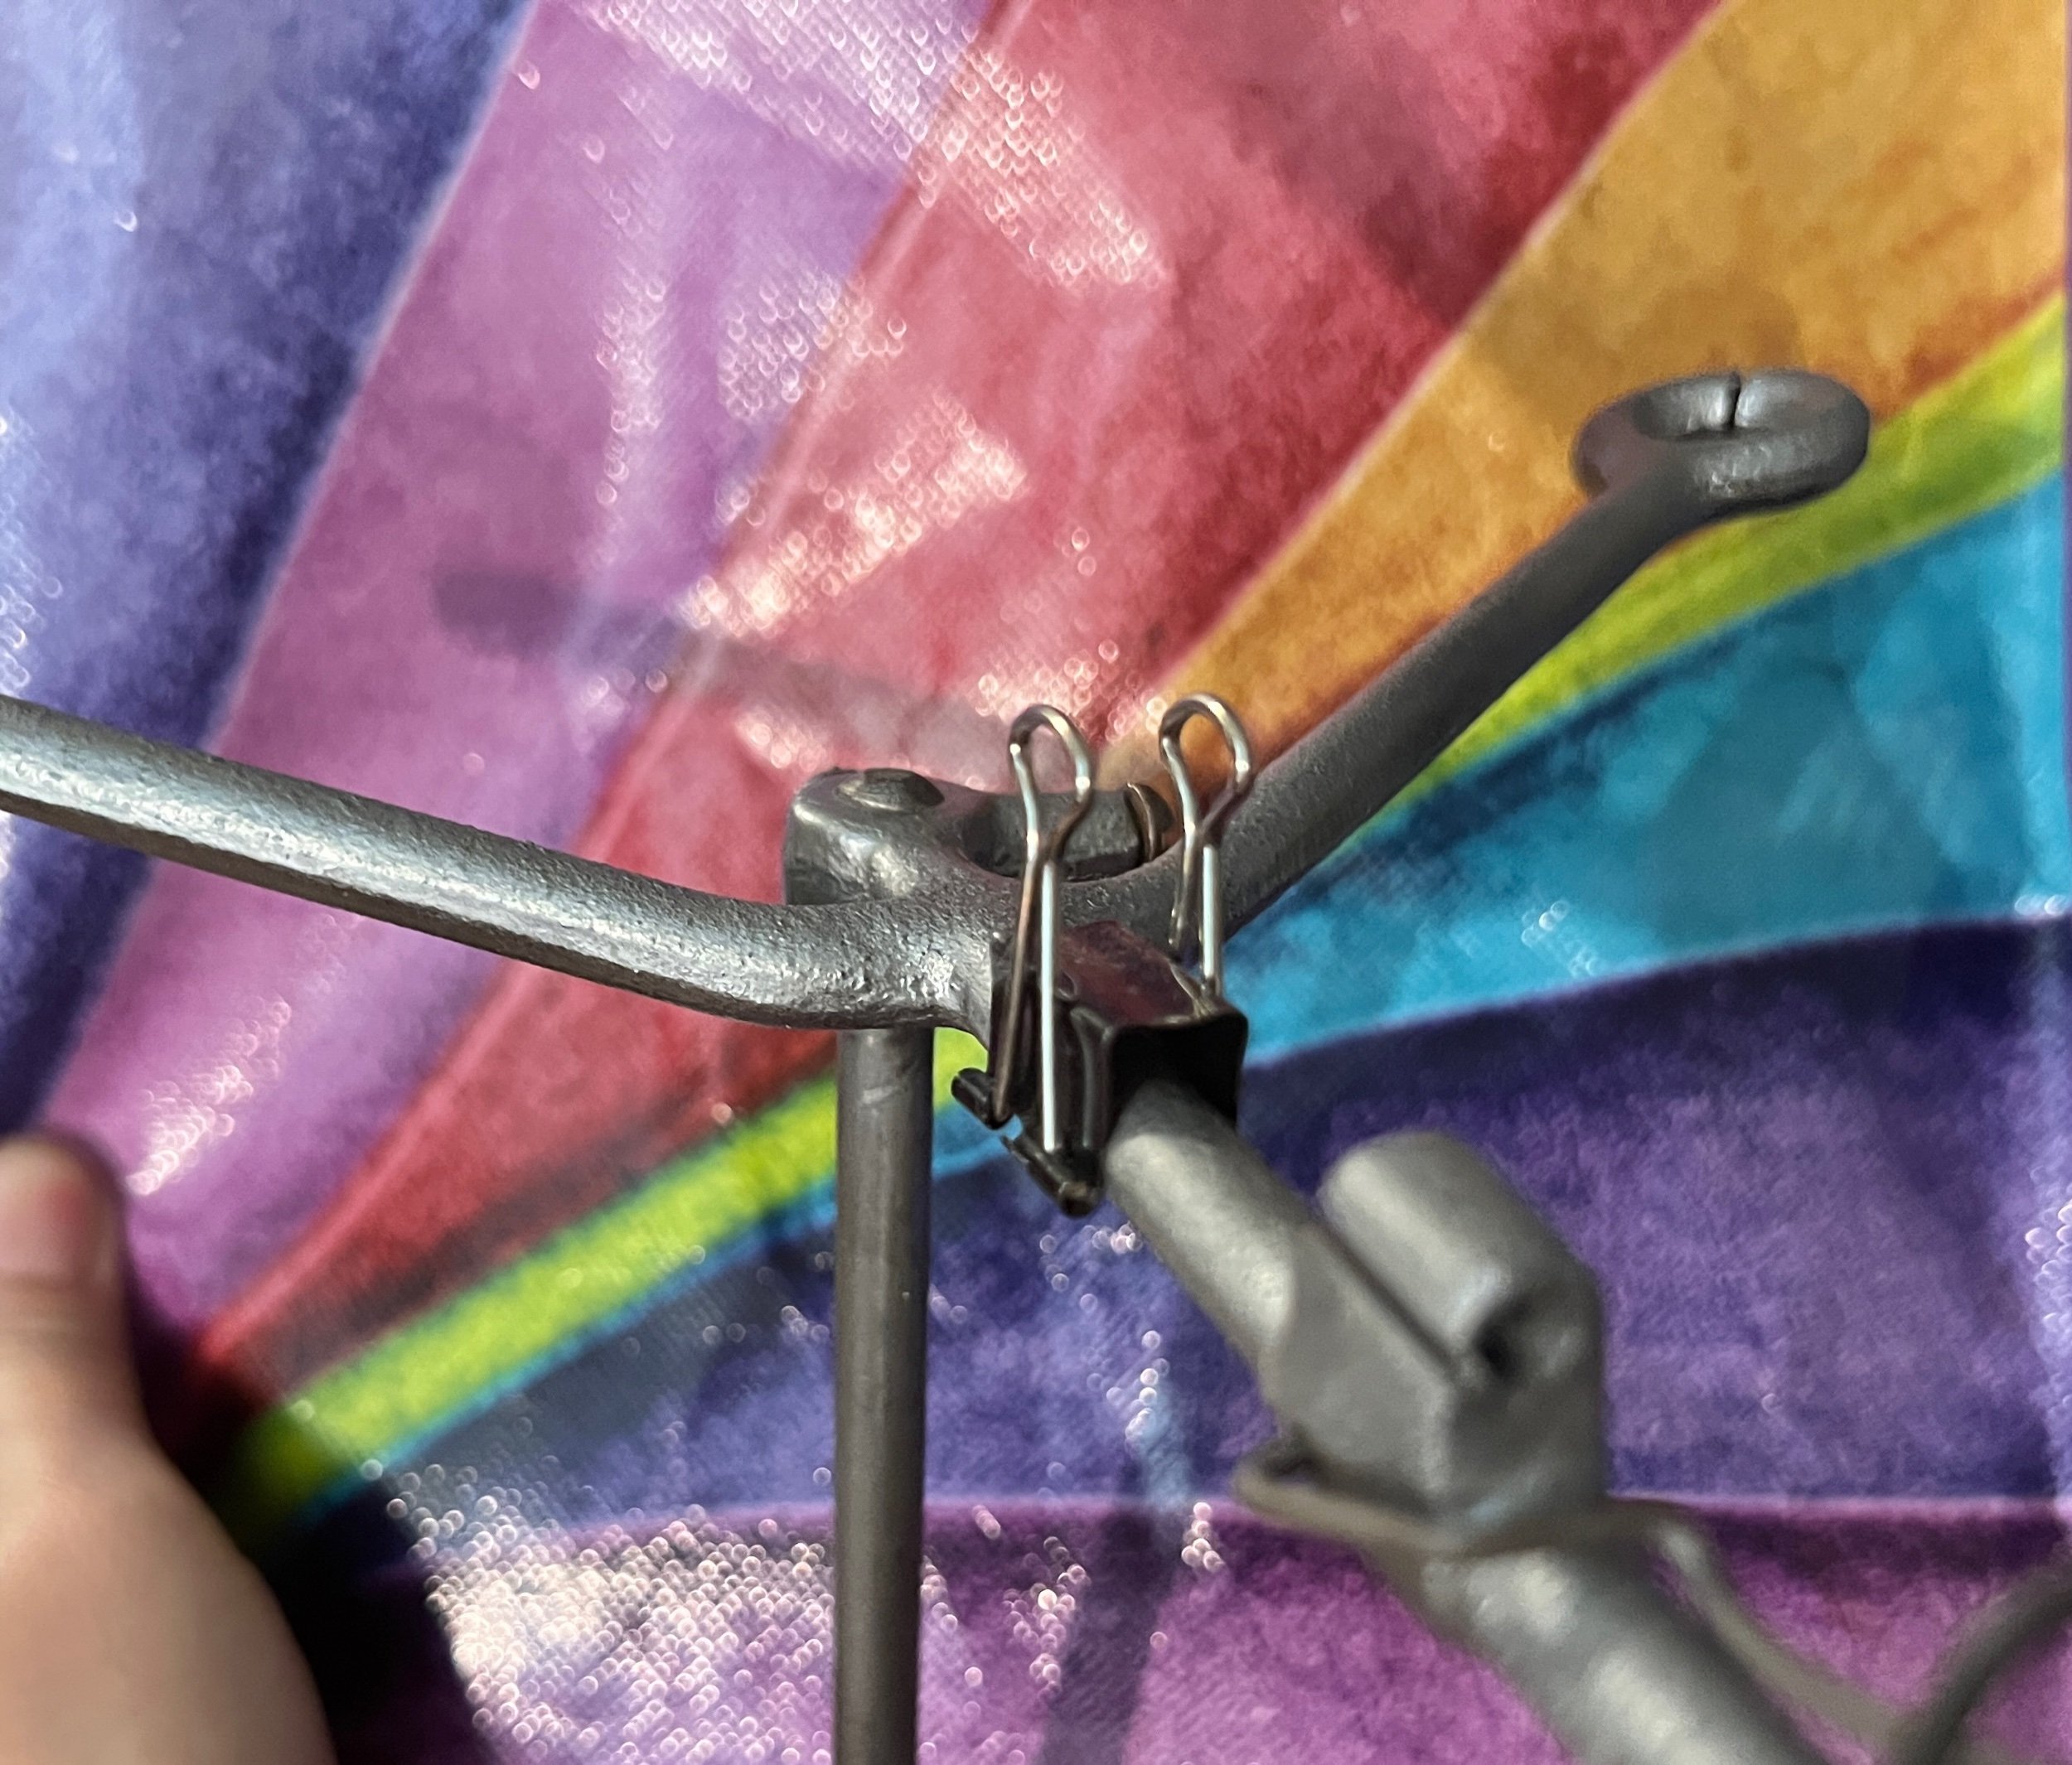
The attachment fork style of the yarn carrier broke (two photos)-so I swapped to a Chambord CSM slotted (and Karen modified) black painted yarn carrier.
The cylinder screws located under the machine (holding the cylinder in the machine) were replaced at one point with a Philips star set of screws from their original slotted style screw. These work but are very difficult to remove without direct vision when wanting to remove the cylinder - why I recommend replacing these for the correct slotted screws sold by Chambord csm in Quebec.
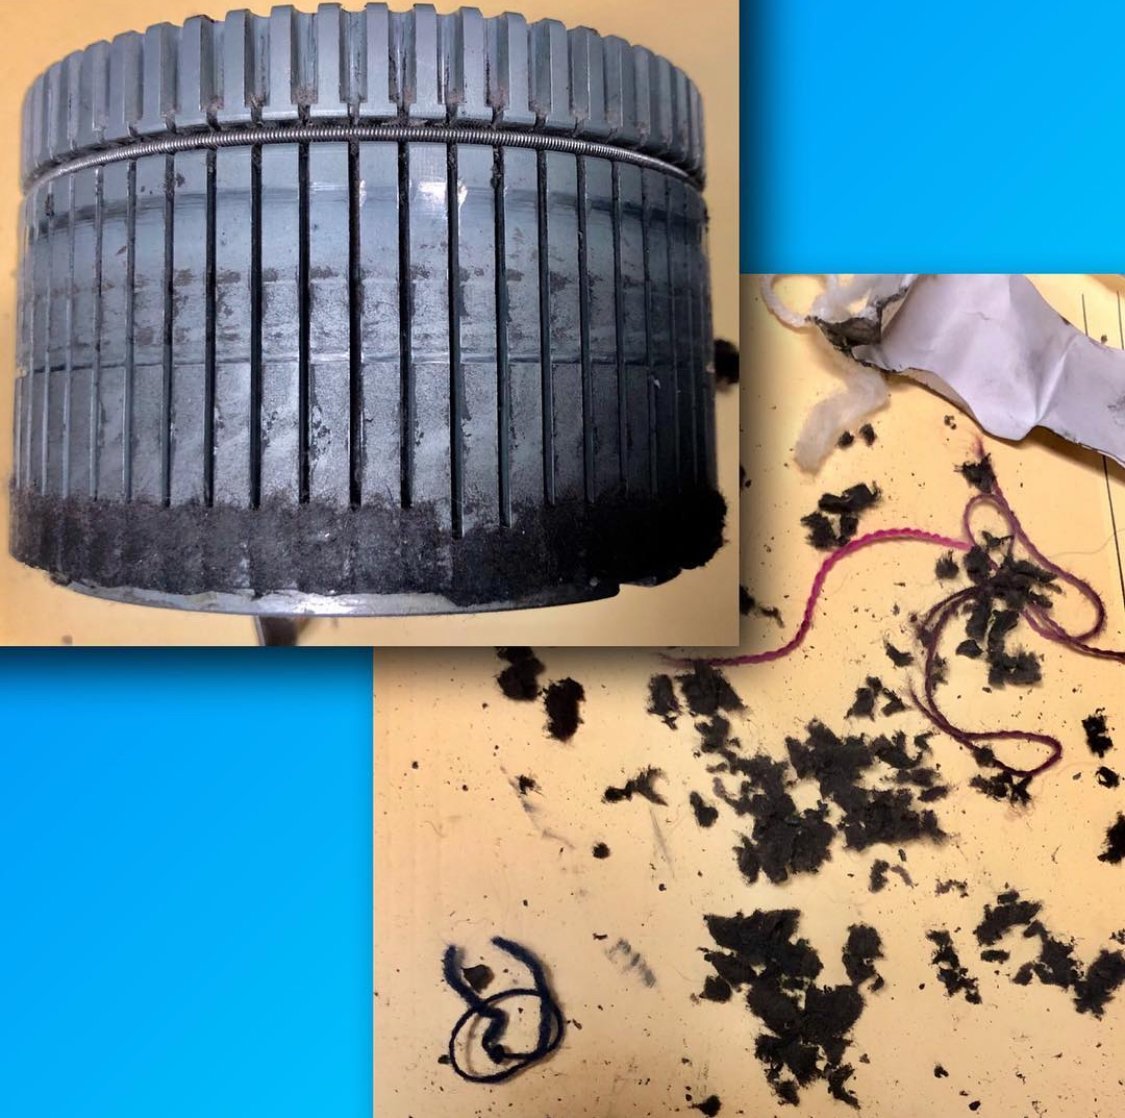
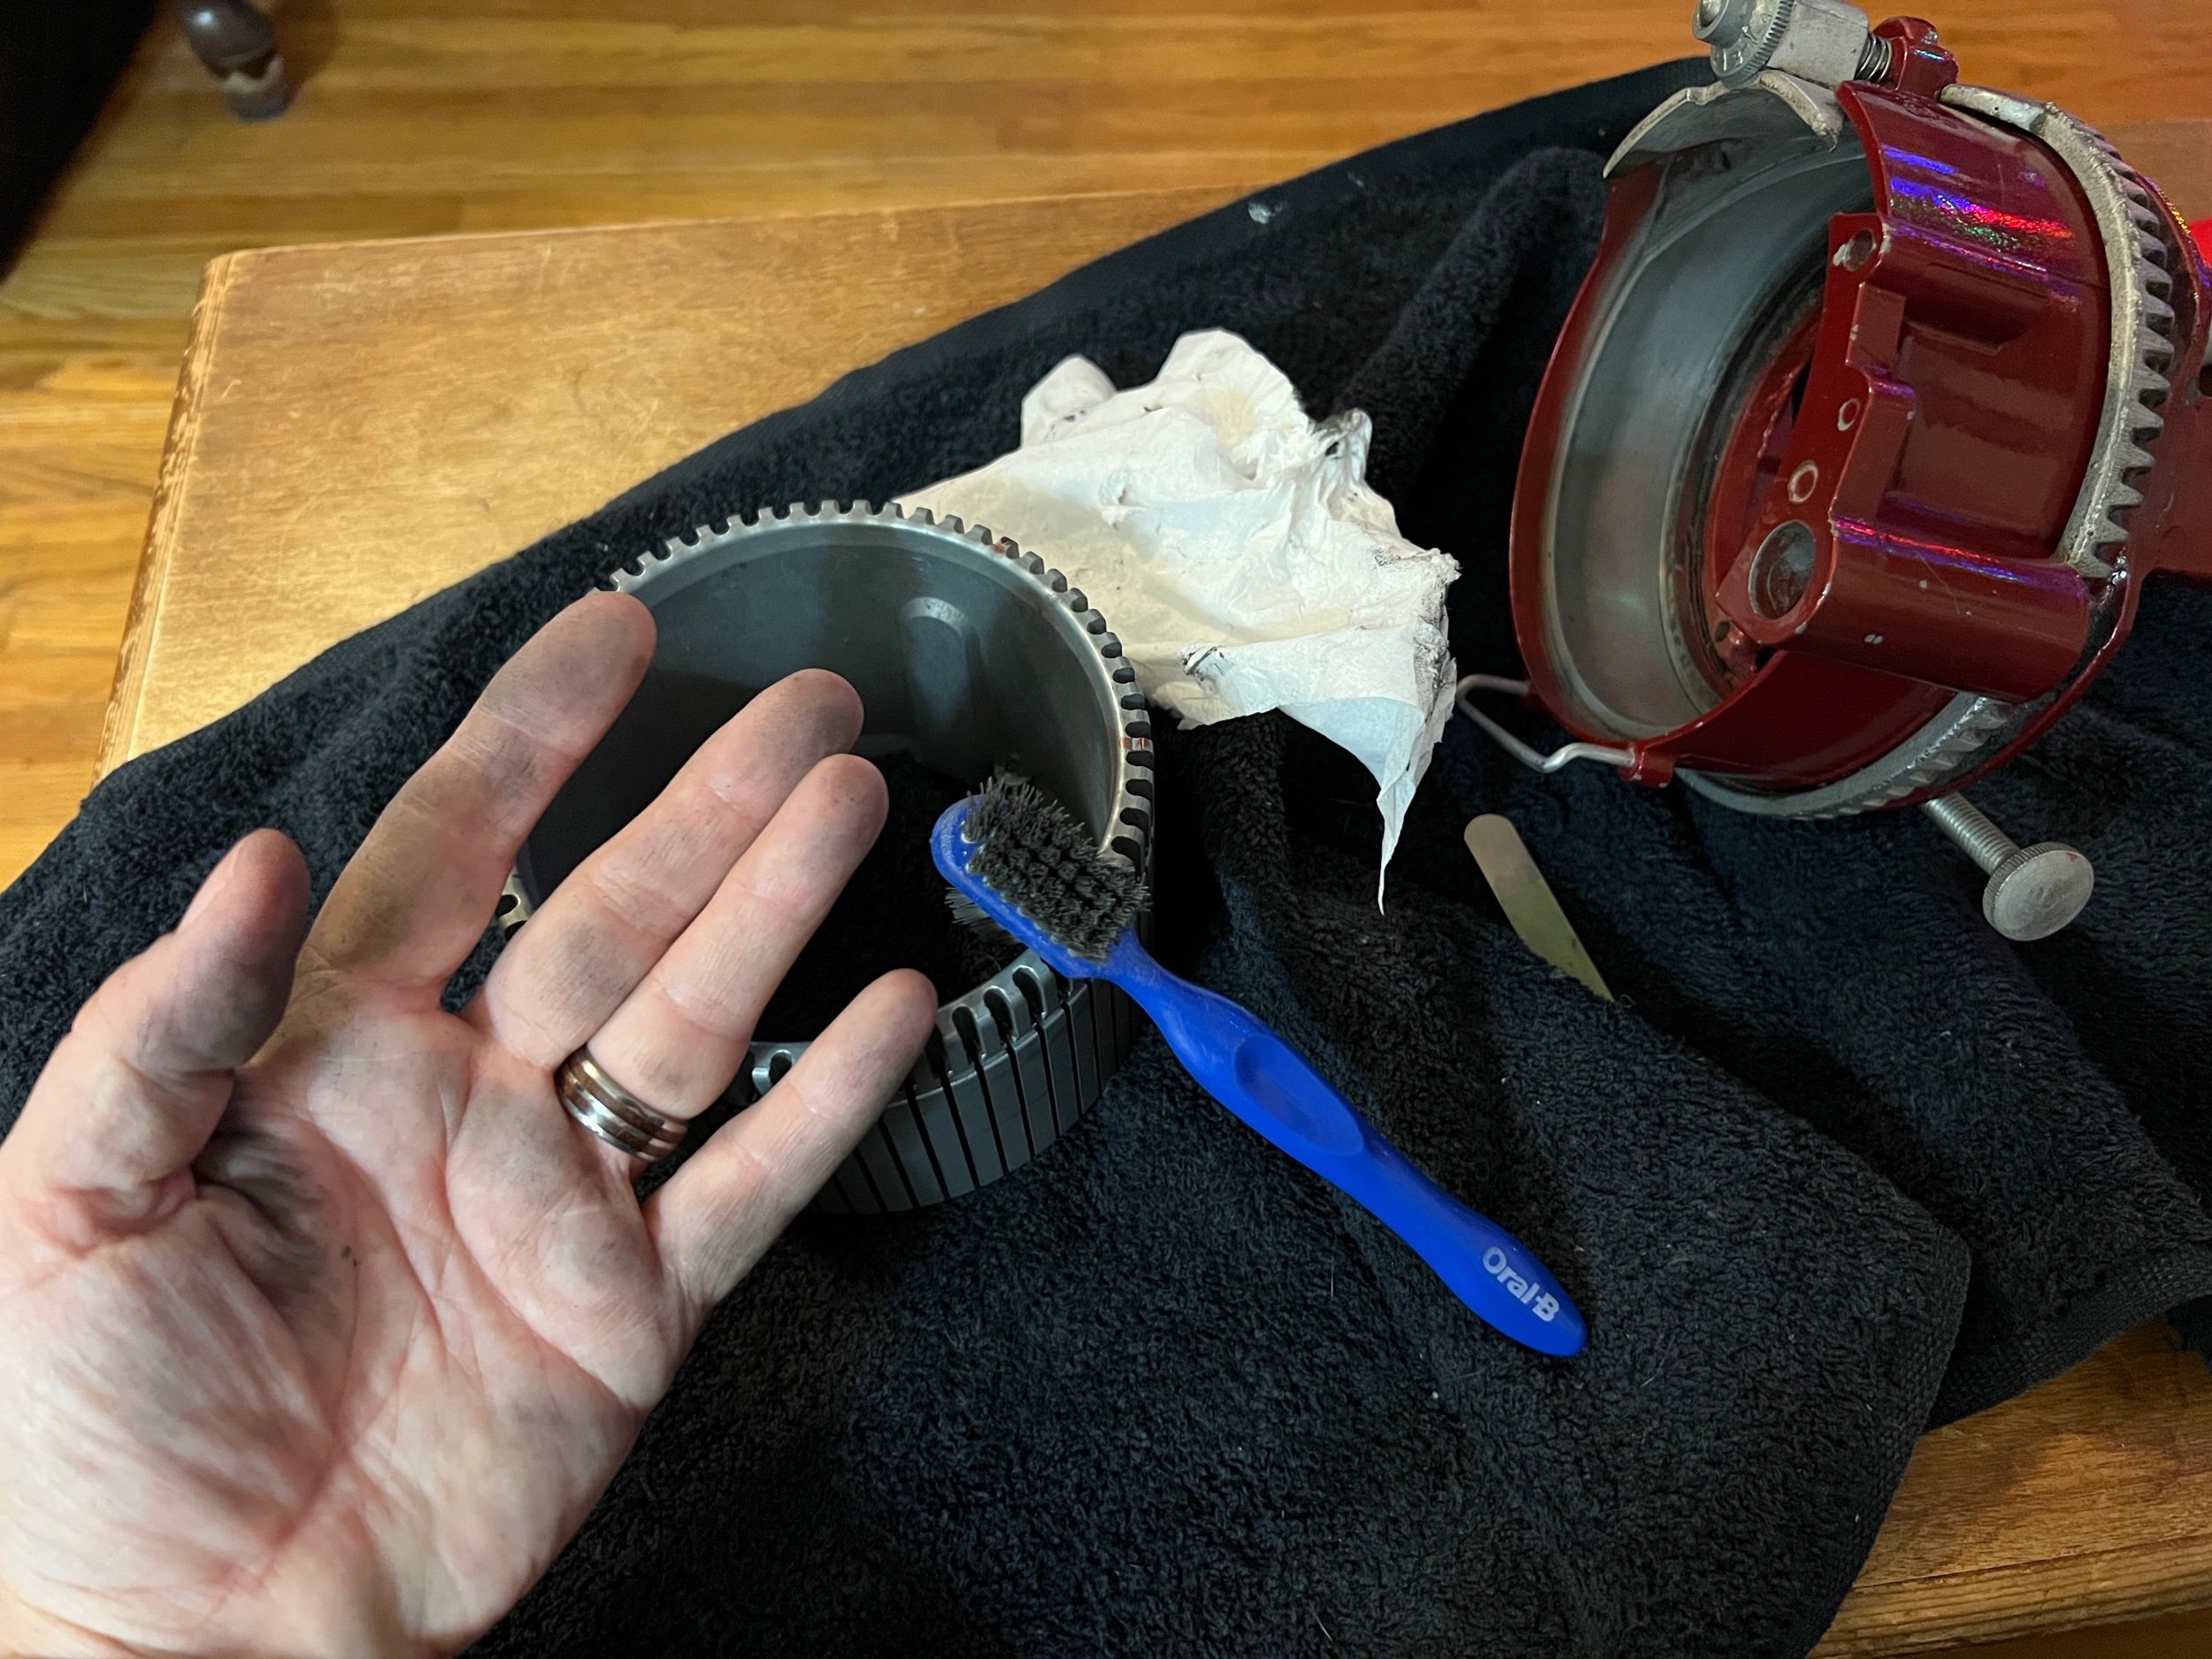
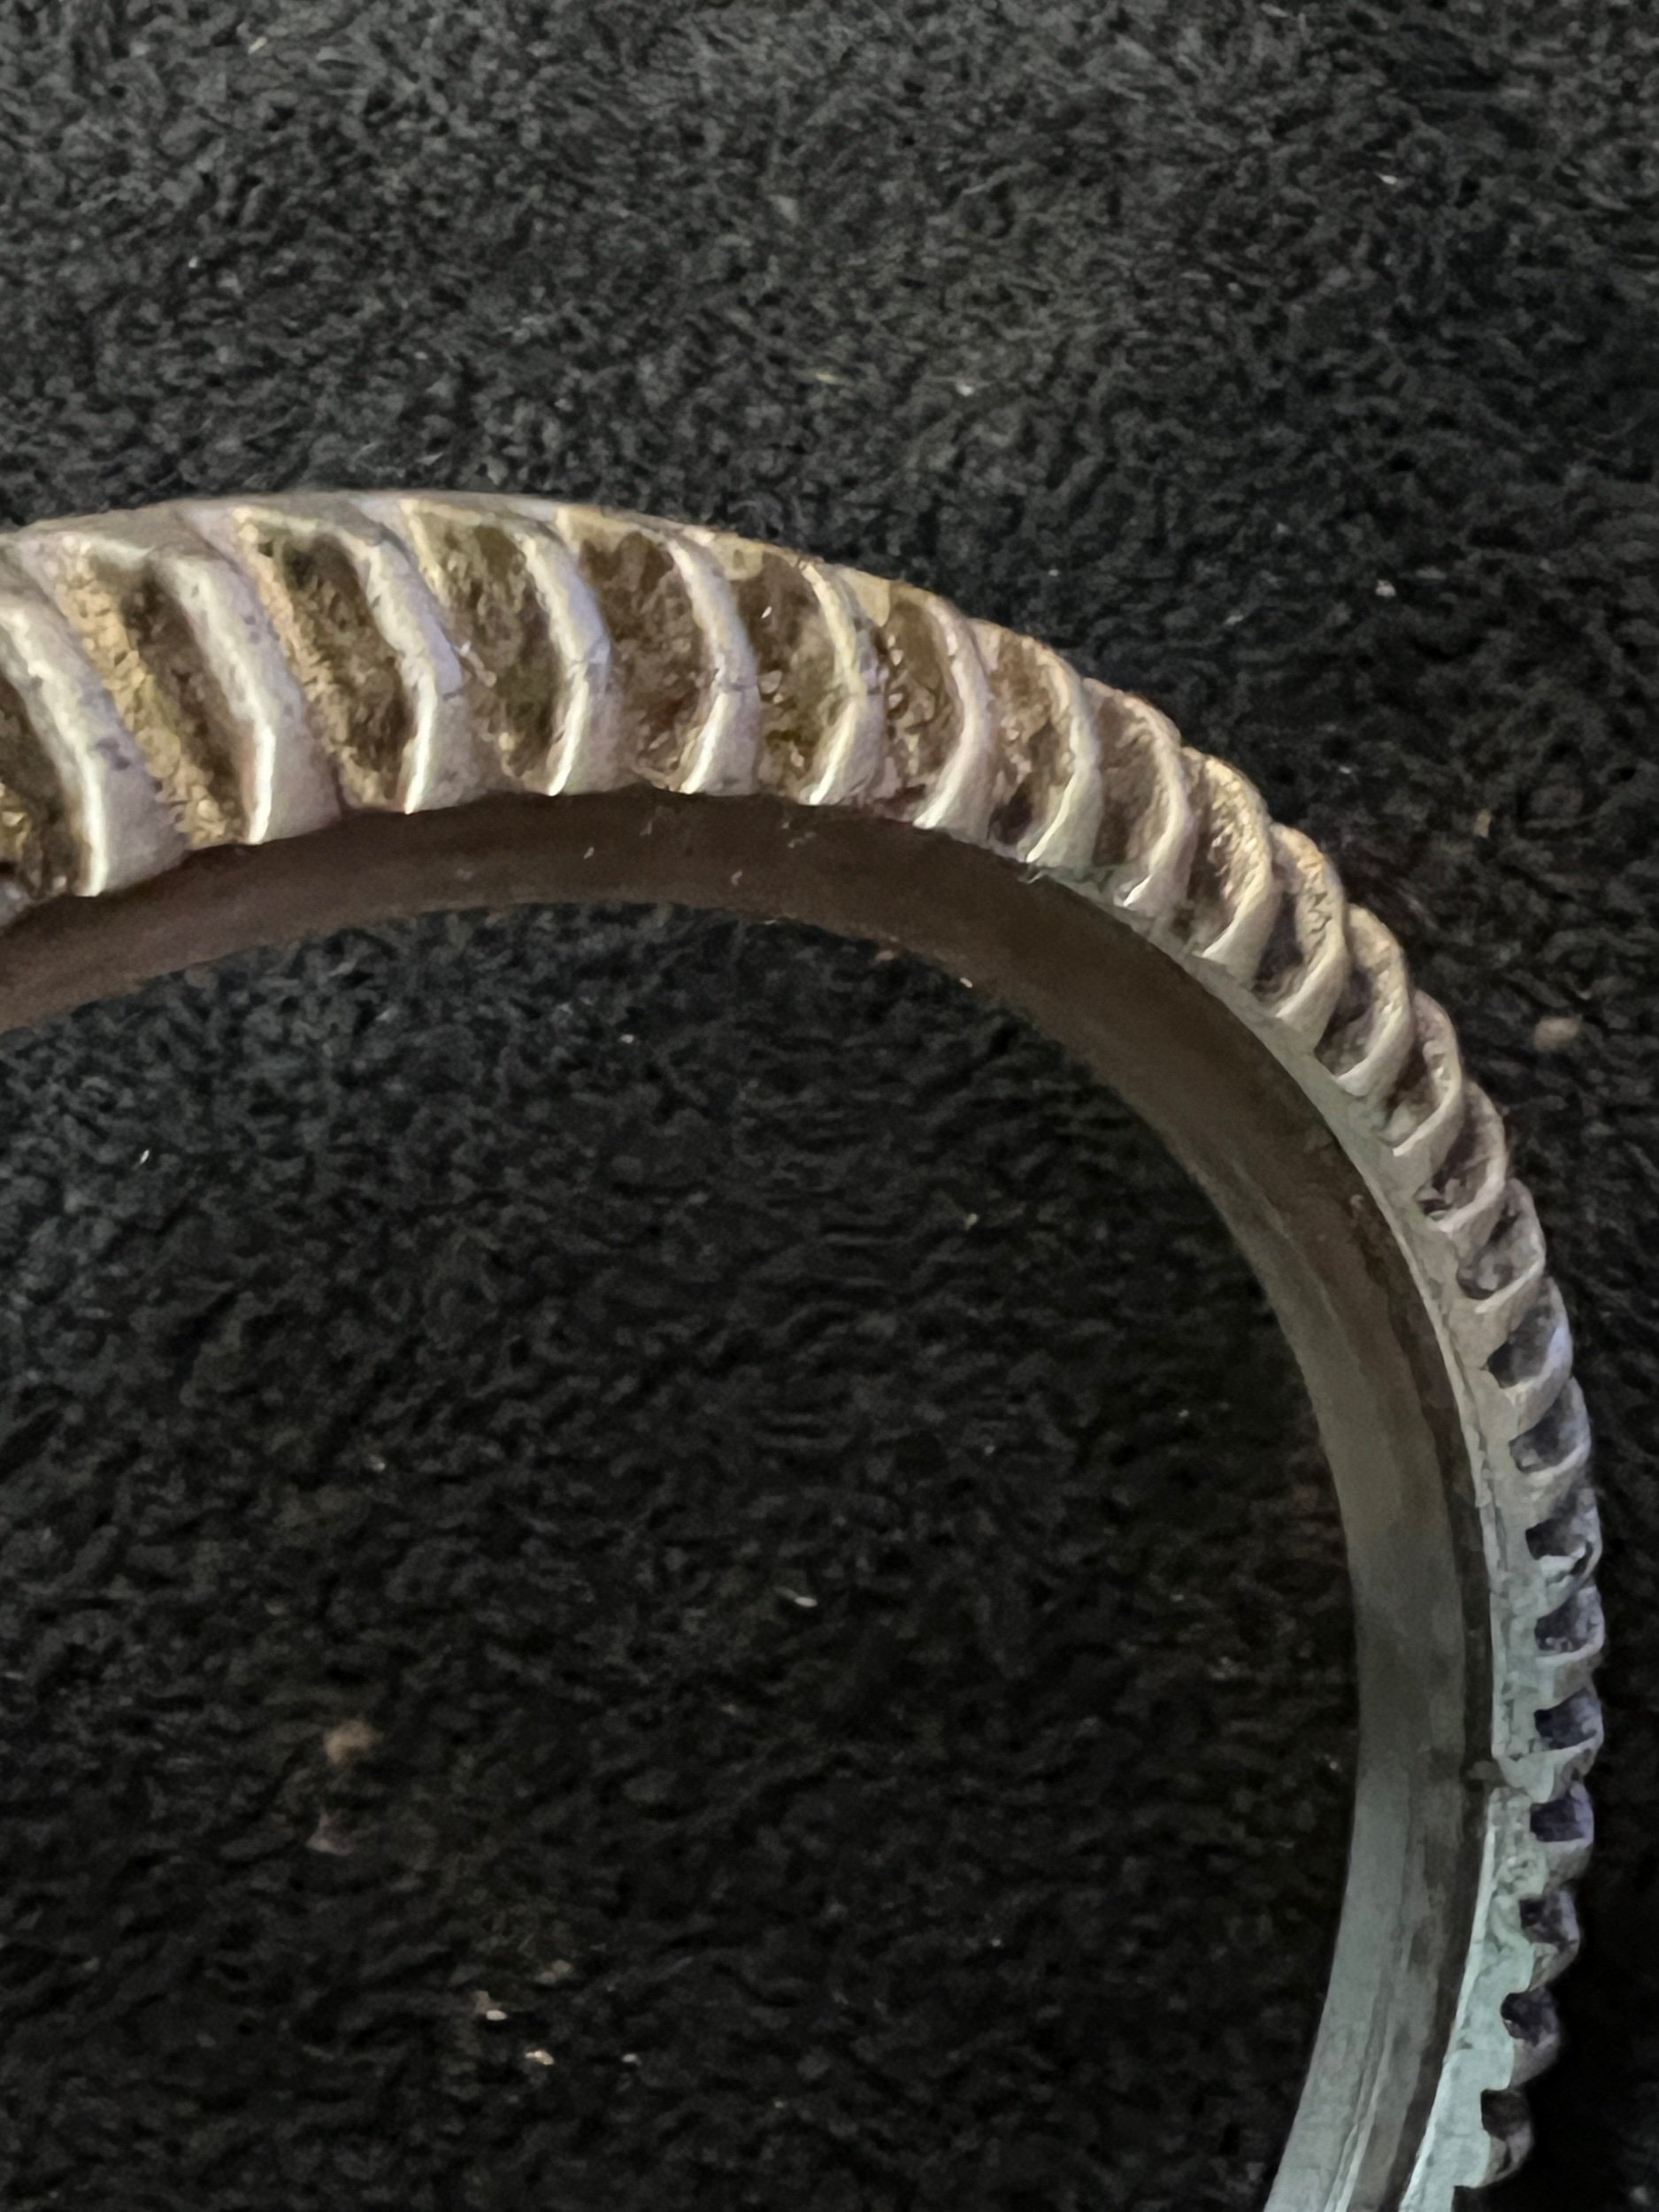
I removed the cylinder needles then the cylinder screws and cylinder. I spent over 90 minutes cleaning all the cylinder slots and surfaces. The needles, cylinder, cylinder spring and two upthrow cams were wiped of debris and were soaked for a few hours in sewing machine oil.
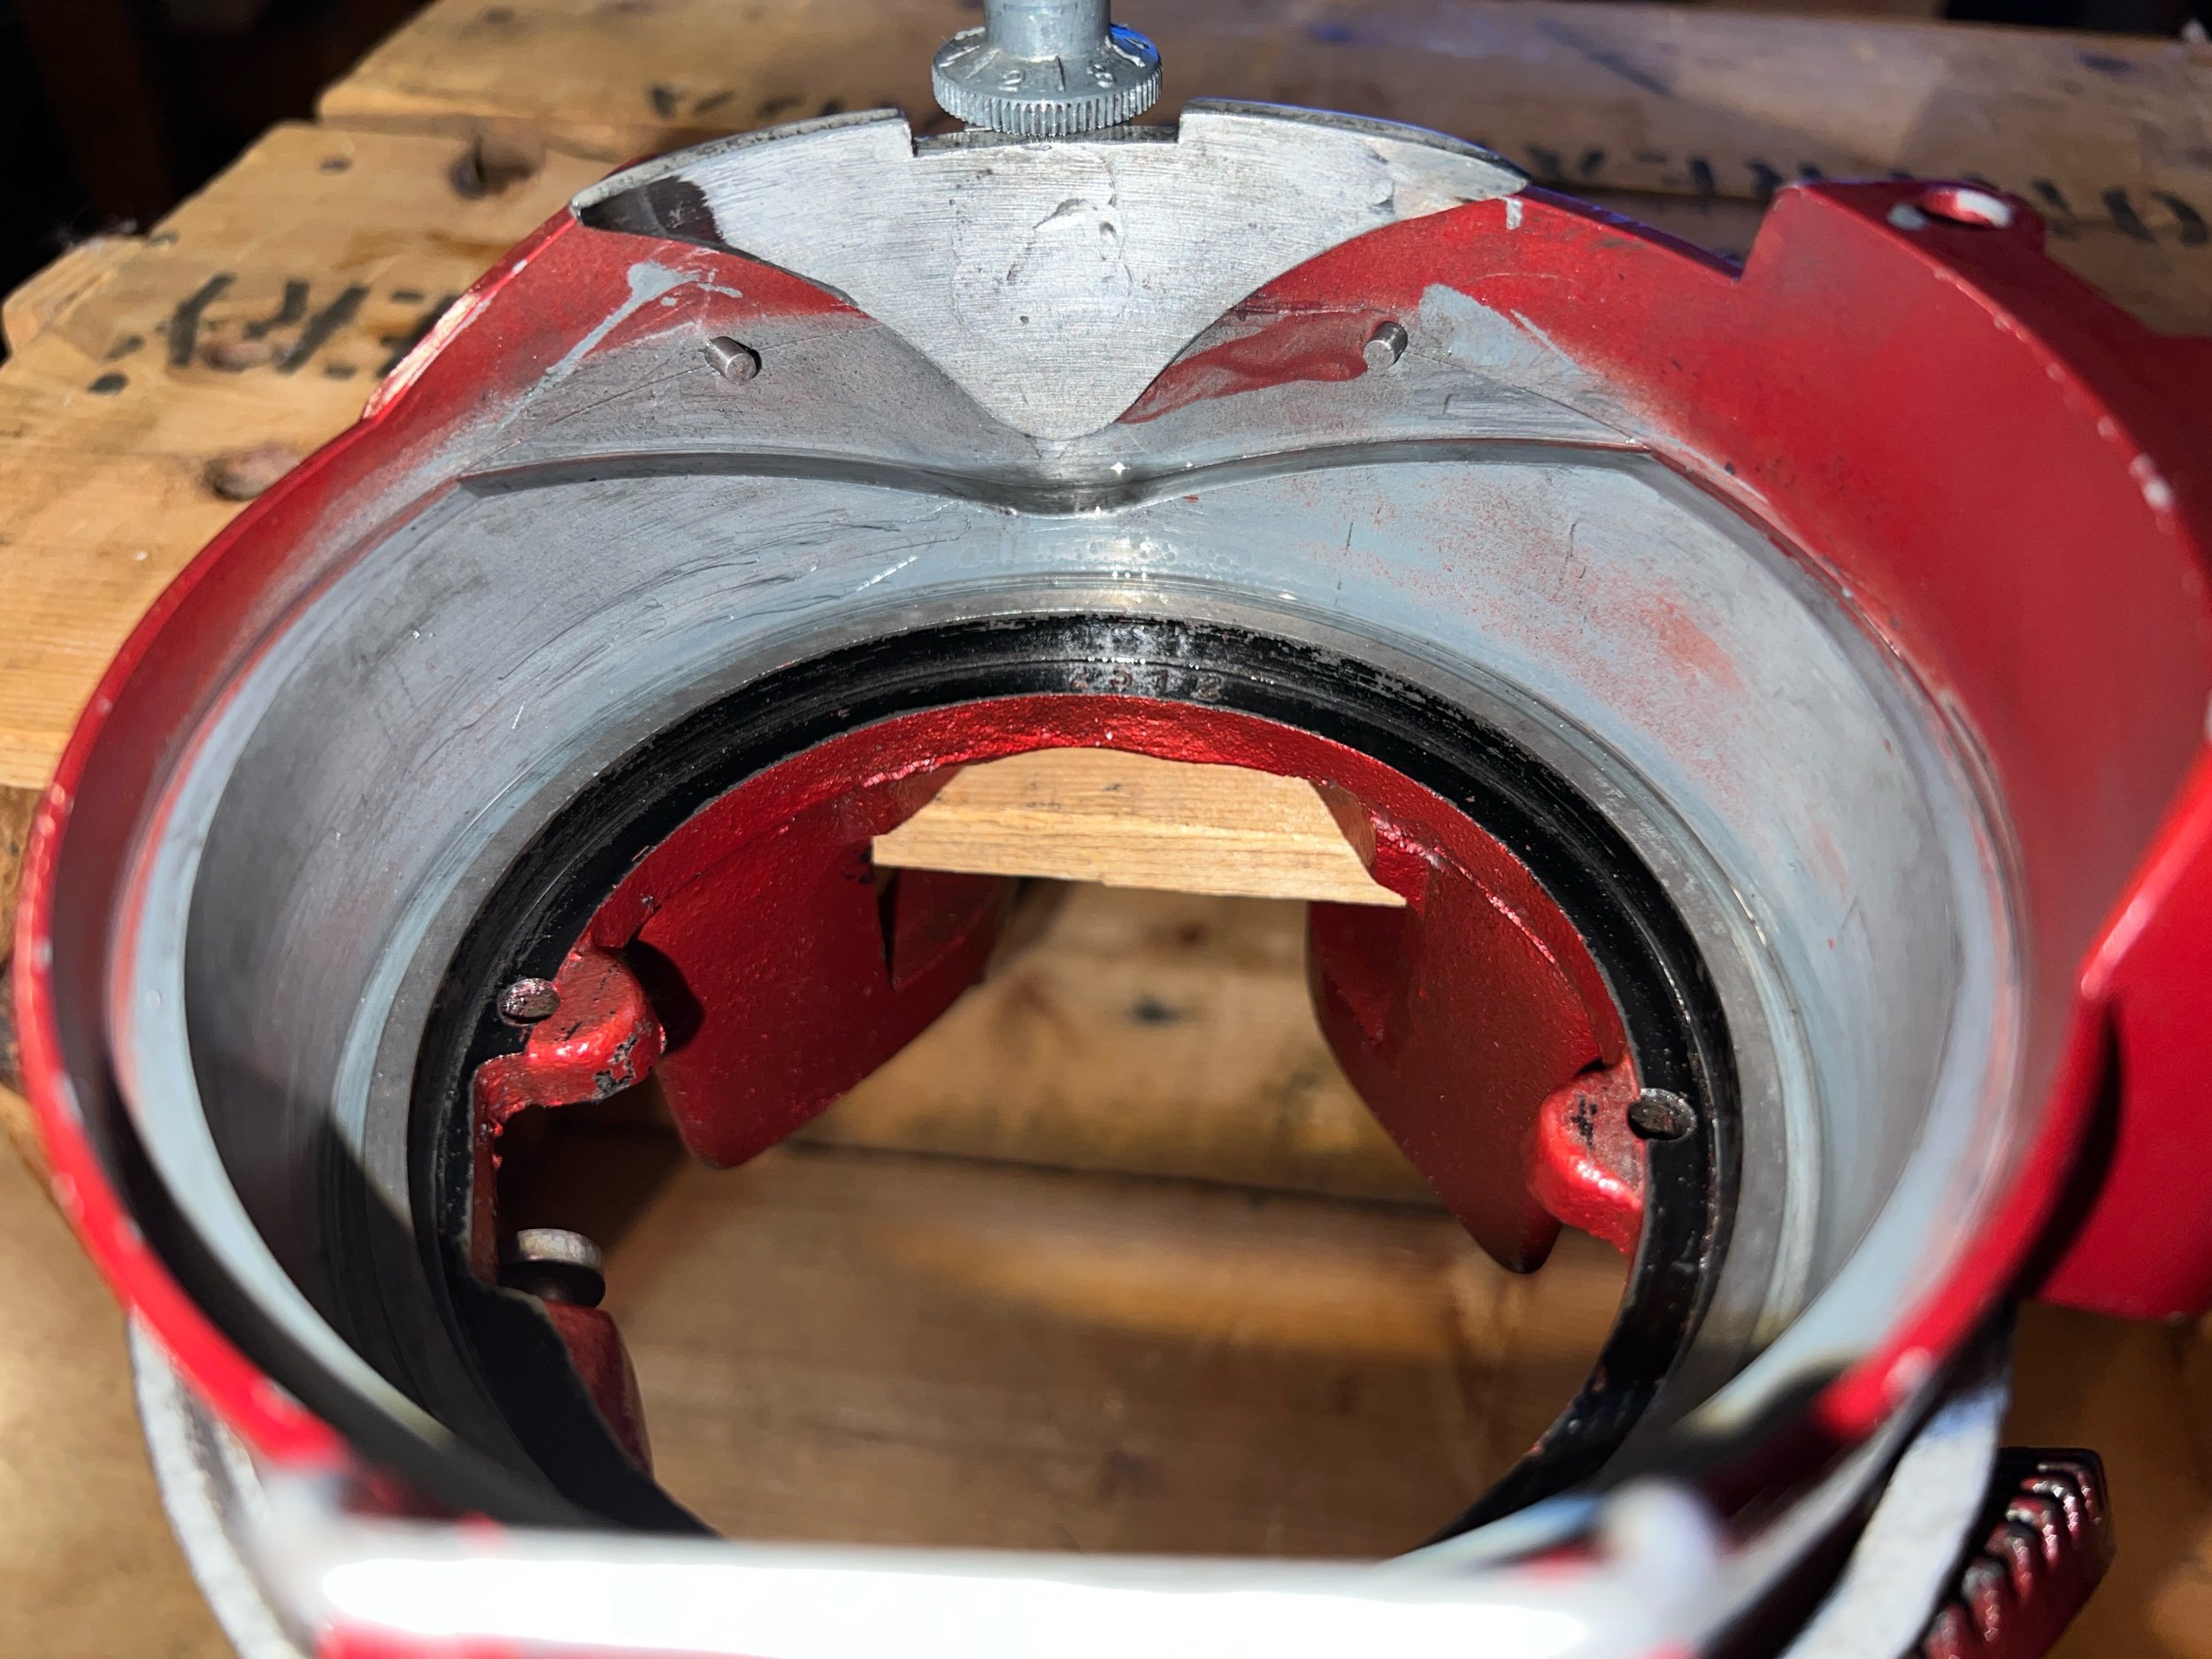
The machine parts were all dismantled (except for the tension dial which I suggest never gets totally dismantled) and all edges cleaned of years of black gunk. Red paint was noticeably flaked off on some surfaces showing the black prior paint. I noted the looking at the inner V Cam, the left and right upthrow cams show different wear patterns but at least smooth surfaces where the needles travel. The left upthrow teardrop shaped cam seemed to have a more pointed edge, less evenly flush on the vertical and horizontal plane - yet enough to still knit correctly. With both upthrow cams off the machine it visibly appeared as this though the pegs the upthrow cam sit on were uneven and not aligned however with those cams correctly installed they seemed fine. Every edge needed cleaning and throughly oiling.
I cast on with my universal bonnet (see CAST ON) and replaced the couple damaged cylinder needles. I noted the cam positioning when knitting forward counter clockwise and lifting needles to change directions - the alignments of both cams either leading or trailing.
Machine now functions like new.
My recommendation


Check out useful SUPPLIES I LIKE and the vintage version.
This machine needs a backup supply of cylinder needles, oil, maybe wire heel spring (if socks on the machine are ever wanted), pointy and latch hook tools, a small pencil case csm dedicated toolbox is useful, correct slotted cylinder screws.
New owner of a circular sock machine? See our CSM START MENU for the first in the series page.
See the other Autoknitter I worked on.