FIRST ATTEMPT WAS TERRIBLE - SECOND WAS GORGEOUS (so I then made a simple version for a gift)
Here is the journey of the ugh No to oh yes!
My web host no longer offers iphone app edits of images - which I find very hindering - so applogies for the delay in providing the rest of this post with images.
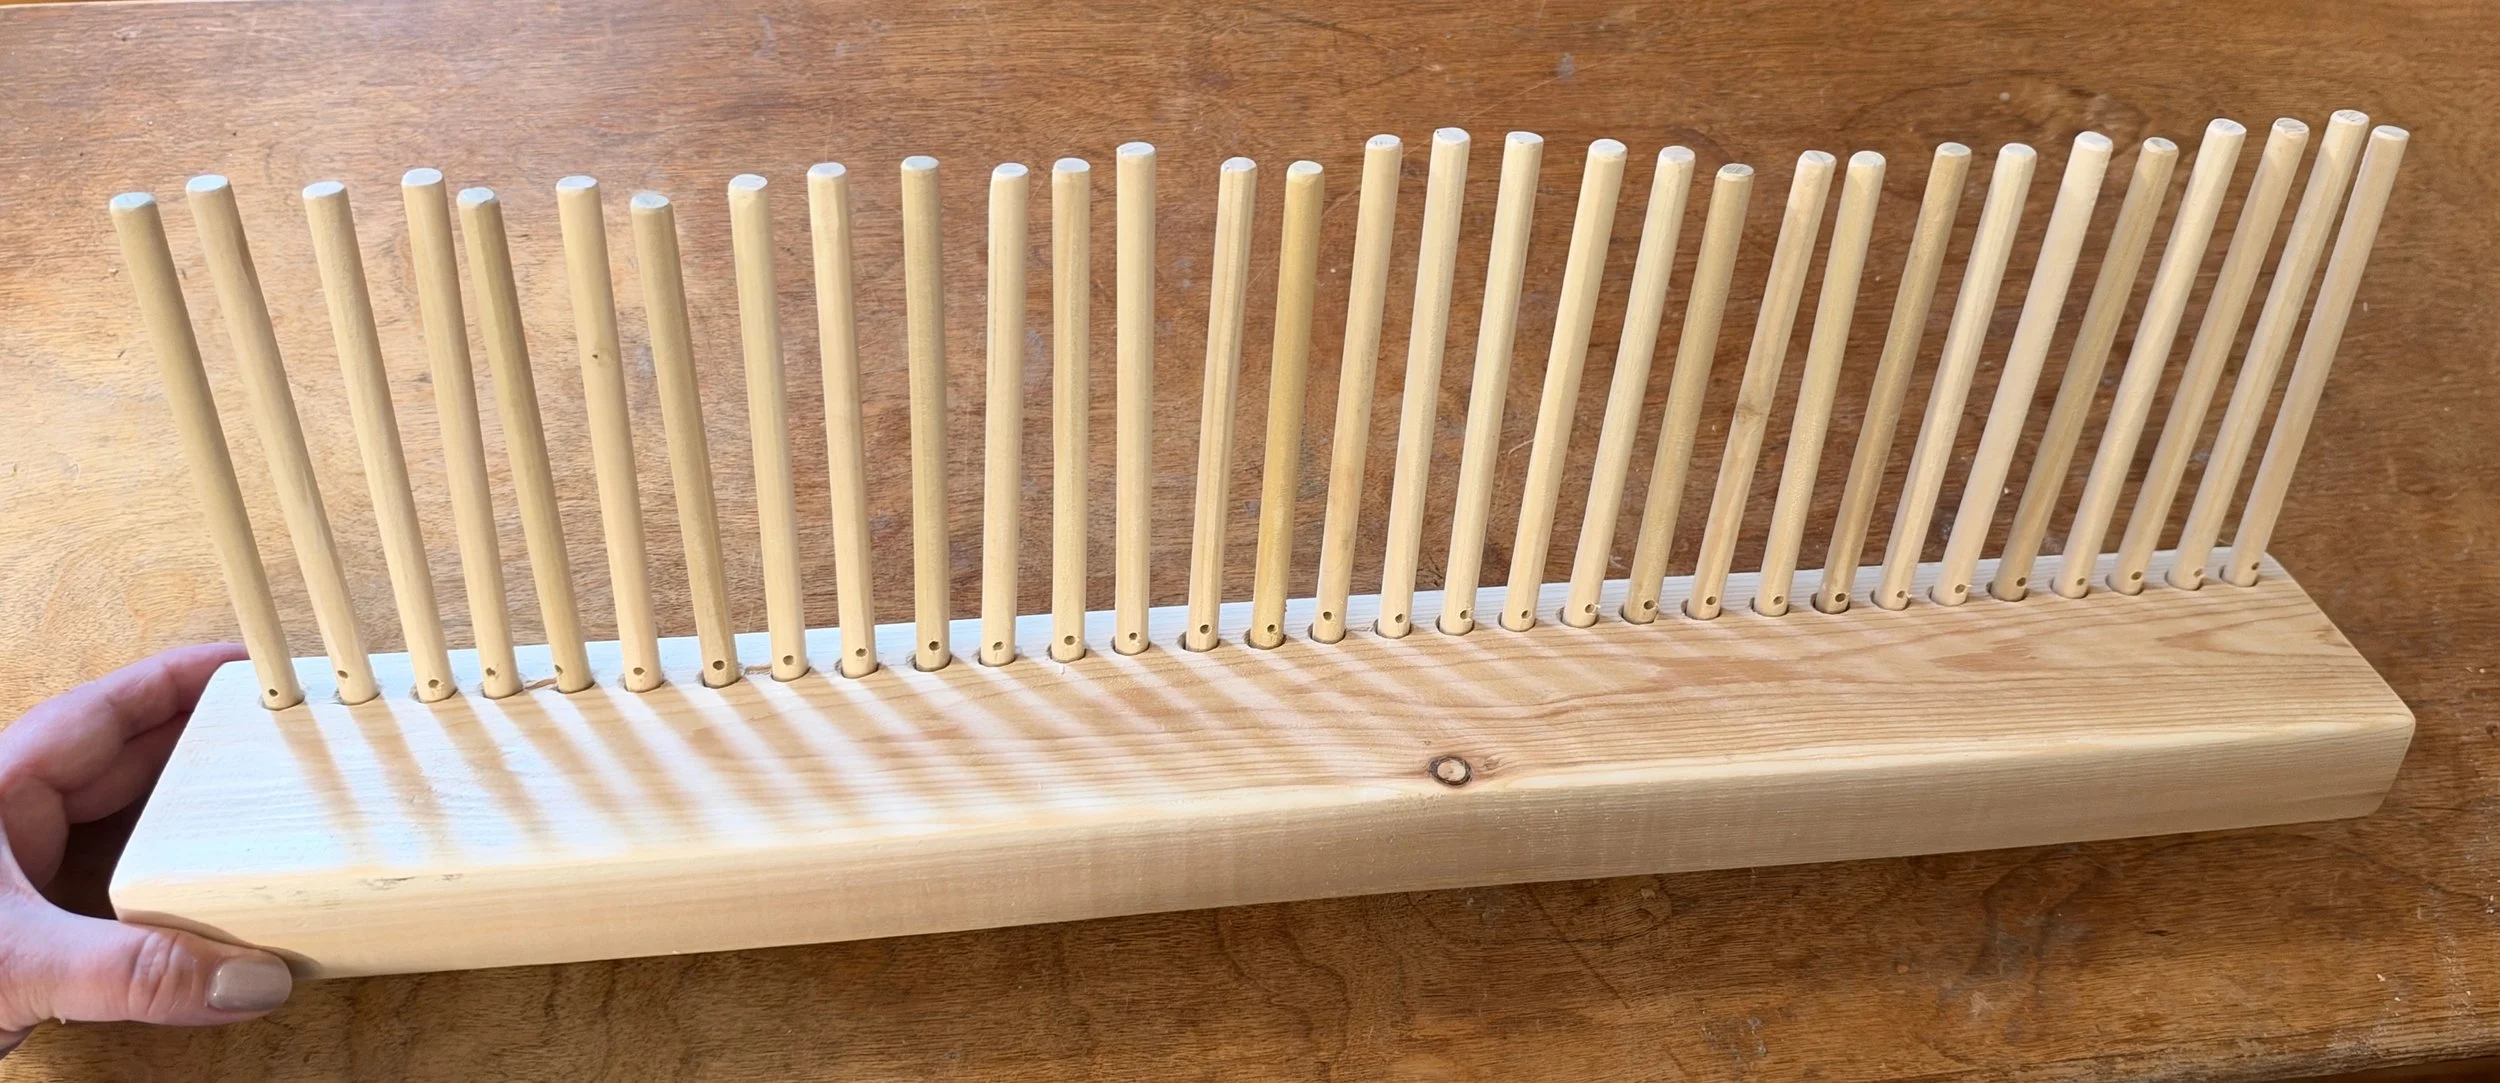
OKAY - ANYONE can make your own peg loom at home - you simply need the right supplies and patience (or you can go and buy the already made loom online - what you get may or may not be acceptable quality or cost). DO NOT USE BAD WOOD for your project (as I did initially with the pressure treaded wood we had - just disigrates with drilling).
WHY is a PEG LOOM a great thing?
You can use it was fabric strips, with roving (fat untwisted yarn), with thicker yarn, with thinner yarn, with whatever moves you… You can create rectangles, circular pieces…. You could leave the pegs in the board and simply make knit stitches versus weaving. You have options.
Decide how many loom holes you want? Some online versions only had 12 holes… I prefer more to optionally use less as needed without being limited later.
SUPPLIES:
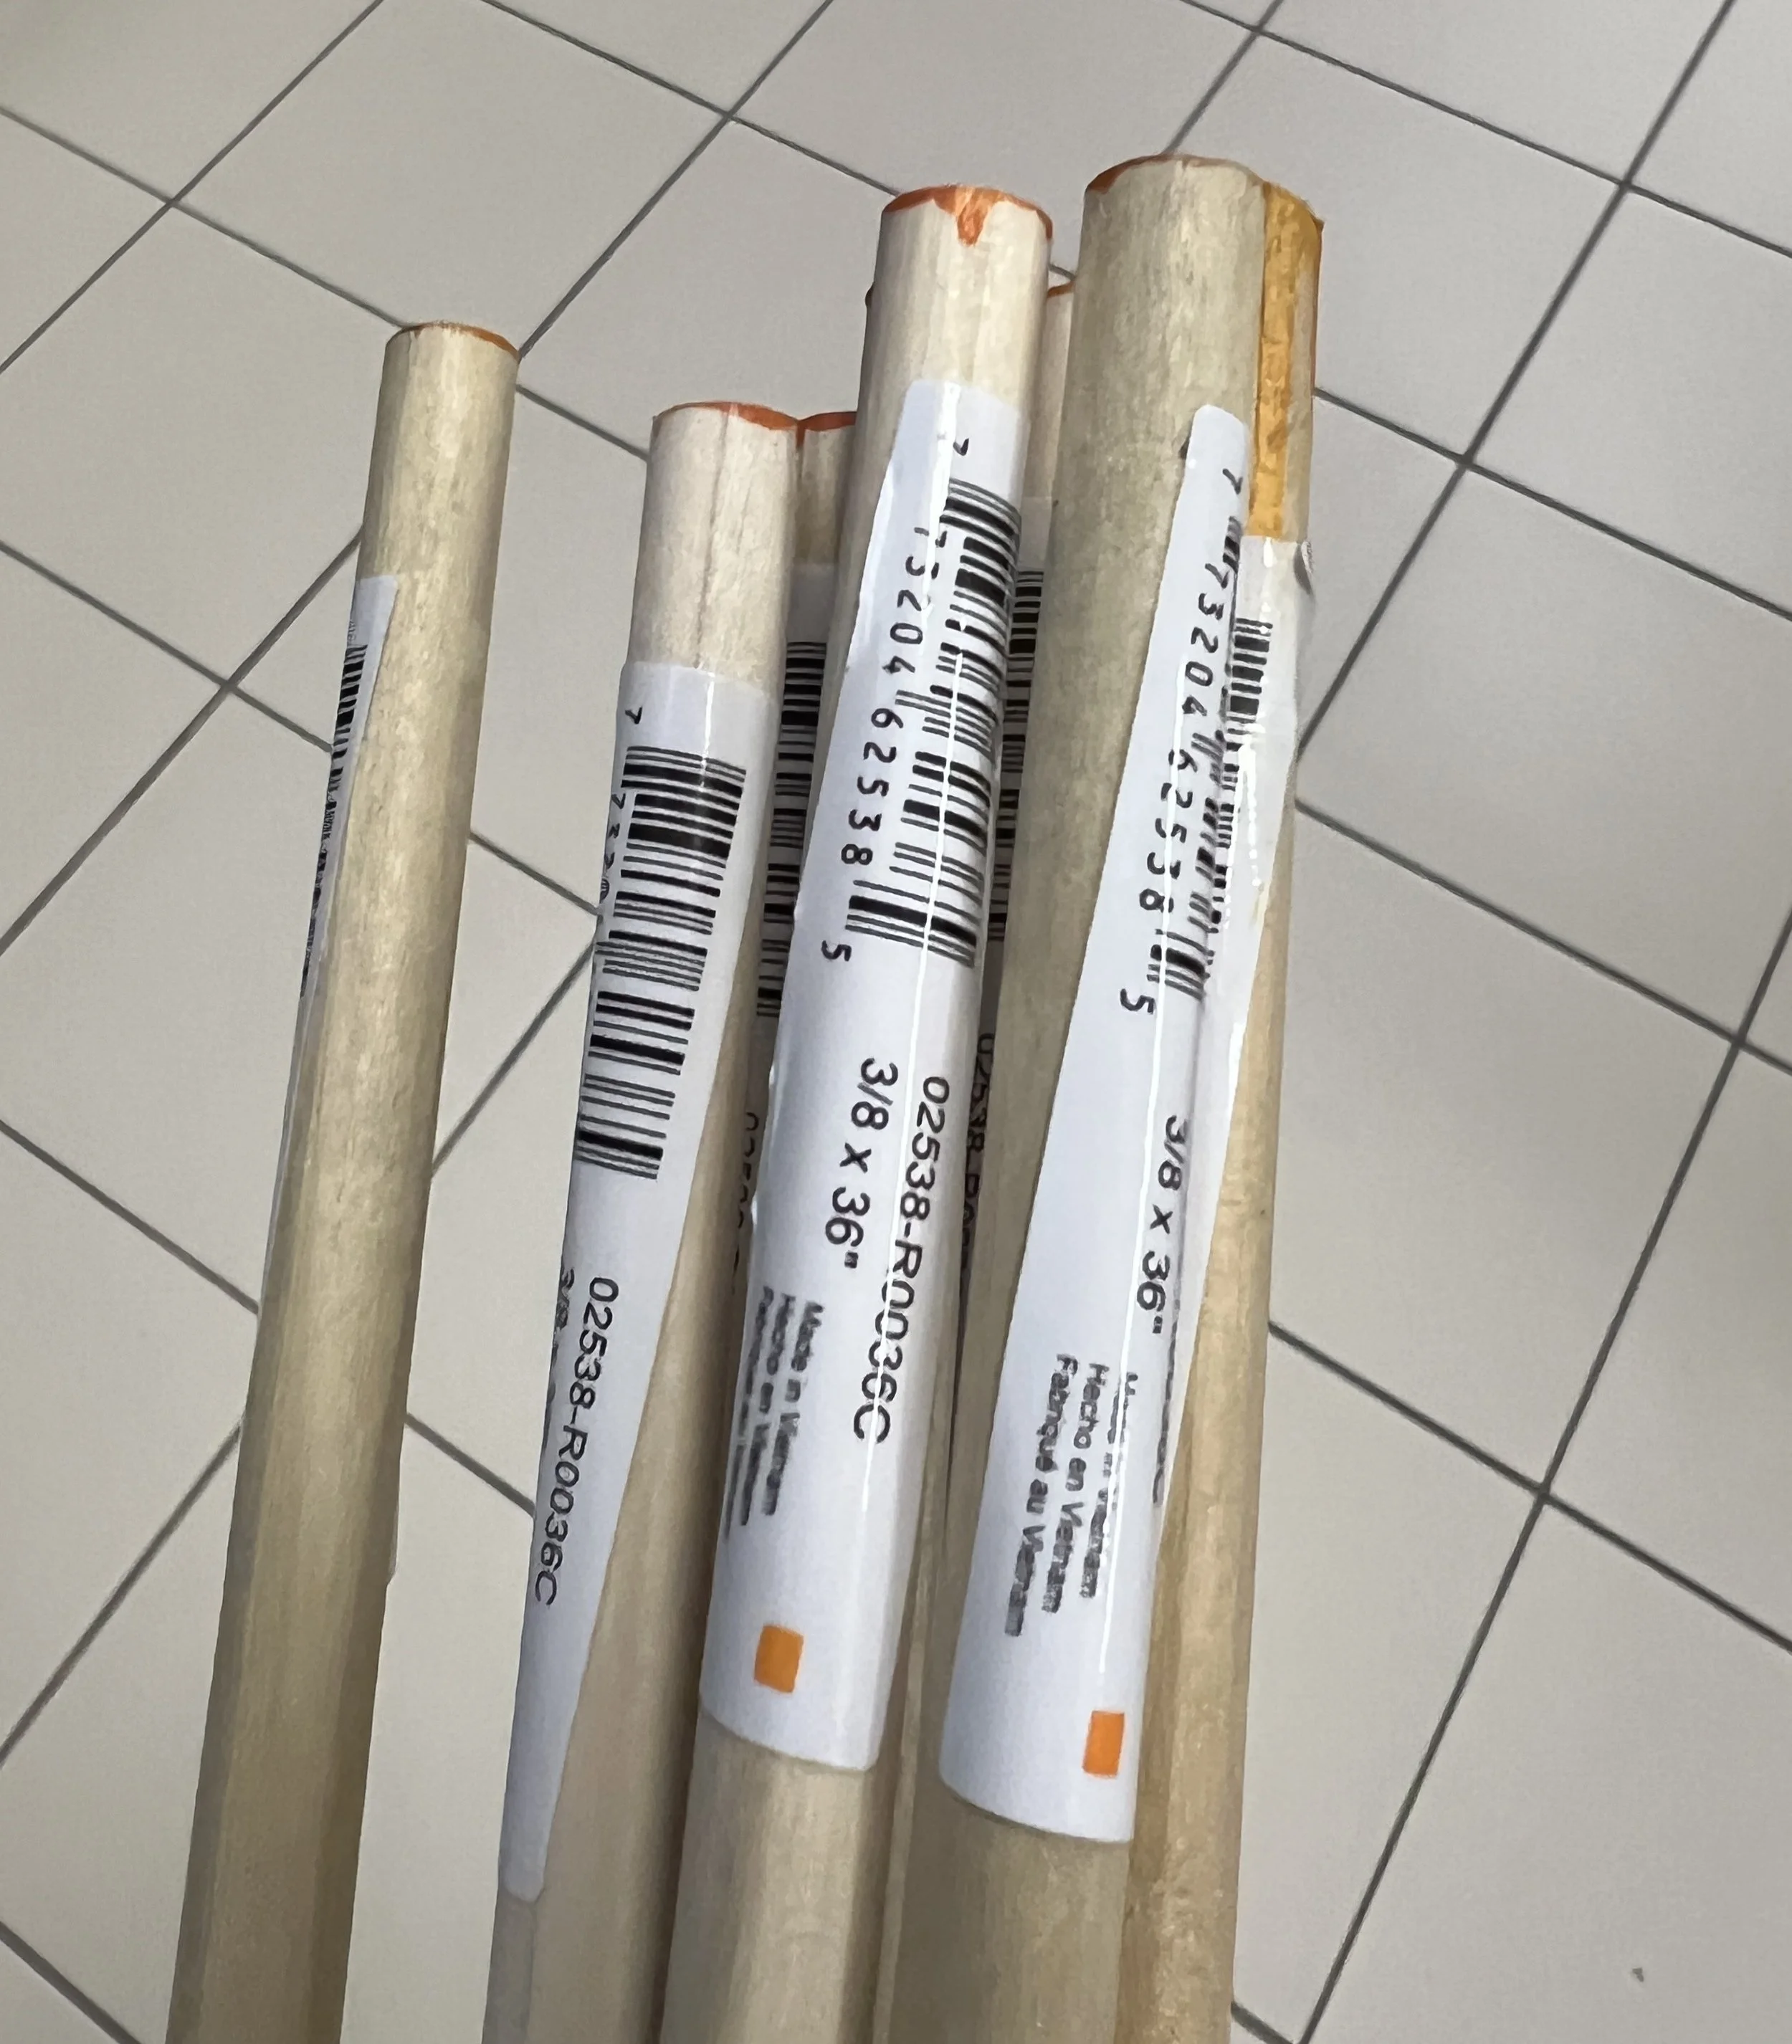
Decide if you want just the standard 3/8 pegs or want both widths like I did:
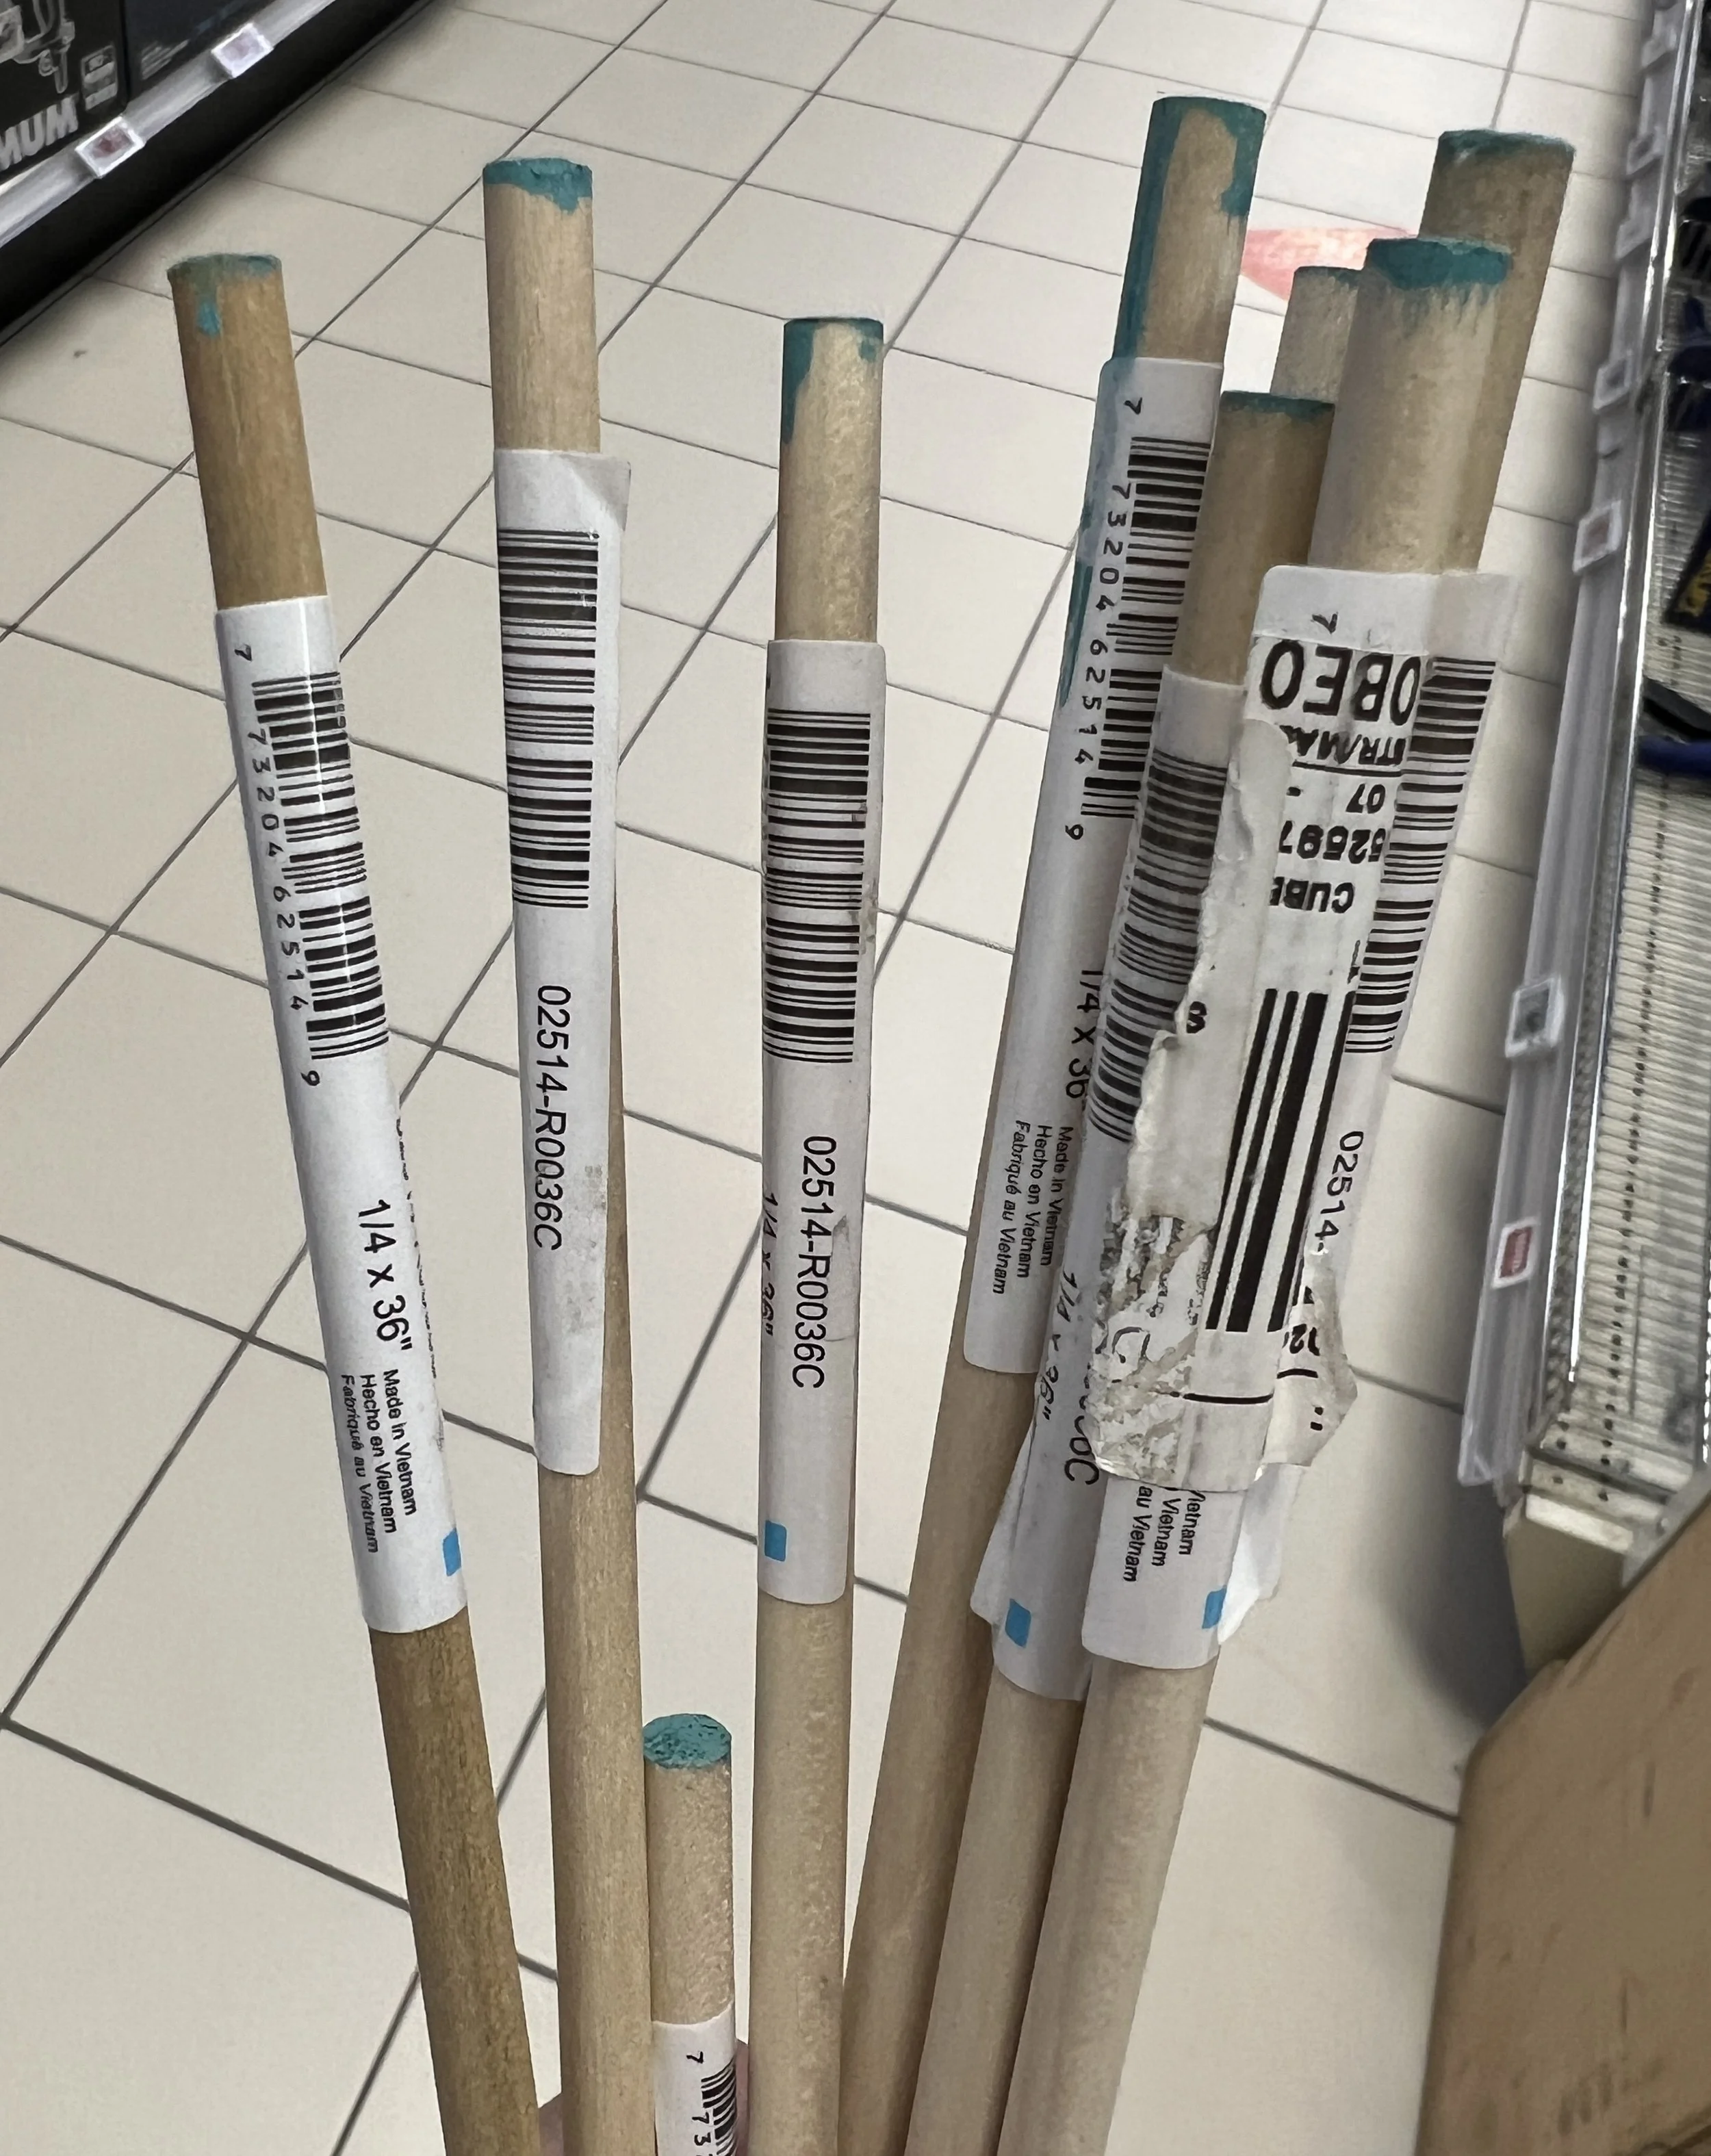
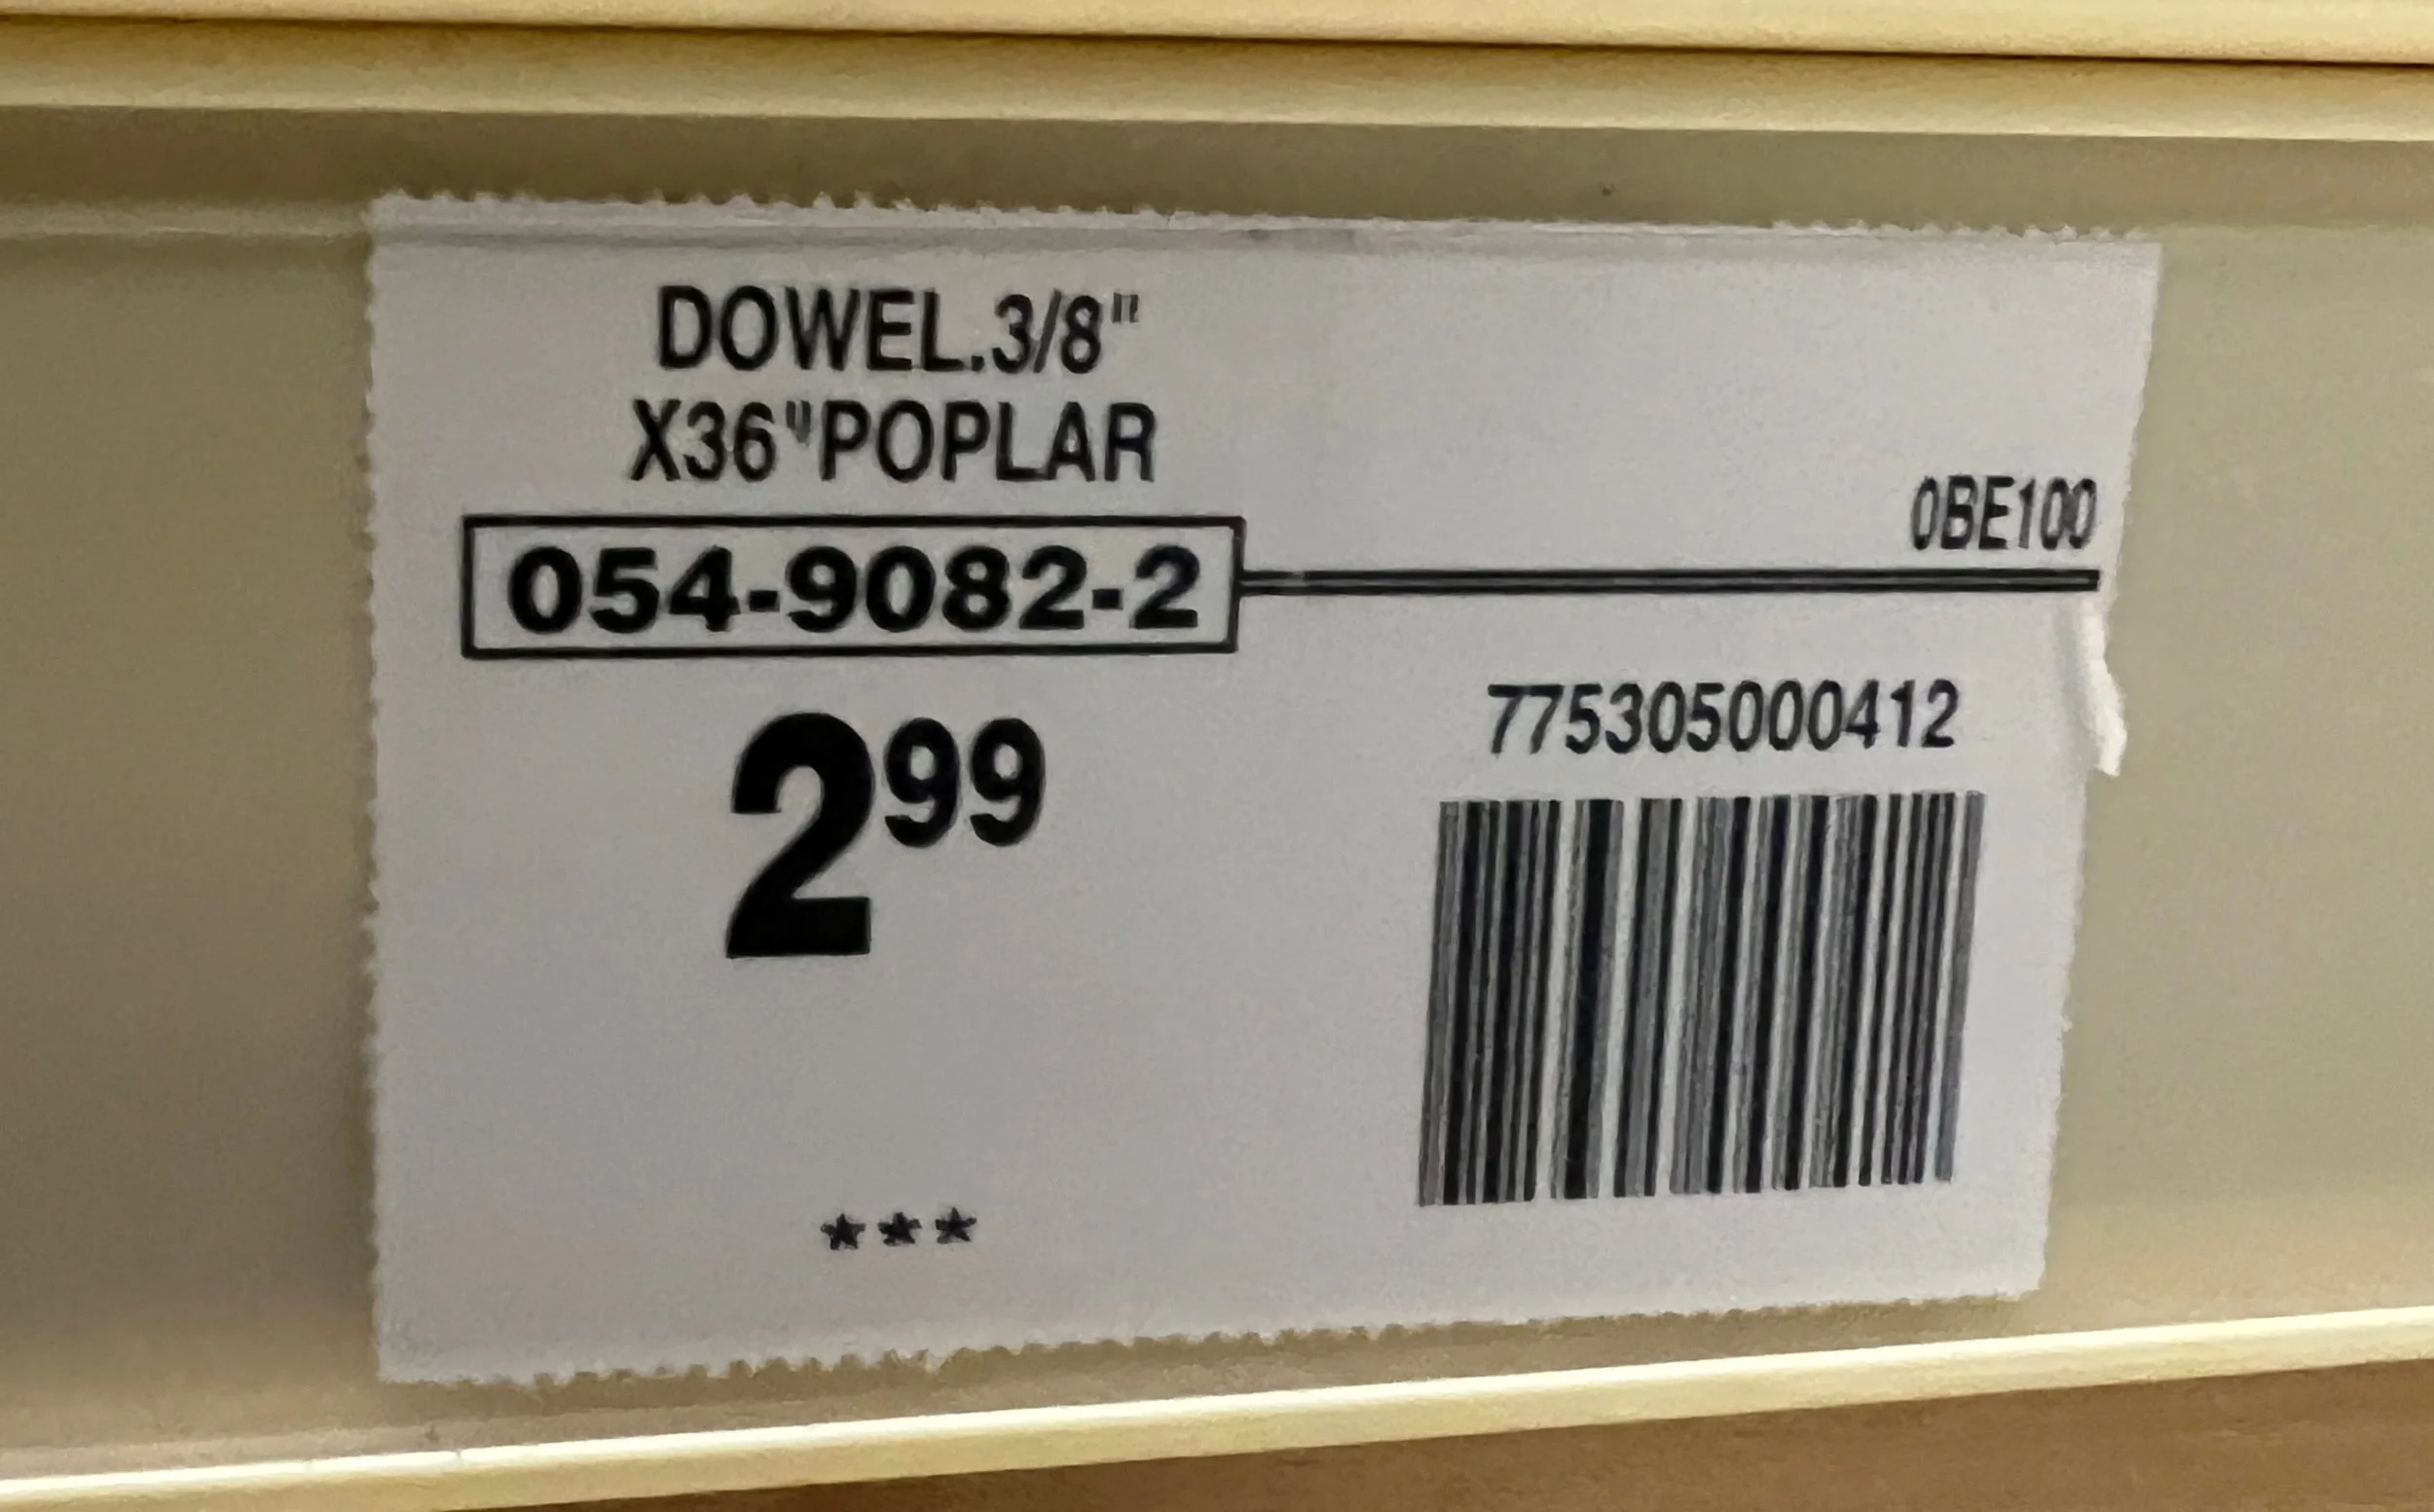
-1/4 and 3/8” wood doweling purchased from two different hardware stores - Canadian Tire and Home Depot
-One piece of good wood: Premium S4S Deck 2x4x8 cedar purchased from Home Depot $3.98 (we had them cut two 36” pieces from the 8 foot board and took all home)
Doweling we found came in 36” and 48” lengths - Determine how many pegs you will need (plus a few extra).
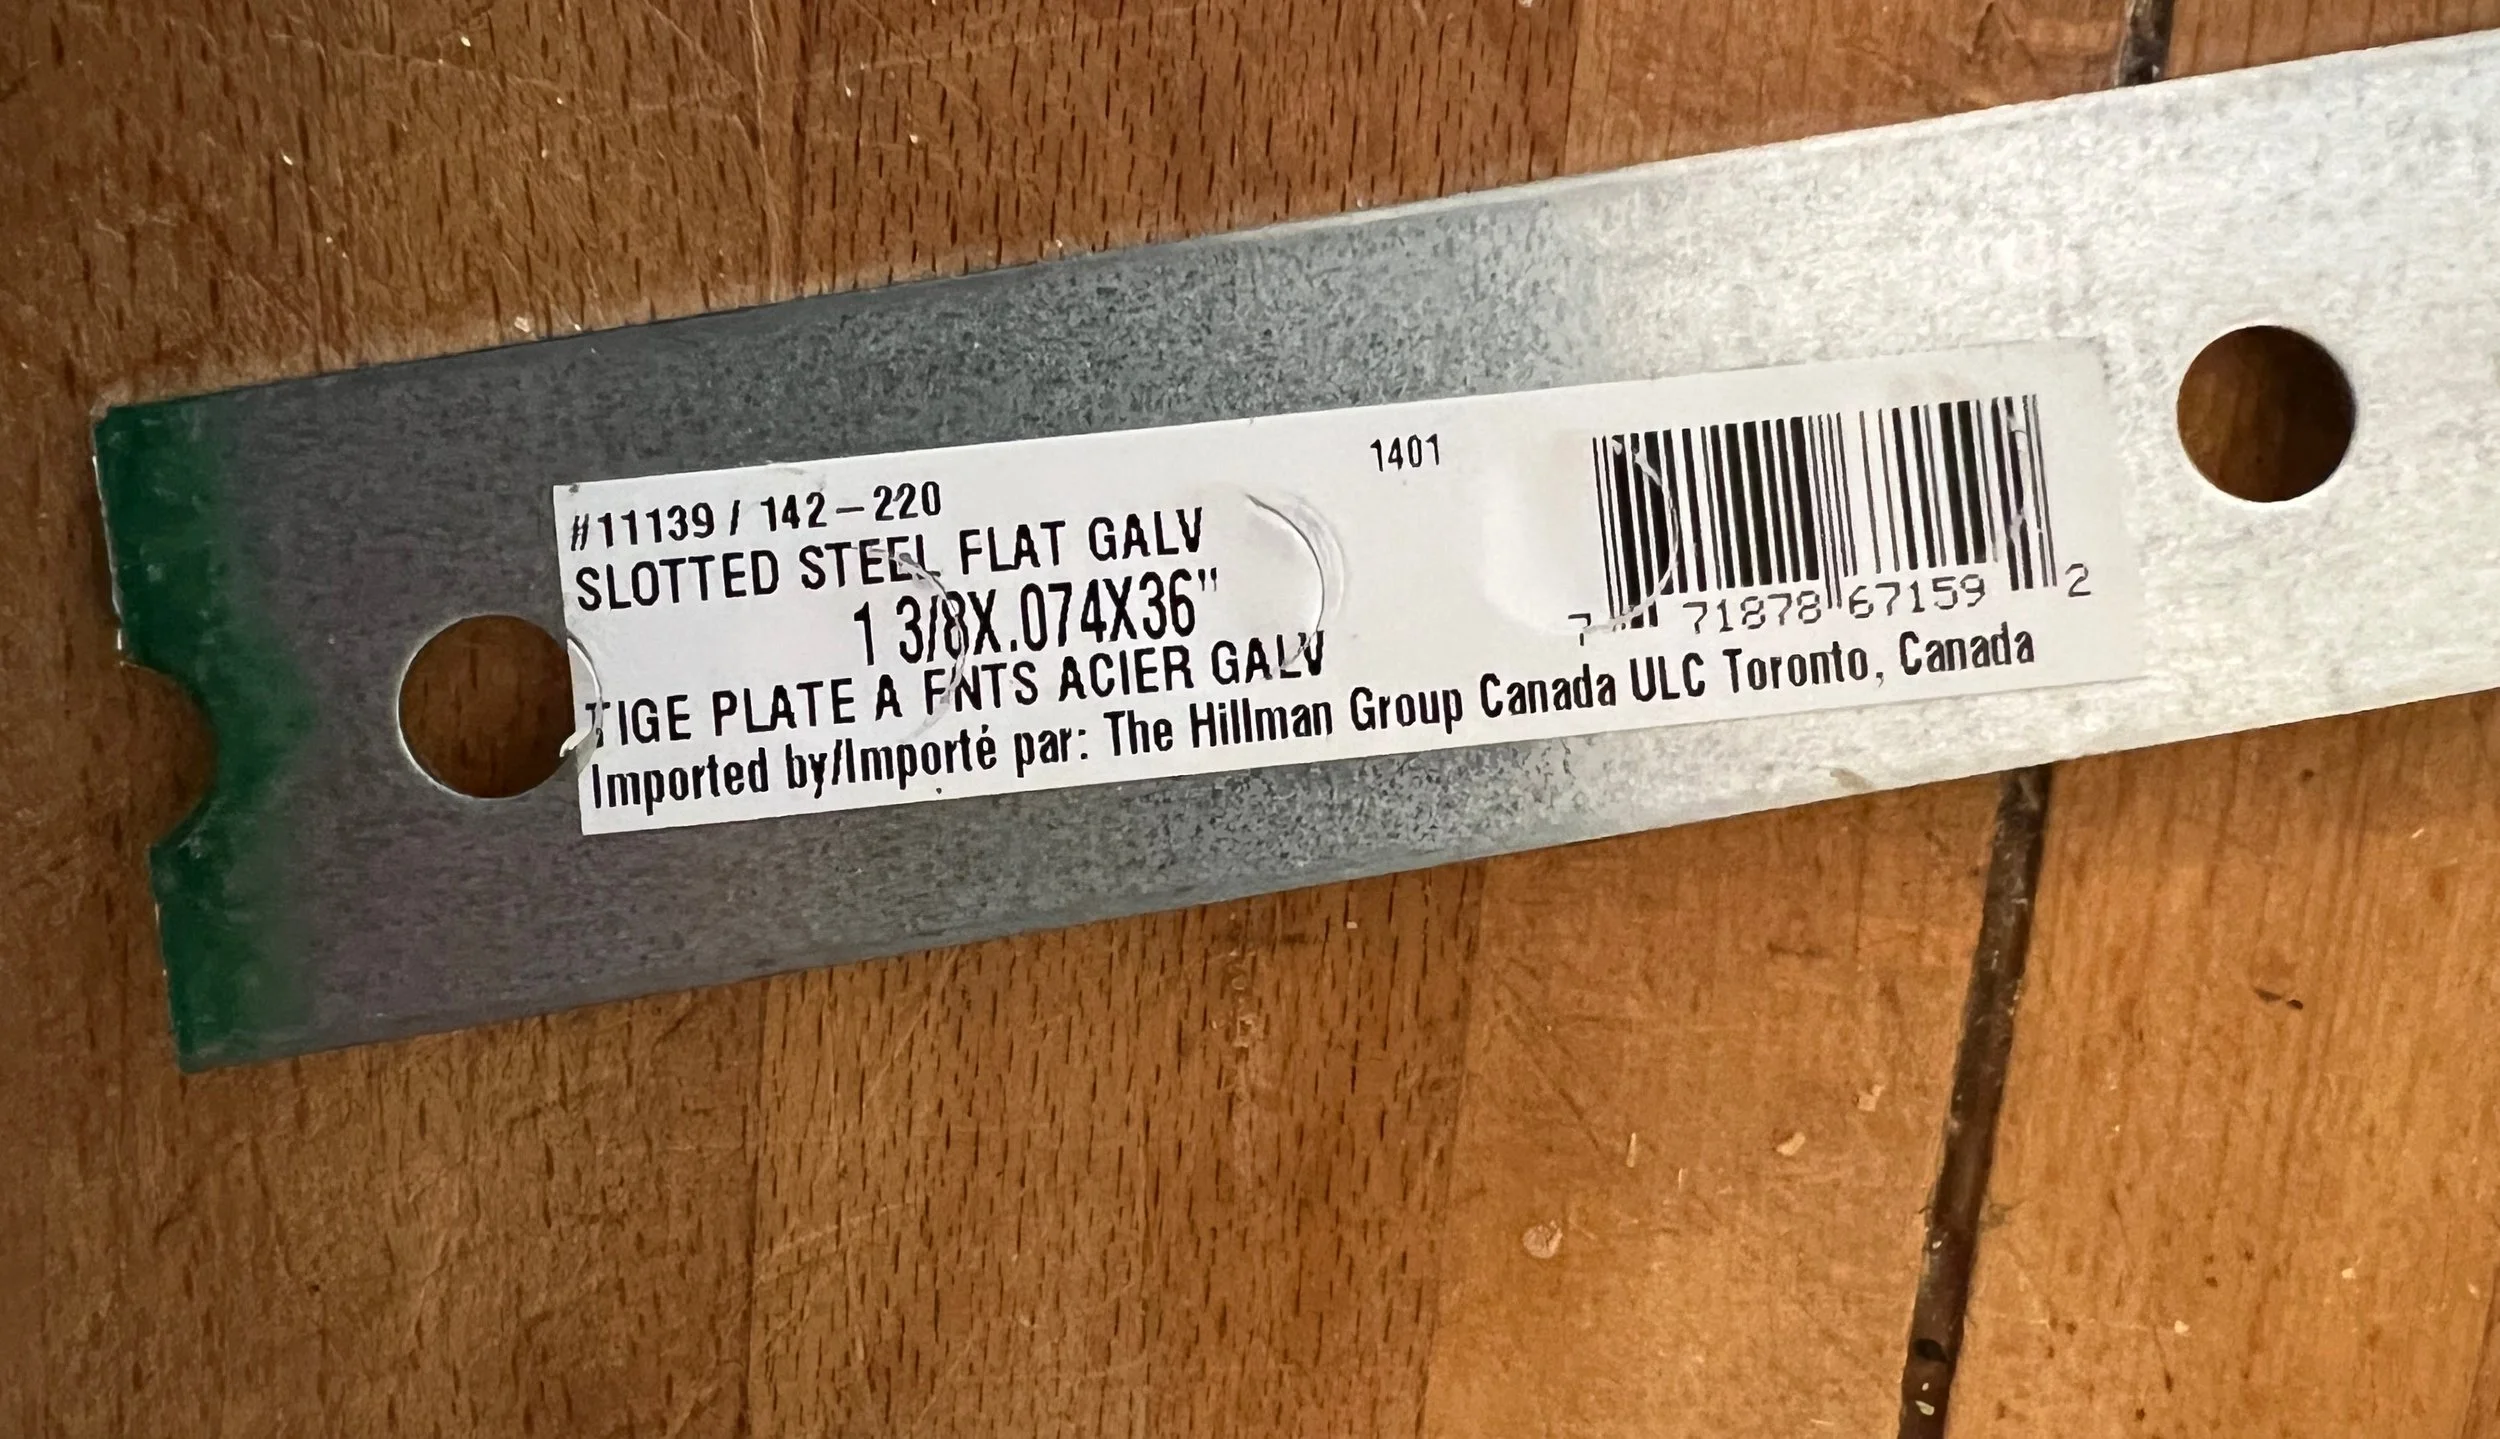
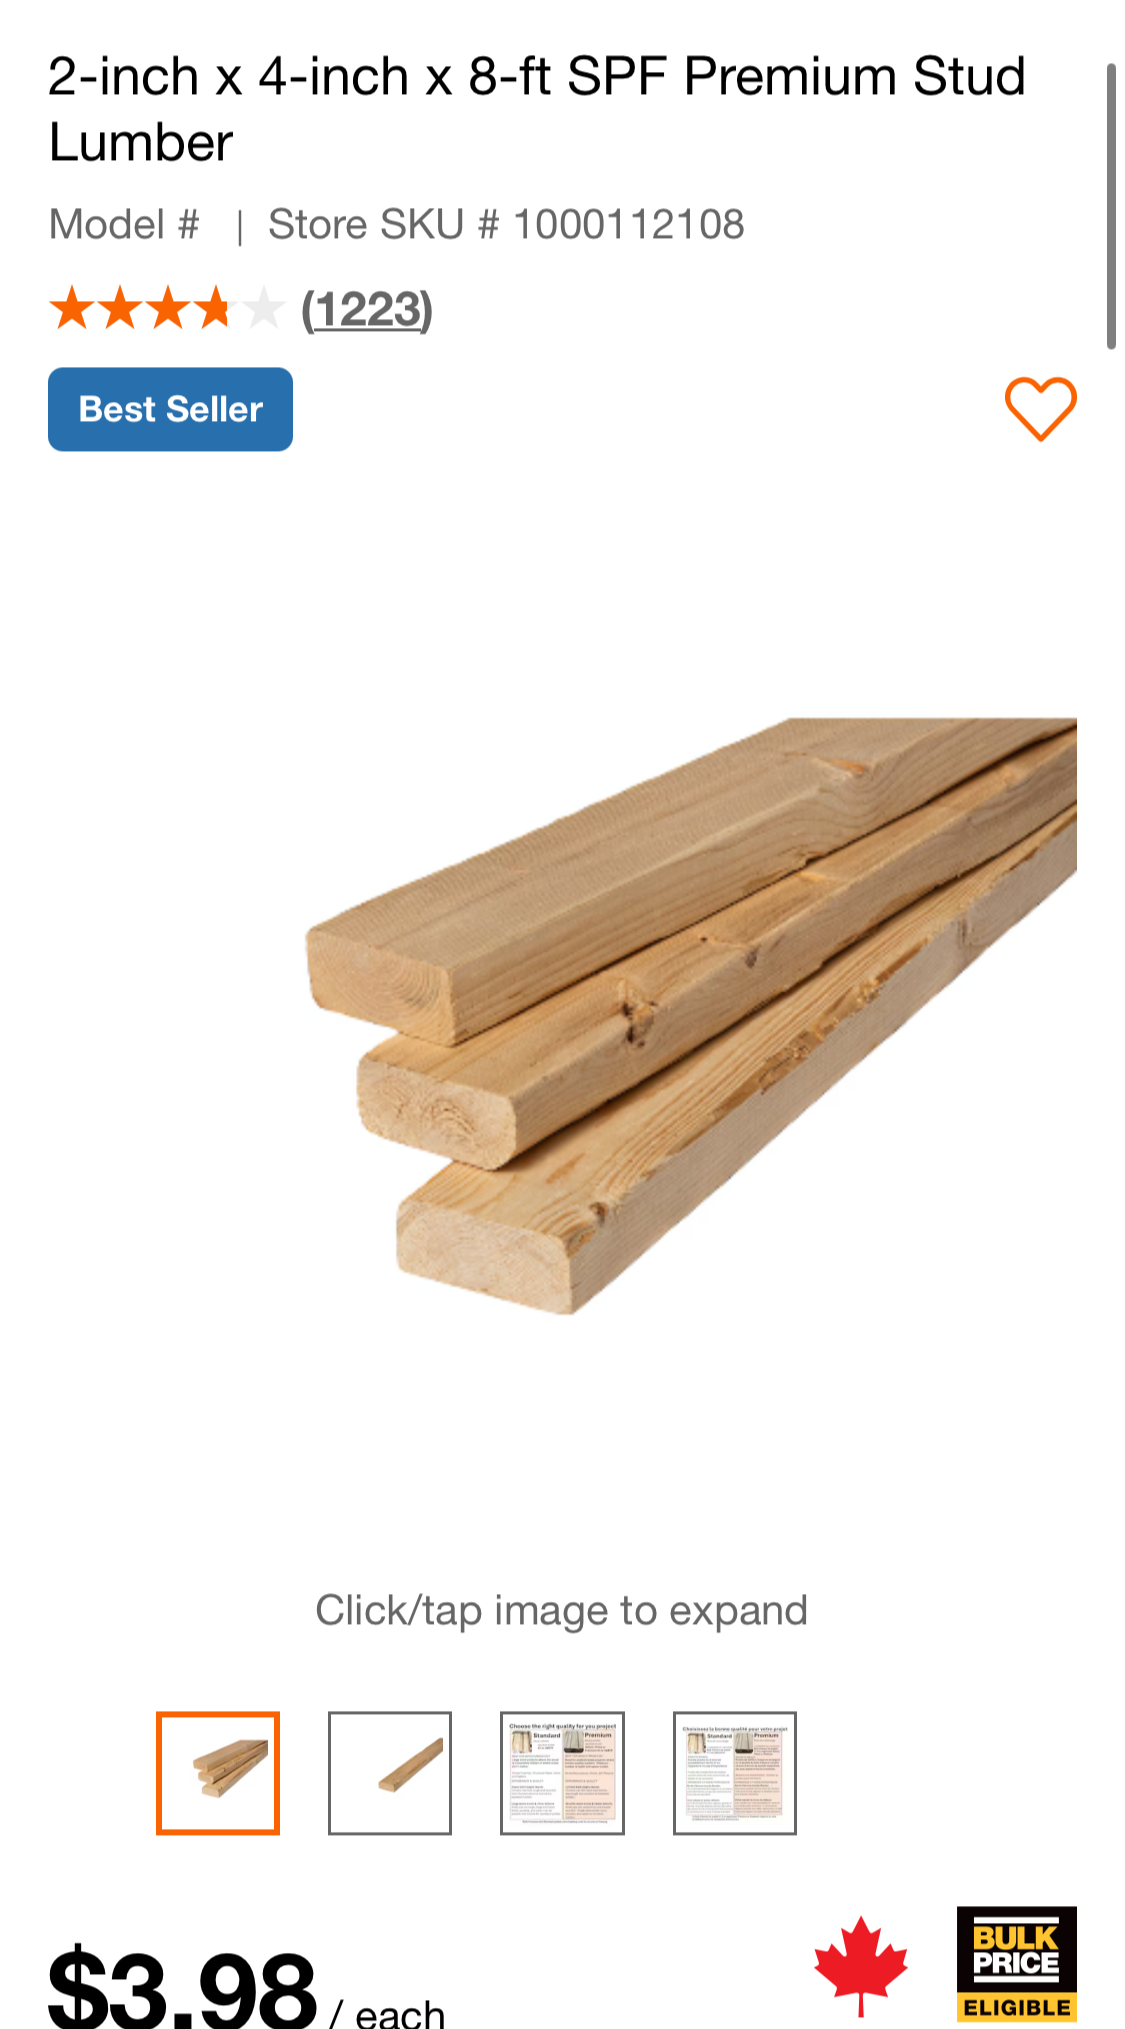
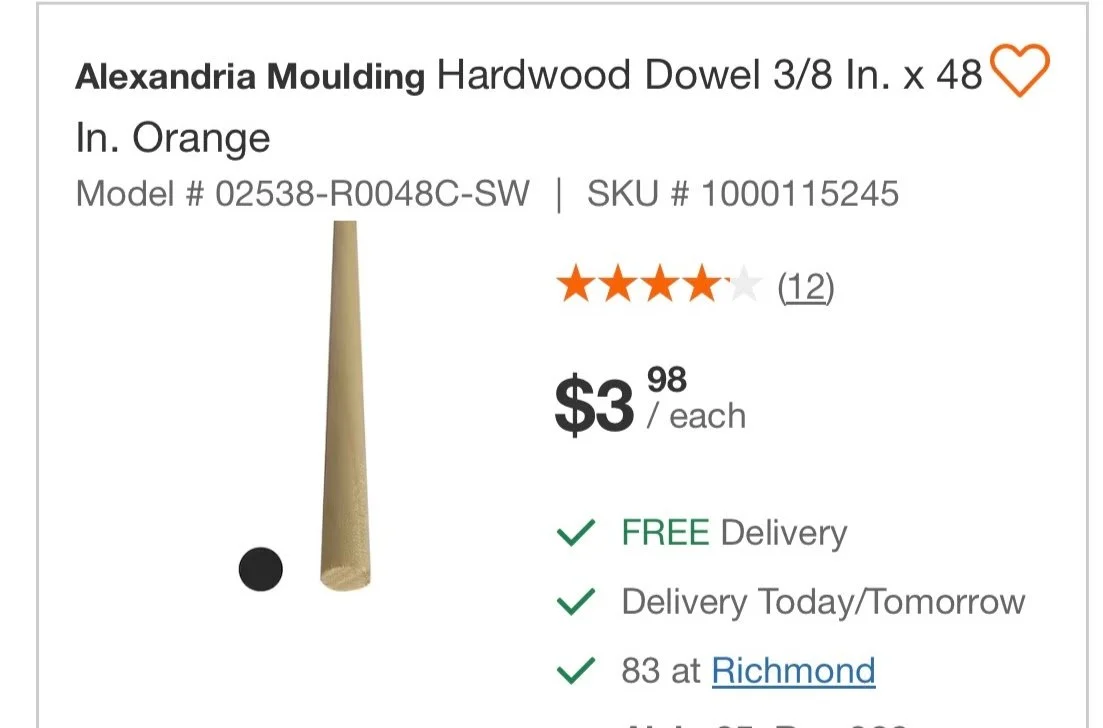
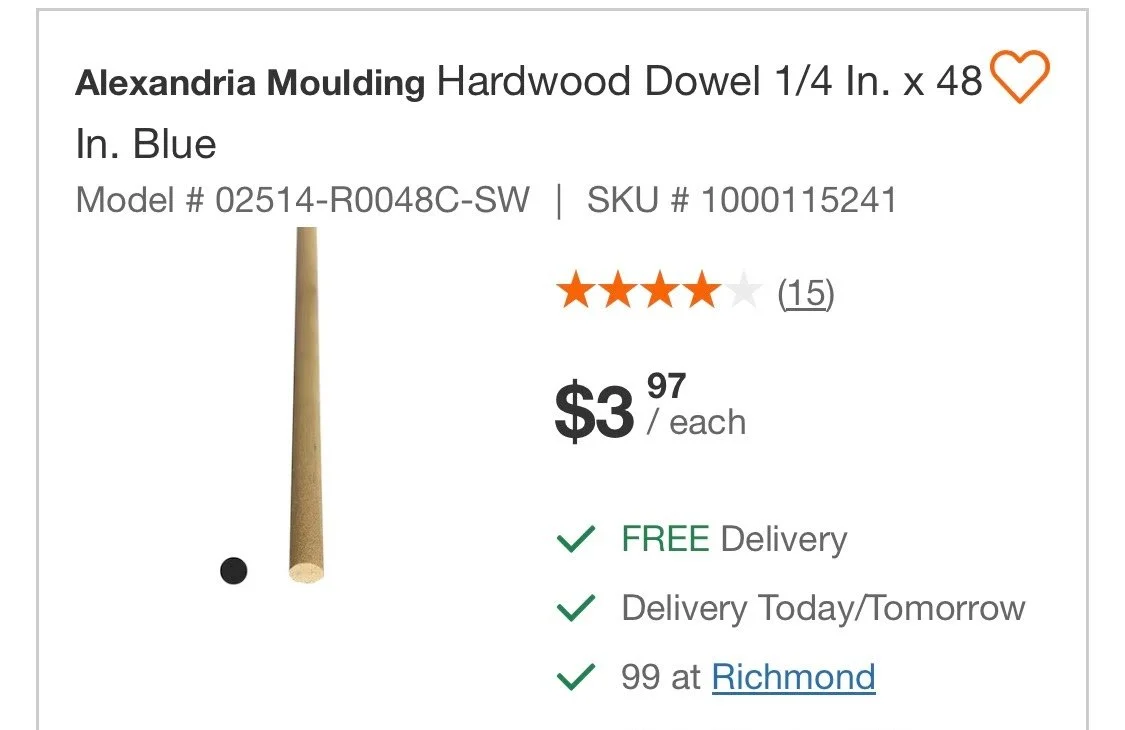
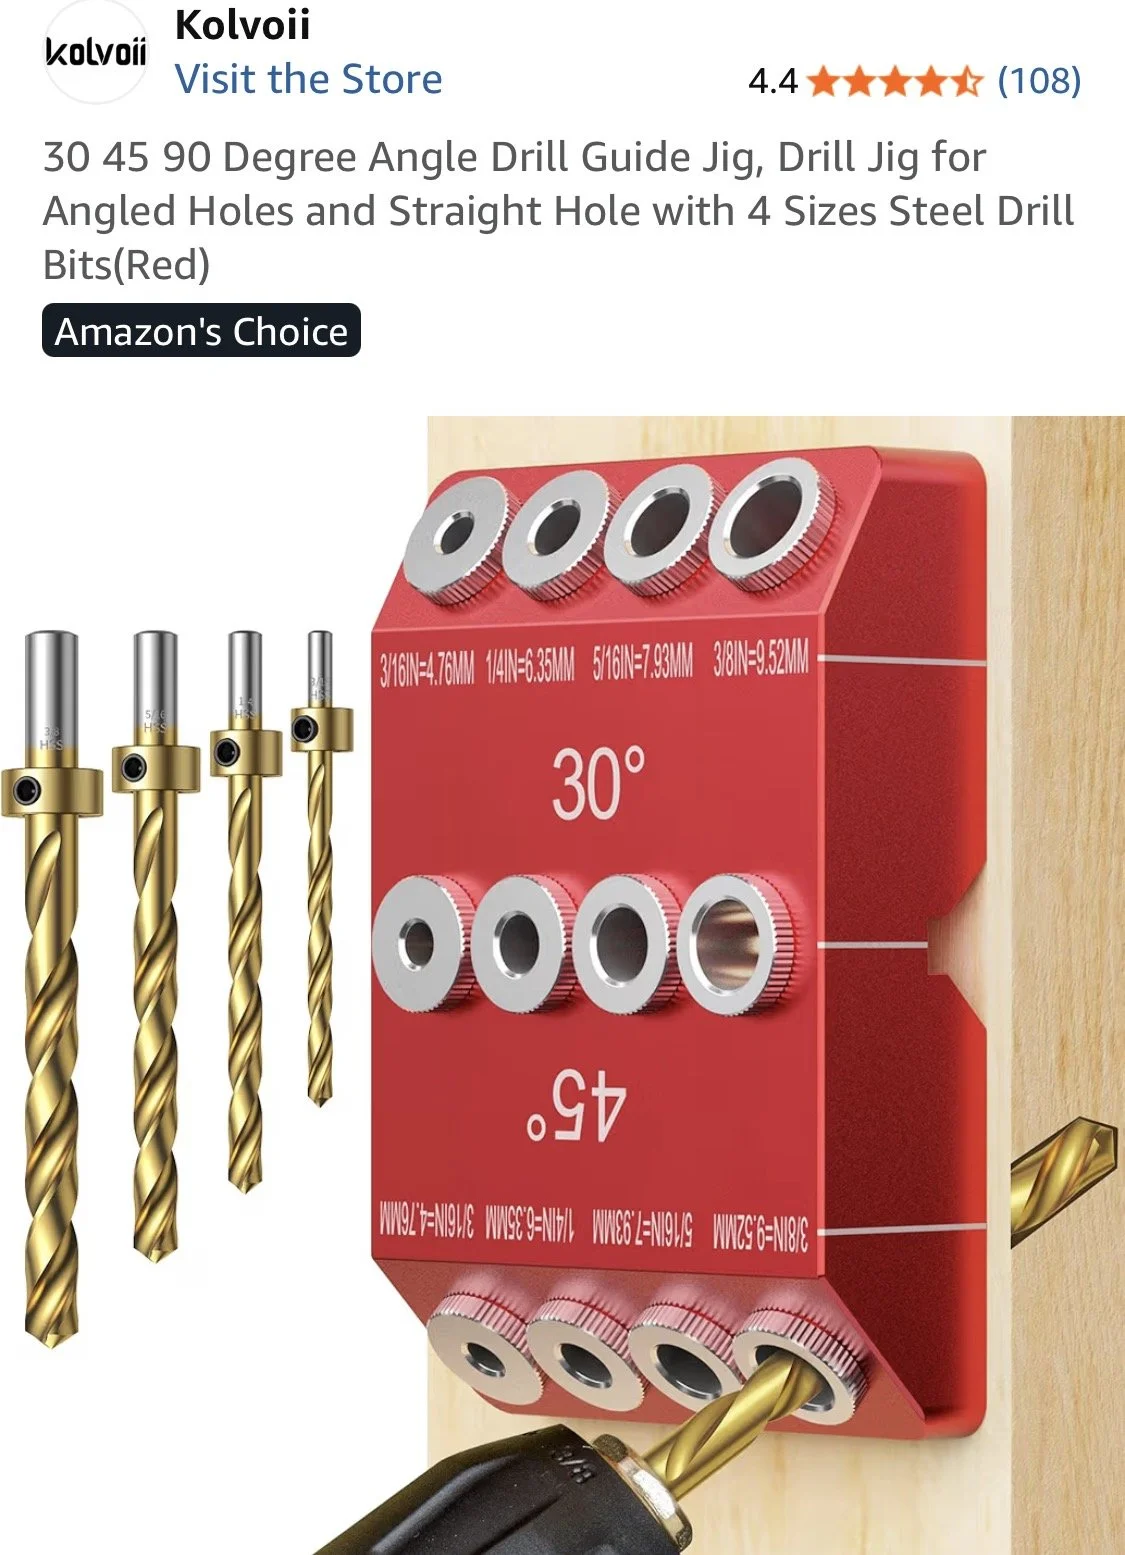
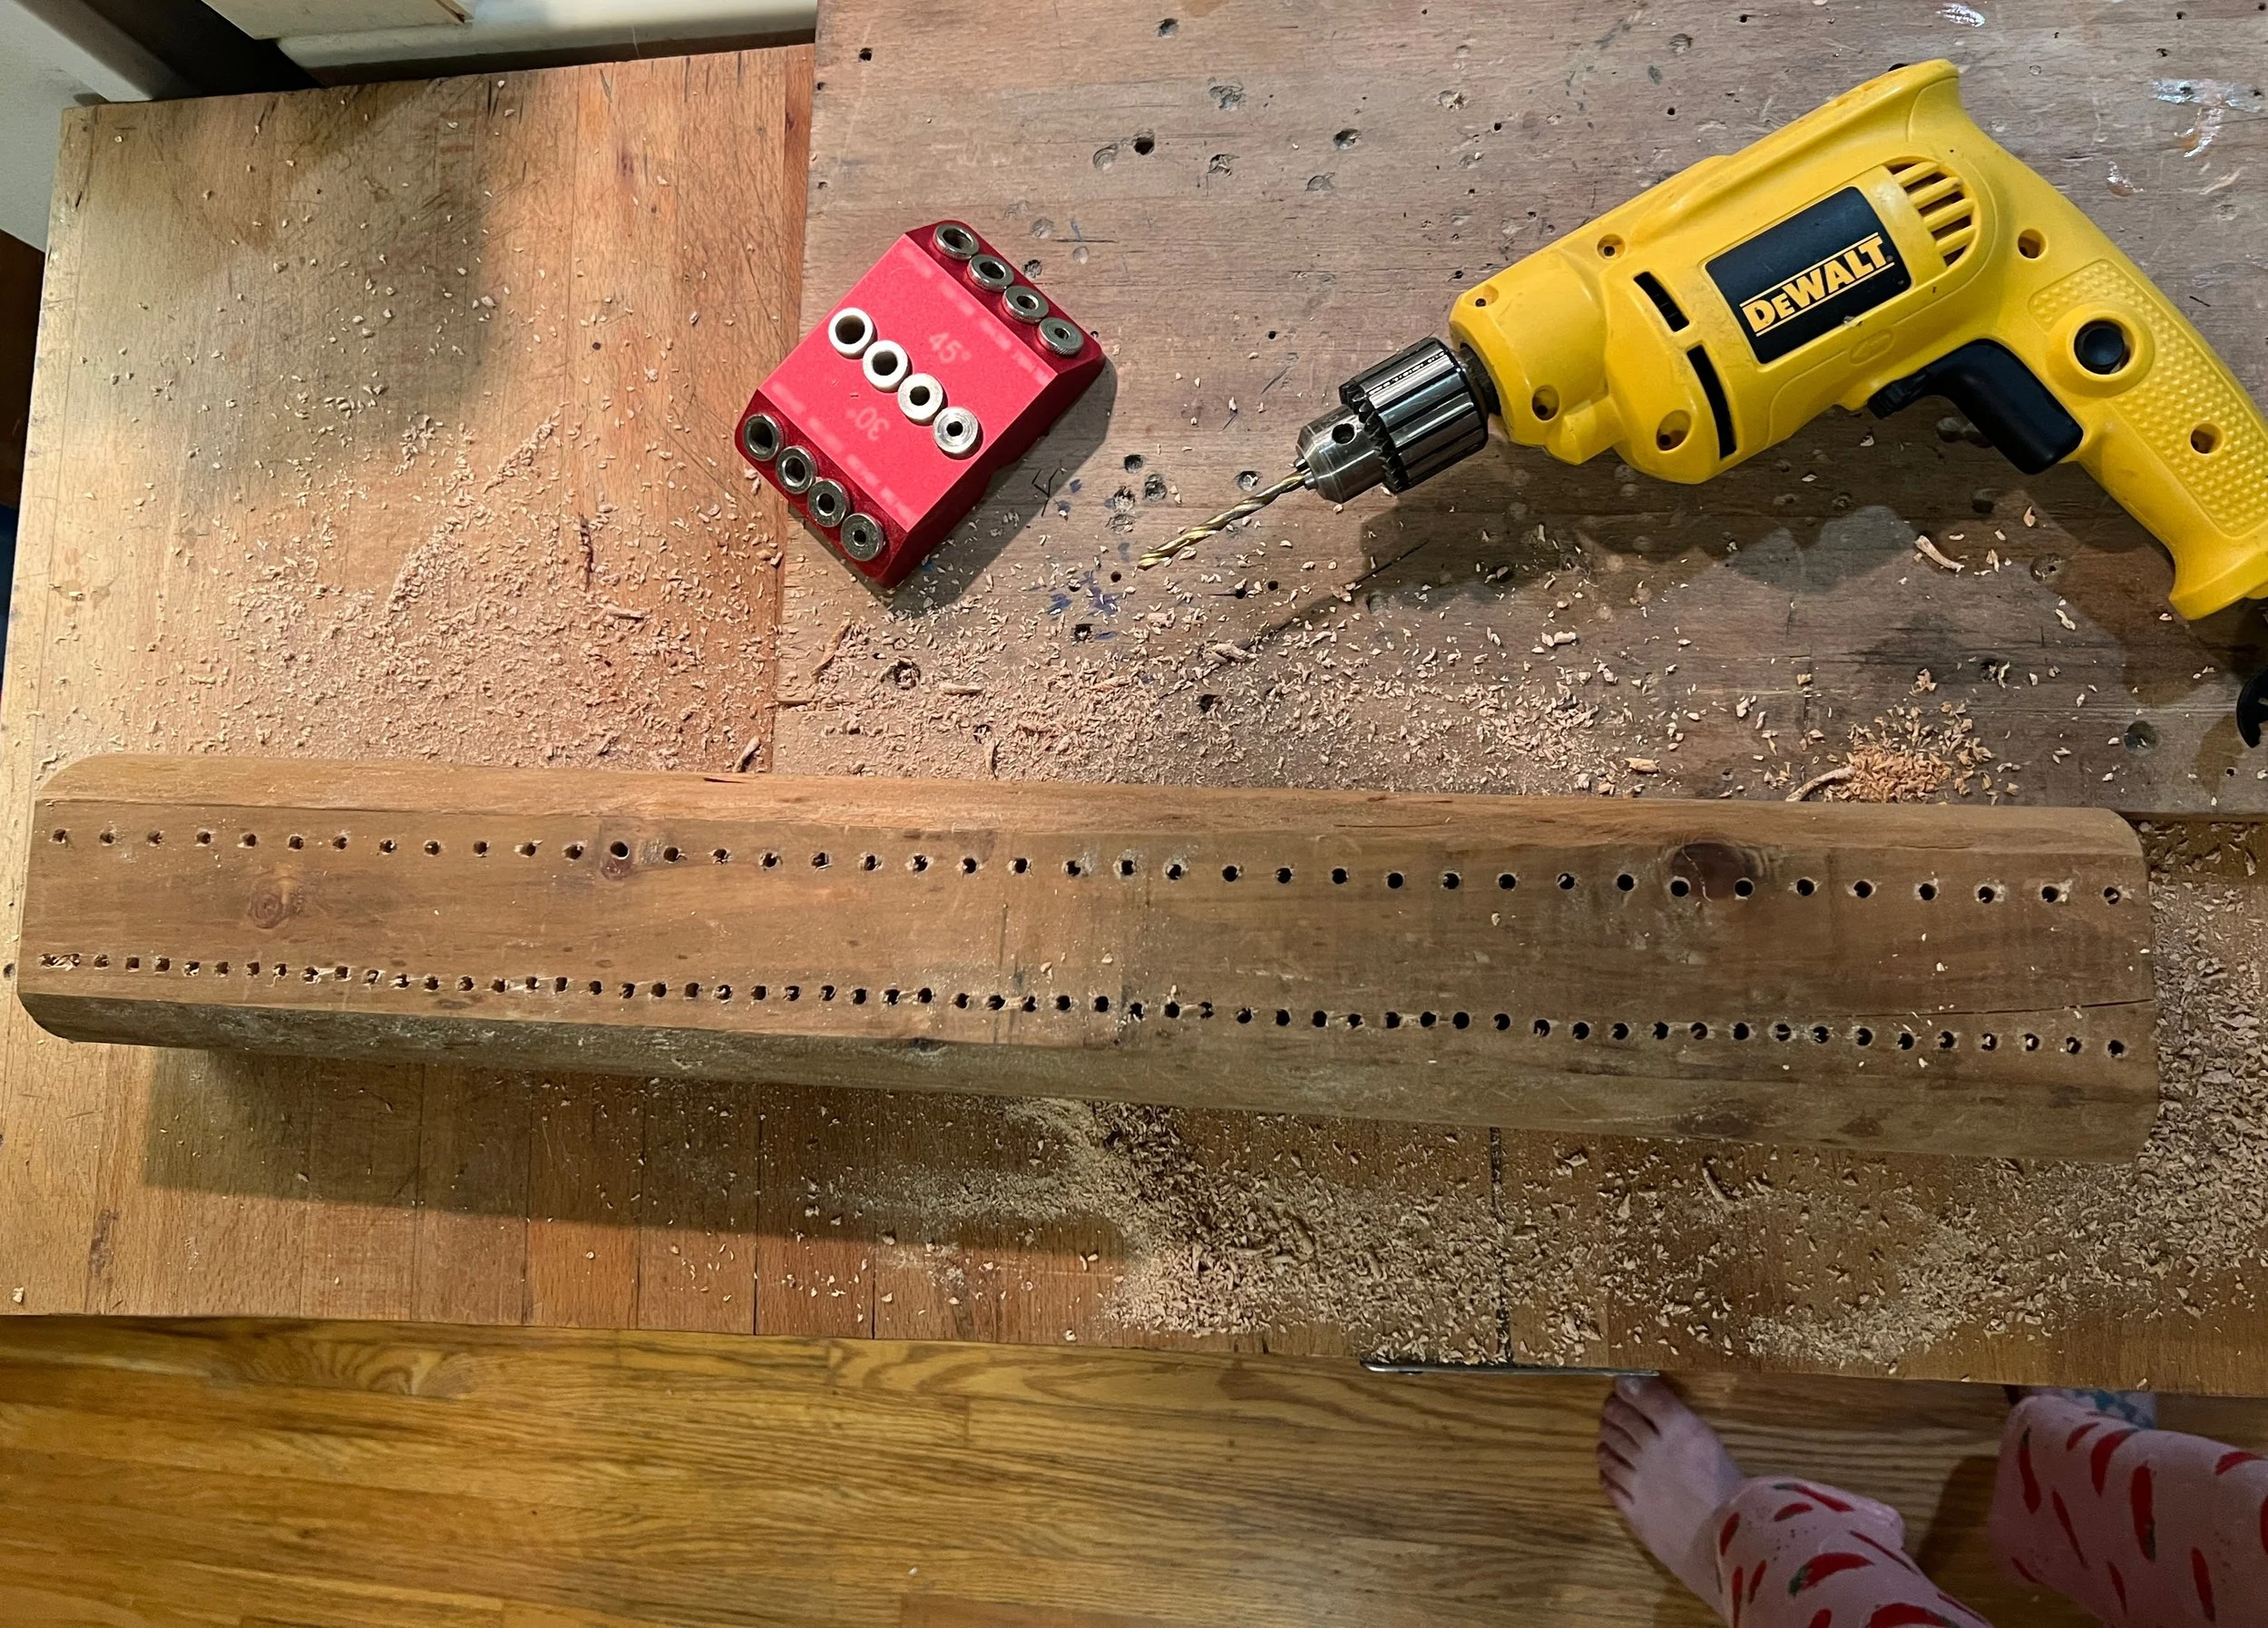
To make at home 90 degrees drilled holes I bought an amazon.ca red jig (I don’t have a drill press so this helped).
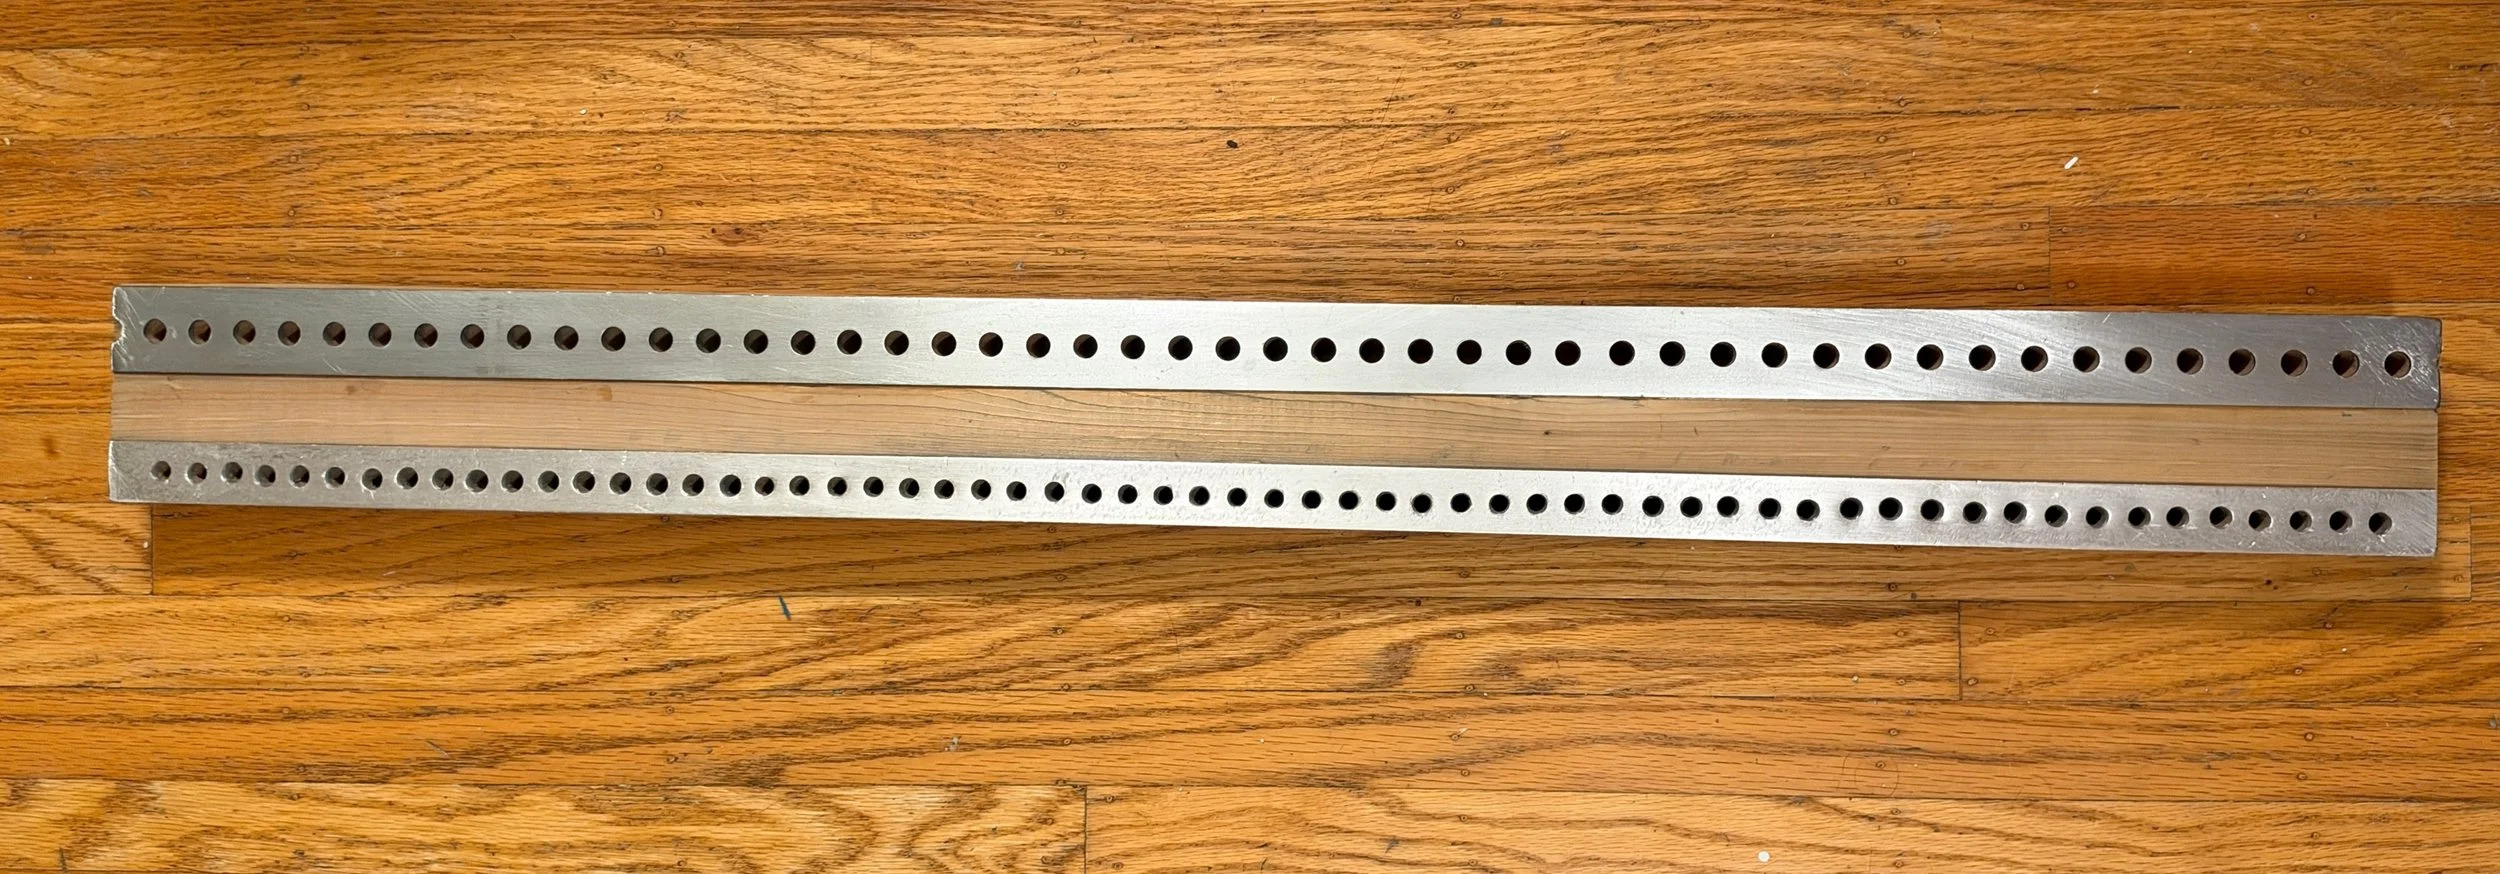
For my final version I wanted a more reinforced metal surface so we bought two pieces of metal - one had the holes already drilled and one didnt:
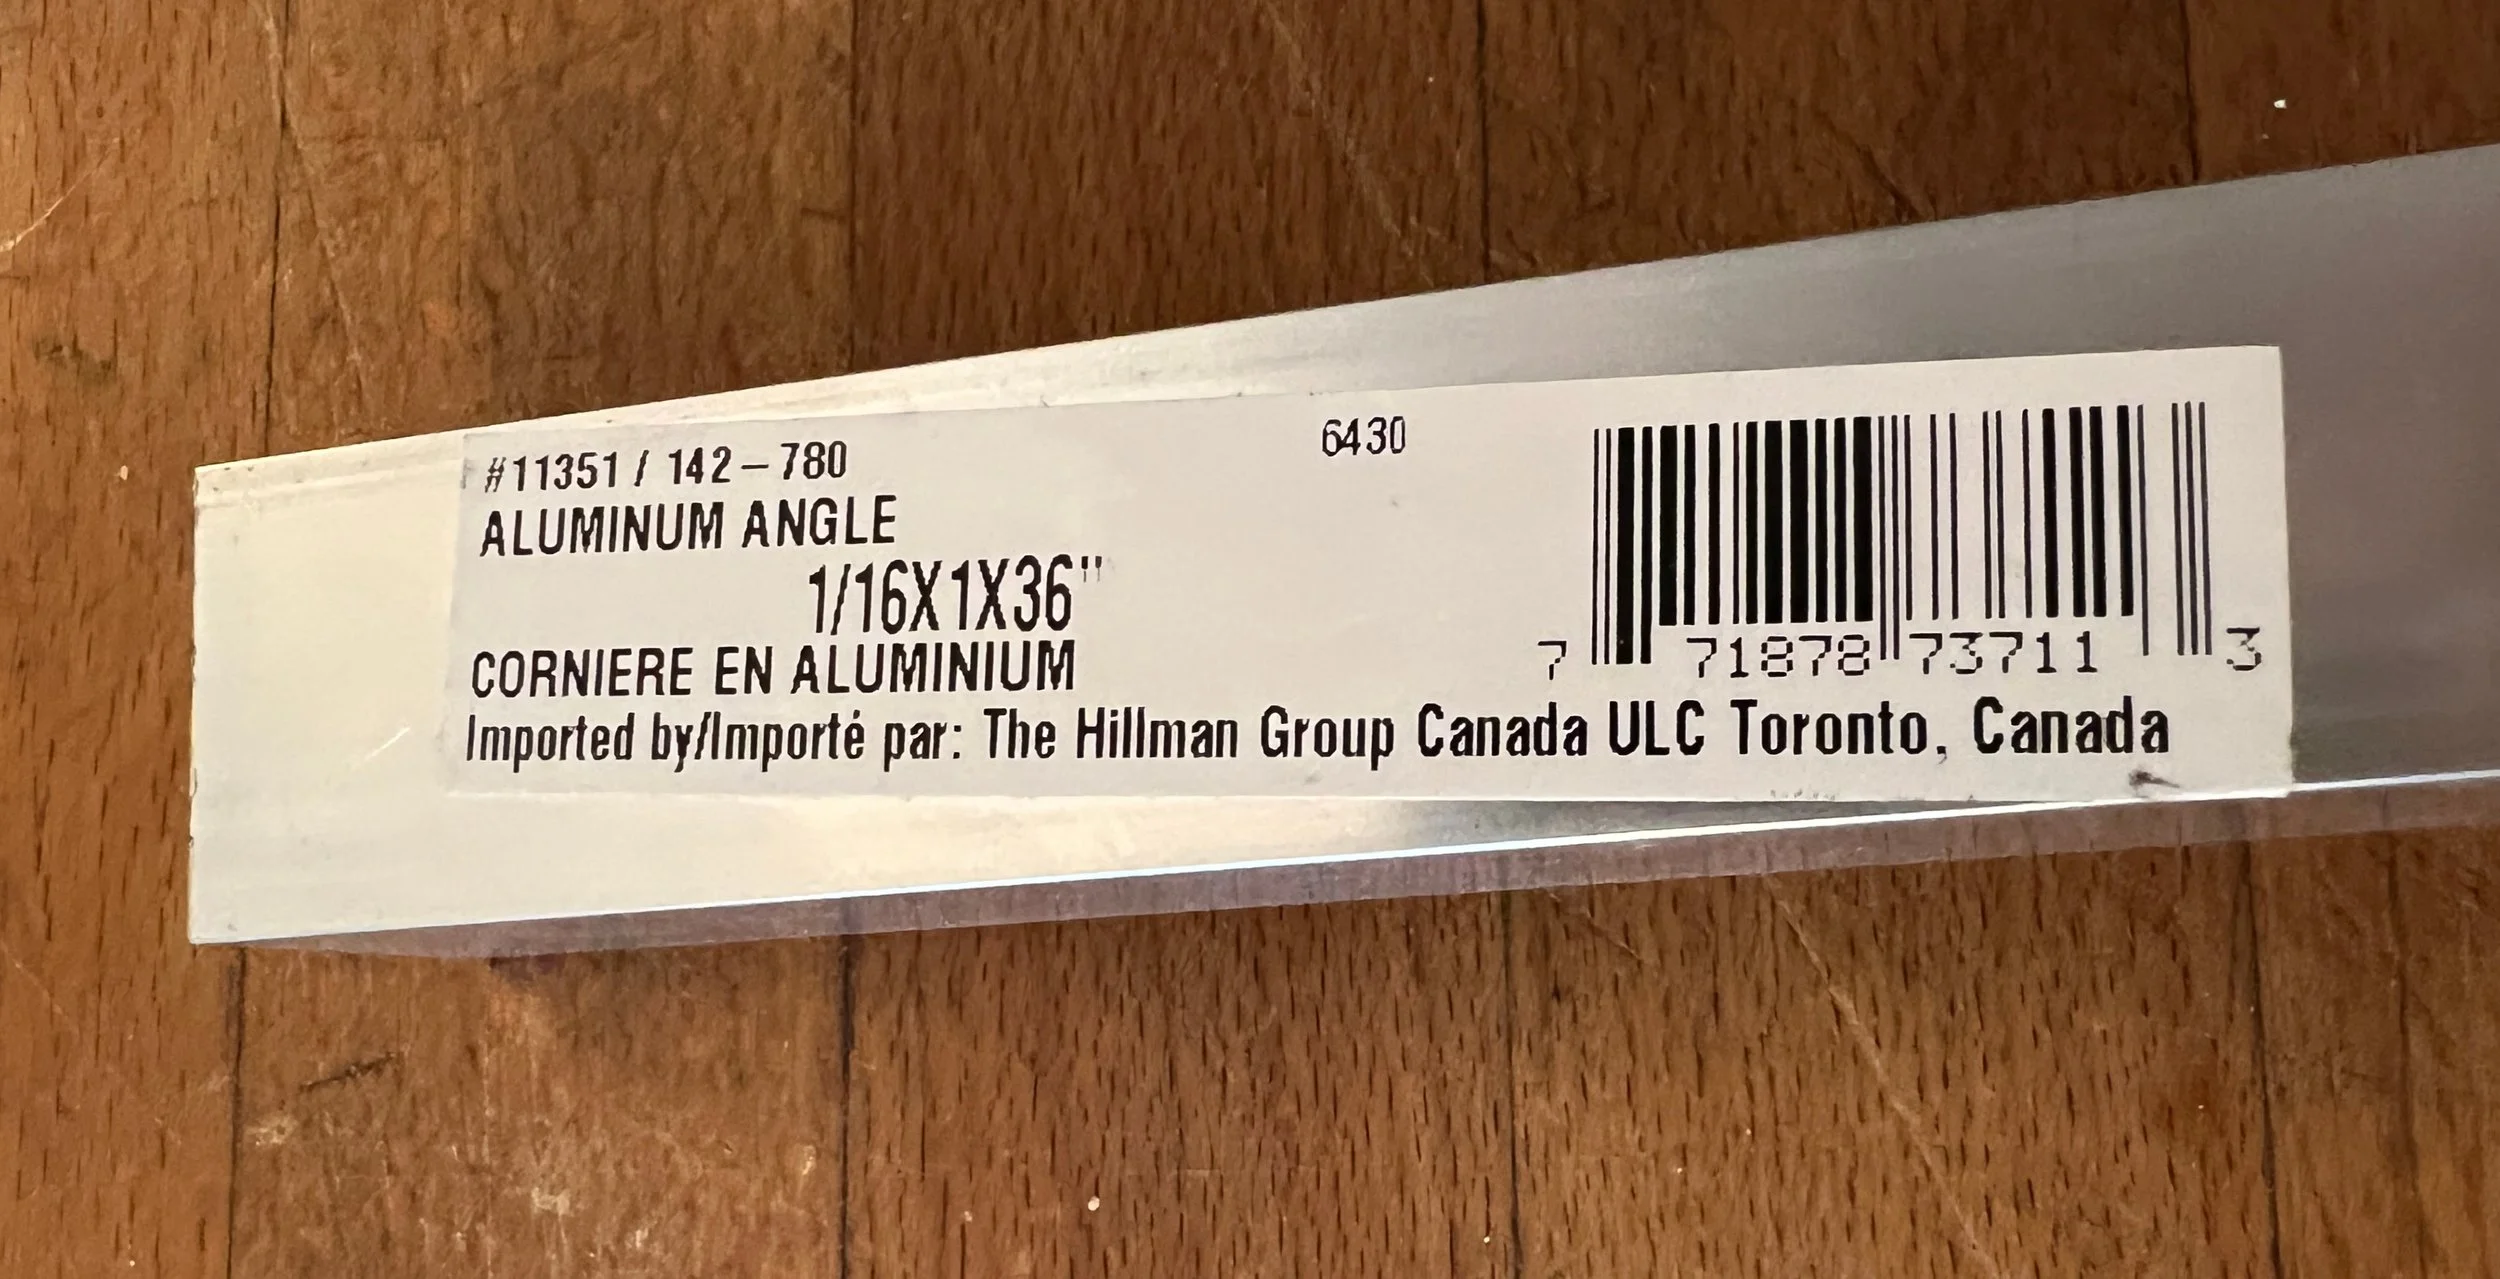
-Aluminum angle 1/16x1x36” (not drilled)
-Slotted steel flat galv - 1 3/8x 0.74x36”
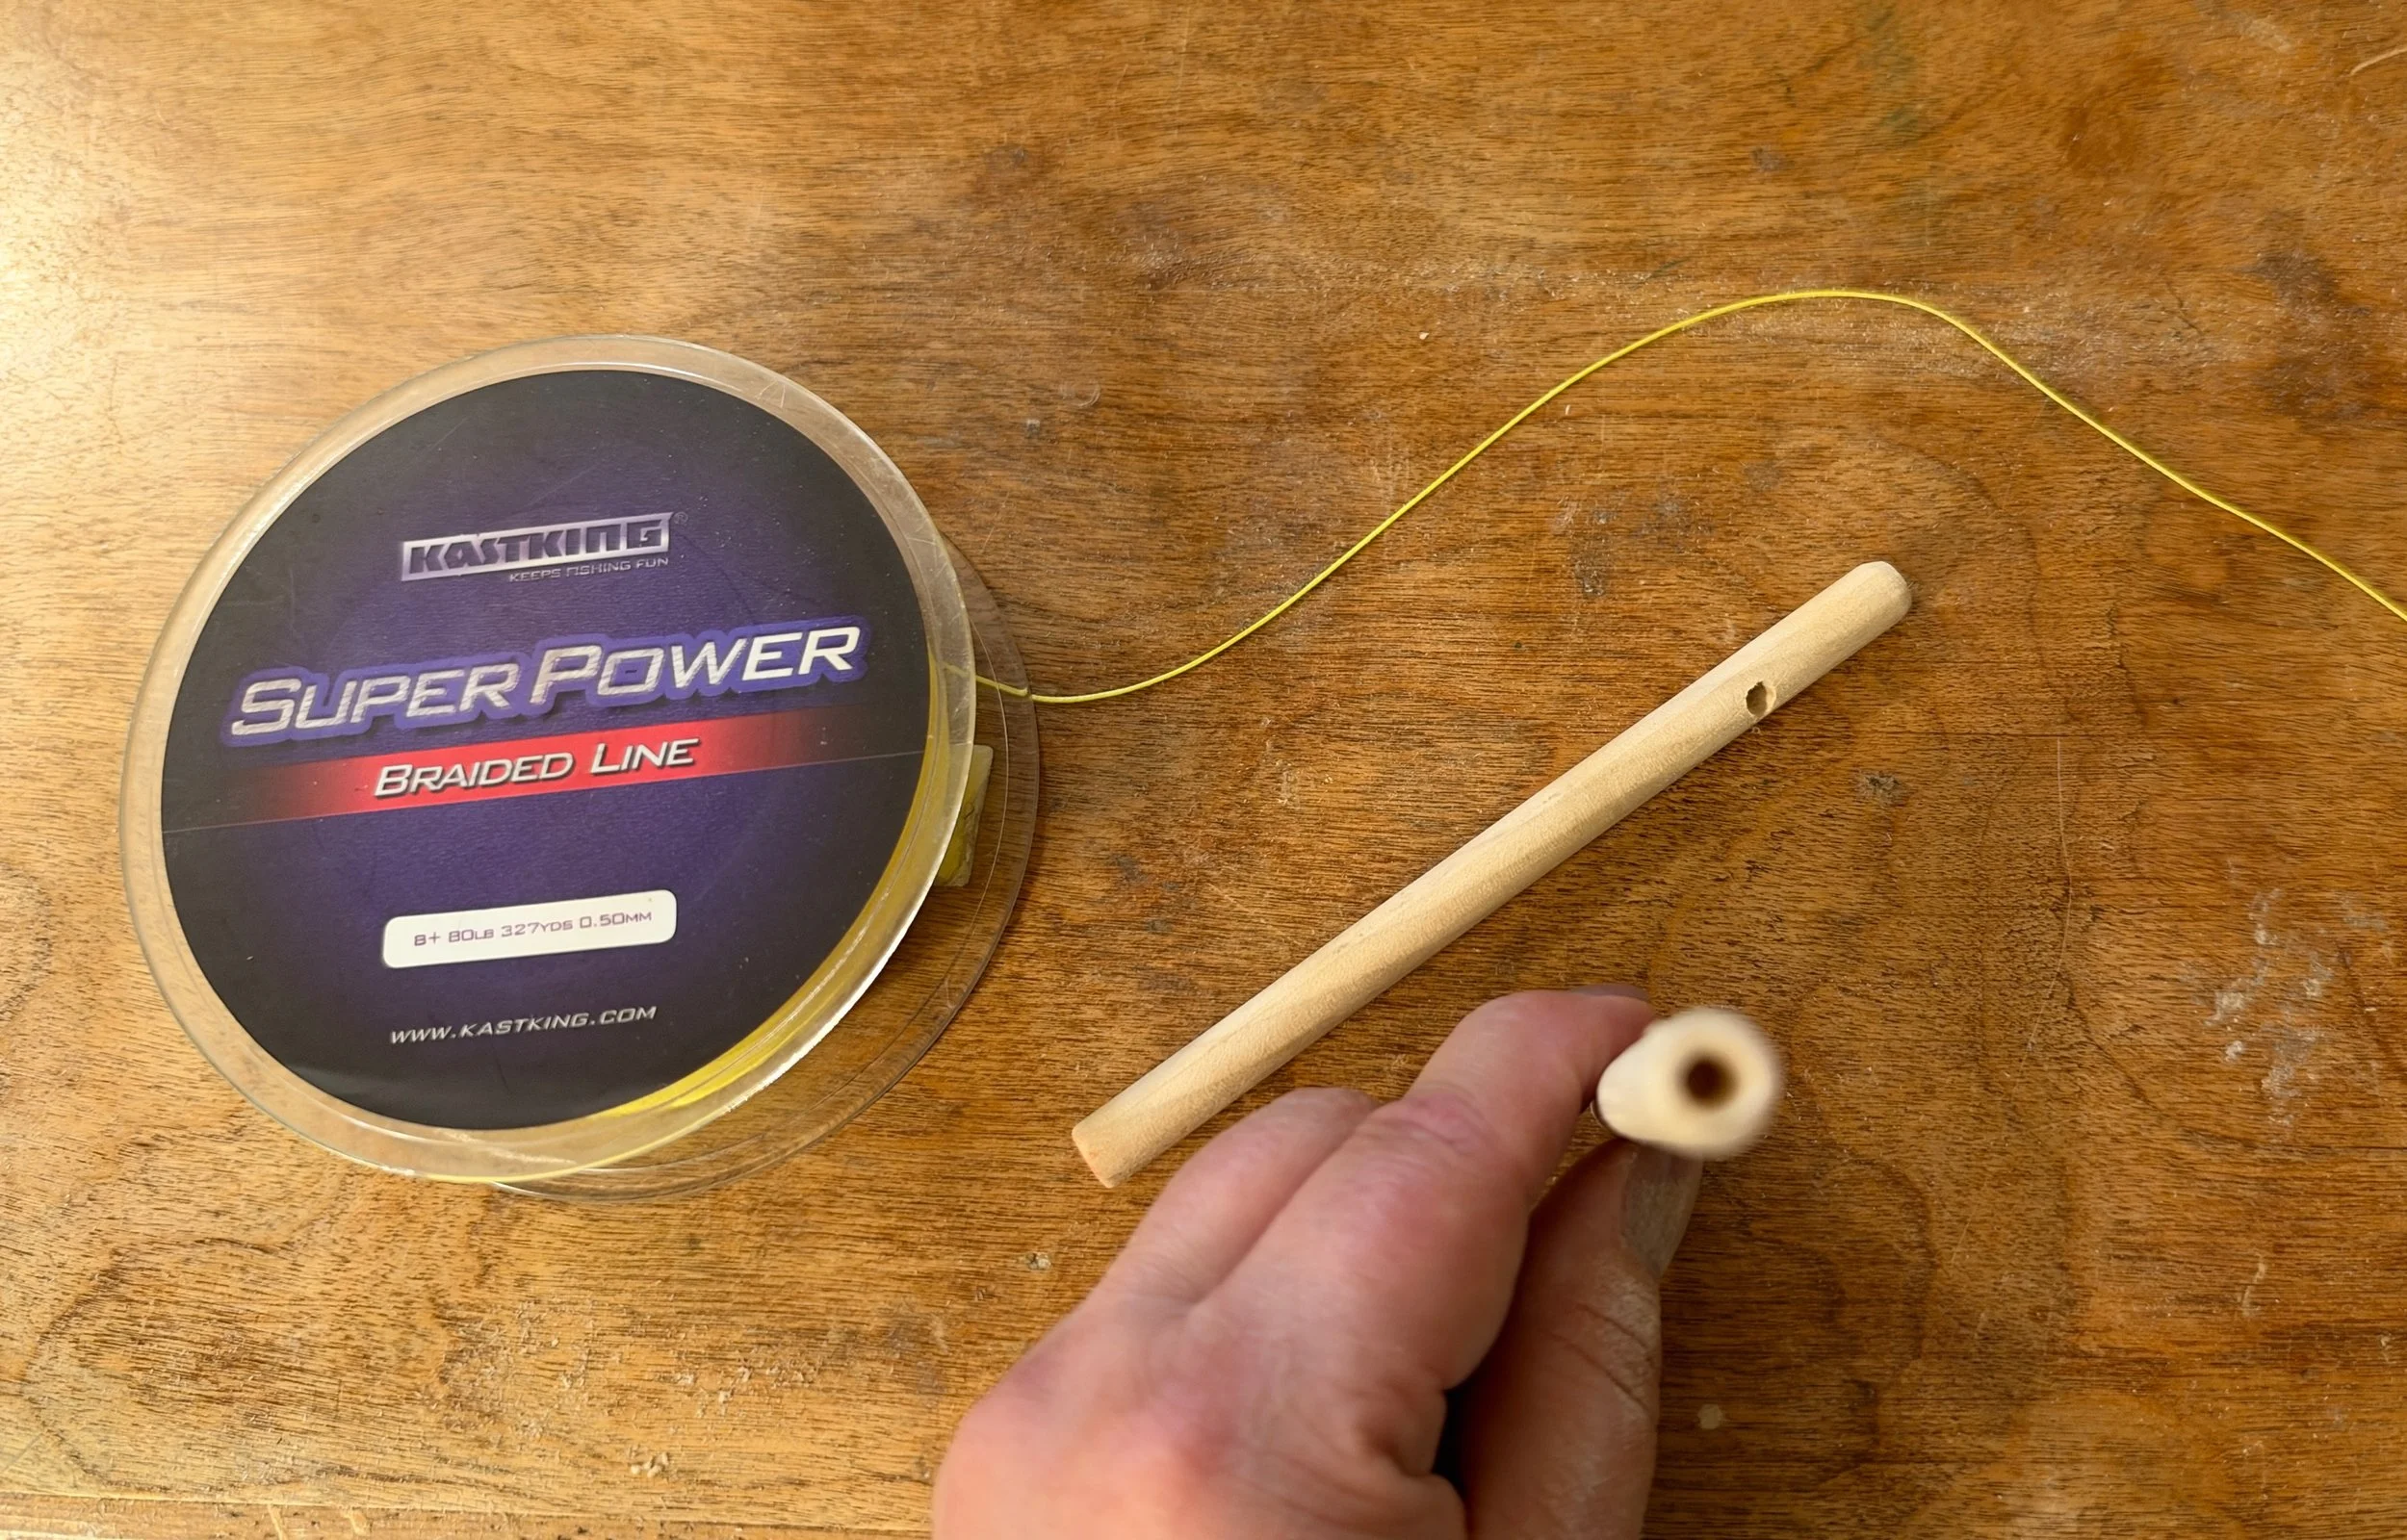
Later I used some yellow braided fishing line to make the peg threaded (optional).
After recently viewing a bunch of Instagram posts, I was inspired to make my own adjustable peg loom.
First I laid out a paper pattern with planned drill holes on the pressure treaded leftover wood - after drilling all the holes and finding the wood fall apart - I abdoneded that. START OVER.
Back the hardware store for a better quality piece of wood - a 2 x 4 x 8 - that the hardware store cut into two 36” pieces with a bit leftover.
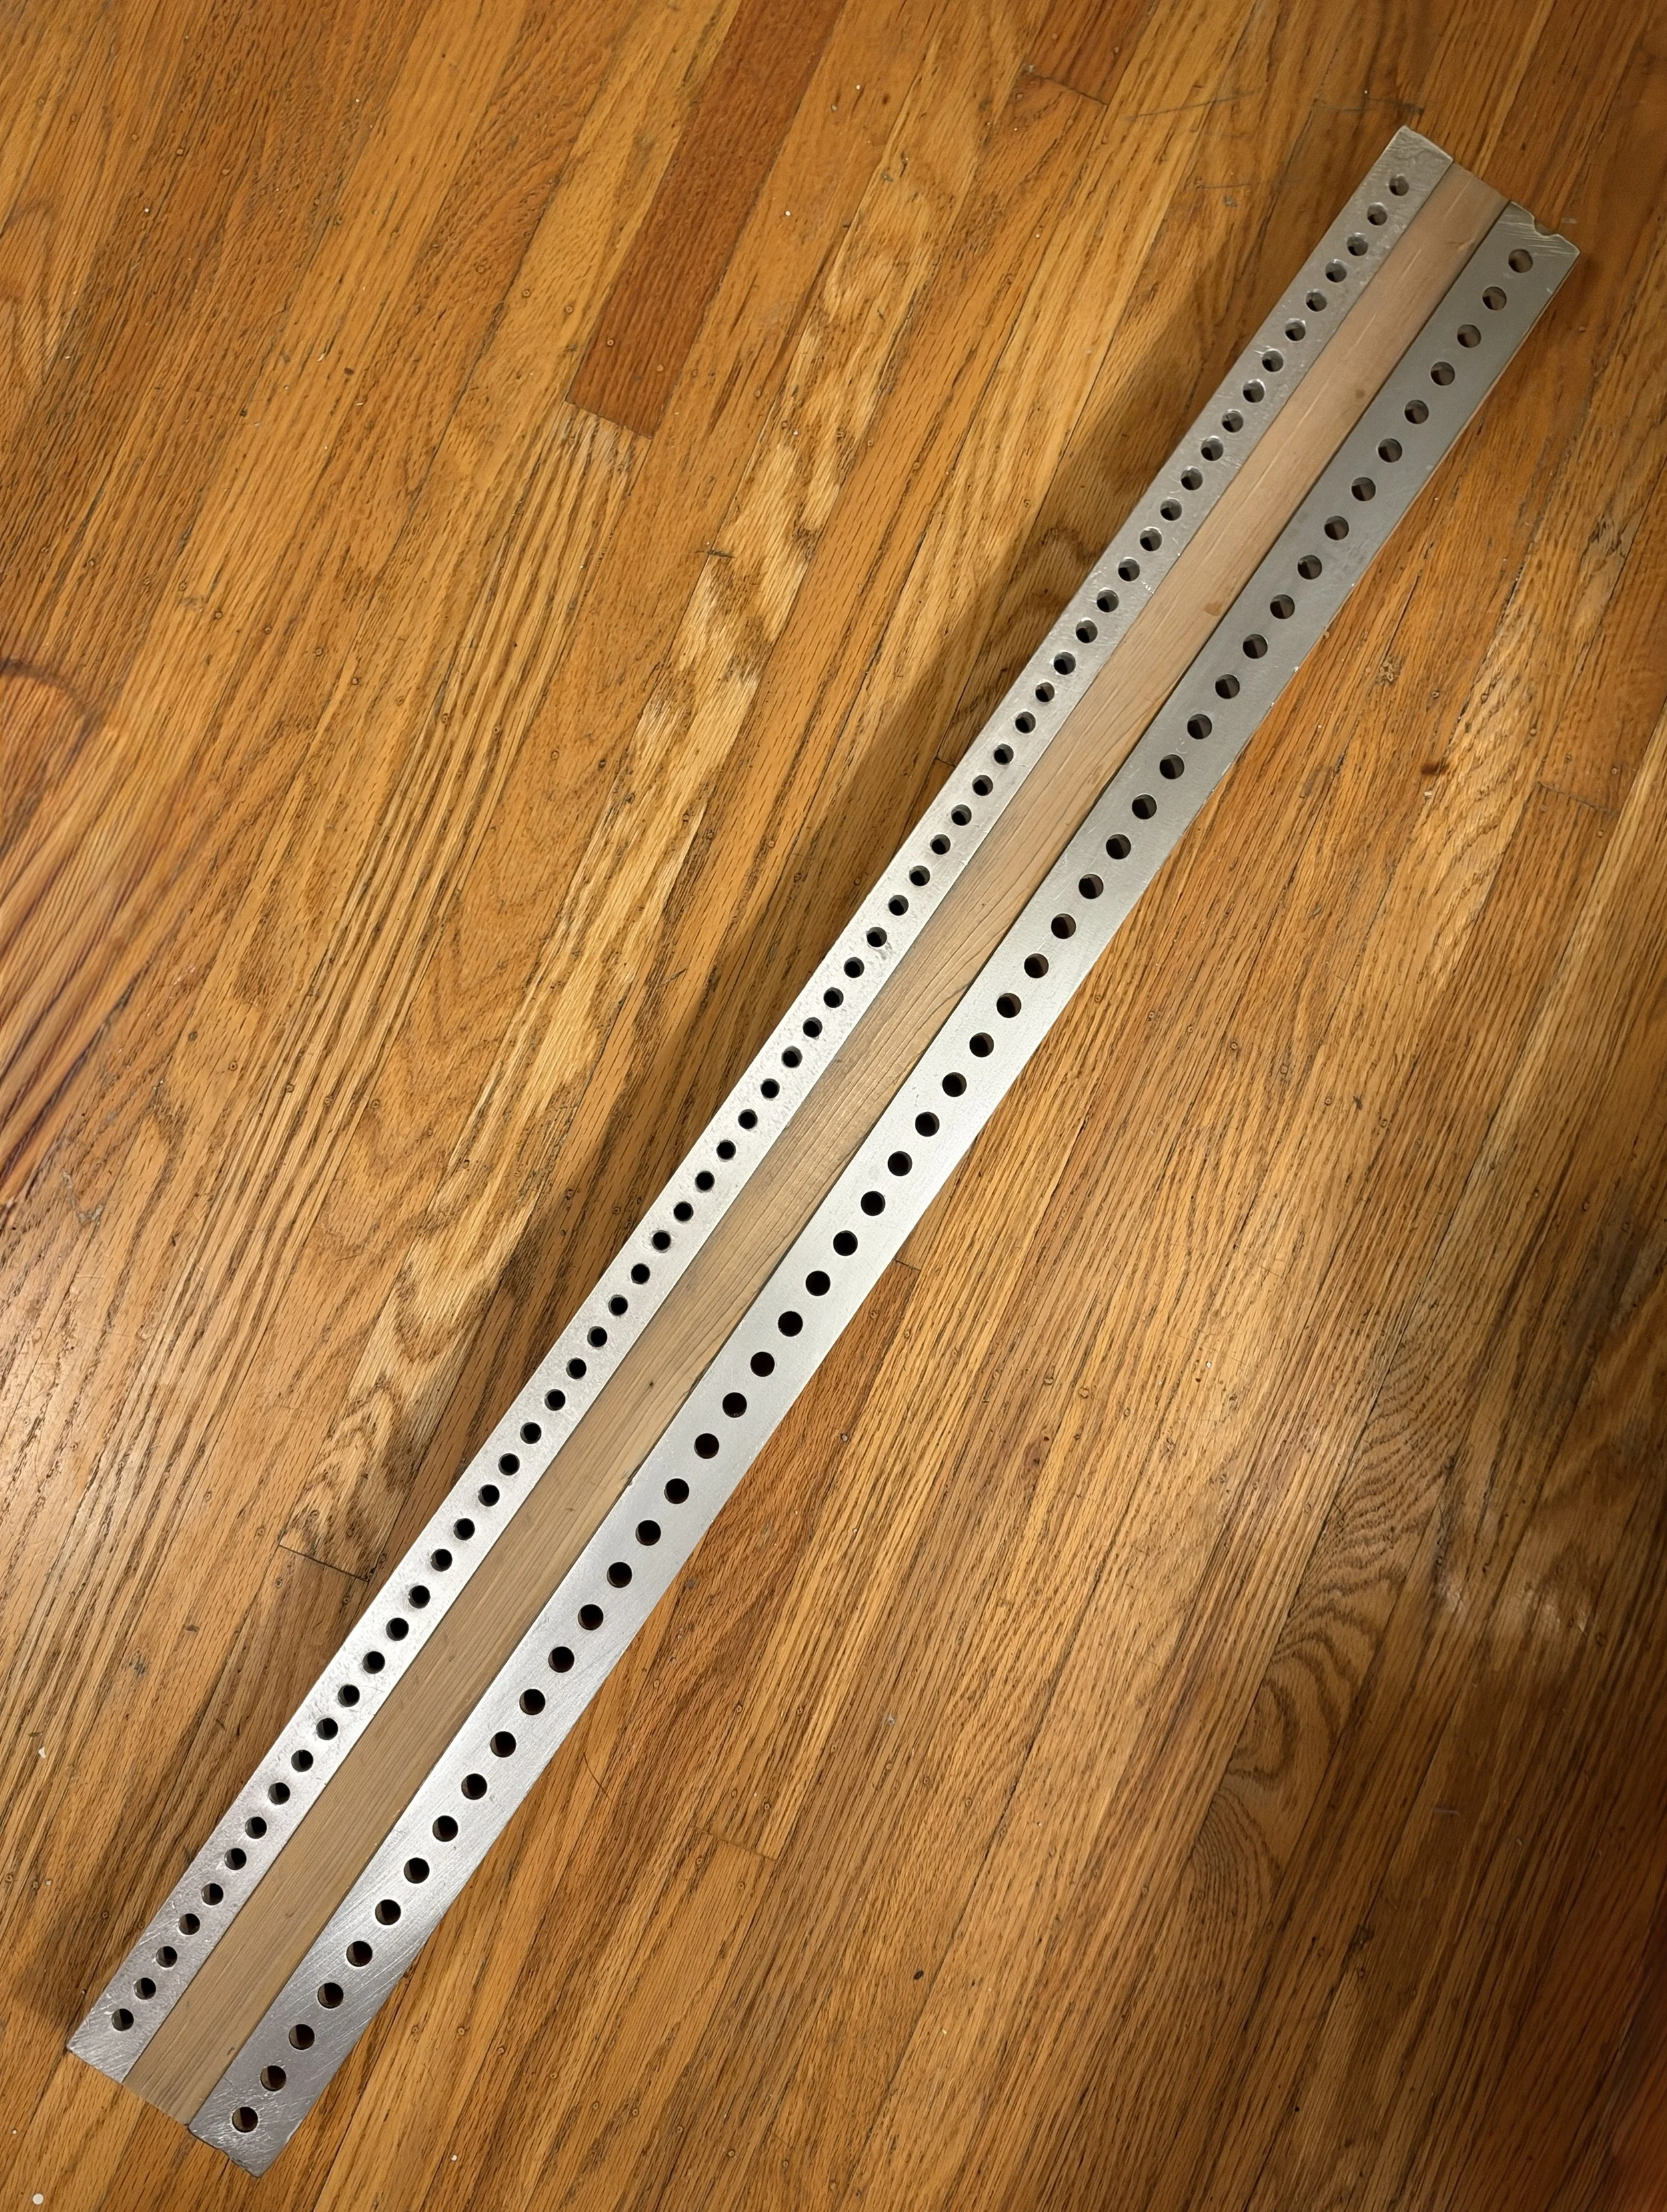
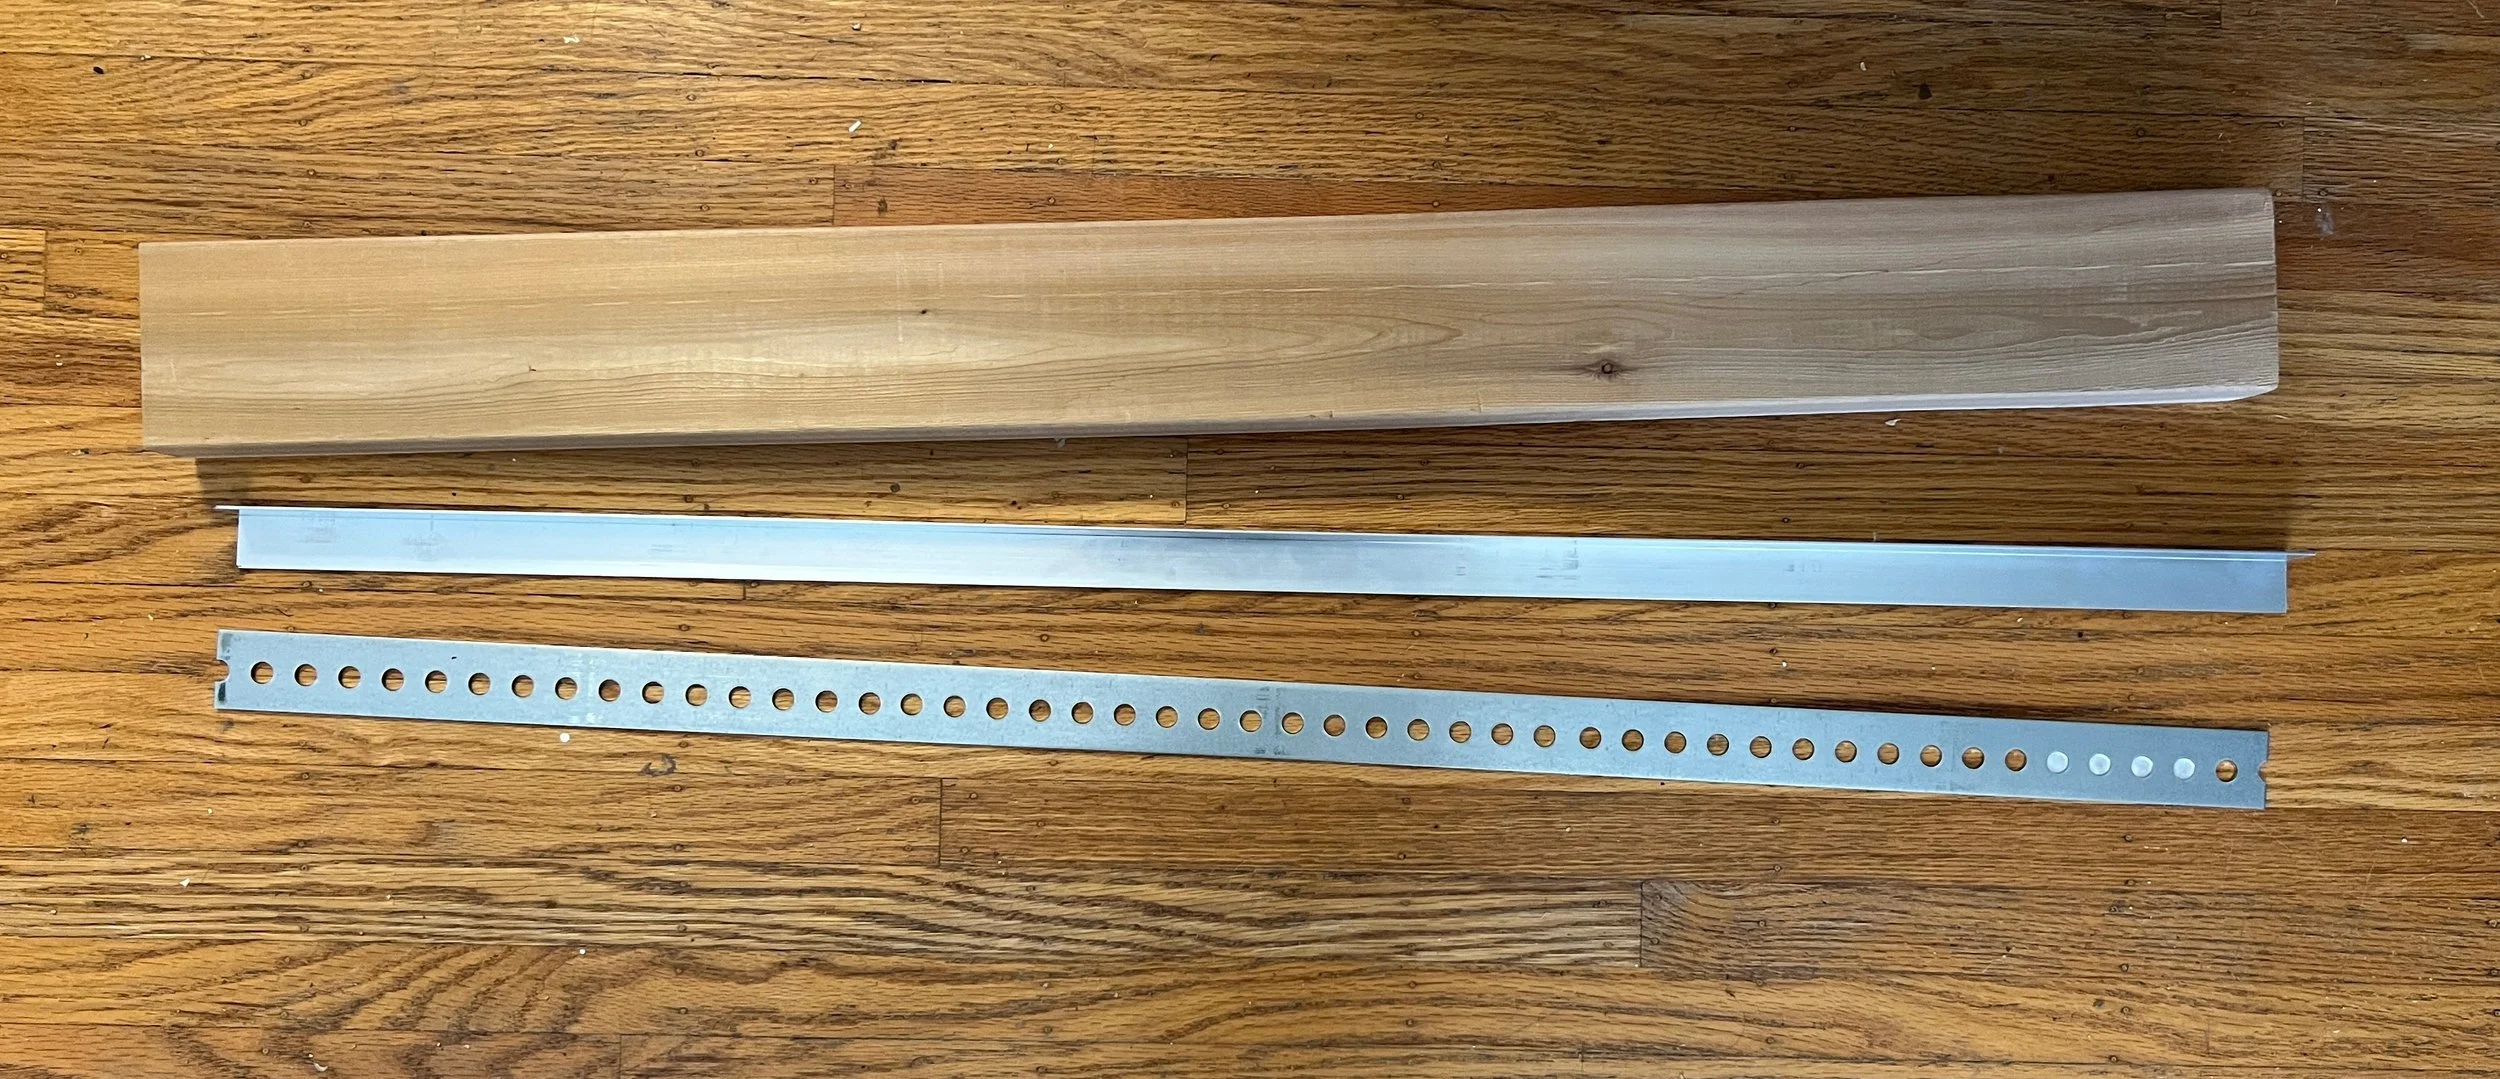
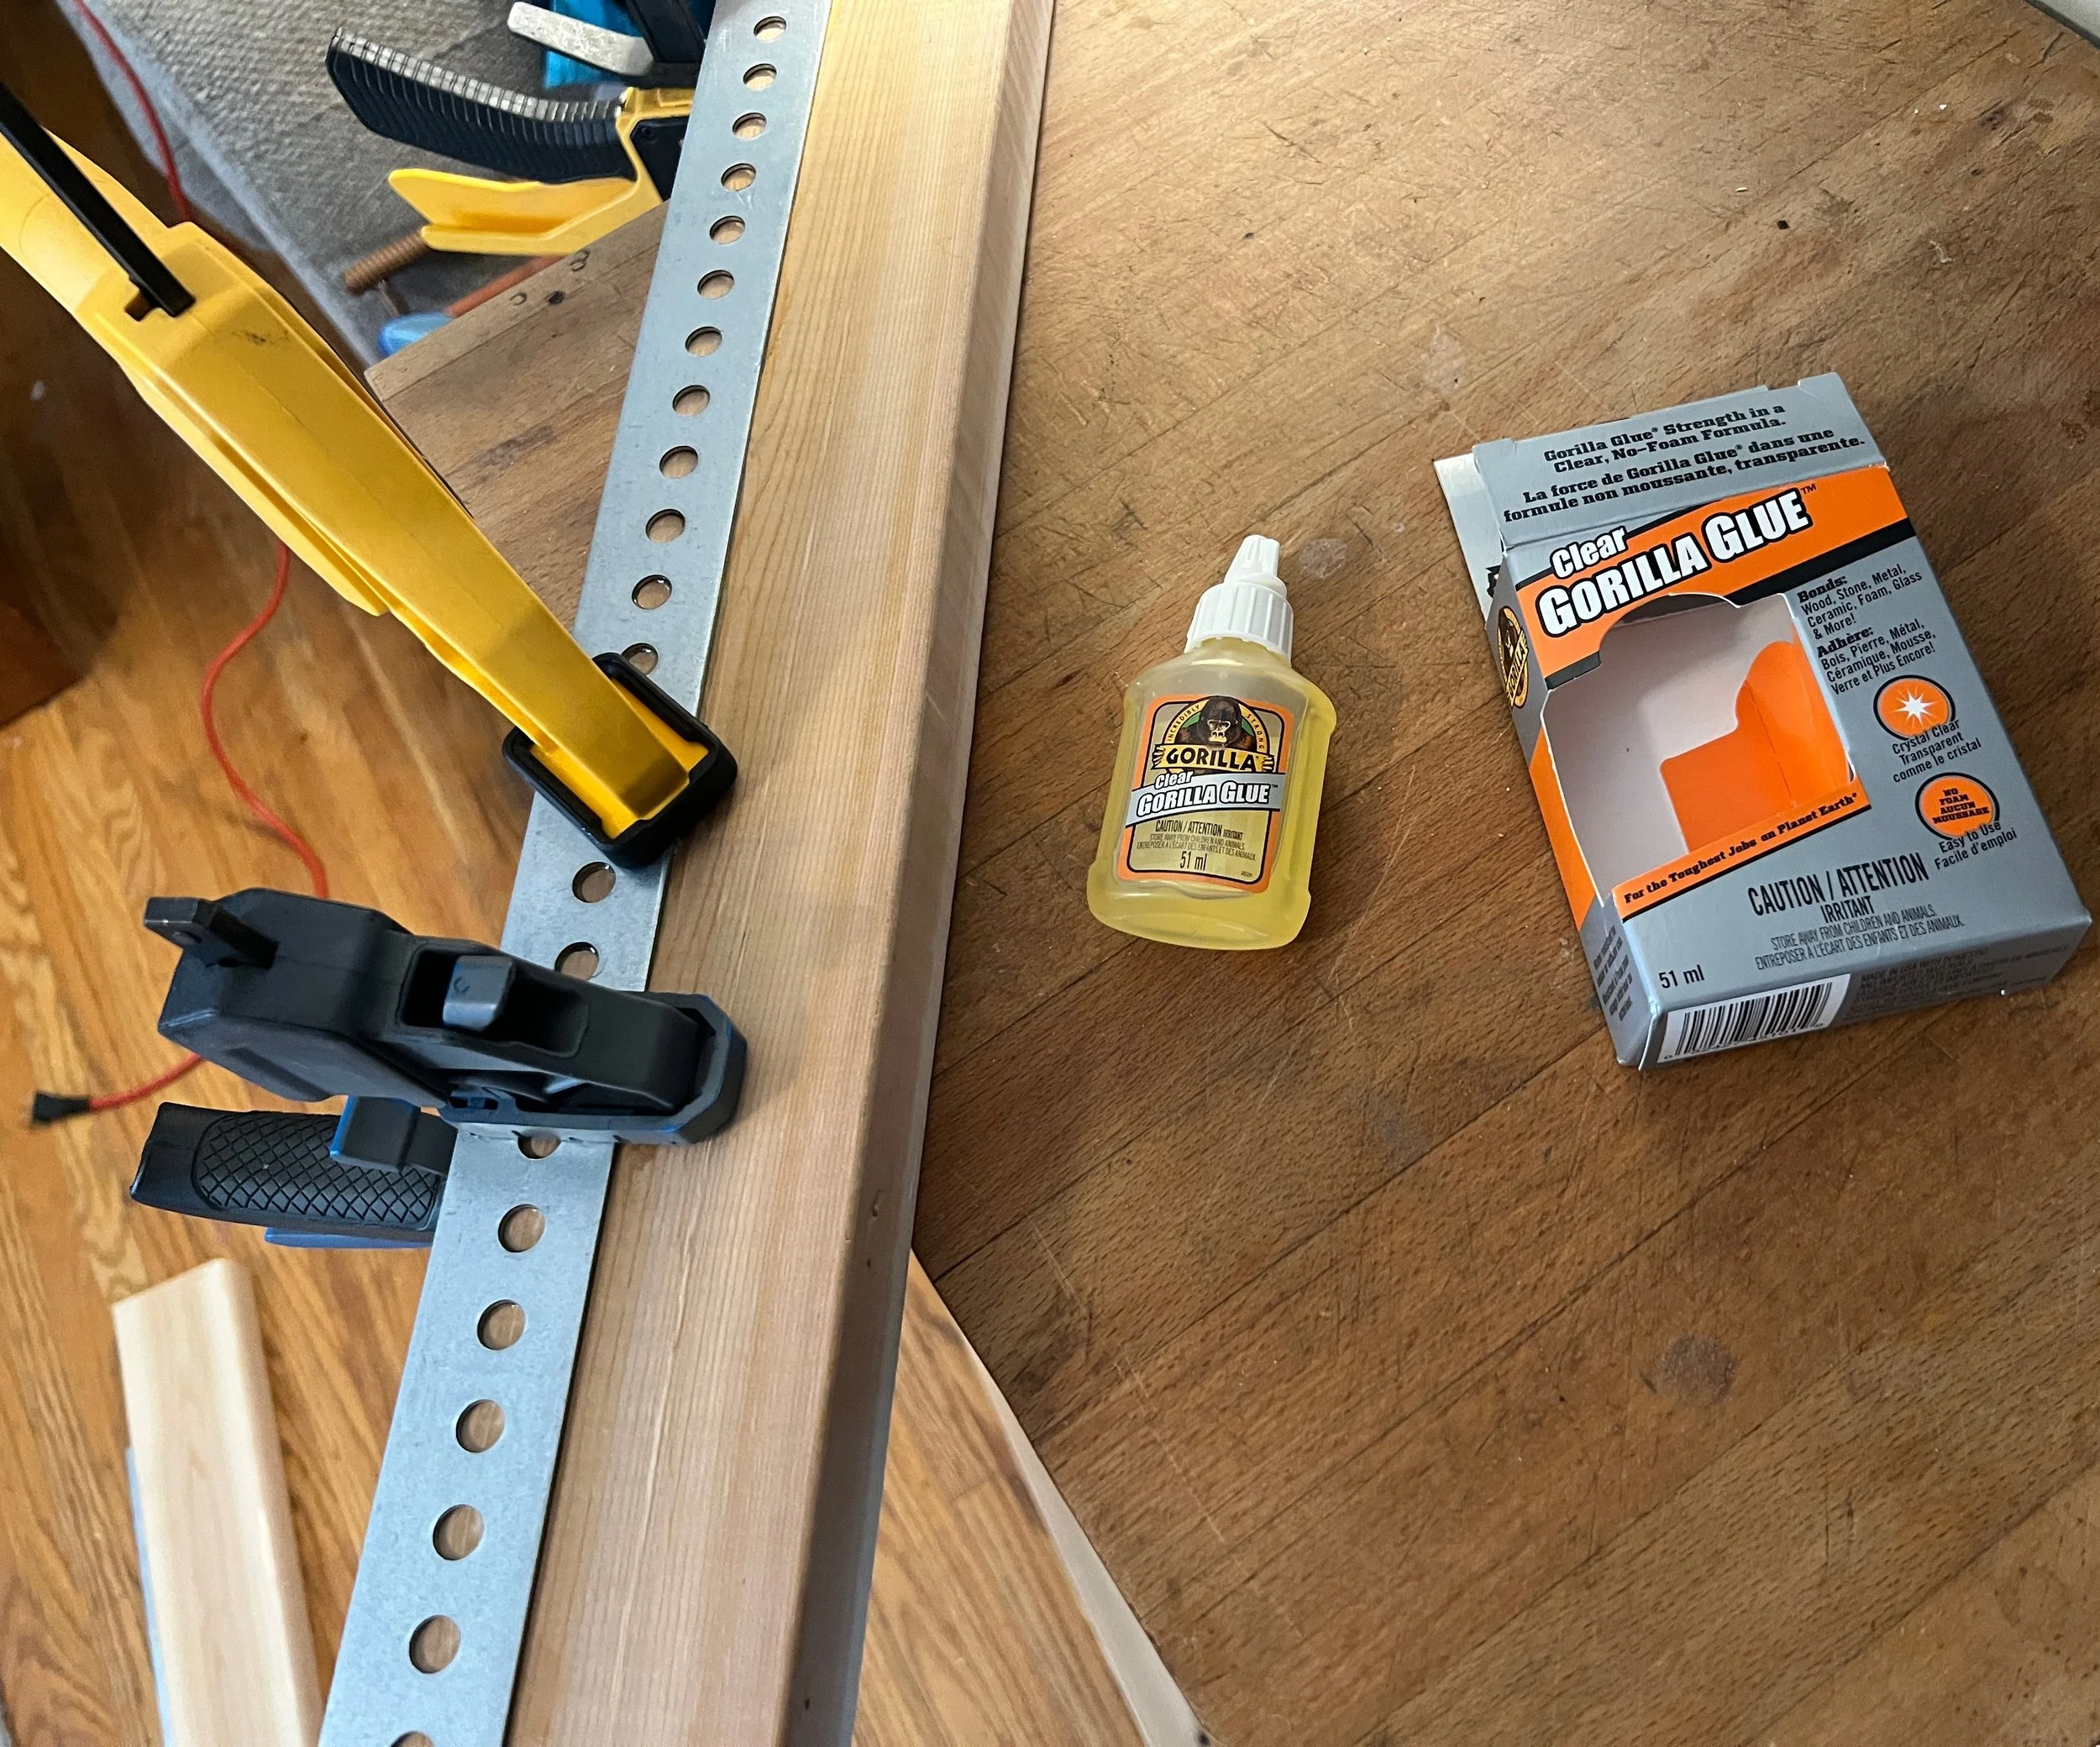
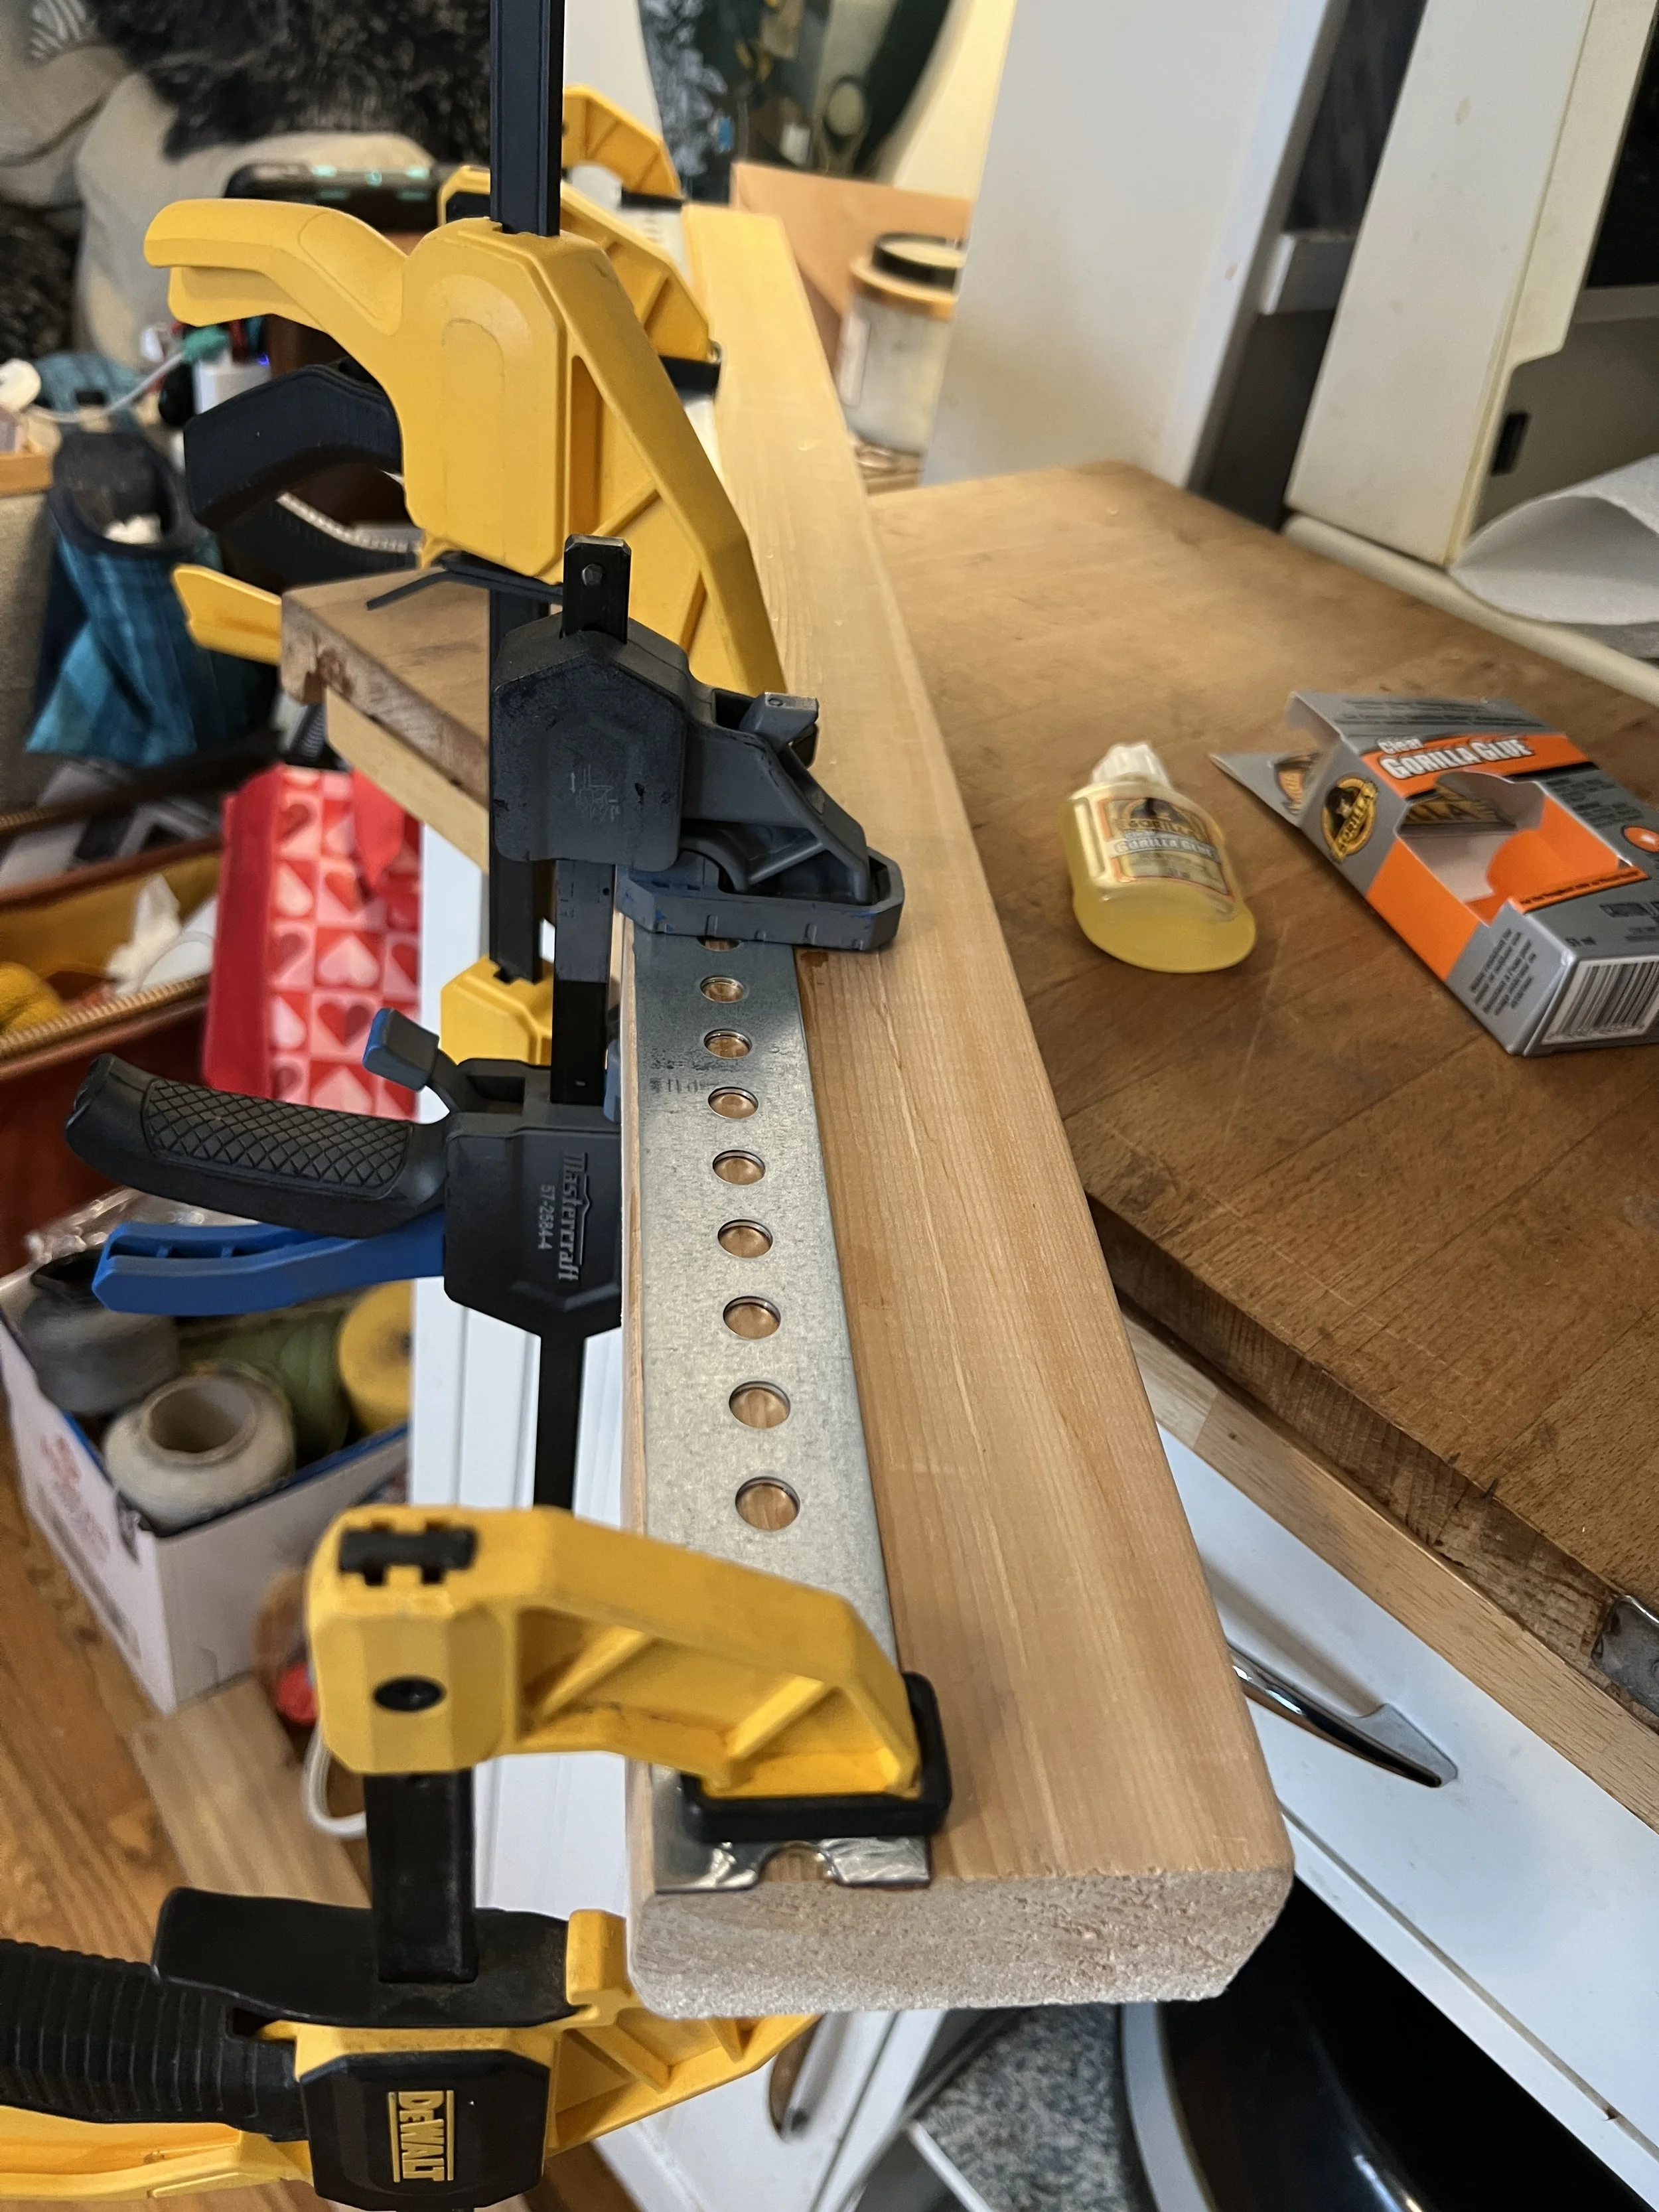
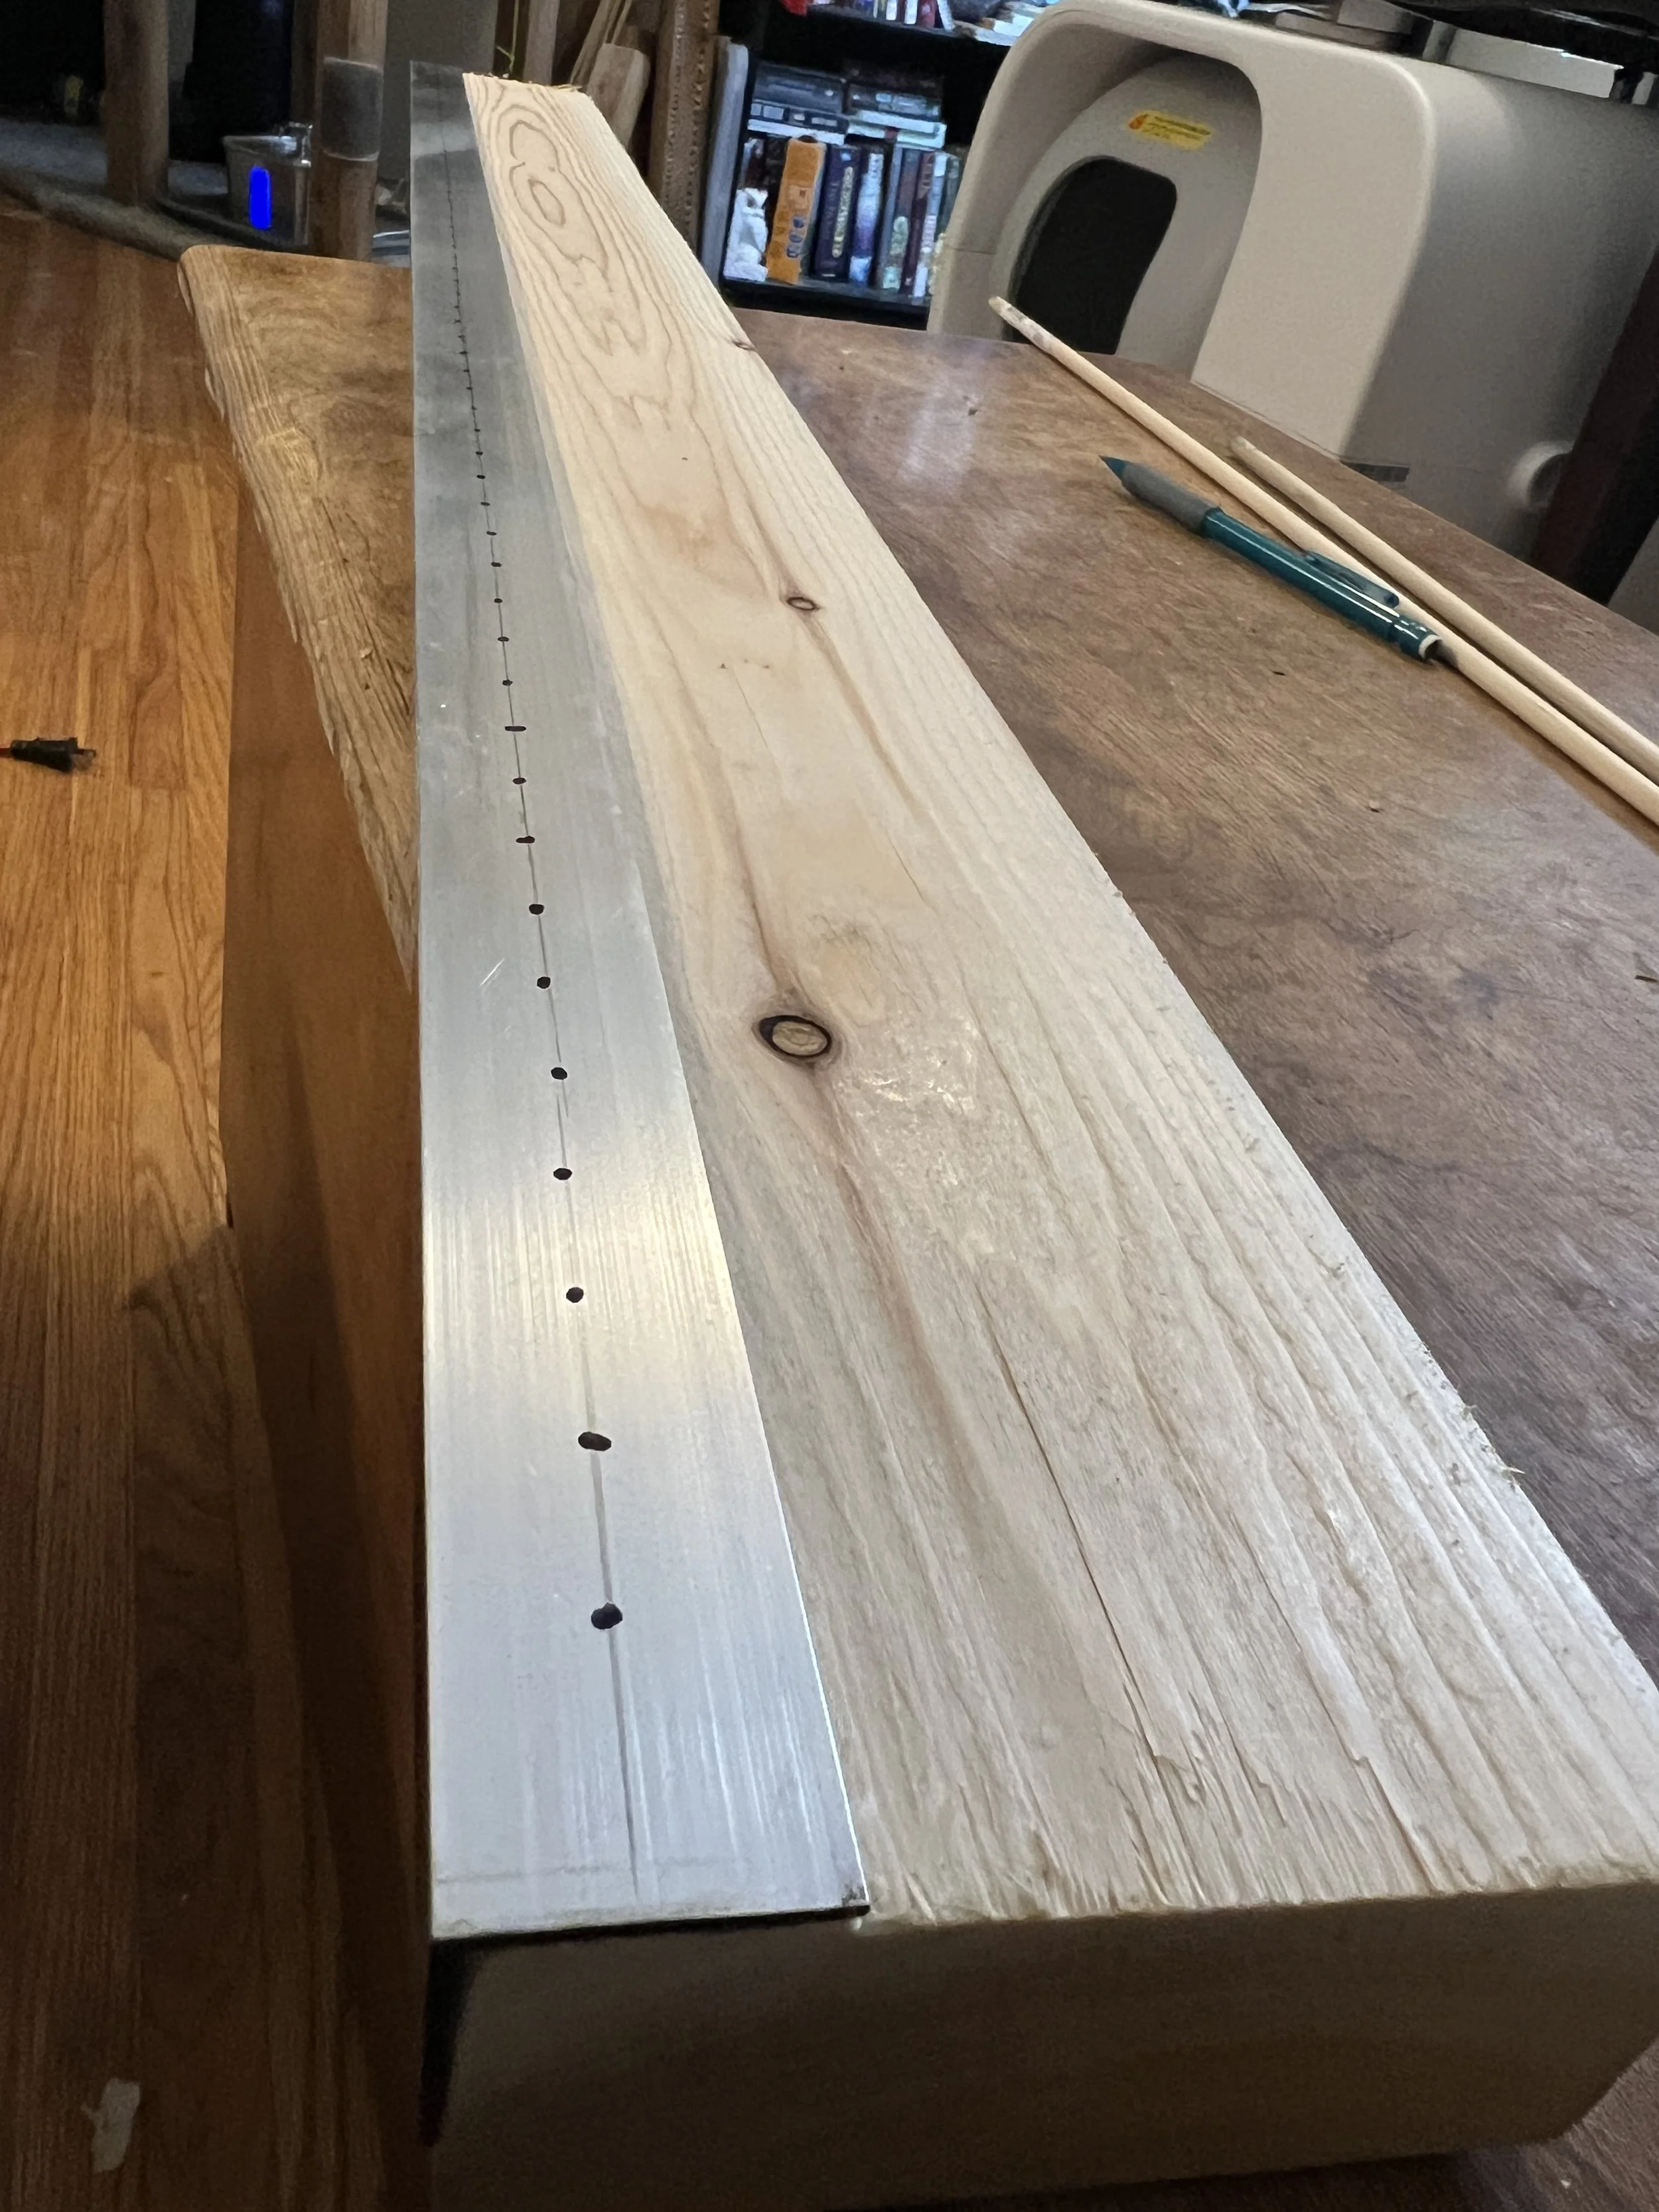
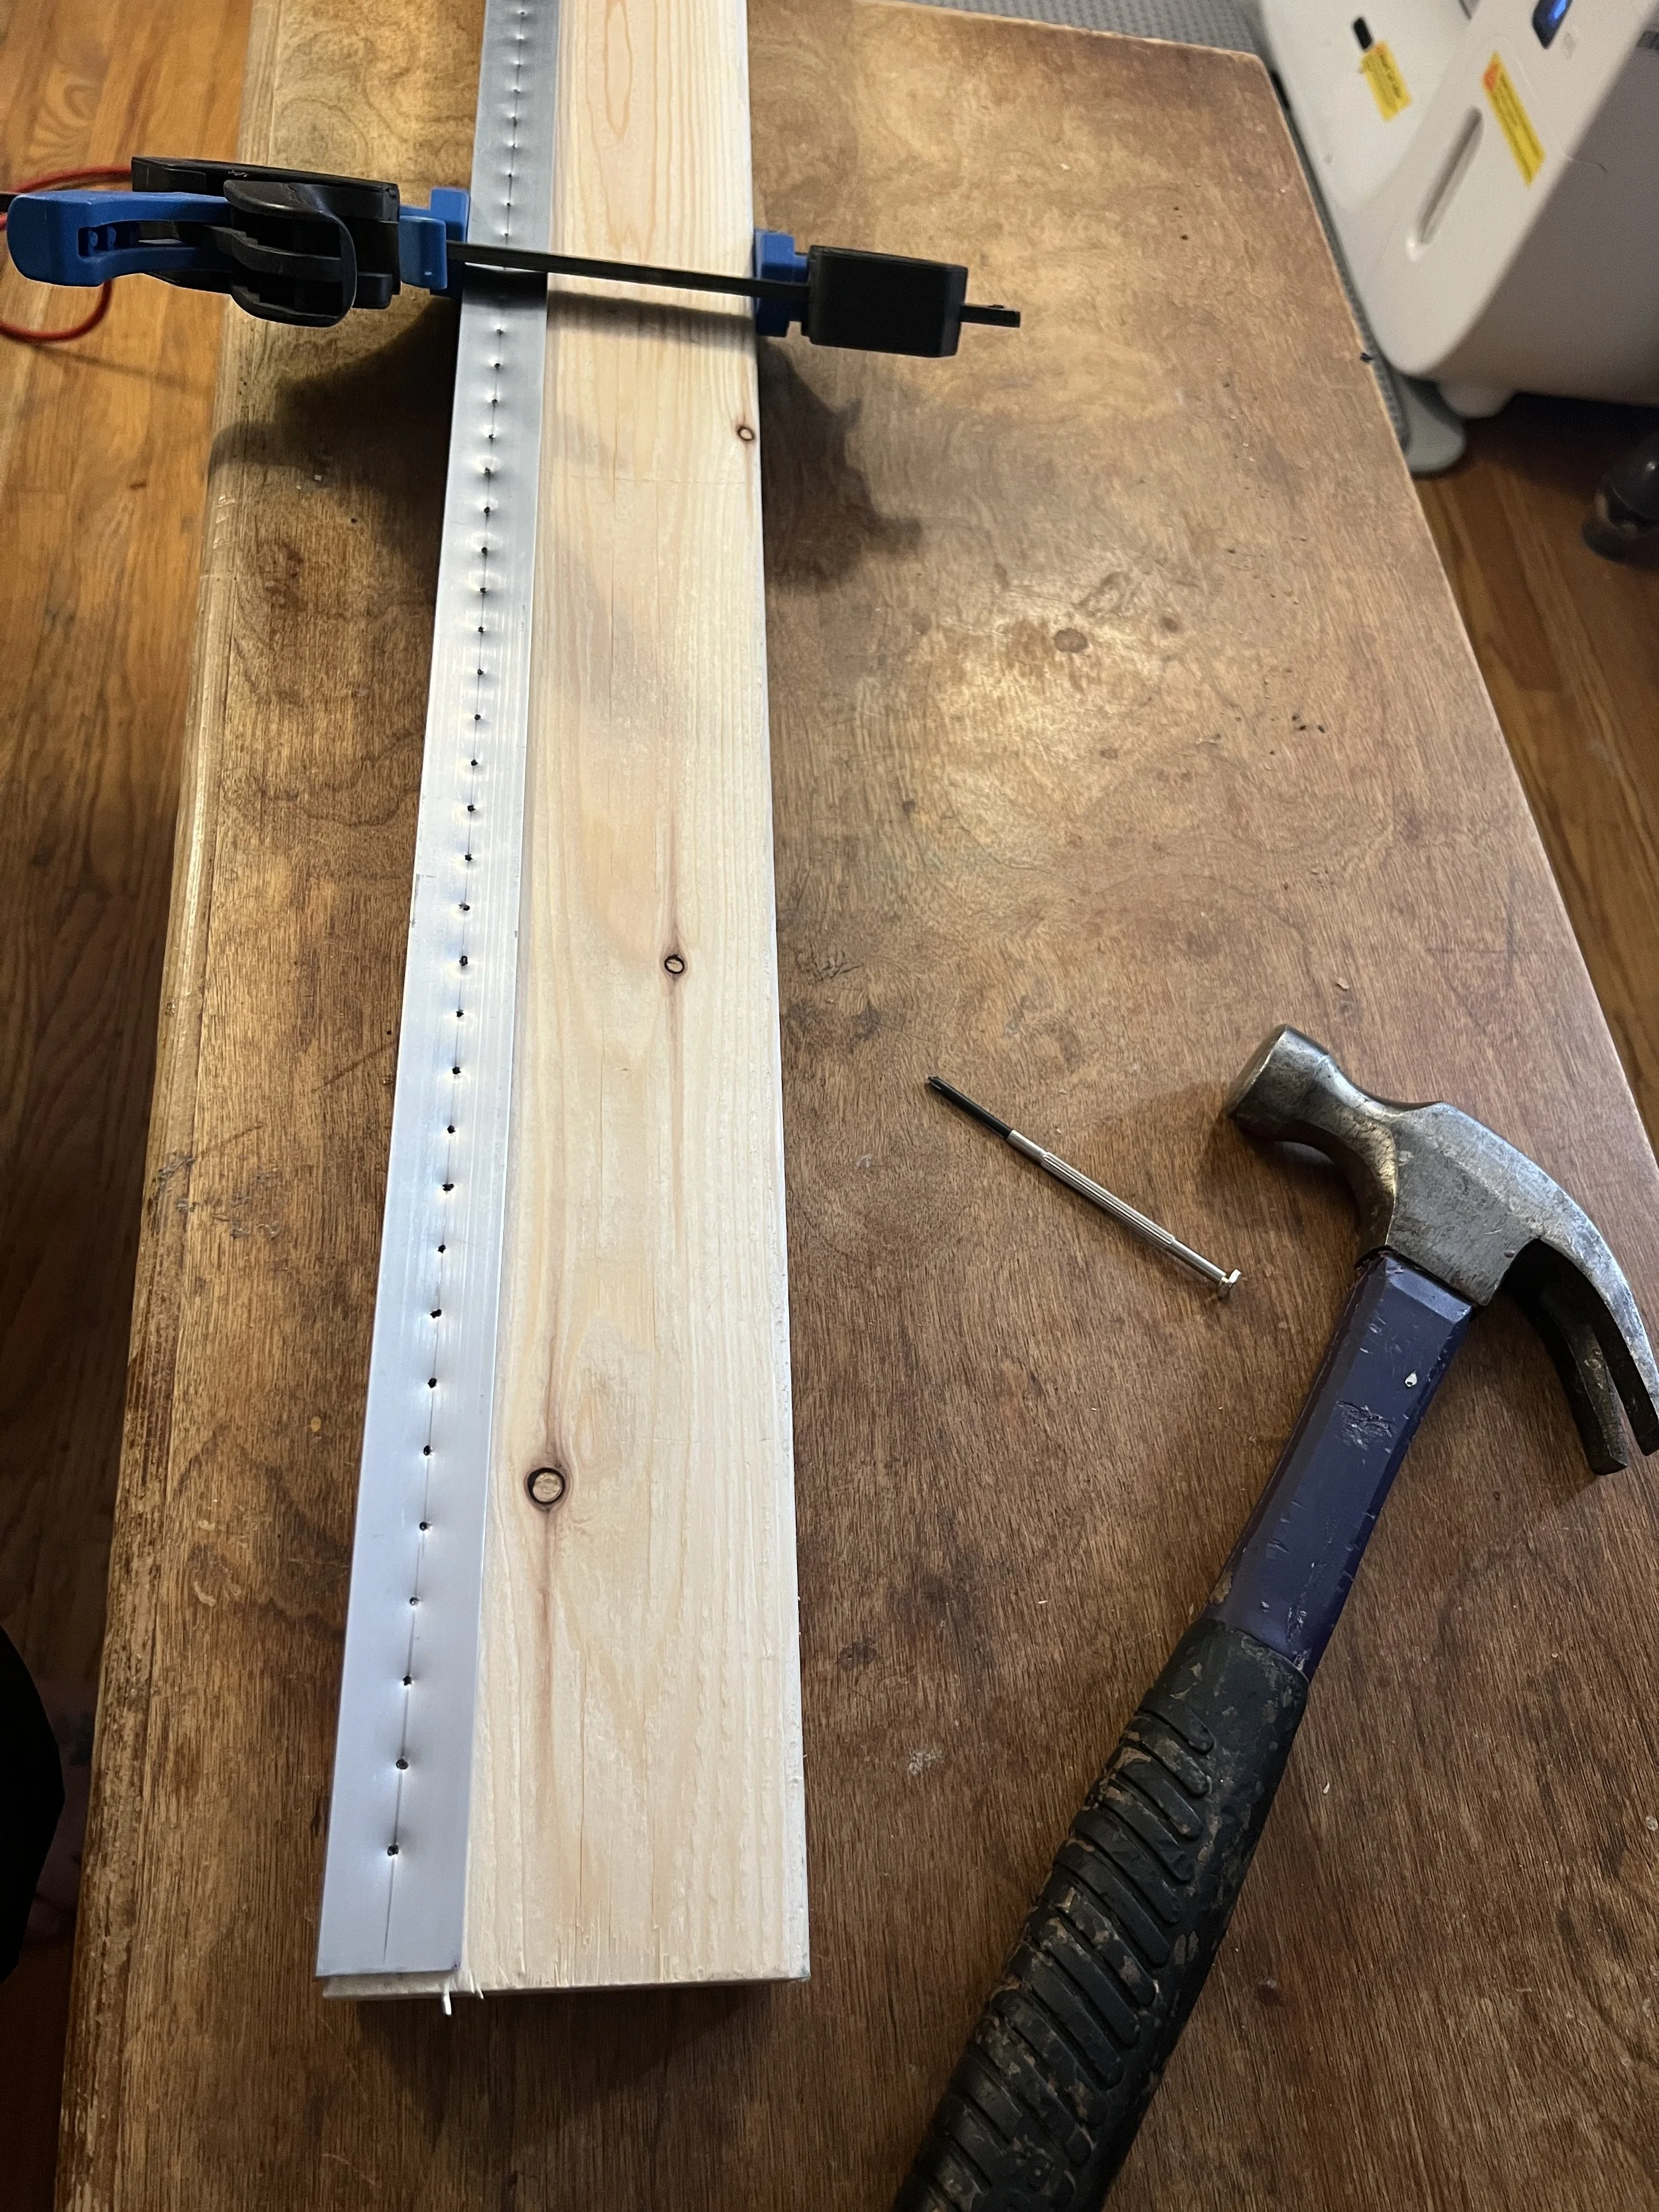
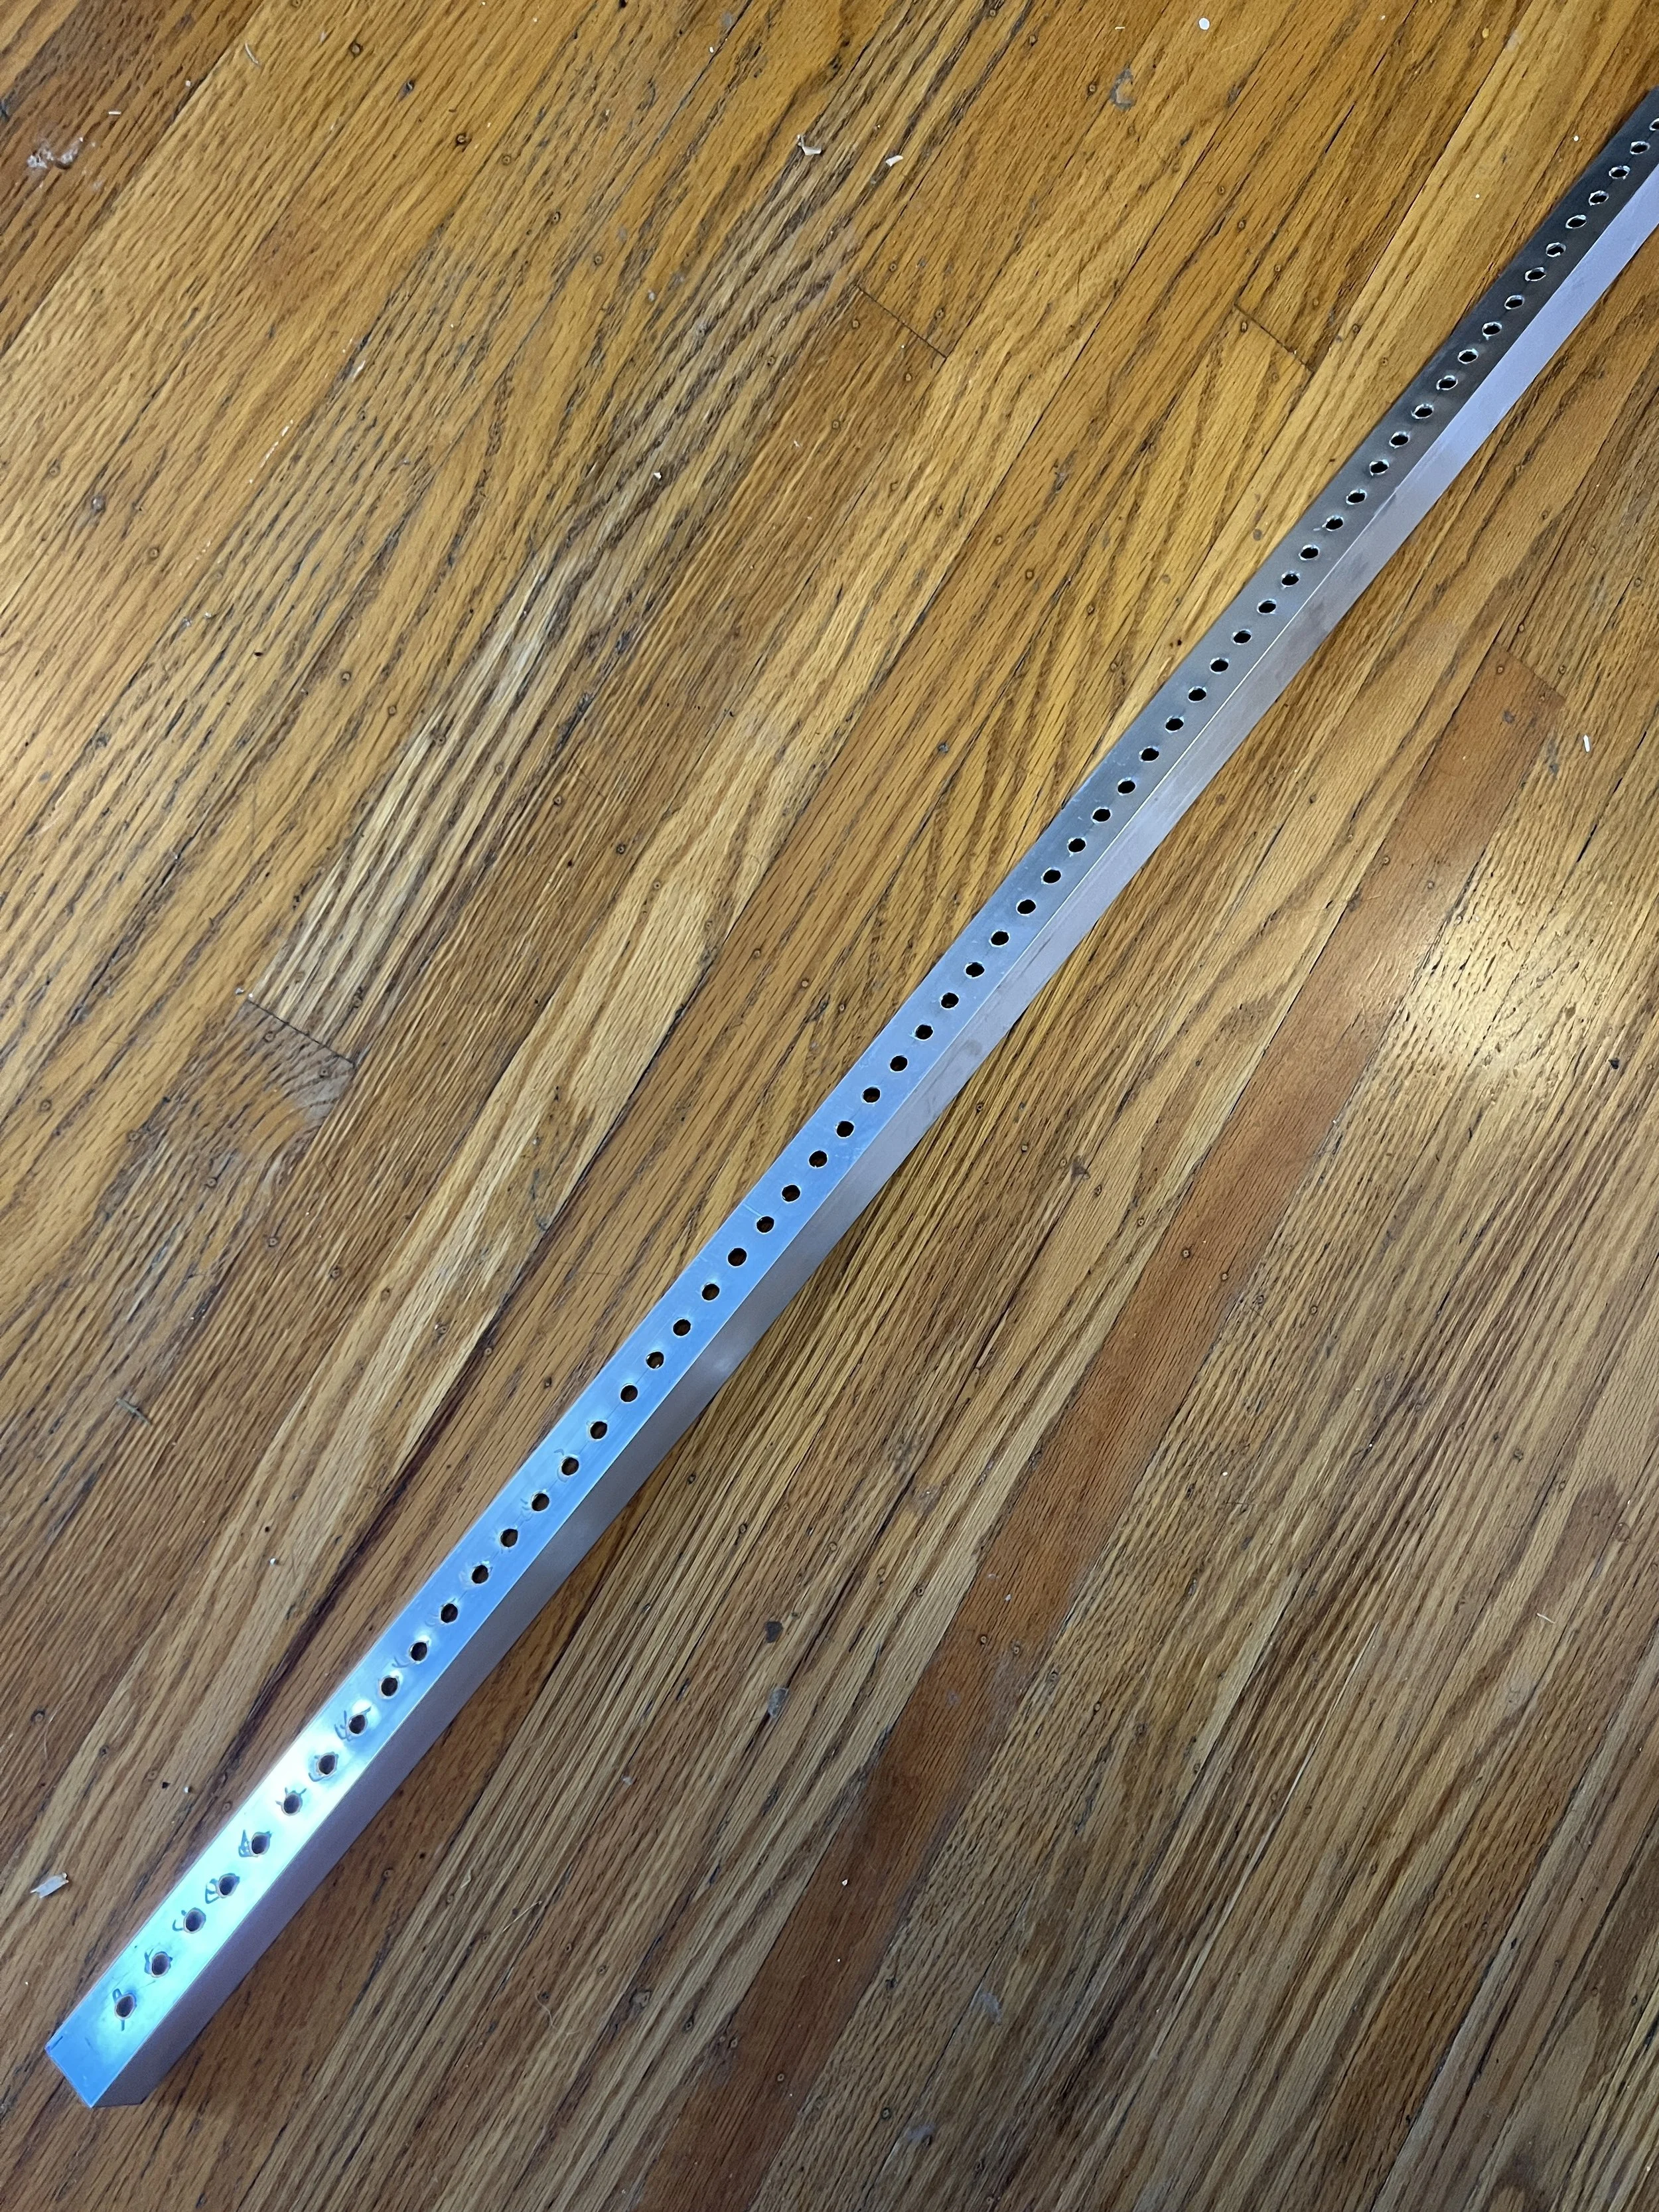
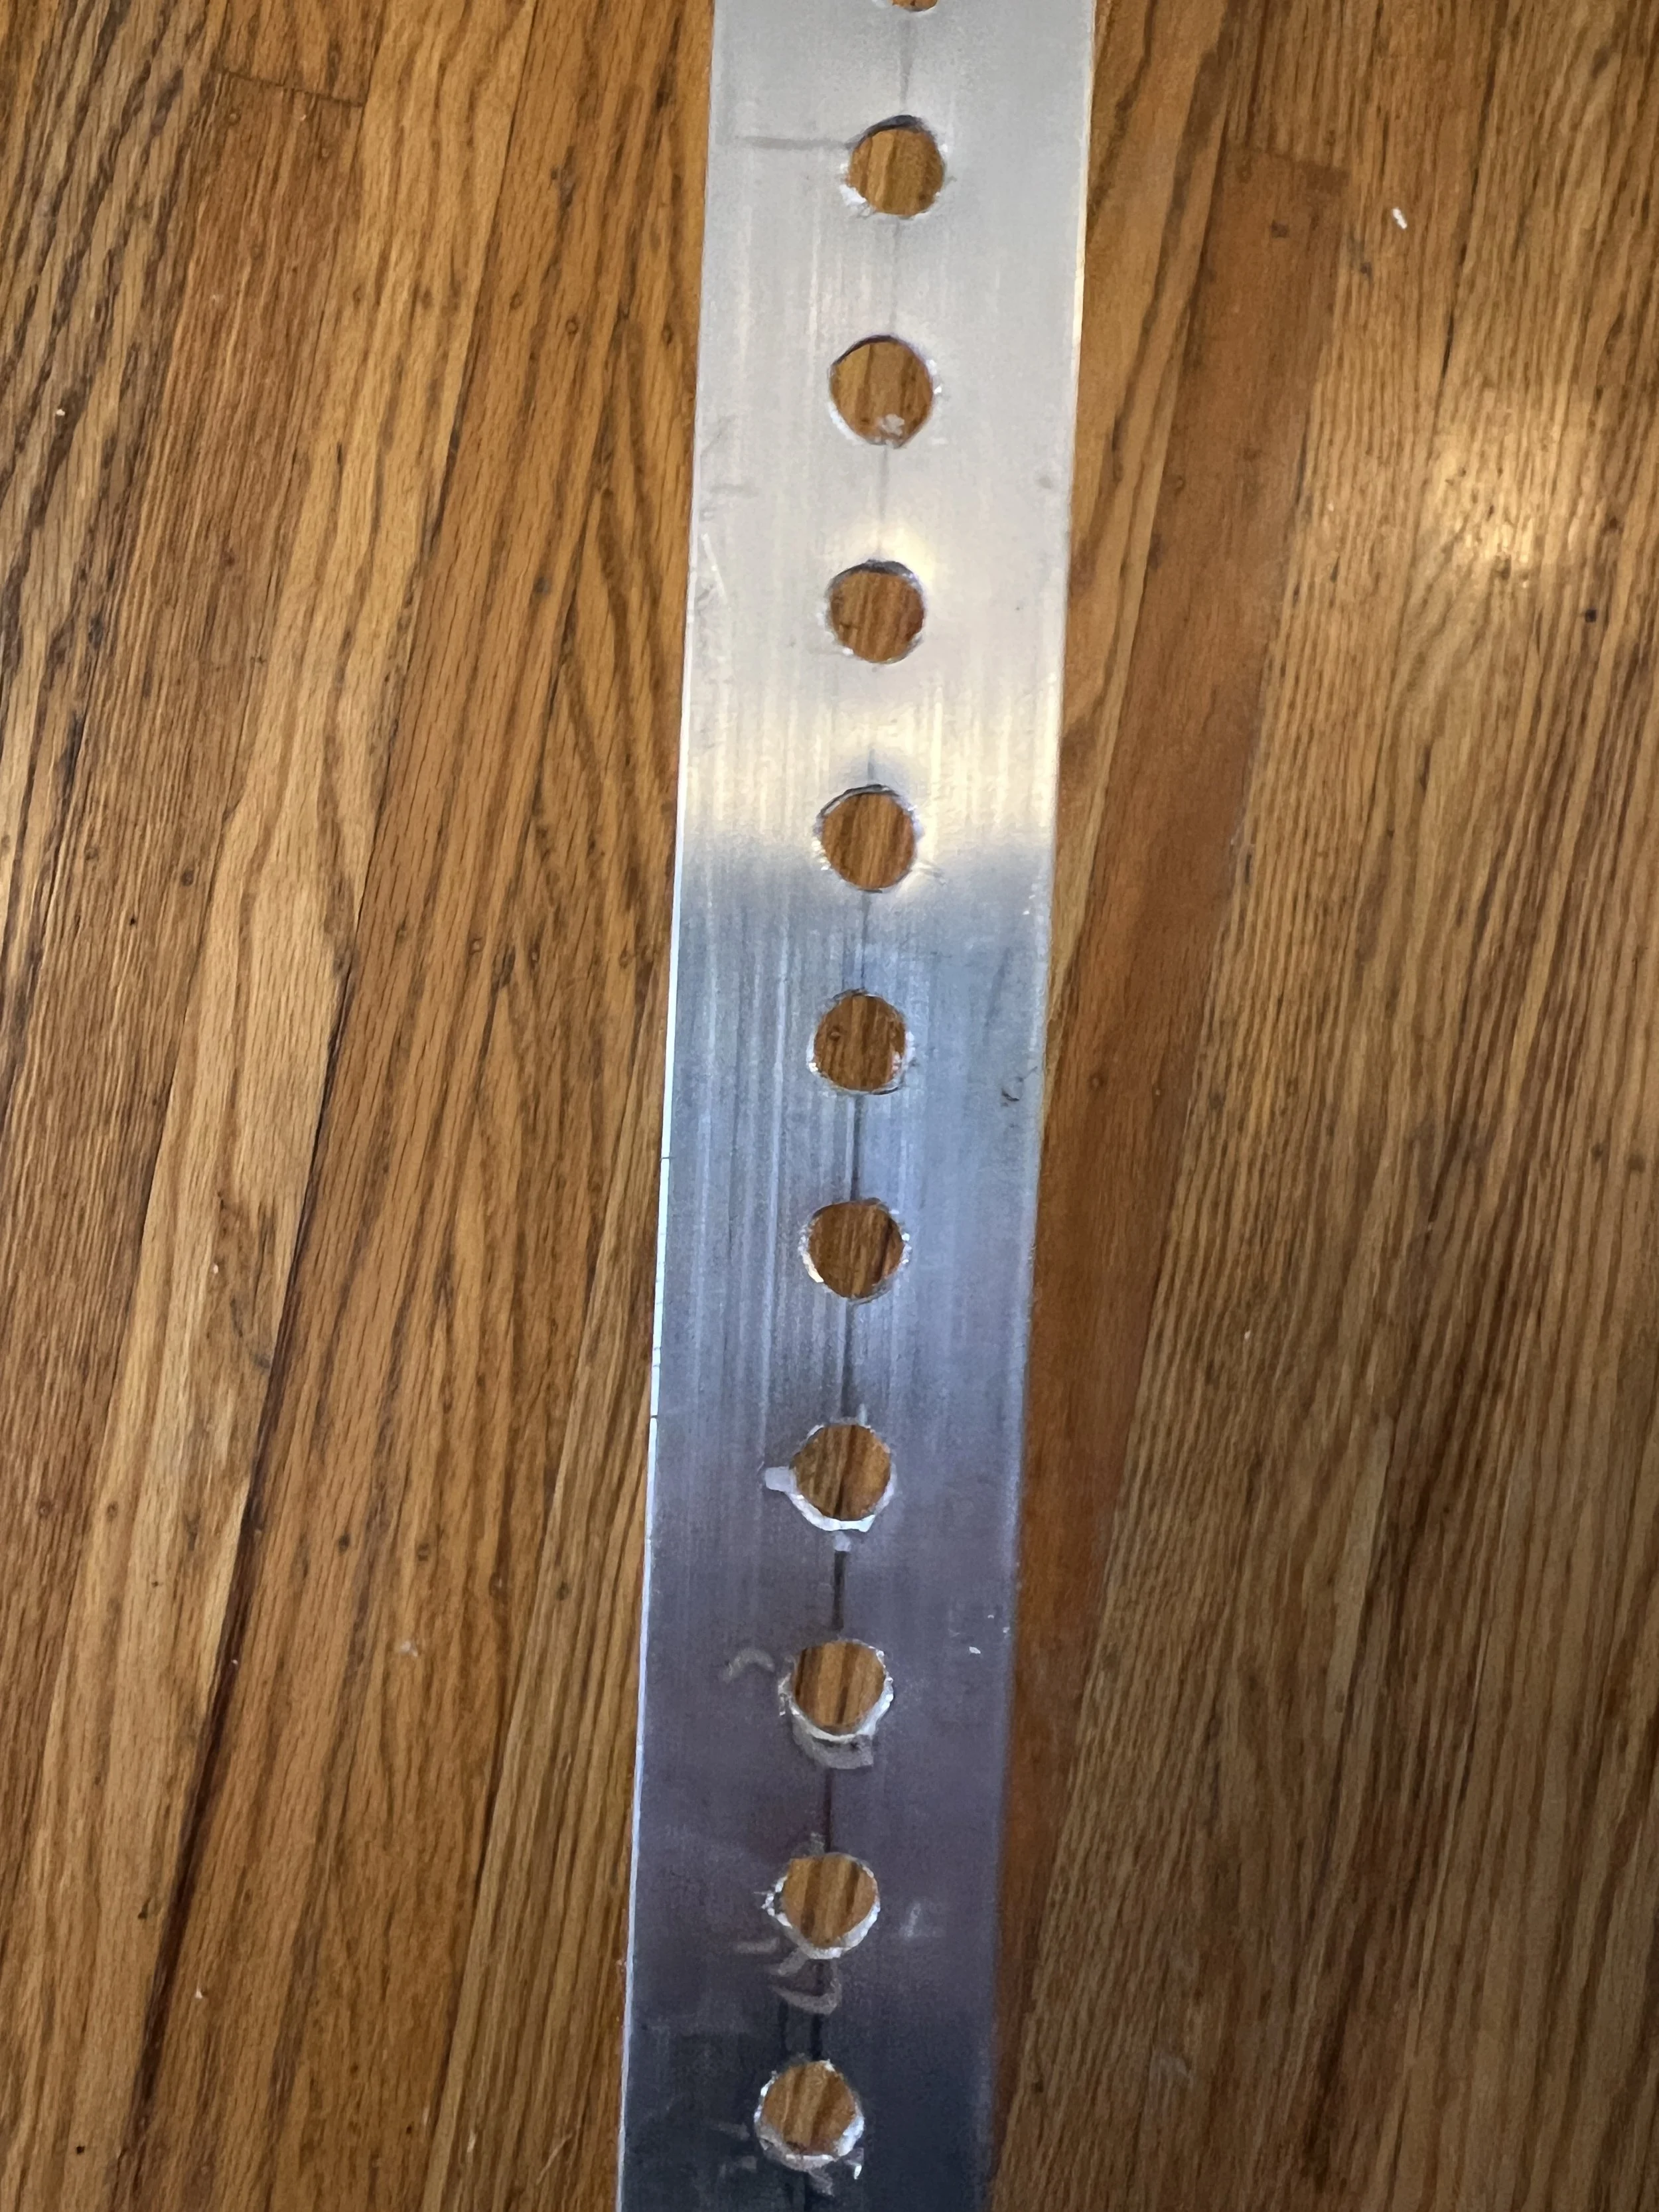
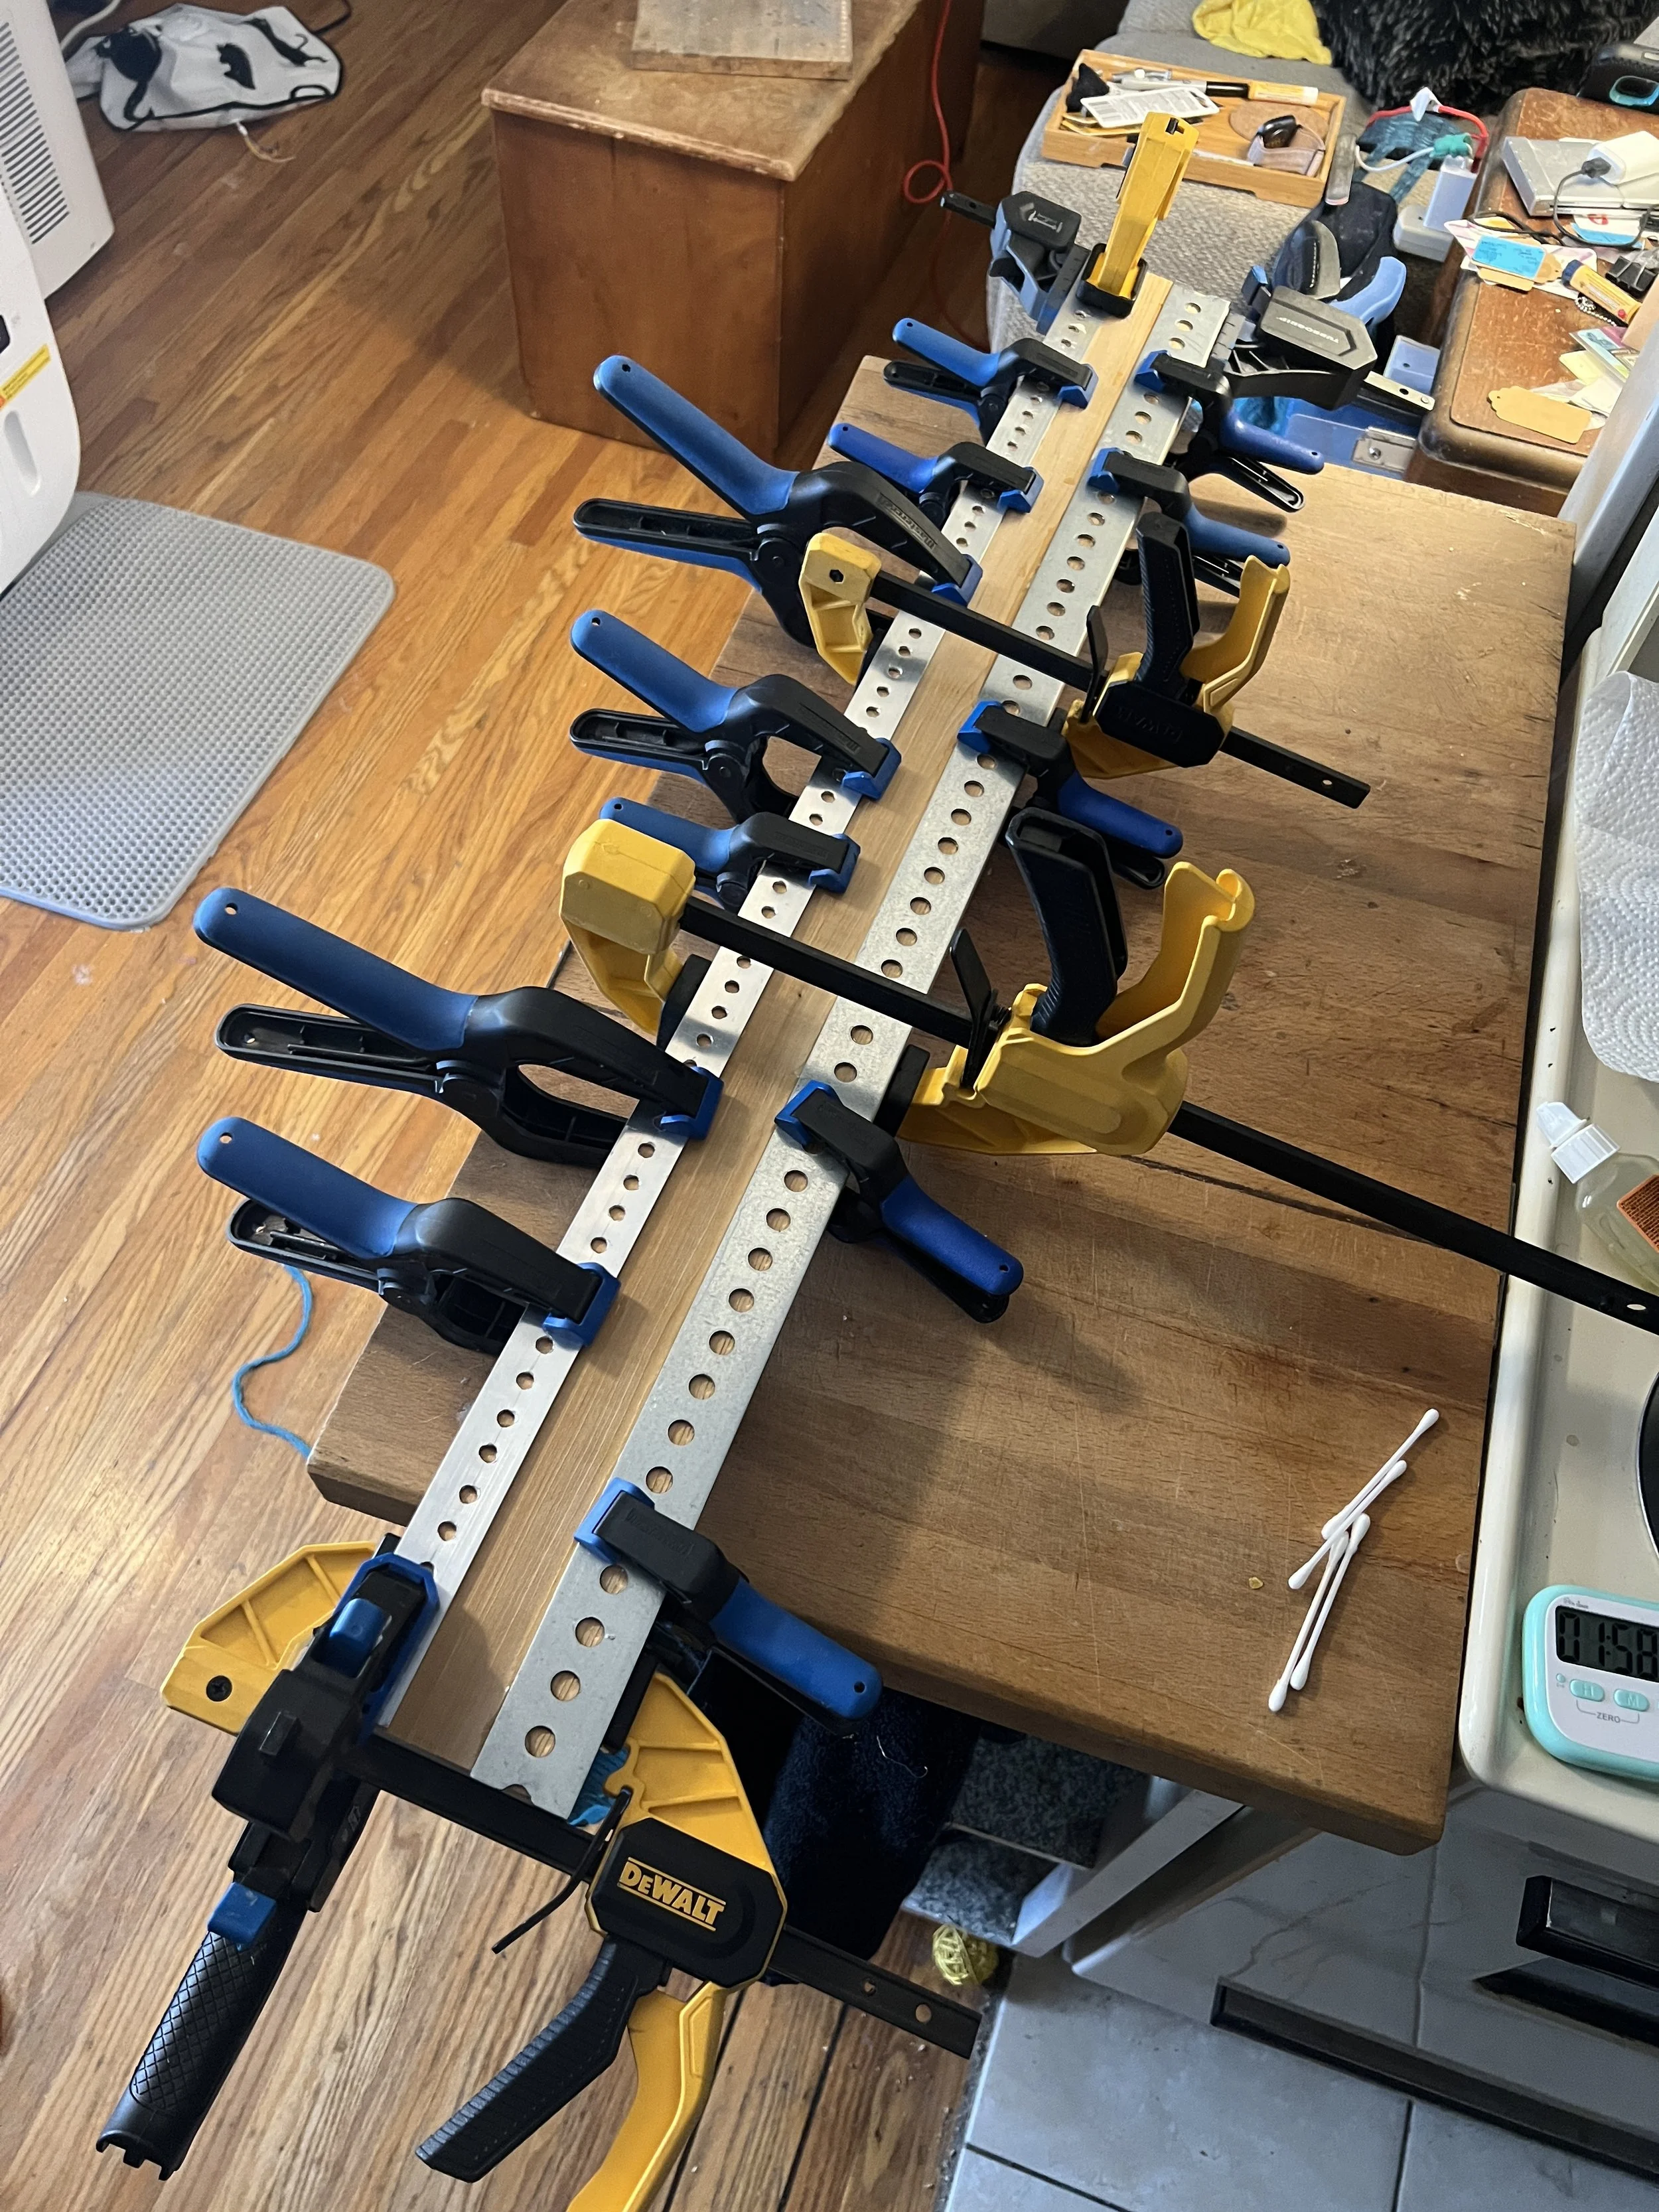
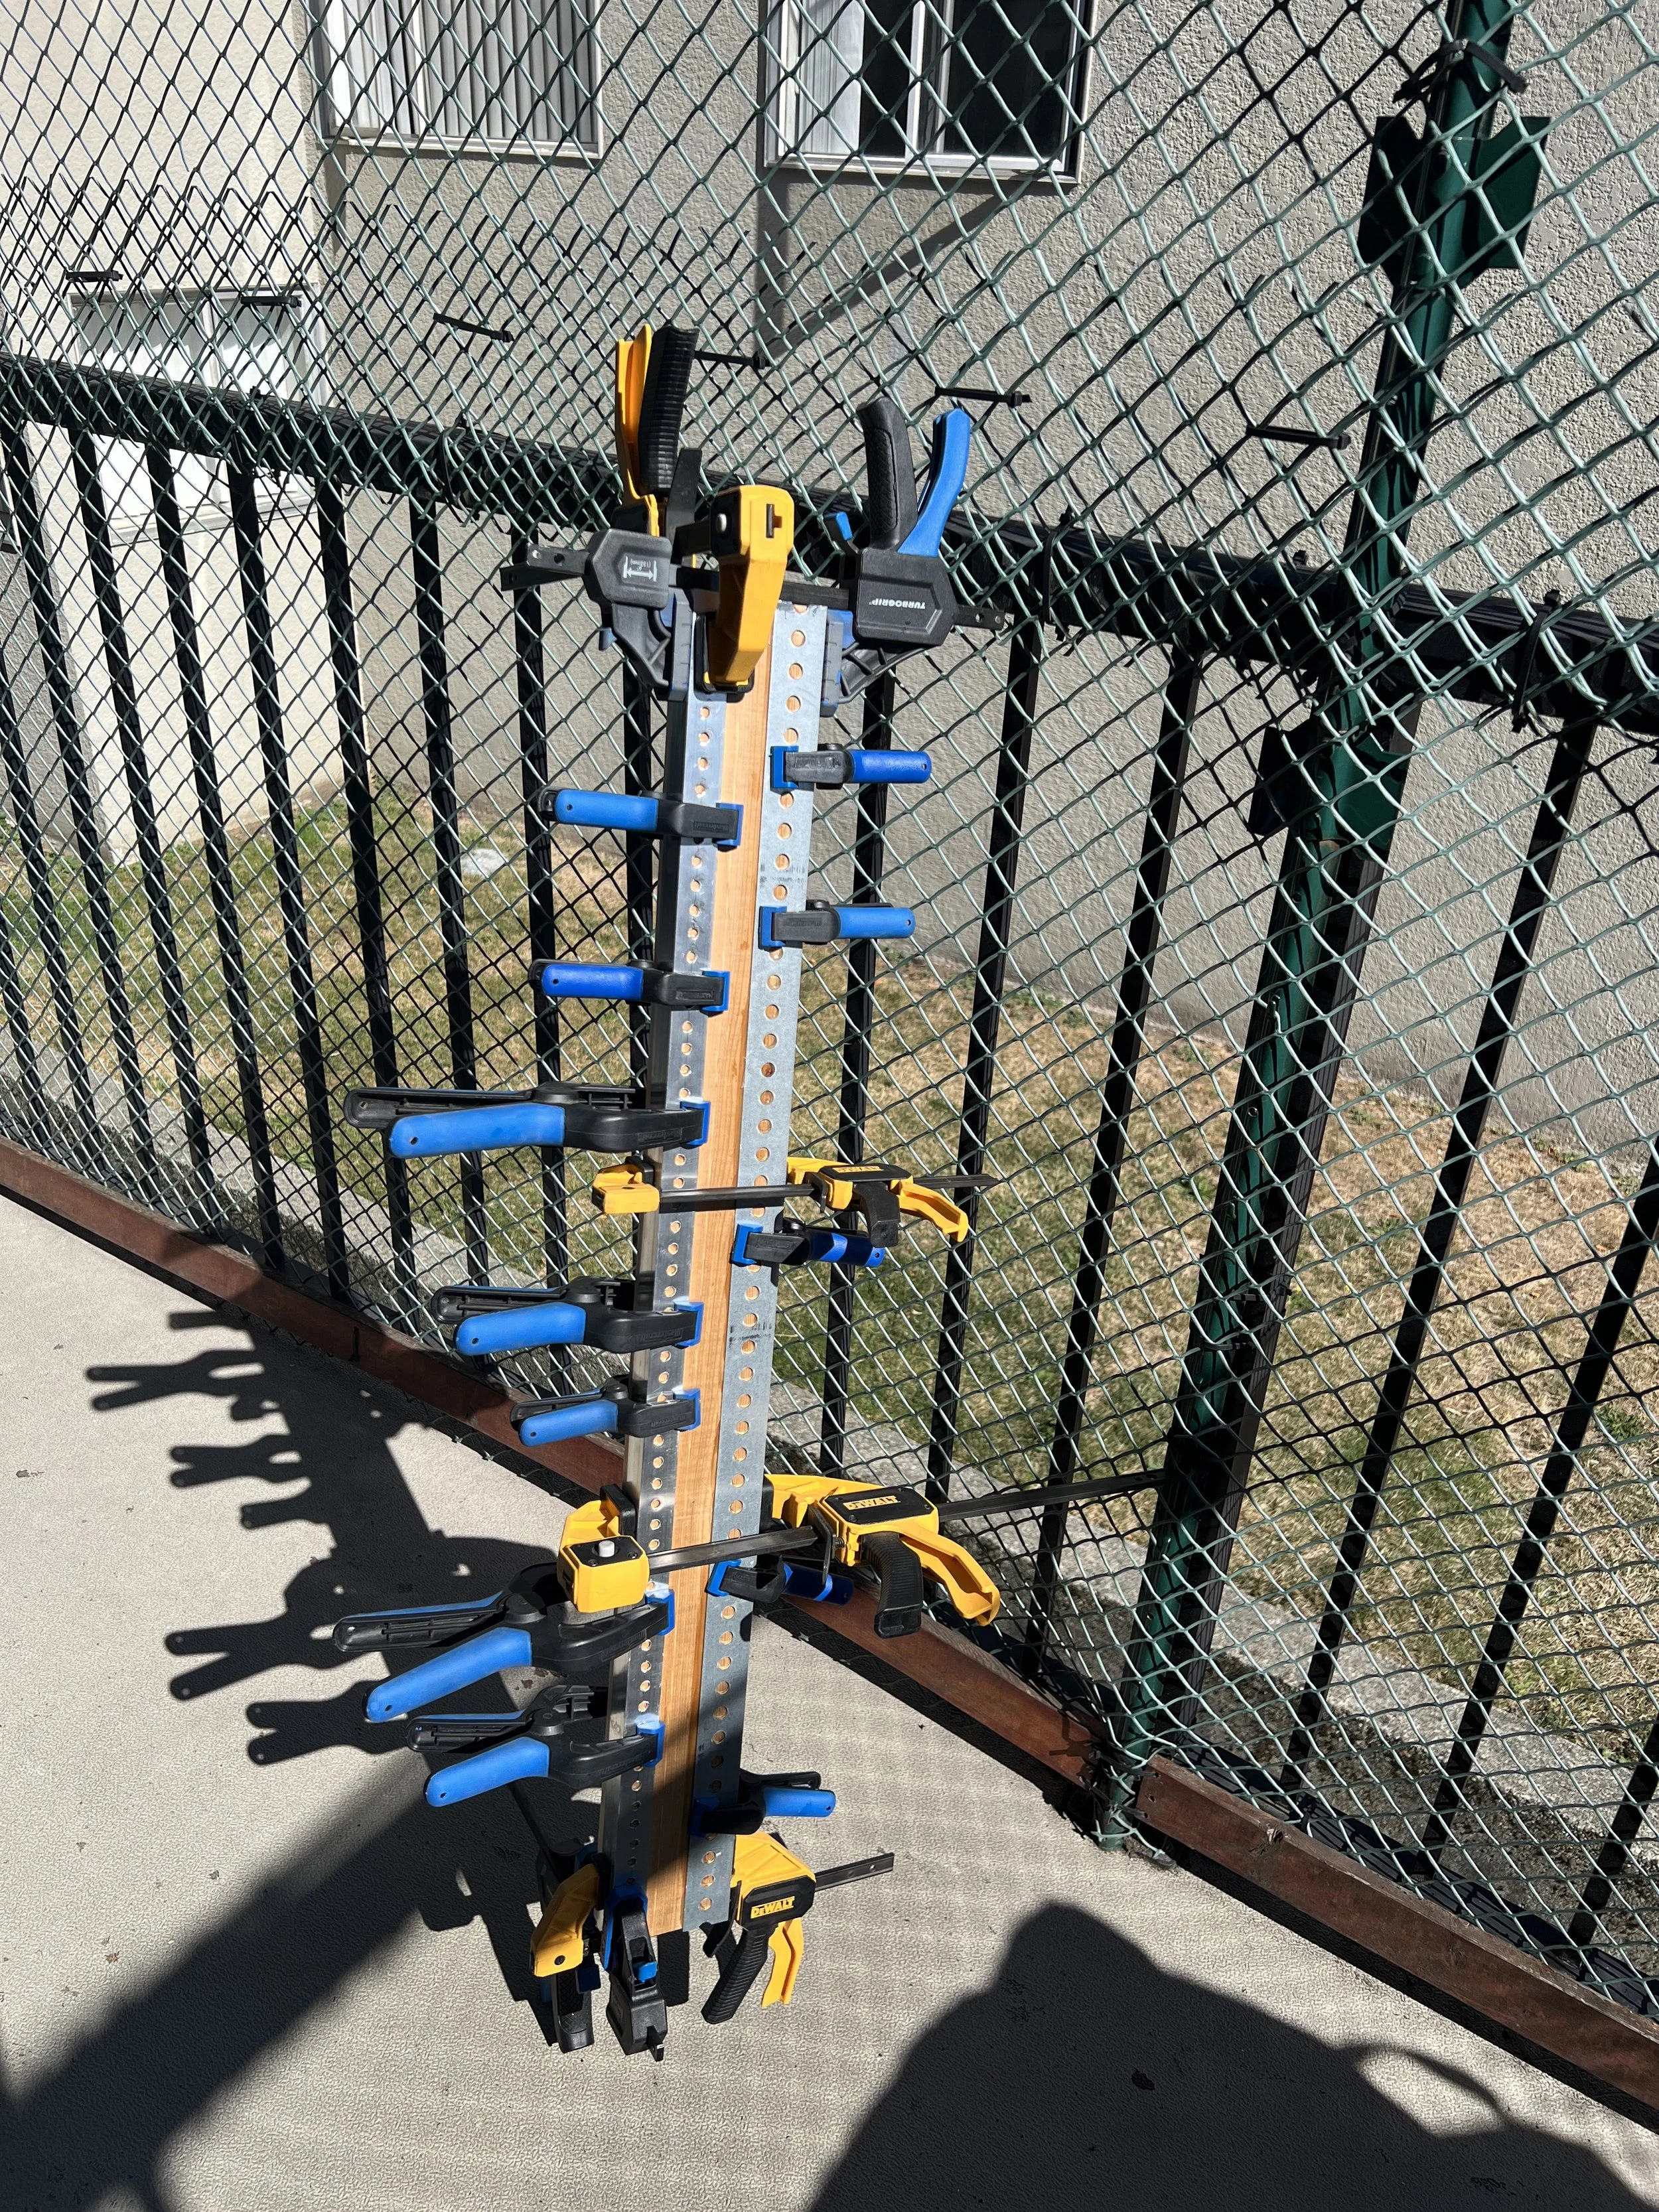
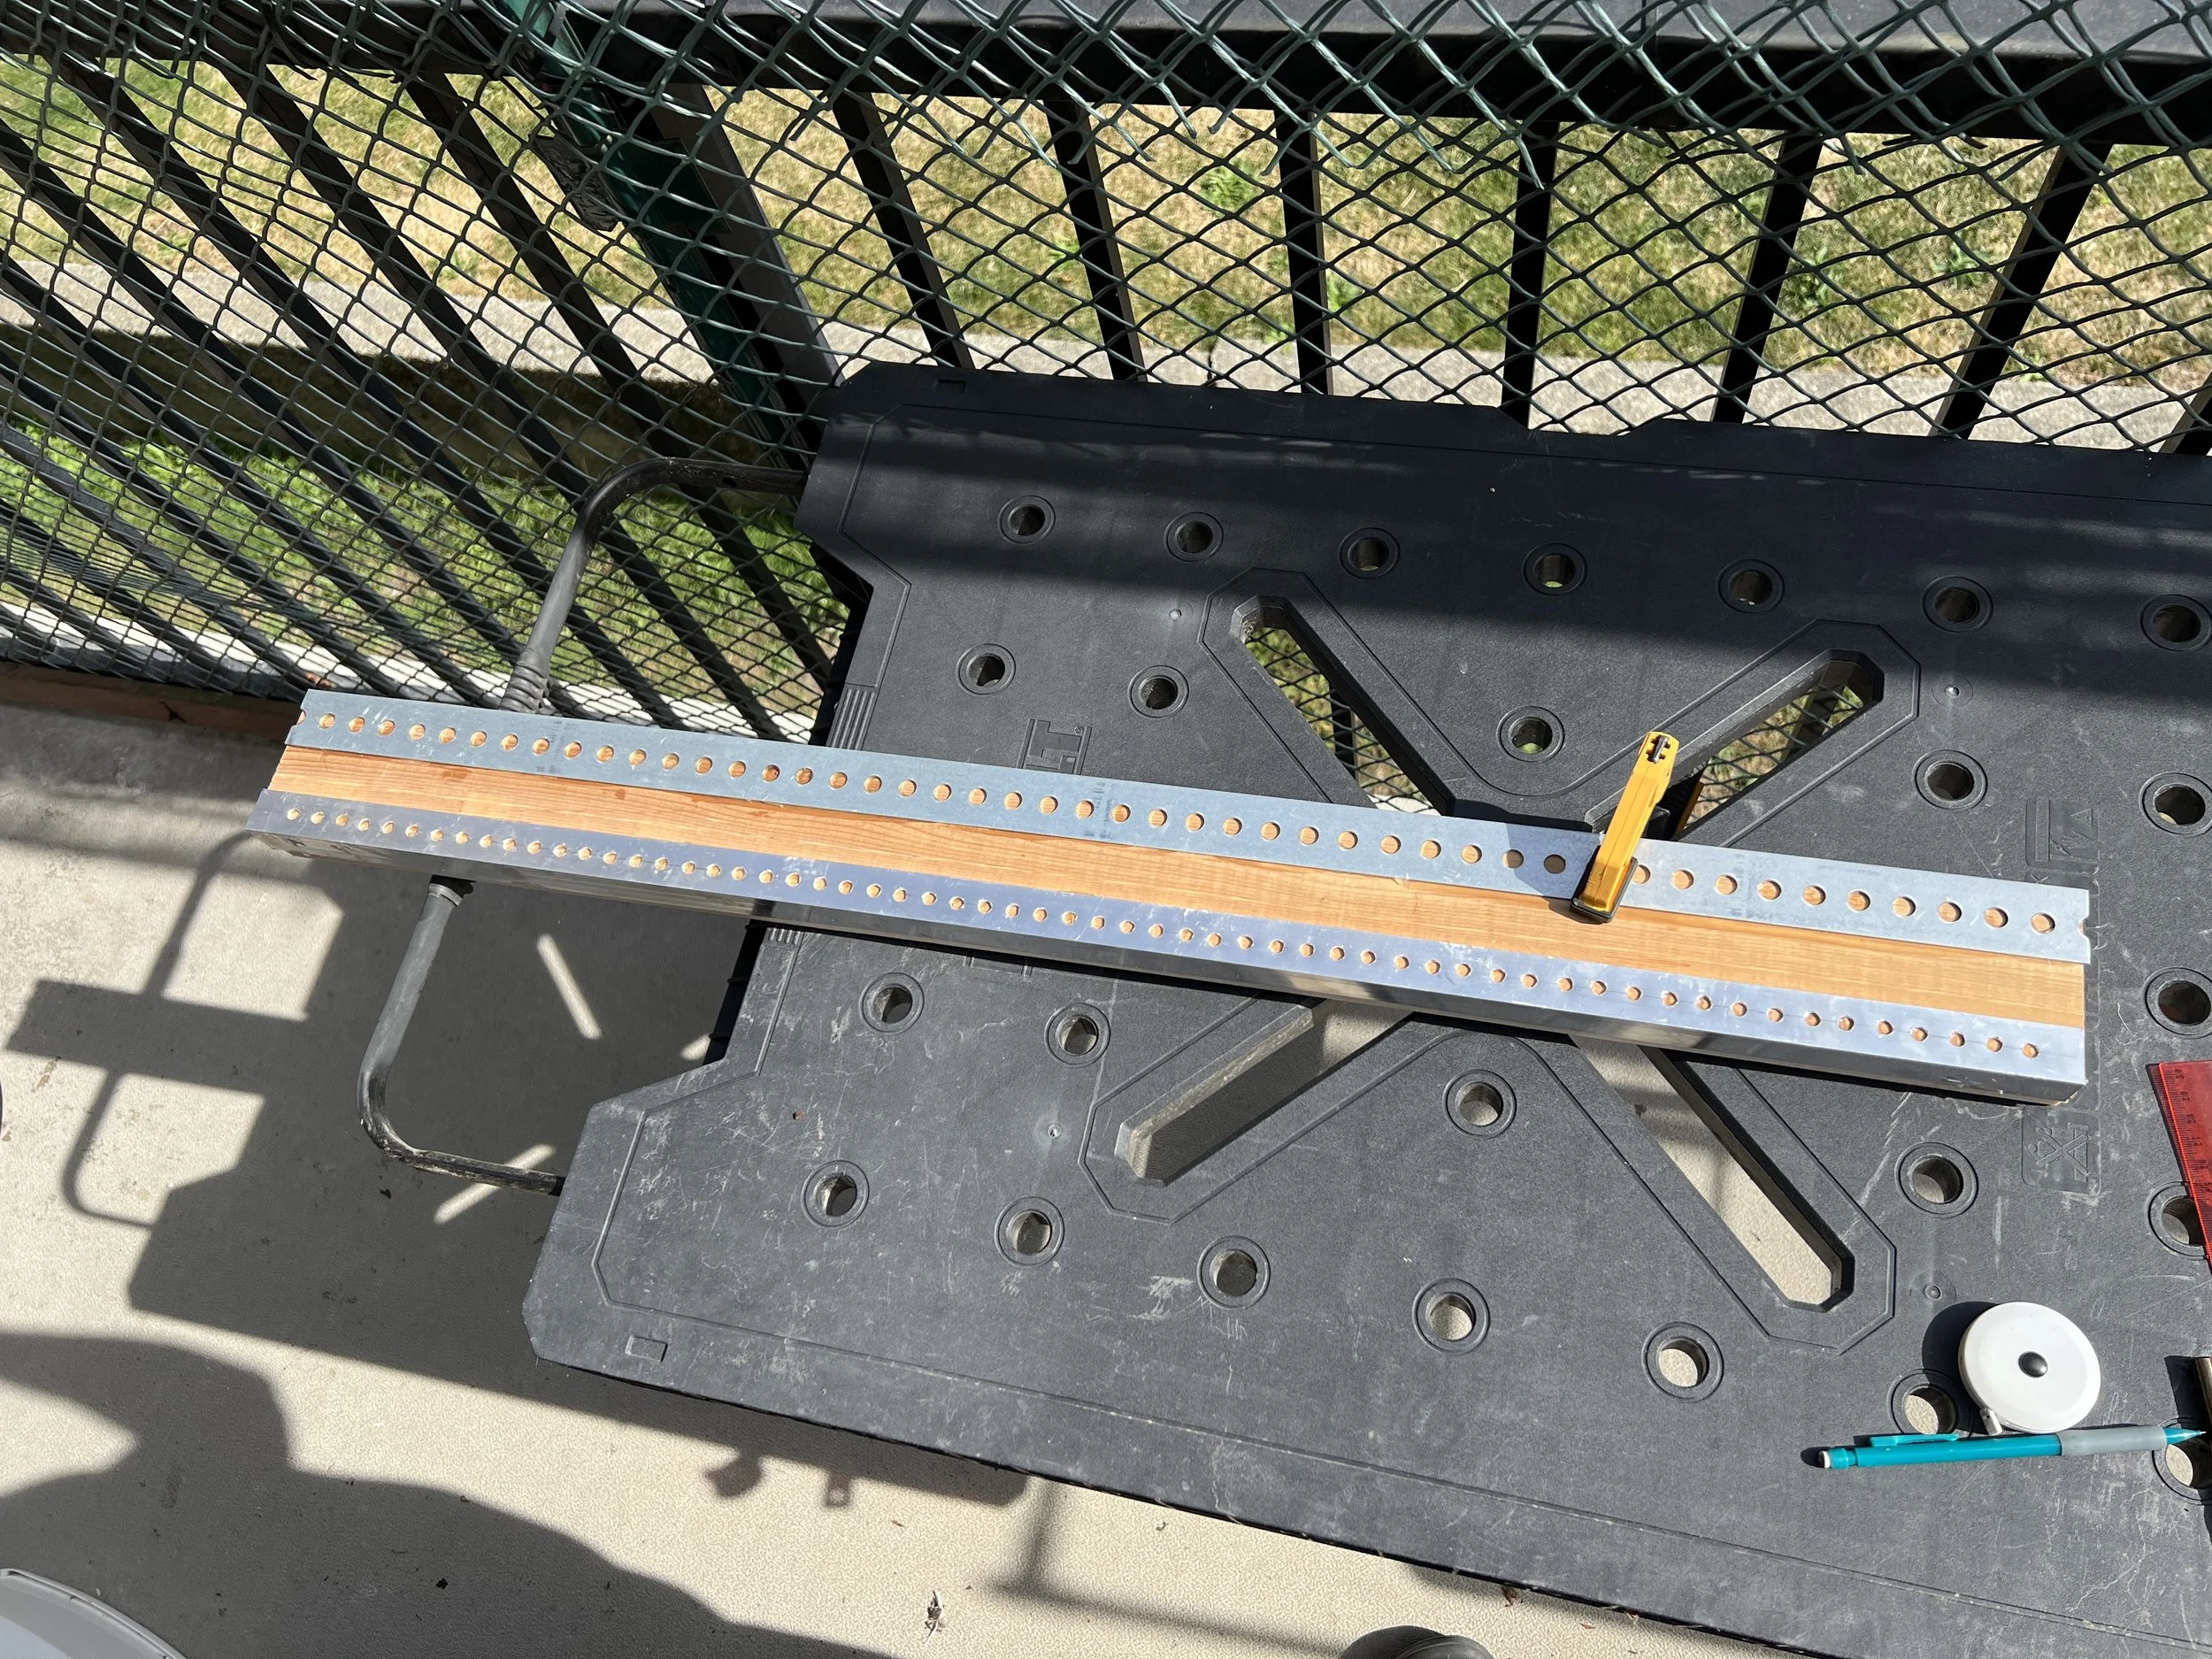
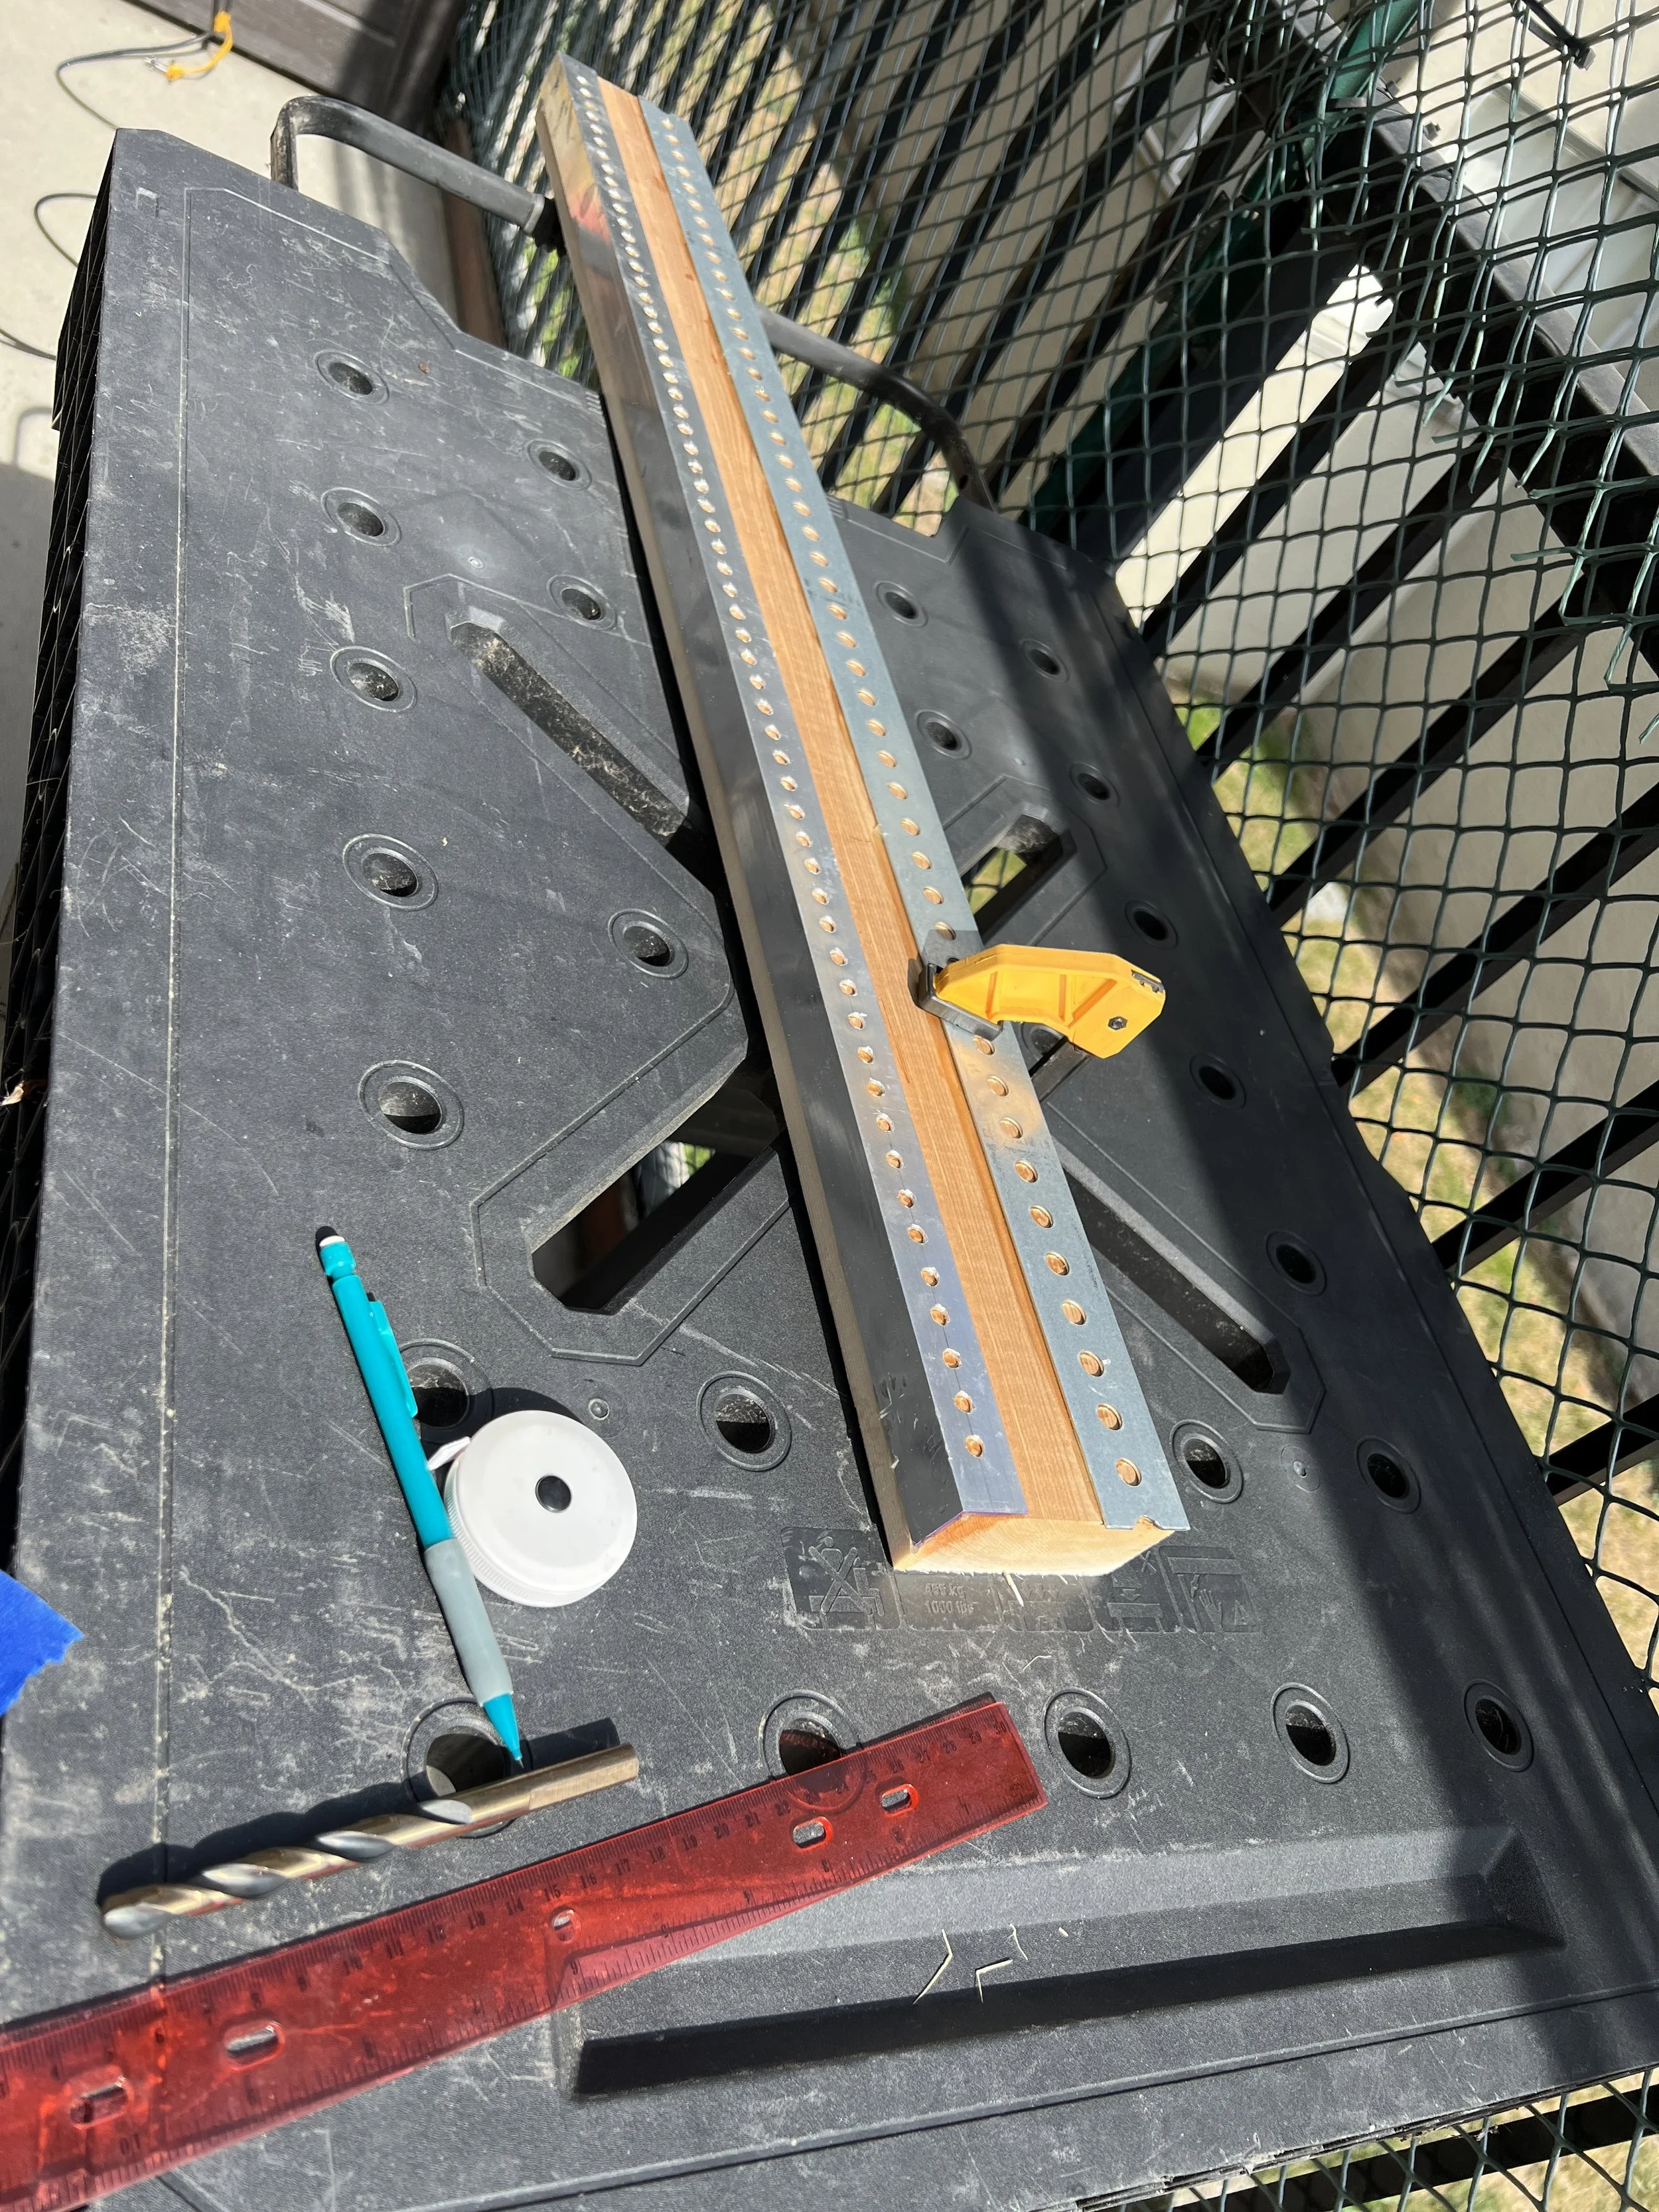
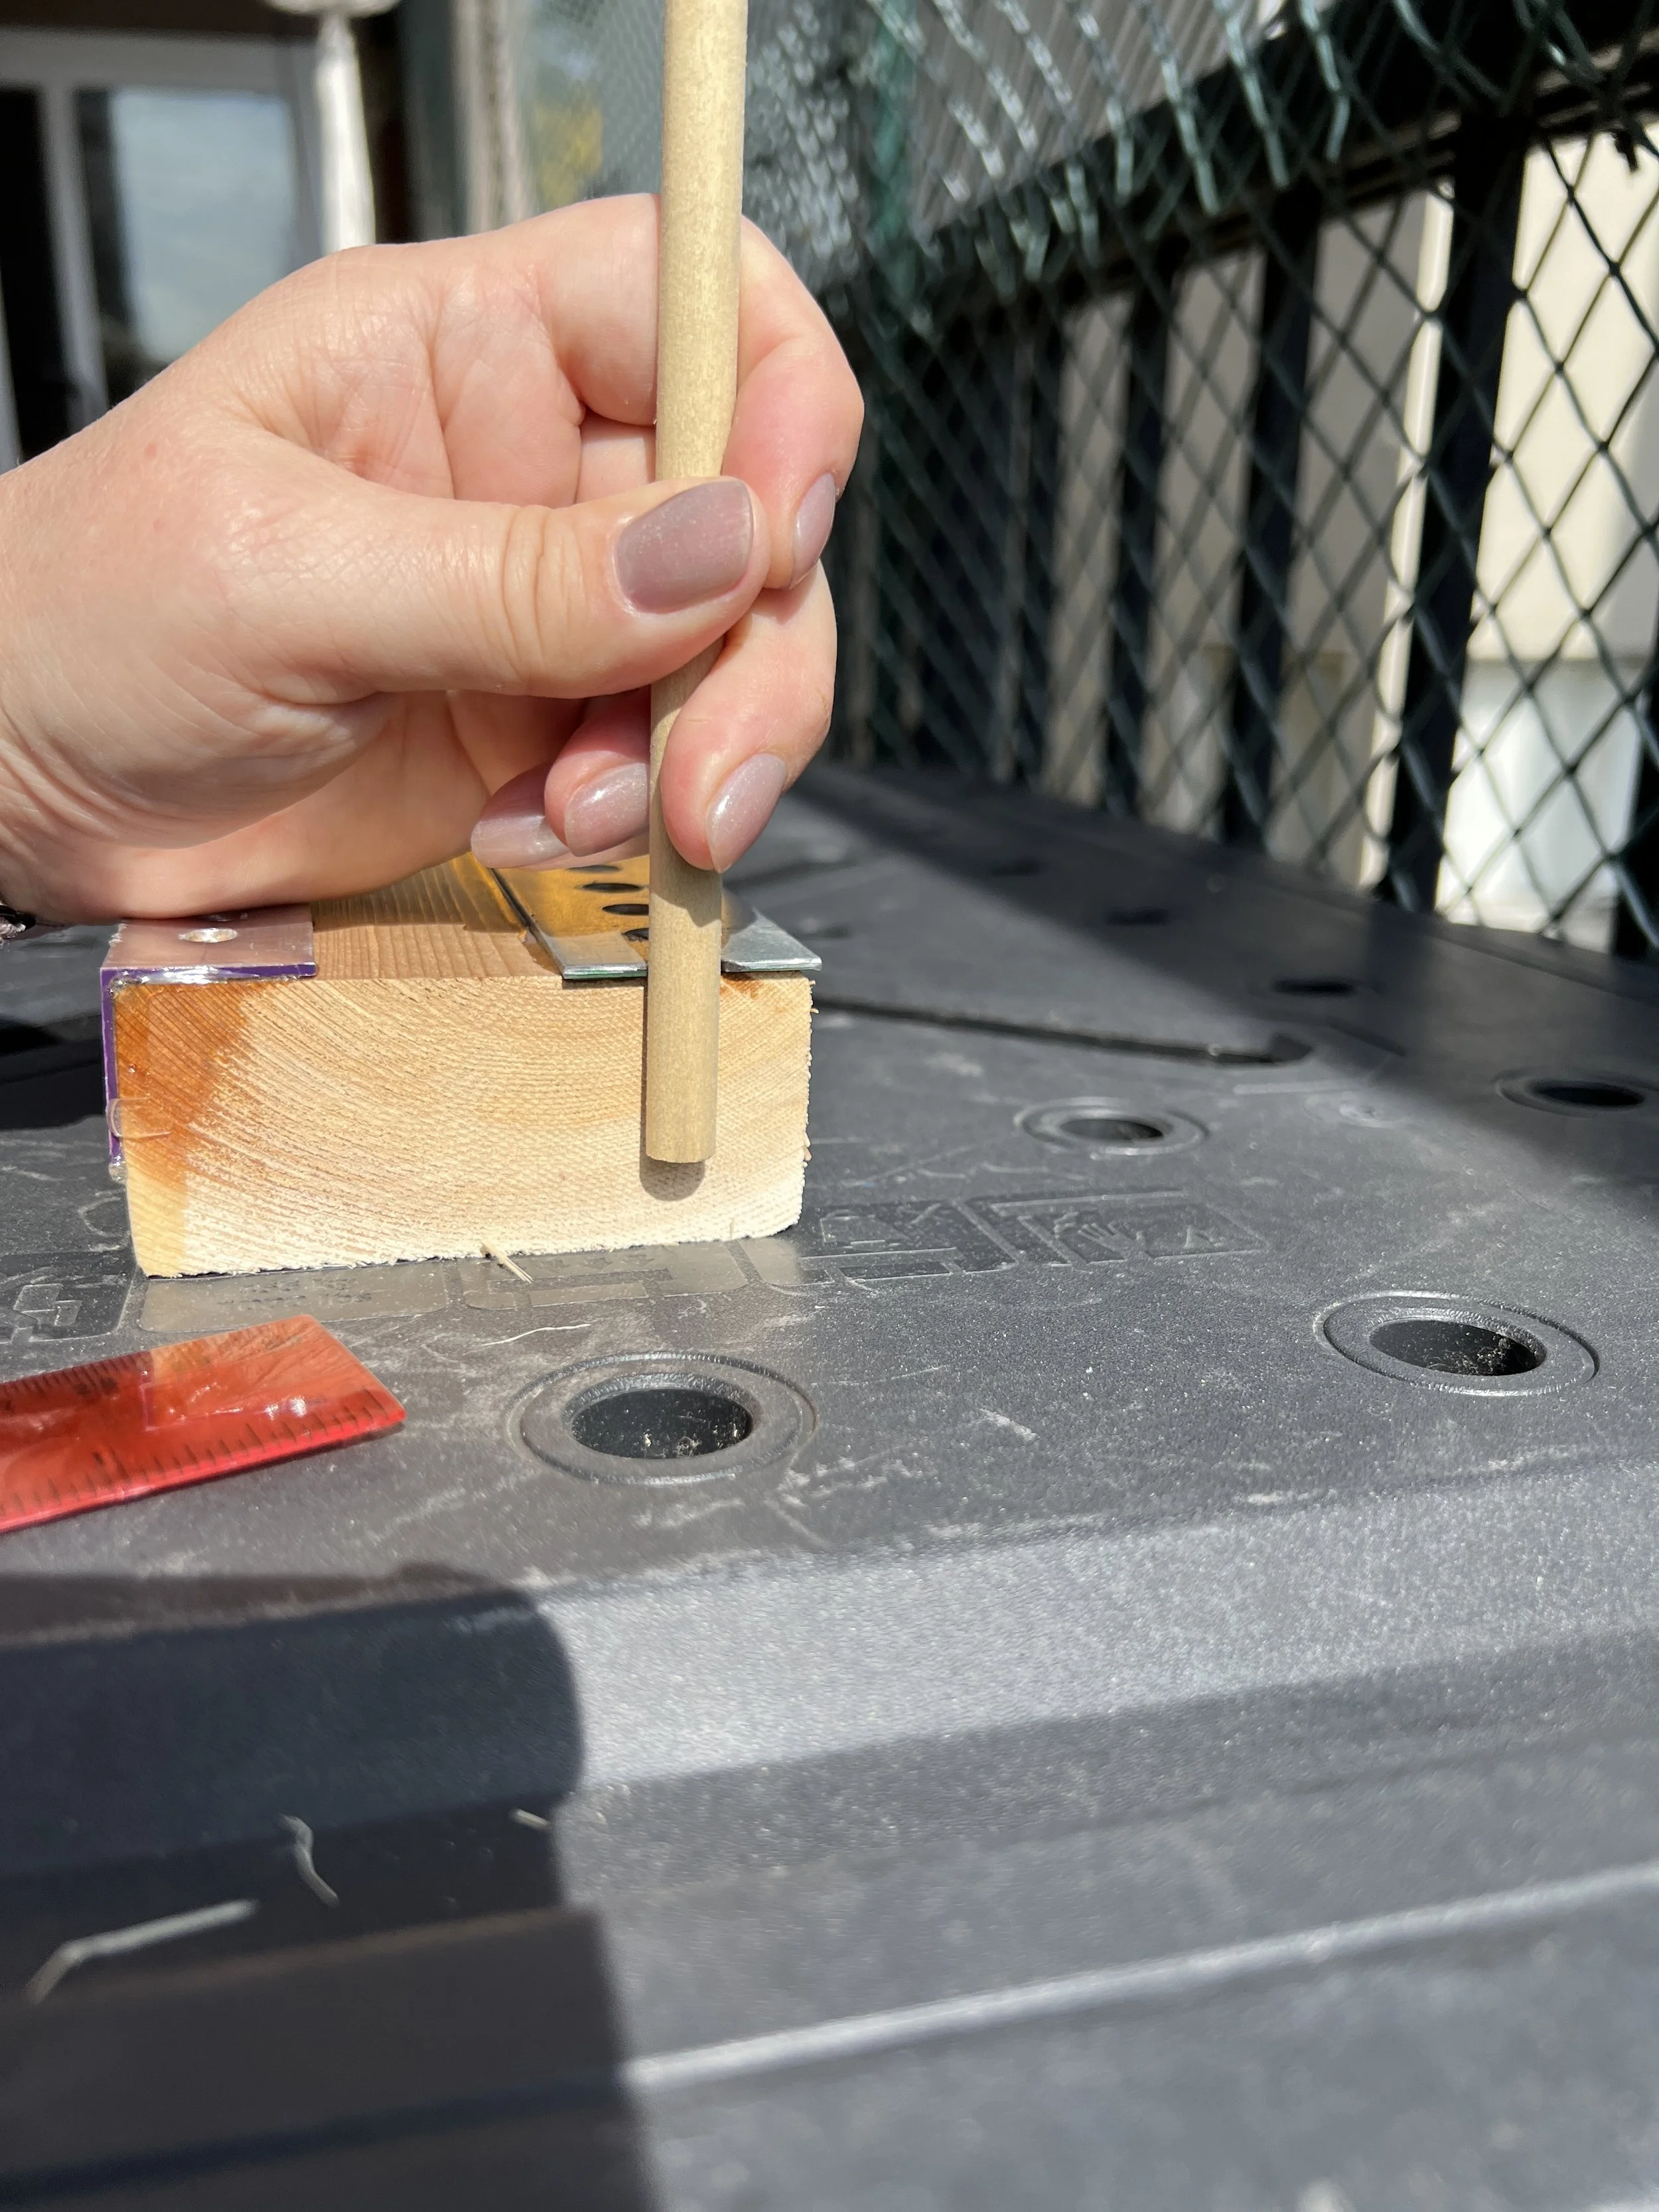
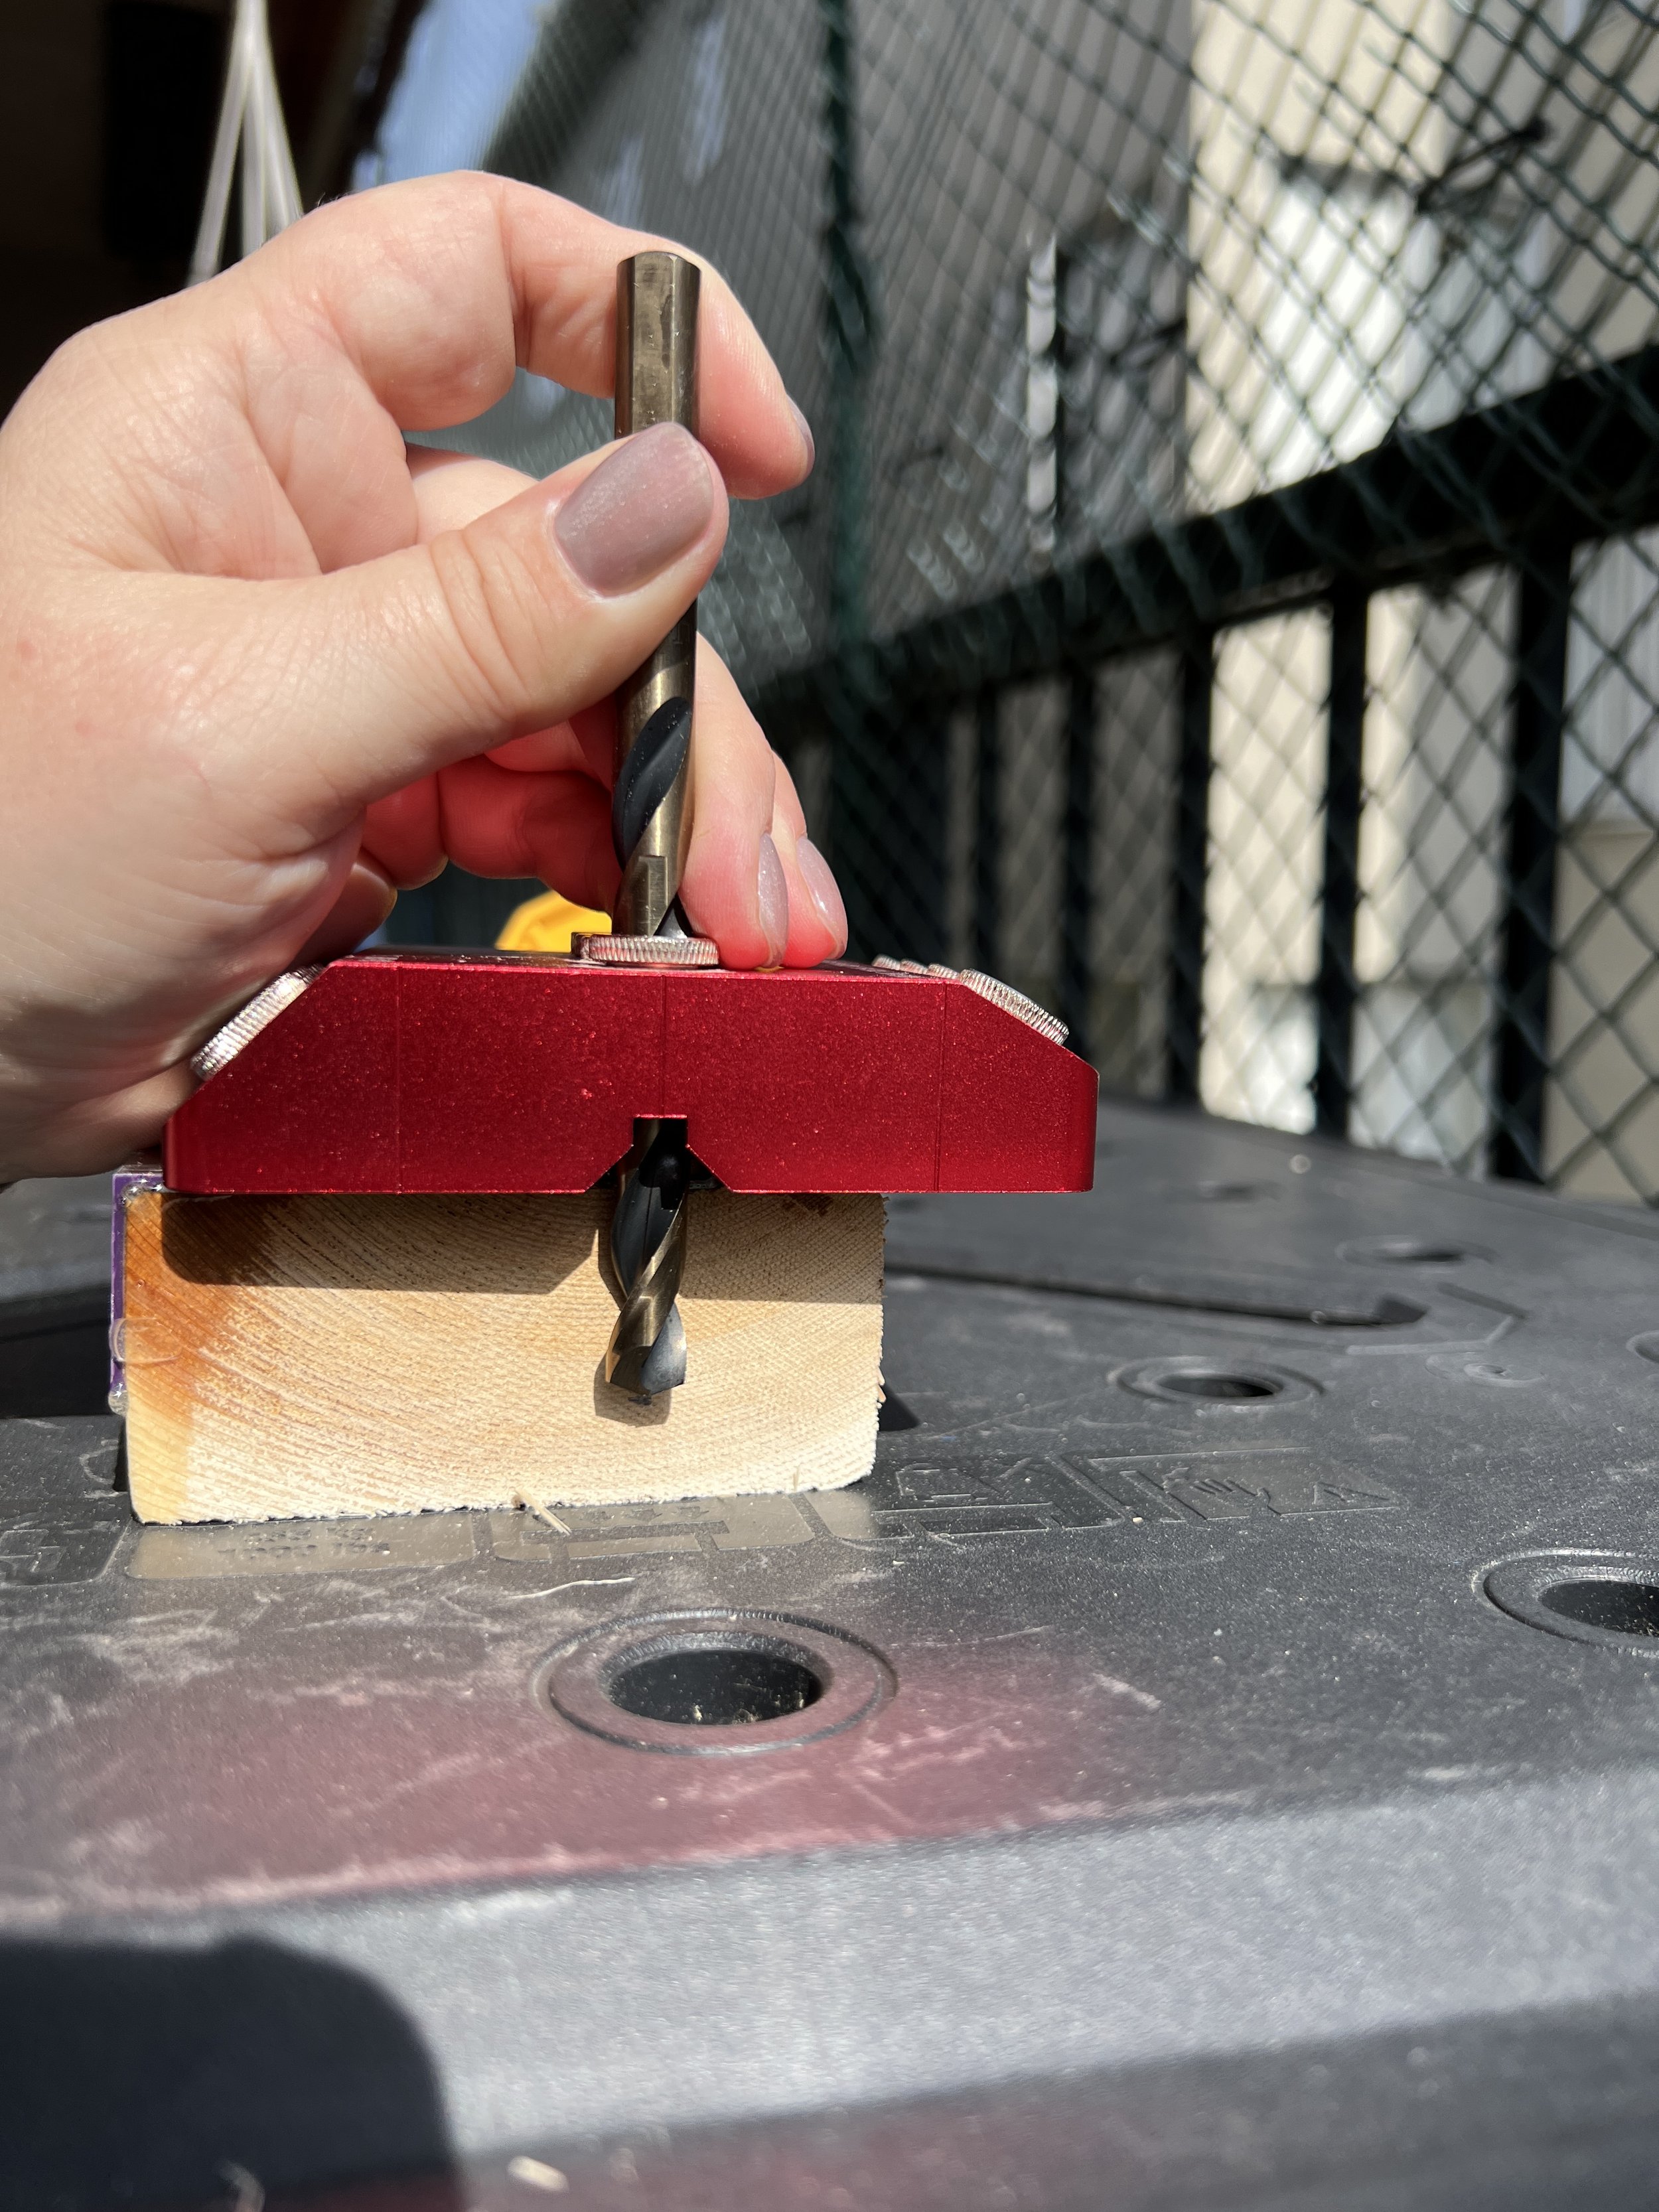
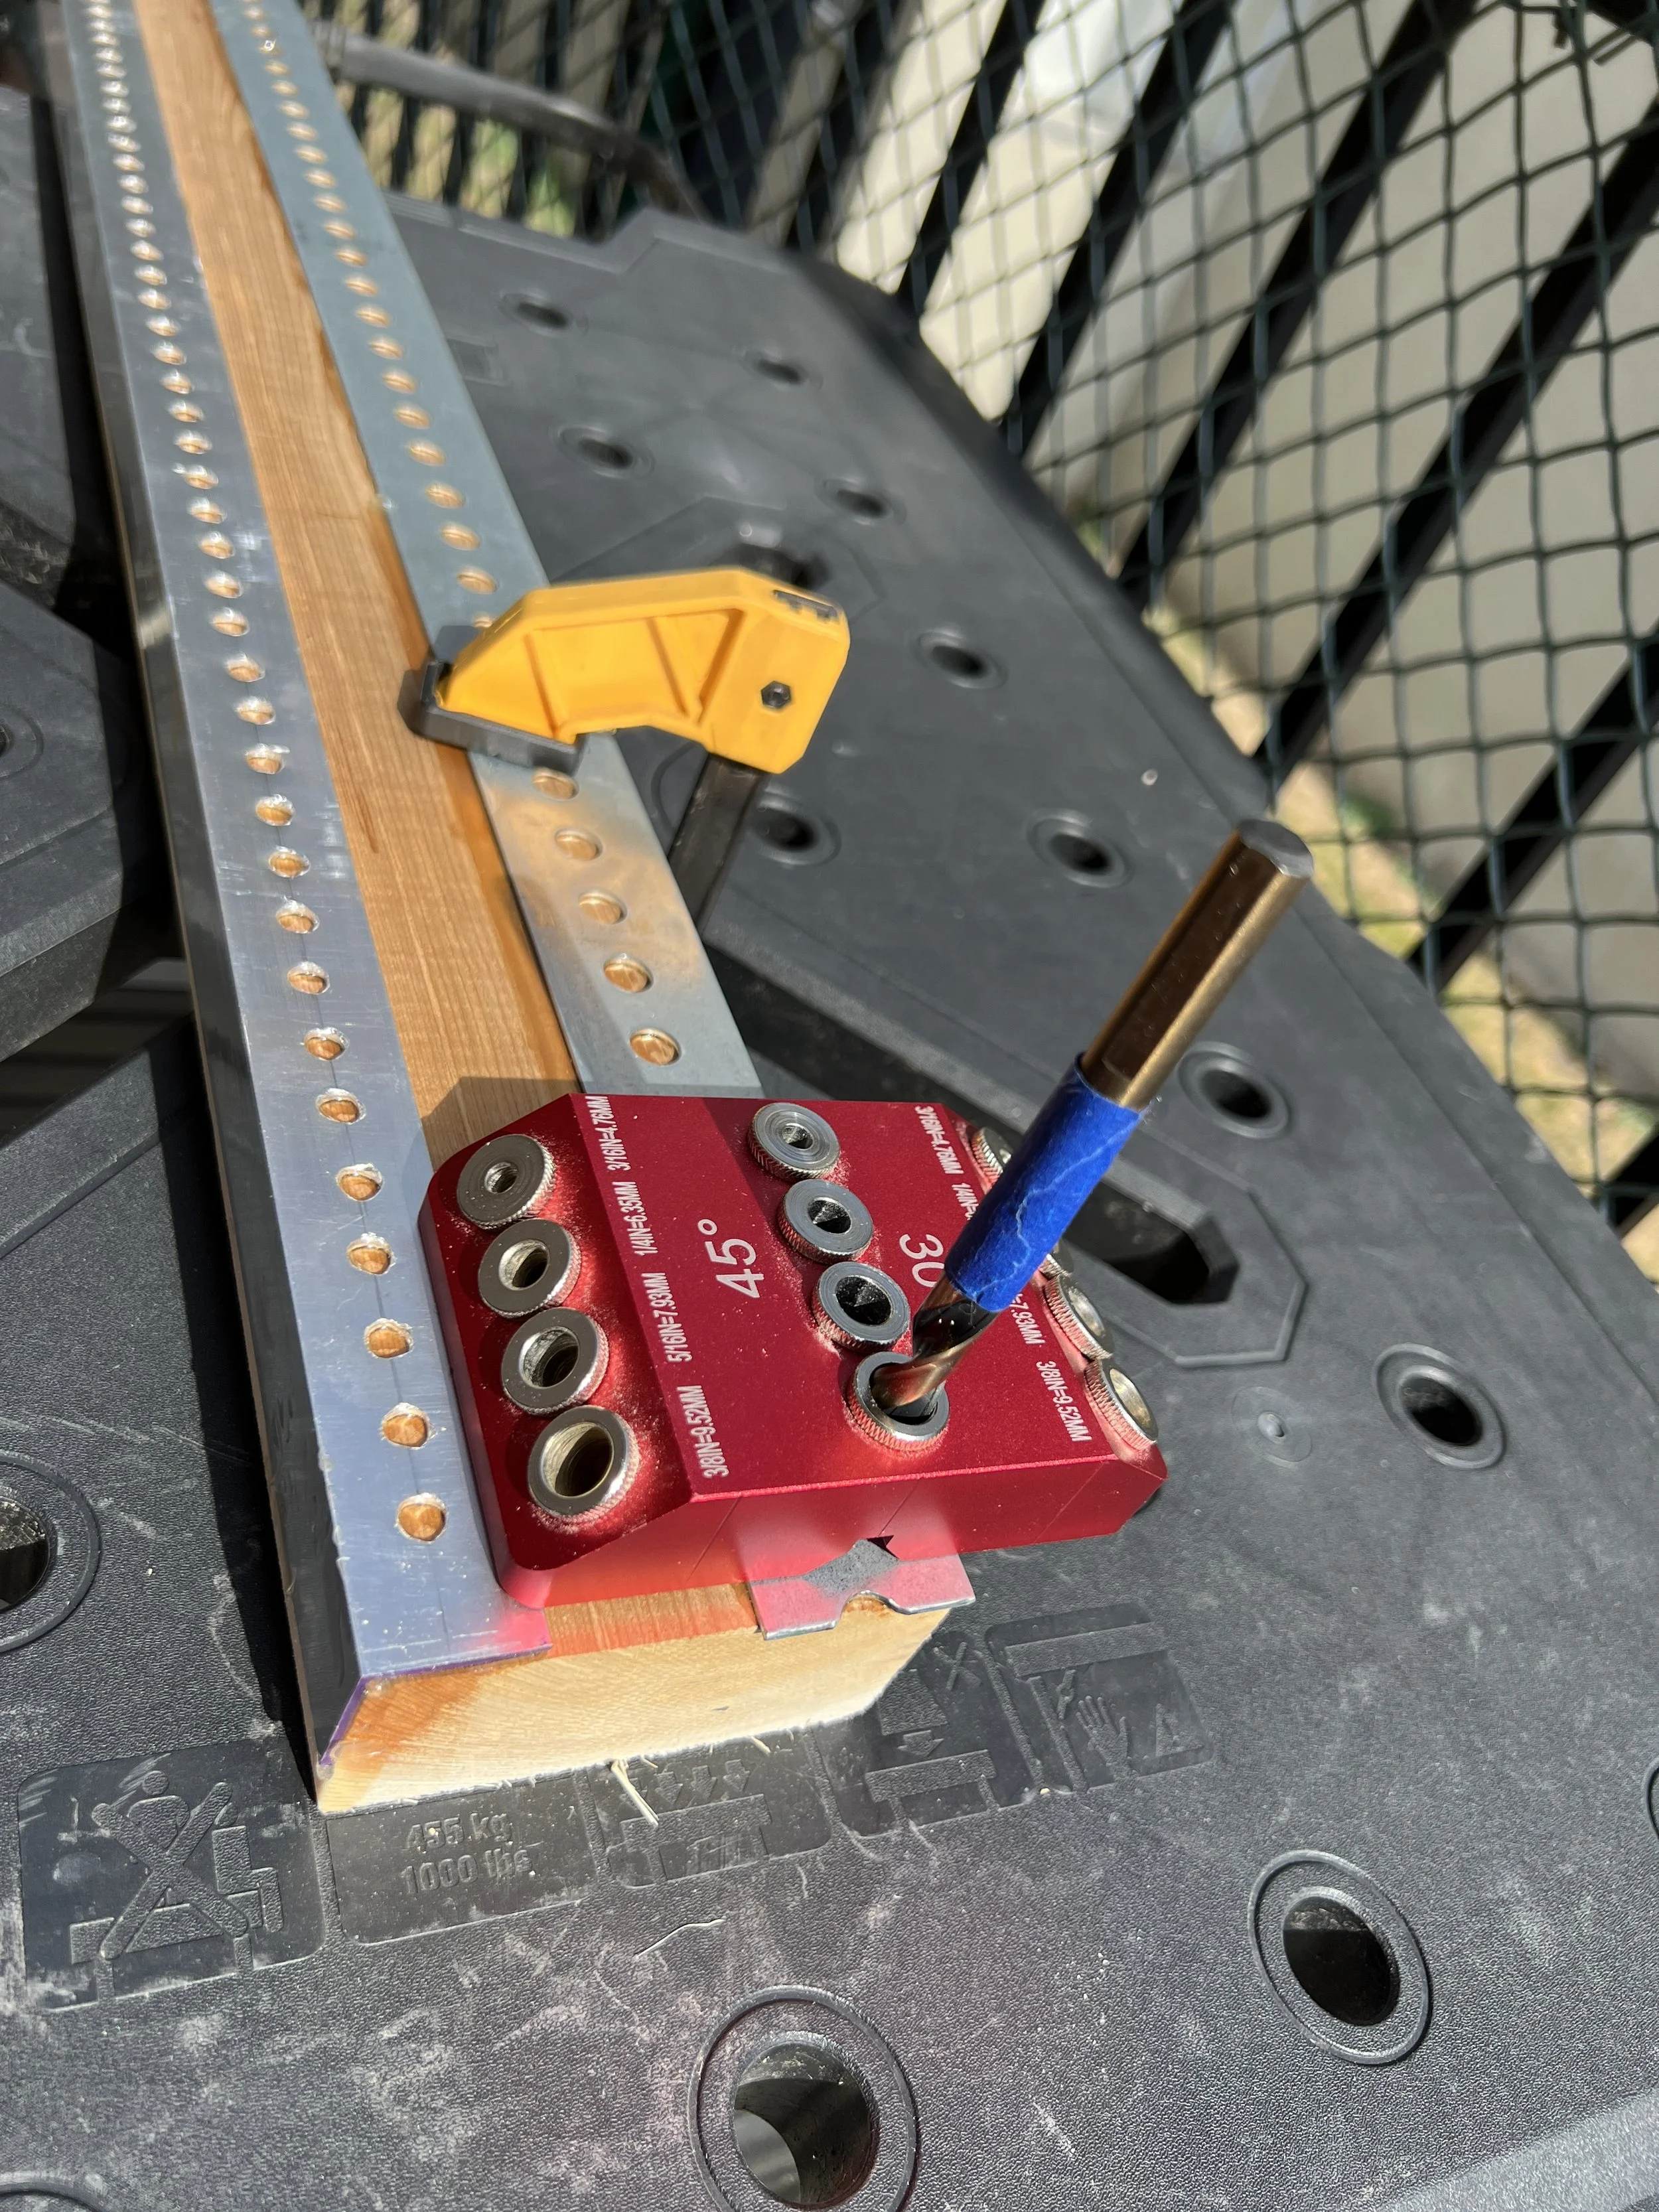
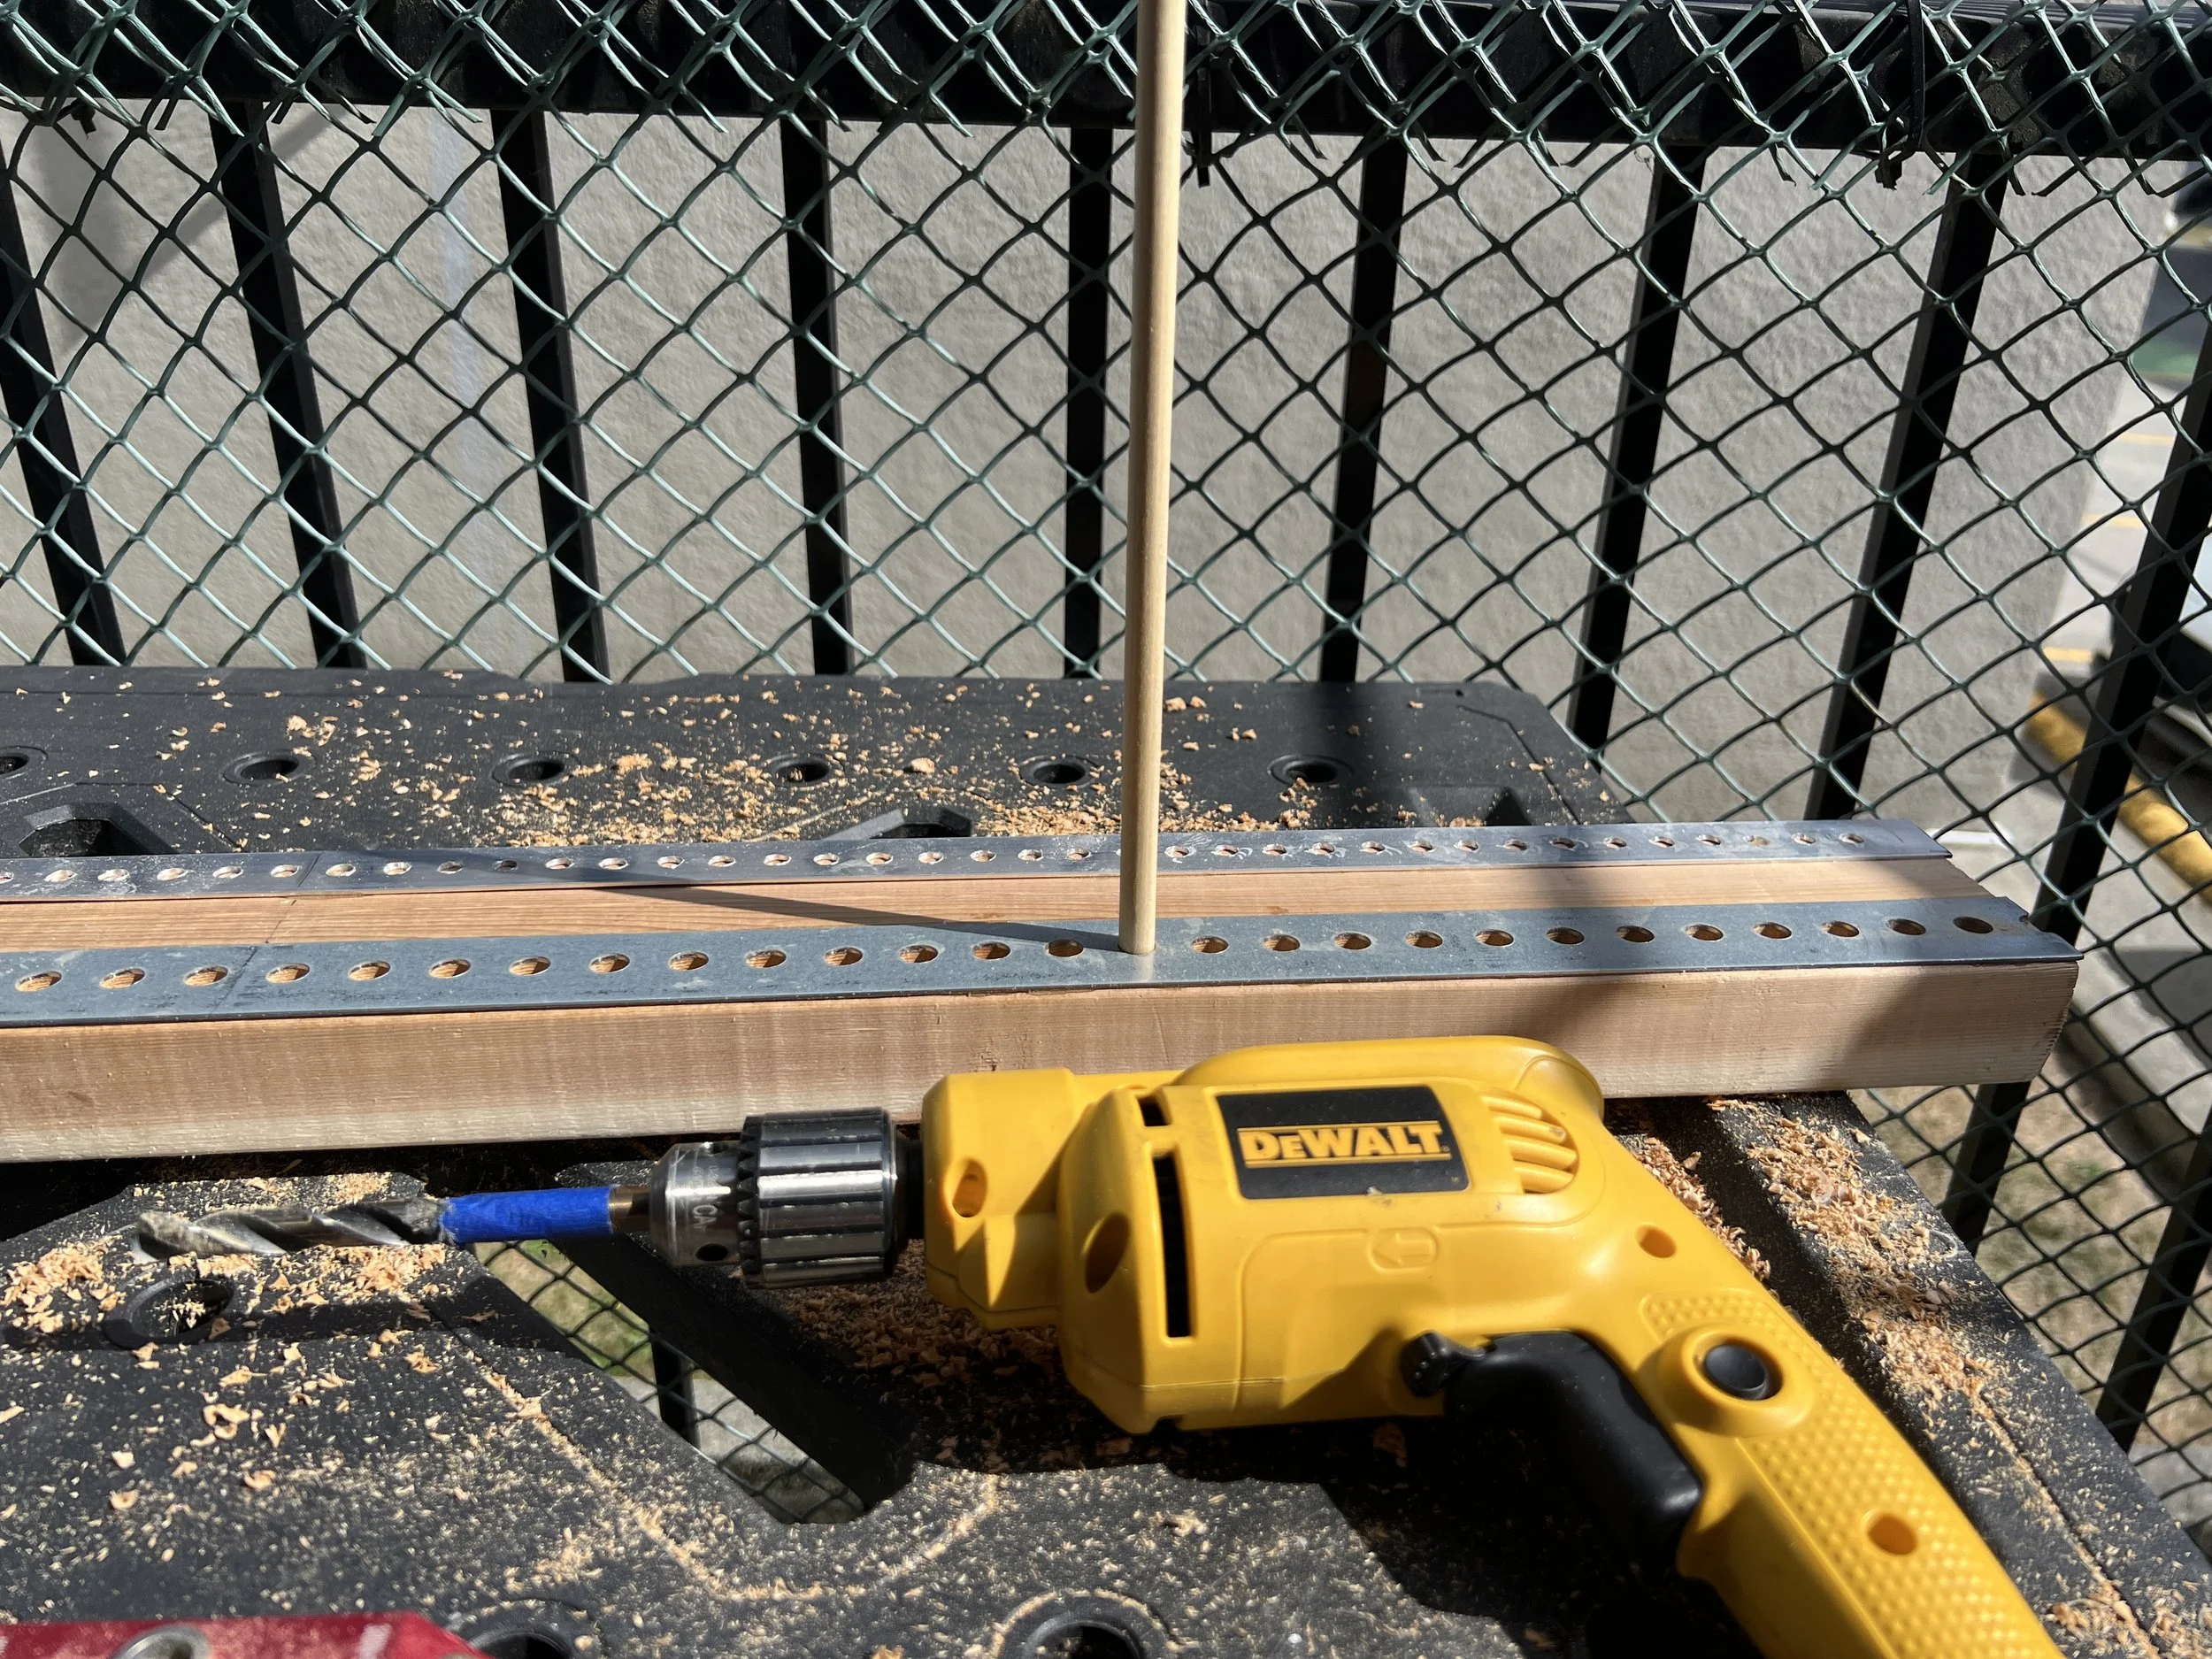
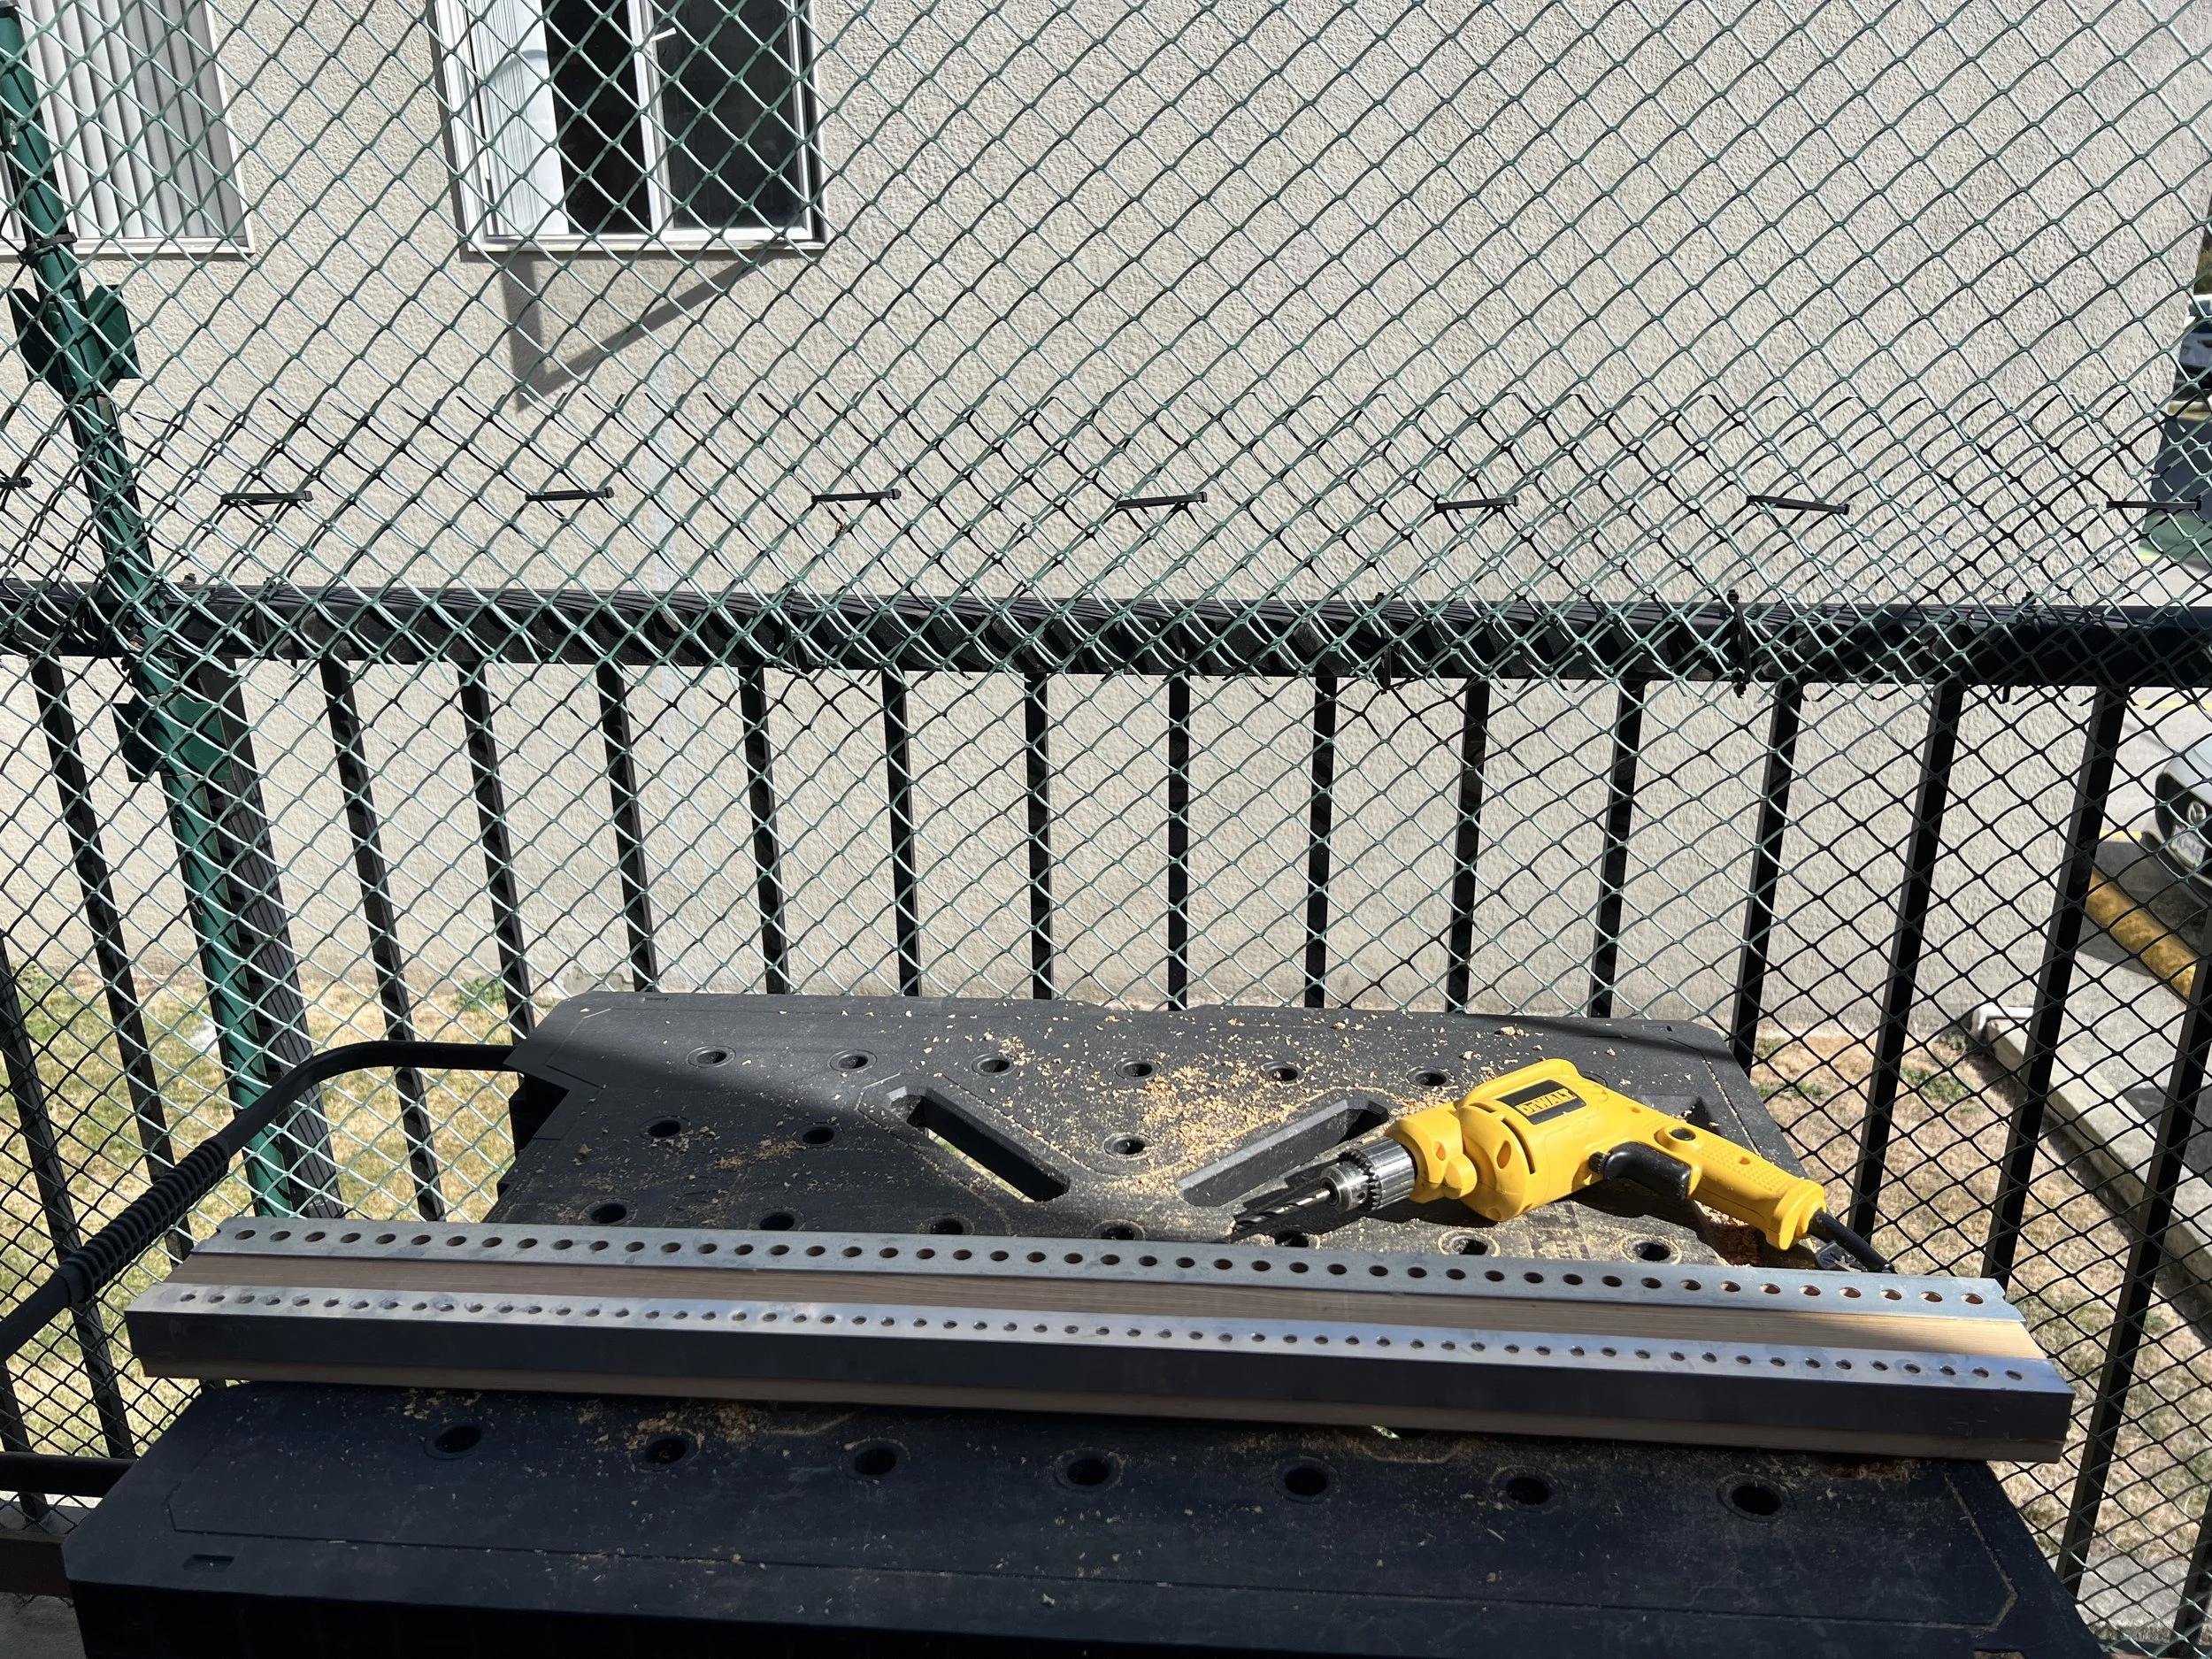
Karen FINAL LOOM: I then used gorilla glue and clamped the flat metal predrilled metal to the final loom - allowing 24 hours cure. While that was gluing I laid out the paper plan for drilling the 1/4 diameter holes onto the second metal piece we bought from the hardware store. Centers of each hole punched slightly and then drilled, I cleaned up the sharp metal shavings and smoothed the edges. I then also gorilla glued/clamped that piece onto the final peg loom.
After a day of glue curing I removed the clamps. It looks great. Next step is to drill the peg holes through the metal holes already there :) I measured the peg hole depth and used the red amazon jig to drill into each future peg hole. I took each step slowly to not rush and make mistakes and often worked after work, trying to be quiet with my discovered trick of using my drill with its quieter motor - with dremel bits to smooth/widen wood and metal edges of each peg hole and metal edge.
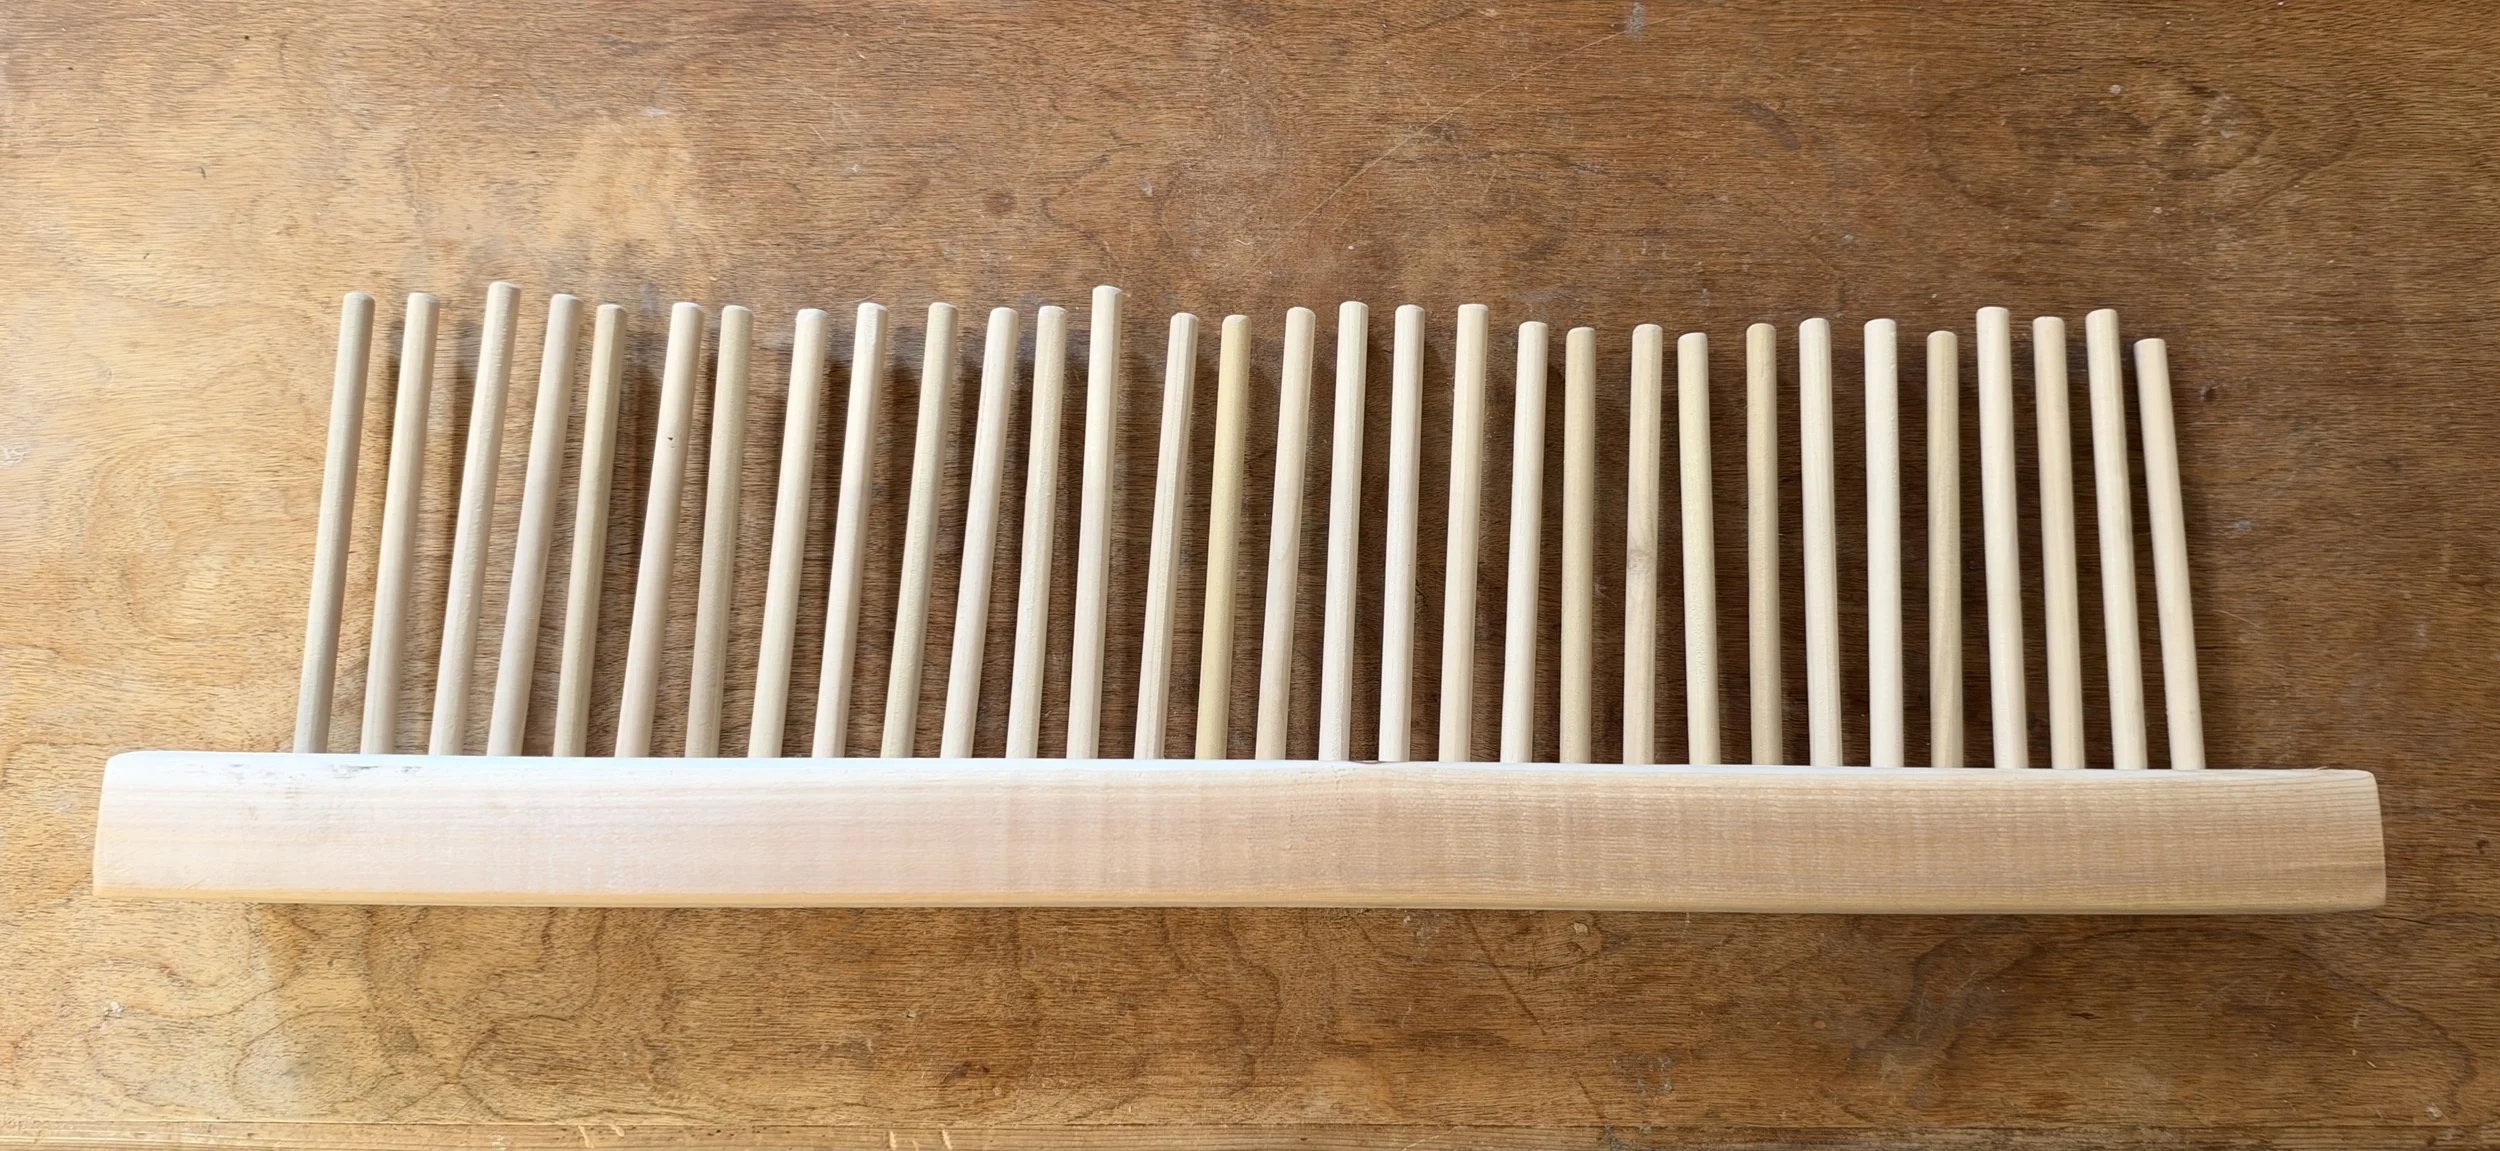
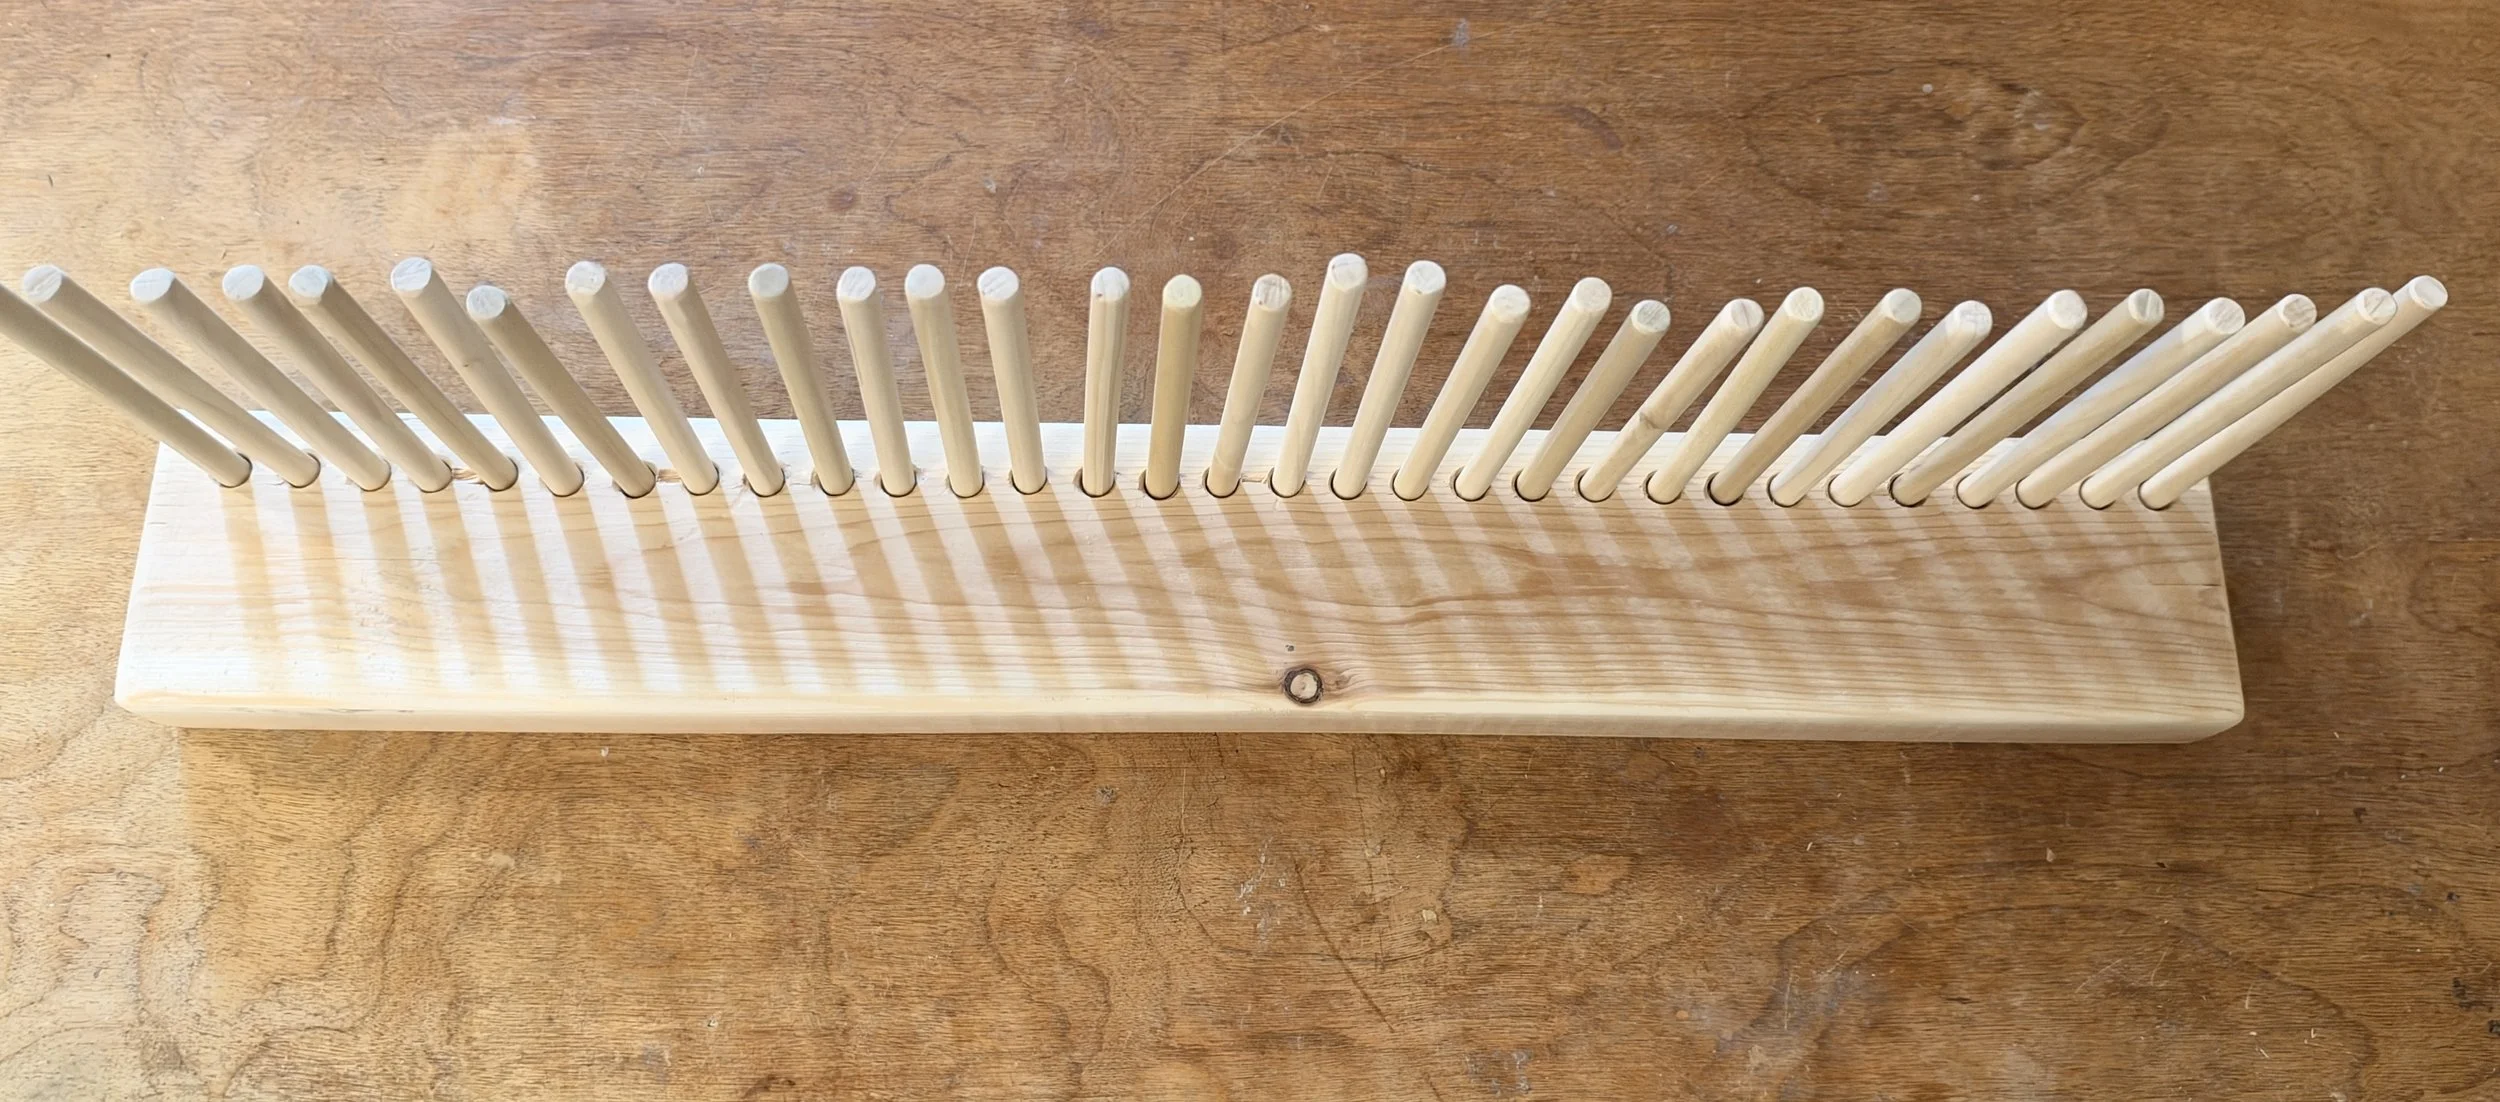
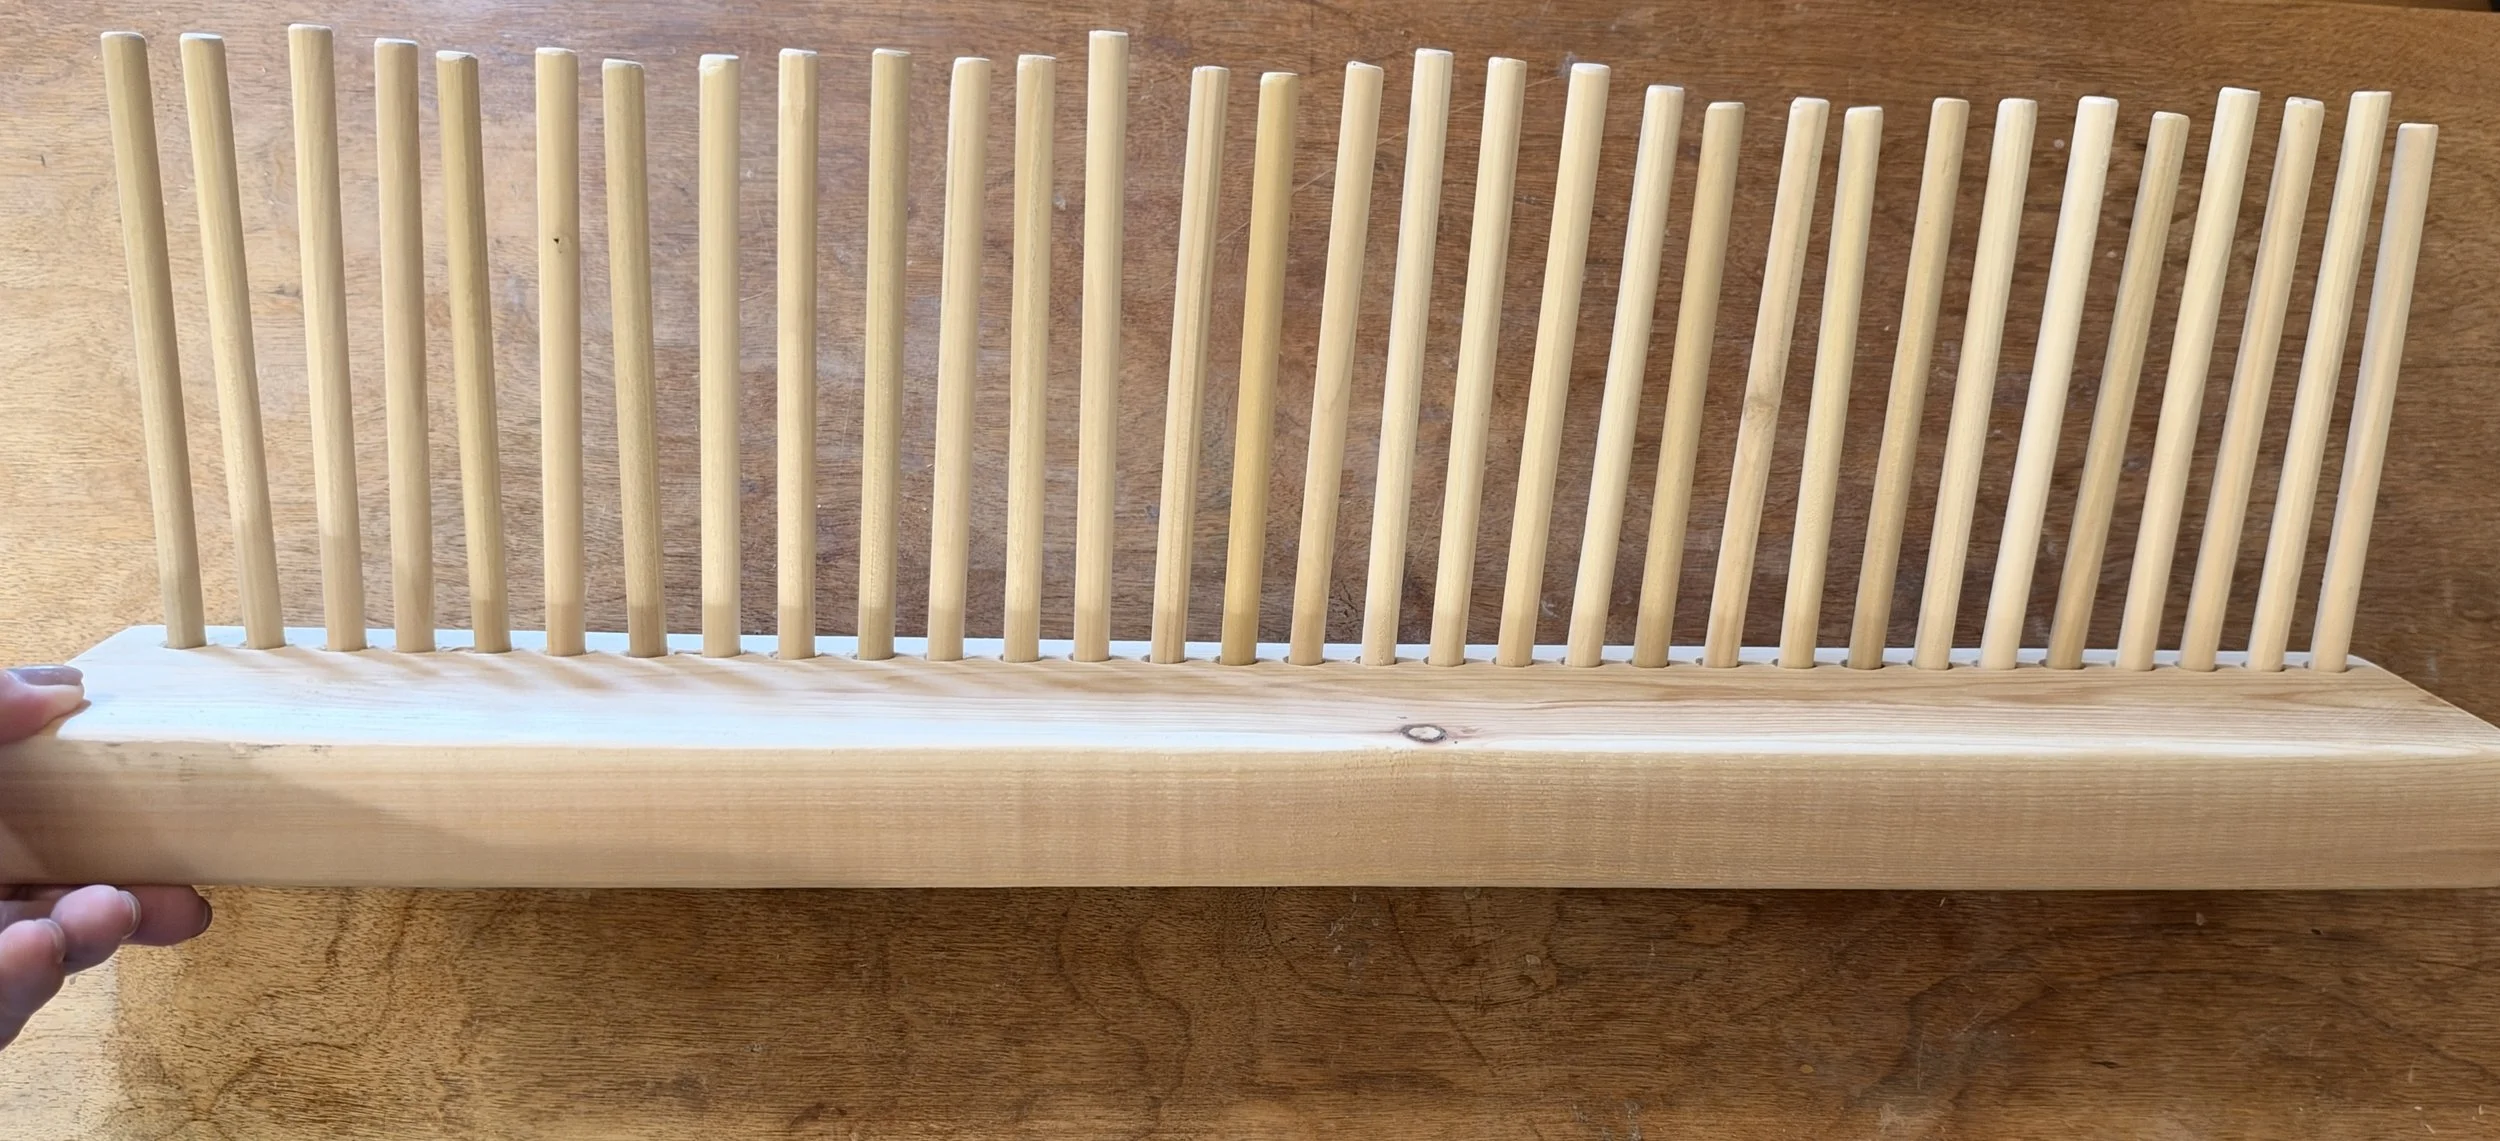
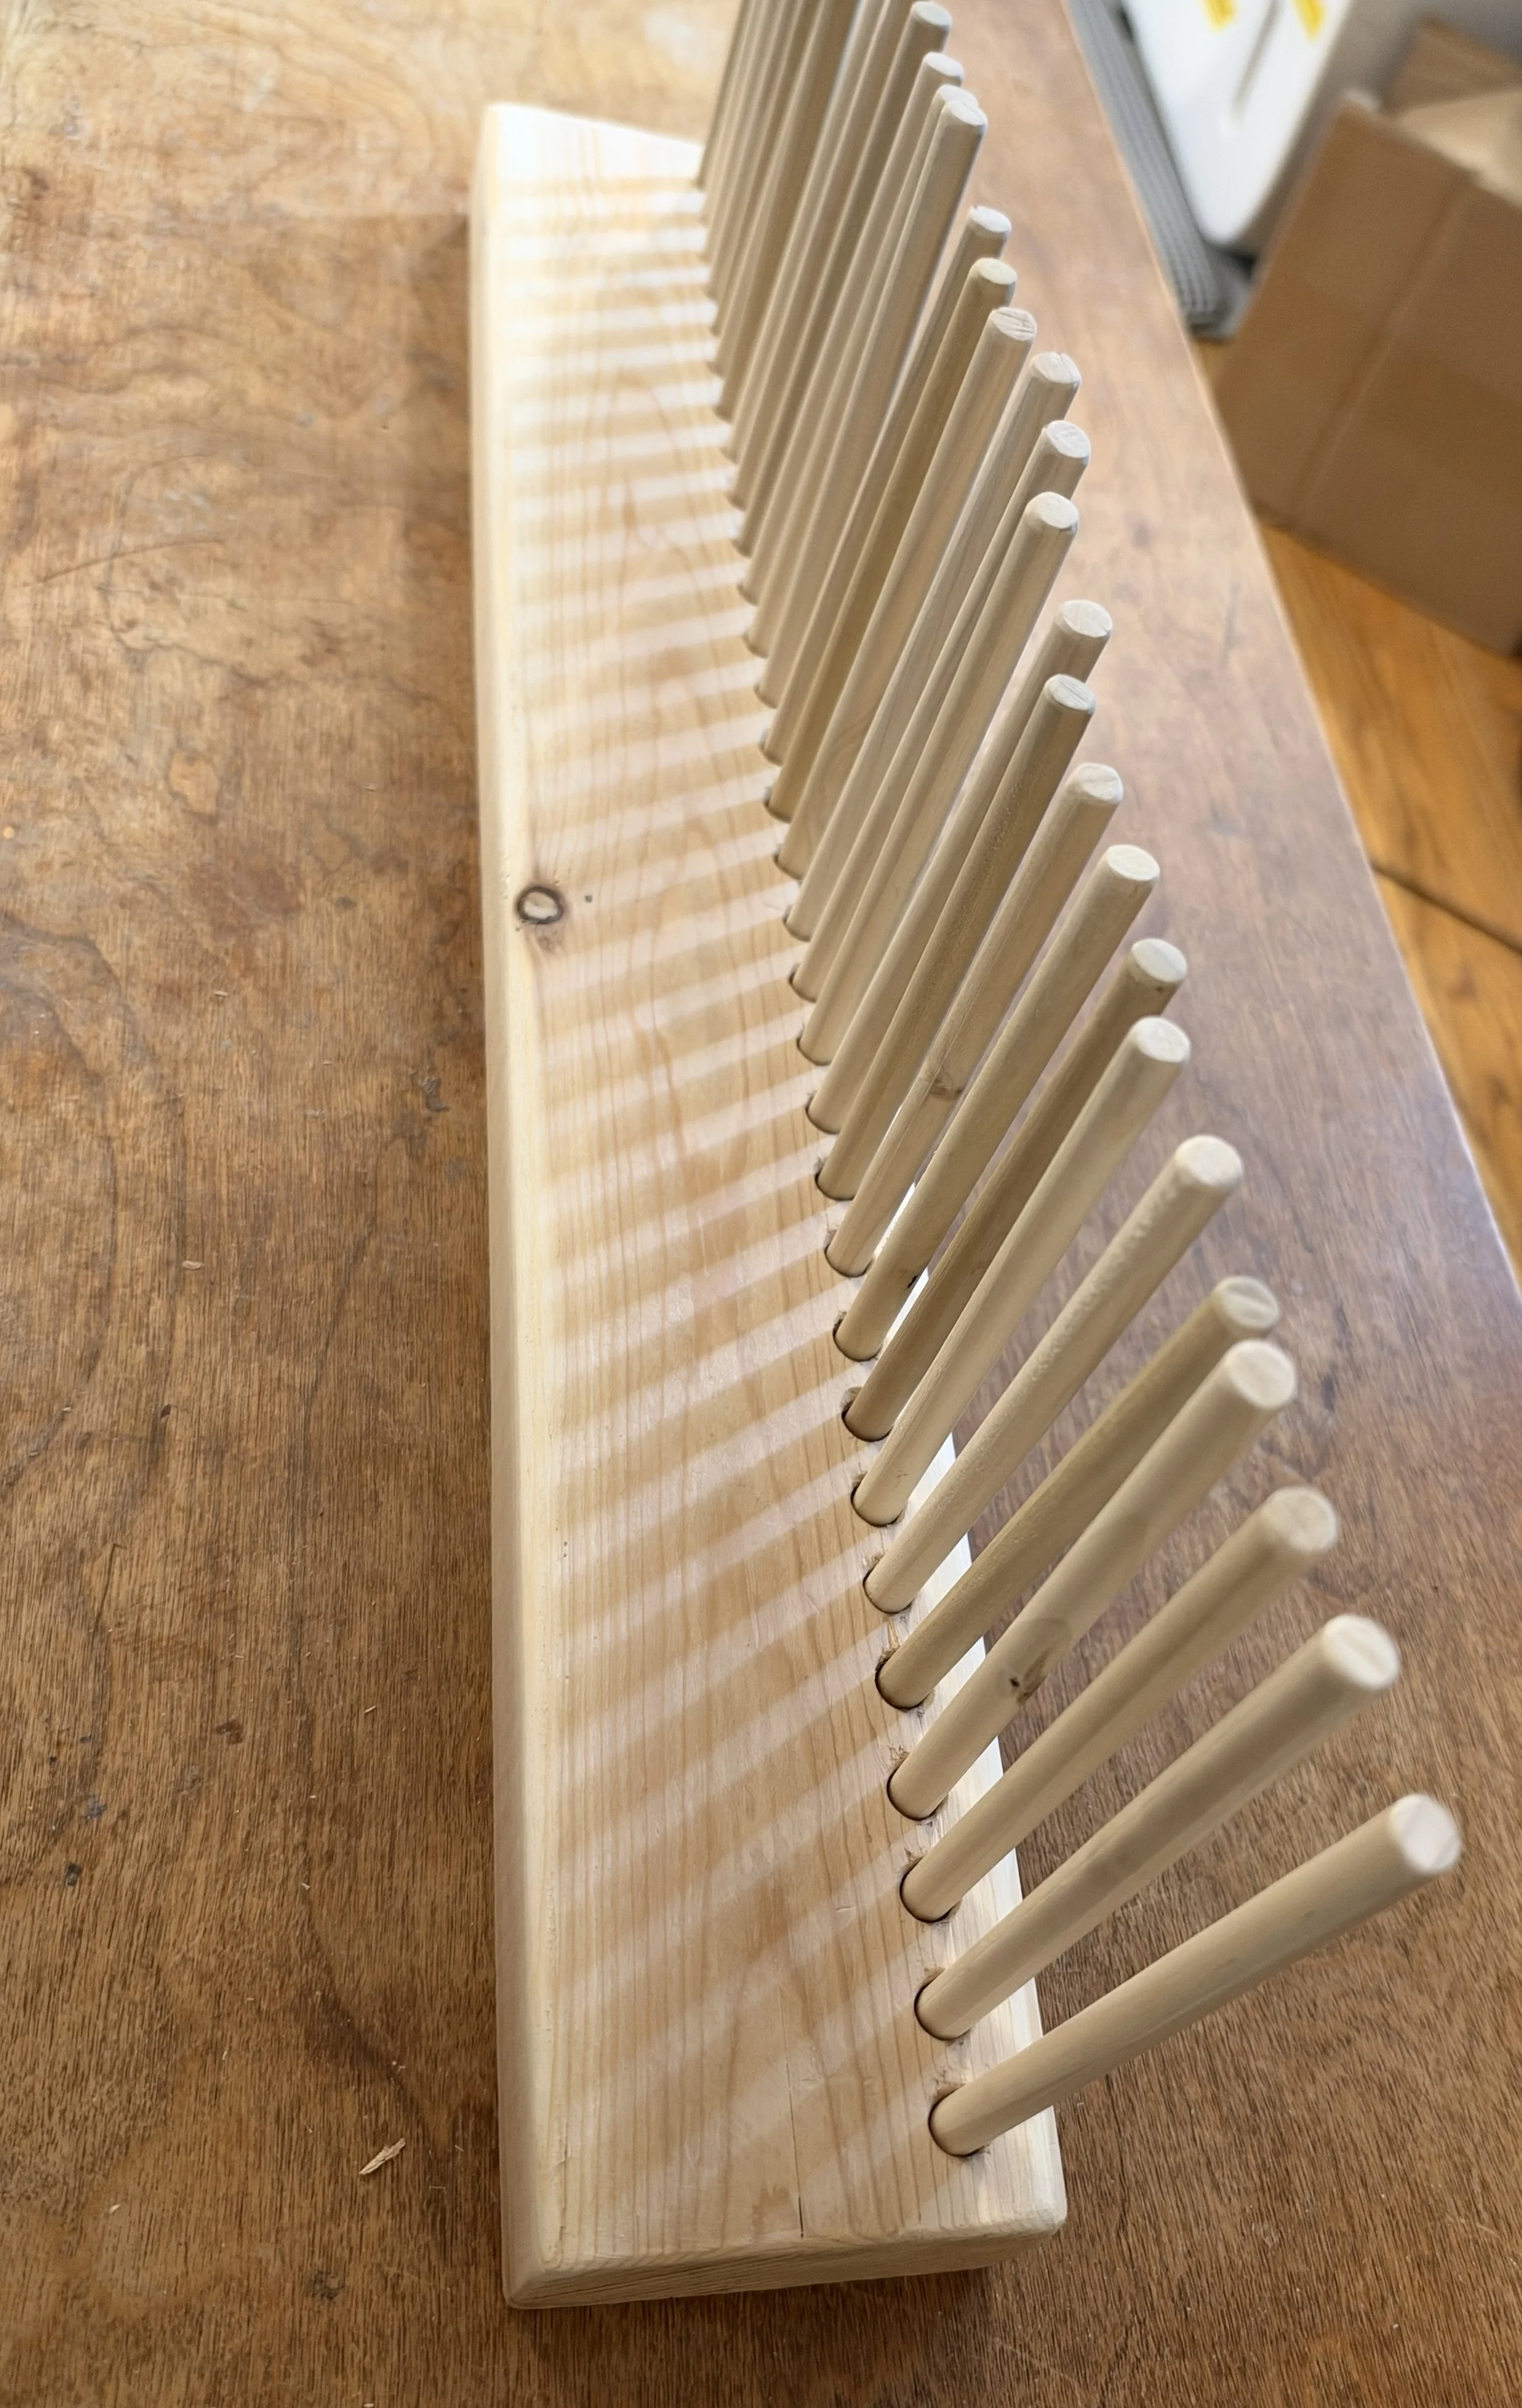
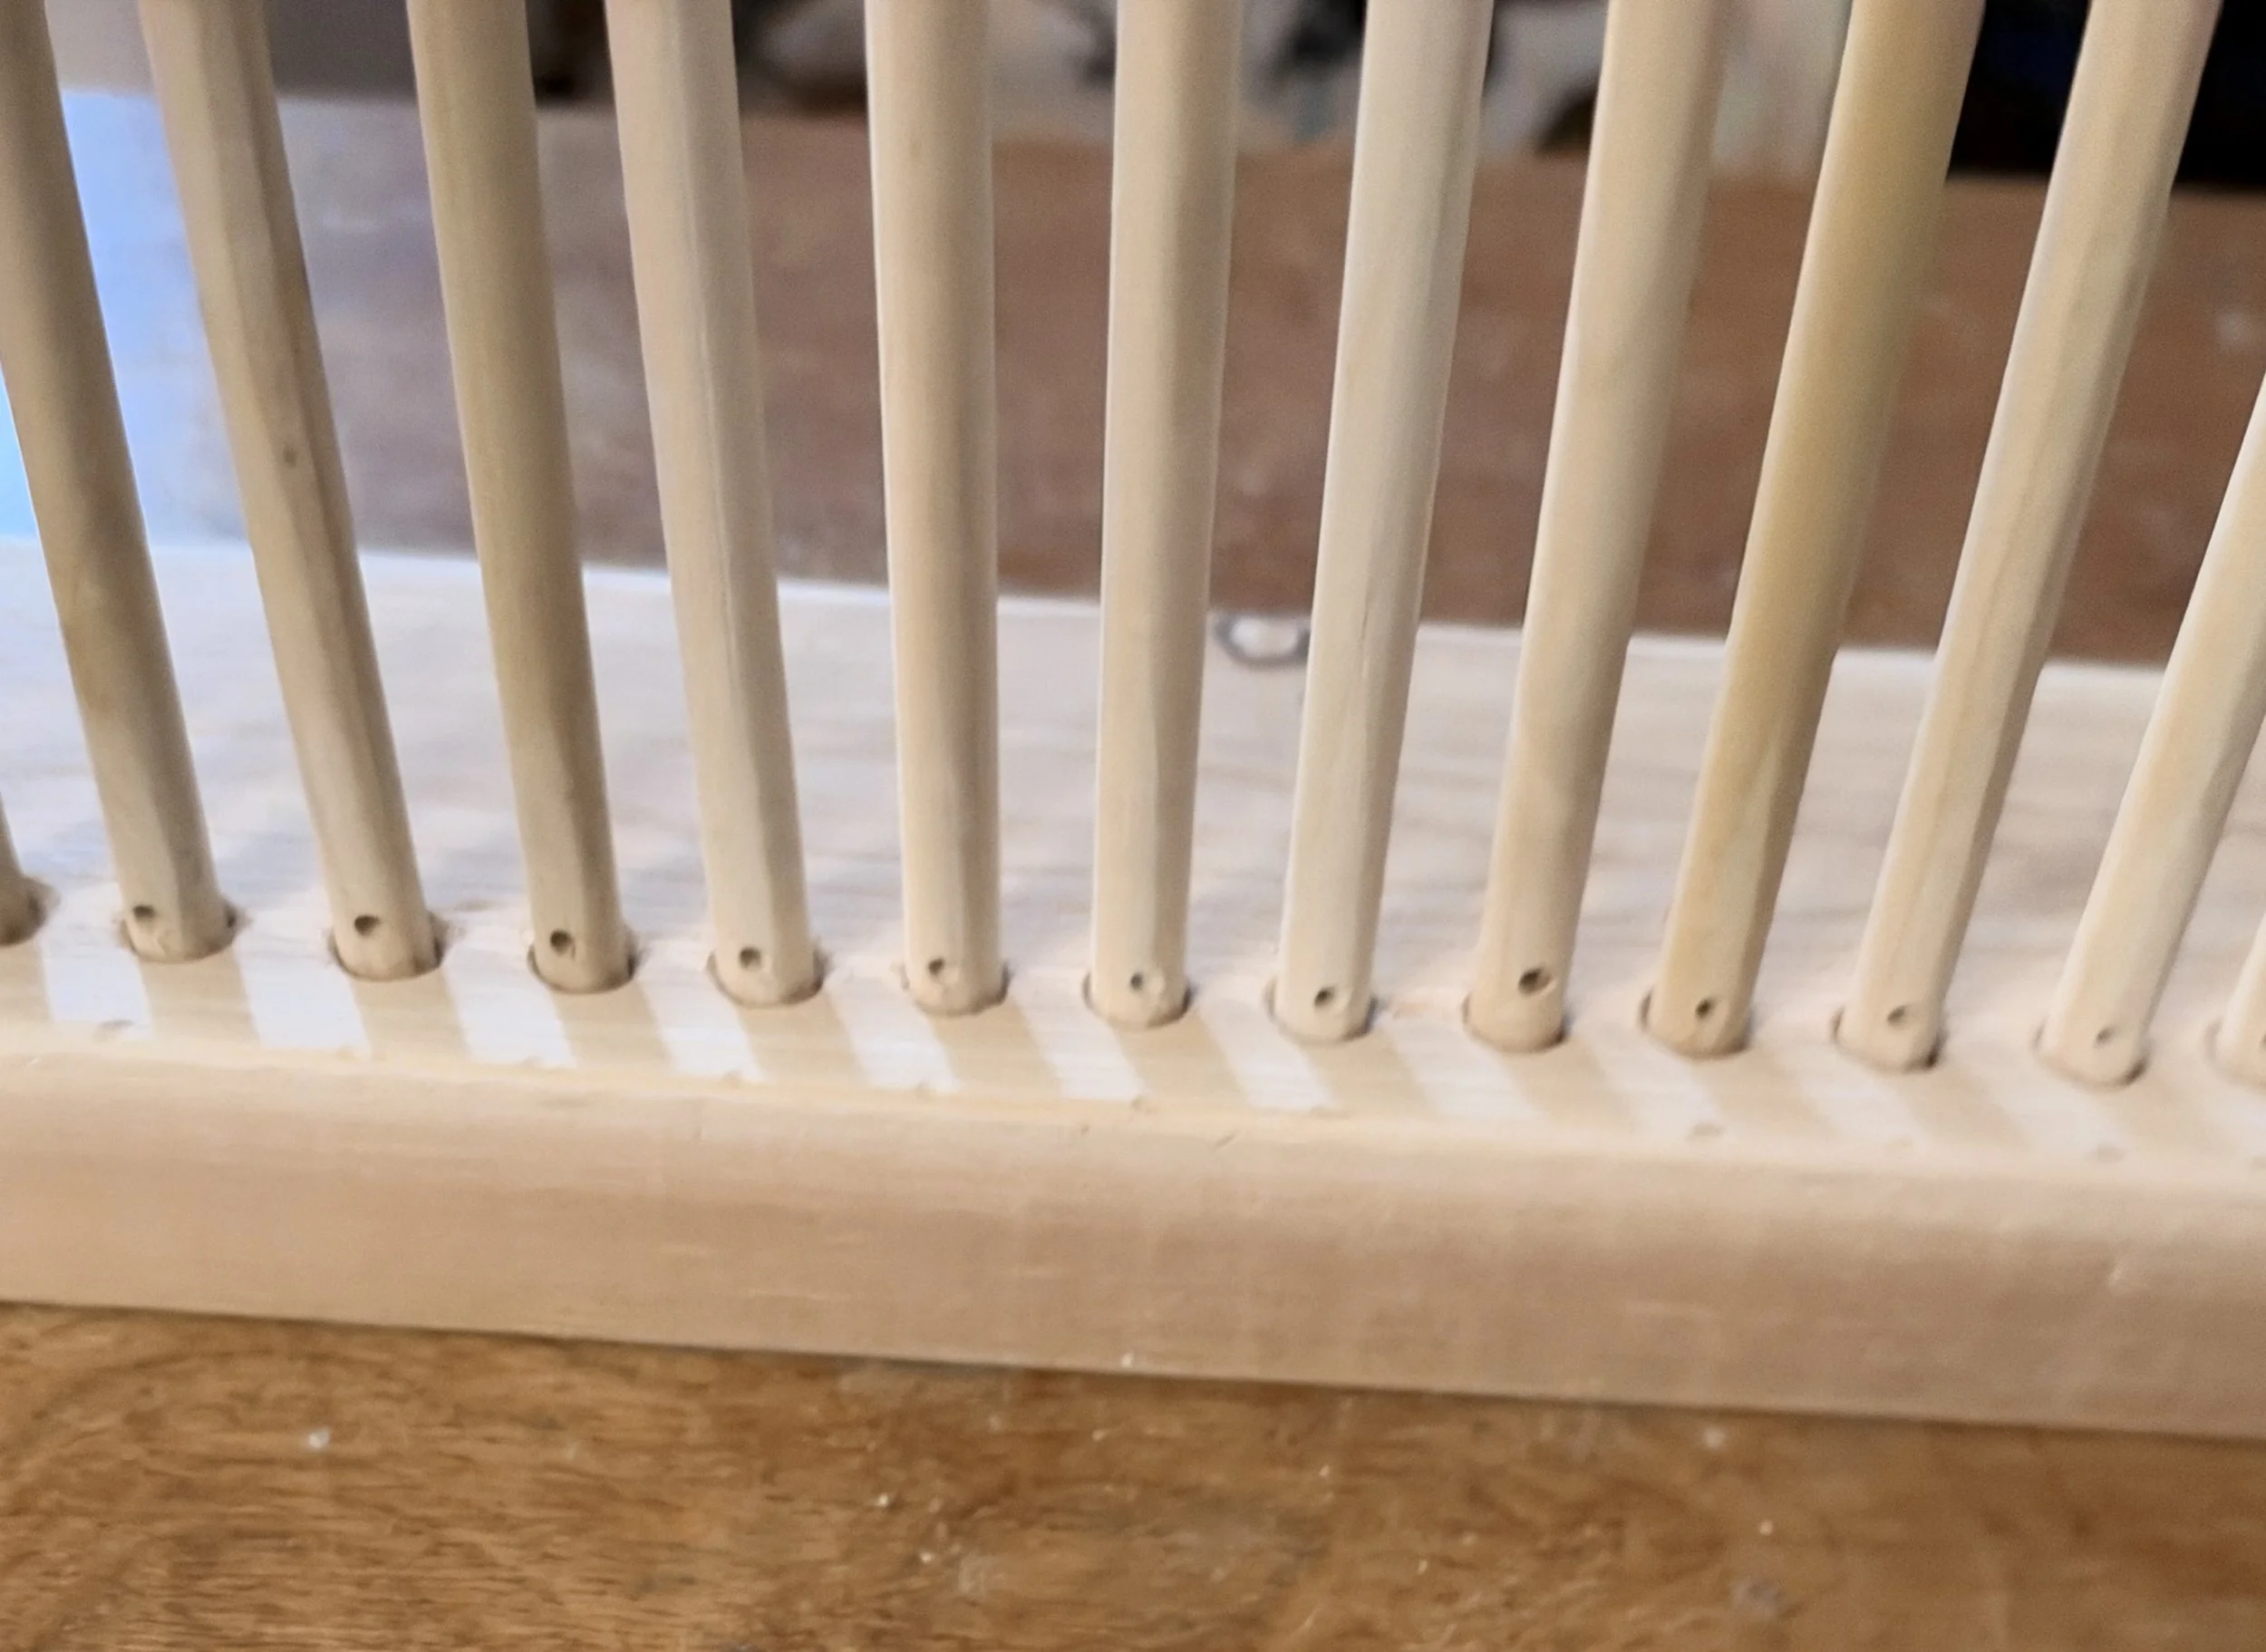
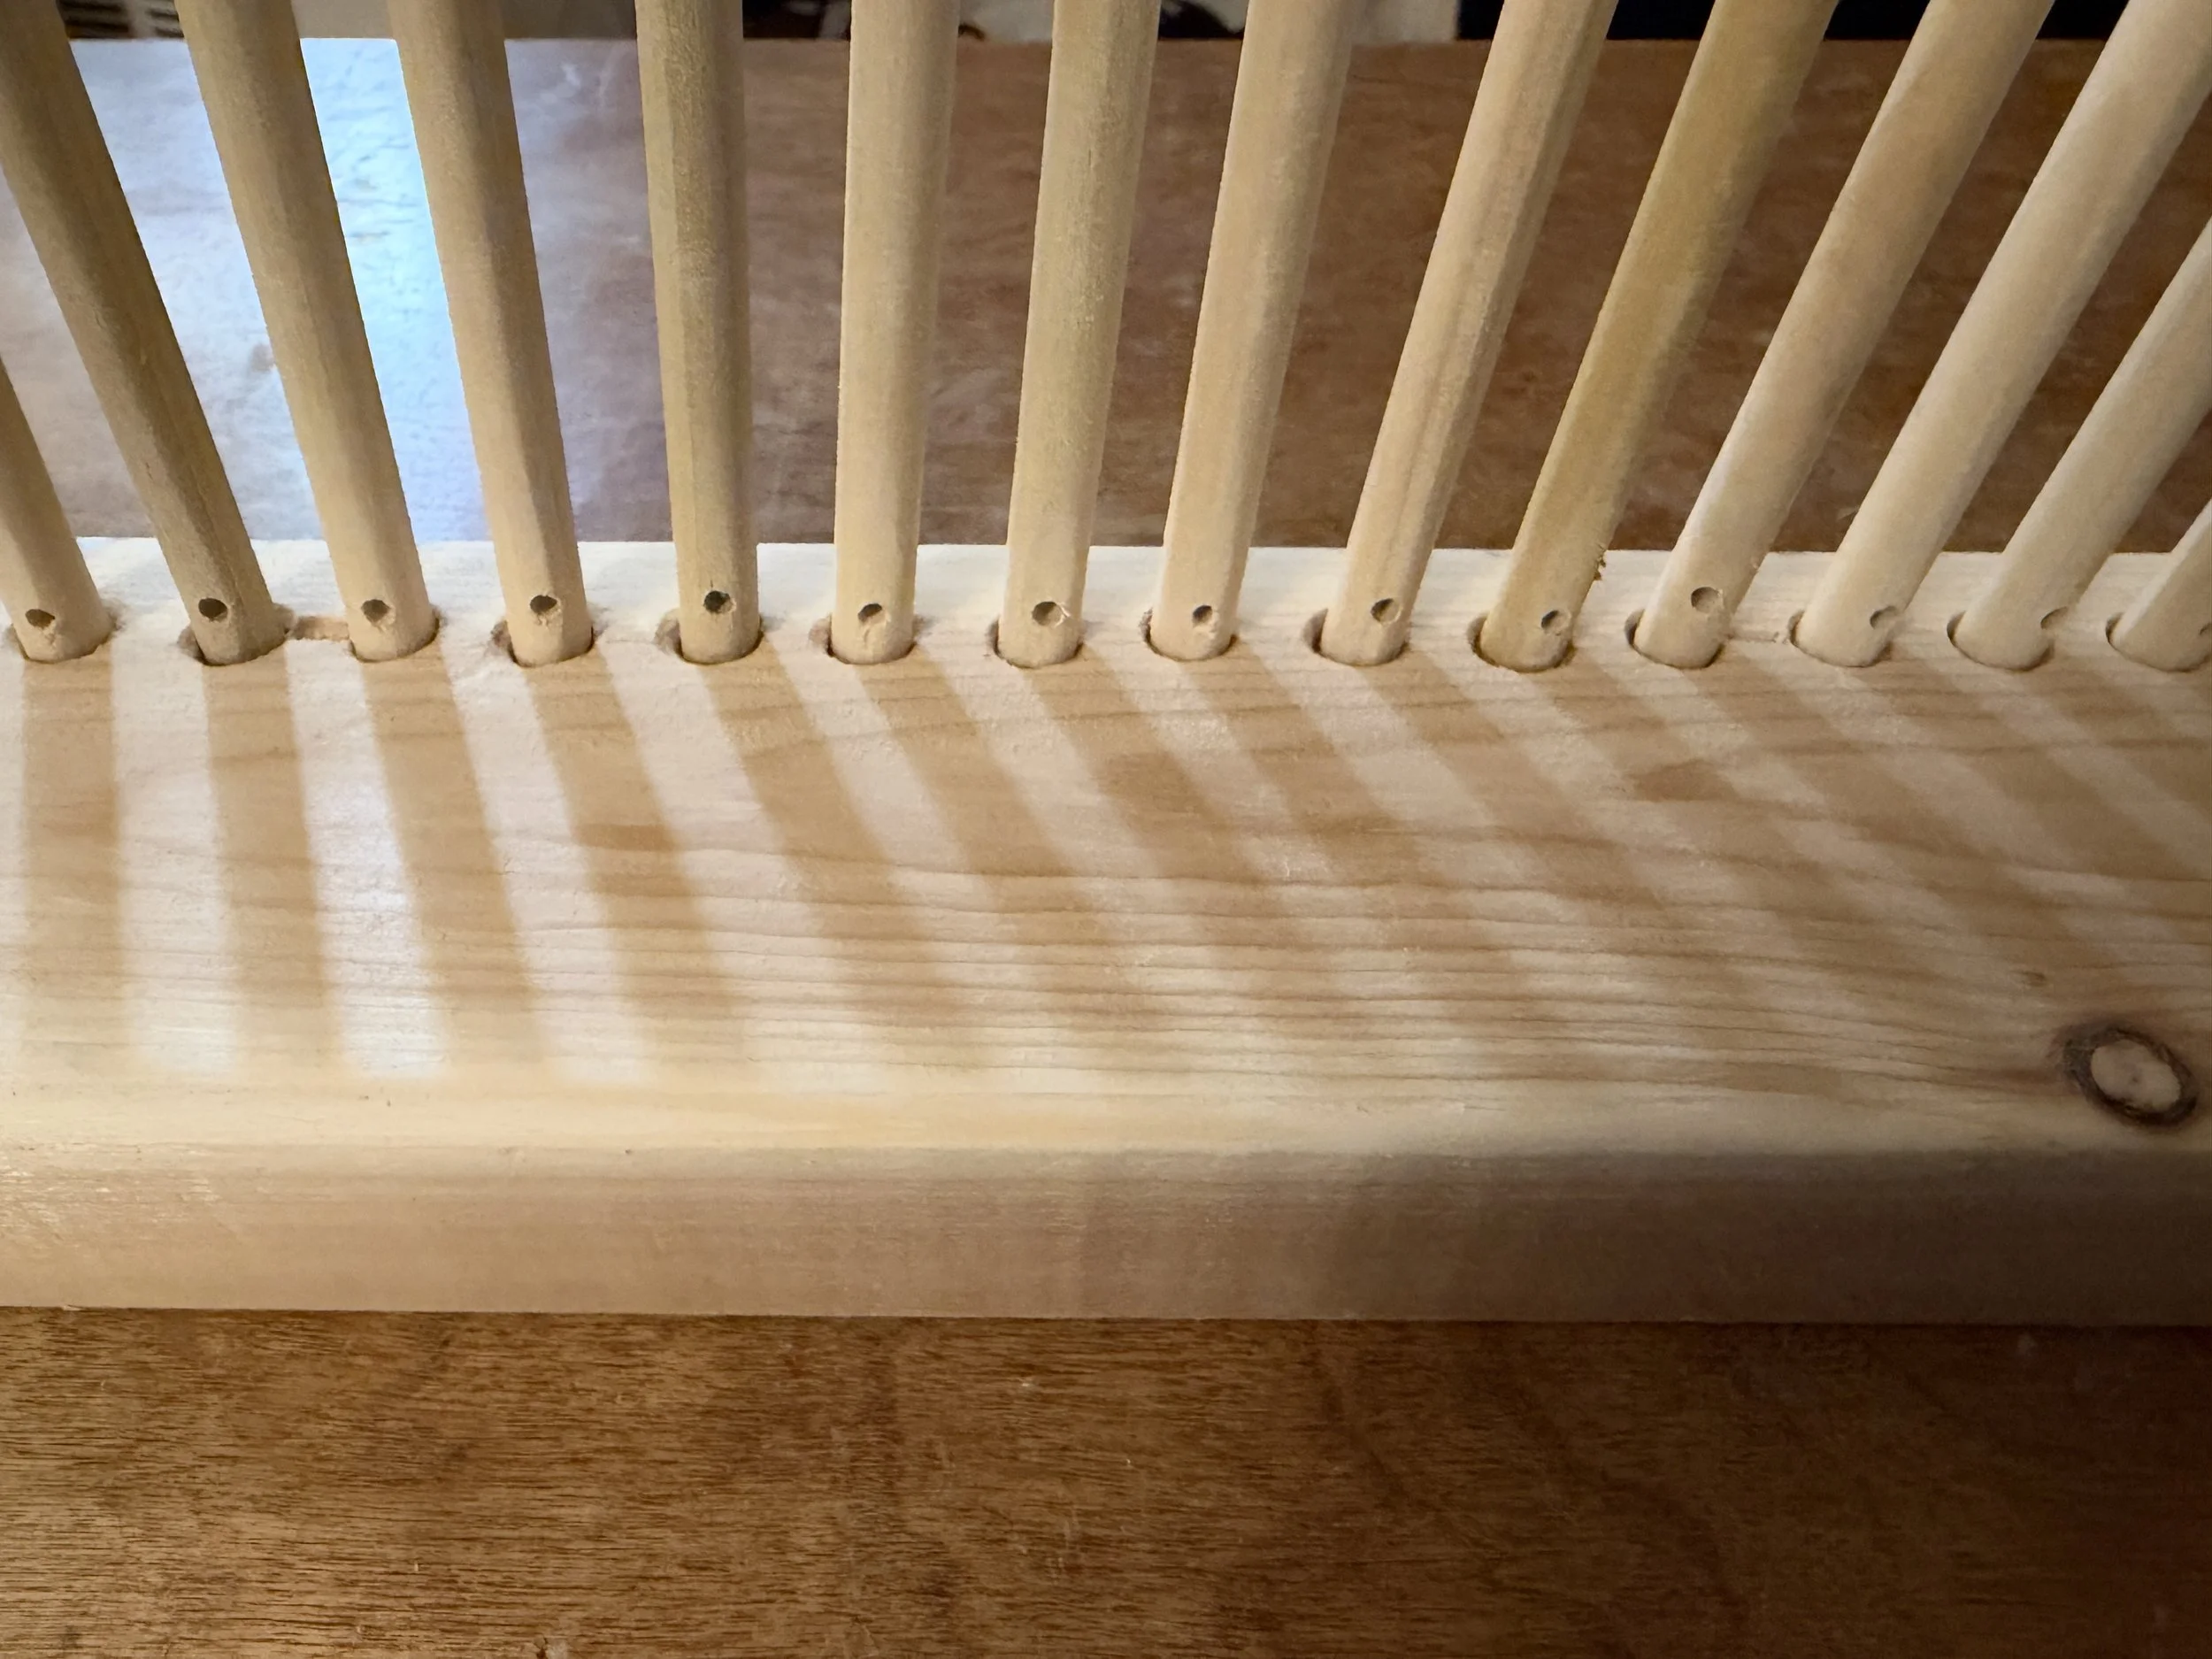
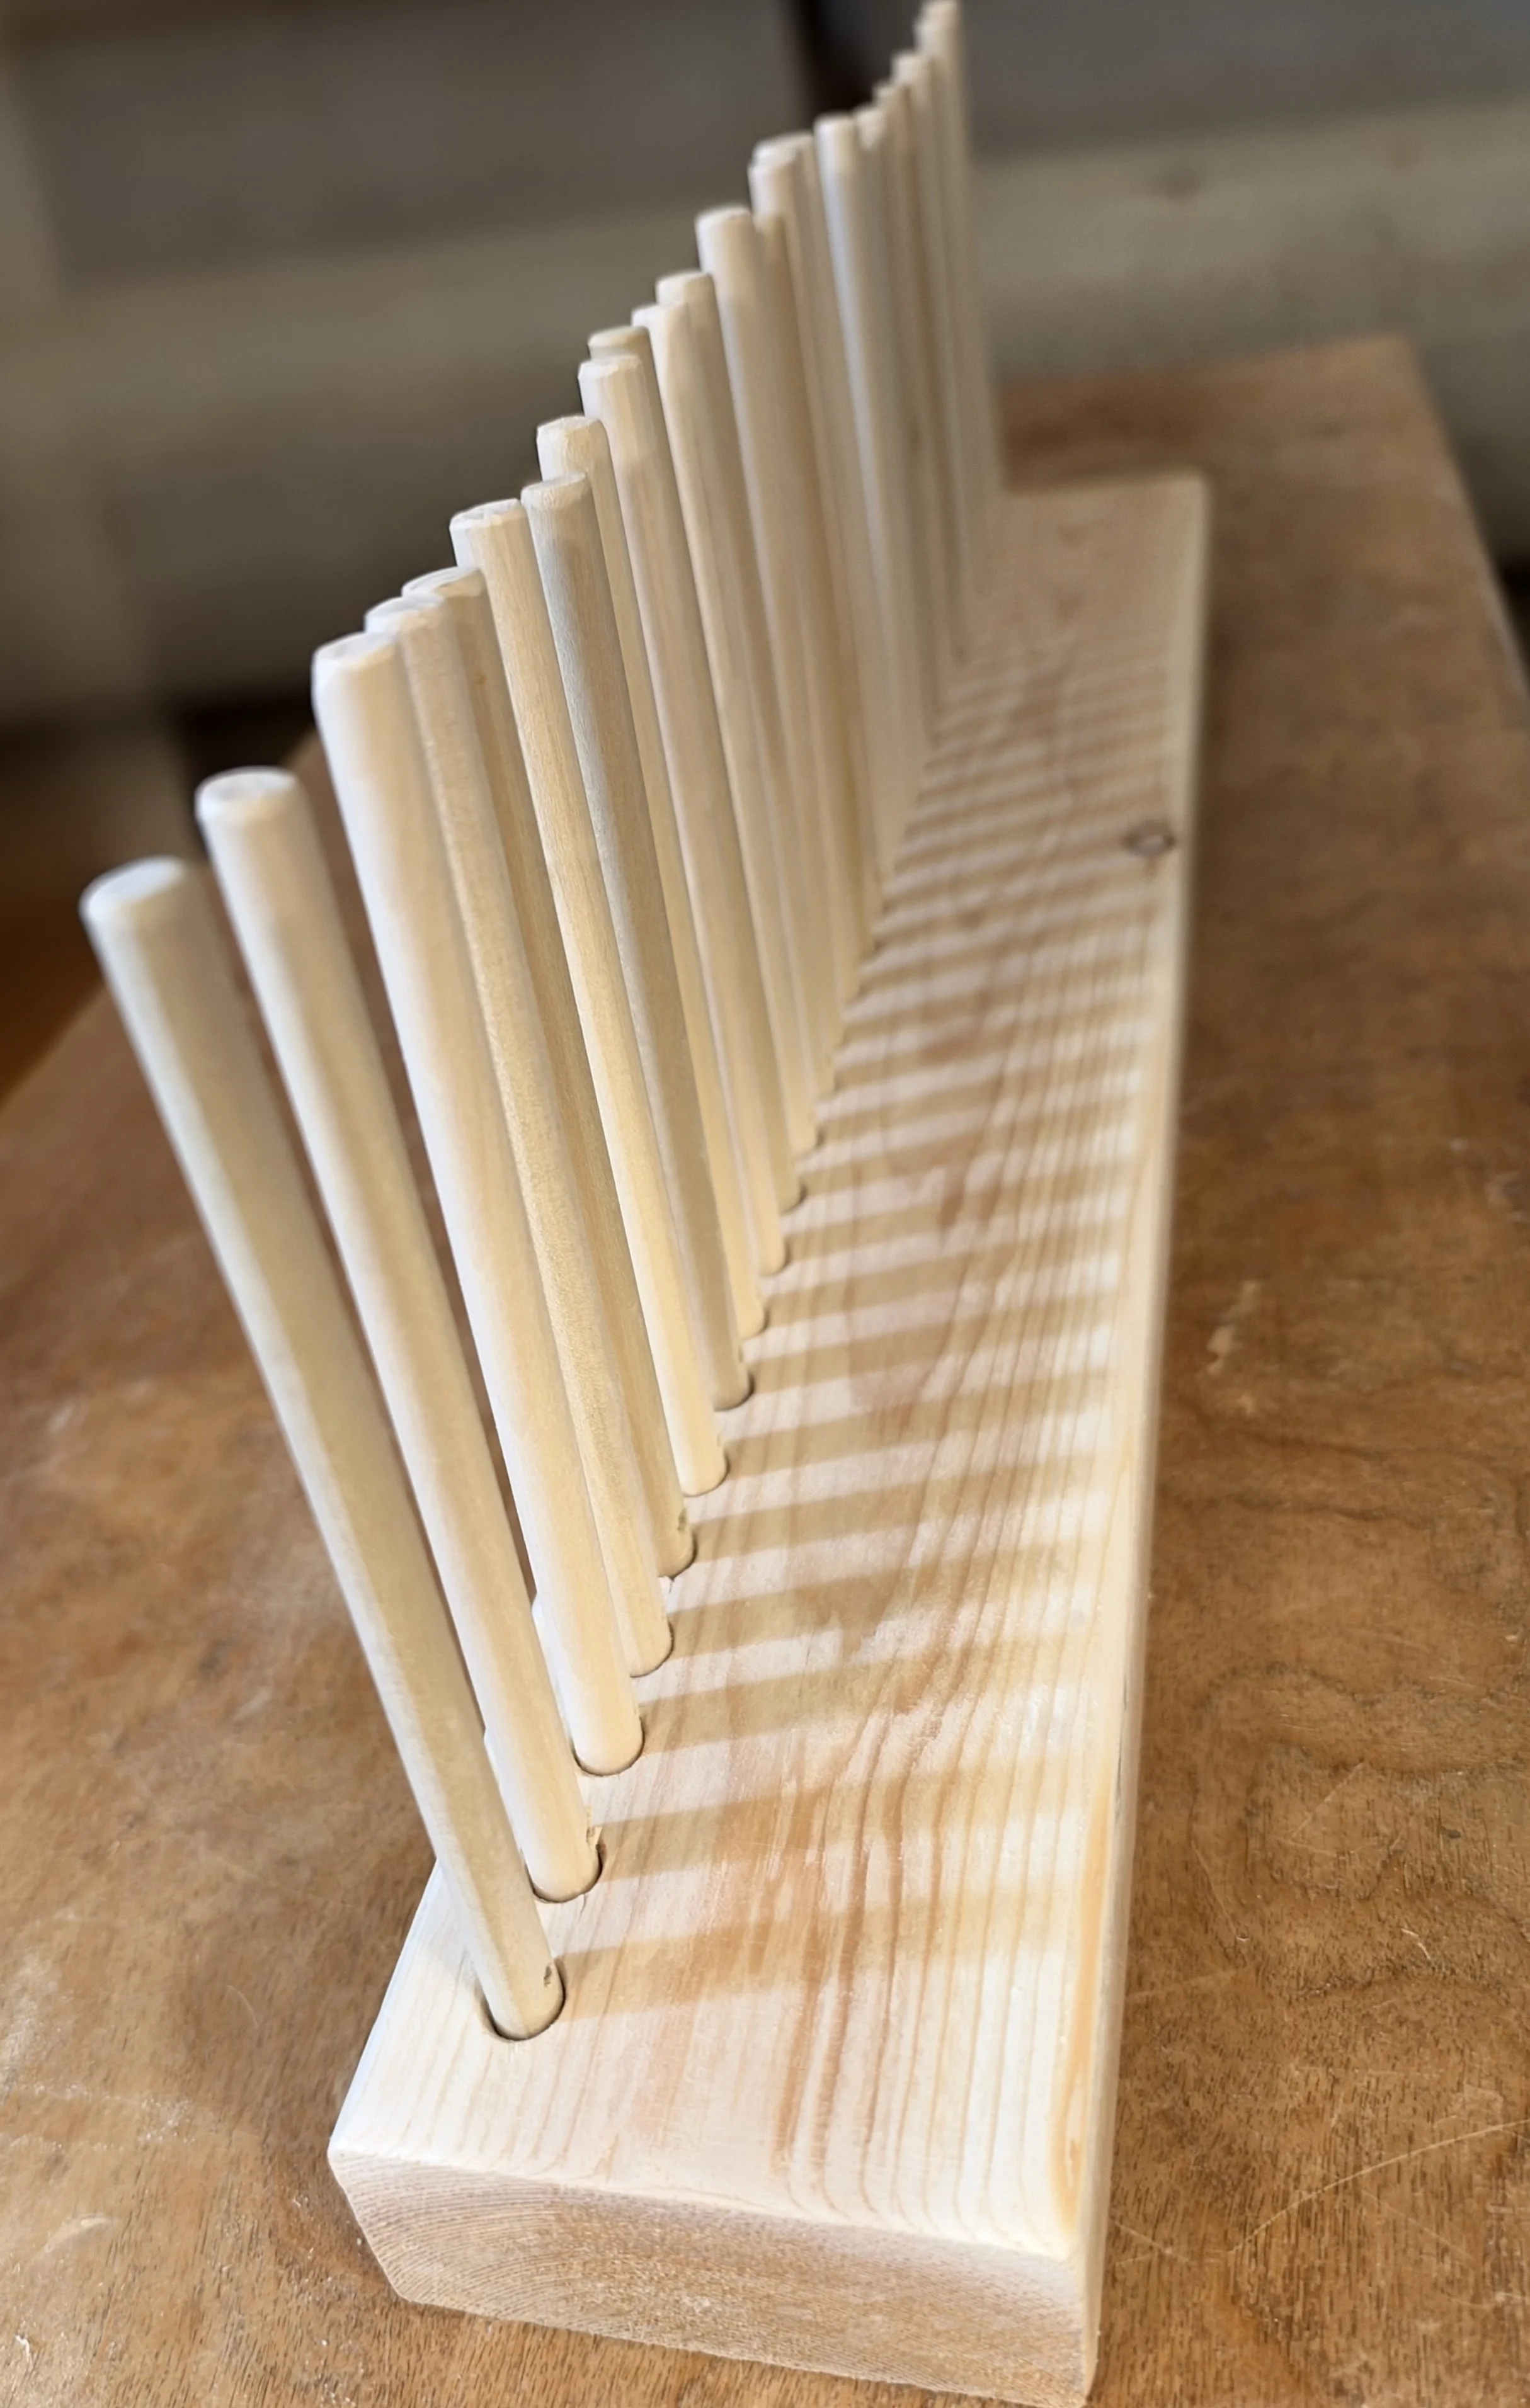
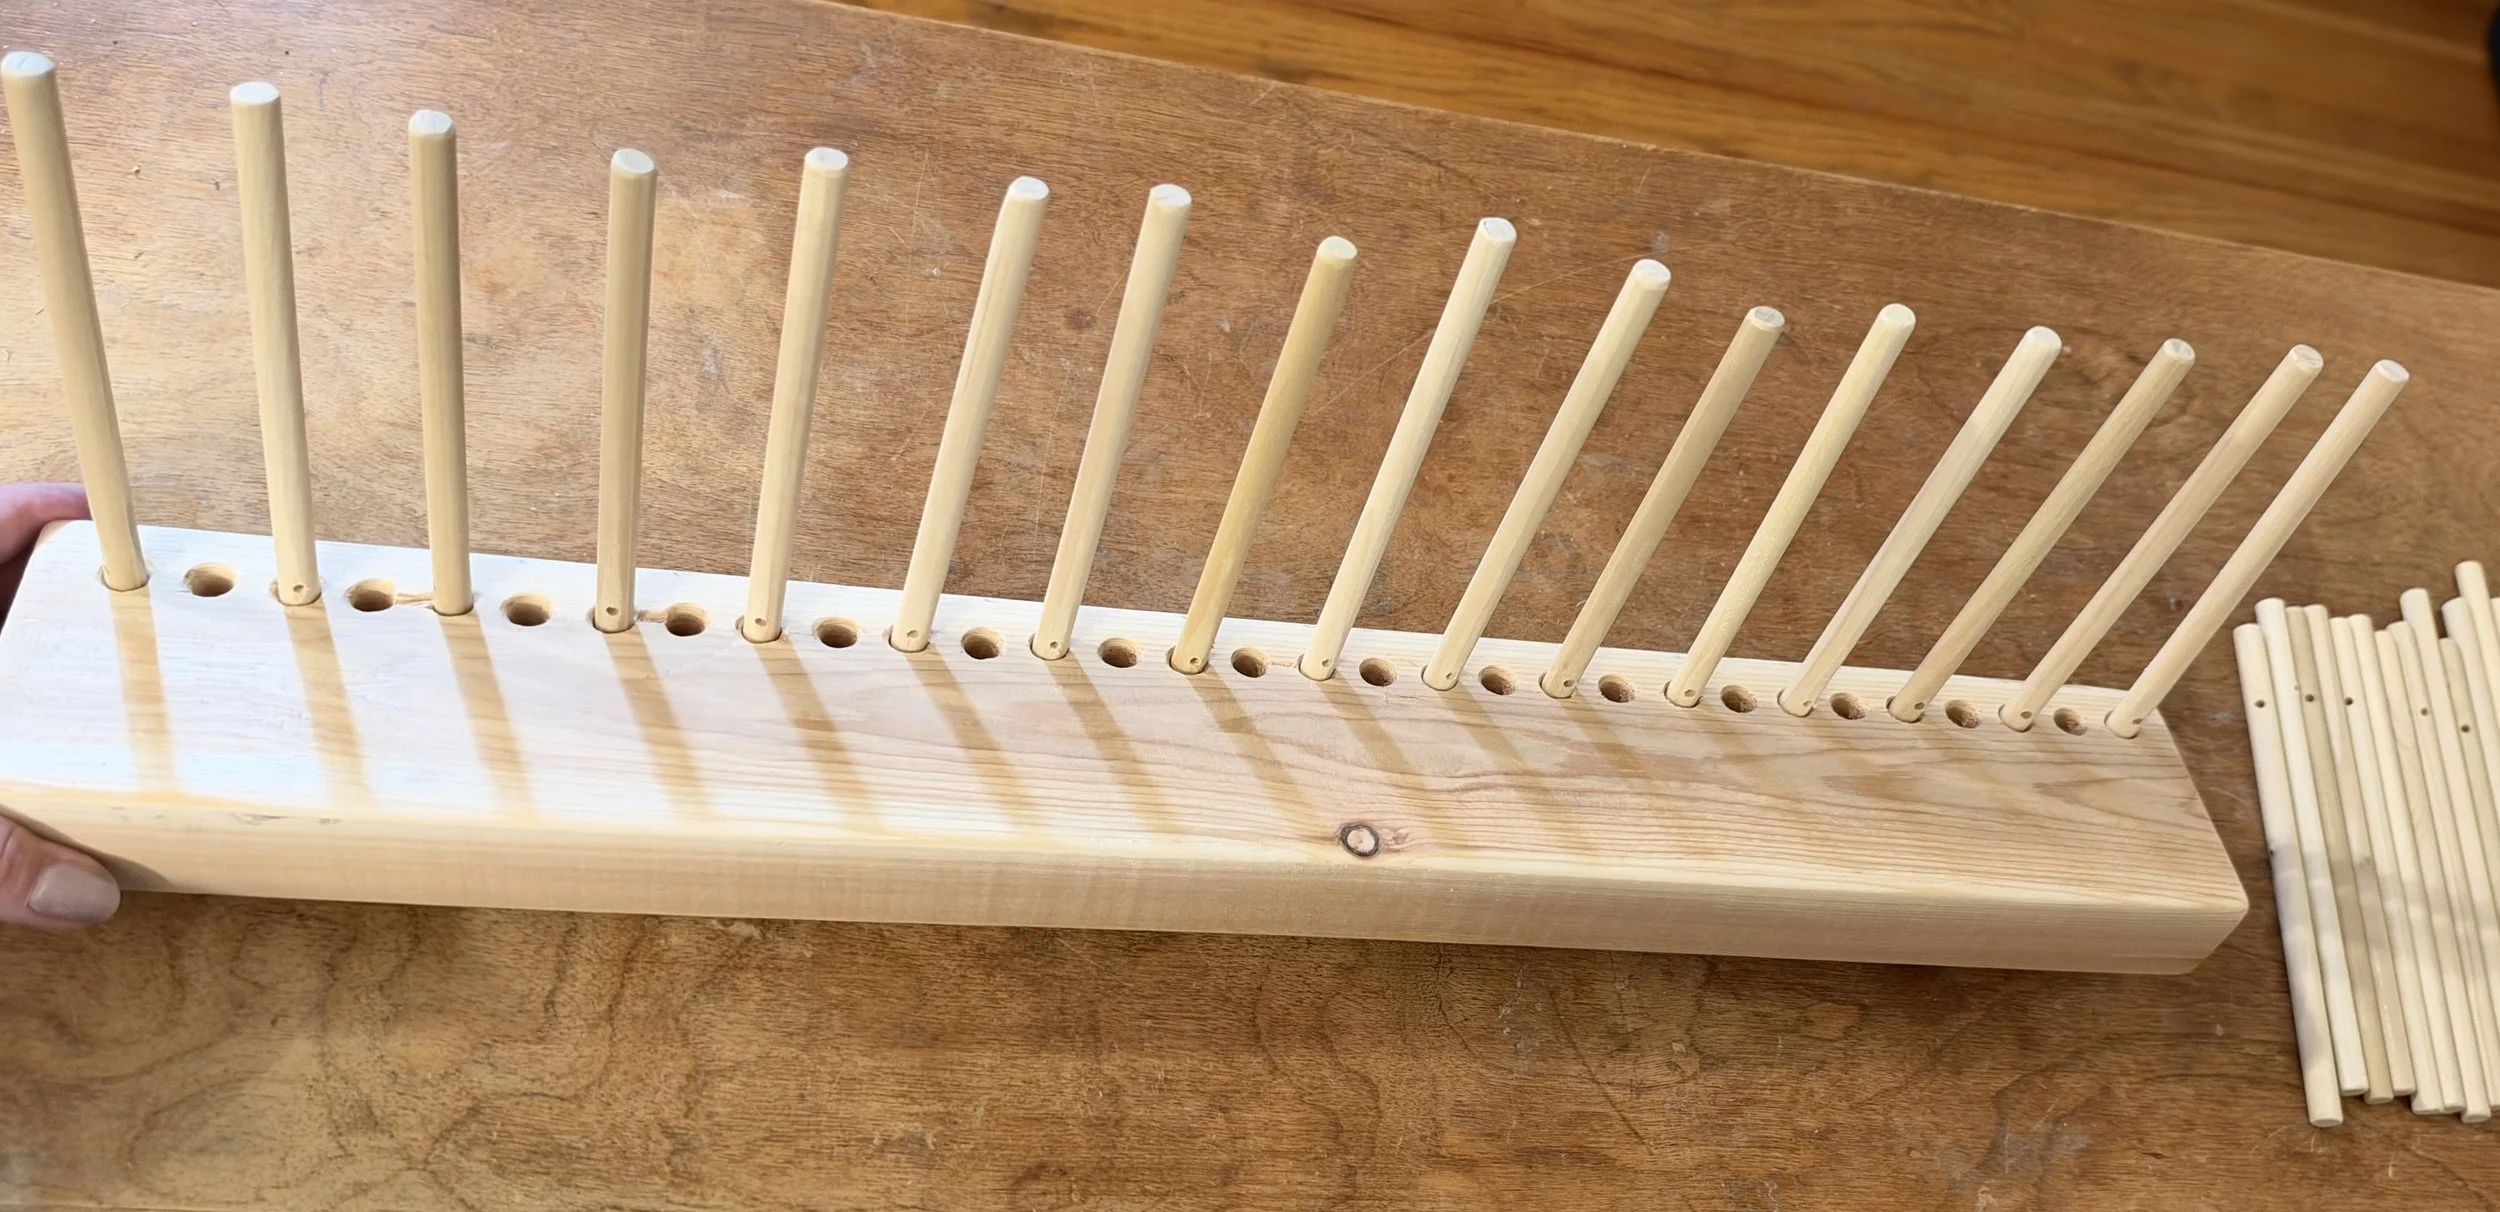
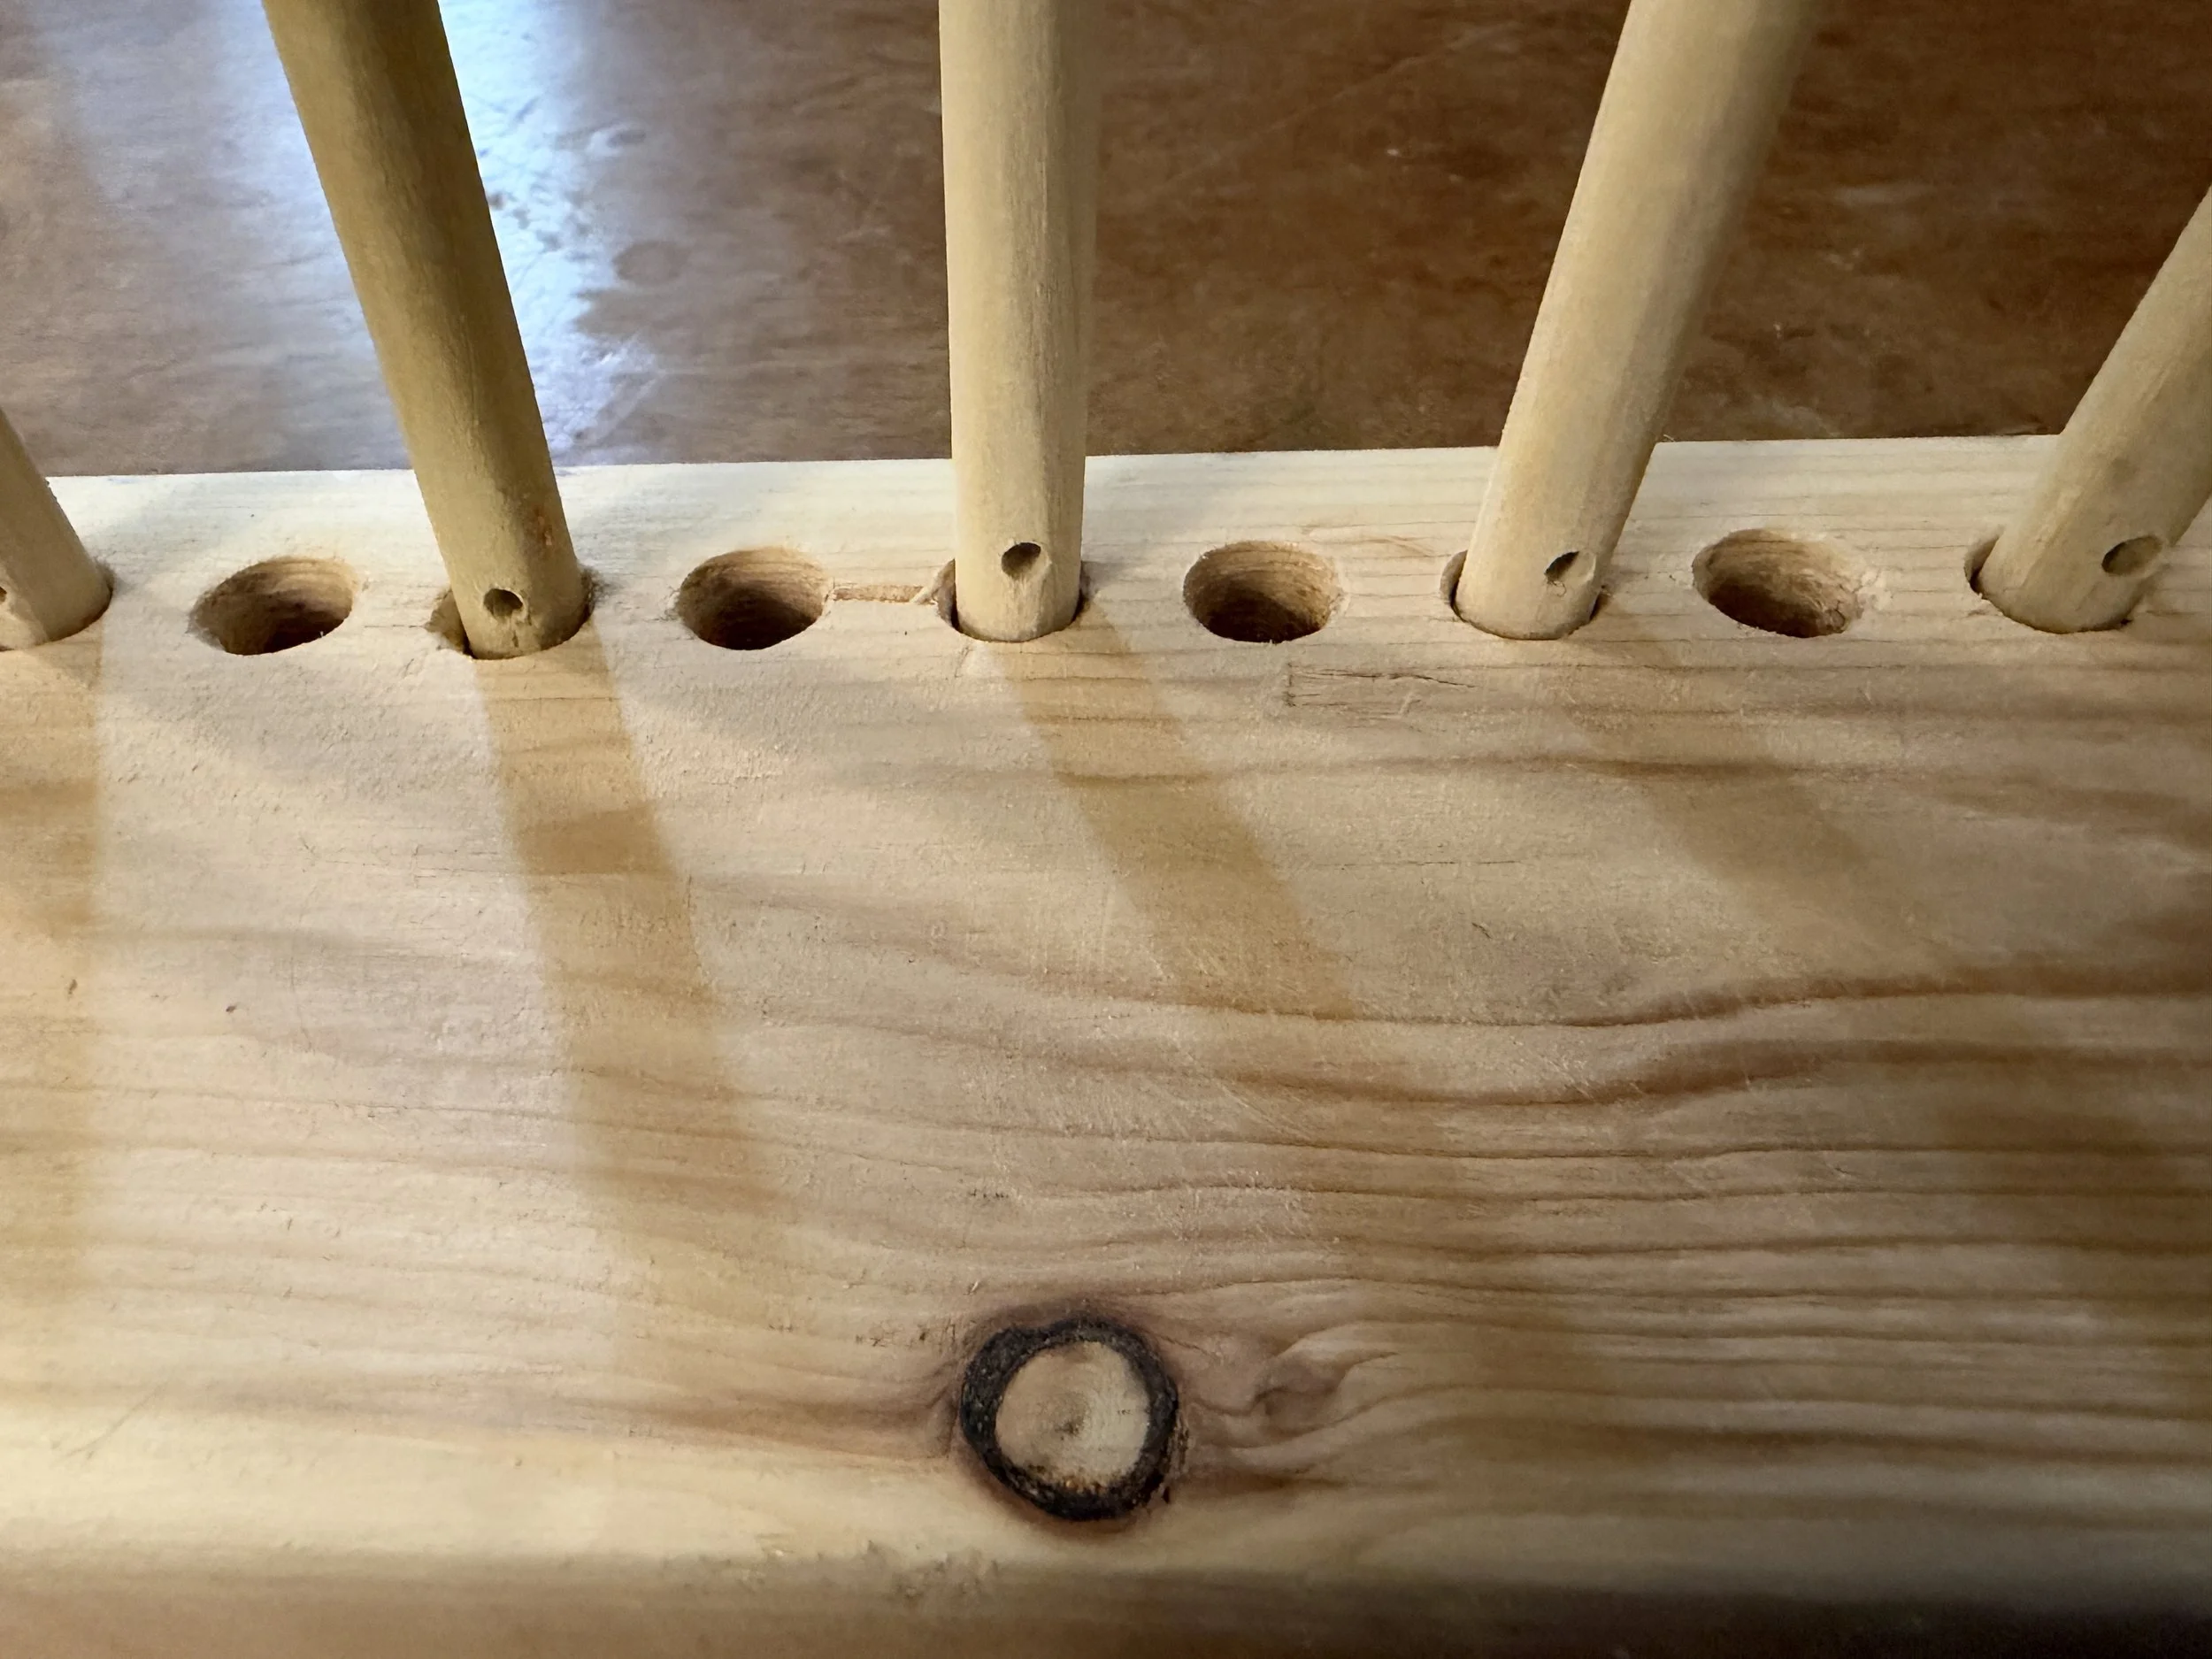
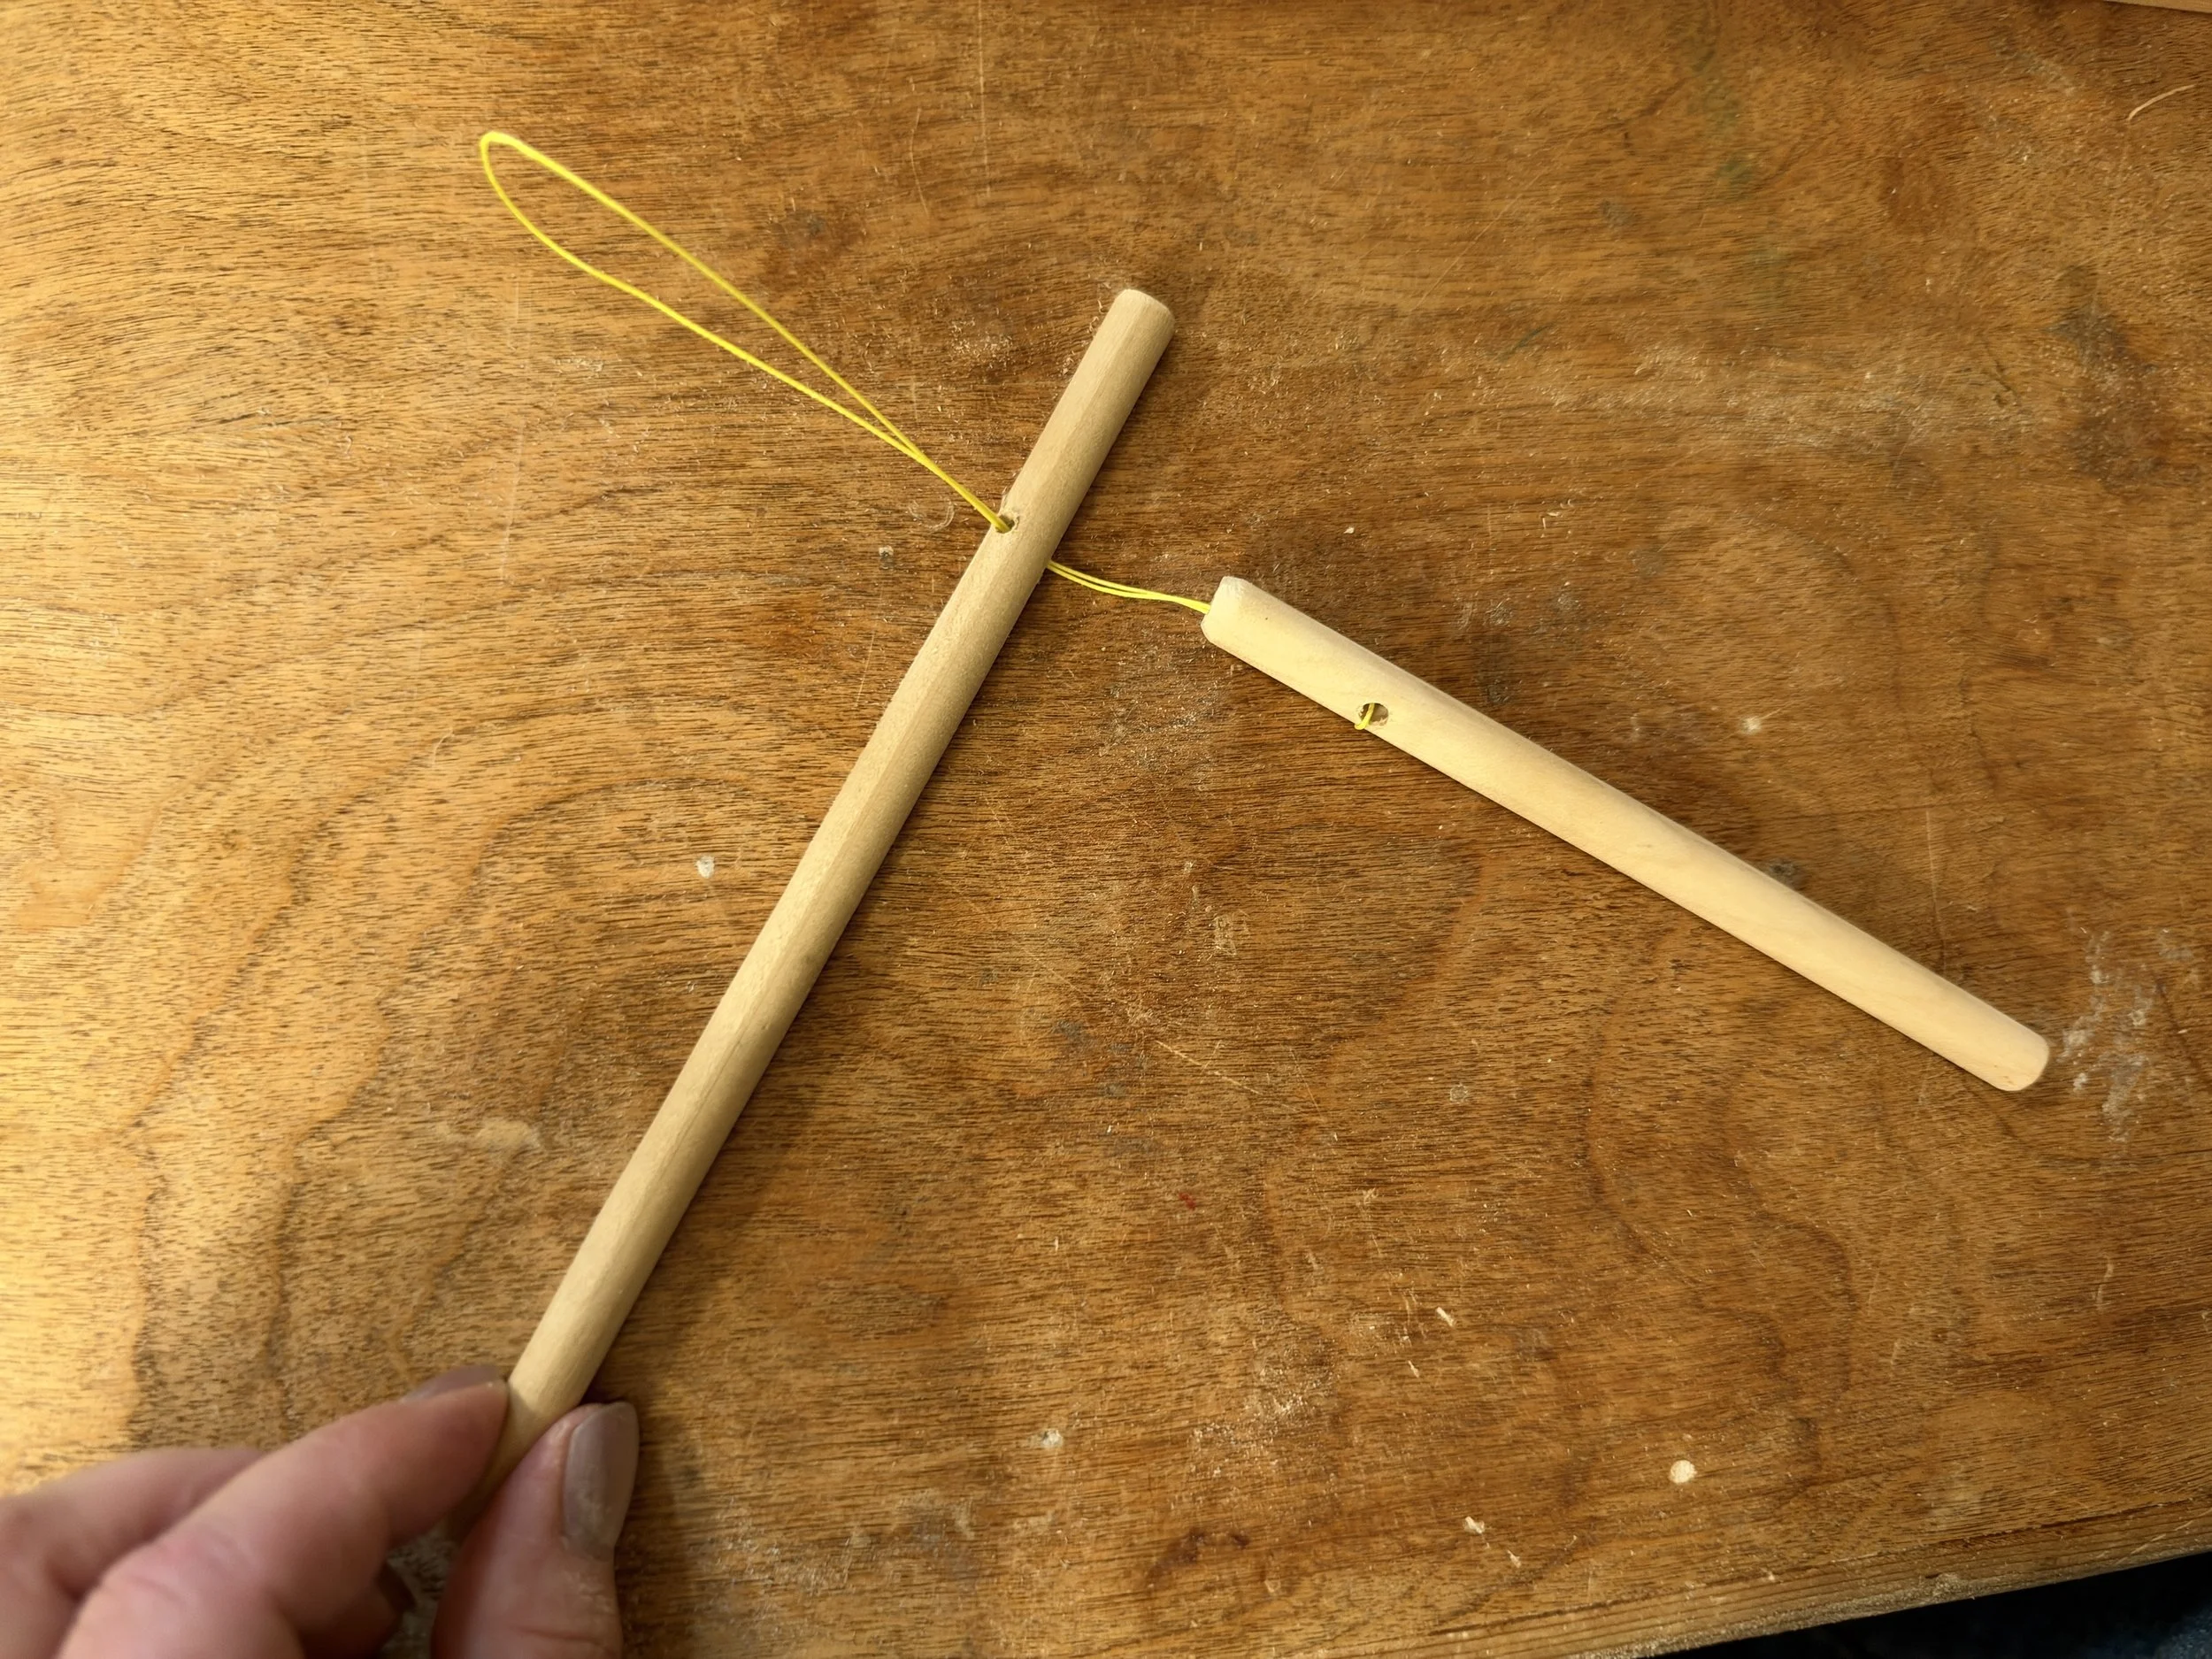
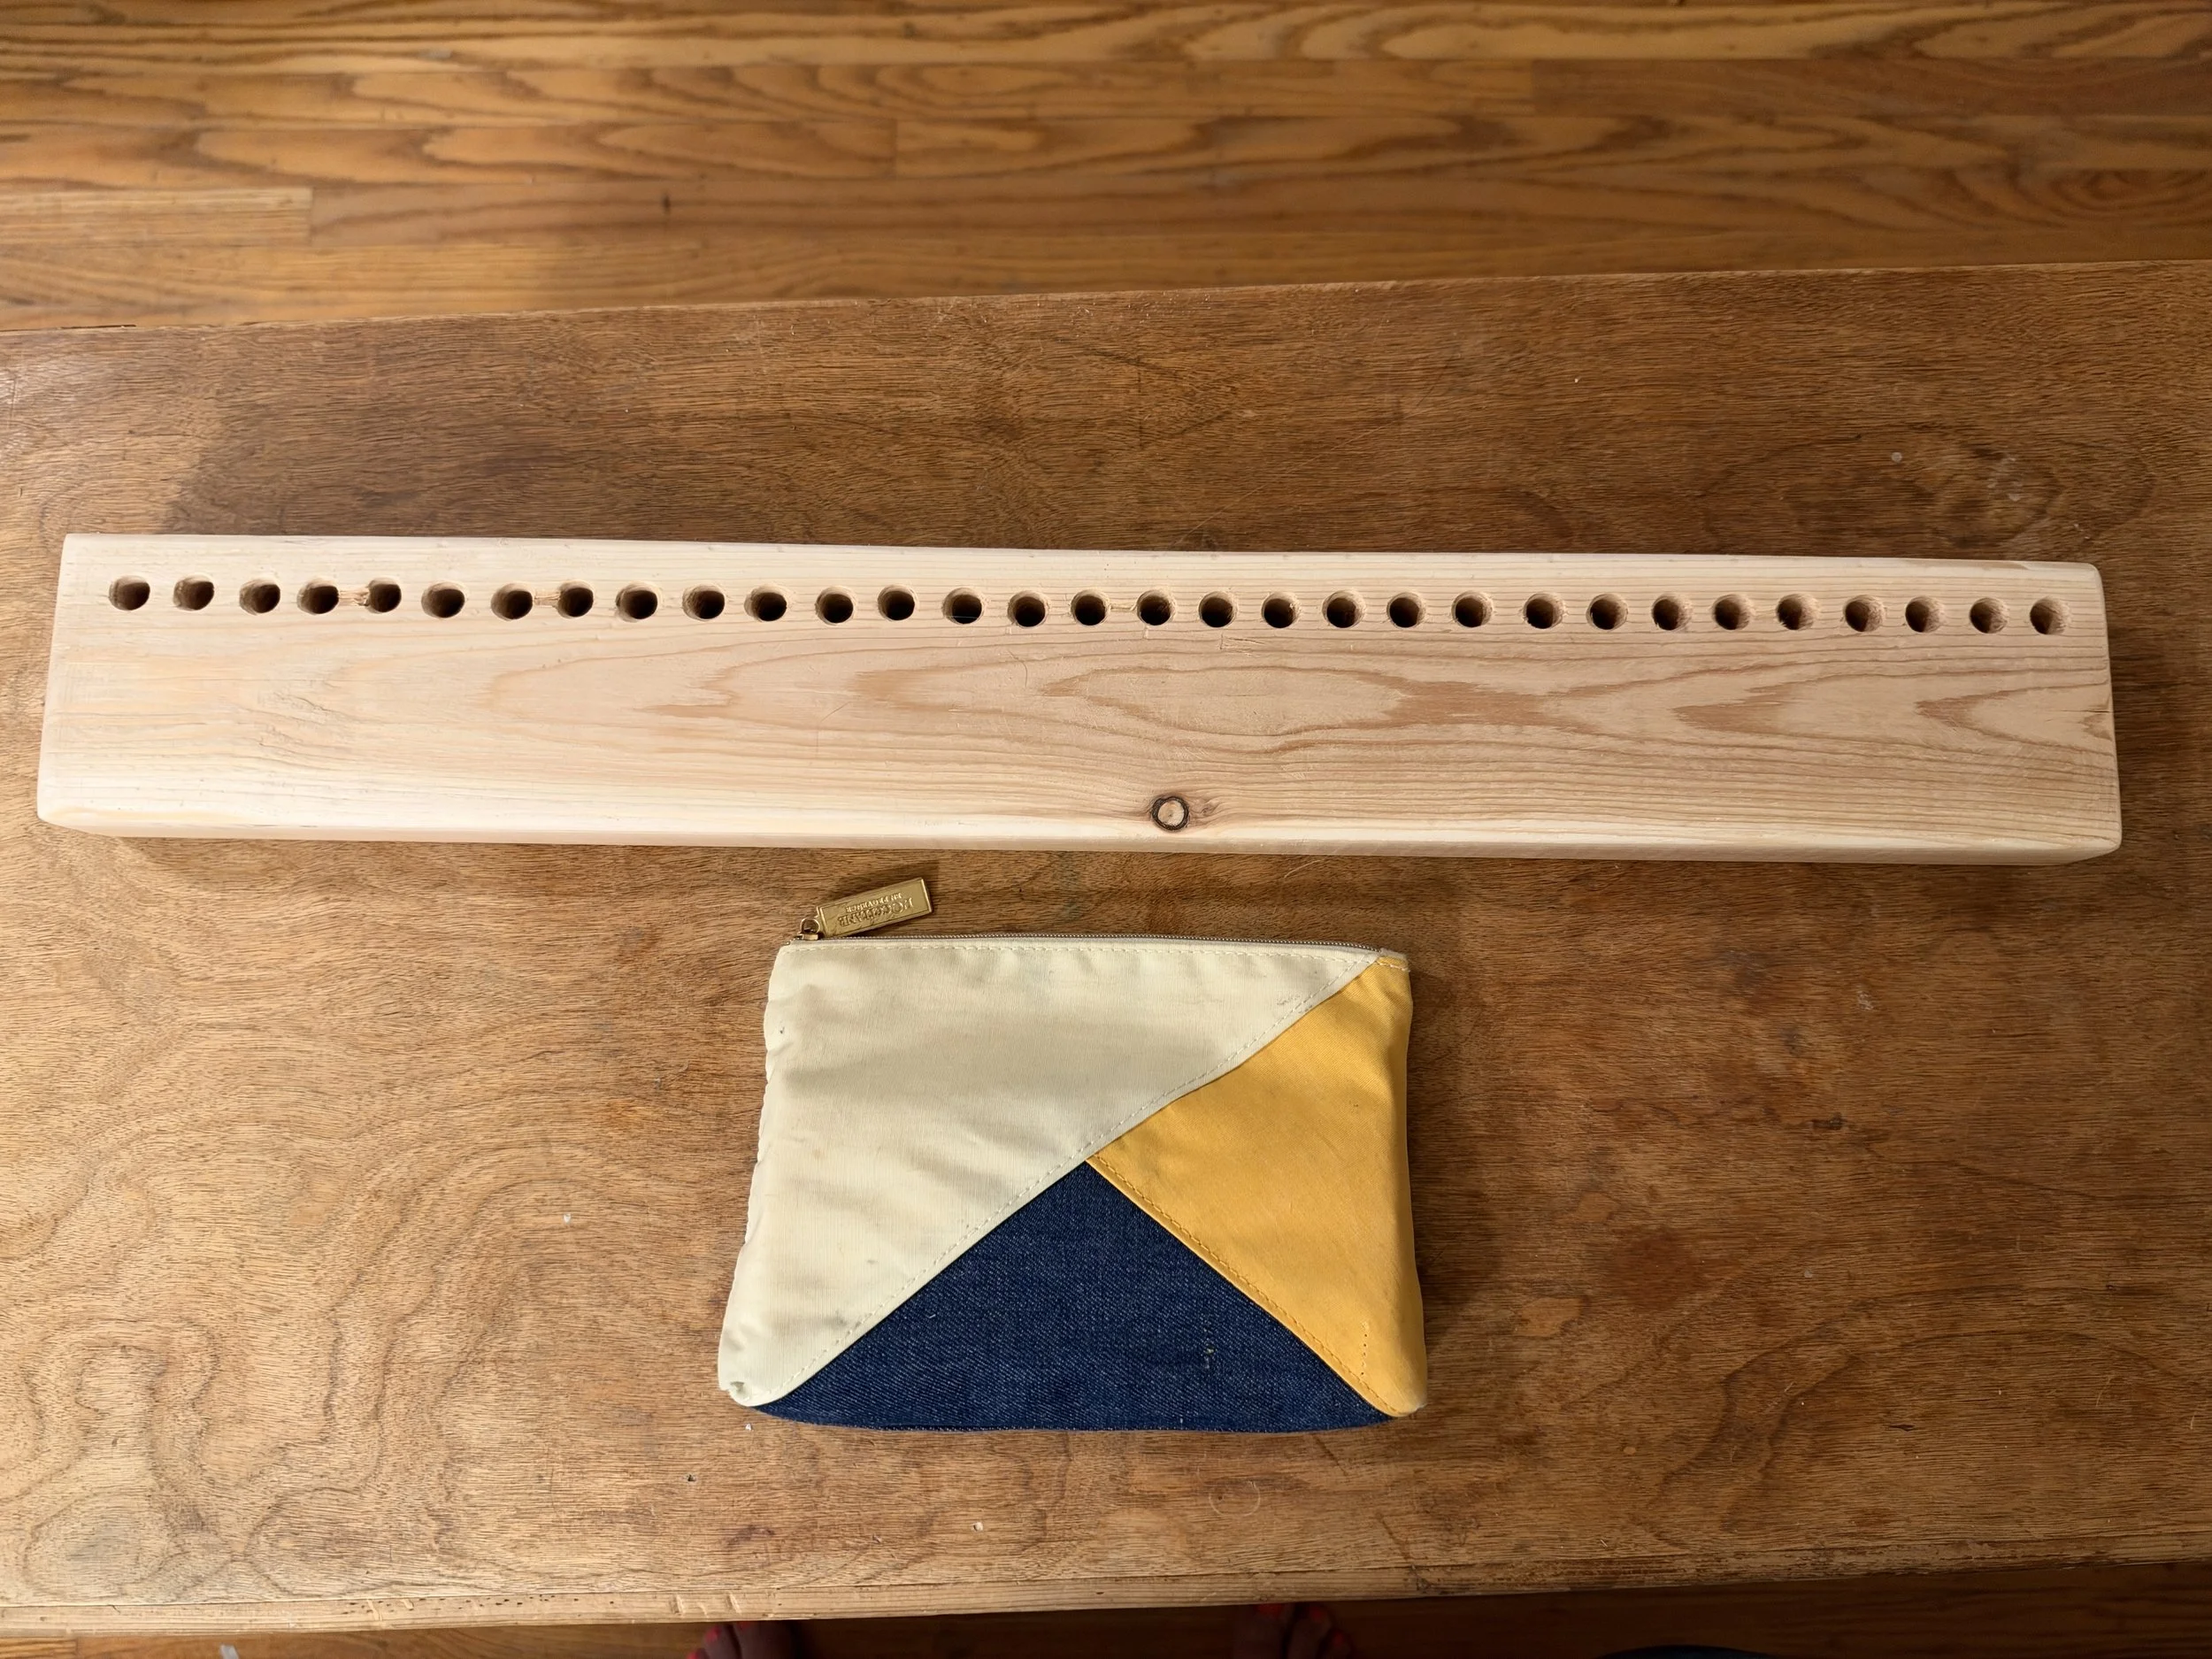
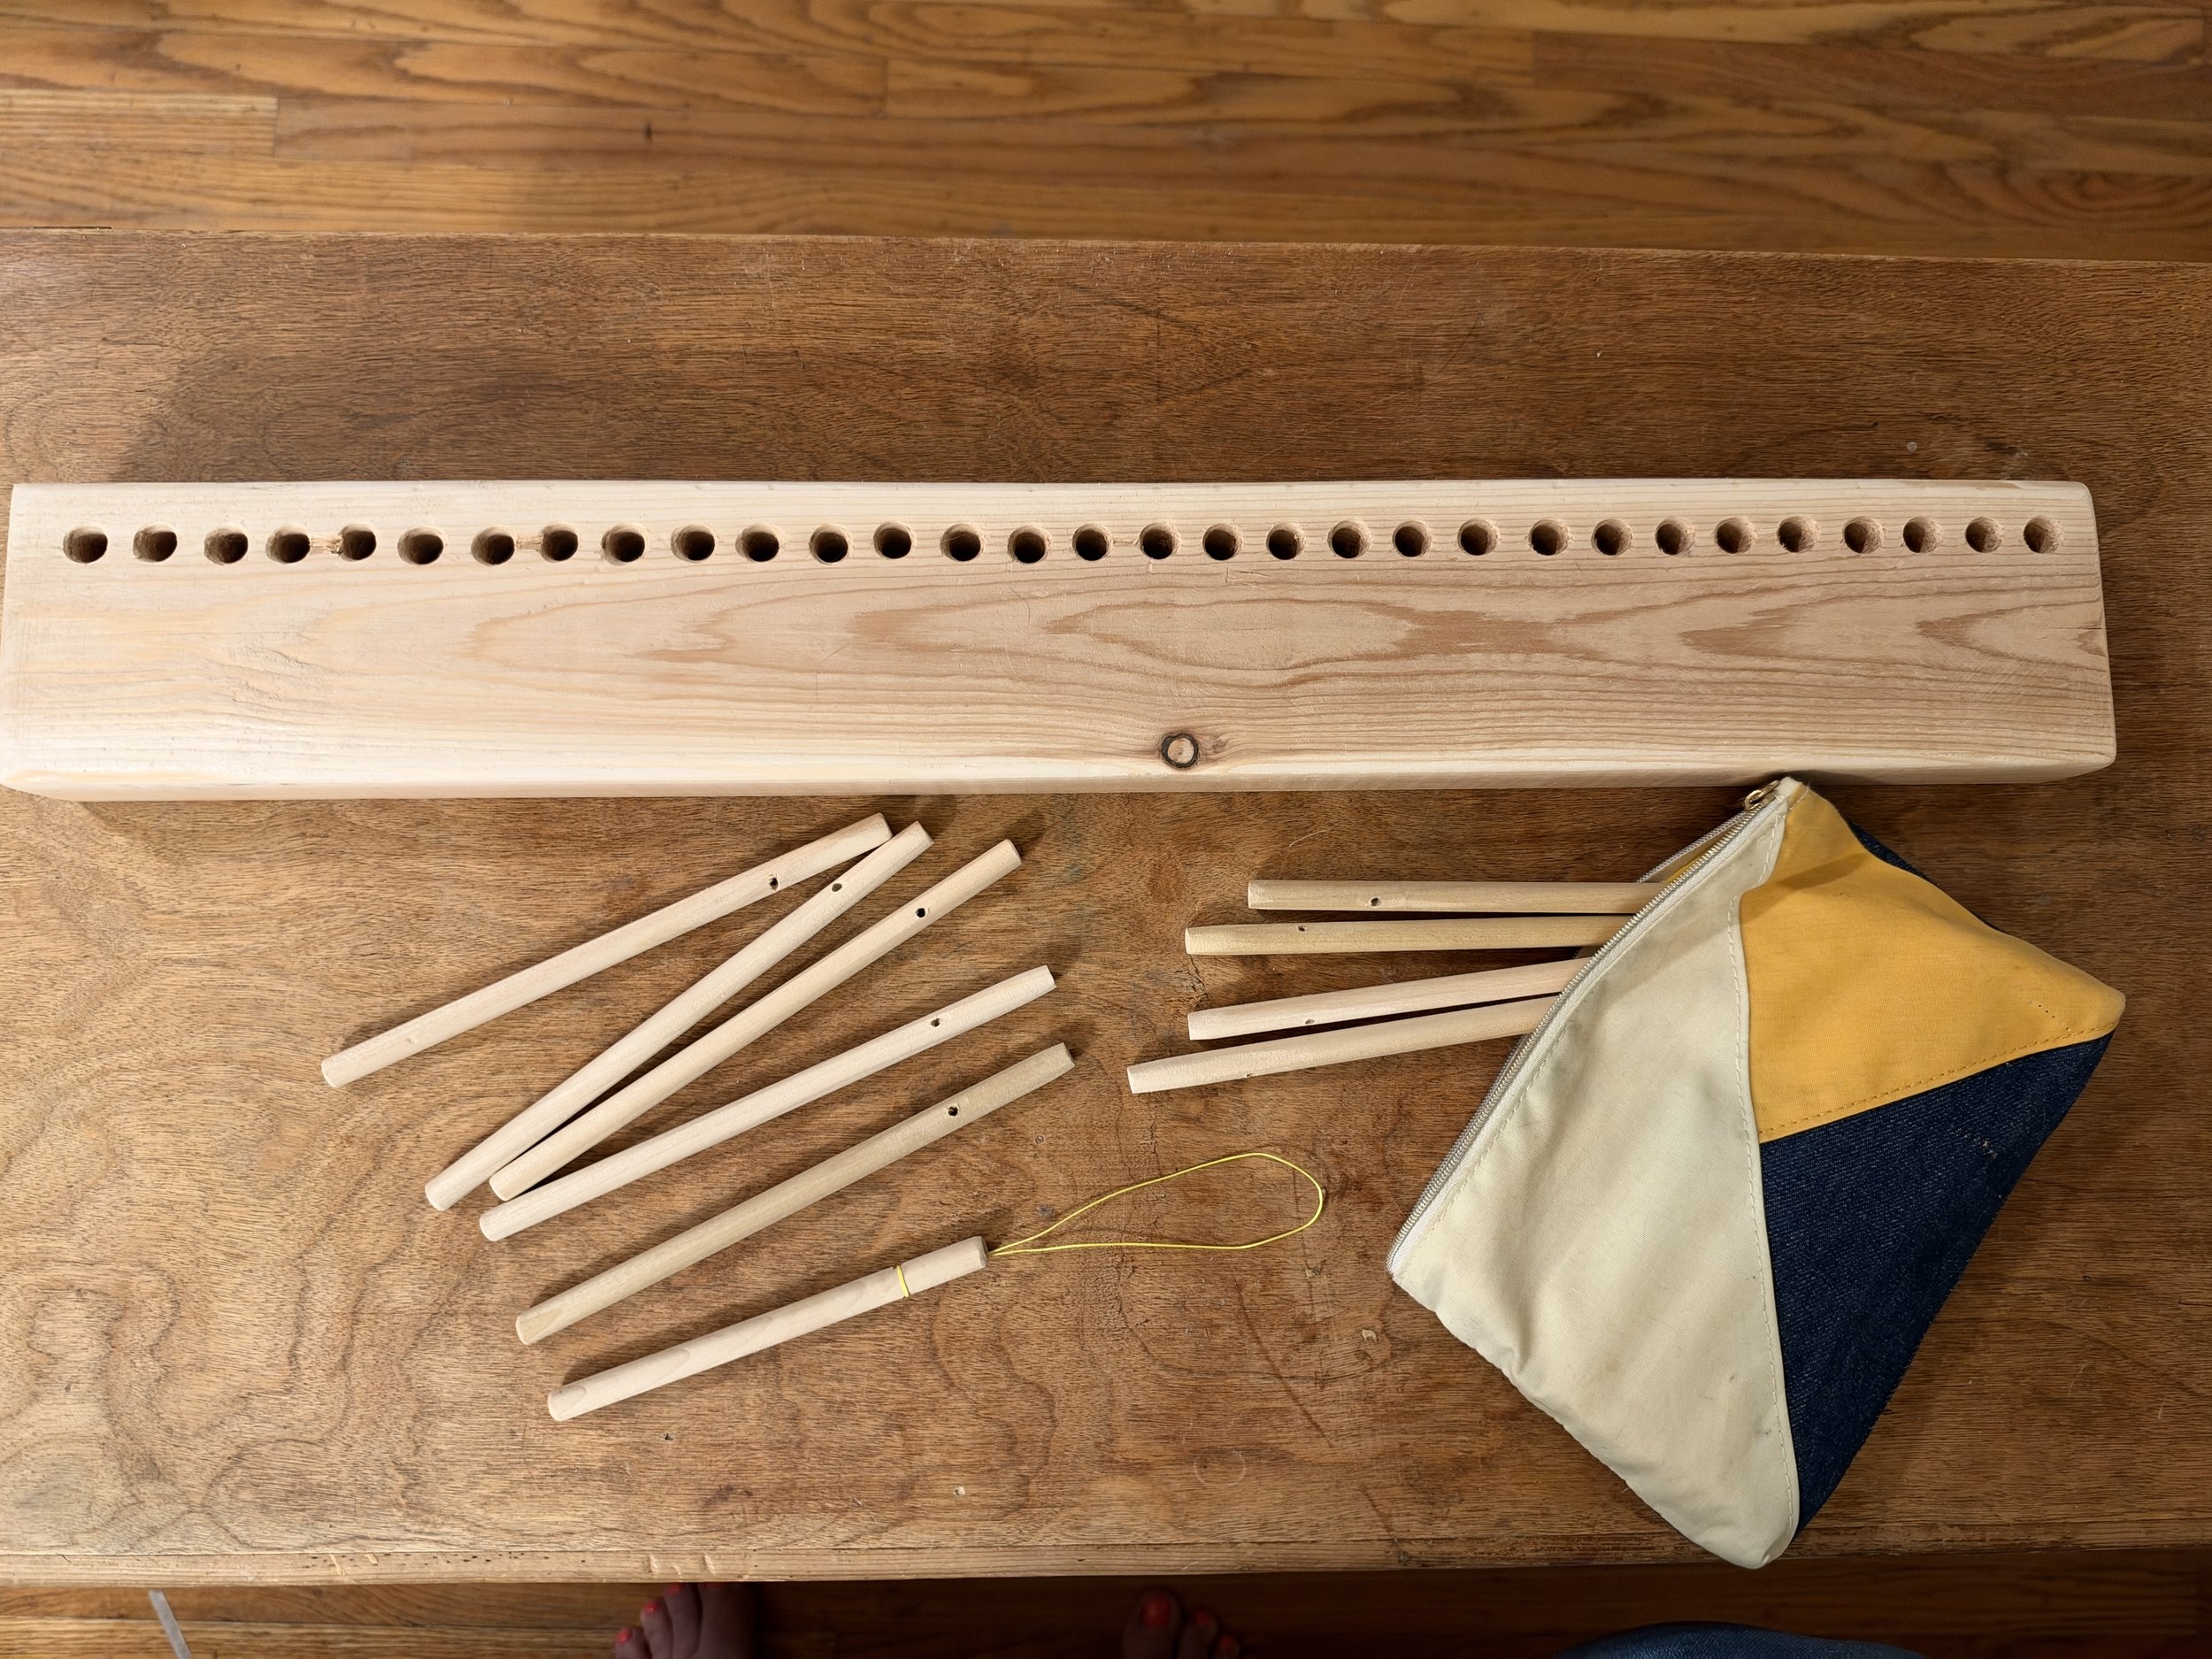
GIFT LOOM:
After drilling the 3/8 holes in the final piece, I then drilled the same spacing on the extra shorter piece of wood. Most of the edges held up although some of the surfaces between some holes chipped (much to my dismay). I was able sand the surfaces to make it more presentable then fretted about the slight missing wood. Darn.
PEGS:
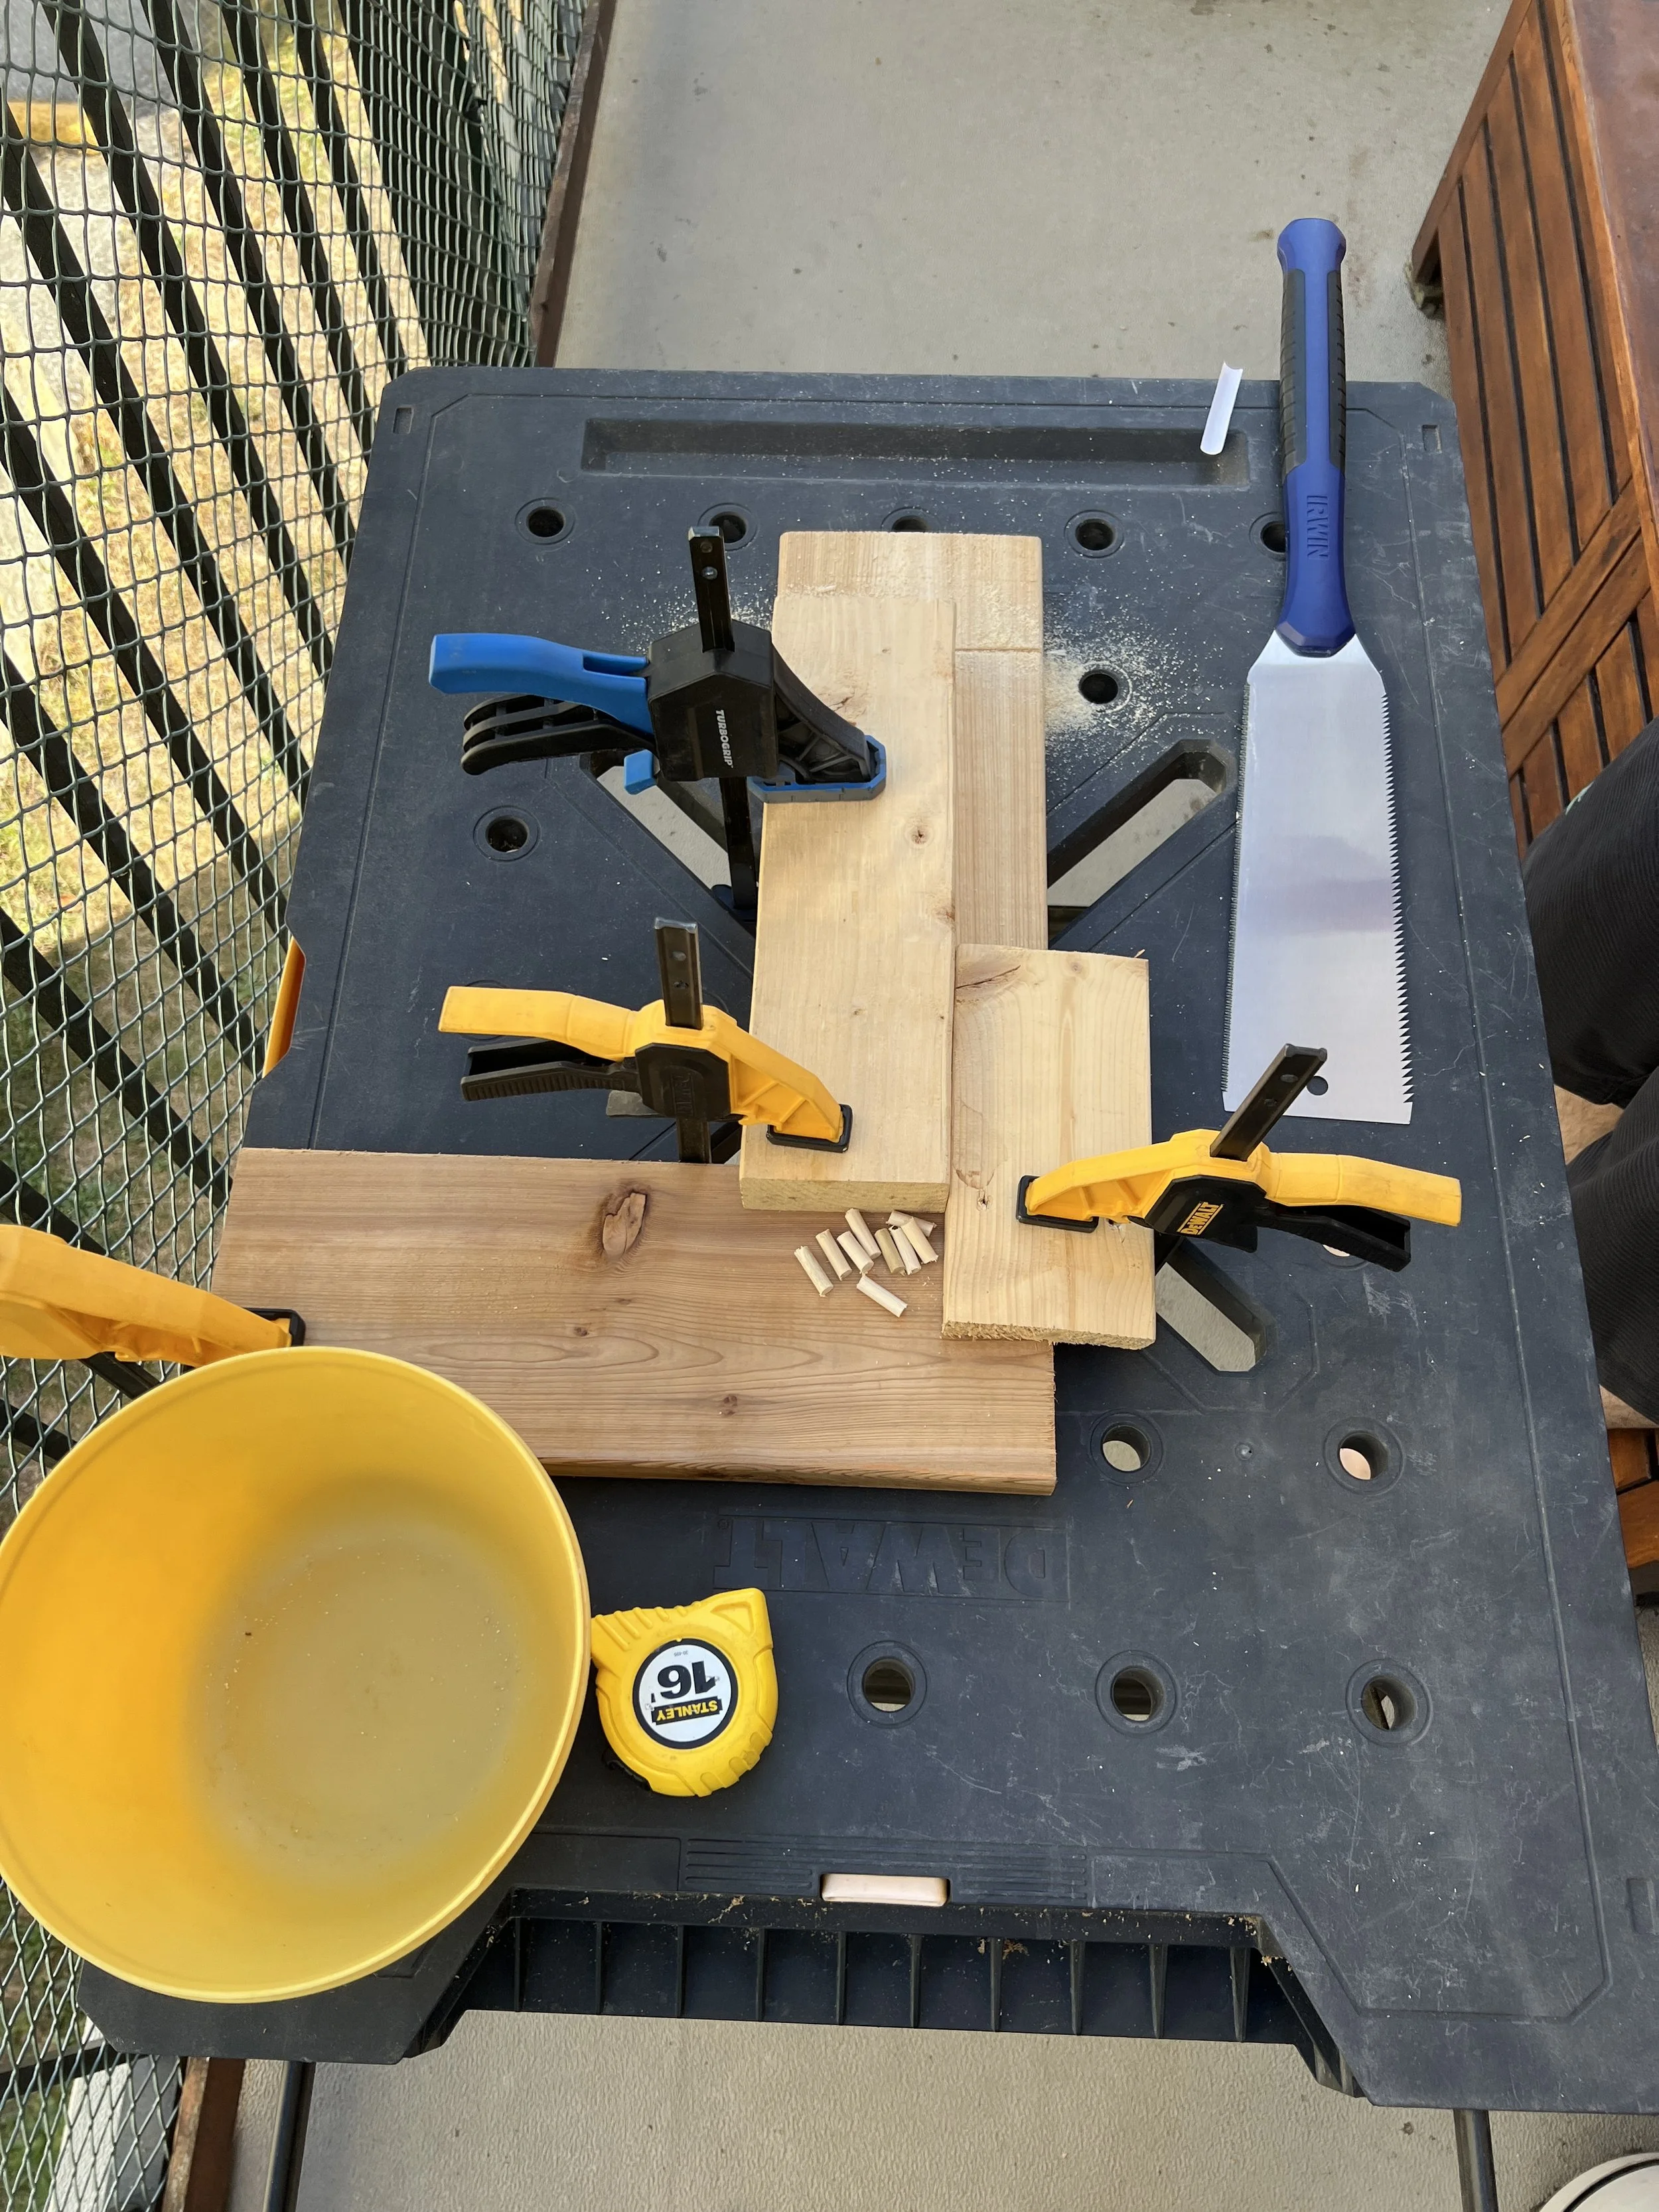
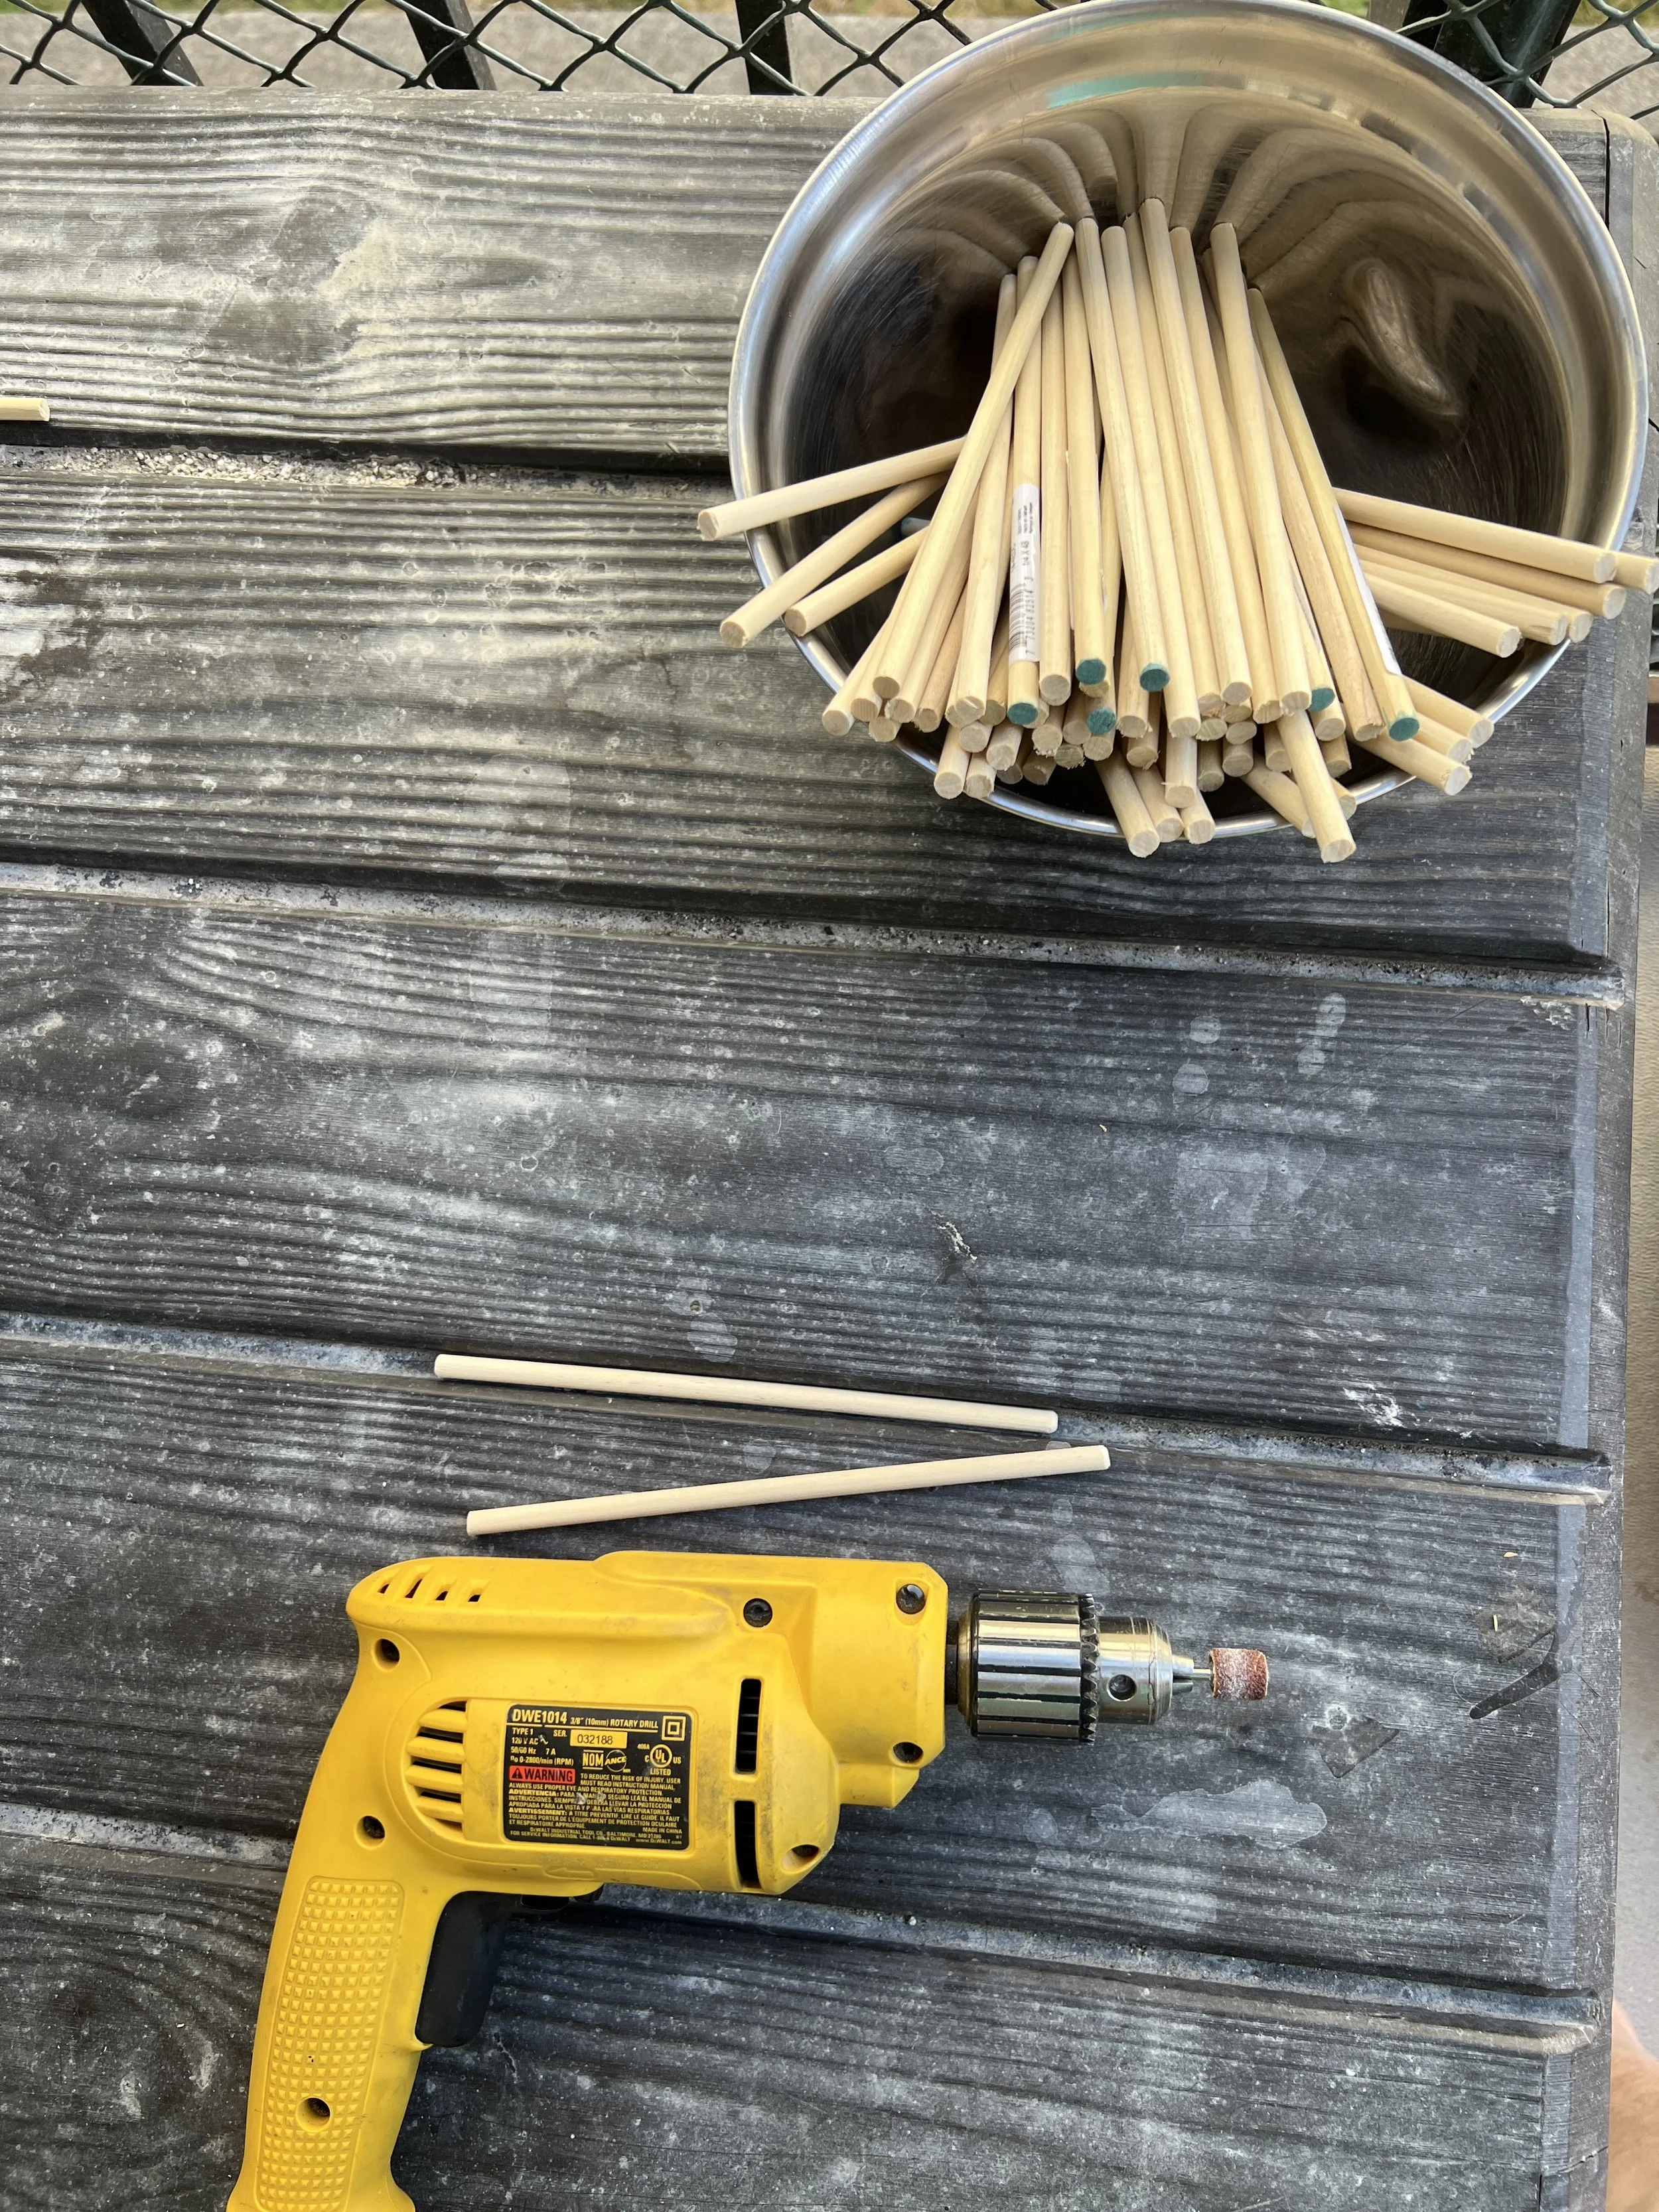
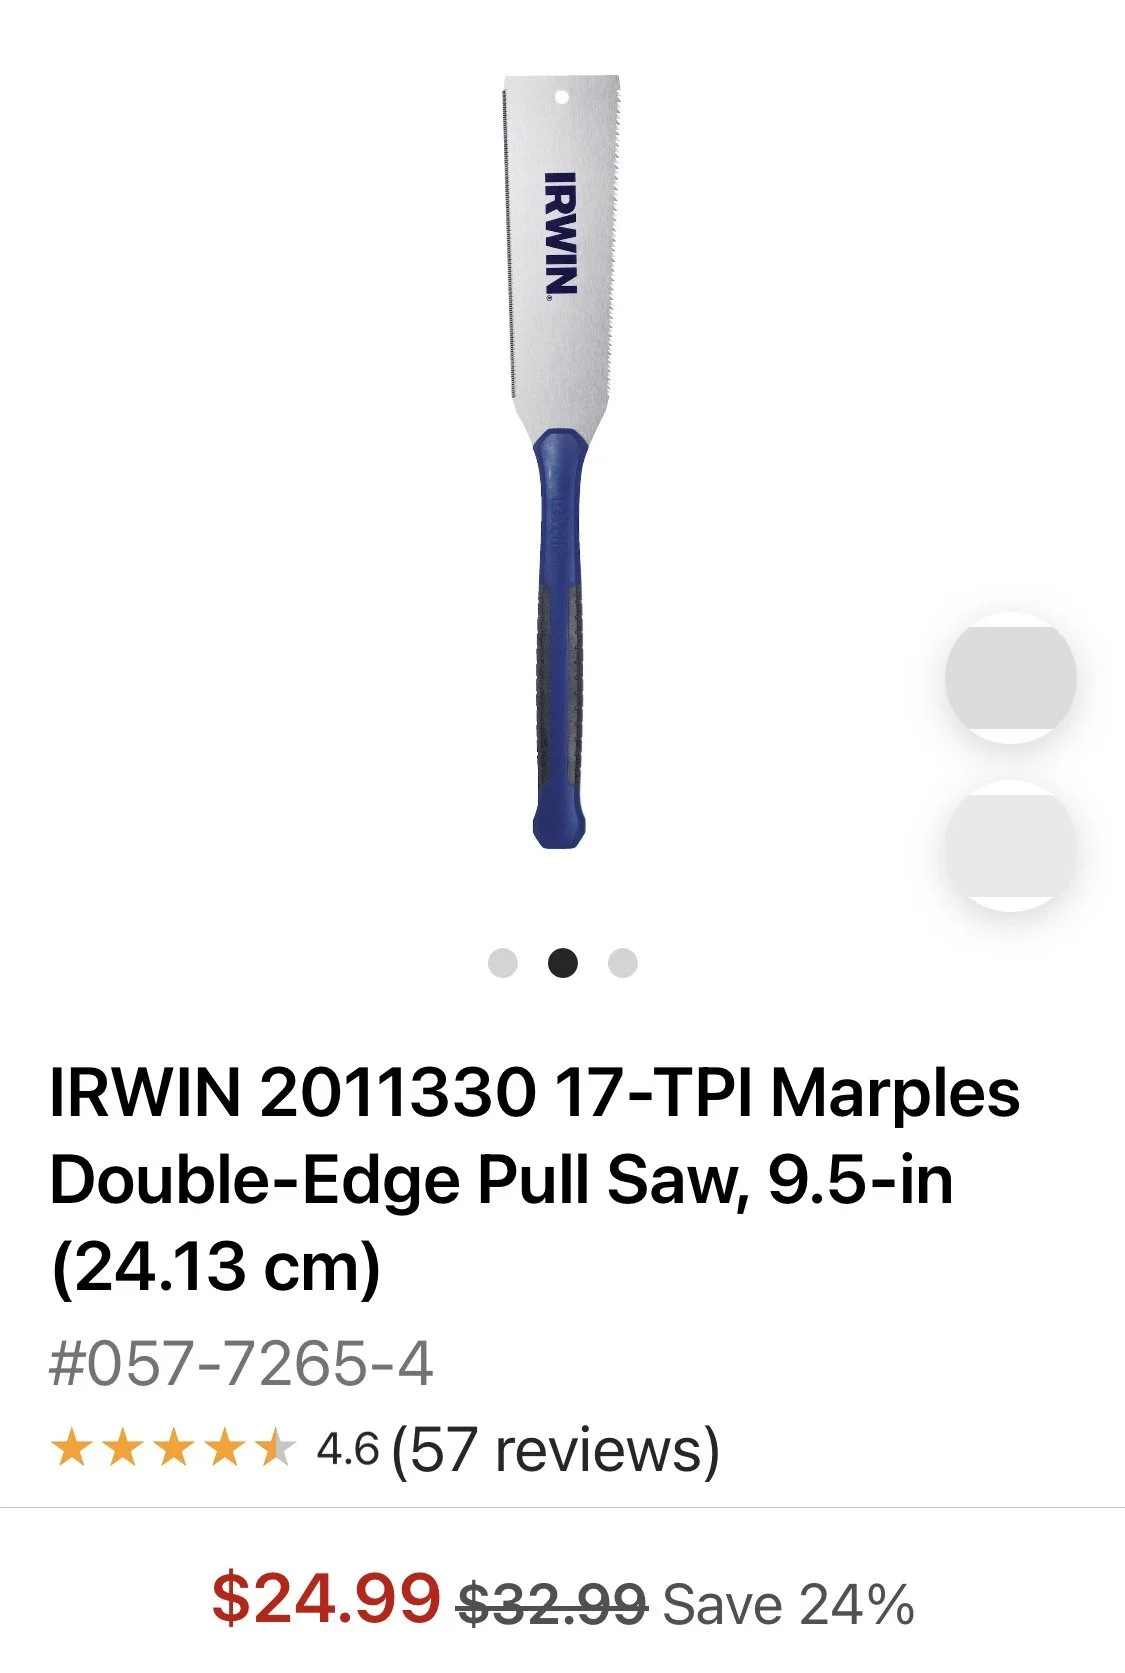
We didn’t have a nice way to cut the doweling so back to the hardware store again this time for a pull saw. My husband Wyatt cut all the pegs after we determined generic peg length. I then used my drill with my dremel bit small sanding bit and smoothed all peg ends.