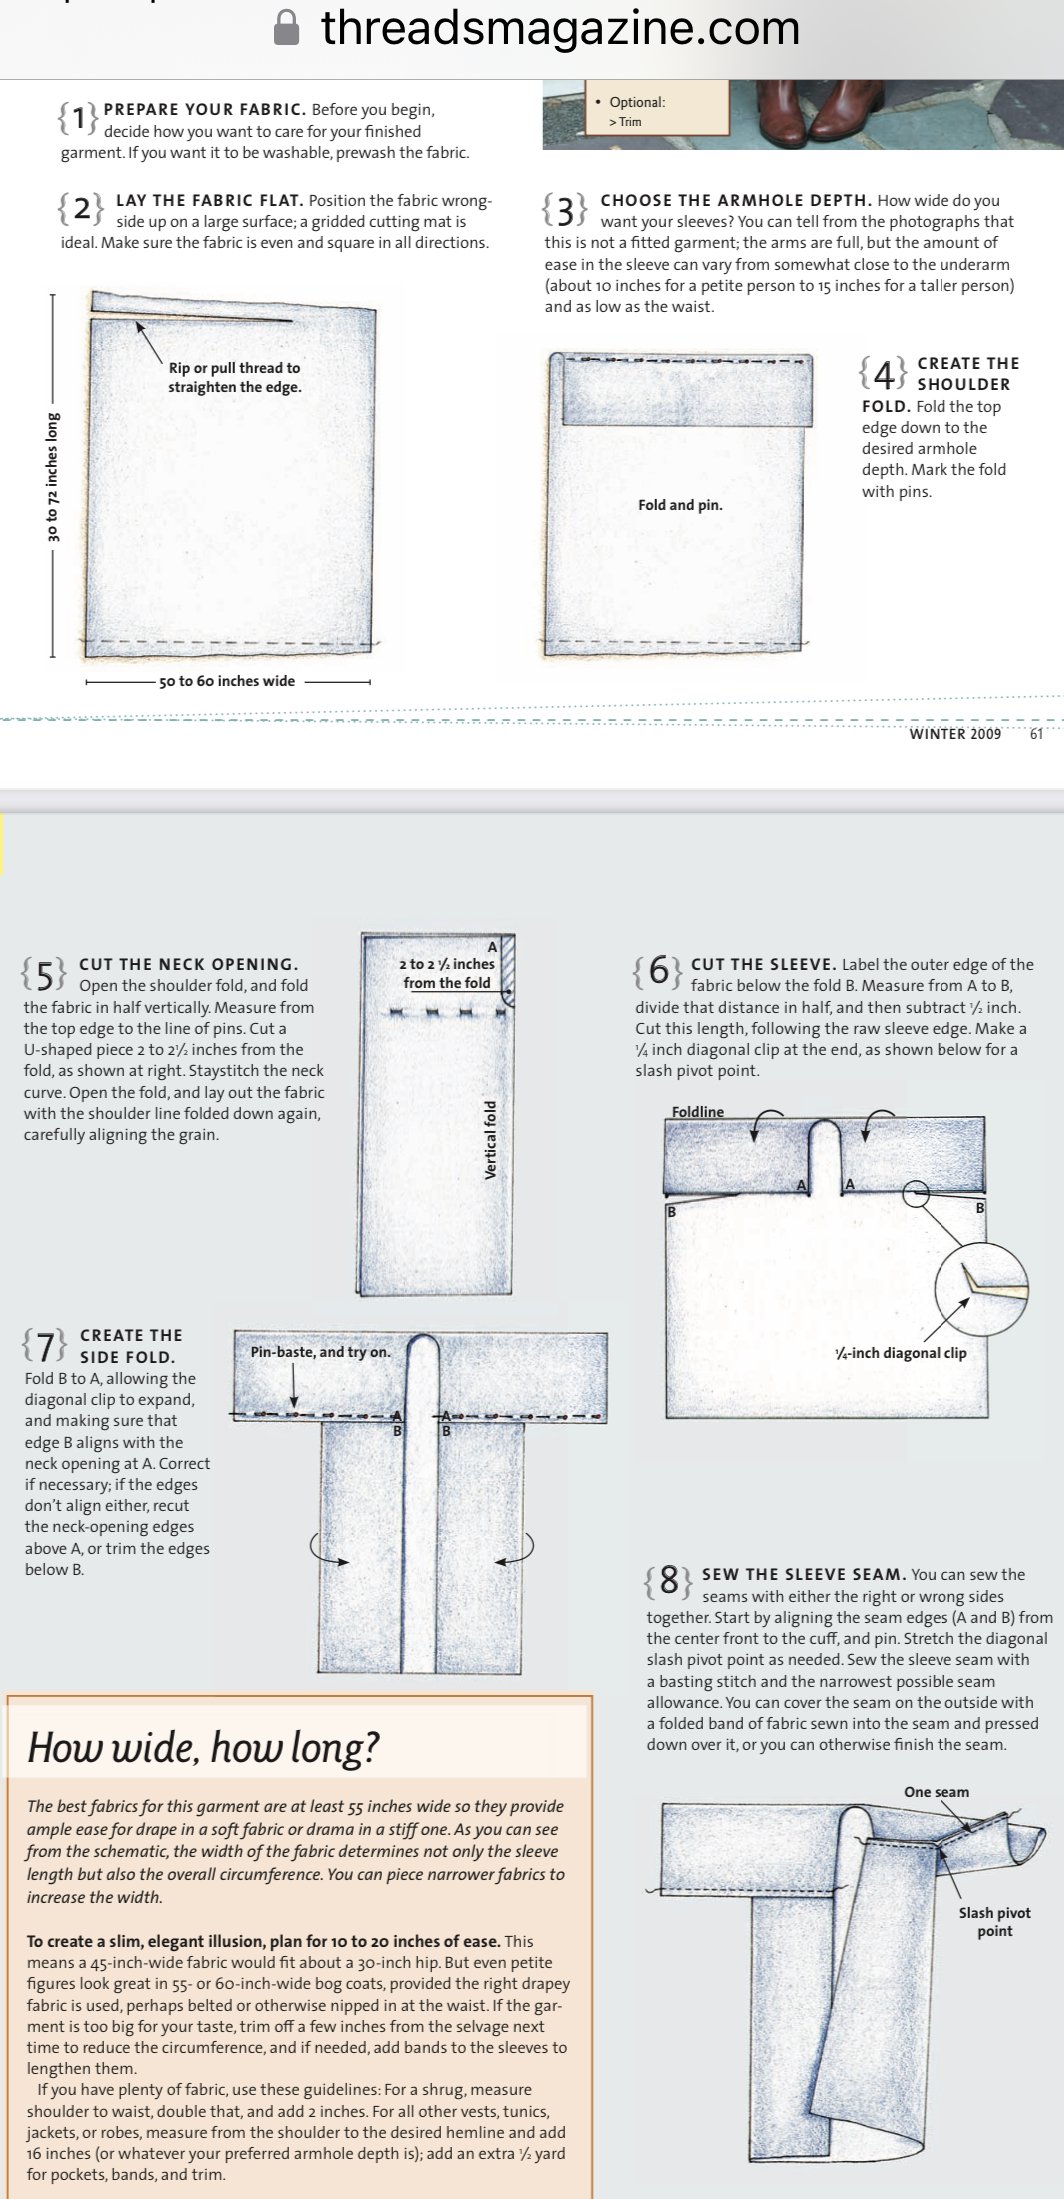
This project inspiration has come from the simple construction of a sewing project I stumbled across.
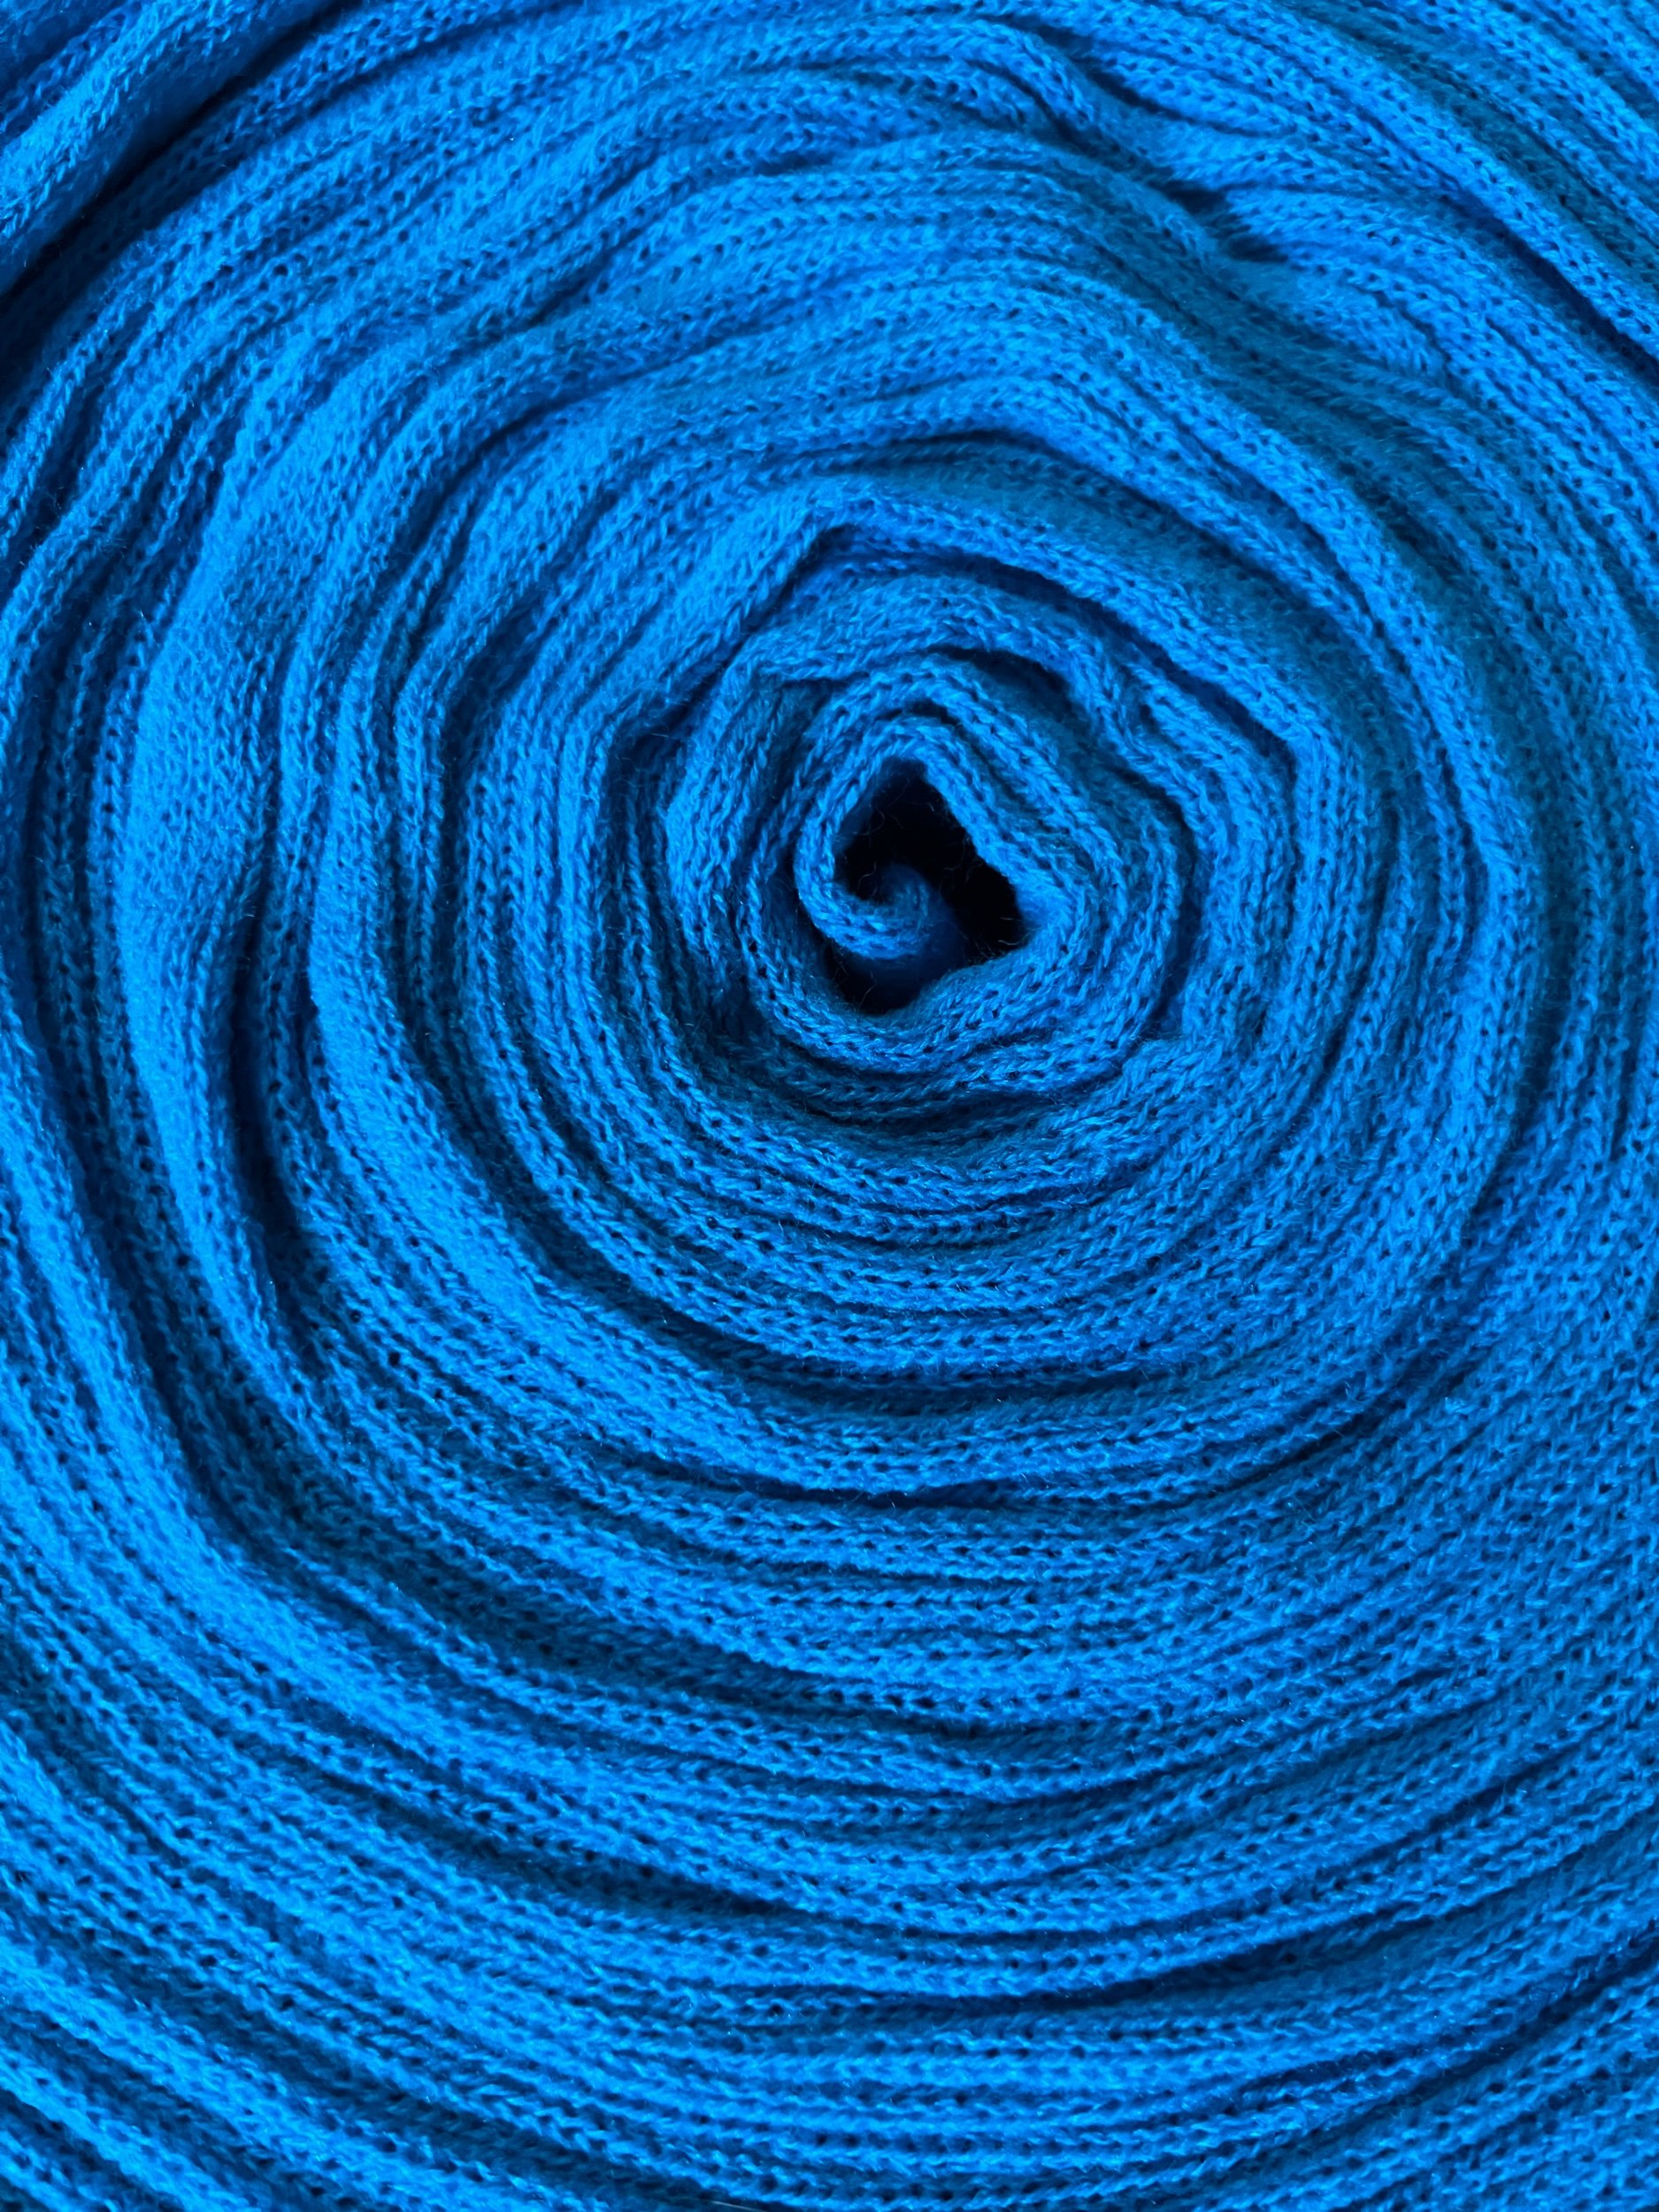
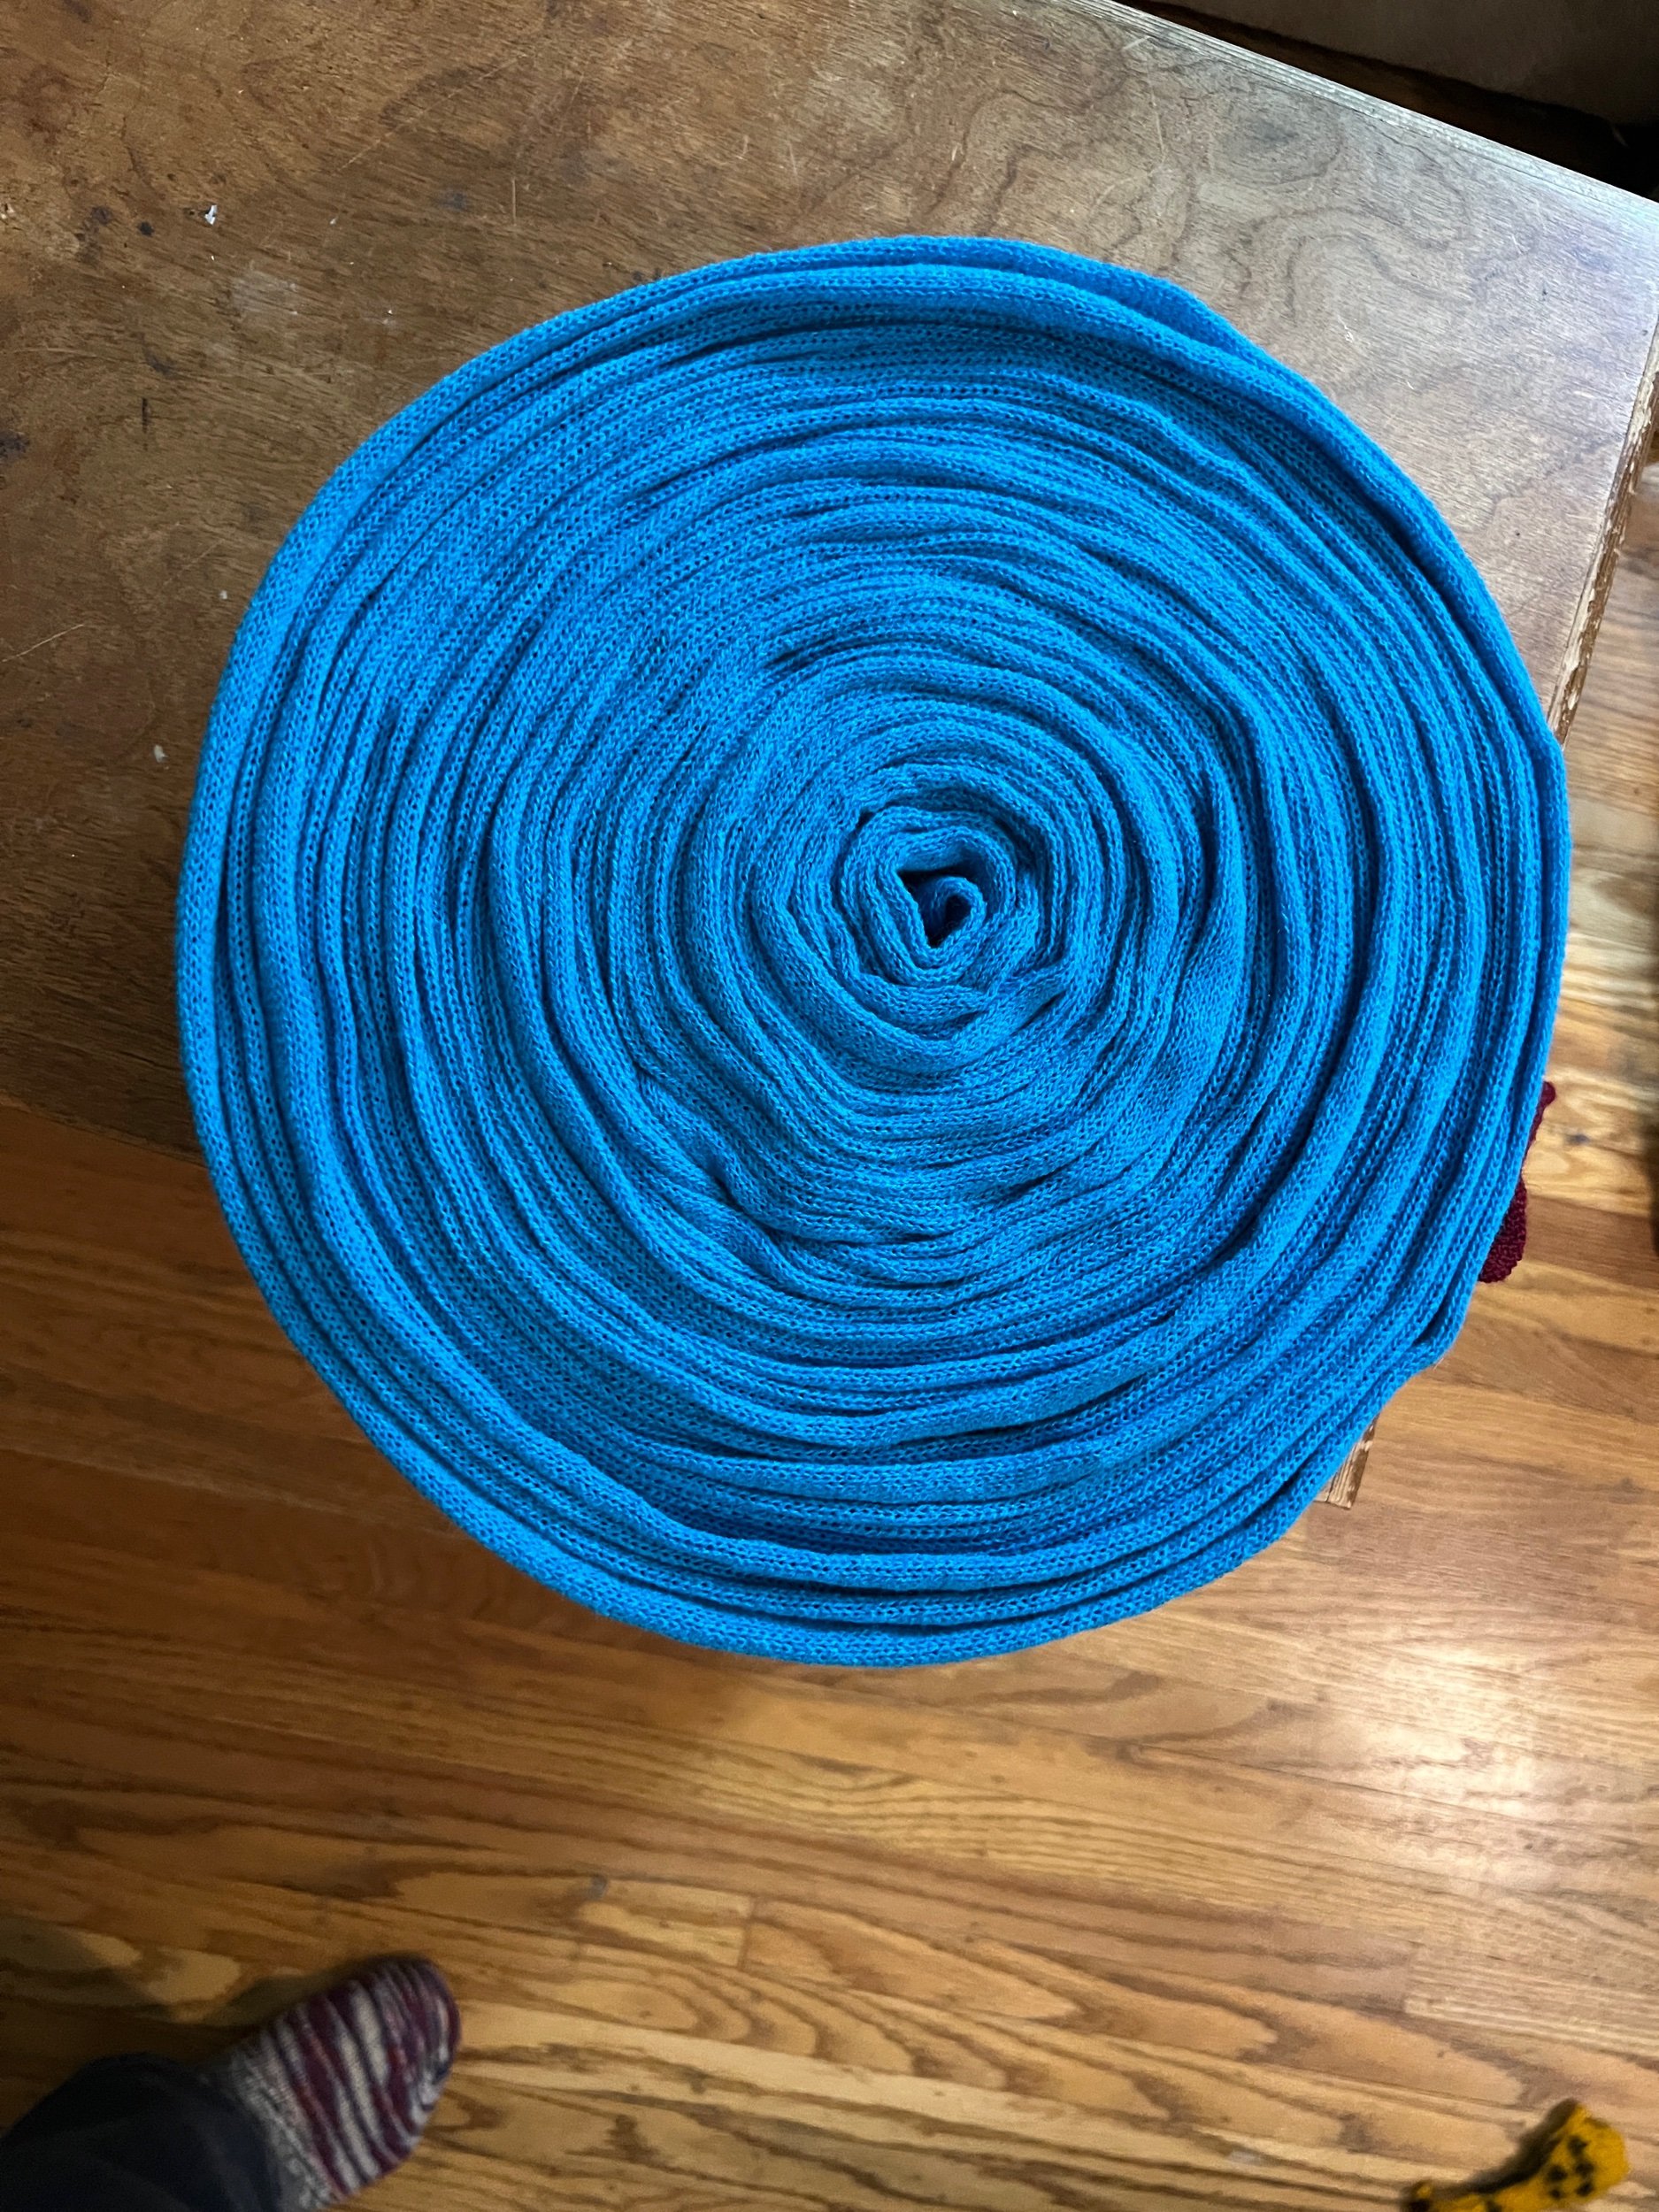
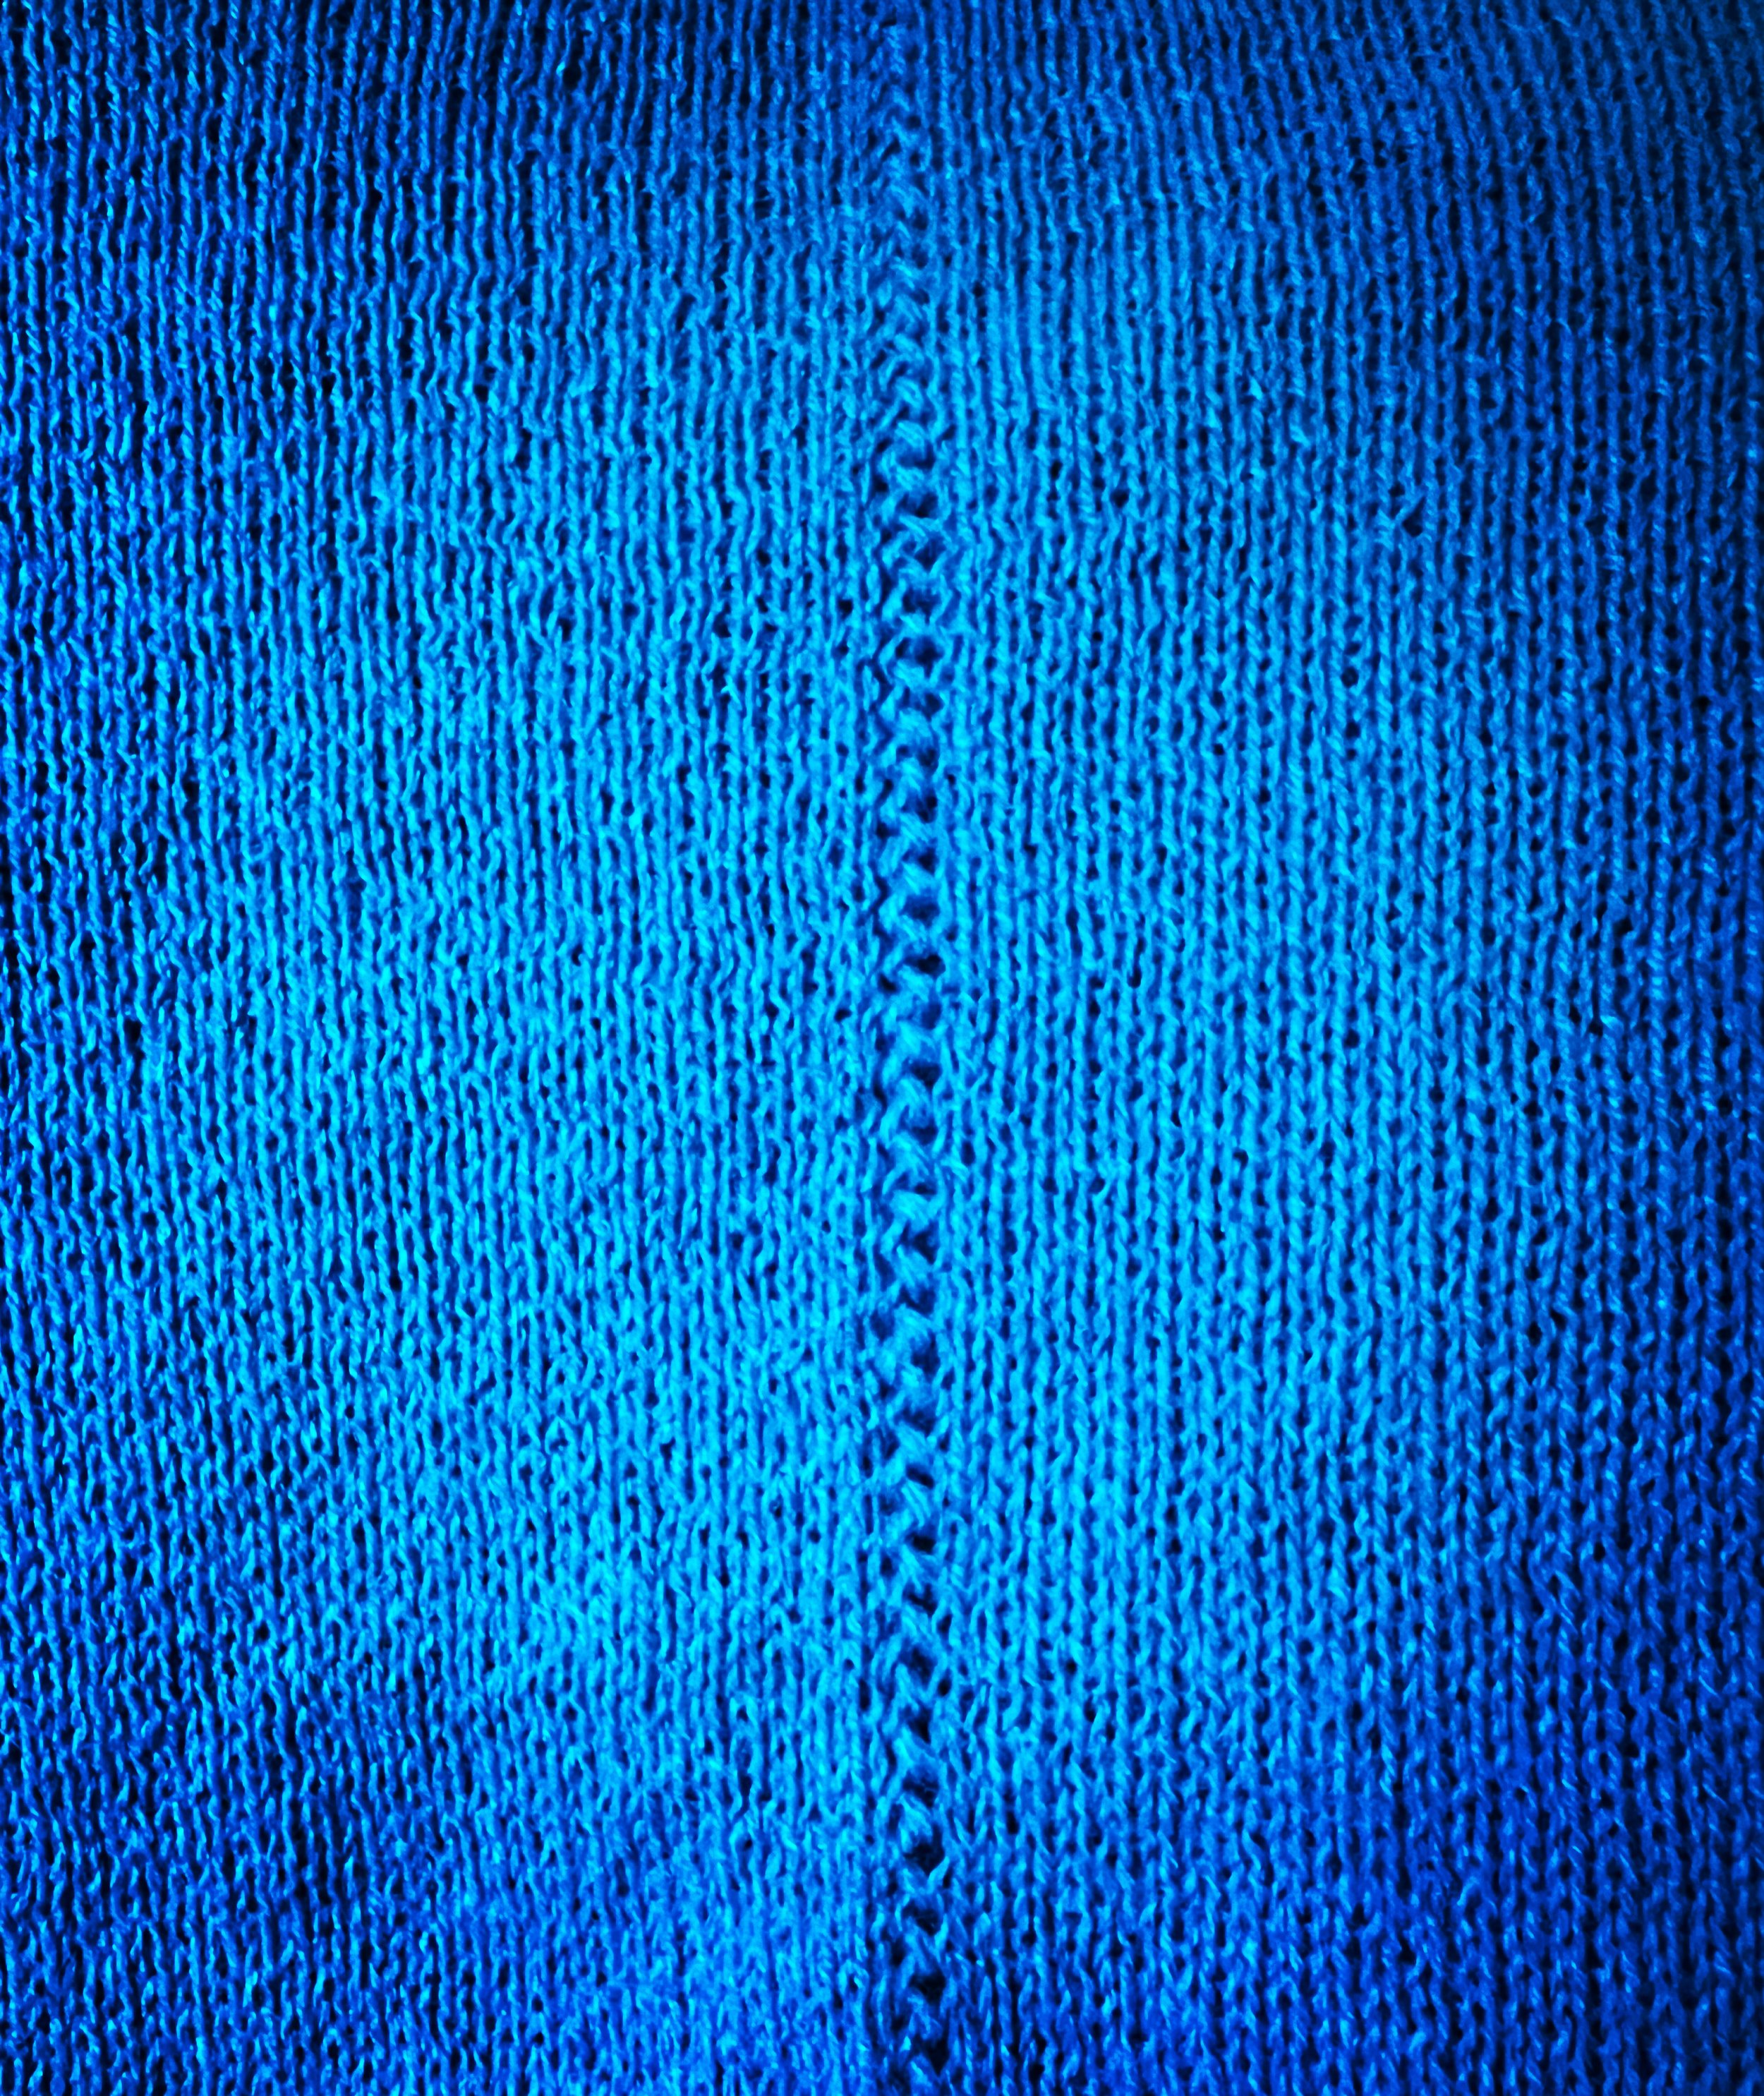
I started this project by adding my highest slot count cylinder to my Chambord AccuKnitter CSM - this is a 120 needle count cylinder (you certainly could use any cylinder you have - narrower tubes would require more strips to connect). I then worked the whole cone into a long tube and before ending the blue project yarn, allowed two stitches to run - one on each half of the tube - to be used later to join the tubes. It’s easier to do the stitch drop on the machine than needing to count the small stitches in the project tube itself.
I didn’t HAVE to work the whole cone - I wanted too. Also if you’re following along yourself with this project, use fiber you enjoy to feel on your skin or you won’t like your finished project as much and plan your join ahead of working a huge tube over leaving the stitch dropping afterwards - it takes forever off the machine.
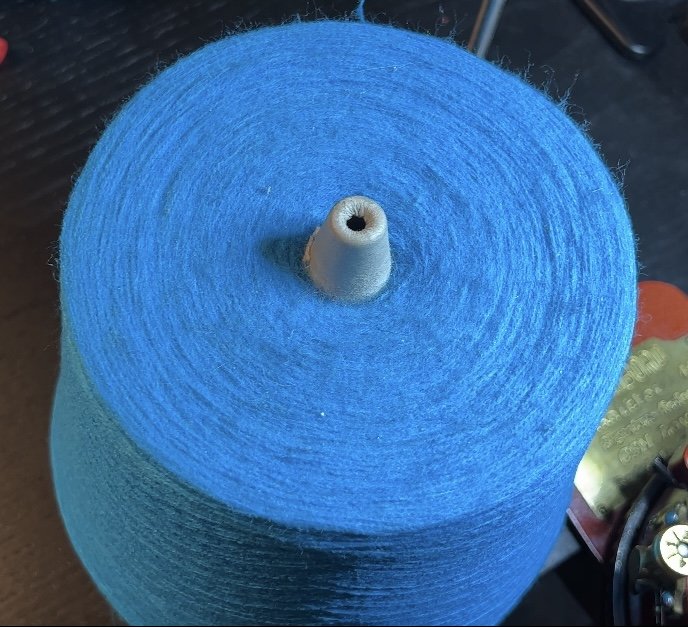
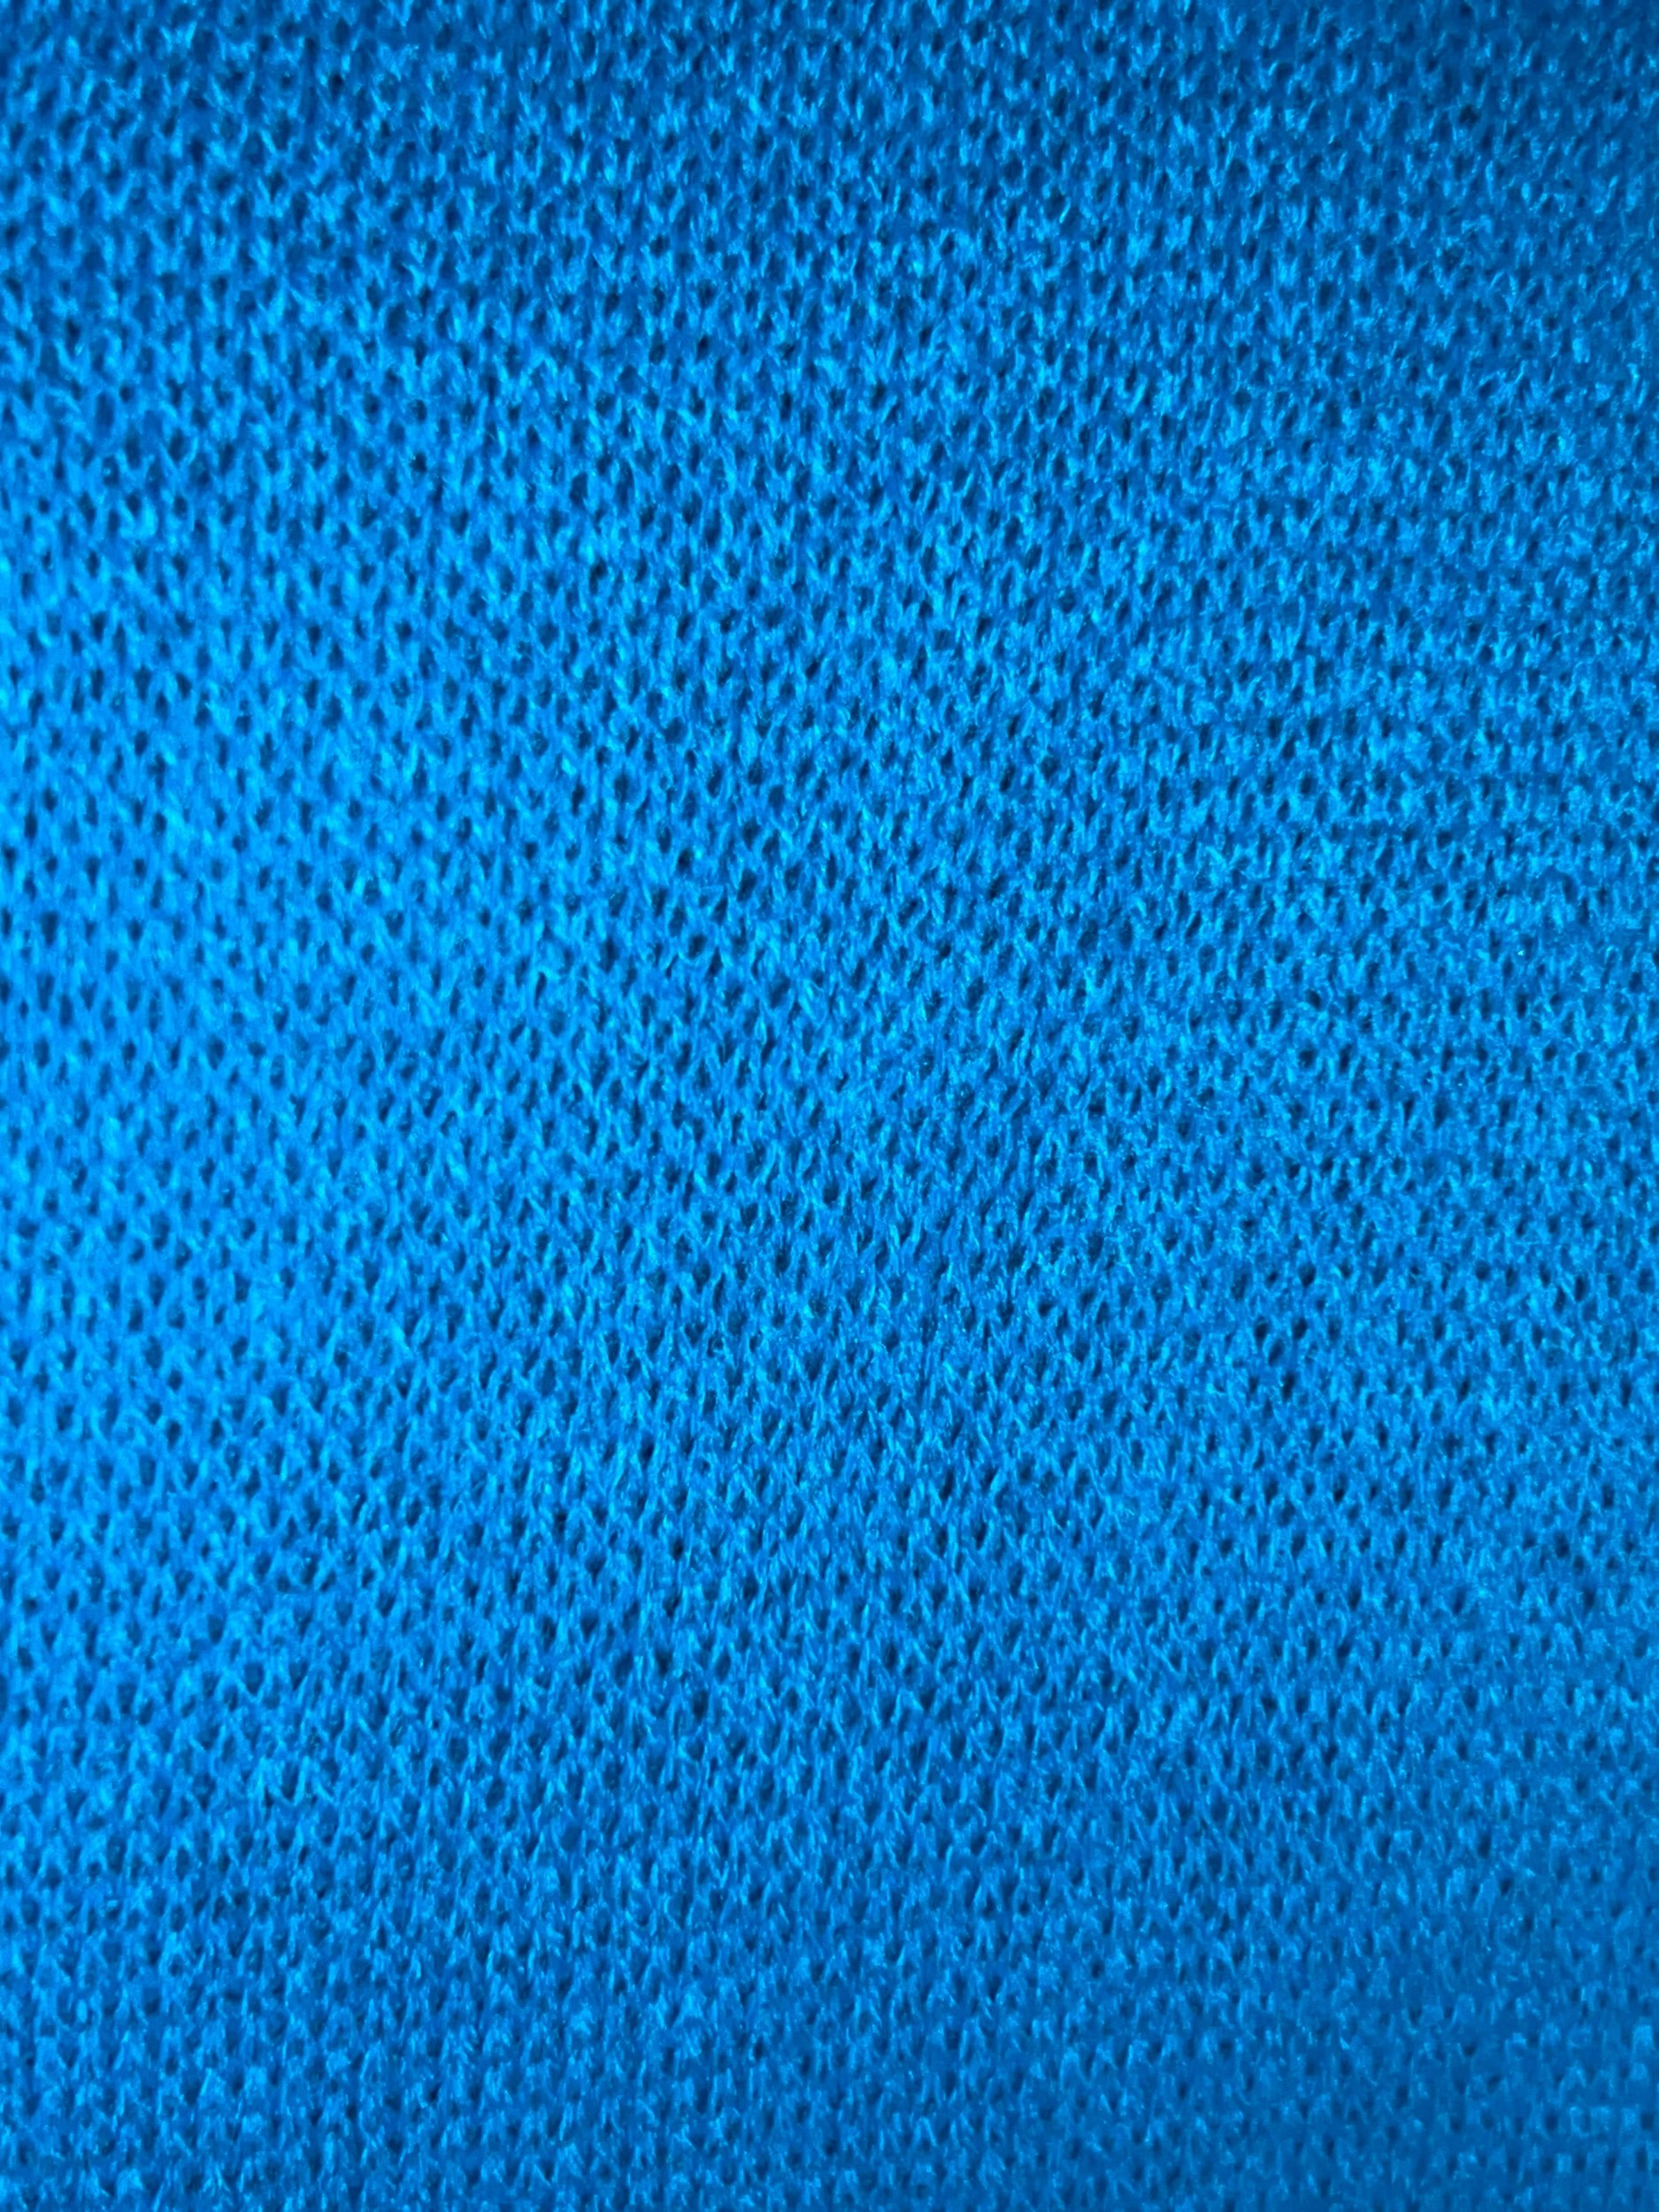
Note: this cone is a vintage cone without a label so I am unable to quote that - I suspect it’s lace weight.
TUBE JOIN DIRECTION: The next step is determininge whether I build my project with vertical tubes or horizontal. I’m thinking horizontal to aim to make sleeves align with the seam of the sleeve - which seems more sensible than doing this the other way.
JOINING THE TUBES: I had worked a short sample at a different stitch setting before so I used this sample to test out how I wanted to join the tubes (and also how the fiber reacts in the wash).
But first about tube joining: I considered leaving the tubes as is and hand joining the edge with my linker or mattress stitching but that creates a ridge that I didn’t want to “feel”. I decided to try a join I’ve done before with the CSM Blanket 1.0 project where on the tube a column/stitch is dropped to create a vertical row of bars/ladders that using a crochet hook can join - created a two sided fairly flat appealing join. I decided a single dropped stitch created enough of a ladder when connecting another tube.
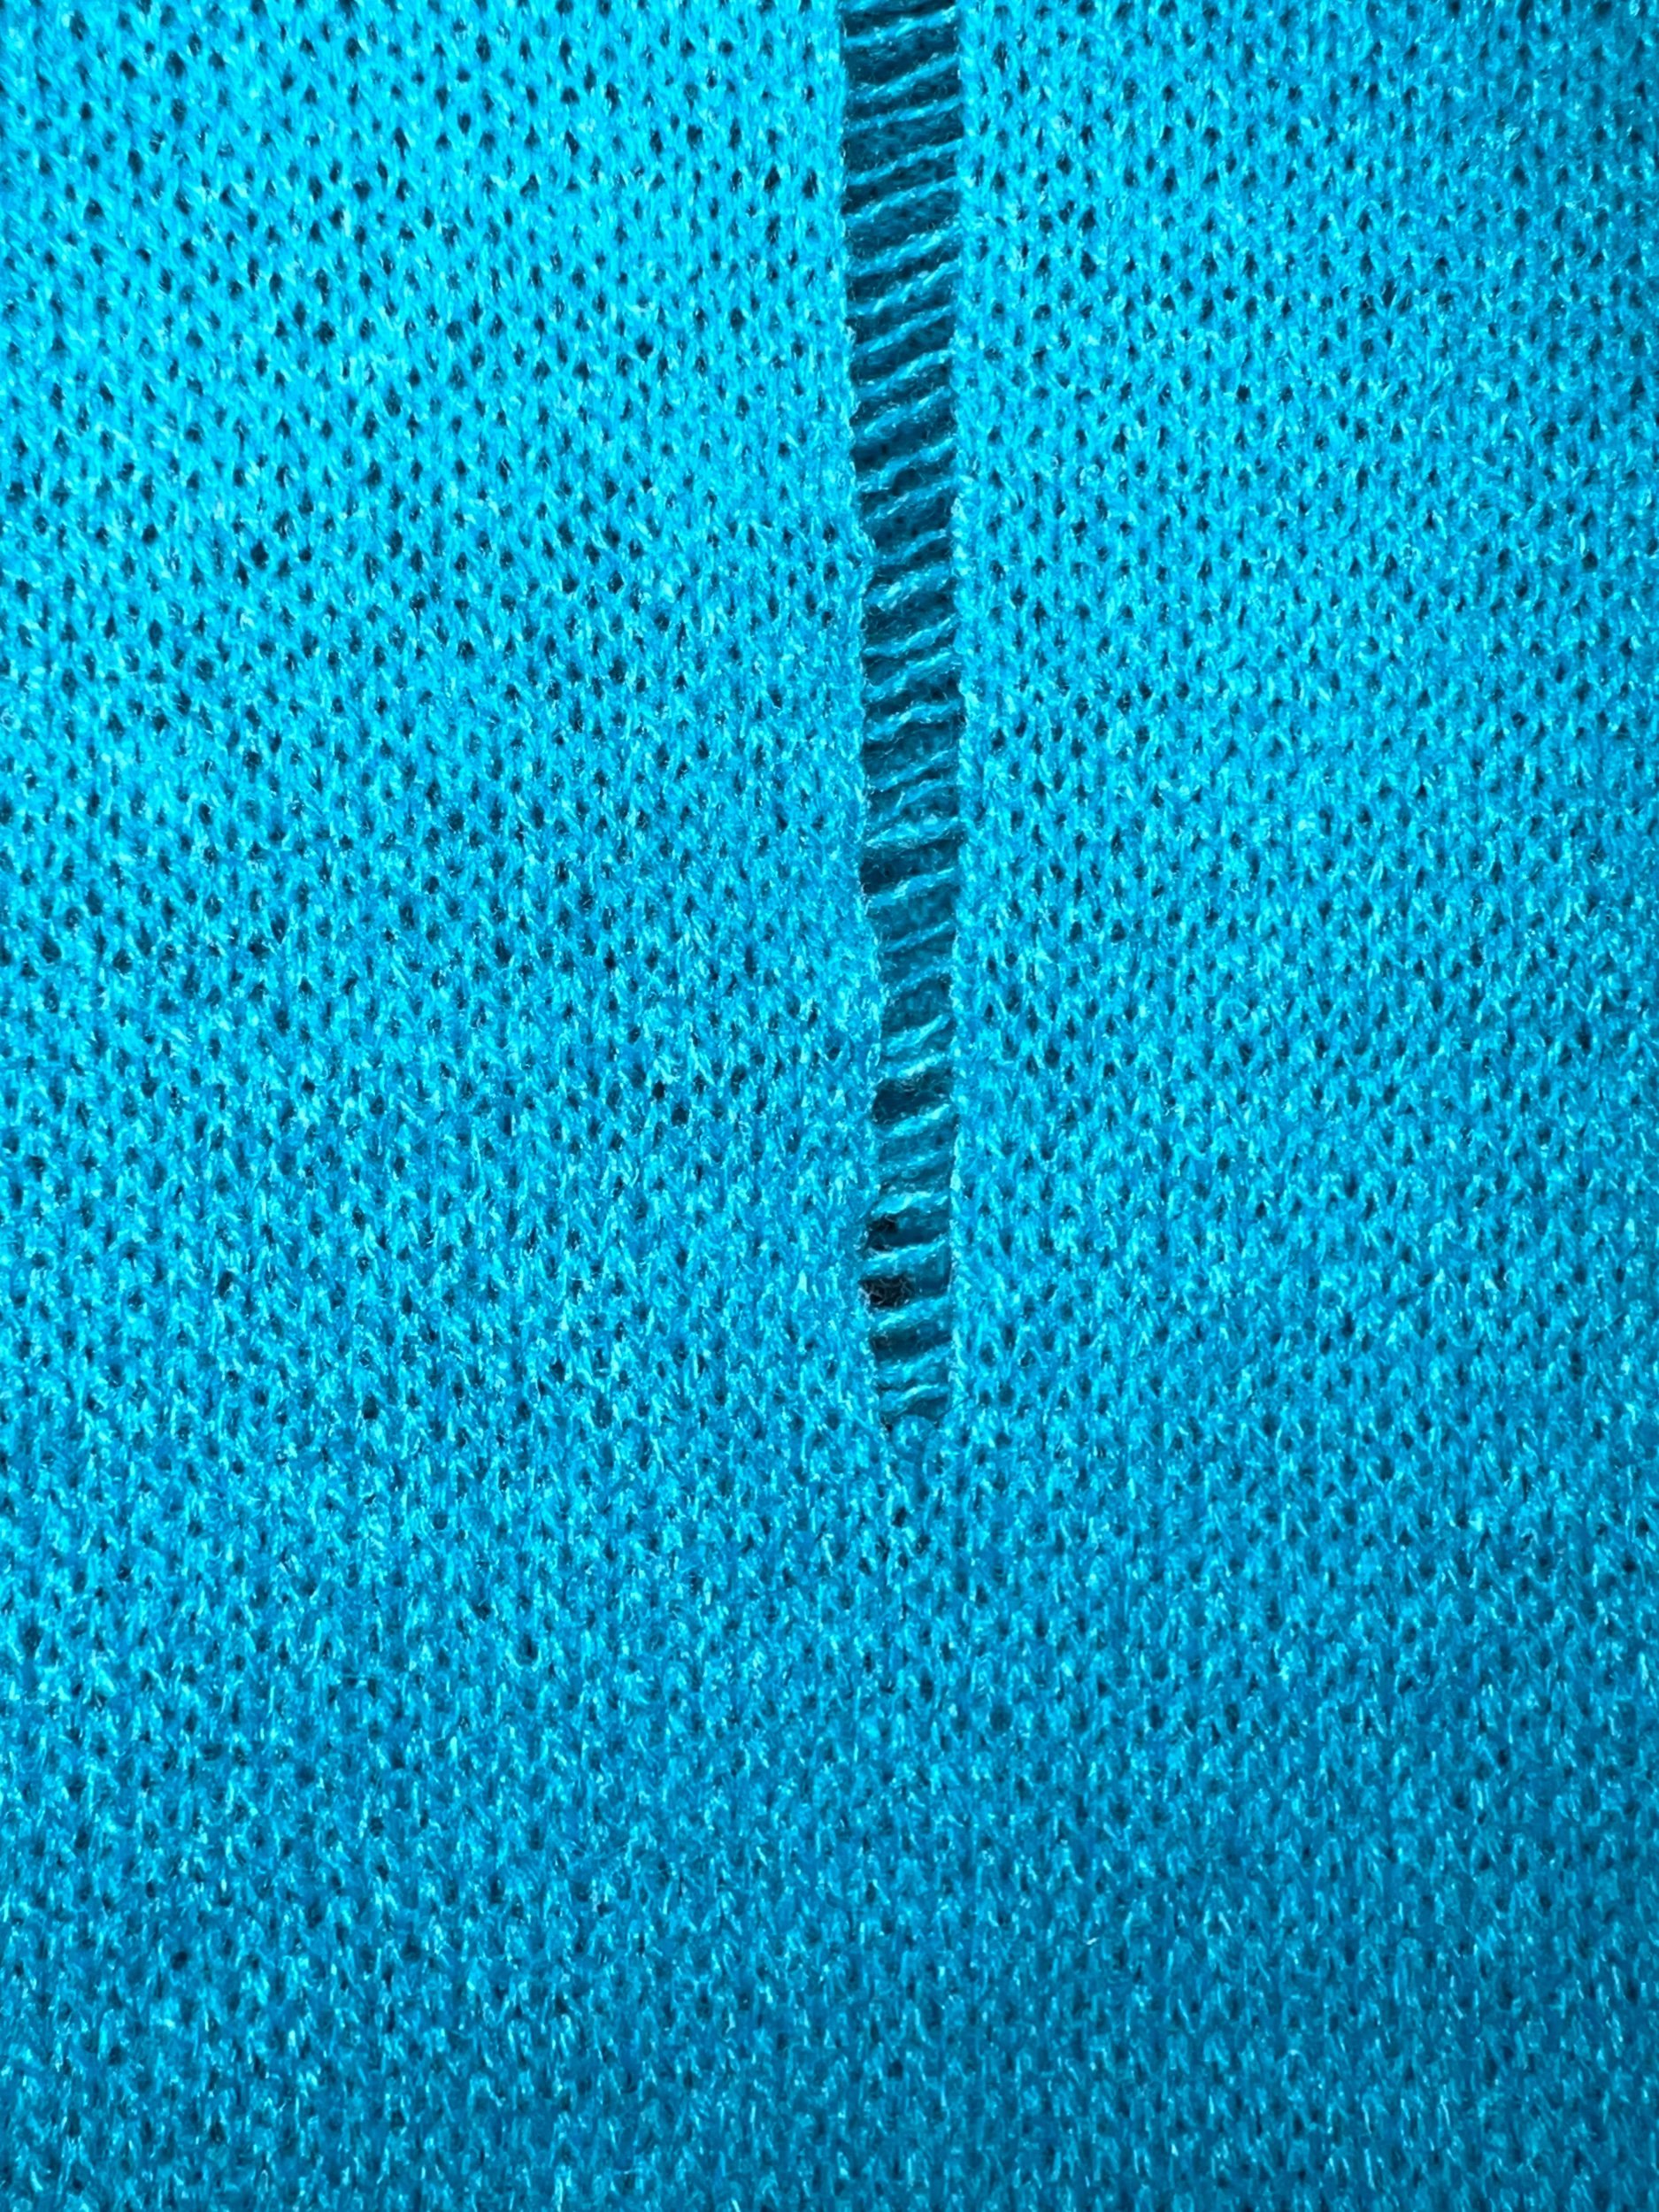
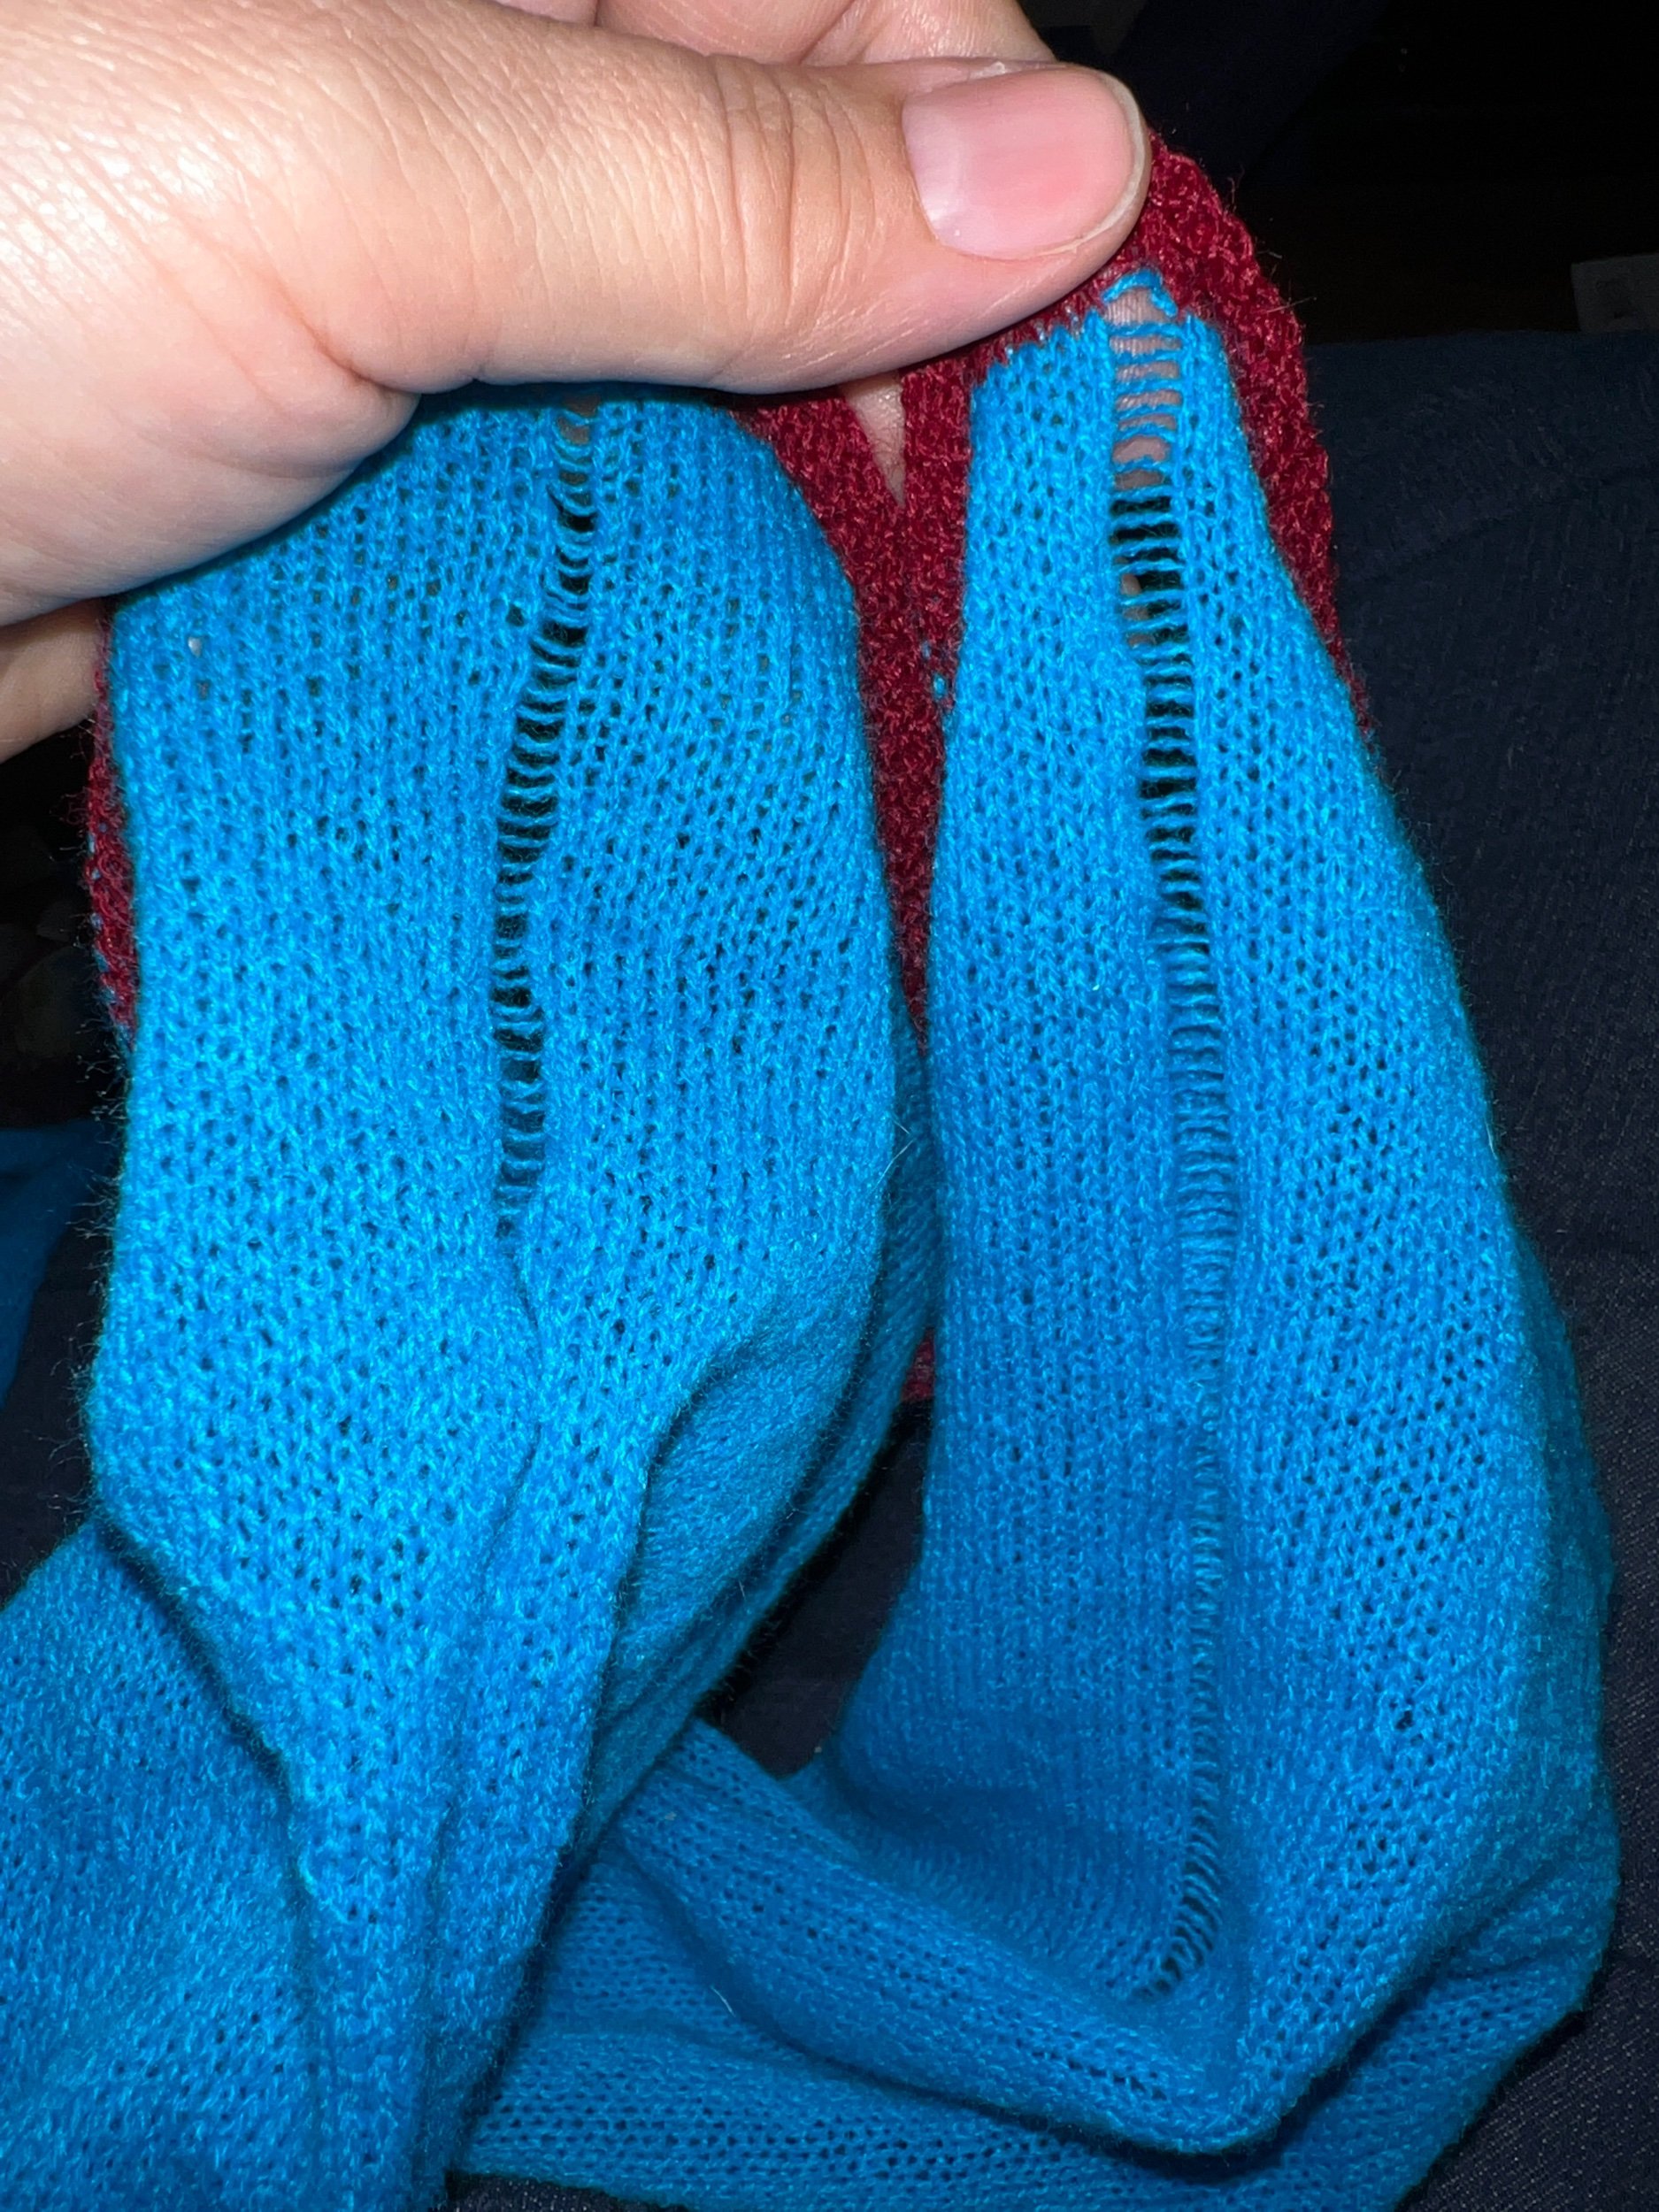
Fri Sep 16, 2022: I’ve finished dropping the halfway single rows of stitches. Now to begin assembling tubes to make the fabric. I’ve brought the two very long ends together and will now use my crochet hook to do a gorgeous two sided join creating two joined tubes the width of the fingertip to fingertip portion of this garment (with extra for cuff).
WASHING THE SAMPLE: I had hoped to secure the live stitches and wash the sample to see how to launders/shrinks before determining the width of the fabric needed but perhaps I will do that but after I setup the fabric needed with excess in case of shrinkage.

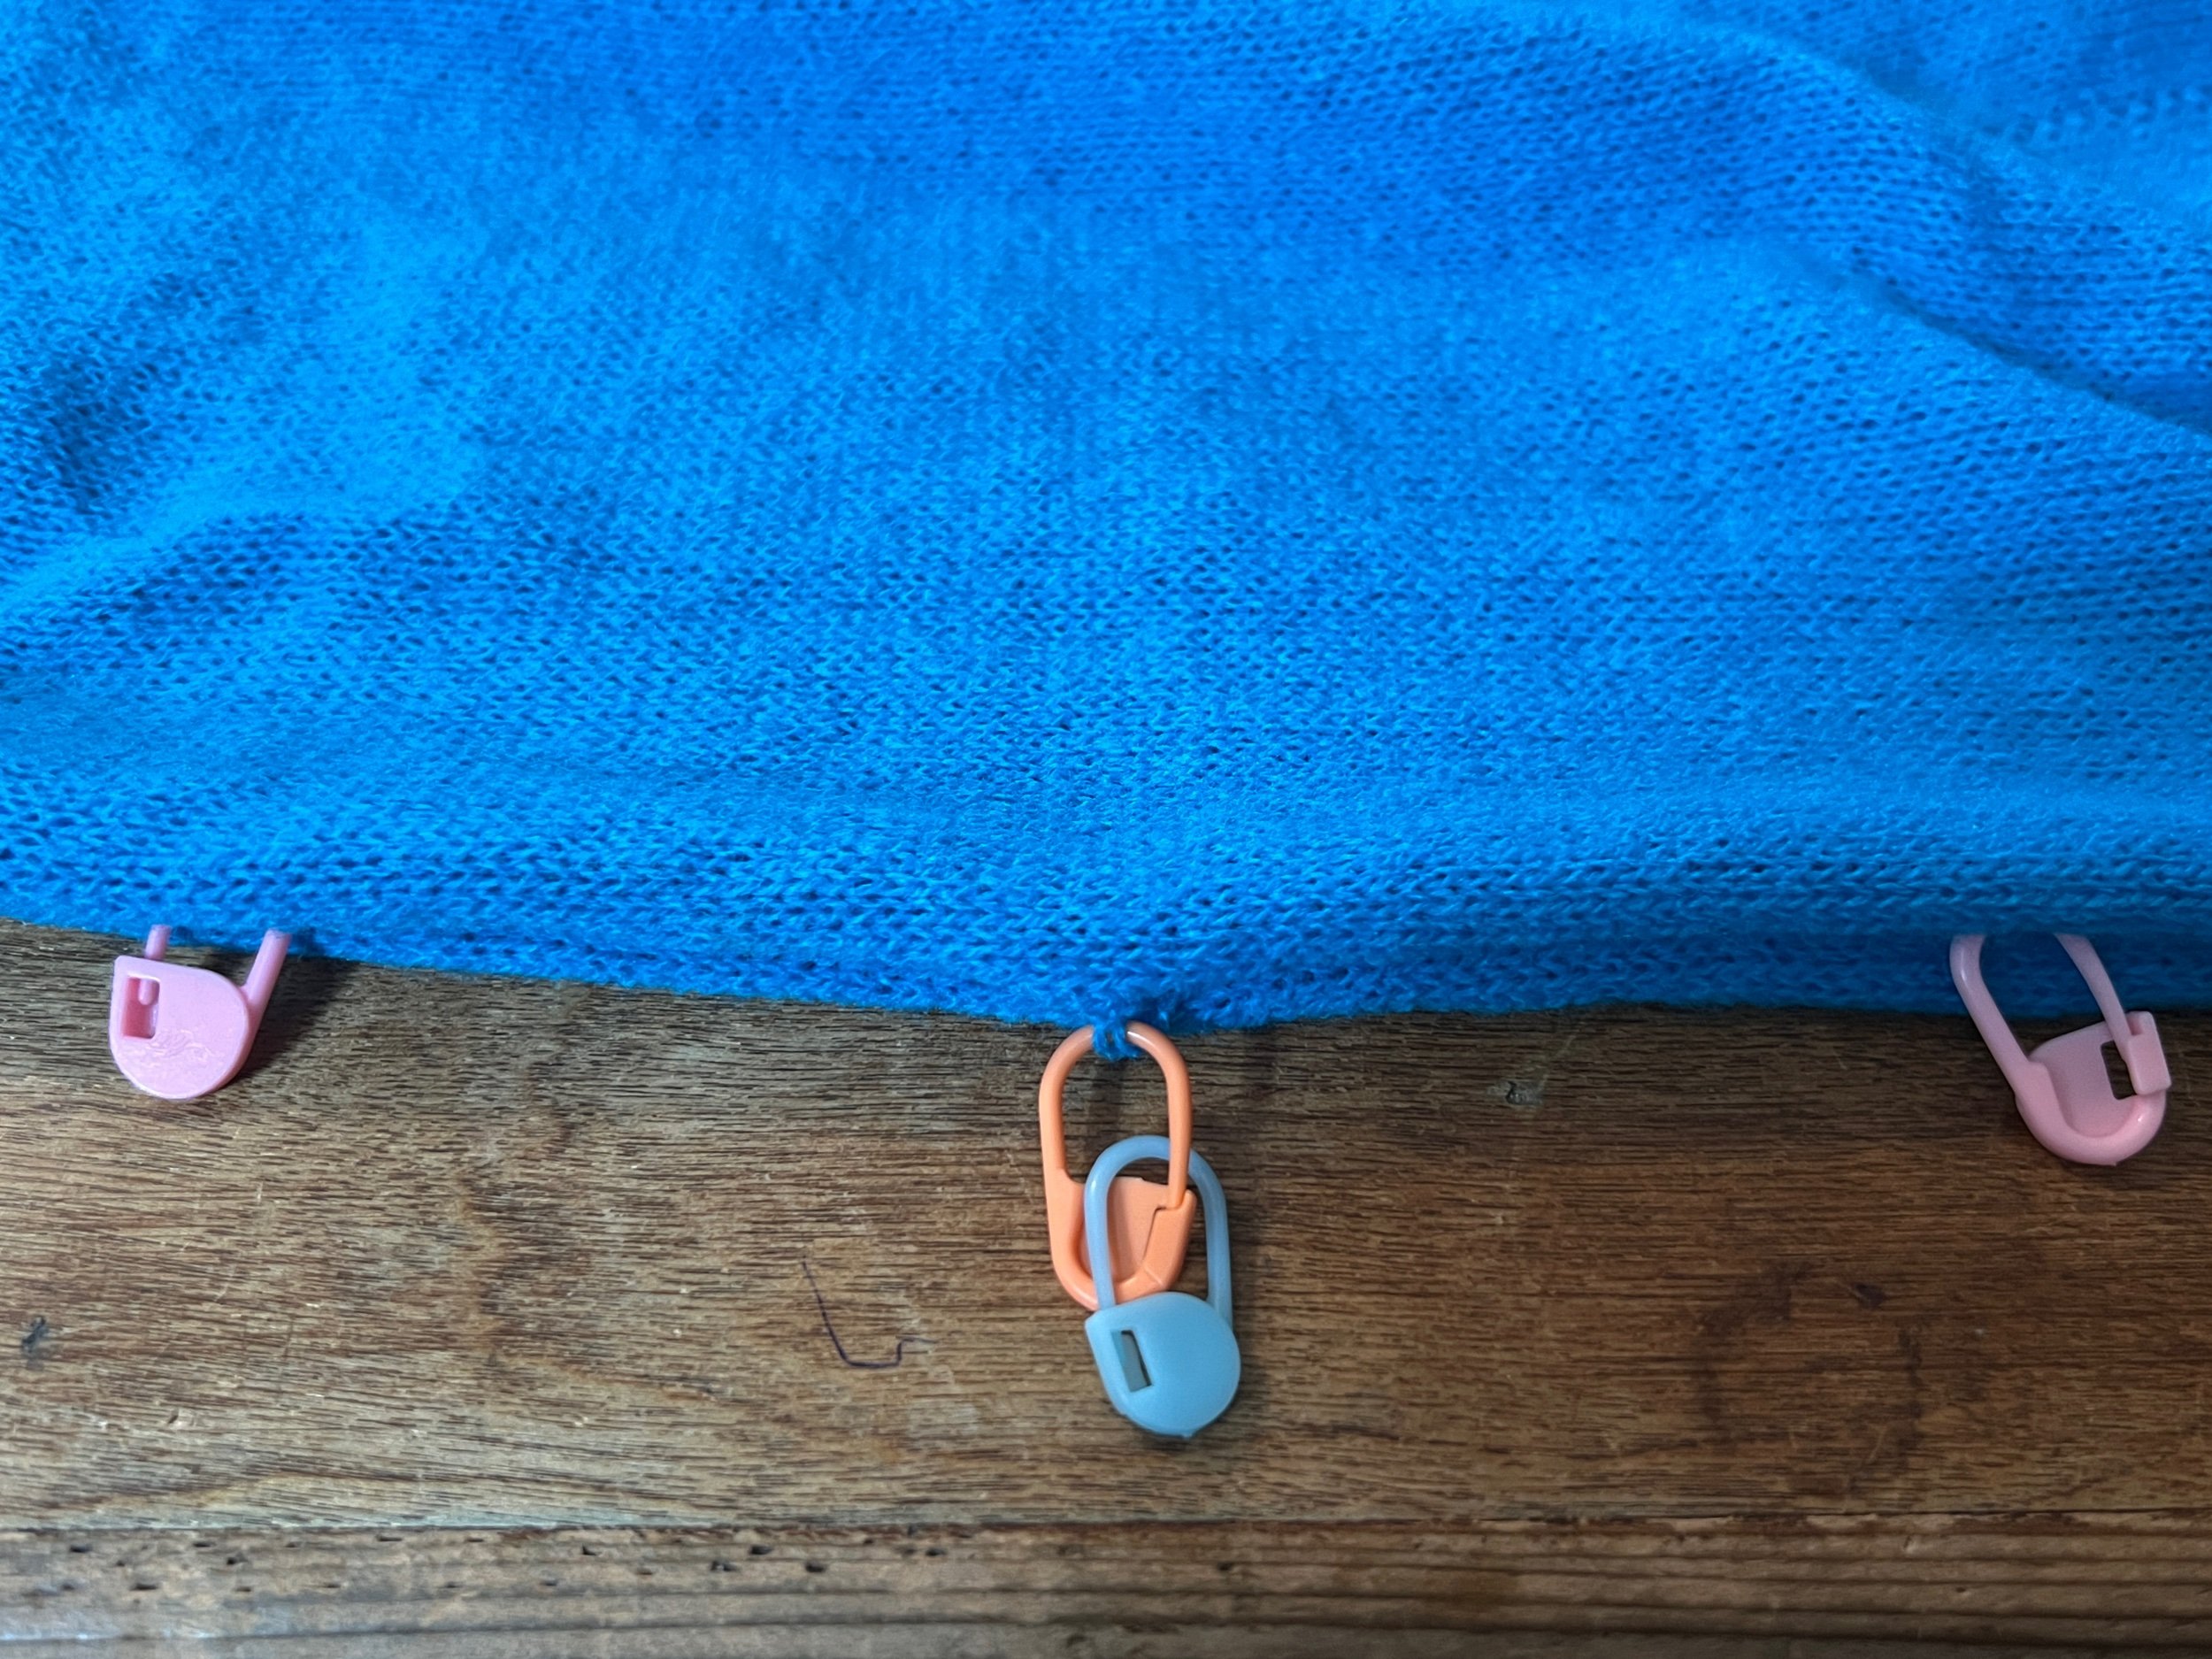
Sep 17, 2022 - two tubes are now joined and their approximate fingertip to fingertip fabric length plus extra for the cuff has been determined. Note: ensure to overestimate on the long side the length fingertip to fingertip as once worn, length is reduced by the fabric drape over the shoulders. I placed a stitch marker on the last joined bar and am now running a piece of scrap yarn on the live stitches so that nothing unravels.

This current step is creating the fabric at the very top that is the shoulder and sleeves.
As this is my prototype this is going to be a much slower process than I’d like. Instead of knowing in advance how many rows to work and end with scrap yarn, the extensive tube is being connected and edge prepped as I go.
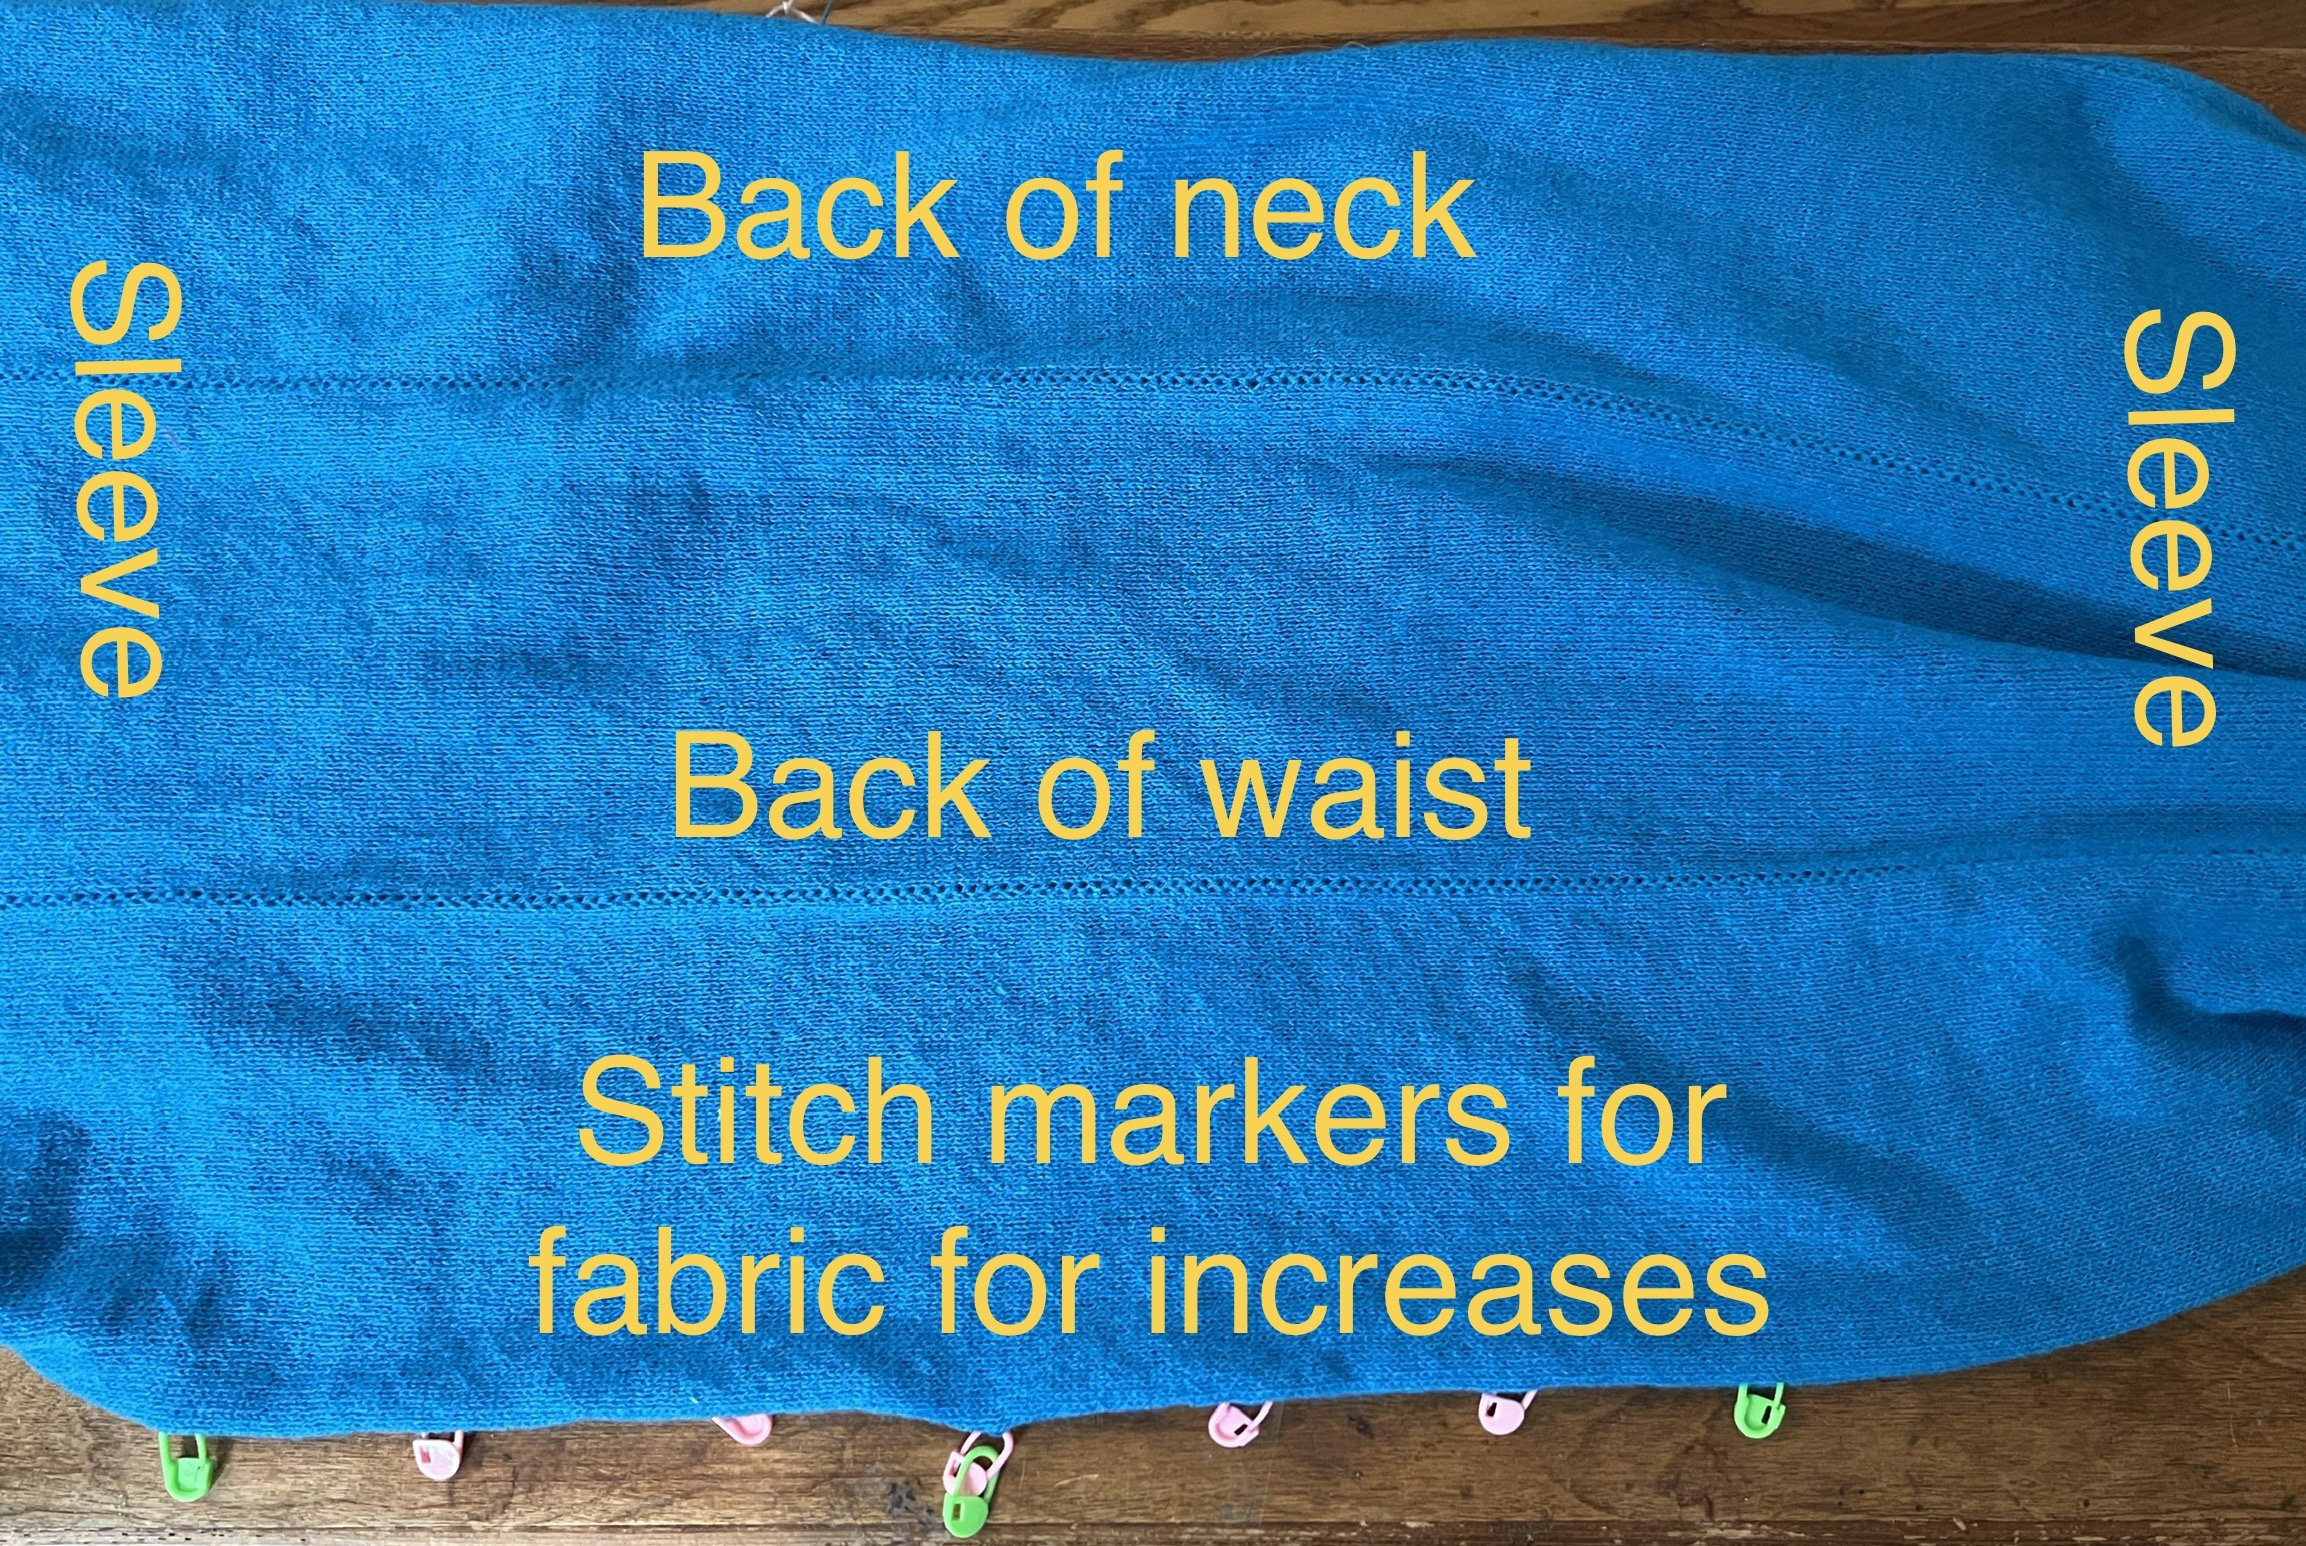
We now have three tubes joined and the cut tube edges “live stitch secured”. This segment is made slightly wider than needed so that a cuff can be created. I’ve folded the three tube segment to determine the neck which instructions state can be added 2-2.5” from the halfway fold. This fold vertically separates this garment for reference only. I marked the two rows in the fold and outlined the neckline at rows 29/30.
For reference I counted the rows of this fiber and knitted gauge from midpoint to fingertip fabric edge as 383 rows. So that’s 2x383+2=768 rows of fabric fingertip to fingertip.
Now to make things easier I am attaching half length tubes for the front of this coat from midpoint to fingertip so that the neck edges have their live stitches taken care of.


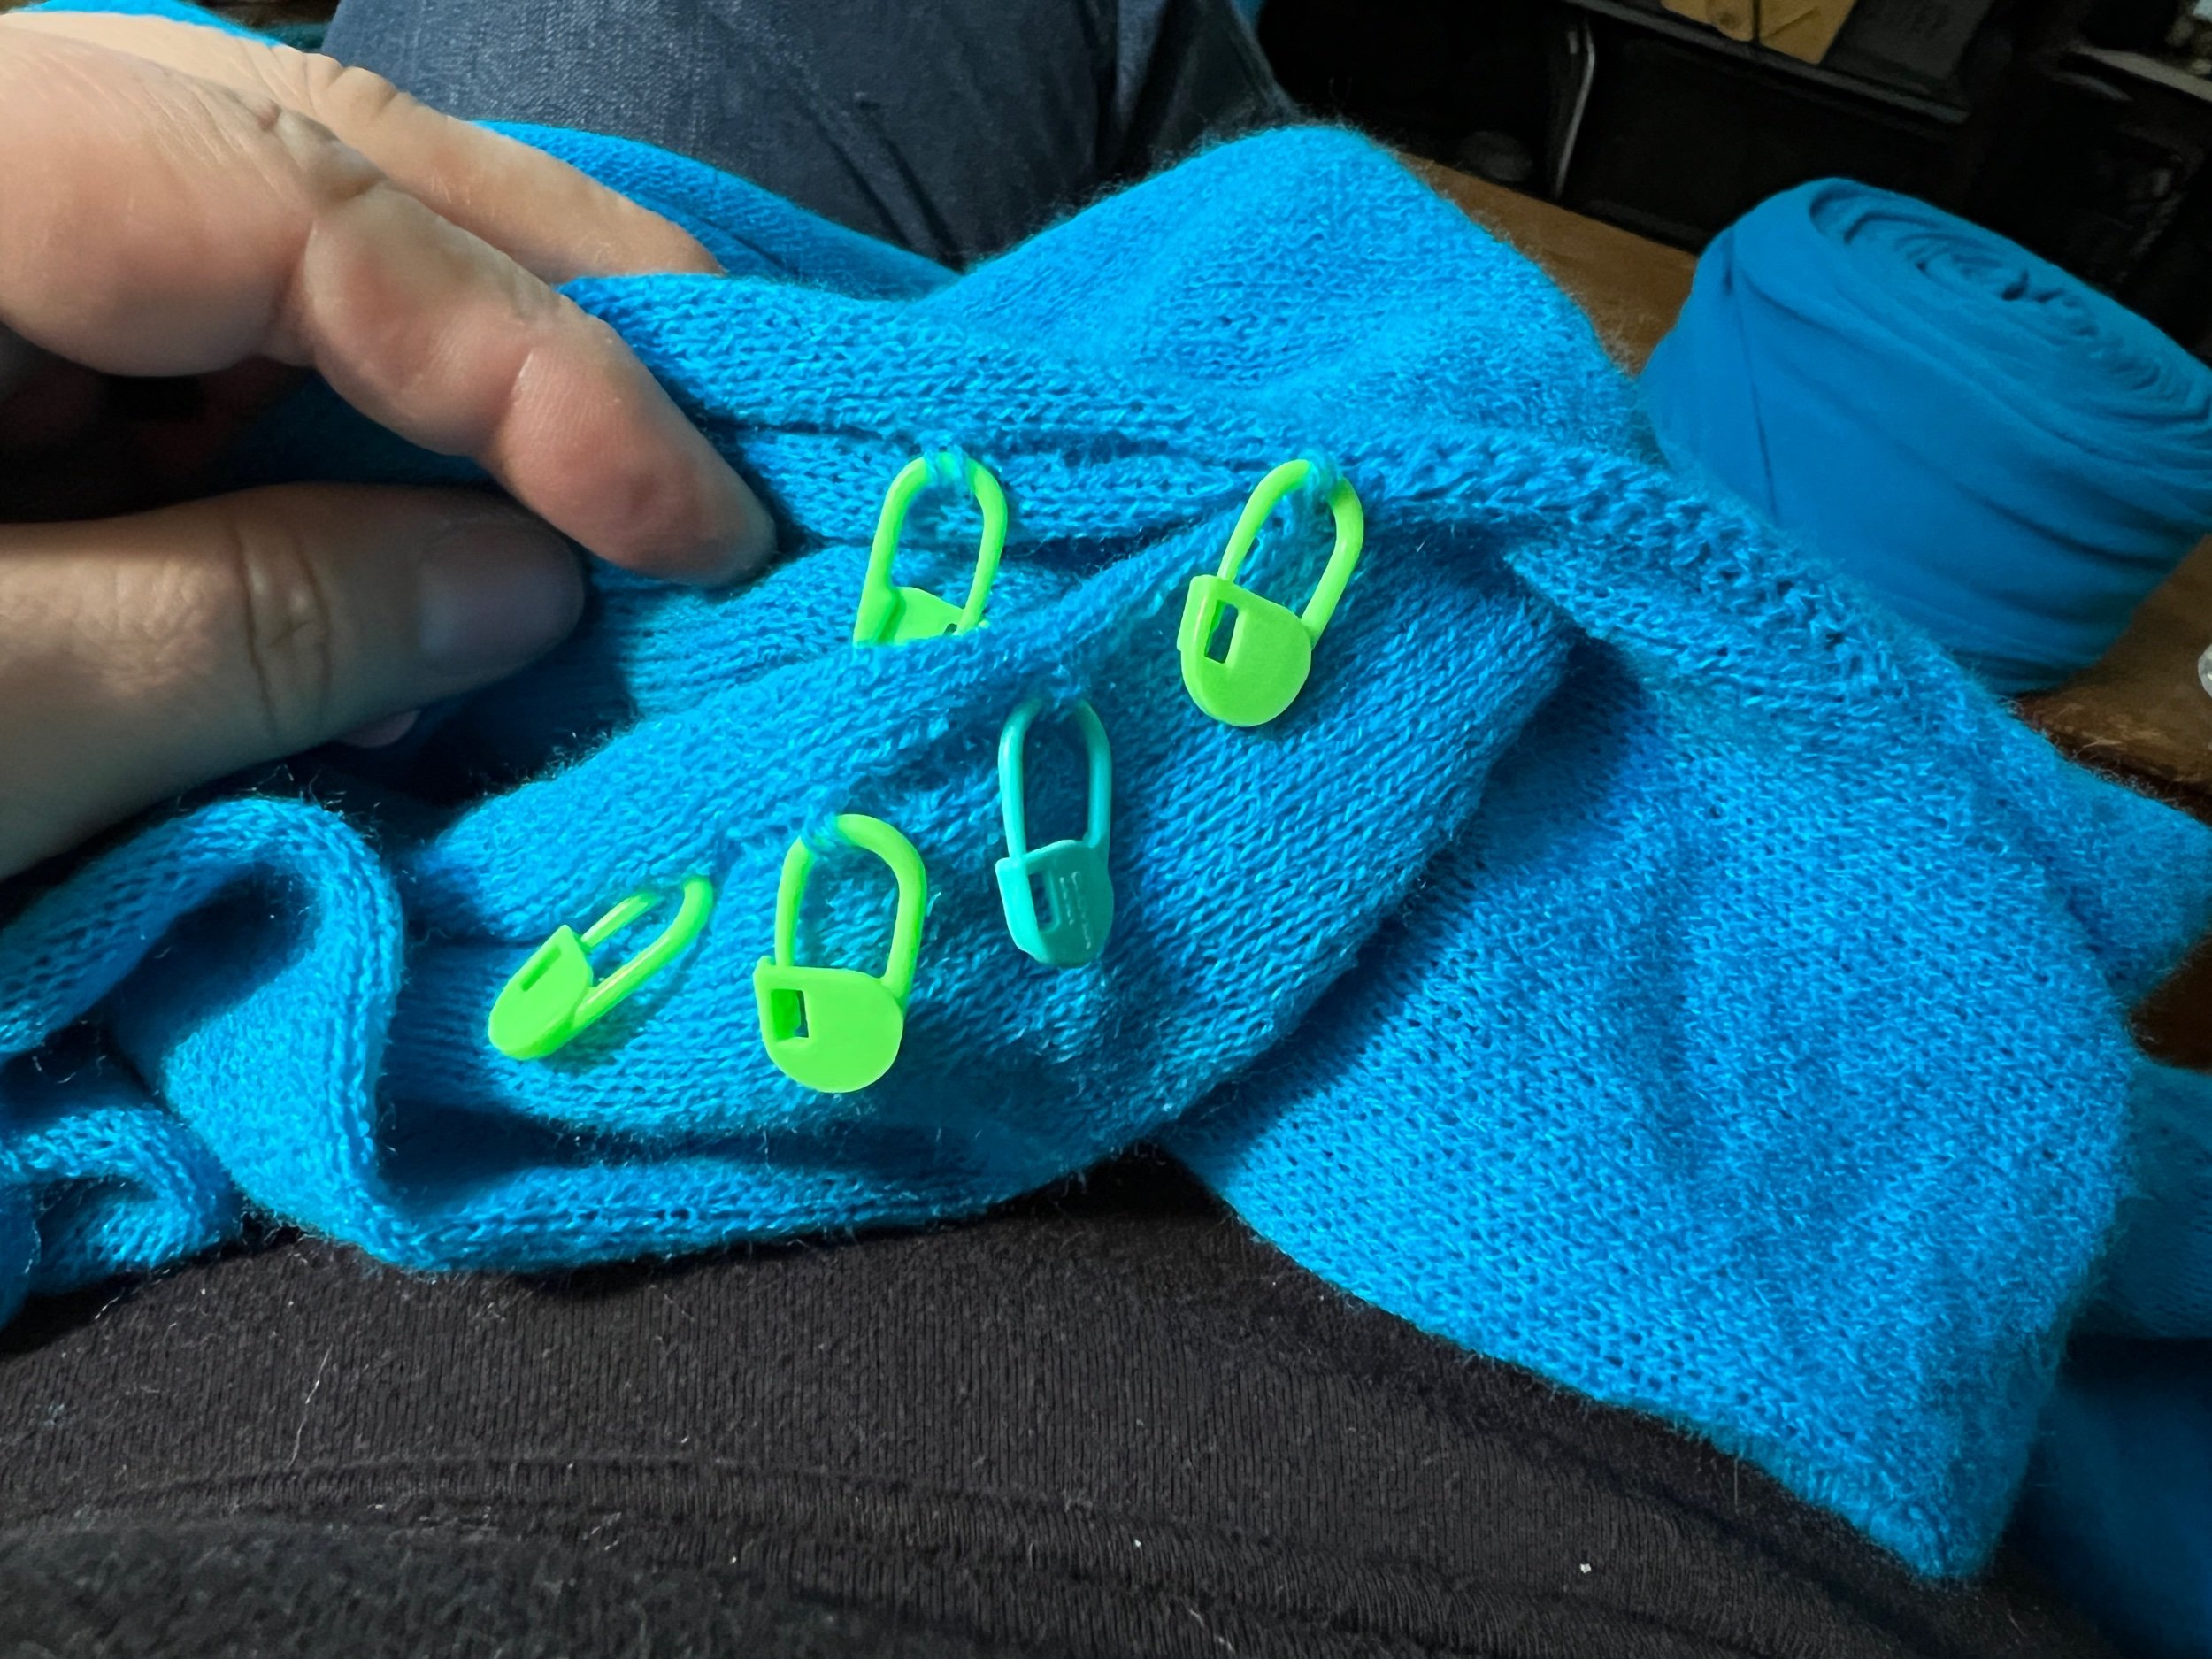
I am now at the point that I can connect the underarm areas on the sleeves - as laid out to accomplish on the last image above.
Joining segments goes much faster if I don’t try to also watch TV - last night I started an audiobook.
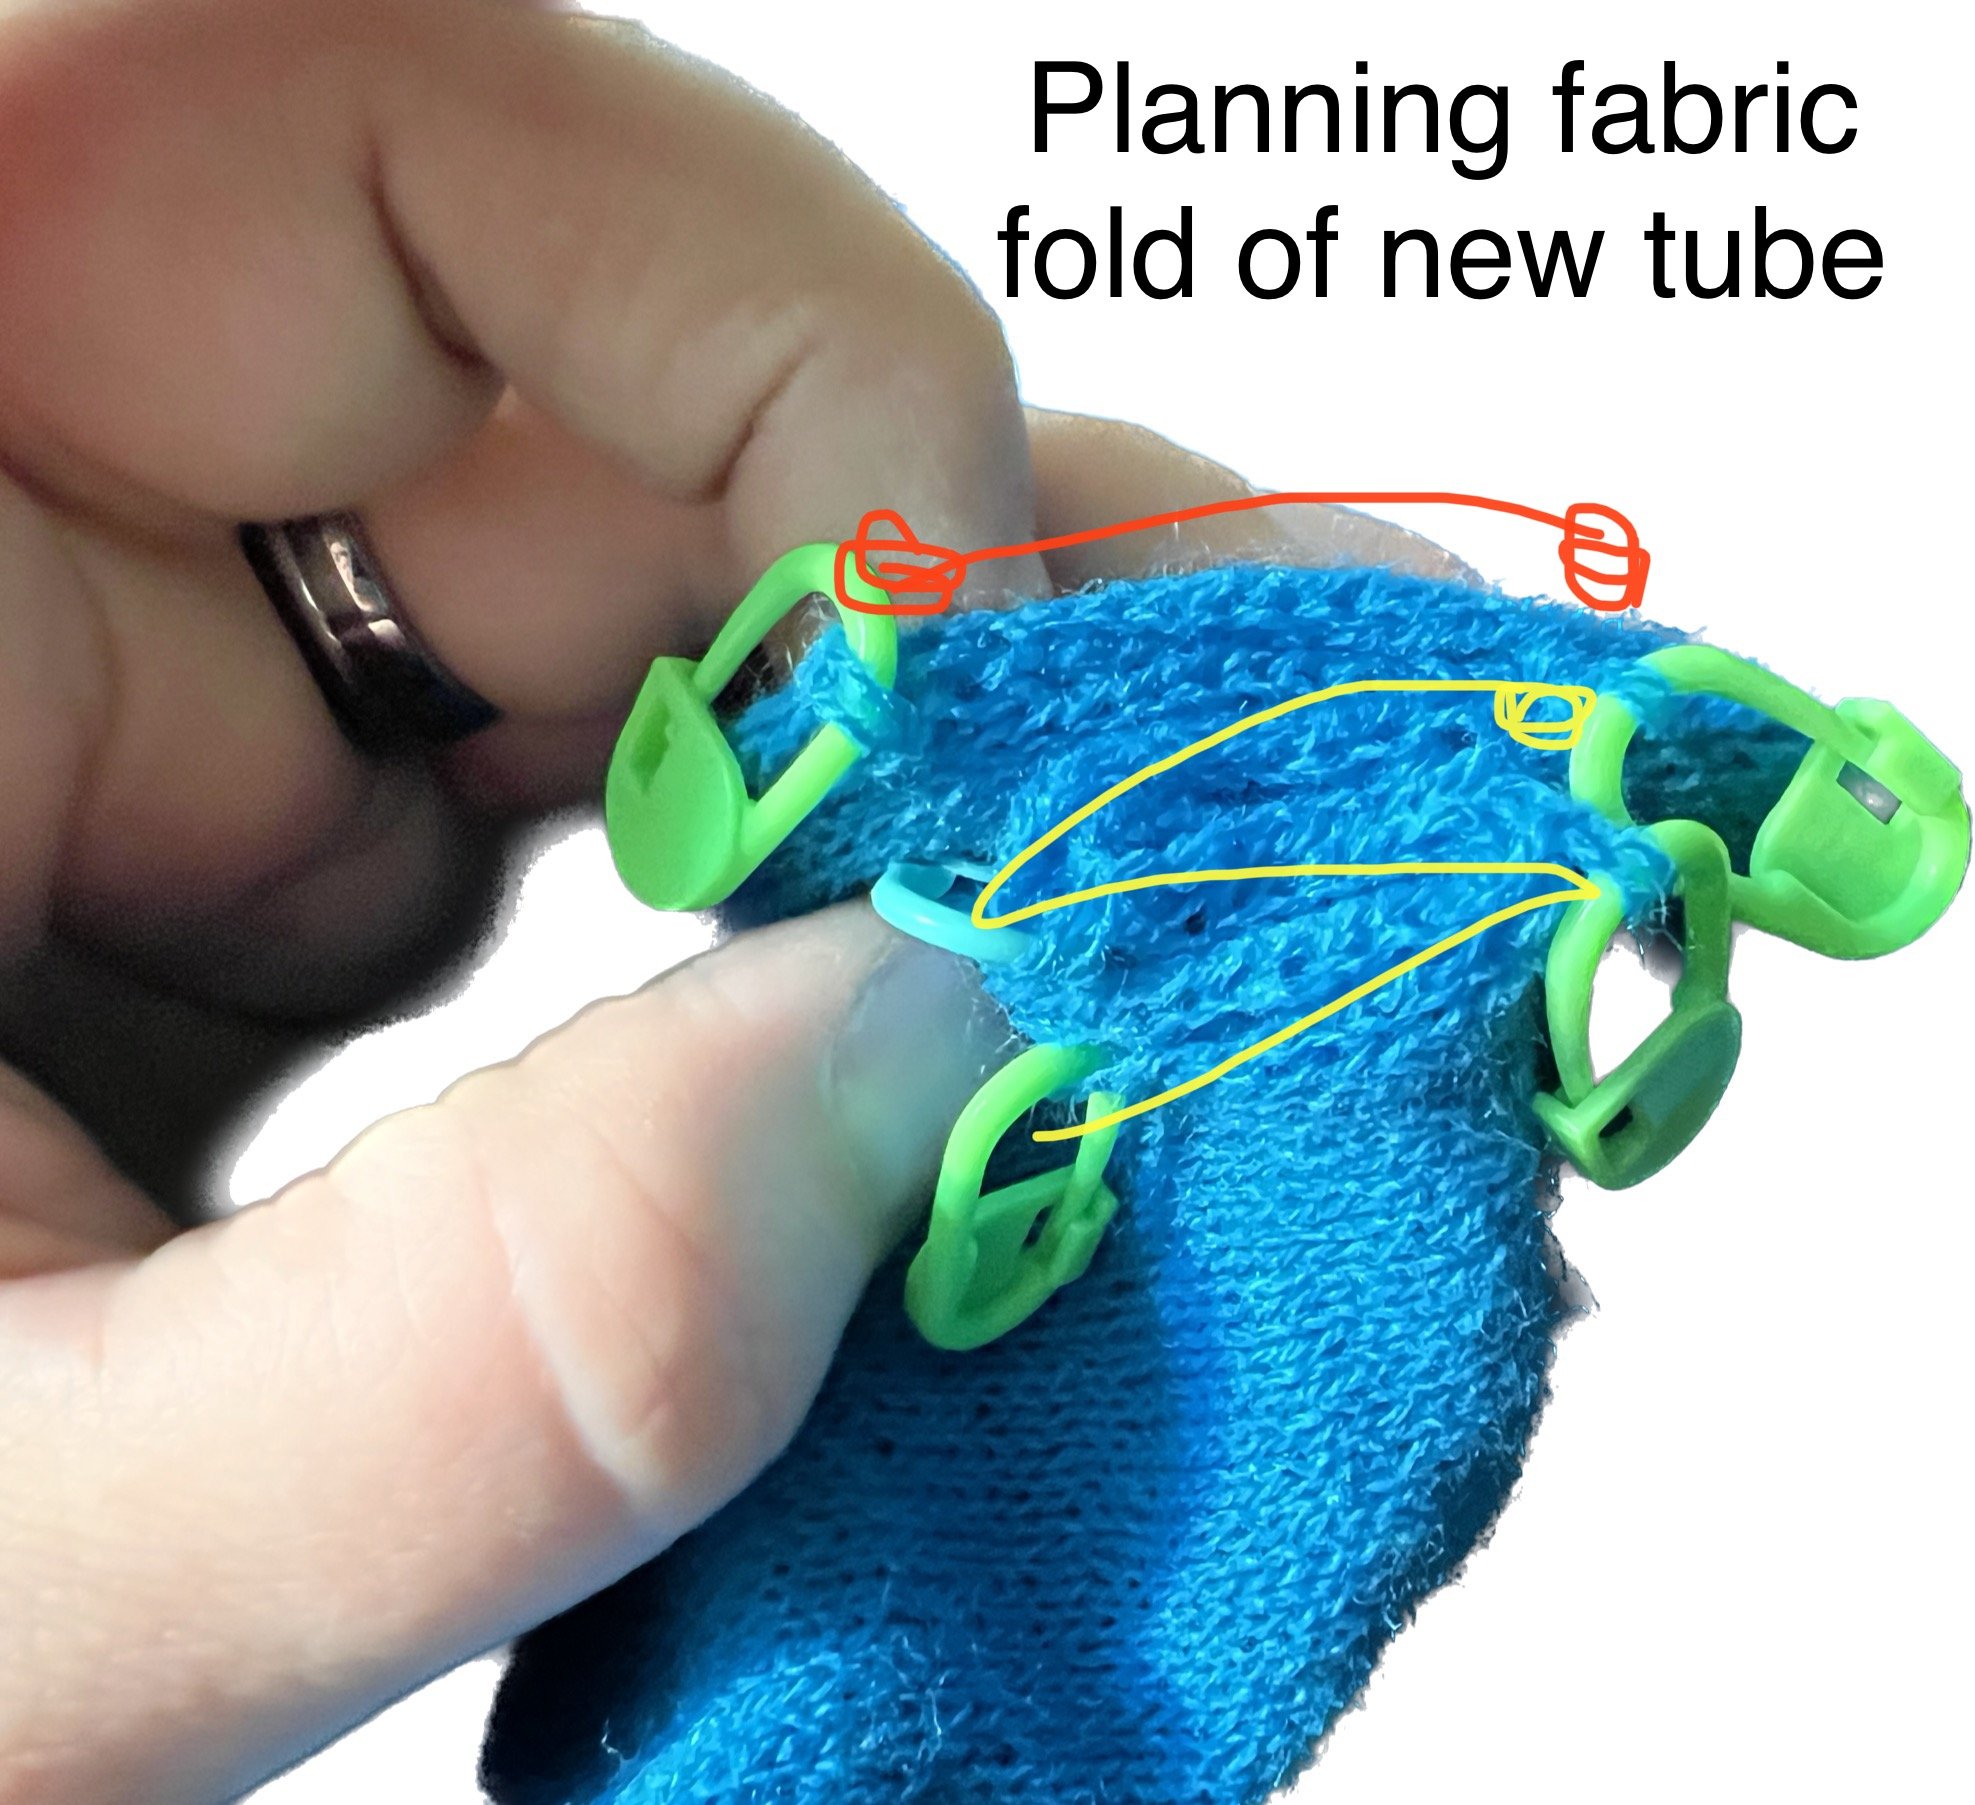
I’ve finished joining the bottom of each sleeve. Now I started joining a new panel which starts in the front, goes to the armpit and then will go over the back, other armpit then front on the opposite side. Before approaching the back segment I chose to plan out fabric increases which will appear as a fold so that the back will continue to be loose and drapey.
Ok so at this point all the tubes have been added and the next step is closing open tube joins.

I am planning to wear this Sat/Sun Sep 24/25, 2022 at the circular sock machine demo I organized at the awesome Knit City
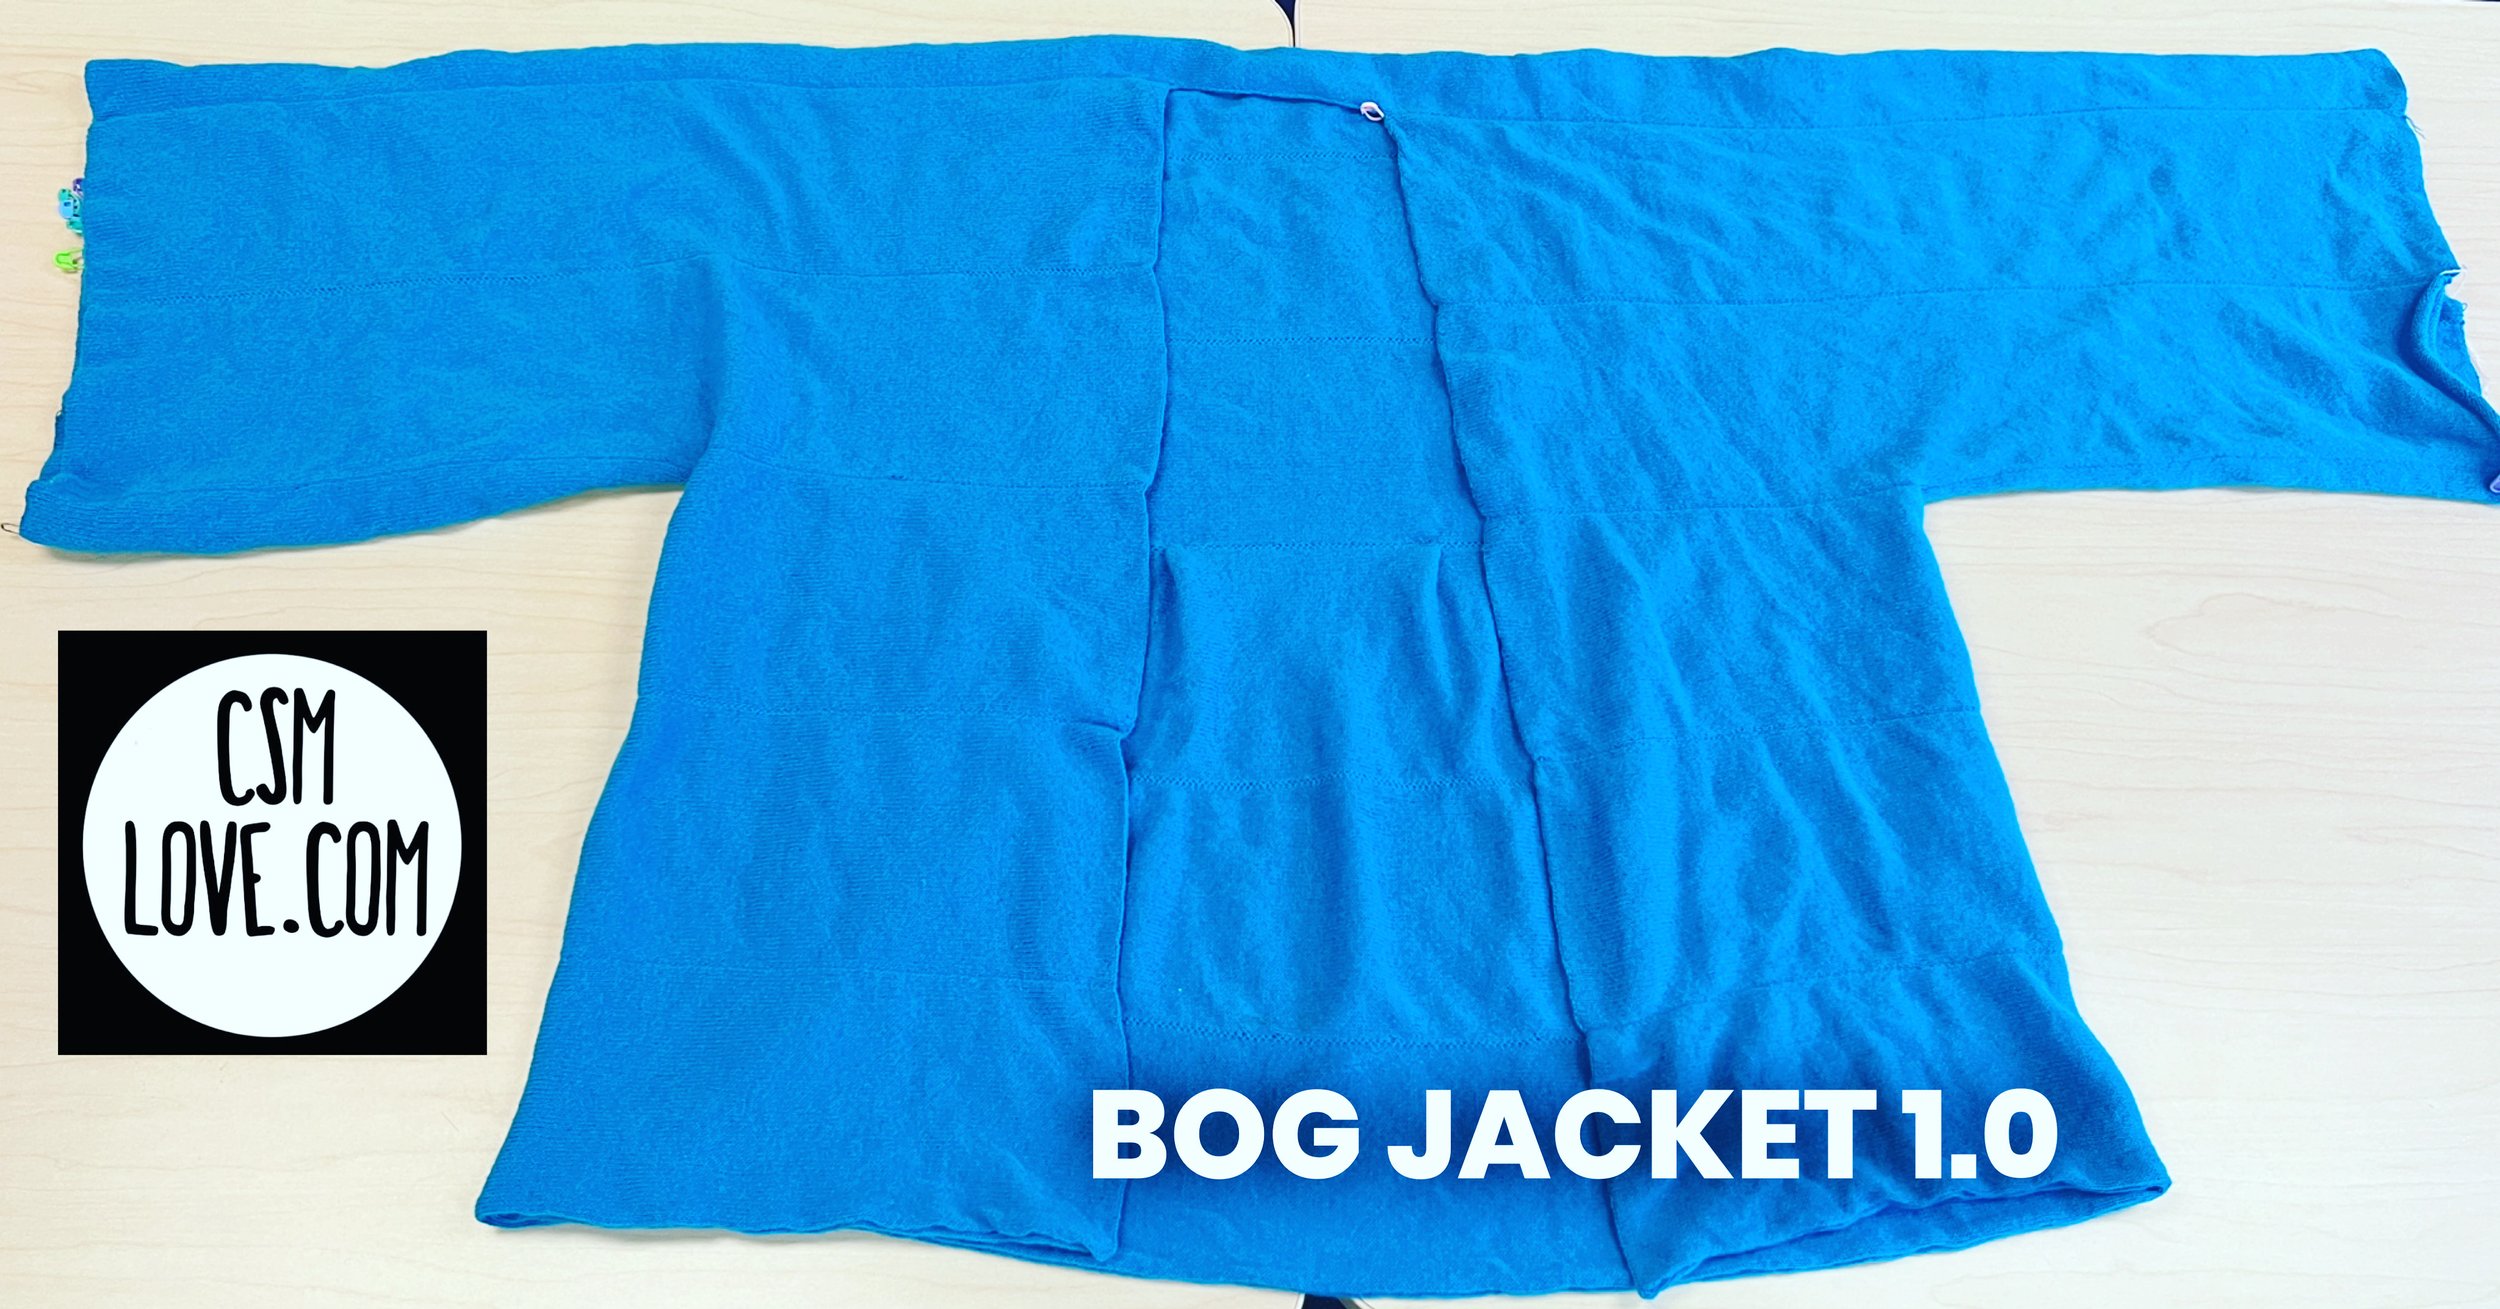
I probably won’t be adding to this post until after the event at this point so here’s a picture of it now.

August 2023 - I had held off finishing this as I felt it was a great visual to see the open tubes - to see it’s construction - (why it’s taken over a year to add further to this project), however all edges are now closed and now the final finishing needs to be planned. Easy shareable link: https://tinyurl.com/Bog-Jacket1