video

2022 Feb 4 - SweetGeorgia Waiting for a CSM

How wonderful! Felicia of SweetGeorgia Yarns has just shared a lovely video blog entry on YouTube about her CSM current journey. Felicia had been in touch in January and we arranged a in person info session on January 21.

Let’s be clear - Circular Sock Machines - while they have SOCK in their name - aren’t a machine limited to just making socks. They just make socks EASIER.

Some of the items you can make with this style of machine (starting with some of the non-sock items I’ve done myself)


Indeed often a new craft involves and investment that at first might seem a mountain and something outside of one’s considerations, however when it comes right down to it, aren’t you worth it? Waiting until you retire is often one choice but wouldn’t you want to use it now?

COSTS: Most of us cannot buy a car with the current funds in our wallet - it stands to reason that something as well engineered as a Circular Sock Machine will require more than a cup of coffee - however these don’t depreciate in value so if it isn’t up your alley you can usually sell it for what you paid.

SweetGeorgia website post

The easy shortcut url of this video is https://tinyurl.com/SweetGeorgiaCSM


Shareable link: https://youtu.be/utLAB7xU_kk


SEE ALL BLOG ENTRIES ON THE BLOG INDEX PAGE | Follow us on a variety of social sites see TAPLINK | Interested in Circular Sock Machines? See the CSM START Menu first page. | Seek something specific? Checkout the Index page.


2020 Oct 3 - Video Recording and Editing

THINGS I USE:

-iPhone 13 pro max with 512gb of onboard storage (running IOS 15.2.1 most recent)
-iPad 5th generation with 128gb of onboard storage (running IOS 14.0.1)
-Desk clamp iPad/iPhone holder
-Tripod
-Two adjustable Ikea bell lights
-Two Brightech Ring Lights (one situated over the machine with the lens out, the other beside and often unused with the lens in for close-ups as needed)
-IOS SPLICE application which is now a paid annually application.

I’ve had a few requests recently on what I use to record the videos I create.

Basic clamp holder - ipad/mobile phone

I realized pretty quick in 2018 when I basically started using my vintage Legare 400, that something would be needed to hold my iPhone if I wanted to take clear and stable videos. (I started with an iPhone 8+ with 256gb storage purchased in 2017 although upgraded around Xmas 2021).

IMG_1075.jpeg

Initially I bought a clampable, bendable ipad holder and then bought an adapter so that I may add my iphone to this mount. This is a great entry level way to be hands free however if clamped to the same table a CSM is clamped to, will jiggle frustratingly once you start using the CSM. One approach was to clamp the mount to a nearby chair and to bring that chair near to the machine. This works nicely. I use this mount with my ipad in its heavy duty protective ipad case at public demos when wanting to demo a video or two while demonstrating my machine. I ensure to securely also connect the ipad to something stable so that someone doesn’t get the idea to grab and run - just in case.

I then, with the help of my boyfriend, looked into a more versatile solution, a floor free standing tripod stand with boom style arm. Purchased also with a iphone adapter this is what I have used since Dec 2019. I’ve since found the easiest video access is to setup the boom on my left as I set at my computer desk area. With two adjustable bell lights and two ring lights (although I usually just use the one ring light over the machine) - I find this provides enough options for zooming in and enough light to pretty much record anything.

As I use an iPhone I’ve found using the IOS application SPLICE to be a perfect solution - as of 2020 it now is a paid program - I pay a yearly fee for the least cost.

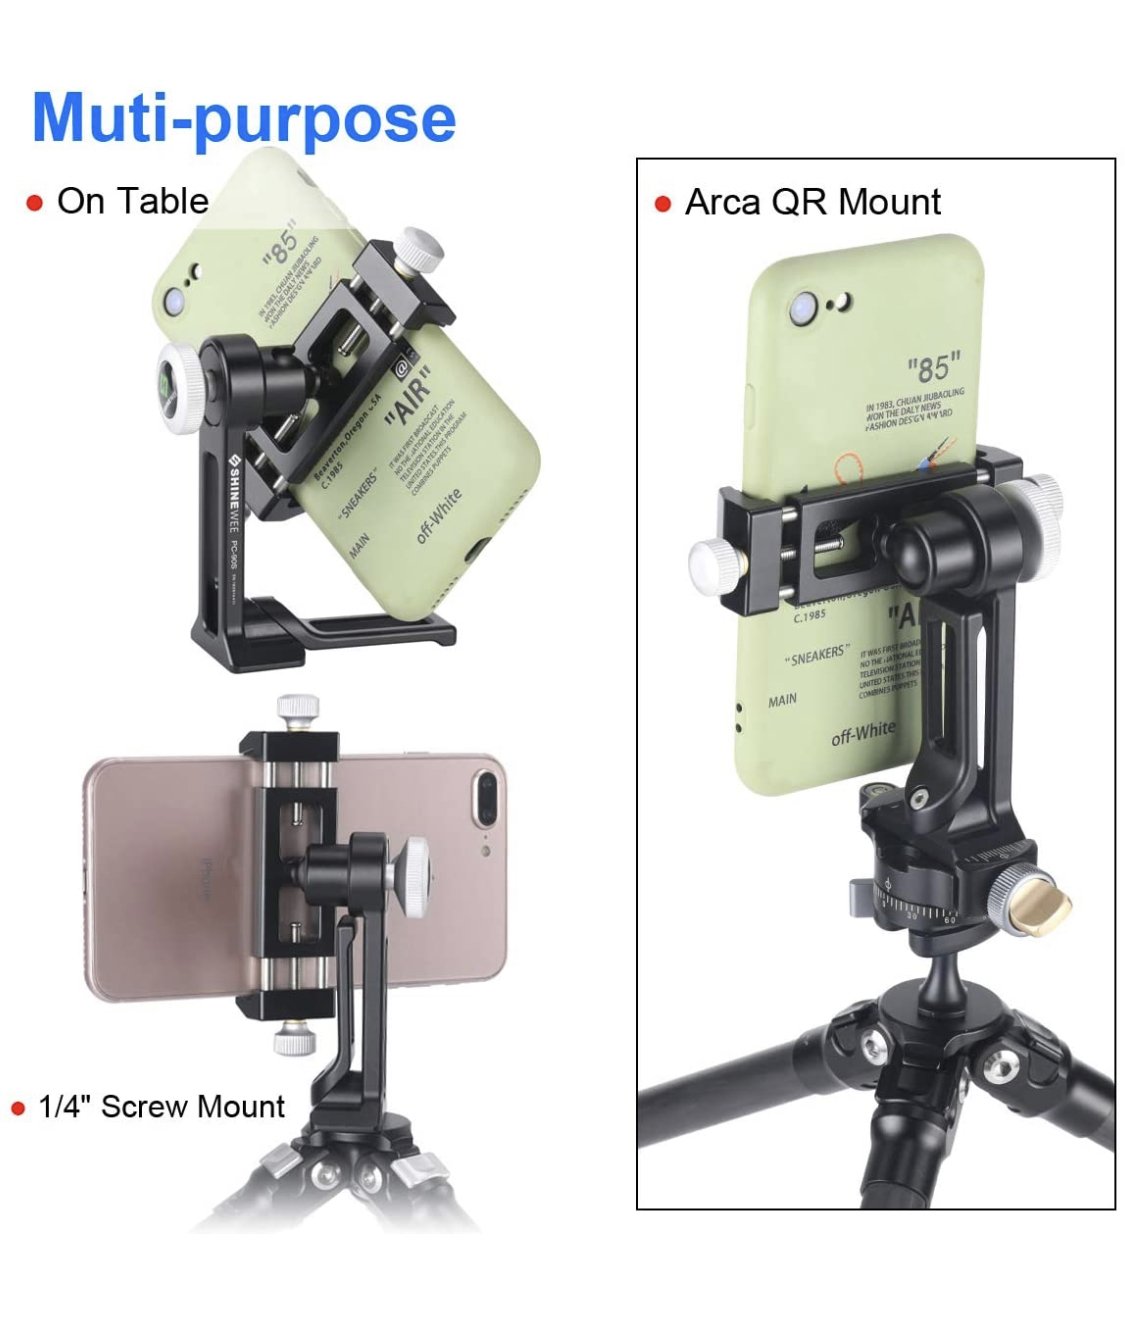
This is what I do when I record. I setup my tripod with lights etc and record while I work on my CSM. I’ve found the best alignment for me is to have the tripod on the right side of my machine behind and to the side with the arm bringing it closer. I add a weight to the far tripod to help counterbalance it. I always record with my iPhone wall adapter plugged in with an extra long power cord for reliable recording. To record I can use the generic iOS video application but sometimes prefer to use the application that allows me to pause recording (which the standard iOS application doesn’t do). I believe it’s called MoviePro.

I edit any images with a paid font added photo applications (text art and my older font candy+) on my iphone and transfer all supporting images over to my ipad via AirDrop.

Often the space I’m recording in is being shared by my boyfriend playing computer games not far away so I prefer to record silent videos however due to upgrades to splice I am considering overdubbing (record silent and then on a version of the project, record the sound).

Due to file sizes in the past I had issues where I couldn’t AirDrop my iphone files to my ipad. And because when you edit files in SPLICE you still can’t delete them from your device until the final exported video is done, and during export your device (iphone) will be unavailable for any use for up to an hour and sometimes longer, transferring all to my ipad makes more sense.

Sometimes when the final file is being exported from SPLICE it fails (rarely but it means relaunching the export of all your changes and takes a lot of time while it’s exporting. I usually modify and adjust a couple times so I export more than once - each file cannot be deleted if it’s being used for the next process in the application so while I’ve gone way overboard with device storage, one does need room to play.

When I have a product I like I either upload it to YouTube from my iPad, my iPhone or push it to the desktop computer to speed up that part

Once uploading has finished I add a screen shot I prefer to be shown as the display image and then download a backup to my computer as it’s a smaller file. I am now looking into creating YouTube chapters for segments easy to navigate to in the video and adding correct text to close captioning to help me hose viewers who are hearing disabled.
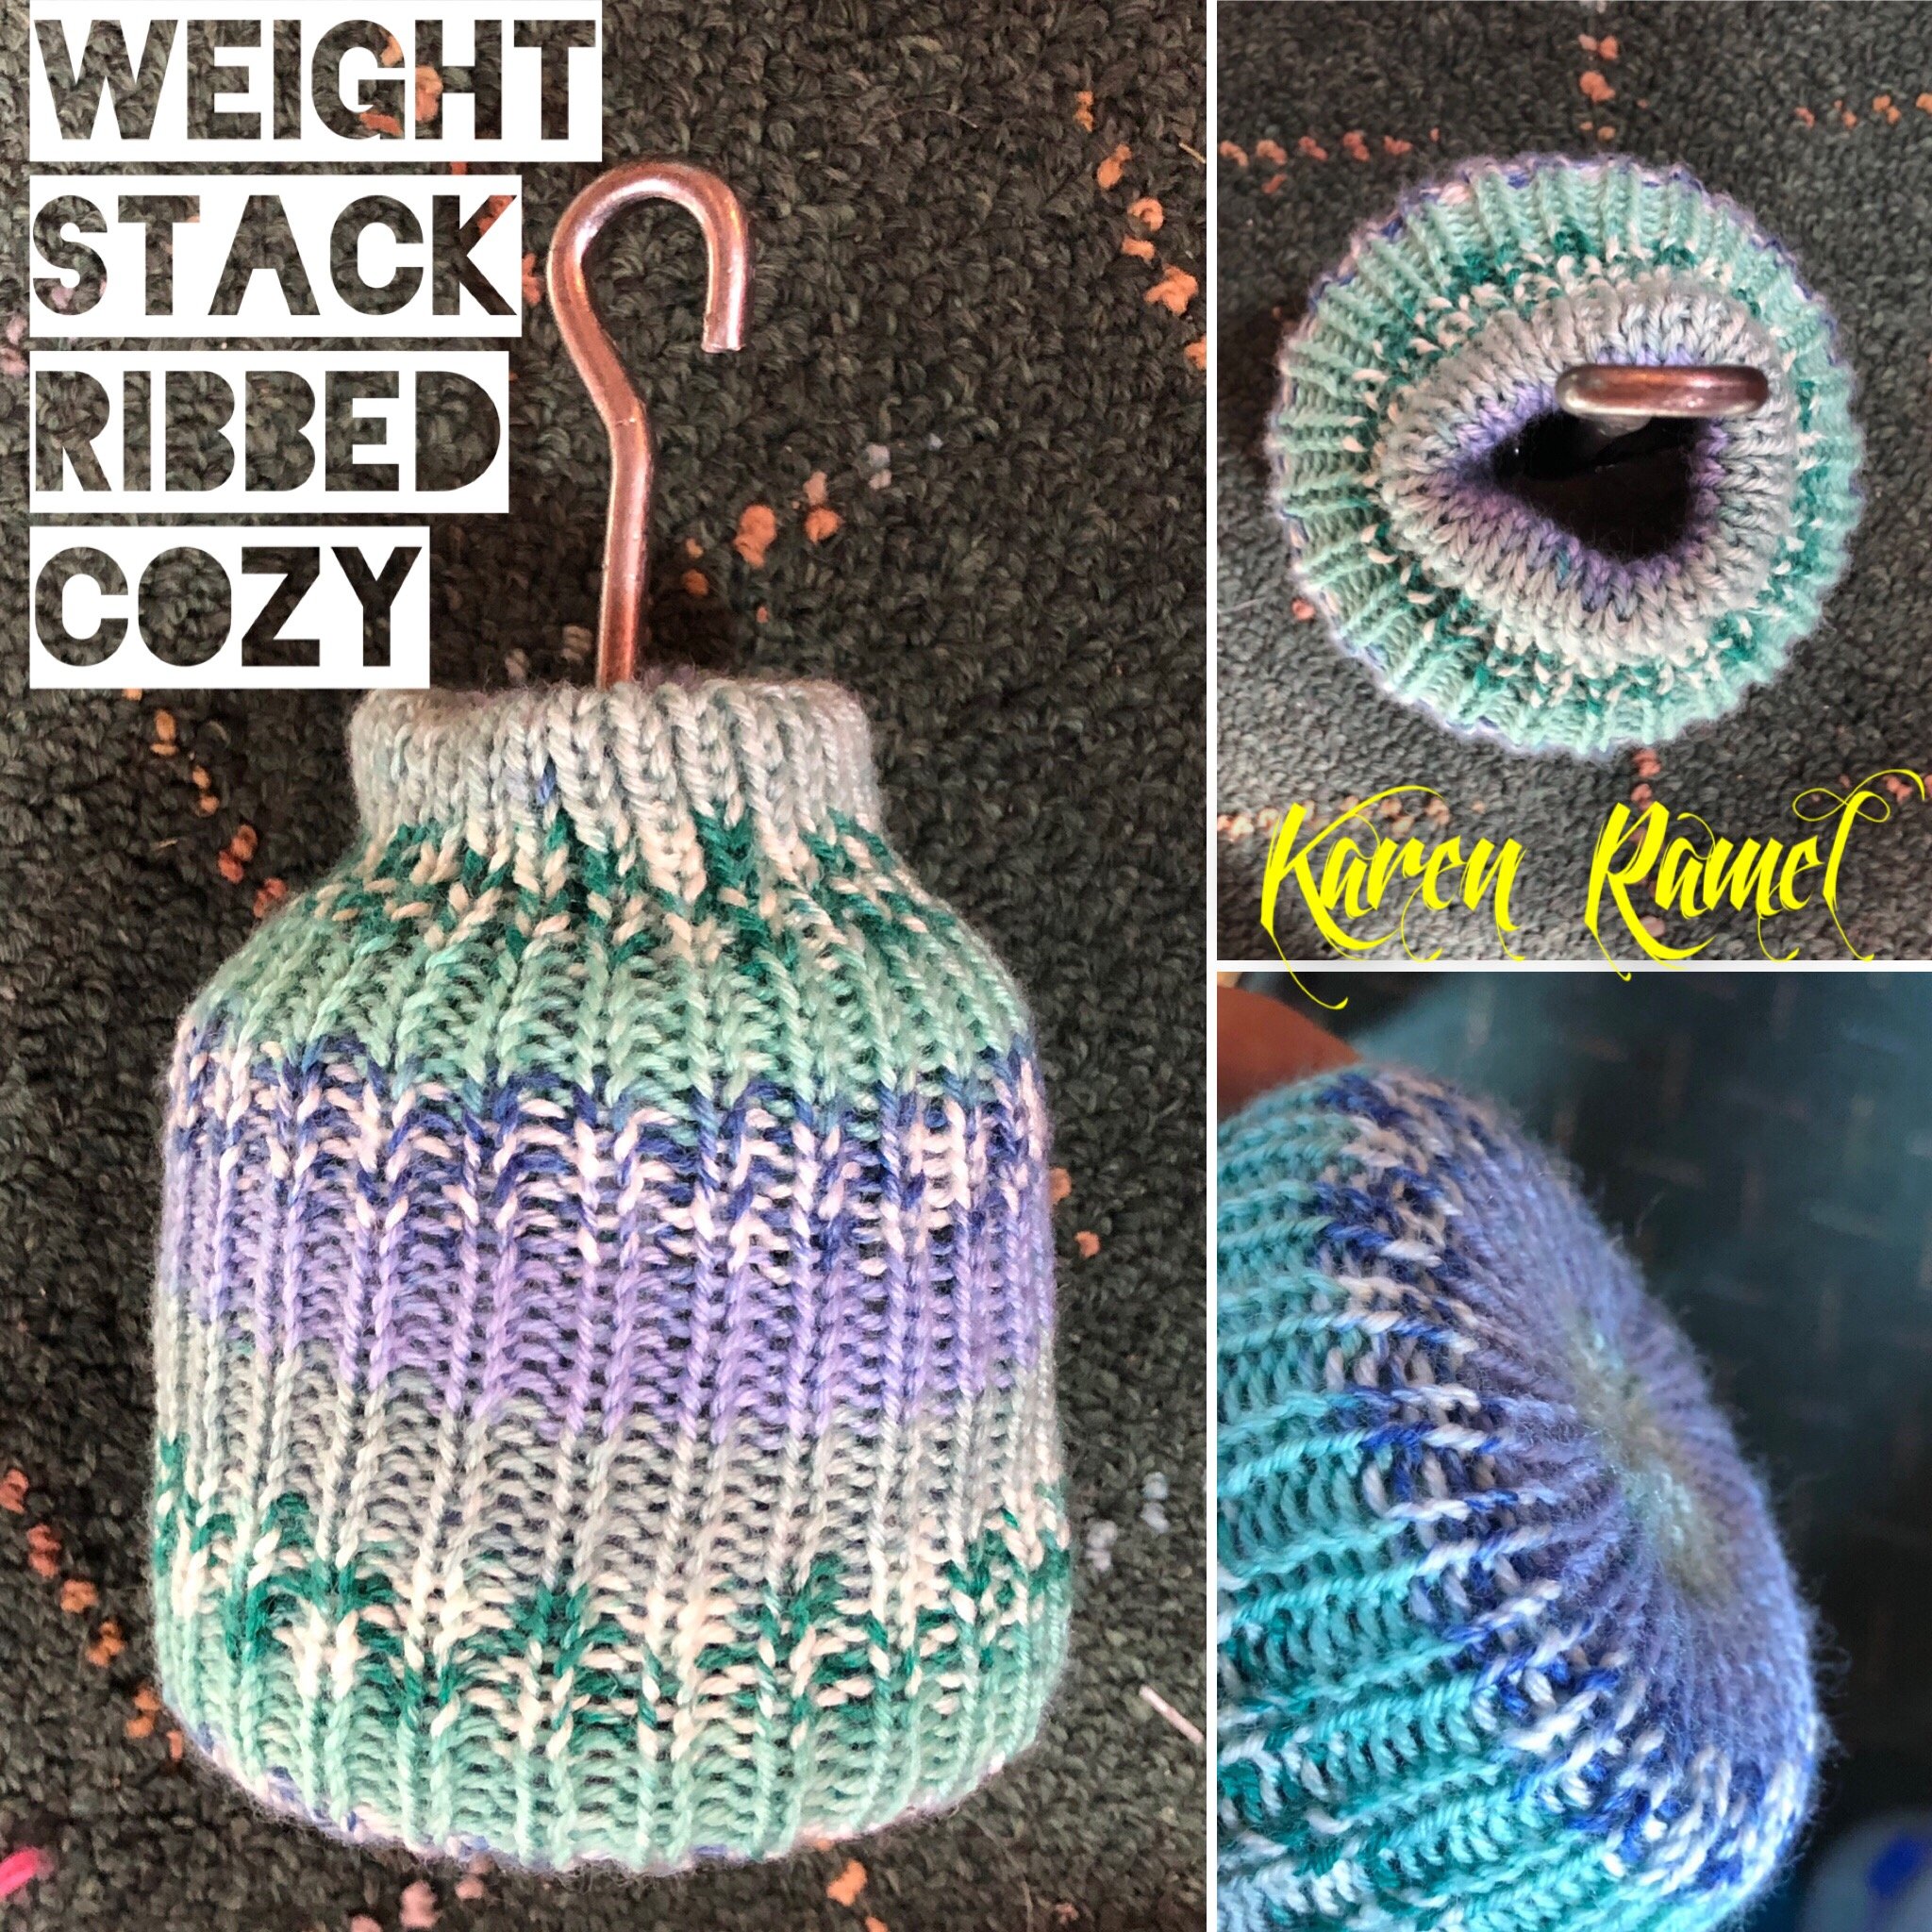
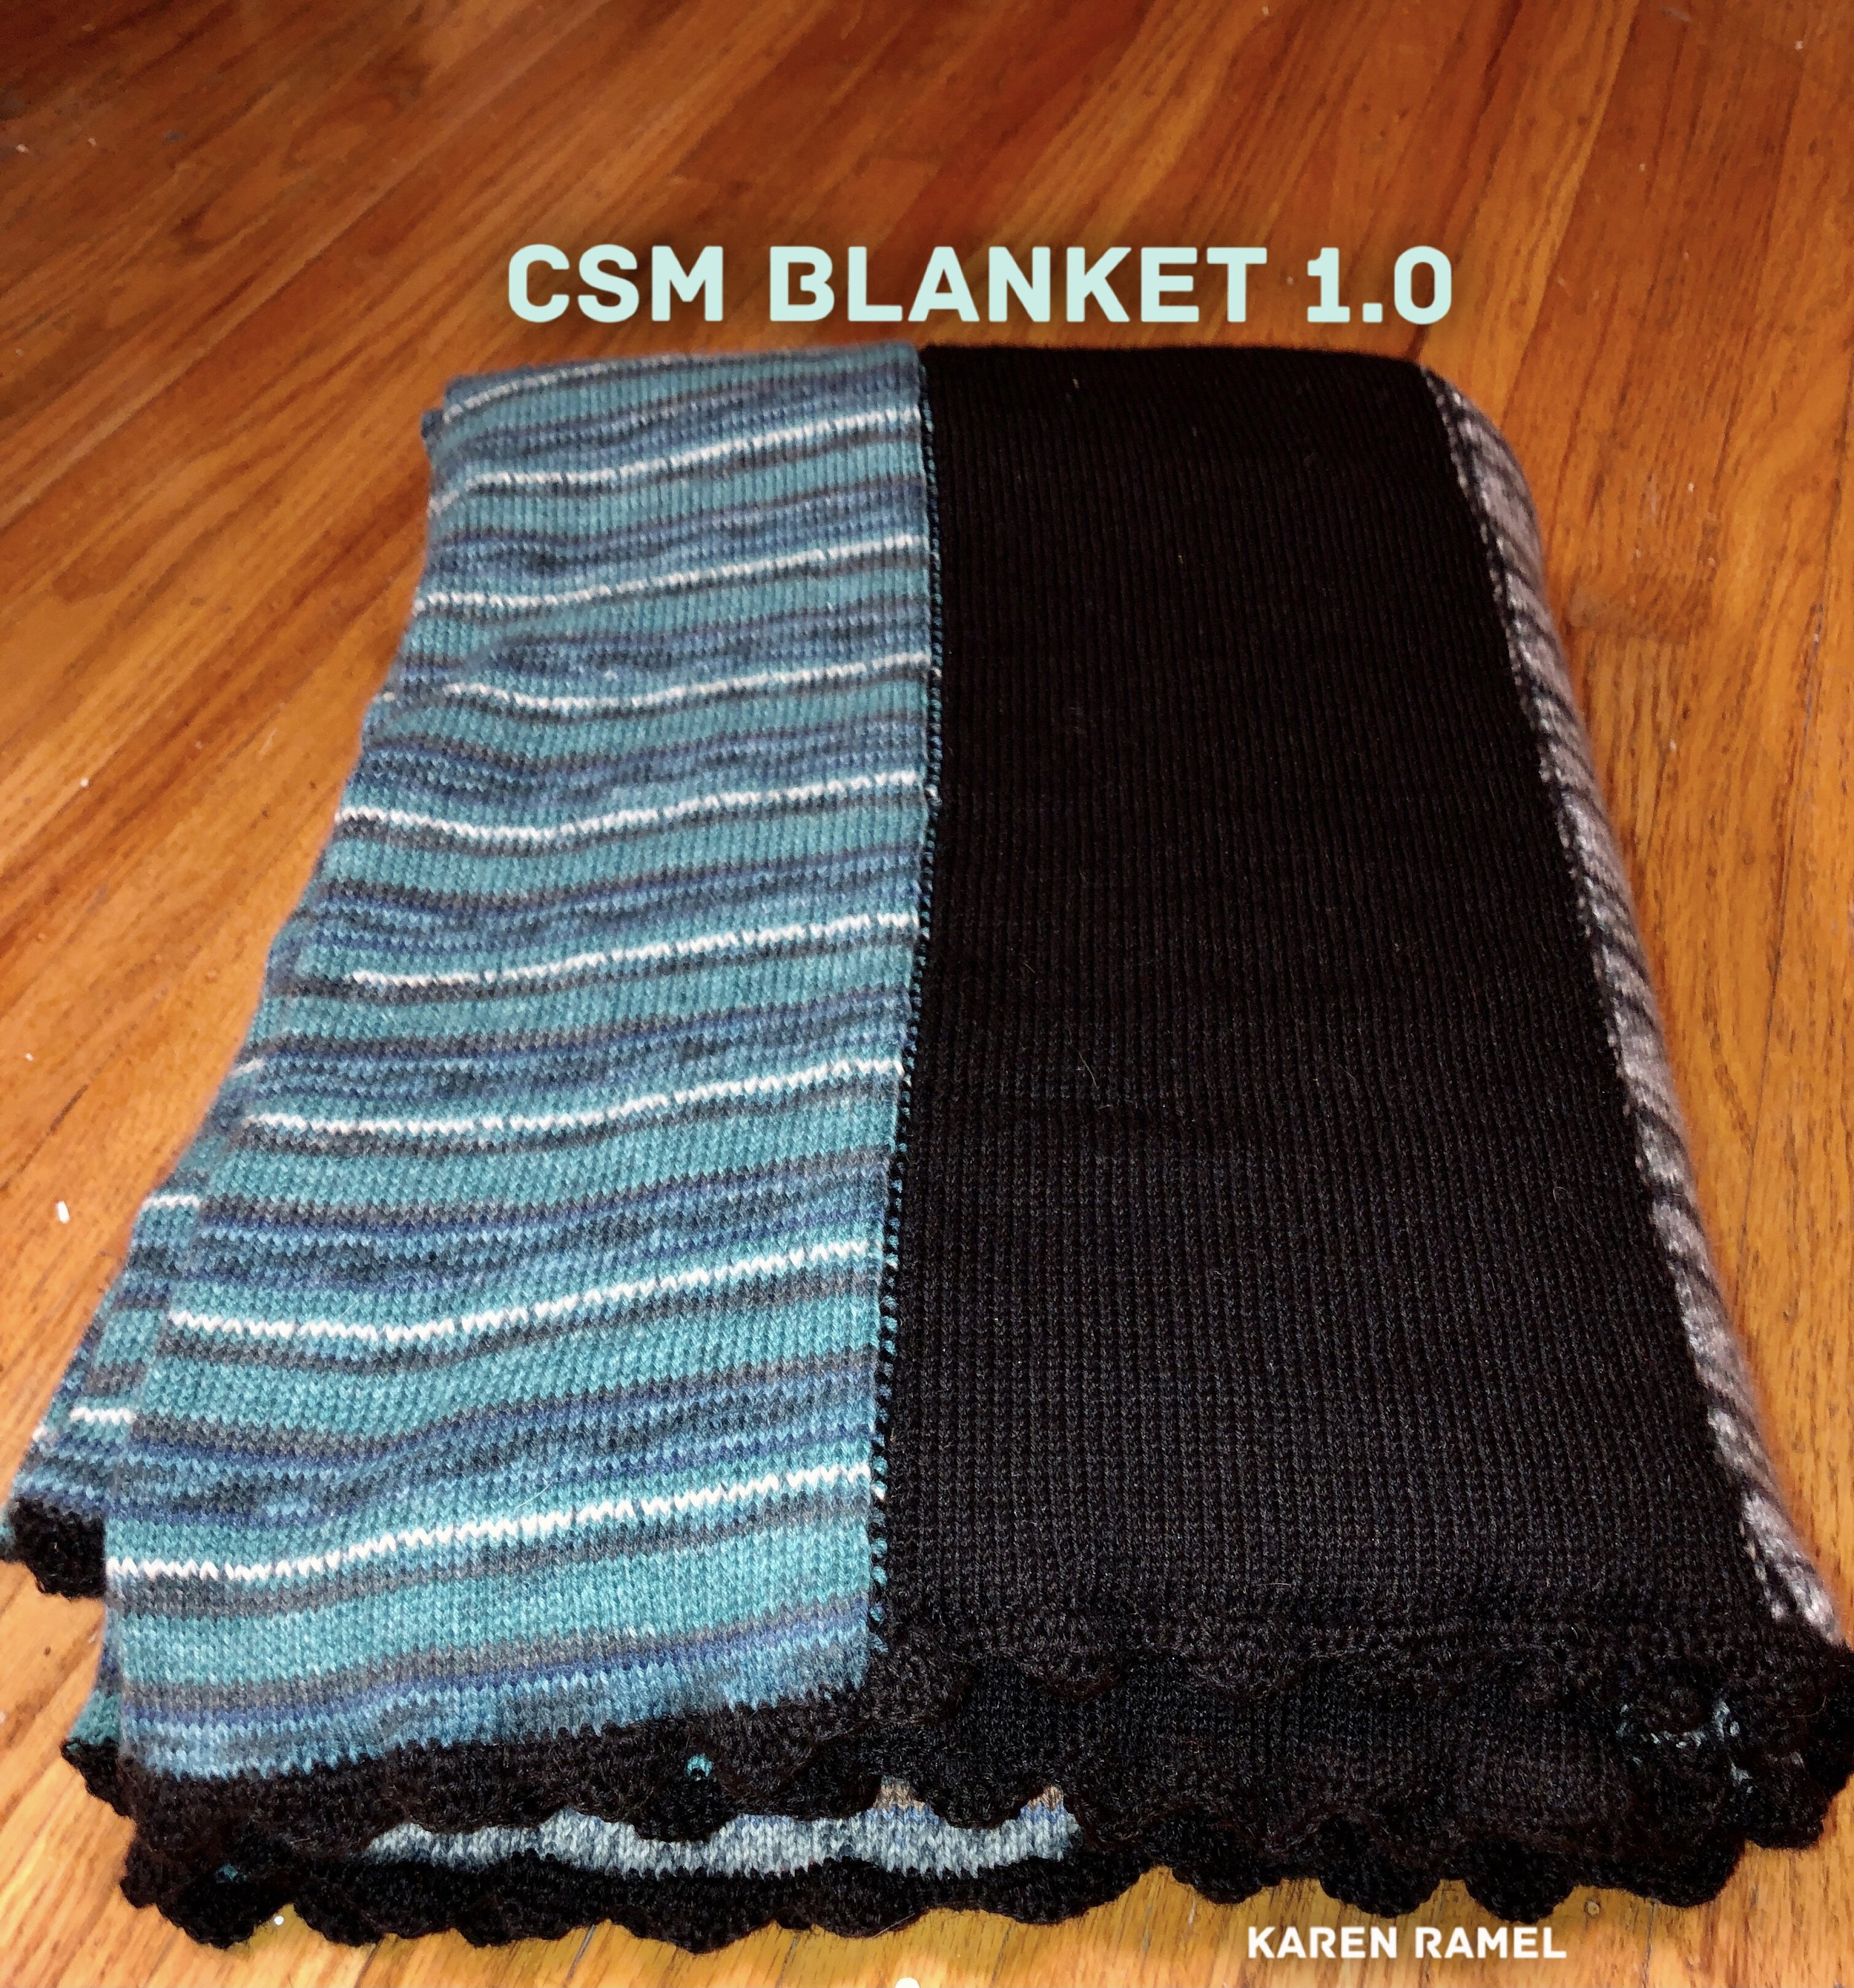
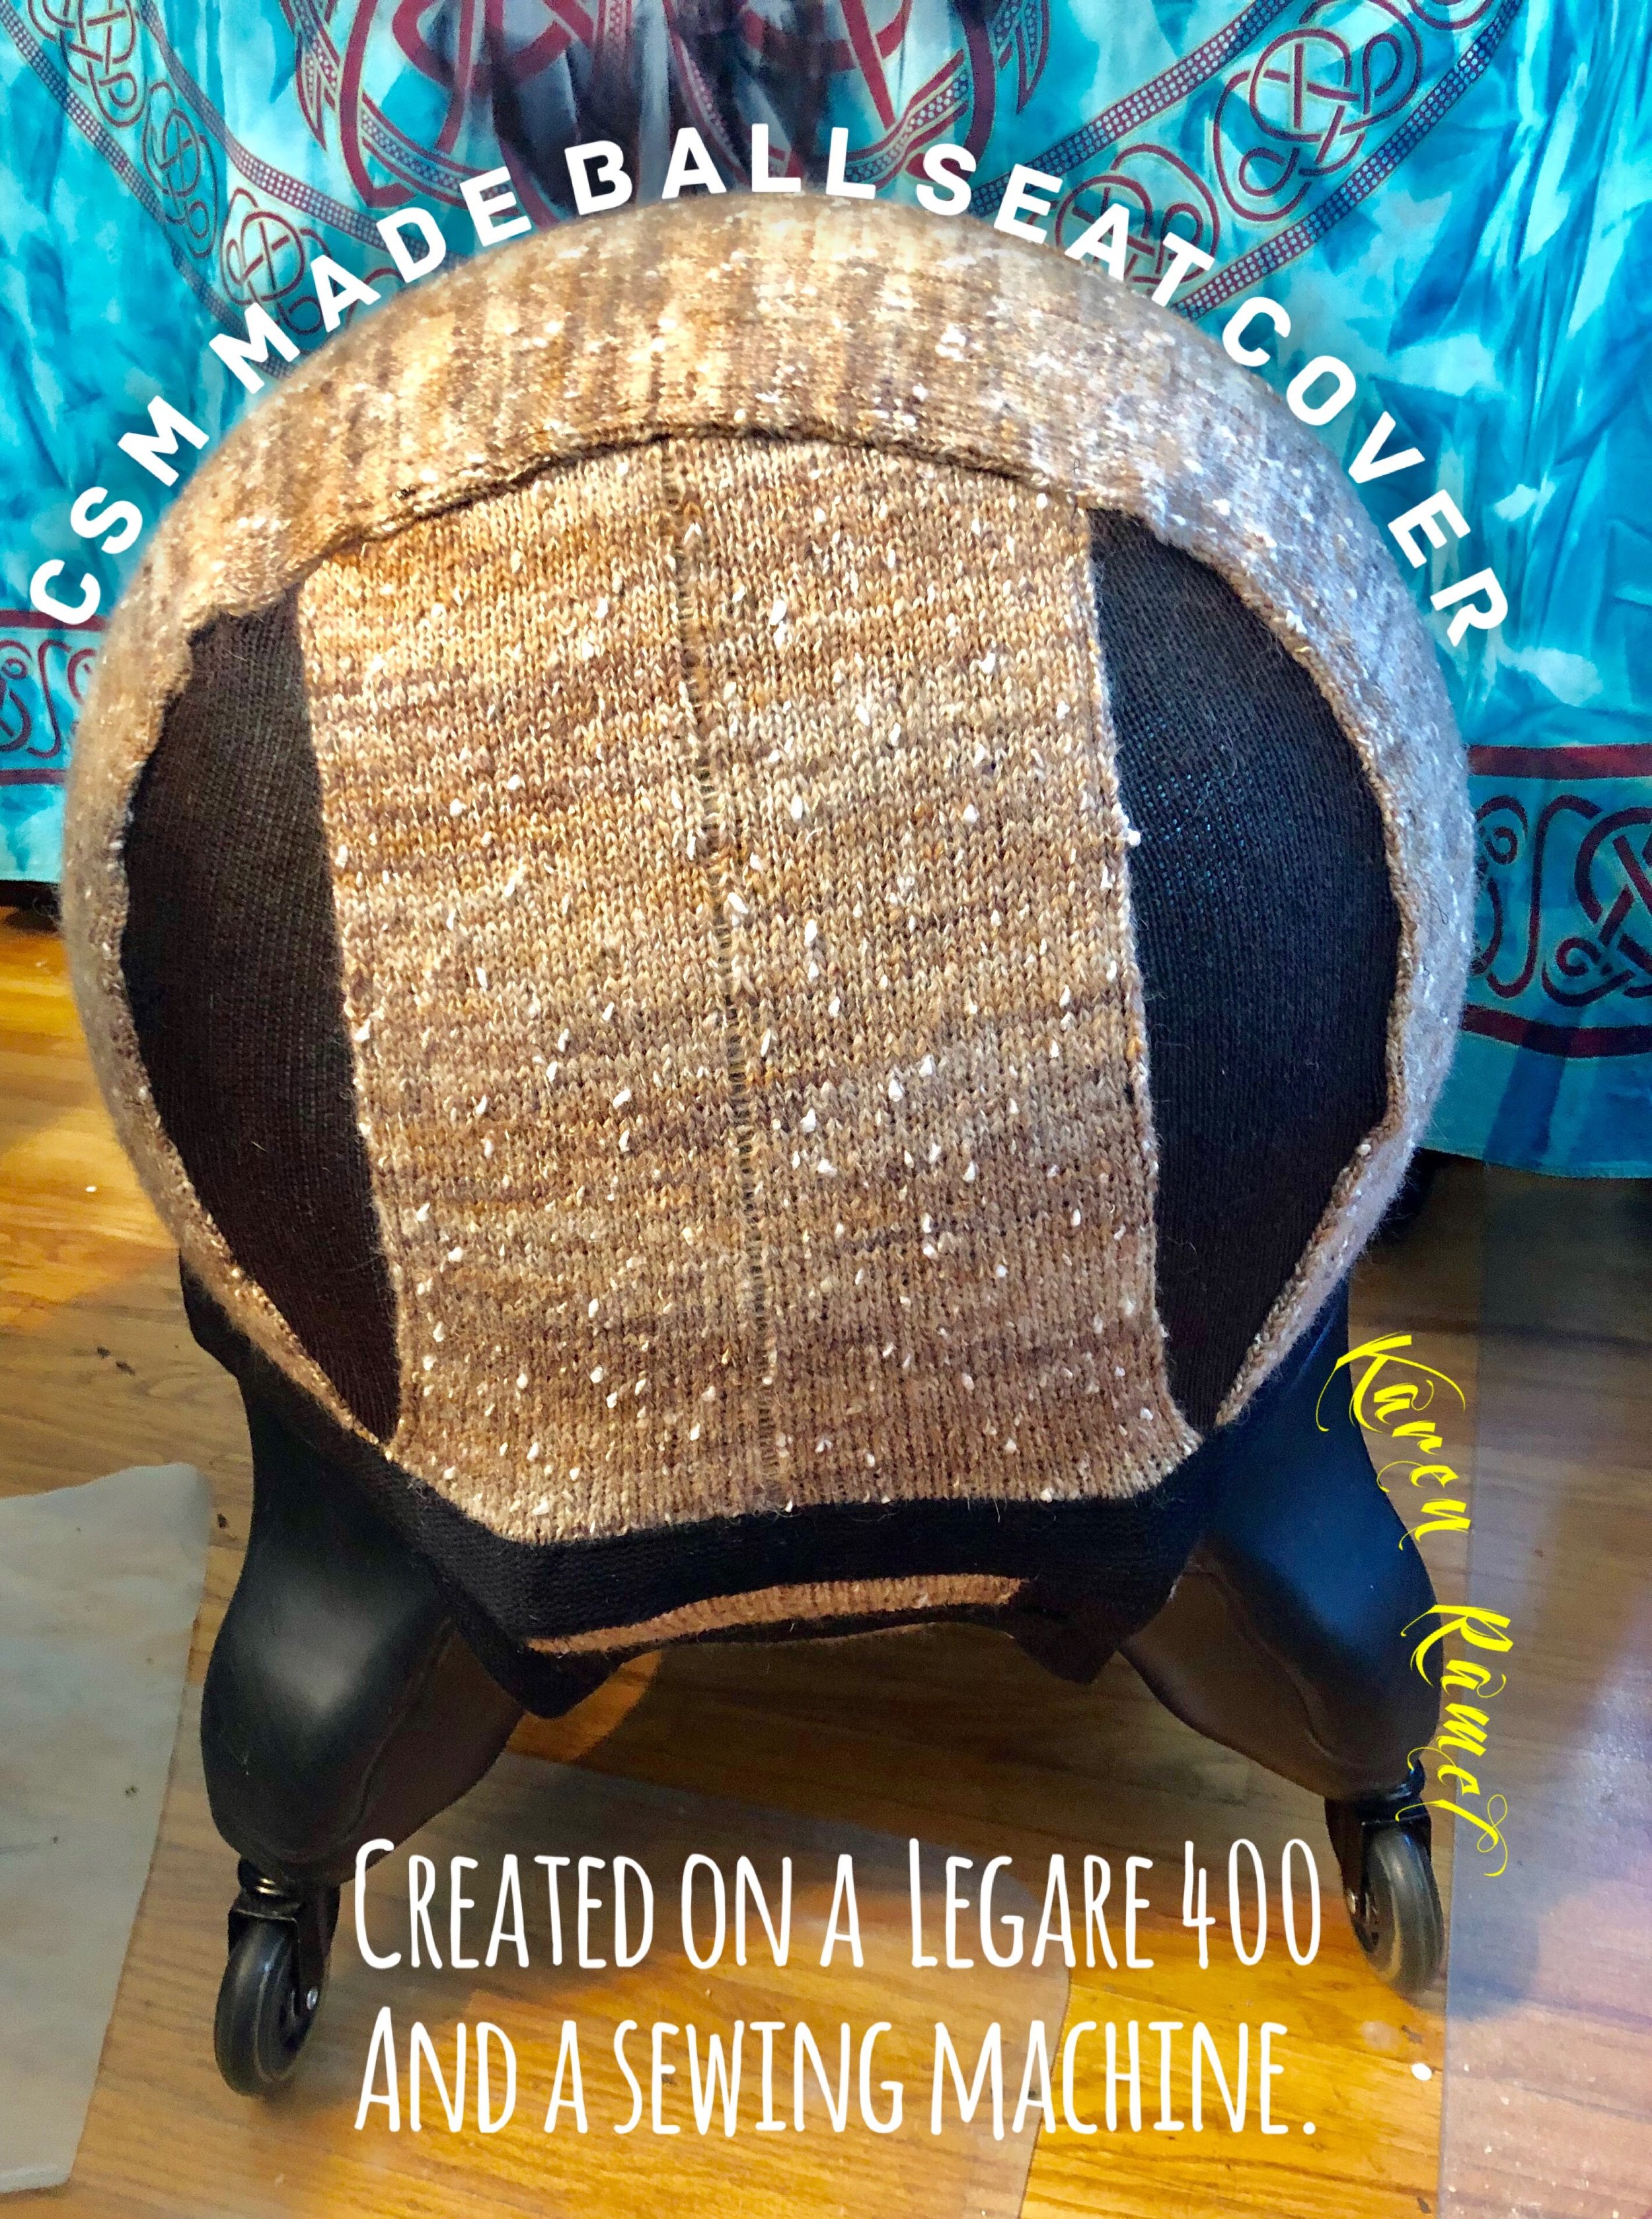
This is what I do

2023 - I have ordered attachments for the tripod to accommodate the MagSafe feature some mobile phones have to make using/recording videos easier.


SEE ALL BLOG ENTRIES ON THE BLOG INDEX PAGE | Follow us on a variety of social sites see TAPLINK | Interested in Circular Sock Machines? See the CSM START Menu first page. | Seek something specific? Checkout the Index page.


2020 July 27 - Video: Hung Hem

IMG_7841.JPG

This video is the step-by-step method of how one works a Hung Hem whether you choose to work flat or in the round.

A Hung Hem on the CSM is basically a segment of regular knitting where at some determined point, the initial first row is brought up and hung on the current active row on the machine.

When we do a Hung Hem the initial row of live stitches are taken care of, and if done completely you should not need to worry about any dropped stitches.

The topmost edge of a hung hem can have a variety of stitches worked to create an interesting edge (or to add split rings for the universal bonnet). A Hung Hem can also be MOCK RIB and even full RIBBING - although the use of the Ribber requires a few extra steps to gain access to where one hangs the stitches. This is a video with sound.

For more of my videos please see MY YOUTUBE VIDEOS

Have a question or concern? Please email me direct at karenramel@yahoo.com


SEE ALL BLOG ENTRIES ON THE BLOG INDEX PAGE | Follow us on a variety of social sites see TAPLINK | Interested in Circular Sock Machines? See the CSM START Menu first page. | Seek something specific? Checkout the Index page.


2020 July 26 - Video: How to Kitchener your Sock

IMG_7835.JPG

This video is the step-by-step method of how I close the toes of my Cuff Down Socks.

One can make closing the toe of their sock much easier, if, when the sock is on the machine, we ensure to work at least a single row of knitting before working the toe on a cuff down sock.

I recommend that in the beginning at least, try adding stitch markers after finishing your sock yarn and working two rows of scrap, to the first and last stitches of both the top and the bottom segments (four stitch markers). This prevents those crucial stitches from escaping and being overlooked. I also demonstrate how I remove the scrap from the sock although for this sock I caught the scrap yarn a bit while Kitchenering which caused the removal to be a bit more work than usual.

This is a video with sound. This video is viewable by itself or in with the recent Cuff Down Mock Rib Hung Hem Shortie Sock Video and five page written pattern I released yesterday. Looking for more info? Please see MY YOUTUBE VIDEOS

Have a question or concern? Please email me direct at karenramel@yahoo.com


SEE ALL BLOG ENTRIES ON THE BLOG INDEX PAGE | Follow us on a variety of social sites see TAPLINK | Interested in Circular Sock Machines? See the CSM START Menu first page. | Seek something specific? Checkout the Index page.


2020 July 12 - Video: The Auto Knitter CSM

IMG_7352.JPG

After over an hour of filming and a day and a half of edits I offer my most recent labor of love - The Auto Knitter CSM - How to take it apart and put it back together I feel one of the very first things all new CSM users should do as part of essential learning, is to dismantle their machine and gain confidence with the understanding of its components and how they interact. We review this machine tip to tail, offer helpful knowledge nuggets, review oil, alternative related components, optional upgrades and the ribber. Knowledge is power, easily know your machine and take the first step to conquering it.

I was inspired to create this video to help the museum this machine normally lives at. During CoVid and the required distancing, the internet still allows us to be together - apart. :)

The shareable YouTube video is https://youtu.be/NApUY51OOqs


SEE ALL BLOG ENTRIES ON THE BLOG INDEX PAGE | Follow us on a variety of social sites see TAPLINK | Interested in Circular Sock Machines? See the CSM START Menu first page. | Seek something specific? Checkout the Index page.


2018 Sep 15 - (Original Method) How to add Beads/Rings

I fell in love with the idea of using split rings on cast-on bonnets and so while exploring this, came across one way to add the rings (or beads) to CSM stitches.

Method one: hanging beads or split rings on your work/cast on bonnet. I’m working on a setup/cast-on bonnet utilizing jump rings. *I’ve since designed a easier method to do both a picot edge and Split Ring application.

Note: When using split rings you need to use rings that won’t overlap each other when on the cylinder so try for rings less than 7mm. I’ve found 6mm work well.
Method shown also applies to hanging beads. :) *Because we should work together to enhance this craft, learning and sharing*

I later created an EVEN EASIER way to add a picot/split ring to the machine. Here is a VIDEO of the BETTER.

Also posted on Instagram


SEE ALL BLOG ENTRIES ON THE BLOG INDEX PAGE | Follow us on a variety of social sites see TAPLINK | Interested in Circular Sock Machines? See the CSM START Menu first page. | Seek something specific? Checkout the Index page.