We have a DIY cat post (cat tree) in our small apartment which features TWO cat hammocks (one for each of our kitties. Over time the fabric has loosened and worn out. This blog post is my attempt today at making two covers which can be later removed for laundering as needed.
I want to try to use the KNIT RADAR on my Singer 700 (I haven’t yet) so my first approach after choosing a fiber cone is to create a swatch. The cone of yarn I chose was chosen for its durability and shade and appears to be sort of like a braided strand. The markings in the cone are blank (no label).


SWATCH/STITCH GAUGE (this is for a 10cm/4” stitch gauge test):
Cast on with 70 needles (scrap). Switch to project yarn. Note mast and dial settings.
Mast 2. Dial 8.
Knit 10 rows project yarn.
Knit 2 contrast stockinet rows
Knit 30 rows project yarn
Push both 21st needles from zero and place contrast yarn on those hooks. Push those needles back into B position by hand
Knit 30 rows project yarn
Knit 2 contrast stockinet rows
Knit 10 rows project yarn.
Scrap yarn
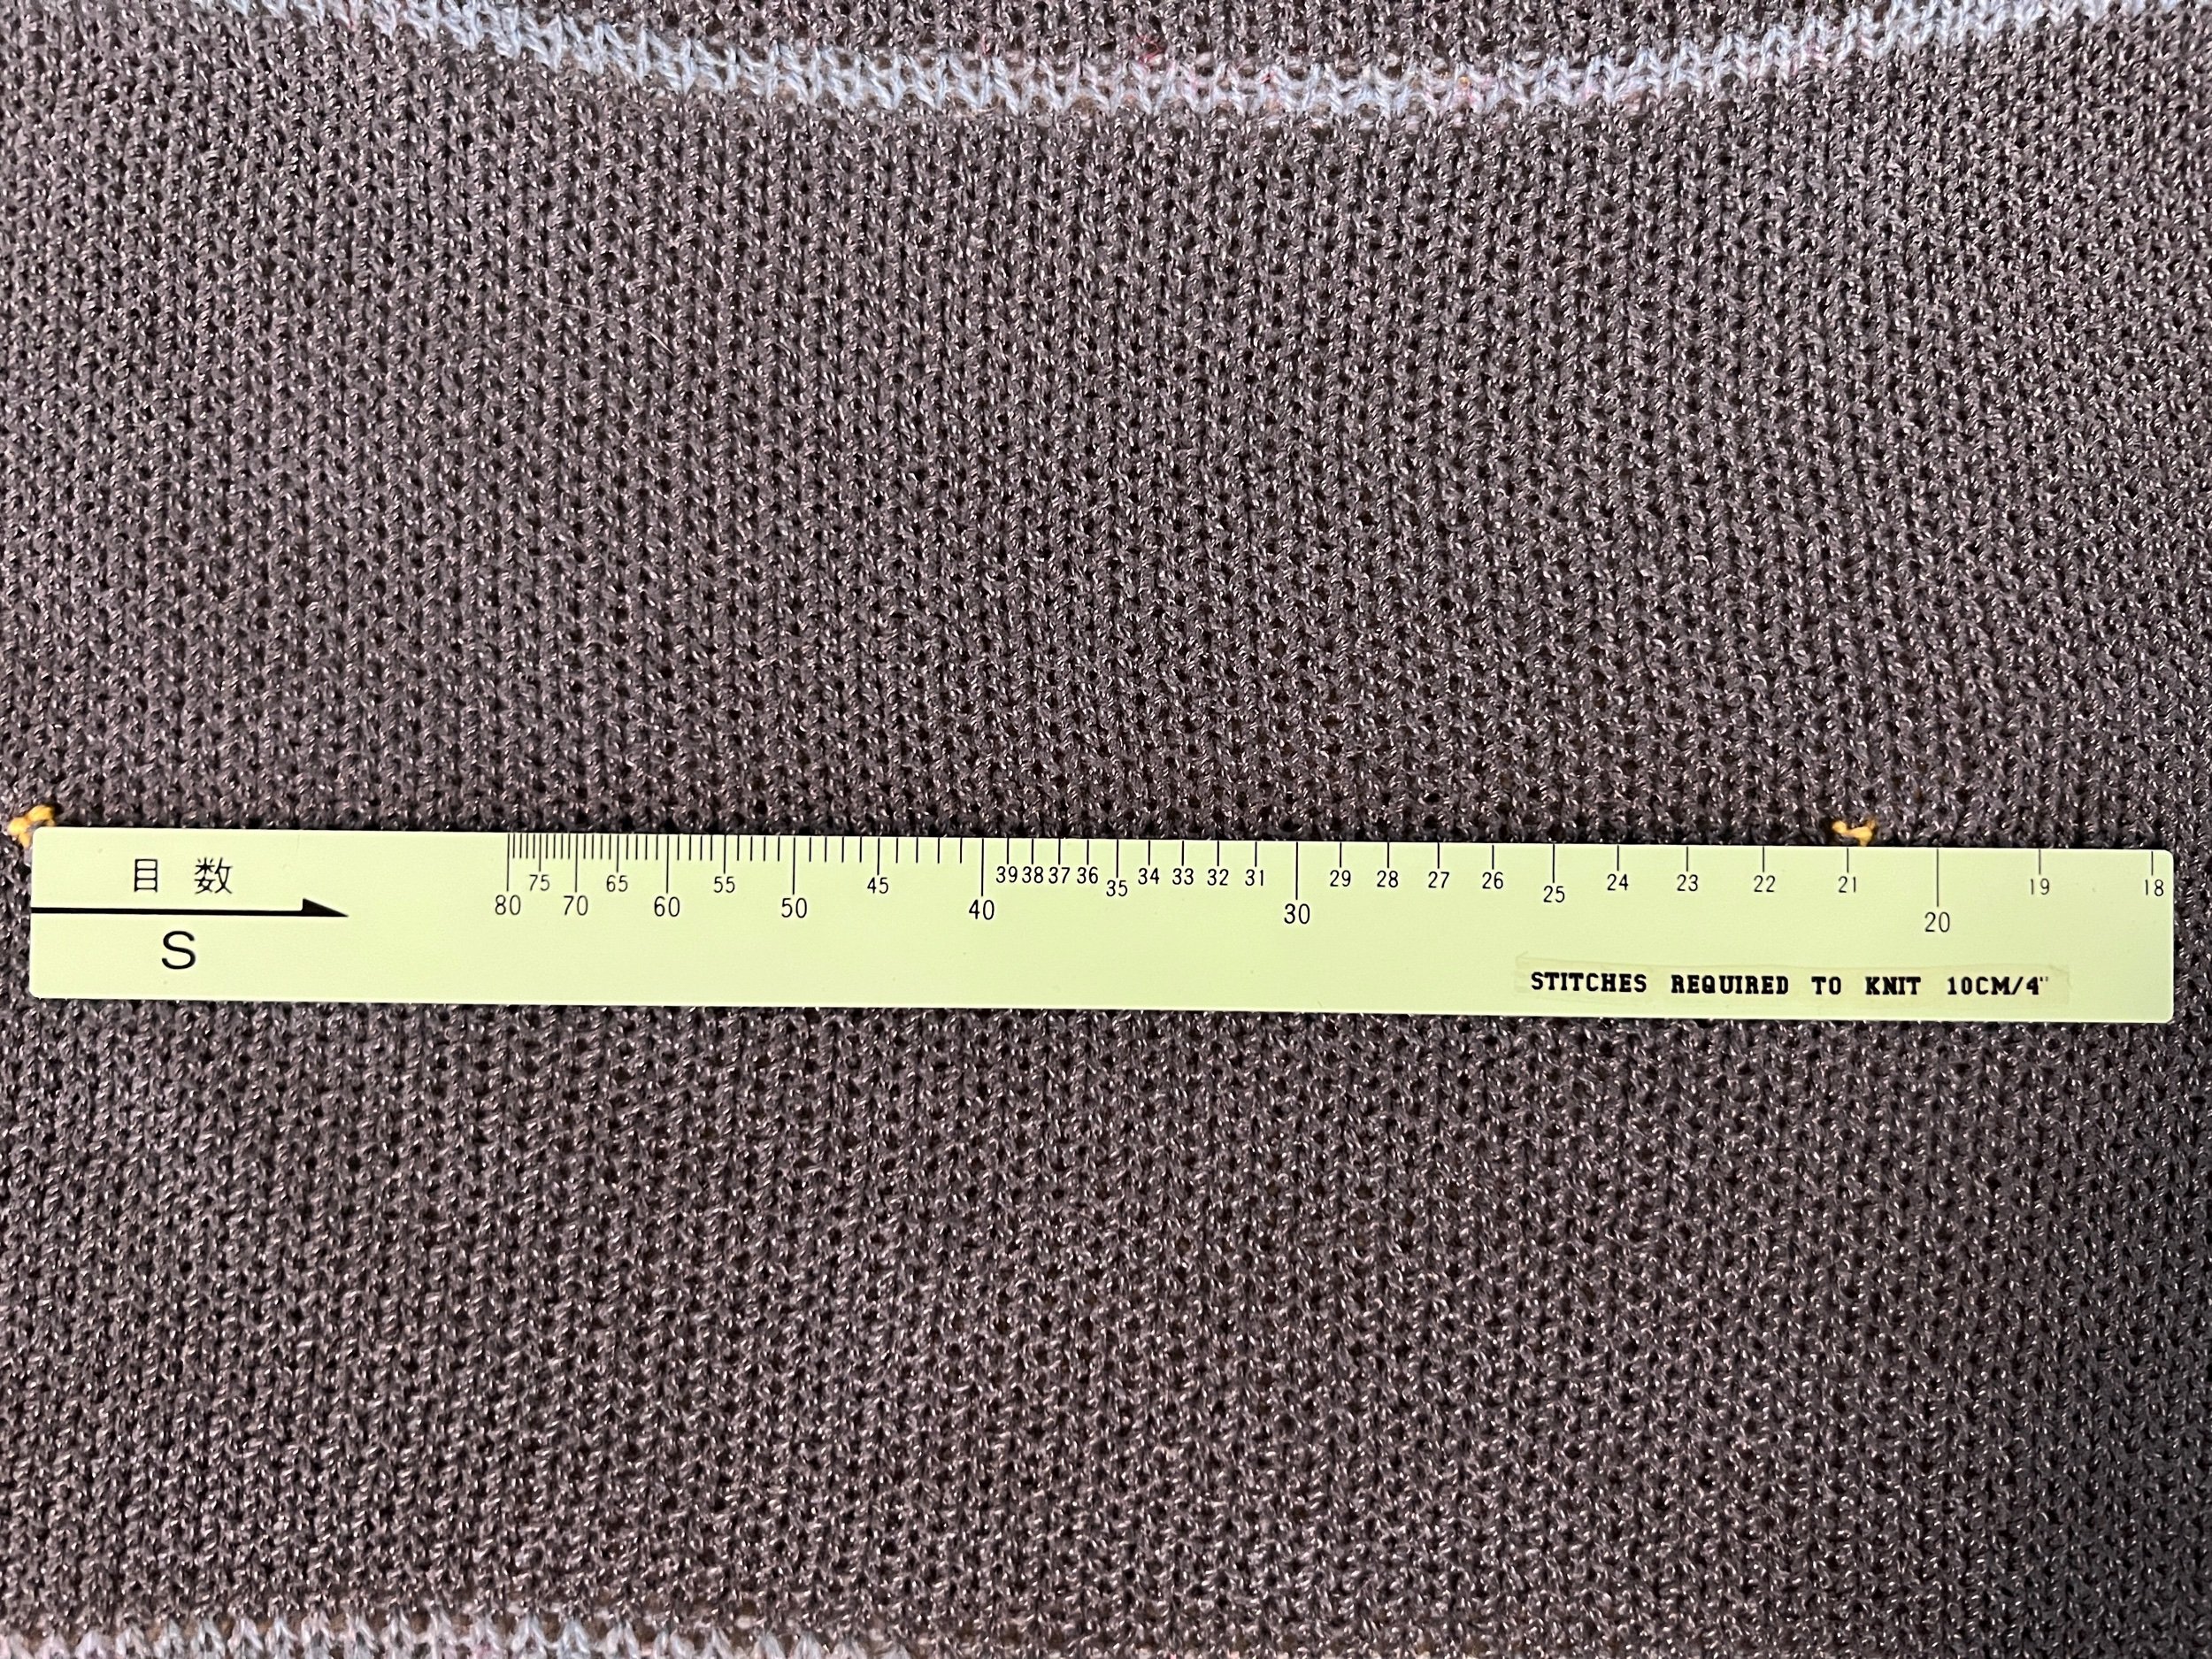
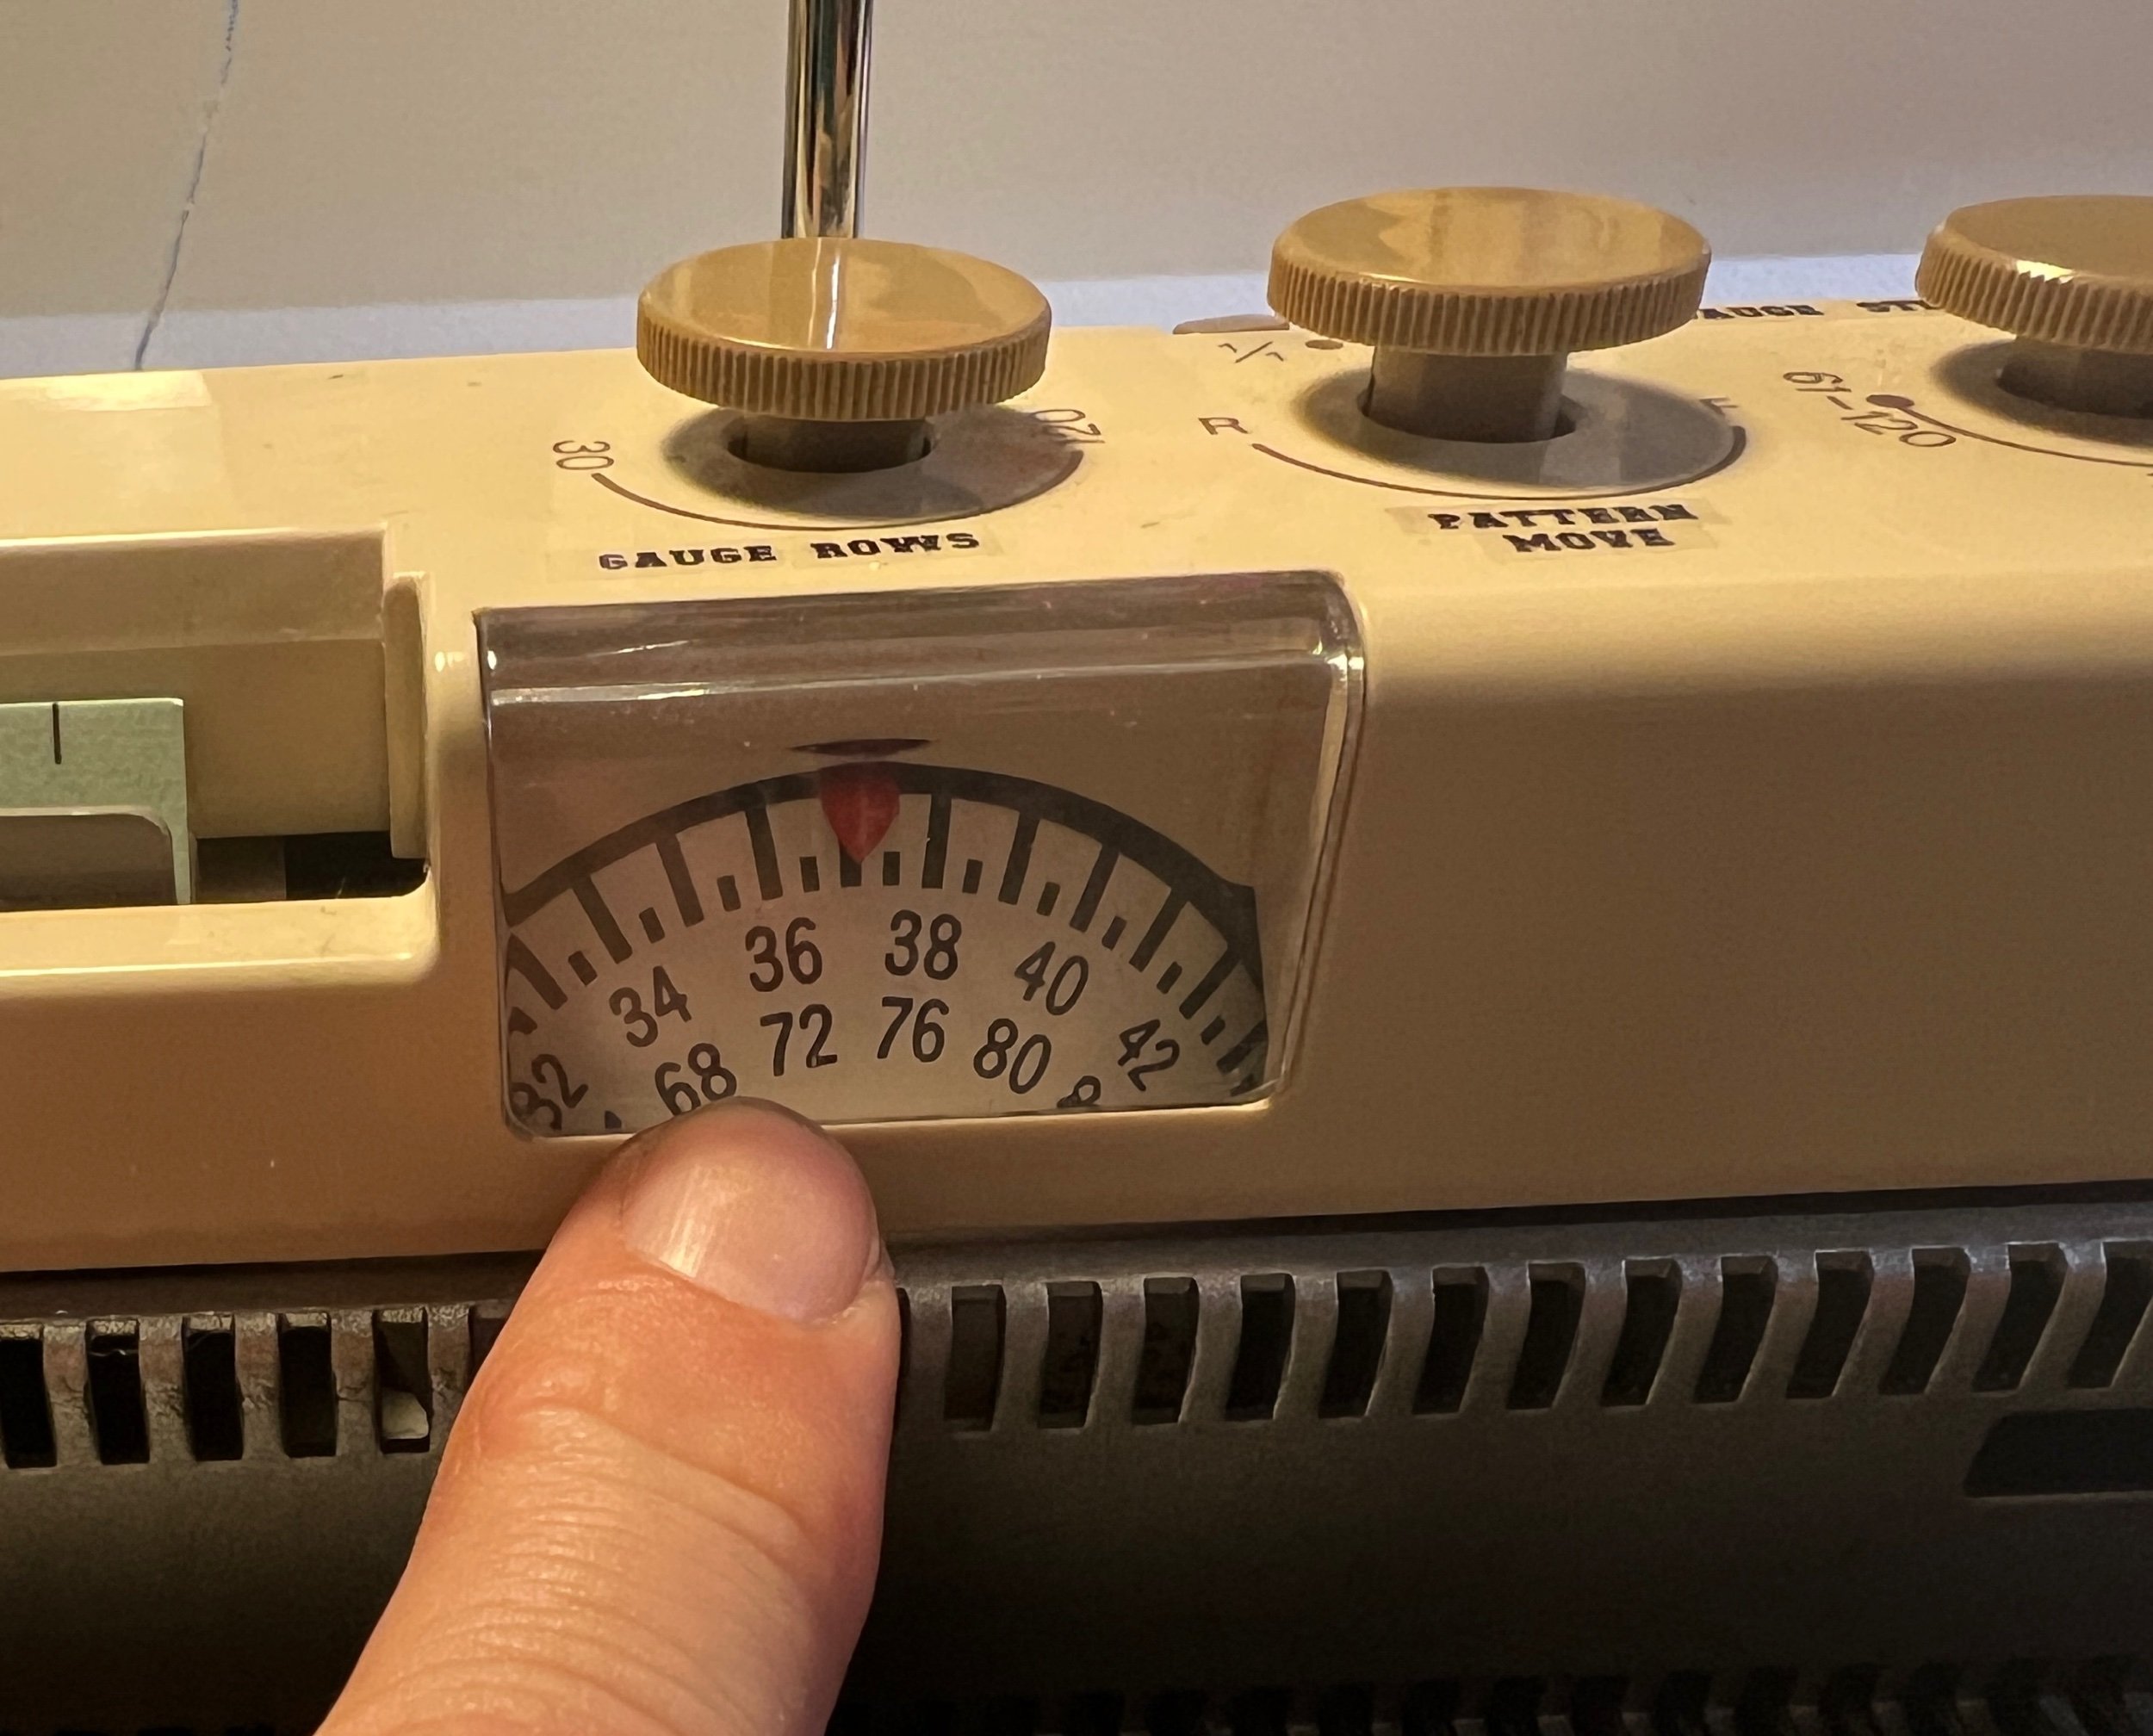
That done I shared a photo of the swatch directly off the machine and then the front (knit) and back (Purl) sides after a quick steam iron. Following the manual the standard green gauge (labelled as A below) says we have 21 stitches by 37 rows over a 4” measured gauge.

KNIT RADAR:
Now to locate the correct ruler etc to use the KR7
A - 4.5mm standard gauge ruler (also works for 3.6 fine gauge) 40 sts/60 rows
Knit Radar:
B - 13.5” yellow E (E1-E14) 1/2 scale rulers. Zero on the left. (gauges 9-30)
C - are 13.5” beige H (H8-H14) 1/2 scale rulers. Zero in center. (gauges 24-50)
D - are 13.5” aqua F (F2-F15) Full scale rulers. Zero on the left. (gauges 9-54)
Details verified by a kind person who shared https://mkmanuals.com/downloadable/download/sample/sample_id/432/
B-D are the STITCHES RULERS - not row rulers.
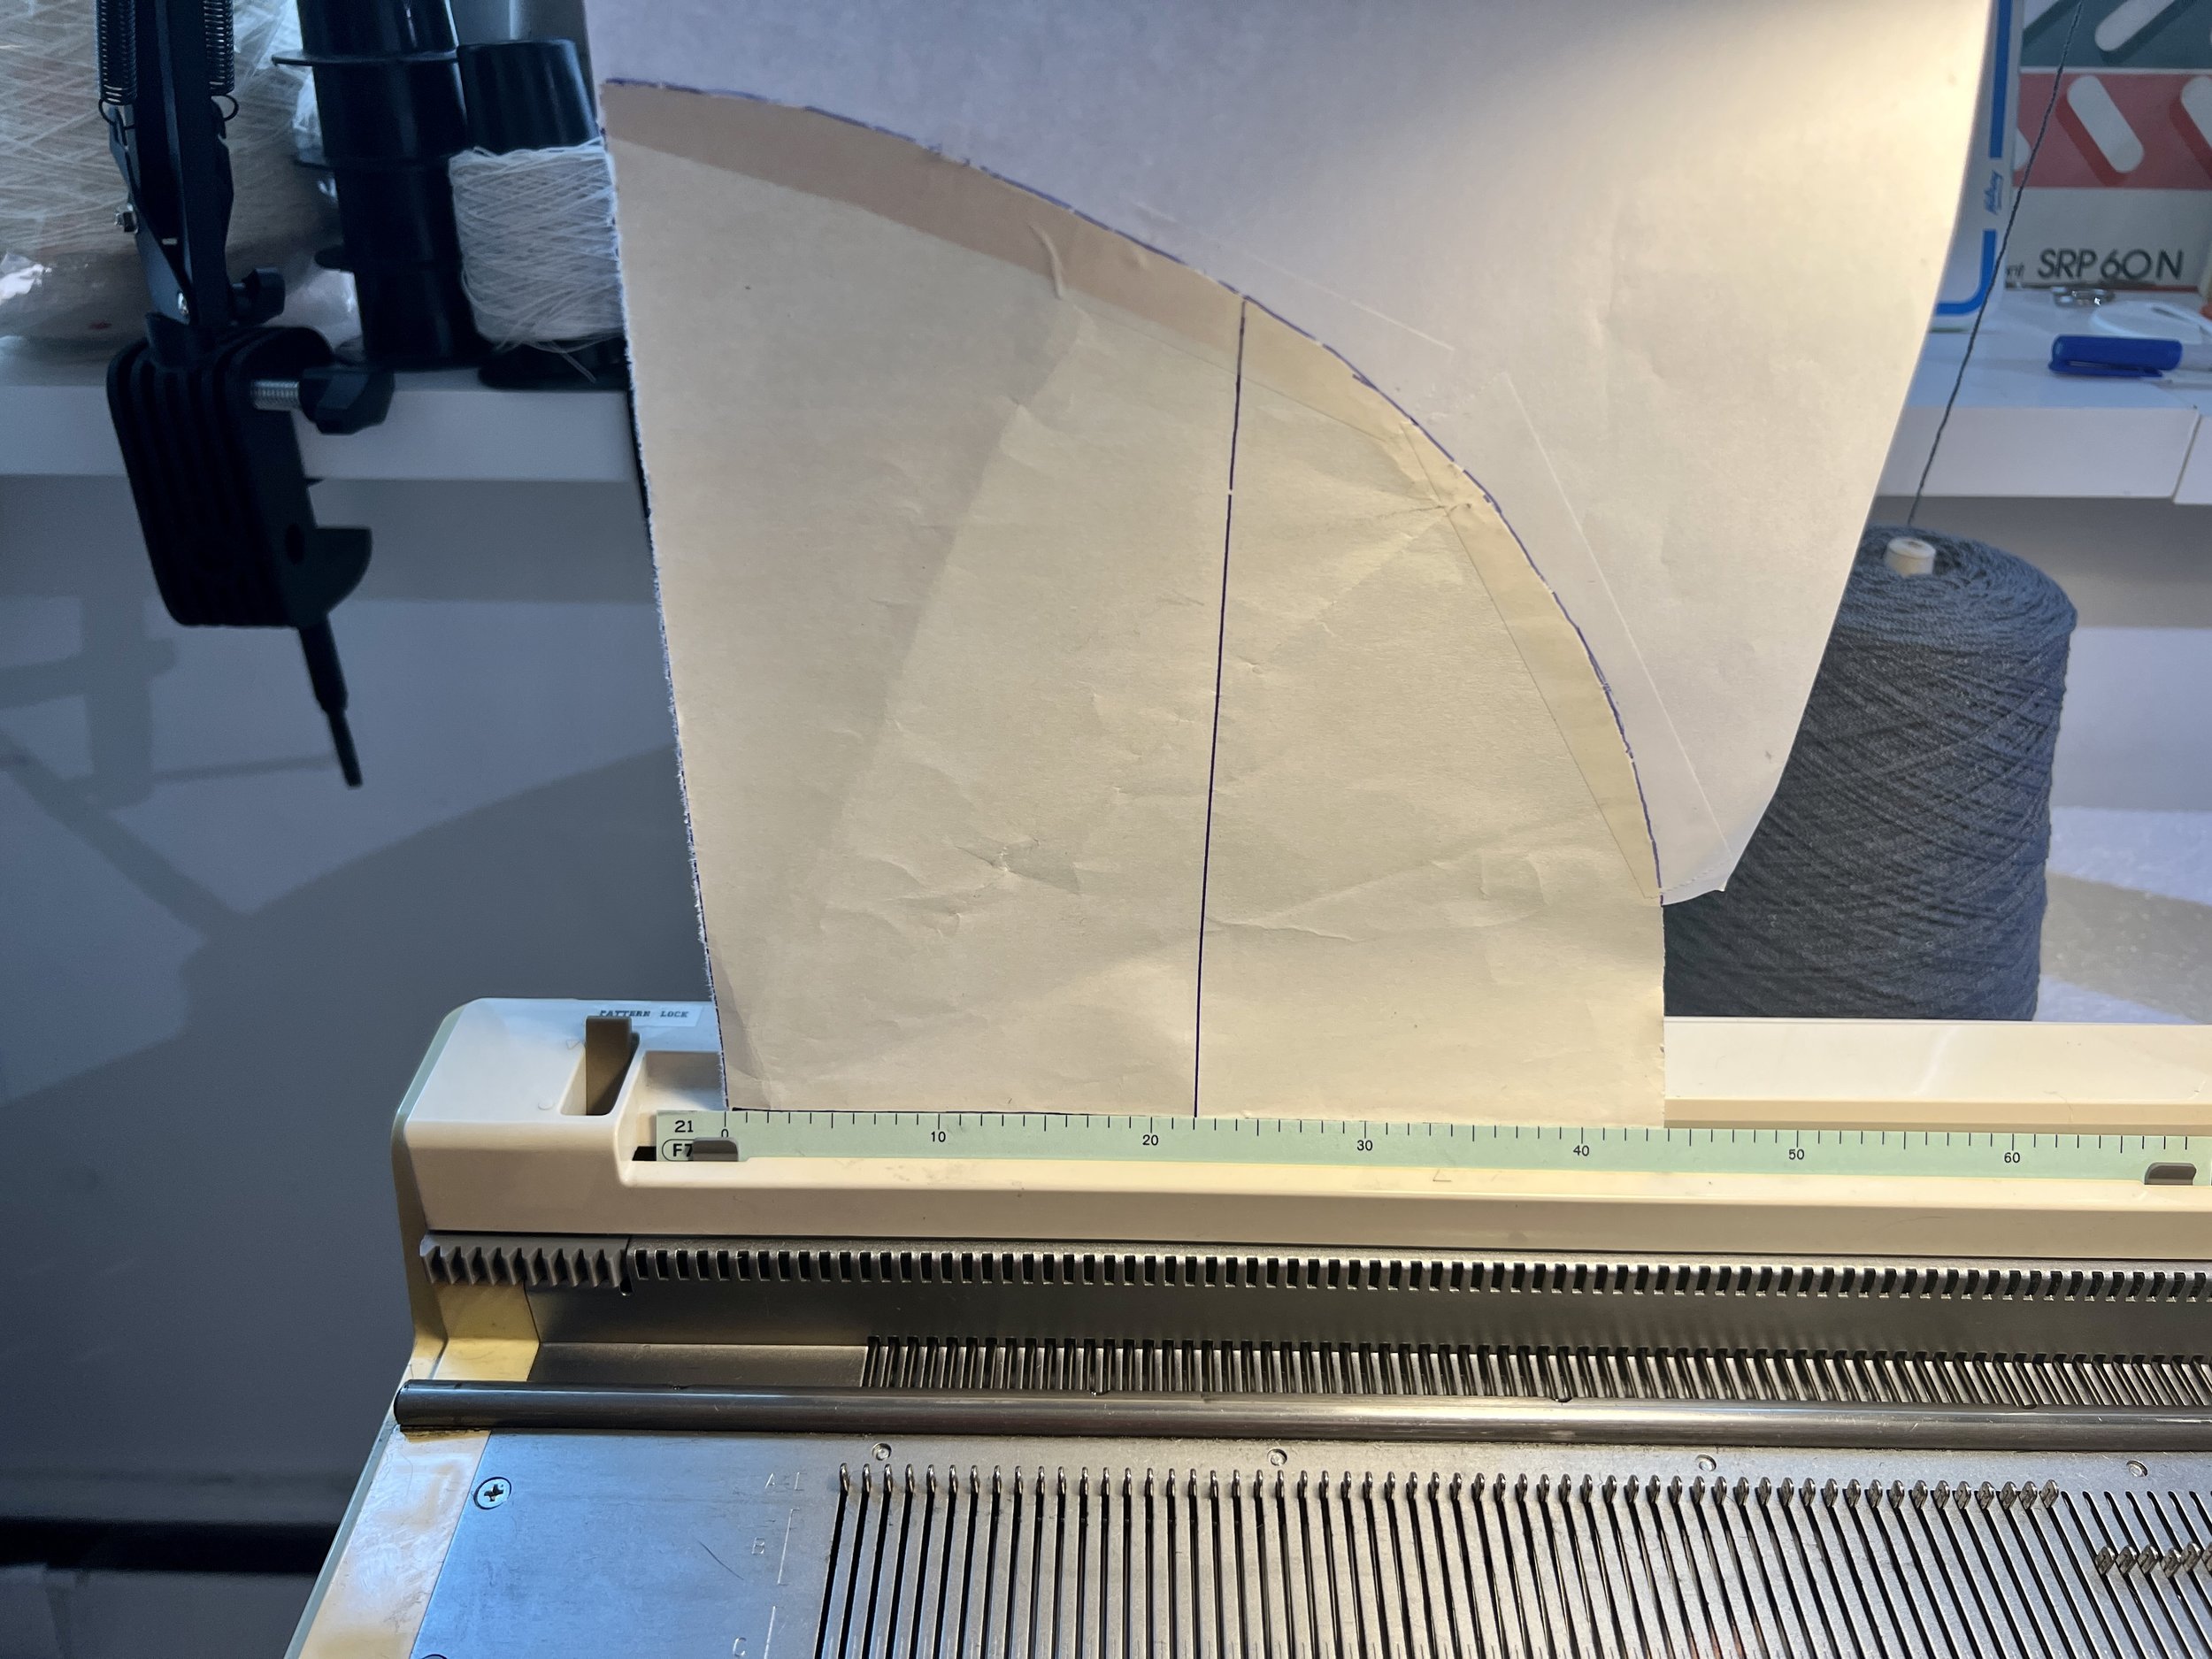
The area (Knit Radar) that you feed the paper pattern in is only 33.5cm wide and the circle I want to create (the paper circle outline I created) is bigger than that so I folded the paper pattern in half and will use the HALF SCALE rulers.
But the more I think about it the more doubt I have that it’s the correct way to do this. Argh.
Whatever SCALE RULER I use needs the 21 stitches scale ruler. (Outlined in video). I fed the folded circle paper pattern into the KR7. Then I inserted the FULL SCALE ruler (Green with the 0 on the left) with that 21 stitch count. It’s saying I need to cast on 43 stitches for the half circle.
SCIENCING THOUGHTS: AHA? I want a full circle with the 43 cast on perhaps I can create the full circle by simply mimicking the right actions on the right = full circle. Cast on would be 43 stitches on both sides of 0 (=86)
NOW to set the settings according to the gauge swatch numbers. 37 Rows, 21 stitches.
I switched the setting to FULL SCALE (from 1/2), hypothesized the 21 stitches on the 31-60 dial needed to be on the right (below 31) and set the gauge row of 37.**
*In the instance where the paper pattern is at HALF SCALE - selecting that will have the machine knit a FULL SIZED item.
**In “theanswerladyknits” Using the Knit Radar VIDEO - she noted the far right dial is for ROW count settings not stitch. So my row is 37 so maybe I should be setting that dial to 31-60 (not to the stitch count noted by the other video quoted). Confirmed correct now. (Disregard WRONG label on that dial).
I THEN added to the pattern below and above the circle to make it easier to start/end.
SIDE NOTE - KNIT RADAR PATTERN REQUIREMENTS:
Vertical line 3/16” from the left edge of a blank regular sheet of paper turned on its side. Helps align with the pattern ruler. Then measure up from the bottom 3.5” of the sheet for the space needed for the roller to feed the pattern in. Measure another inch from there can be the bottom line of the pattern. Make and angle arrow facing downward. HALF a PATTERN using the left margin for the HALF SCALE.


Overnight it occurred to me to open cast on from the midpoint of the circle and simply decrease to create the half circle.
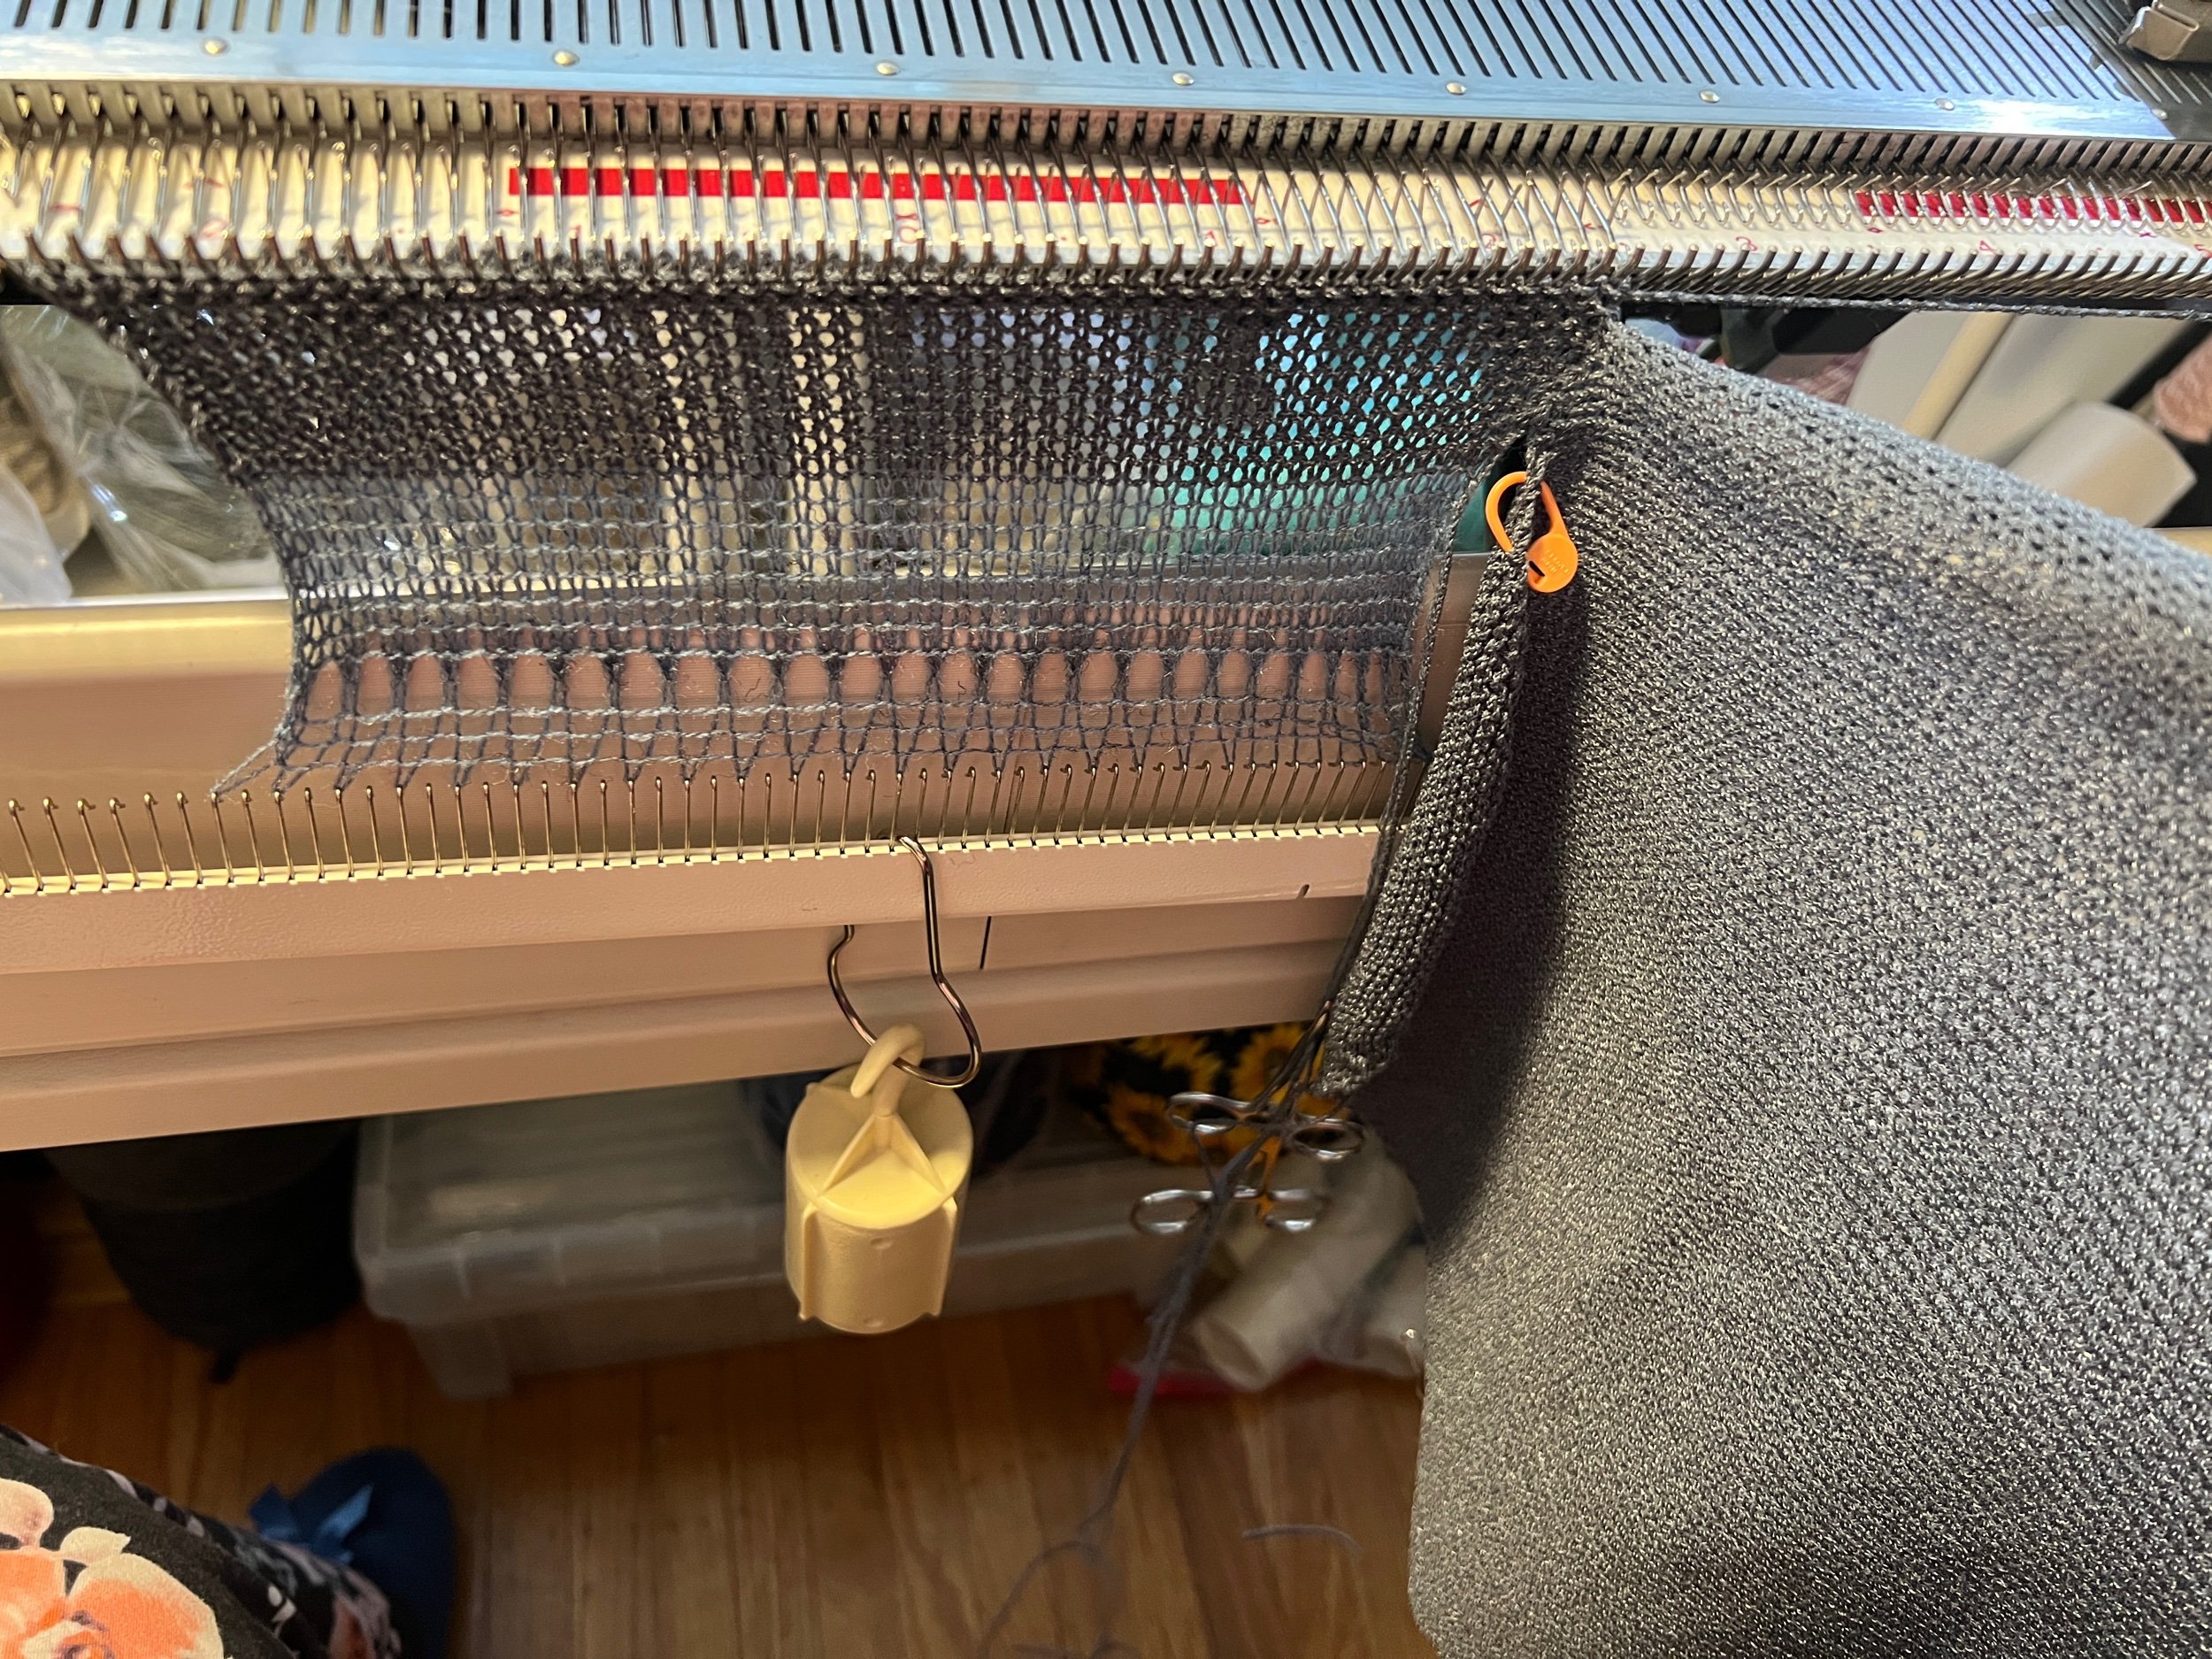
The knit contour circle pattern I drew was advanced to show the midpoint of the circle which indicated 44 stitches on both sides of zero (a total cast on of 88 stitches). I used scrap yarn and after counting out 88 needles ensured every second was all the way out (and the others out of work - on the side where the needle would be out of work on the edge I ensured to leave it all the way extended. I applied a split ring on my cast on my cast on bonnet to every extended needle. My split ring cast on bonnet (flat bed users refer to a regular fiber cast on item as a cast on rag - I’ve added split rings like on my circular sock machine - but with different sized rings - LOVE IT). On the cast on bonnet I added two weighted hanger weights and then worked maybe 10 rows. With the carriage on the right (not essential) I switched to project yarn and proceeded to work the half circle, watching the edge of the pattern to know when to decrease on both sides of the edges (regardless to what side the carriage was on). All decreases were done on the very edge using my transfer tool. Most decreases were single decreased however towards the end of the circle often two stitch decreases were needed. It went well!.
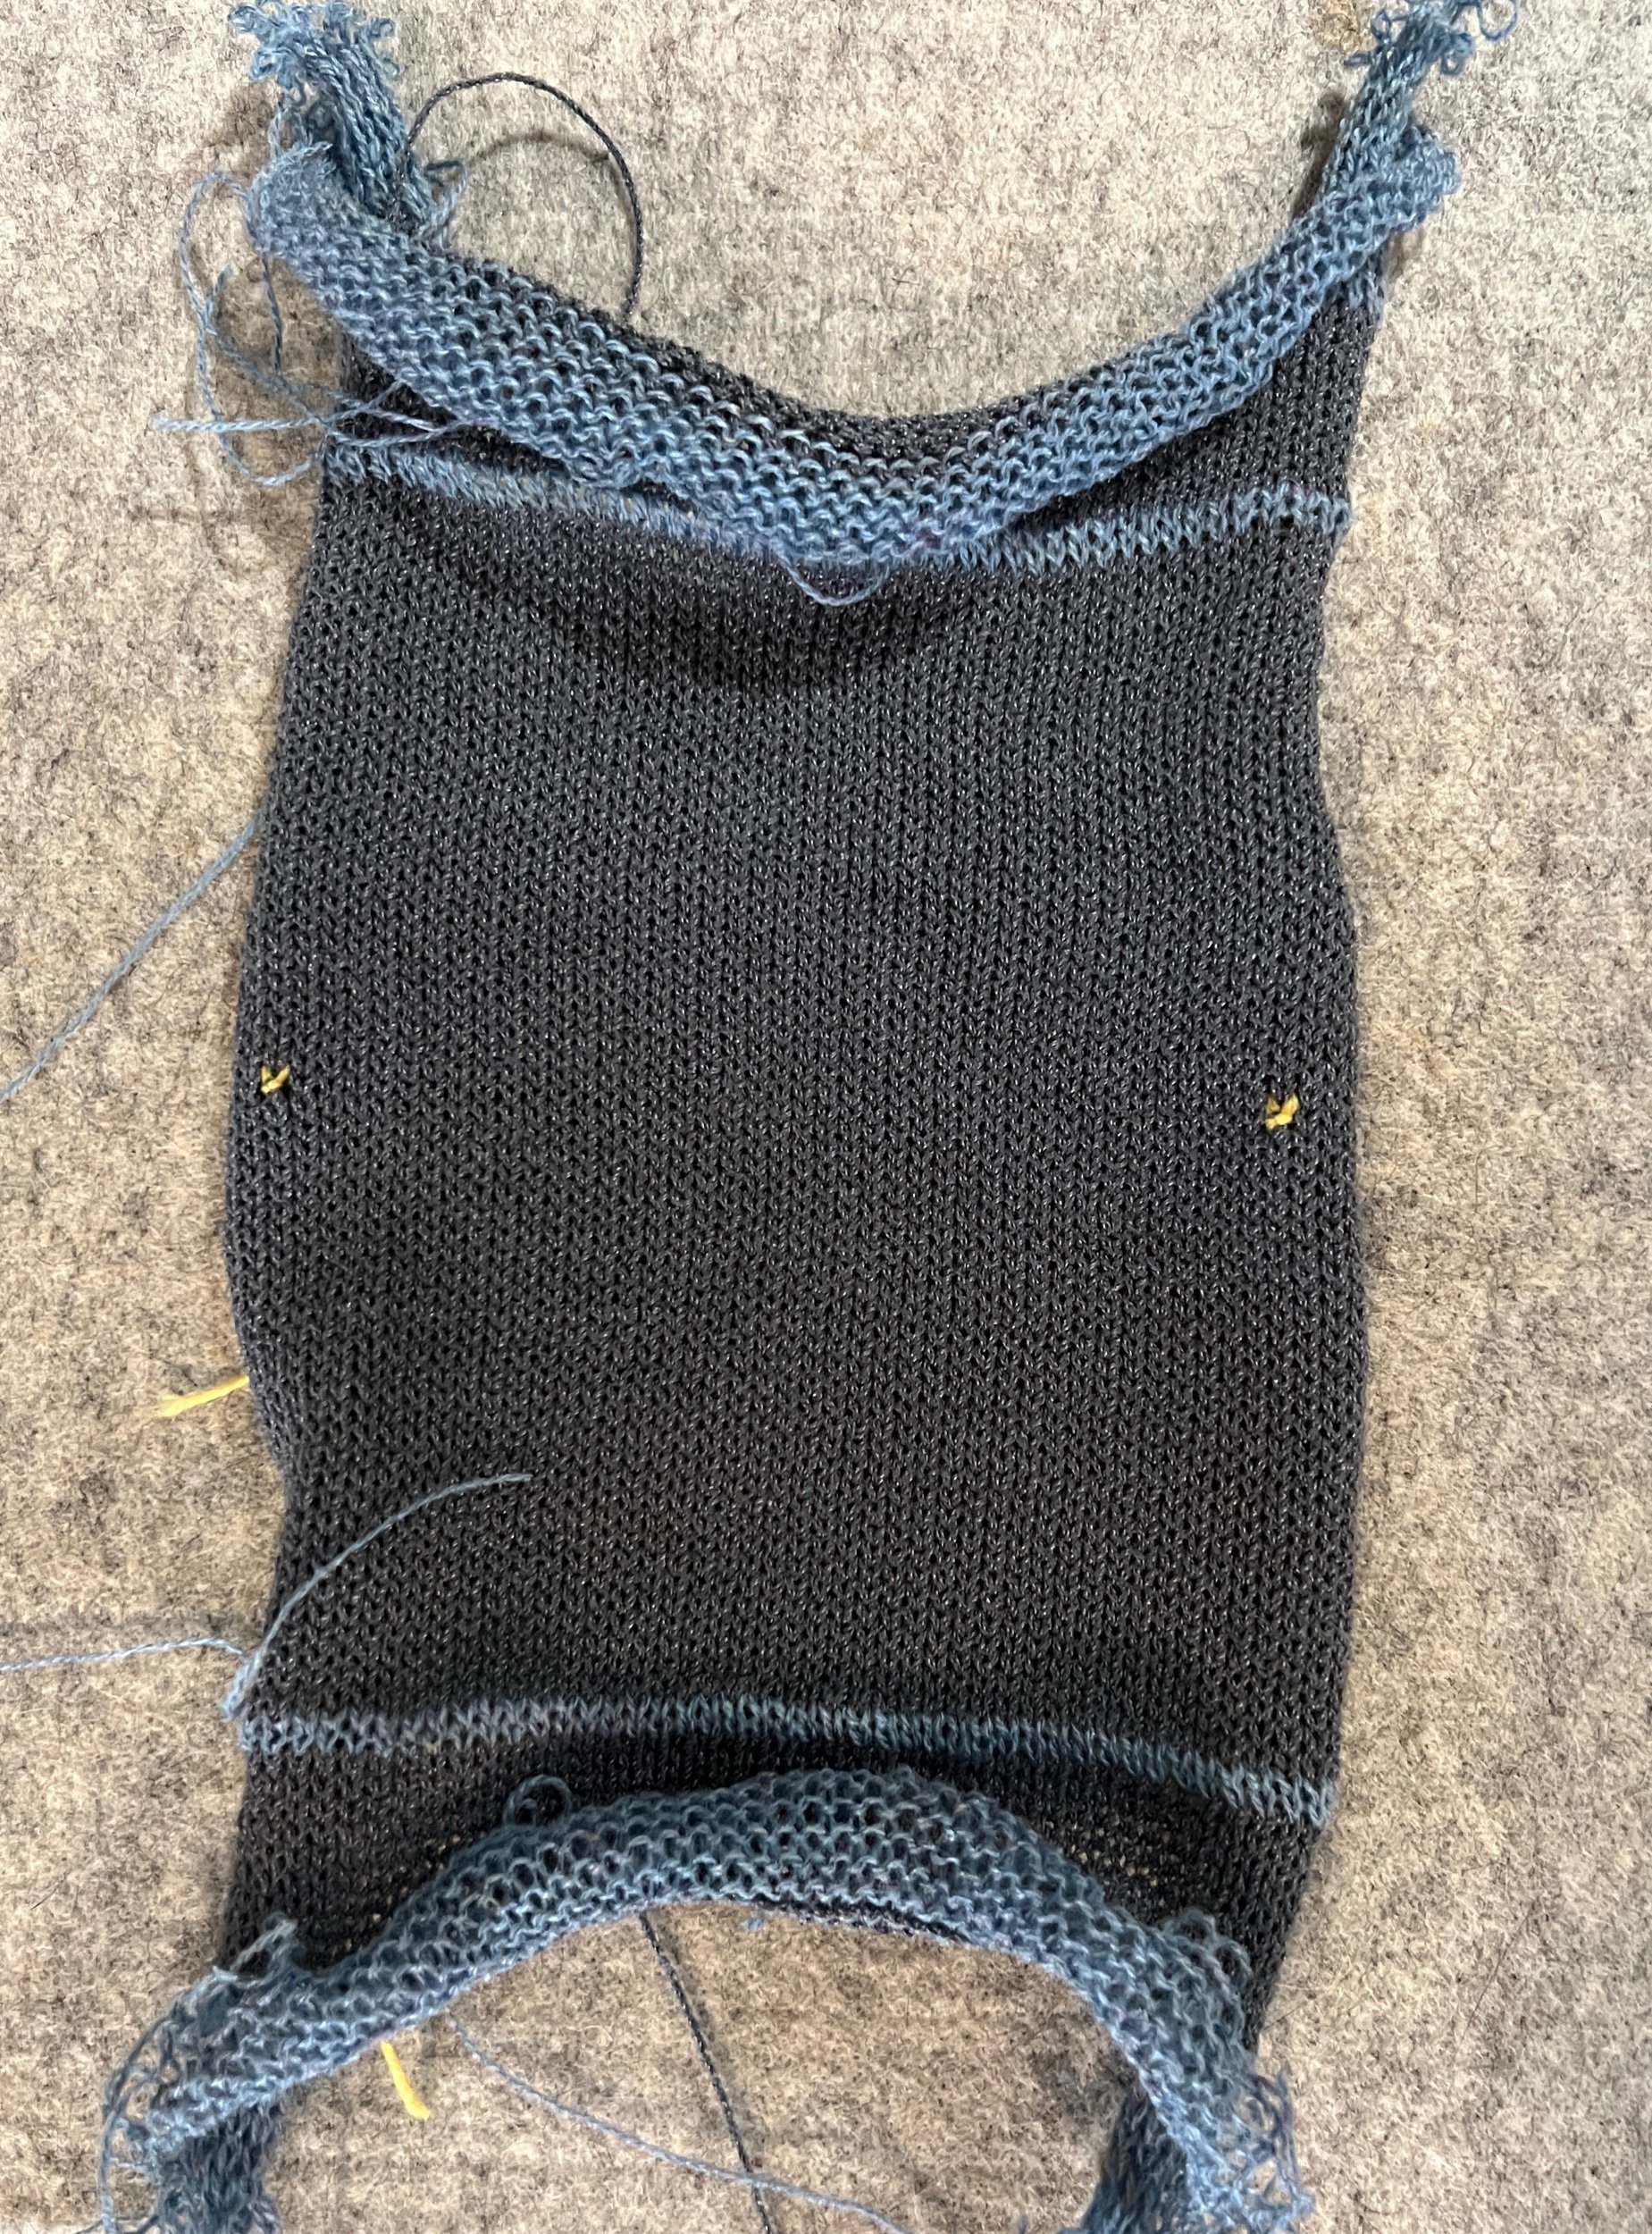
Now I’ve worked down to the final 14 needles (77 rows of knitting) and I’m now at the very edge of the circle. I switched to scrap yarn and worked another 10 rows, then taking all off the machine. Now I will rehang the first row I worked of the half circle and do the same. :) This will produce a full circle which I will then make a second. SUCCESS!!!!
Now I need to make three more circles and a rectangle to accommodate the two hammock covers I’m looking to make. :)


Next I will make the other pieces I need.
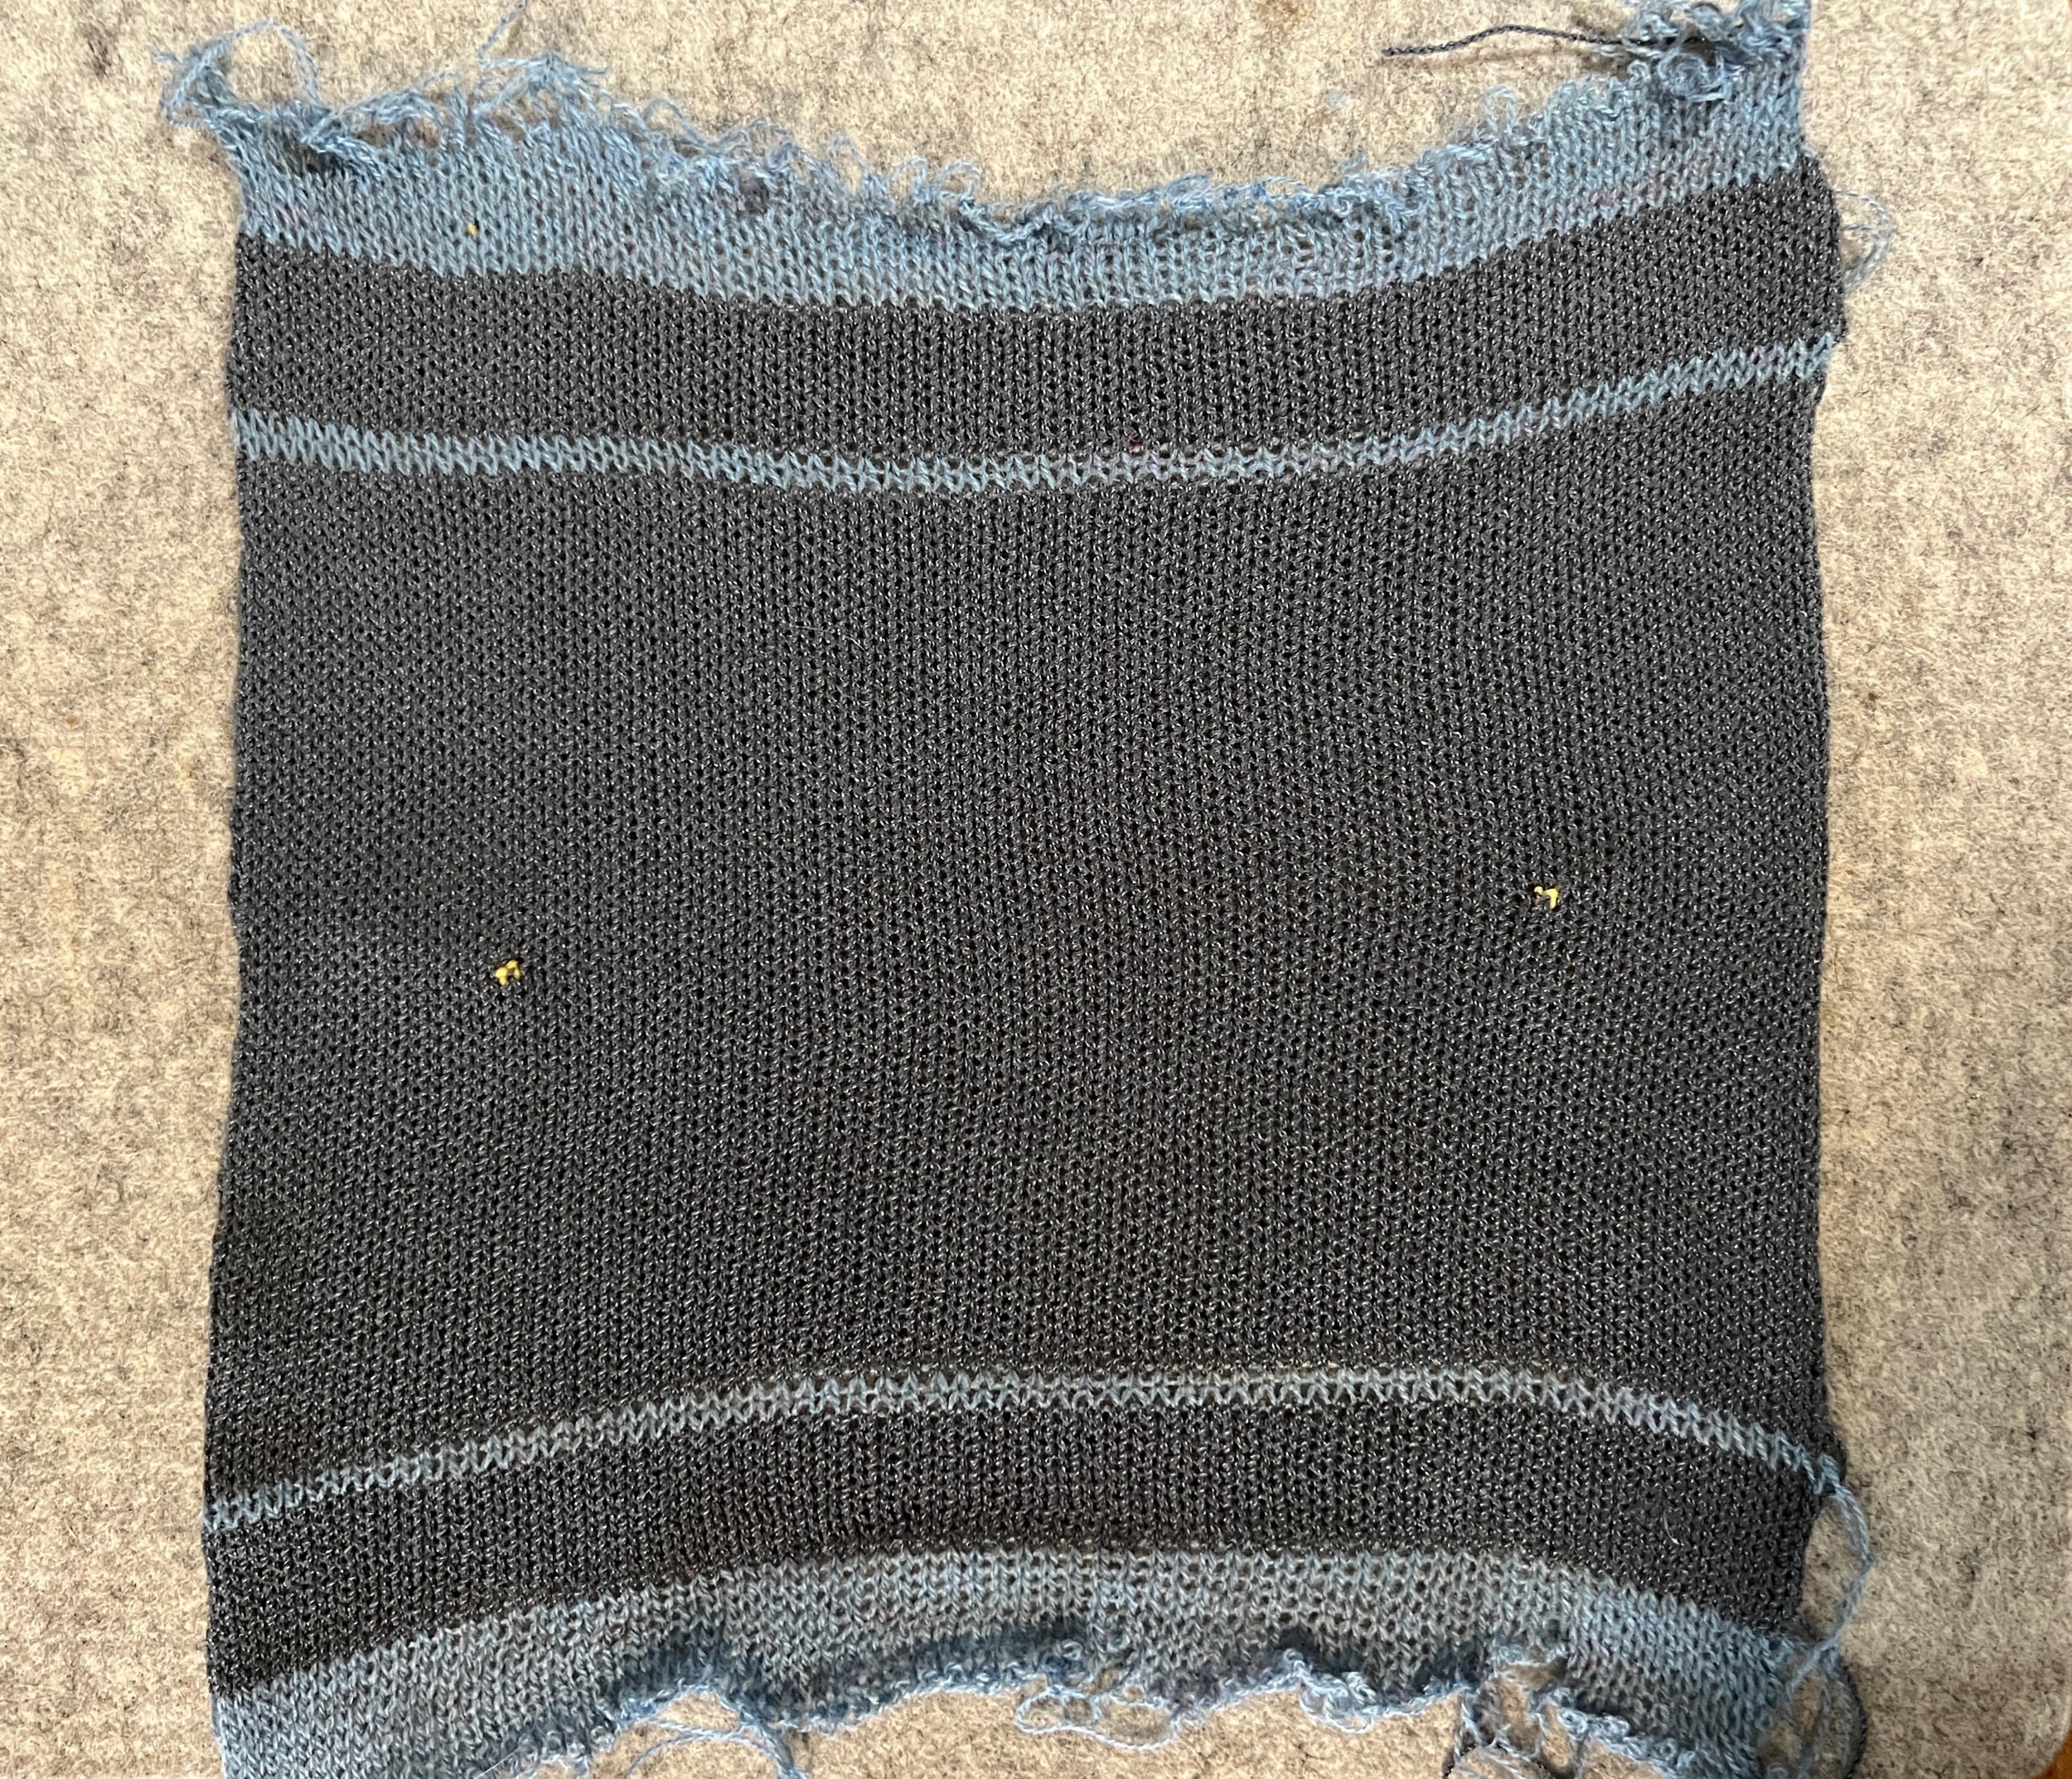
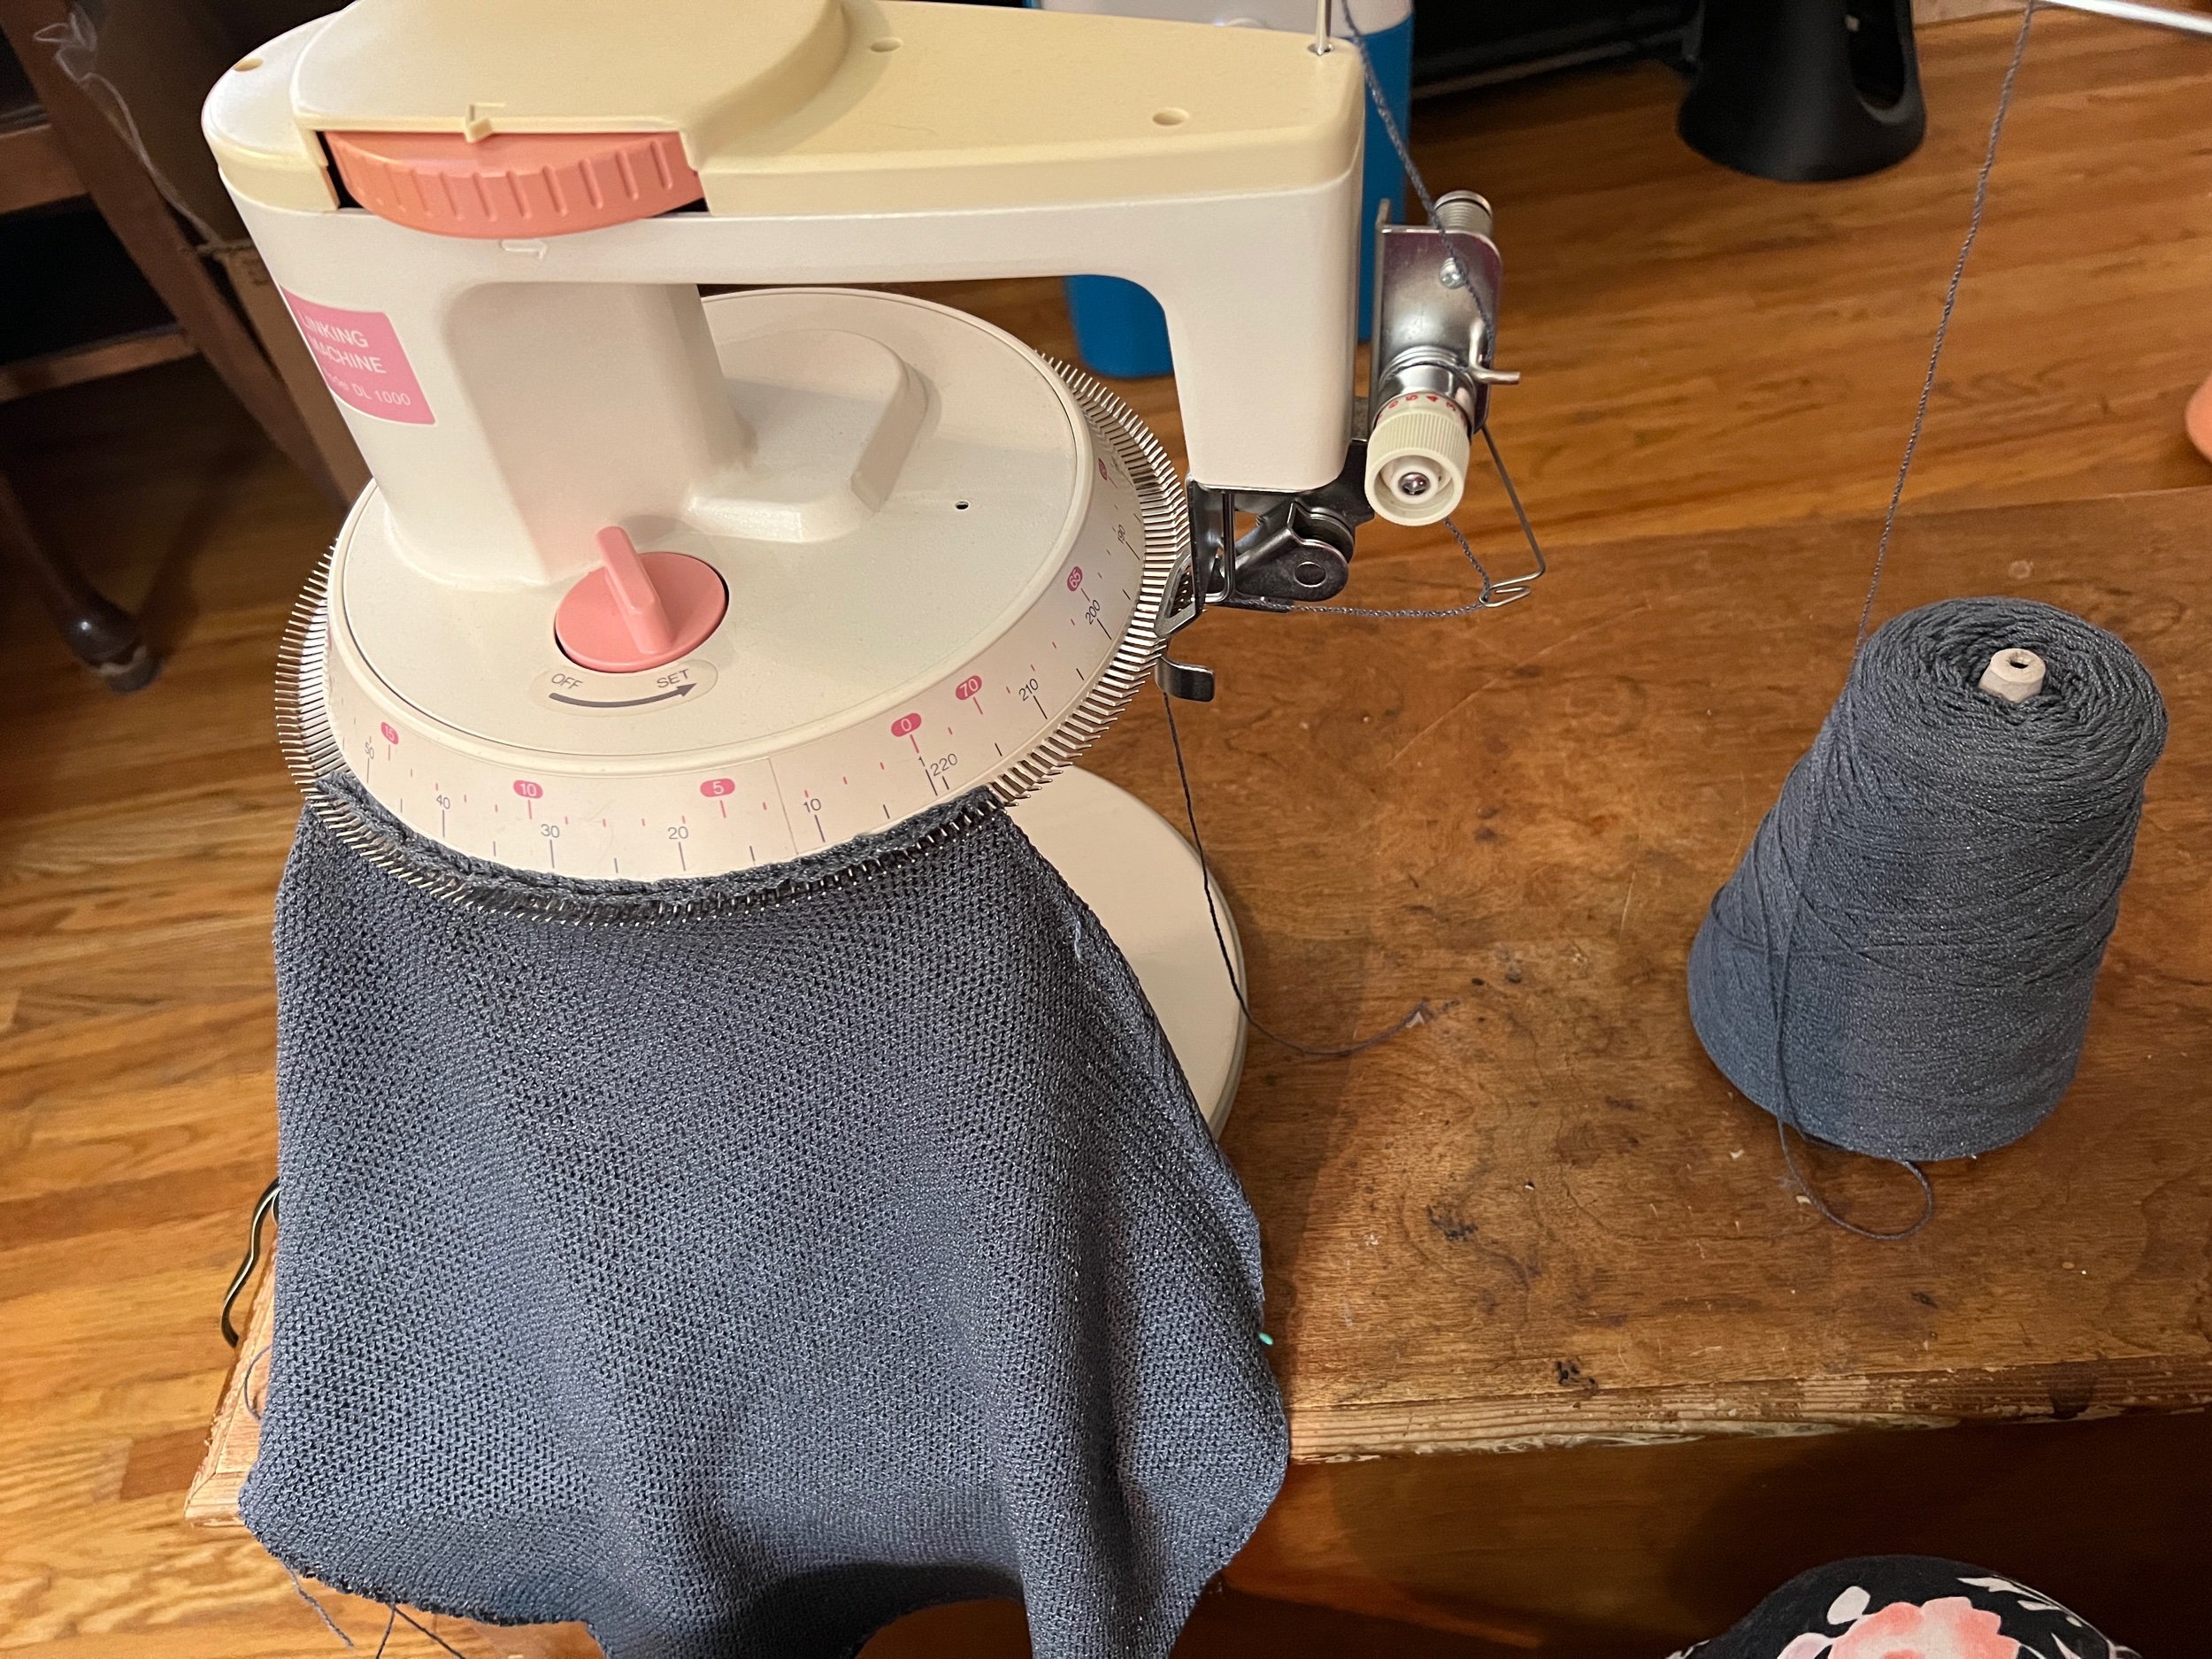
I’ve created the four circles and using my linker, seamed together two circles for the smaller cat hammock. The bigger kitty Java approves.
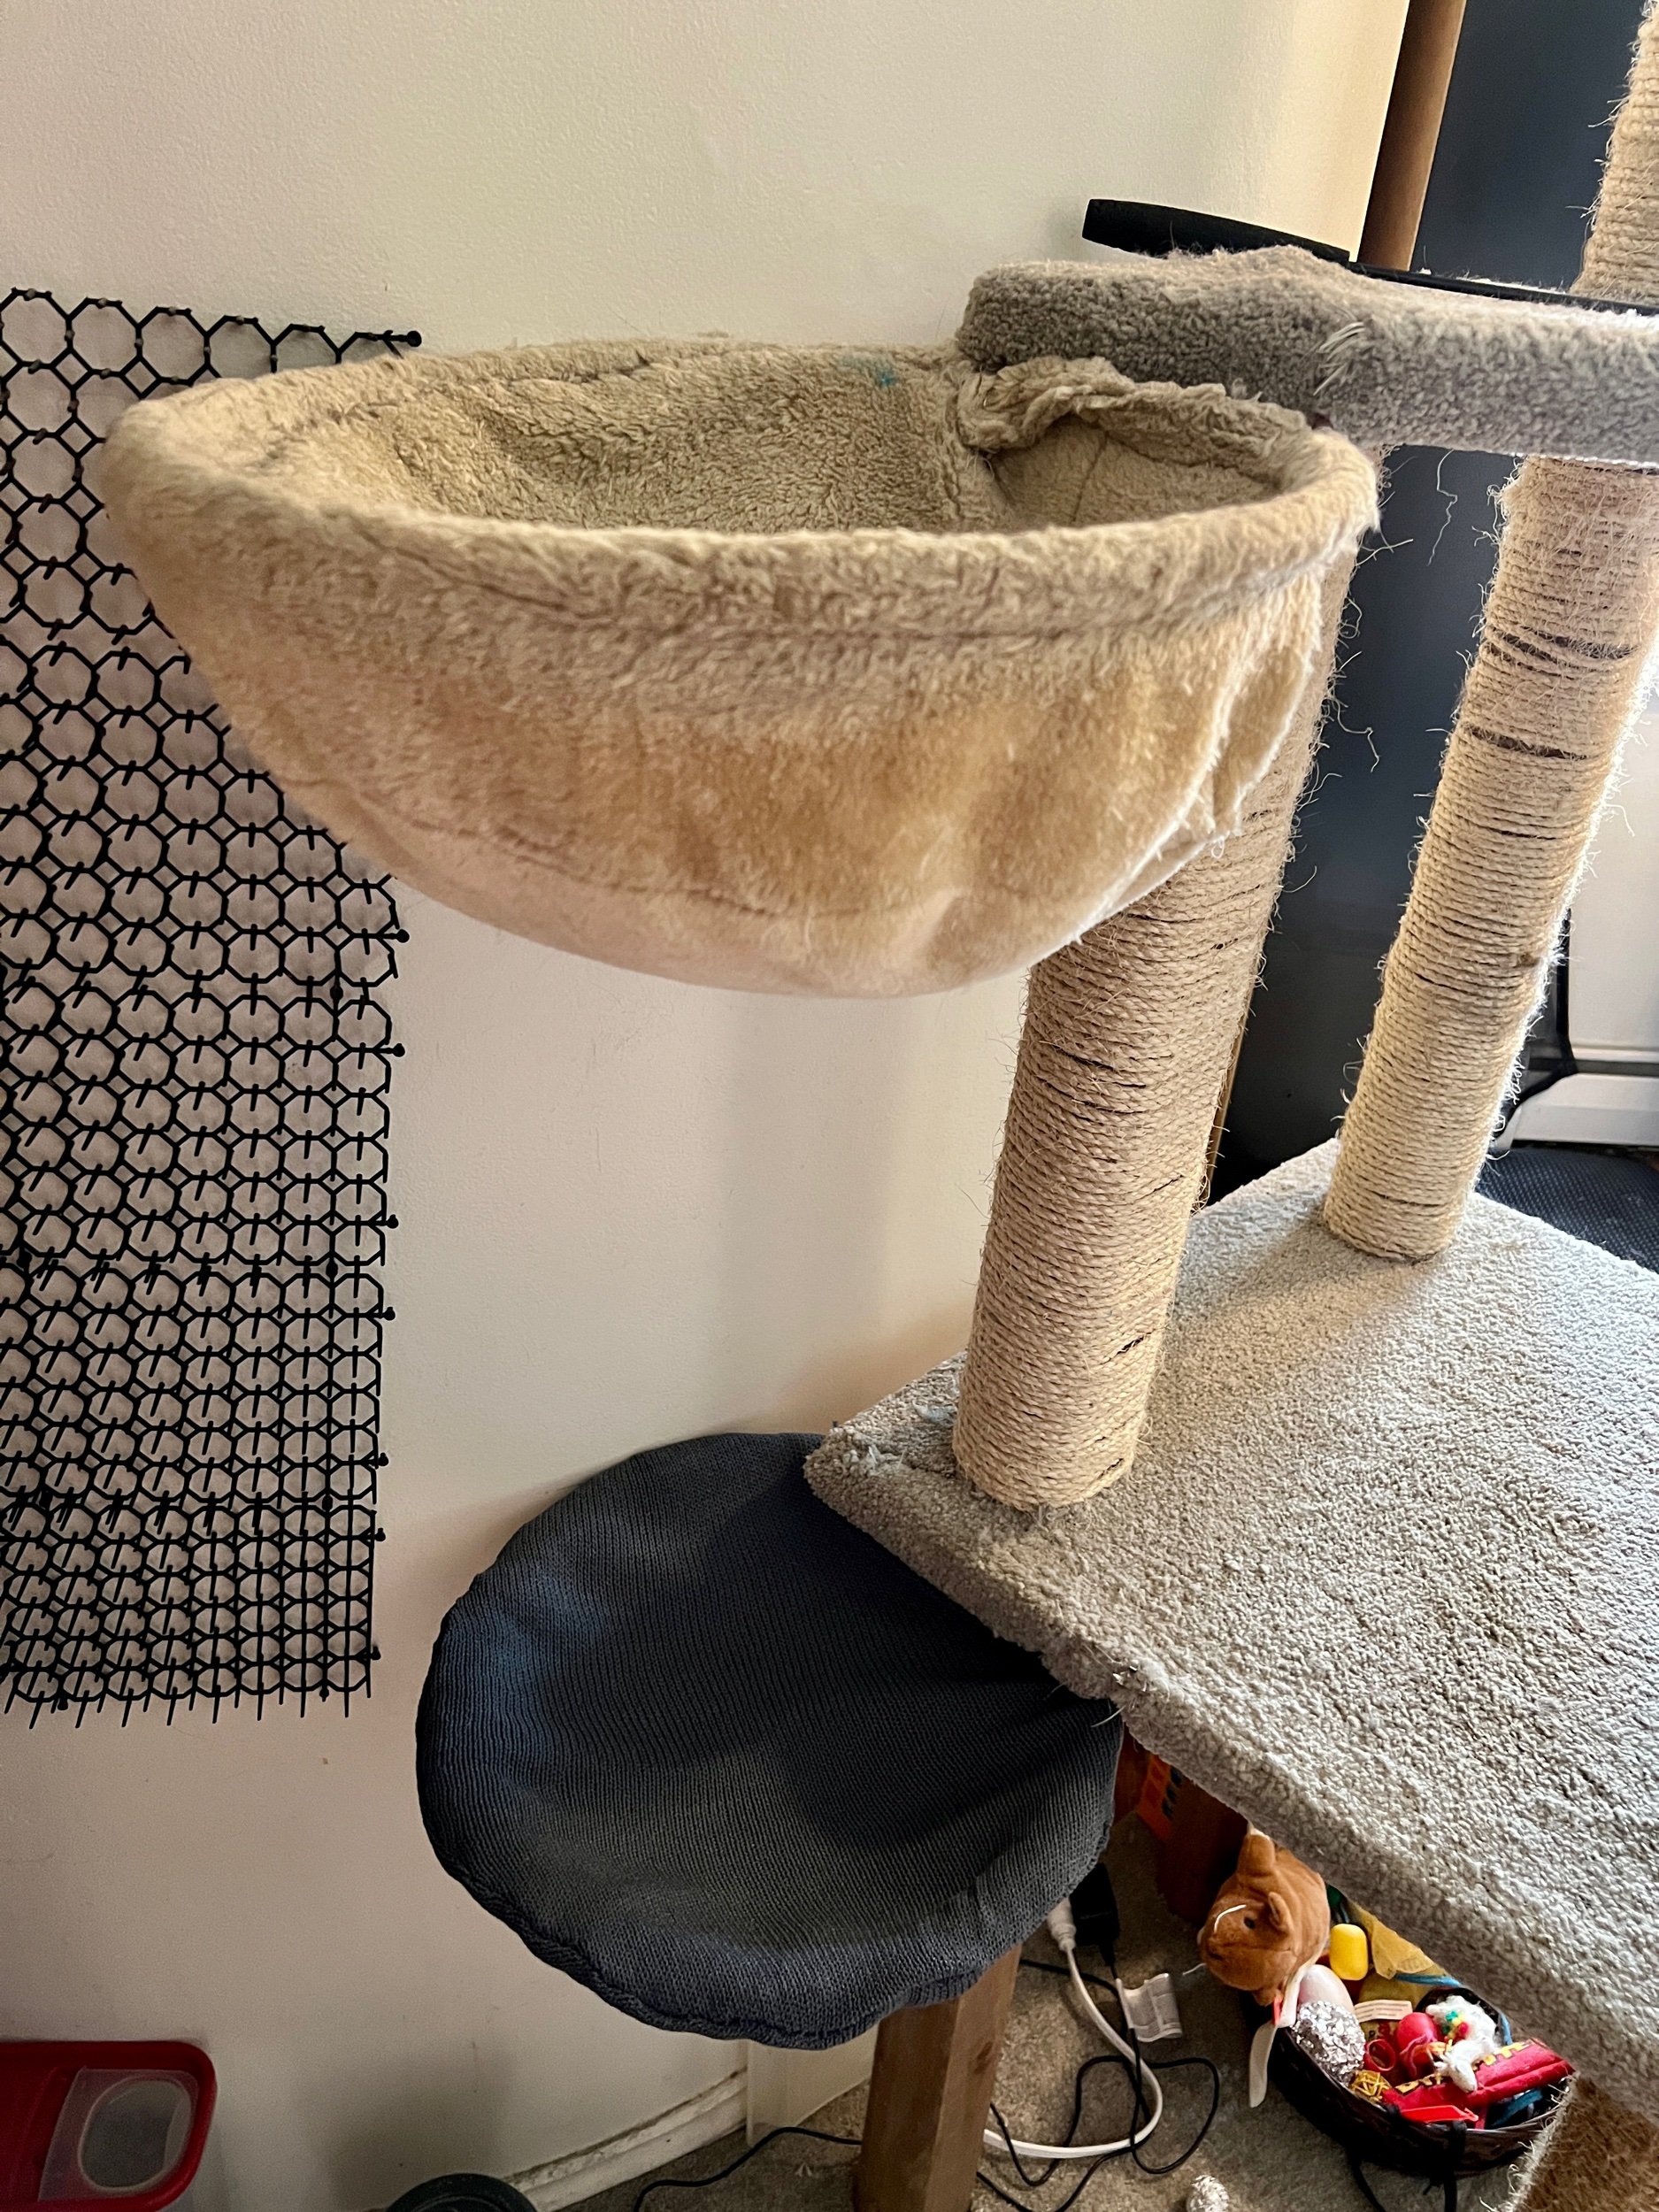


Now to create a rectangle to join the edges of one circle for the bigger hammock. I worked a rectangle piece while simultaneously joining the edge of one circle piece to accommodate the larger cat hammock. I did this intentionally slightly flaring the rectangle from the circle which meant tucks were needed to join the final circle to the other side of the rectangle (like a round ice cream sandwich). The large hammock features a deeper hammock and a space between the wire hoop attachment. I chose to add plastic snap buttons (which I Color coded to make it easier to use) to close up the side of the cover and attach it firmly to the hammock. I haven’t done a final steam iron on the last seam so it looks more flared and rippled than it is (but I don’t care). It’s finished!