Ravelry project - https://ravel.me/csmlove/fwd

Ok I am probably insane for thinking I can make a dress on my flat bed (having not done so yet) especially since the date for our wedding is May 5 (2023) but here’s my resources as I go.
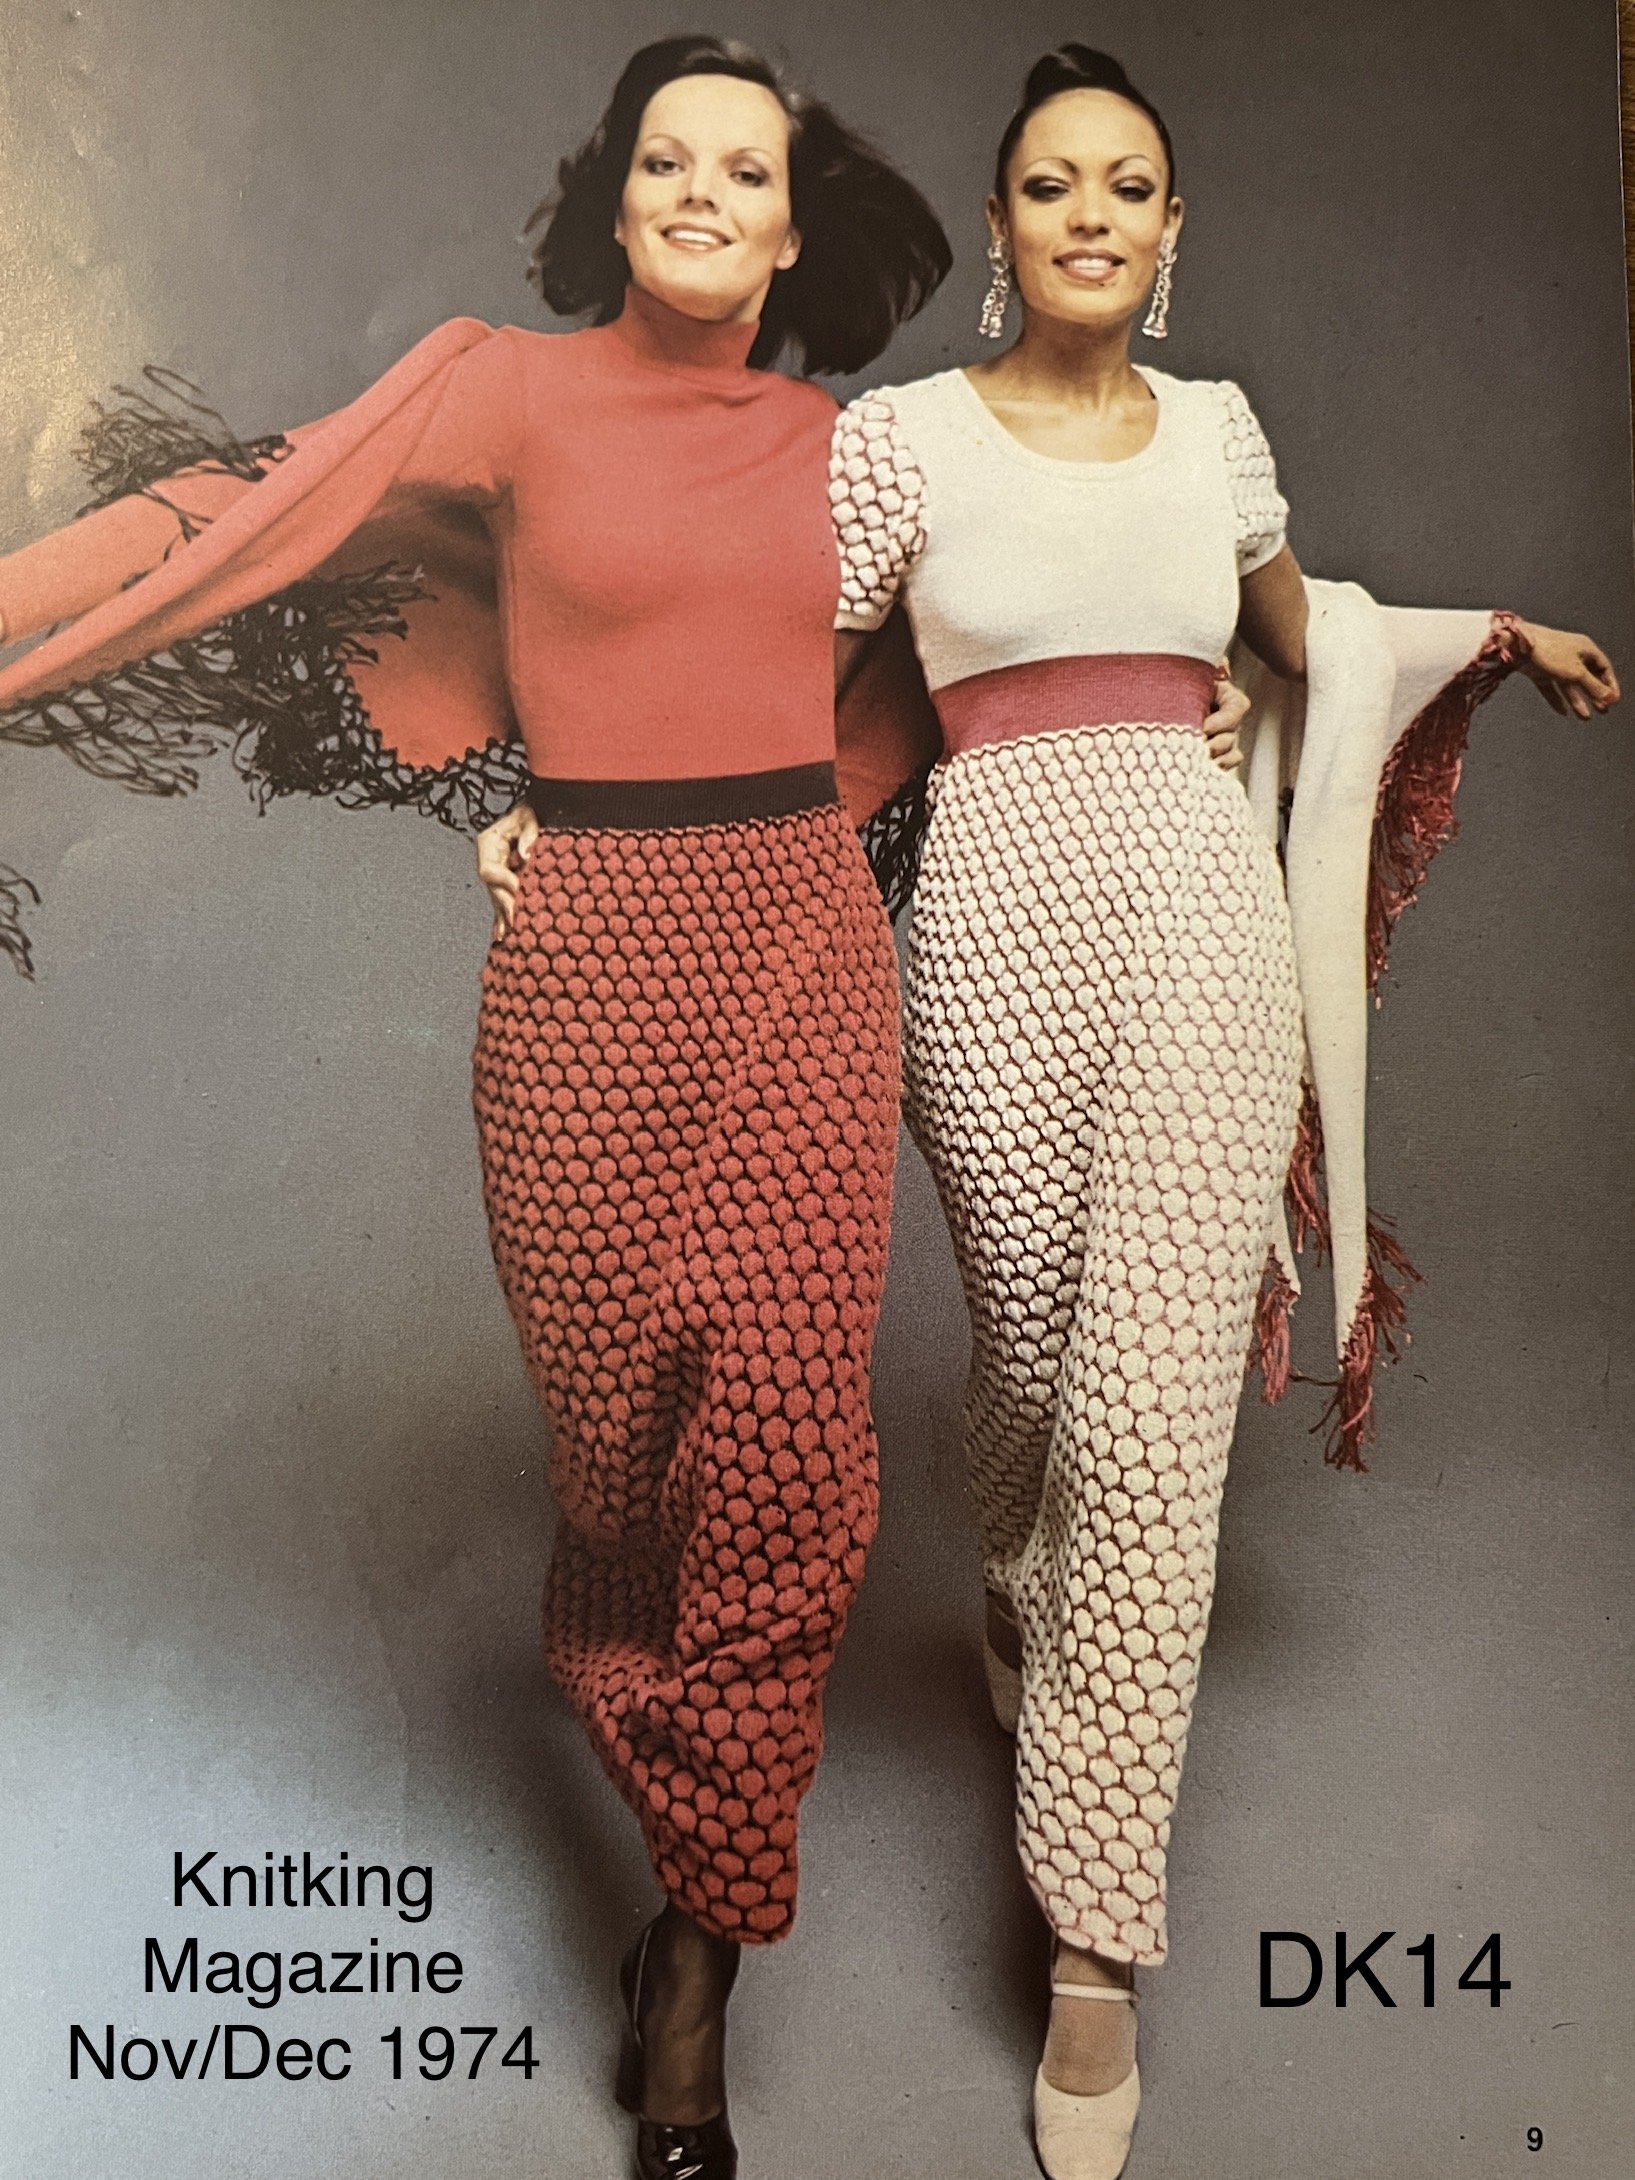
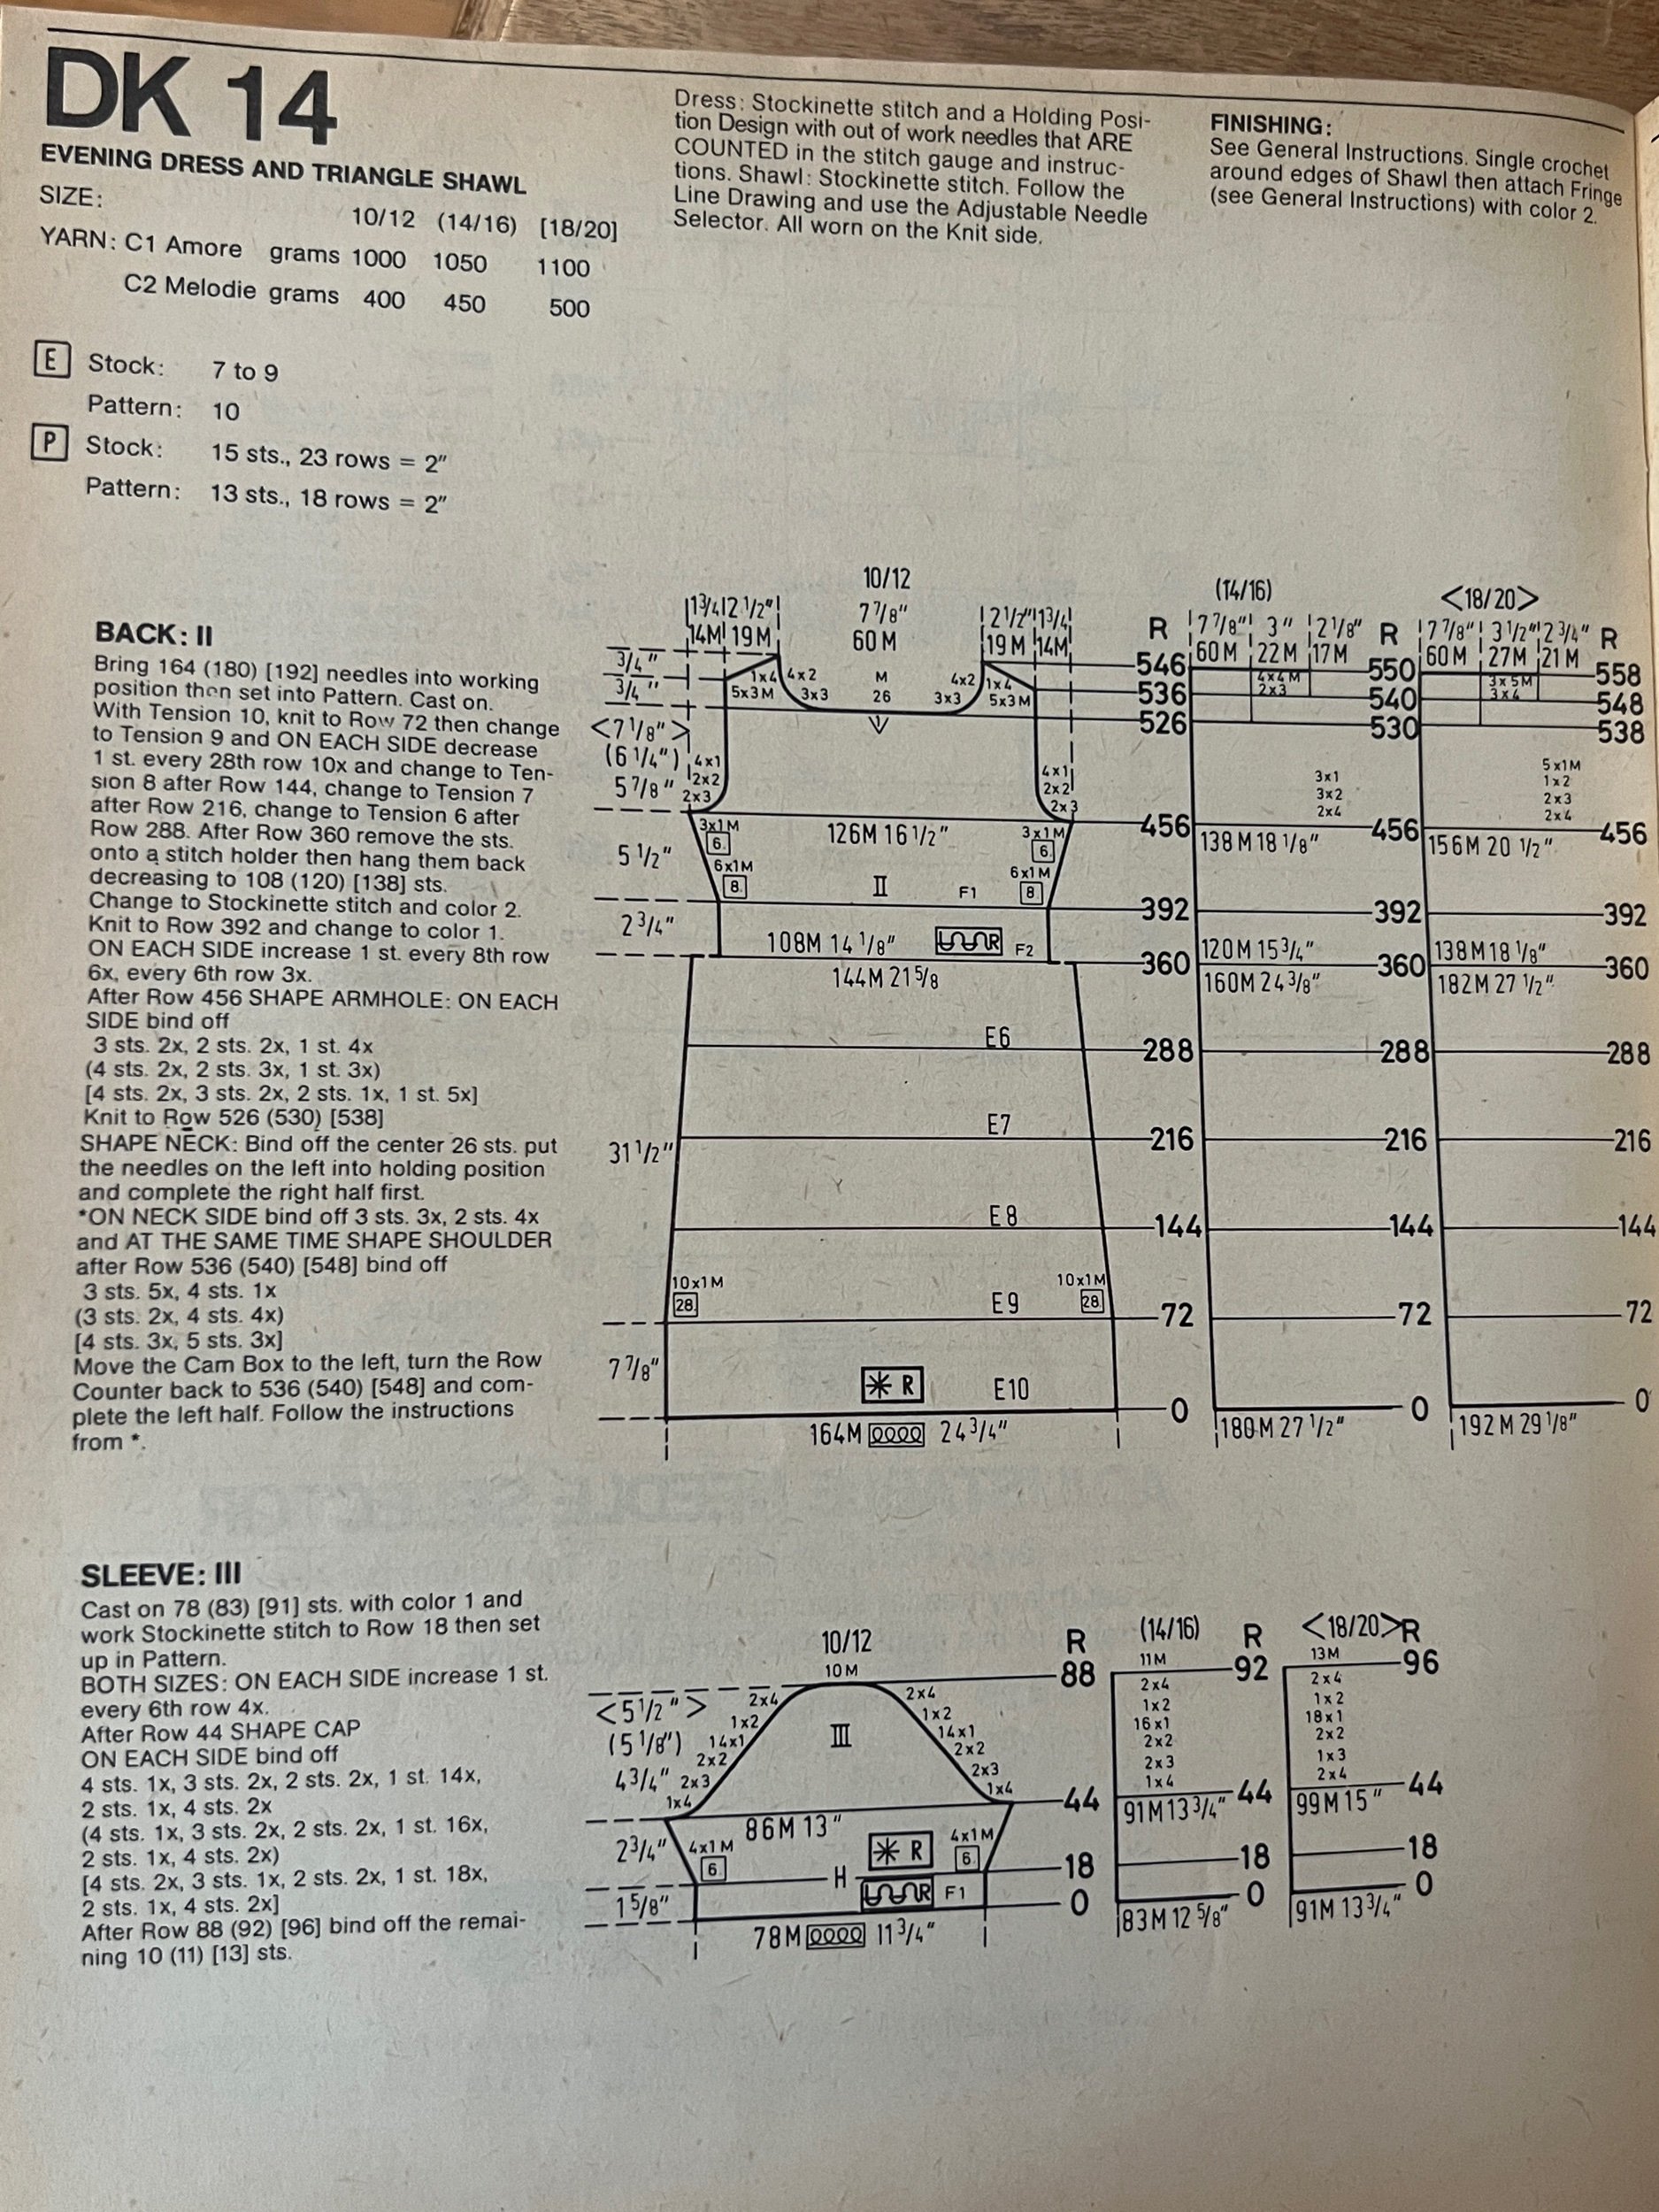
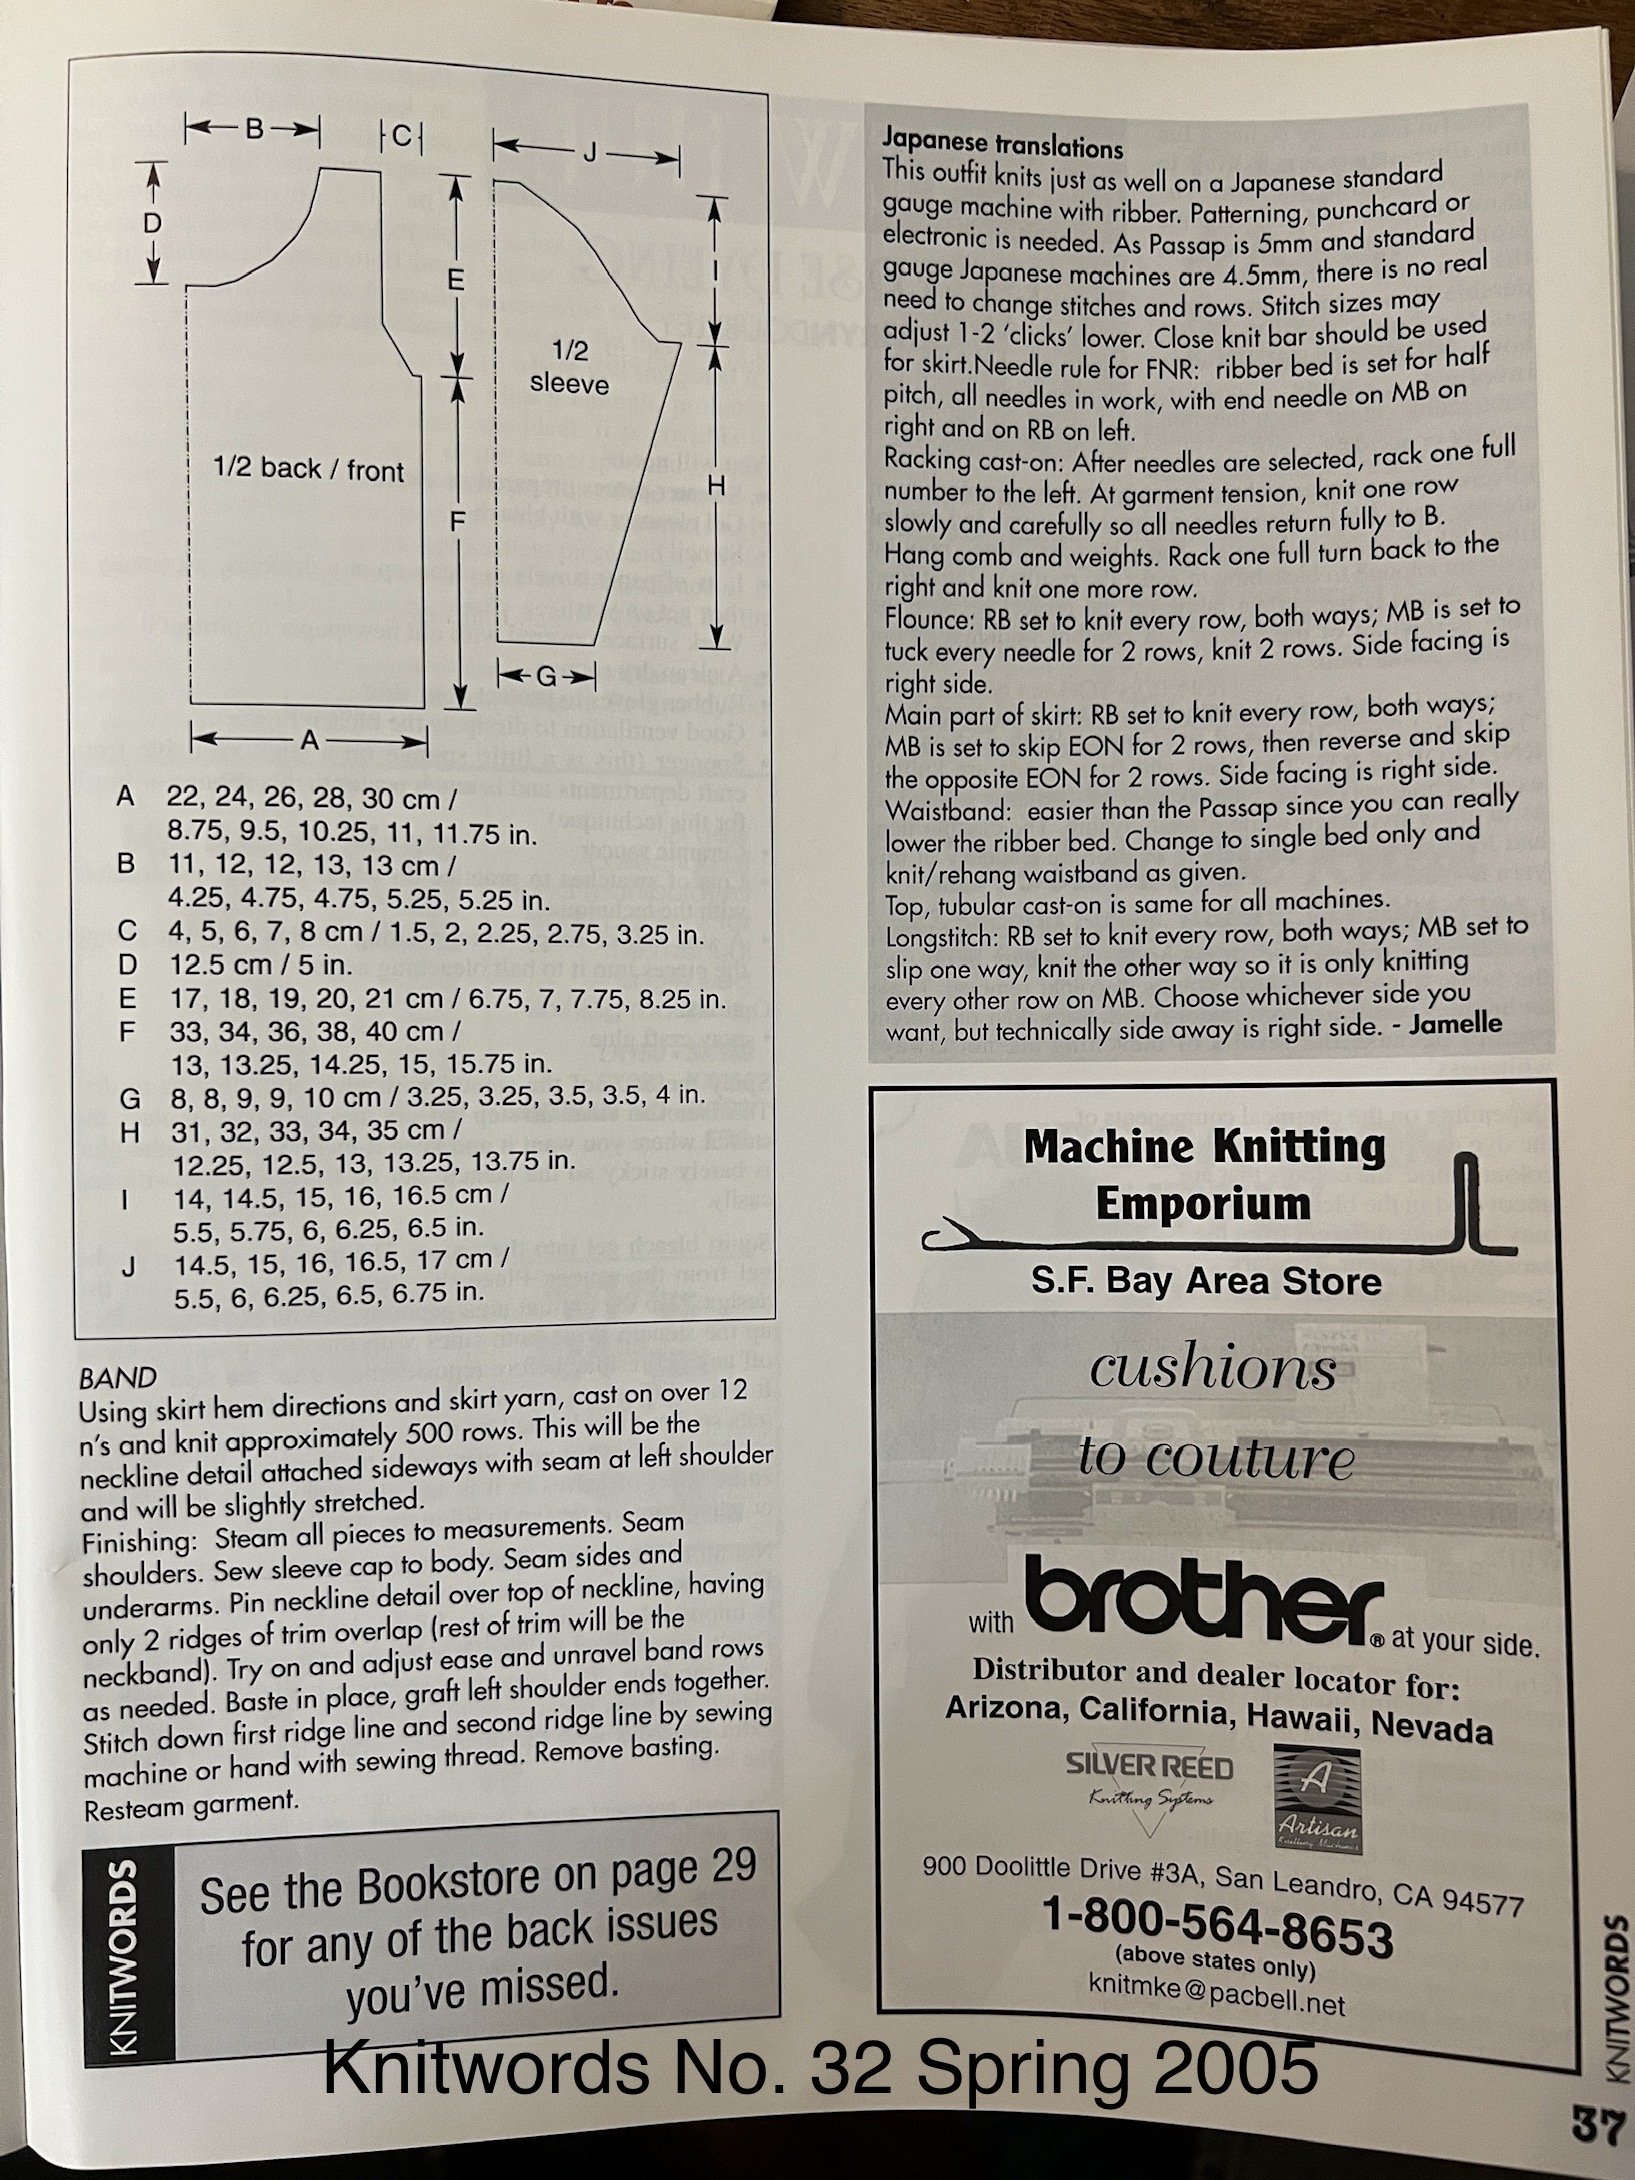
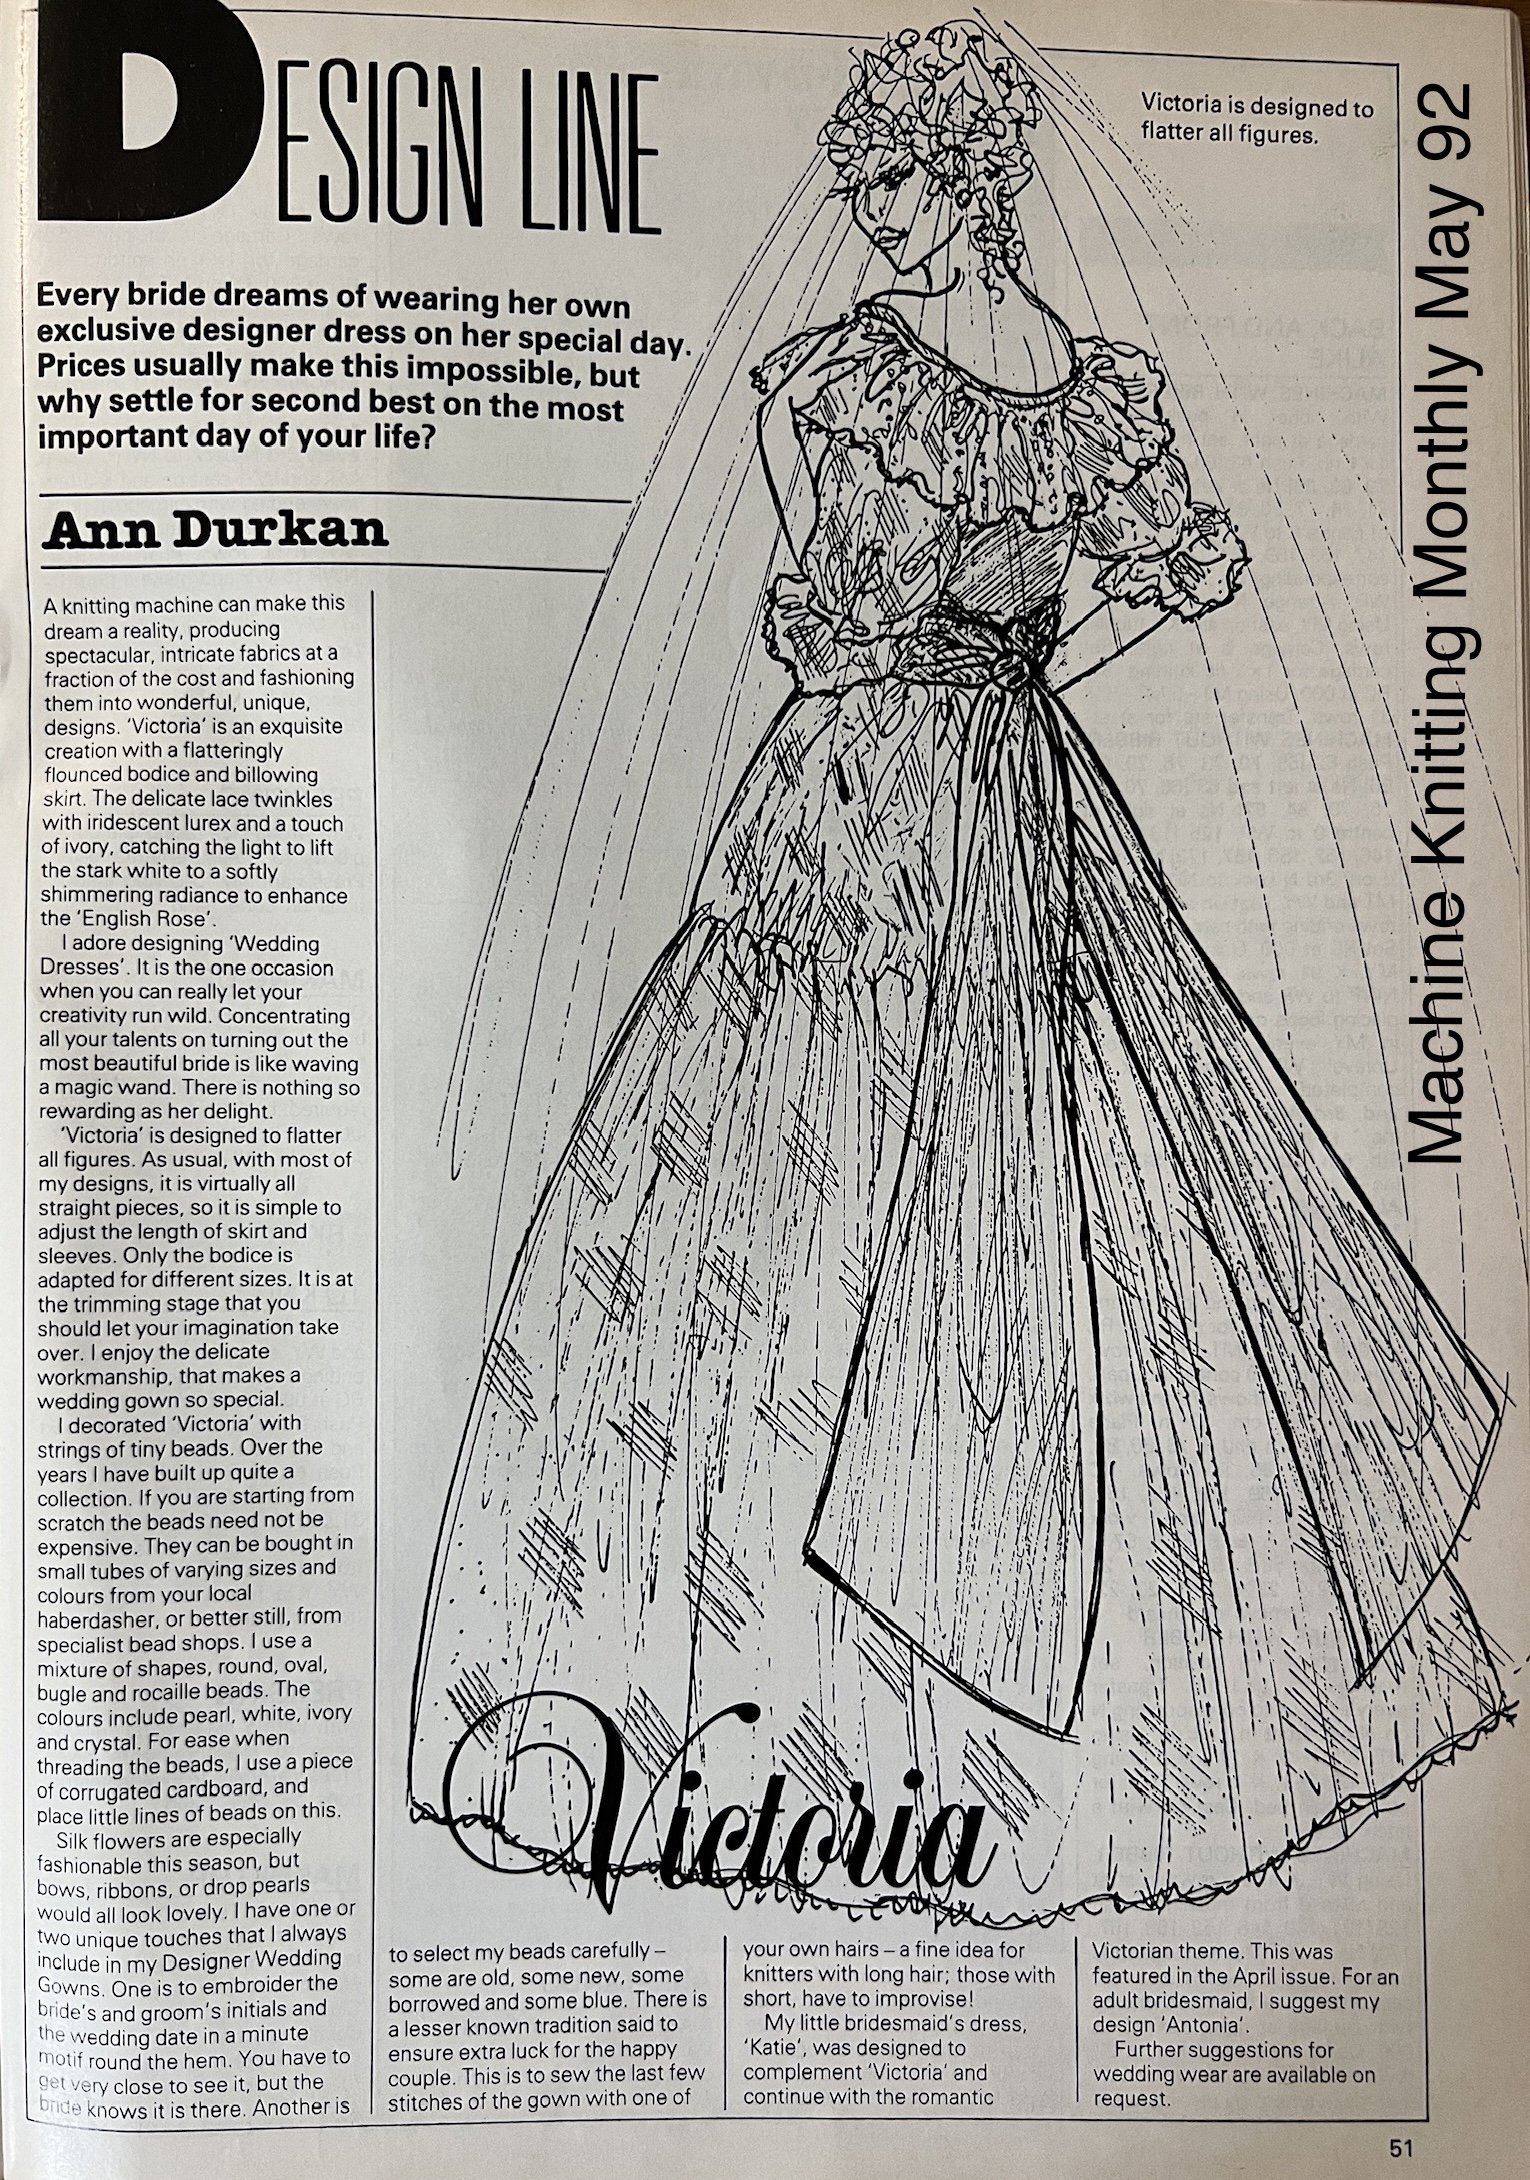
Inspiration found by going rhythm many donated vintage machine knitting magazines.
I like the idea of lace stitch sleeves and skirt. Perhaps a two piece (top and skirt?)


The day is getting ever closer and I’ve been procrastinating! Time to get on it!
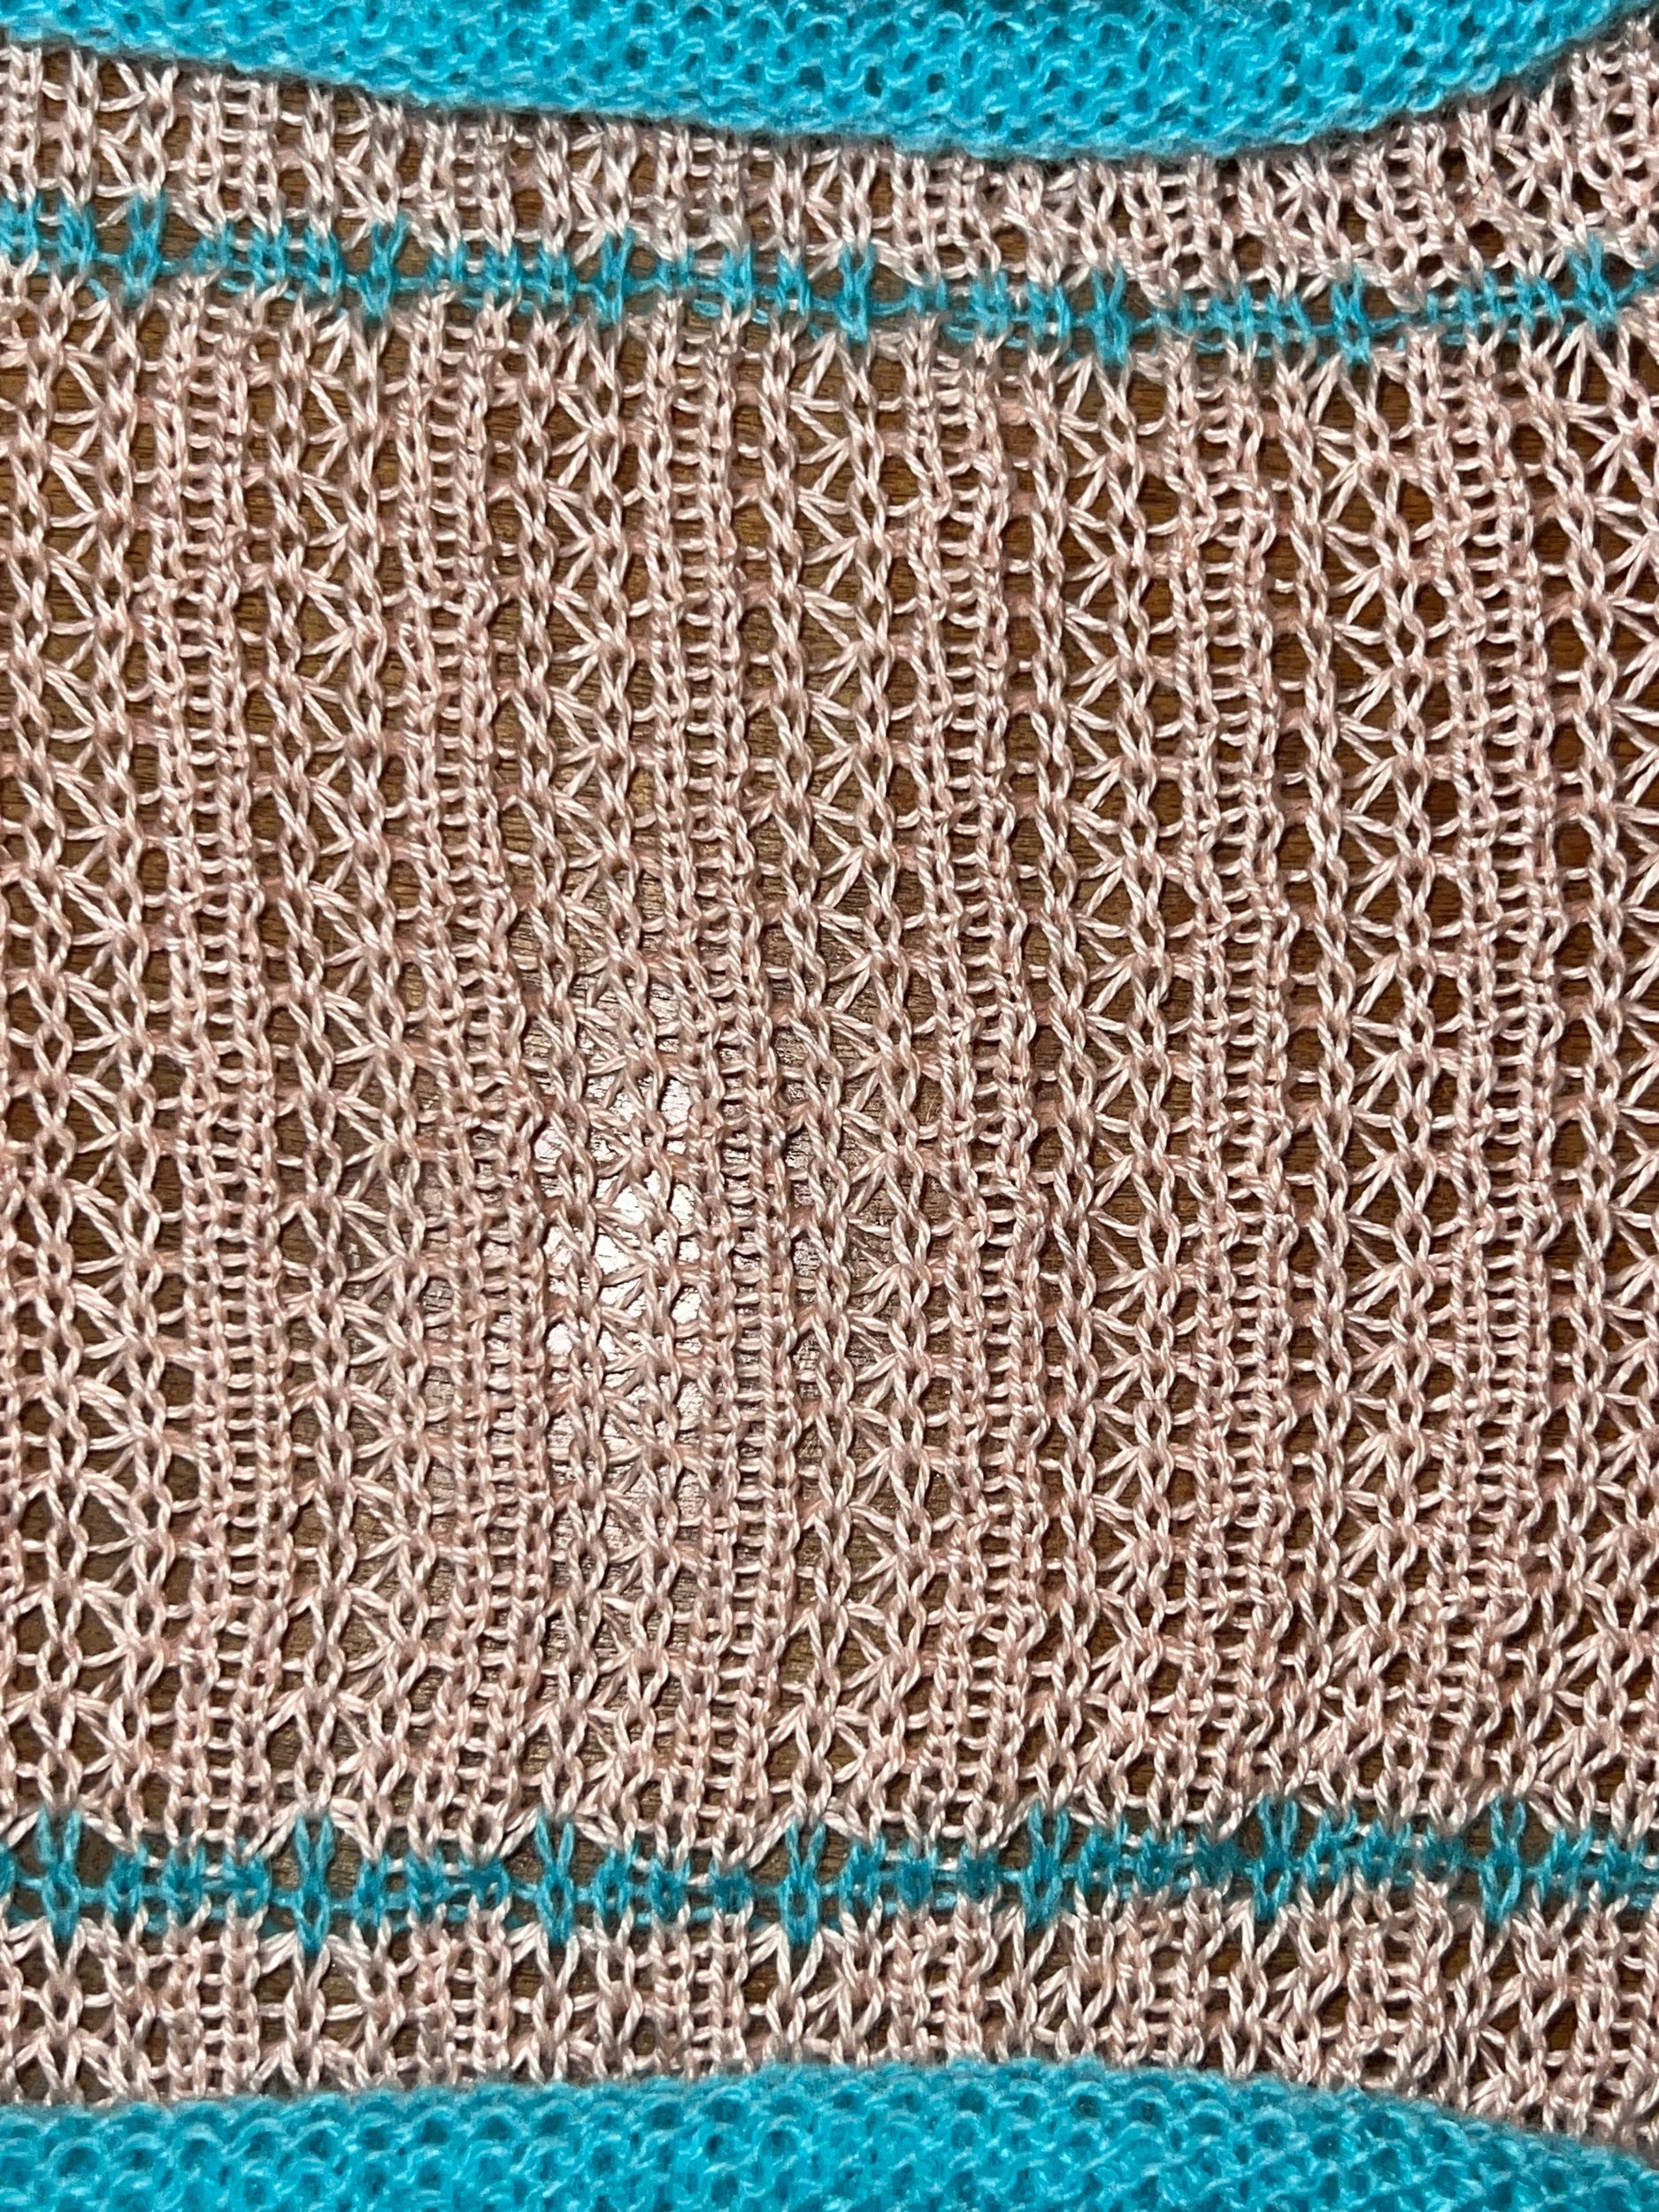

I’ve been dreaming of this light pink fibre I’ve had for a couple years (I have two huge cones of it).
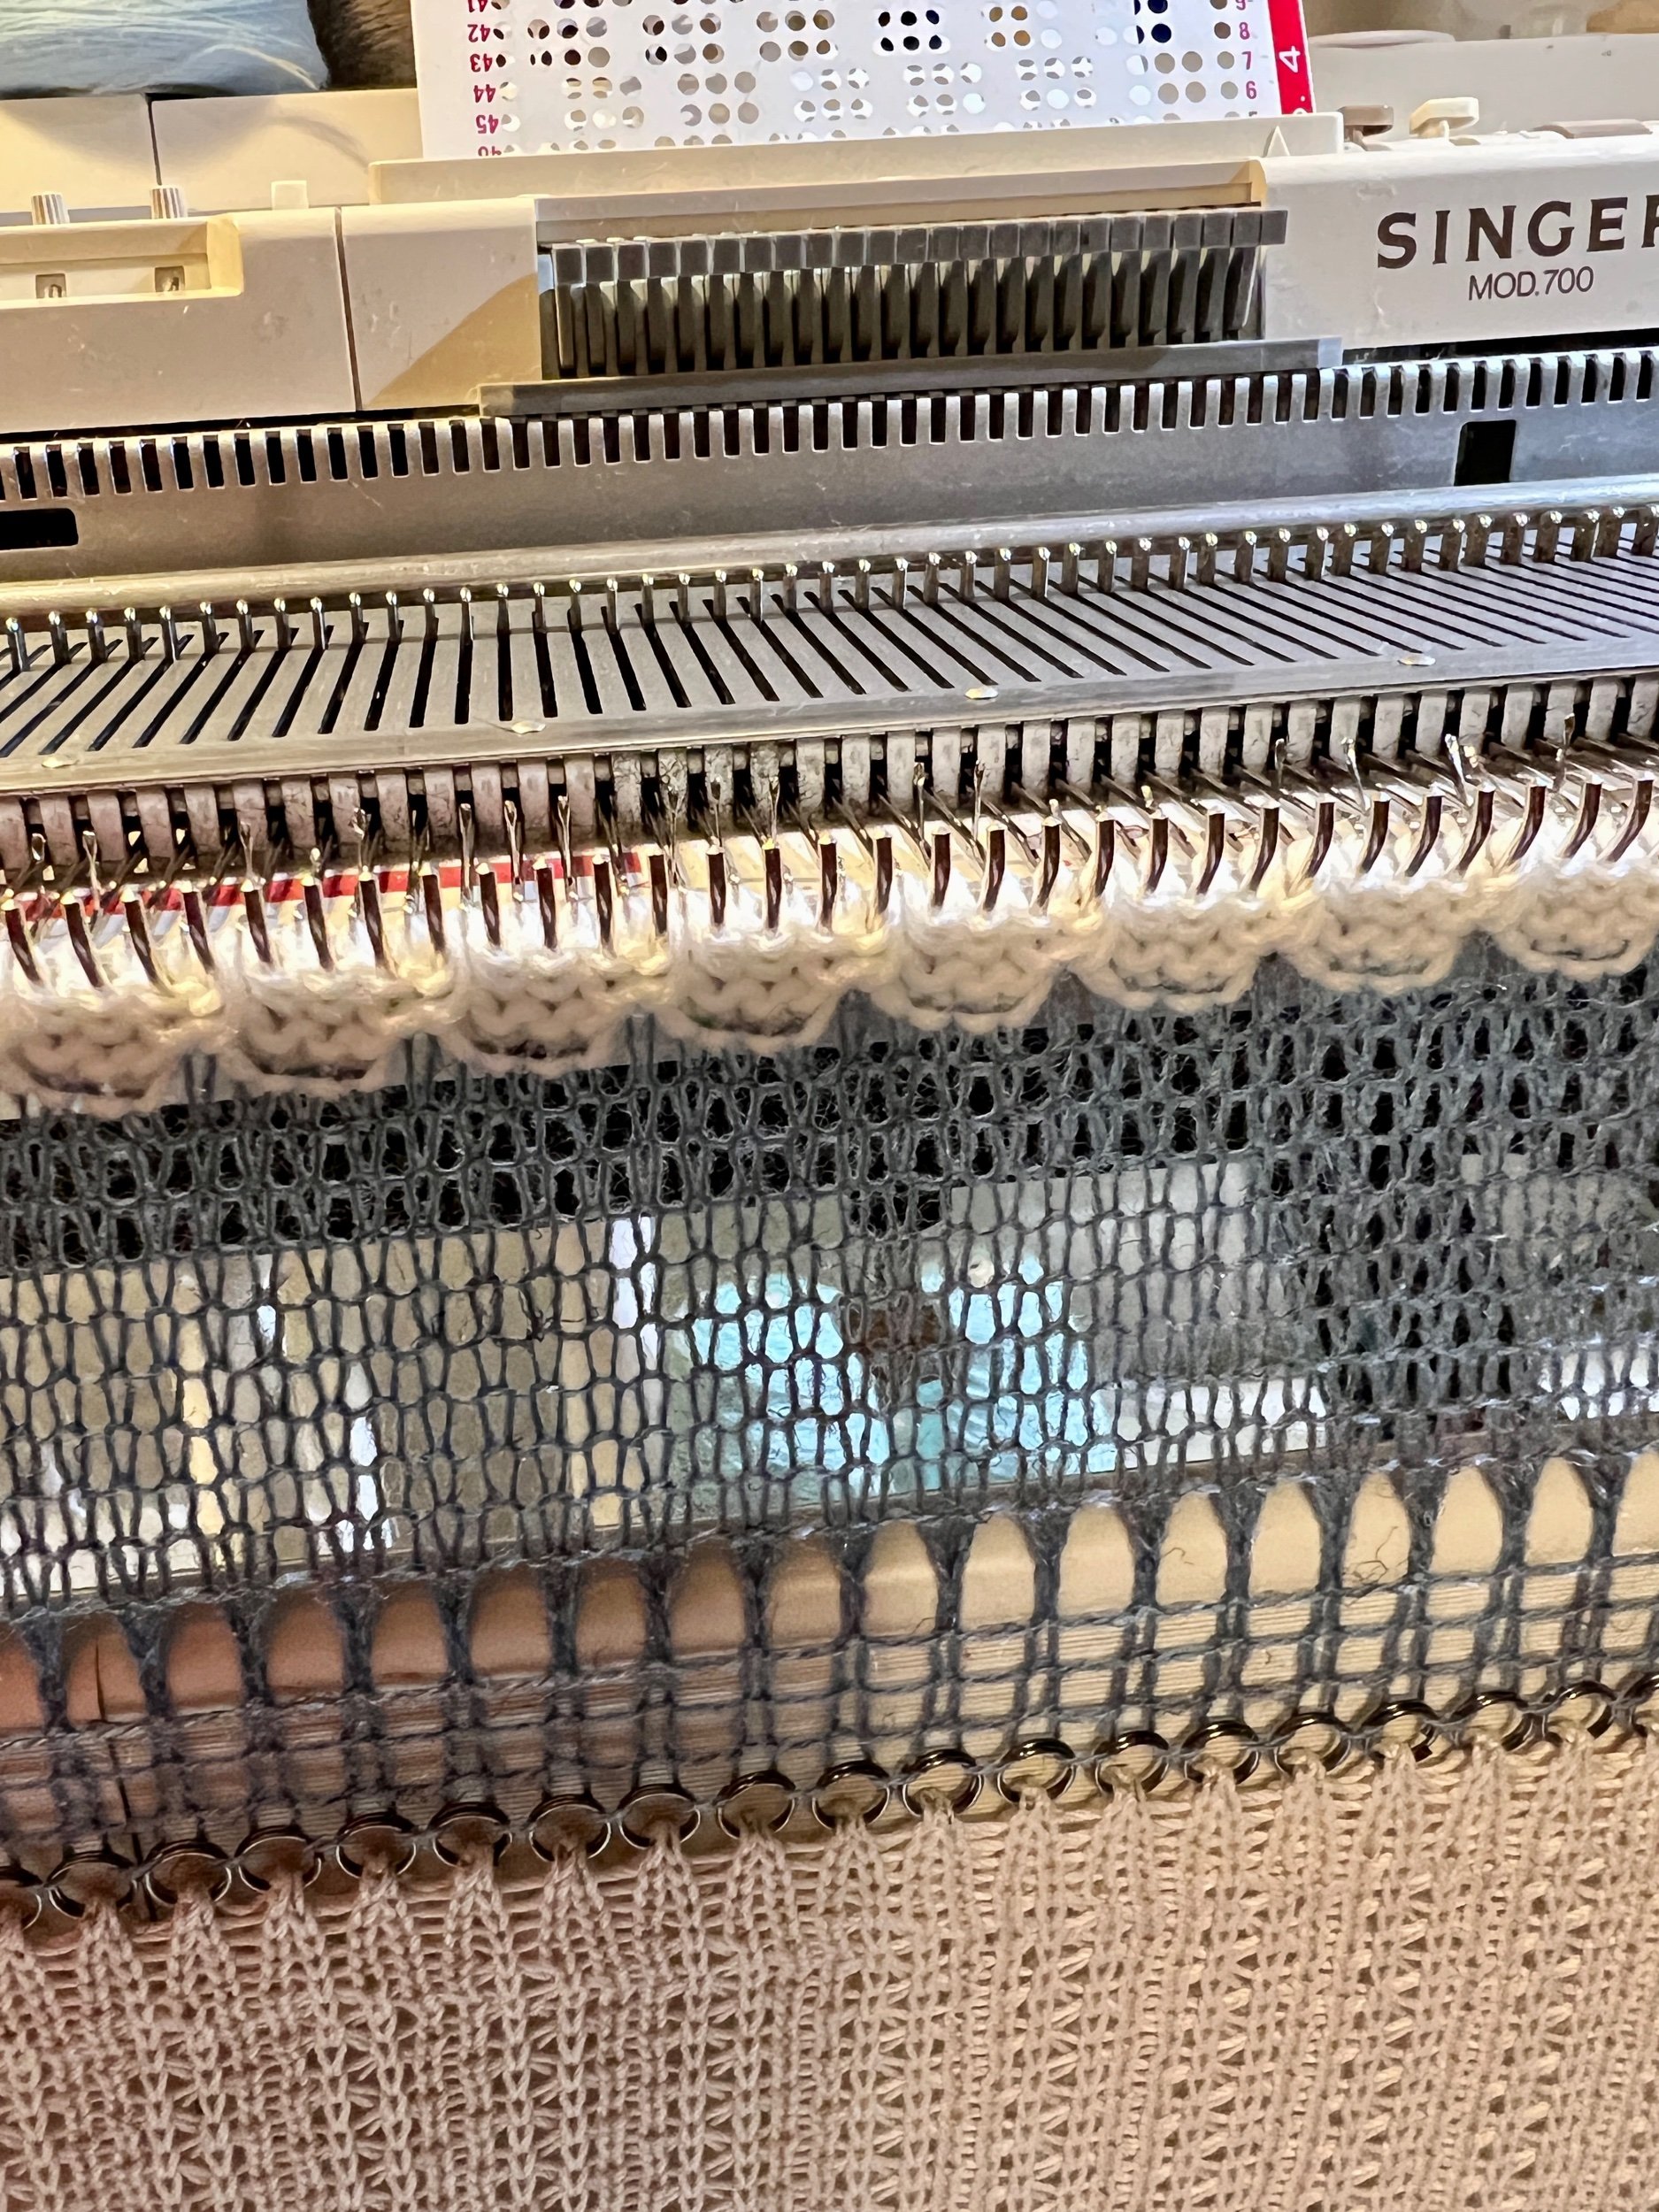
This sample literally just came off the machine and probably should be steamed and measured before considering anything…
In my minds eye I see lacy elbow length sleeves with a square neckline on a less lacy (not see through) bodice. The sample gauge tension swatch in a basic knit stitch was still fairly see through. I’m considering perhaps using the Purl side of this sample to show a lacy sleeve and perhaps the same knit patterning for the rest of the top. The skirt can mix the two wile offering a flowing swishy skirt. Let’s see!
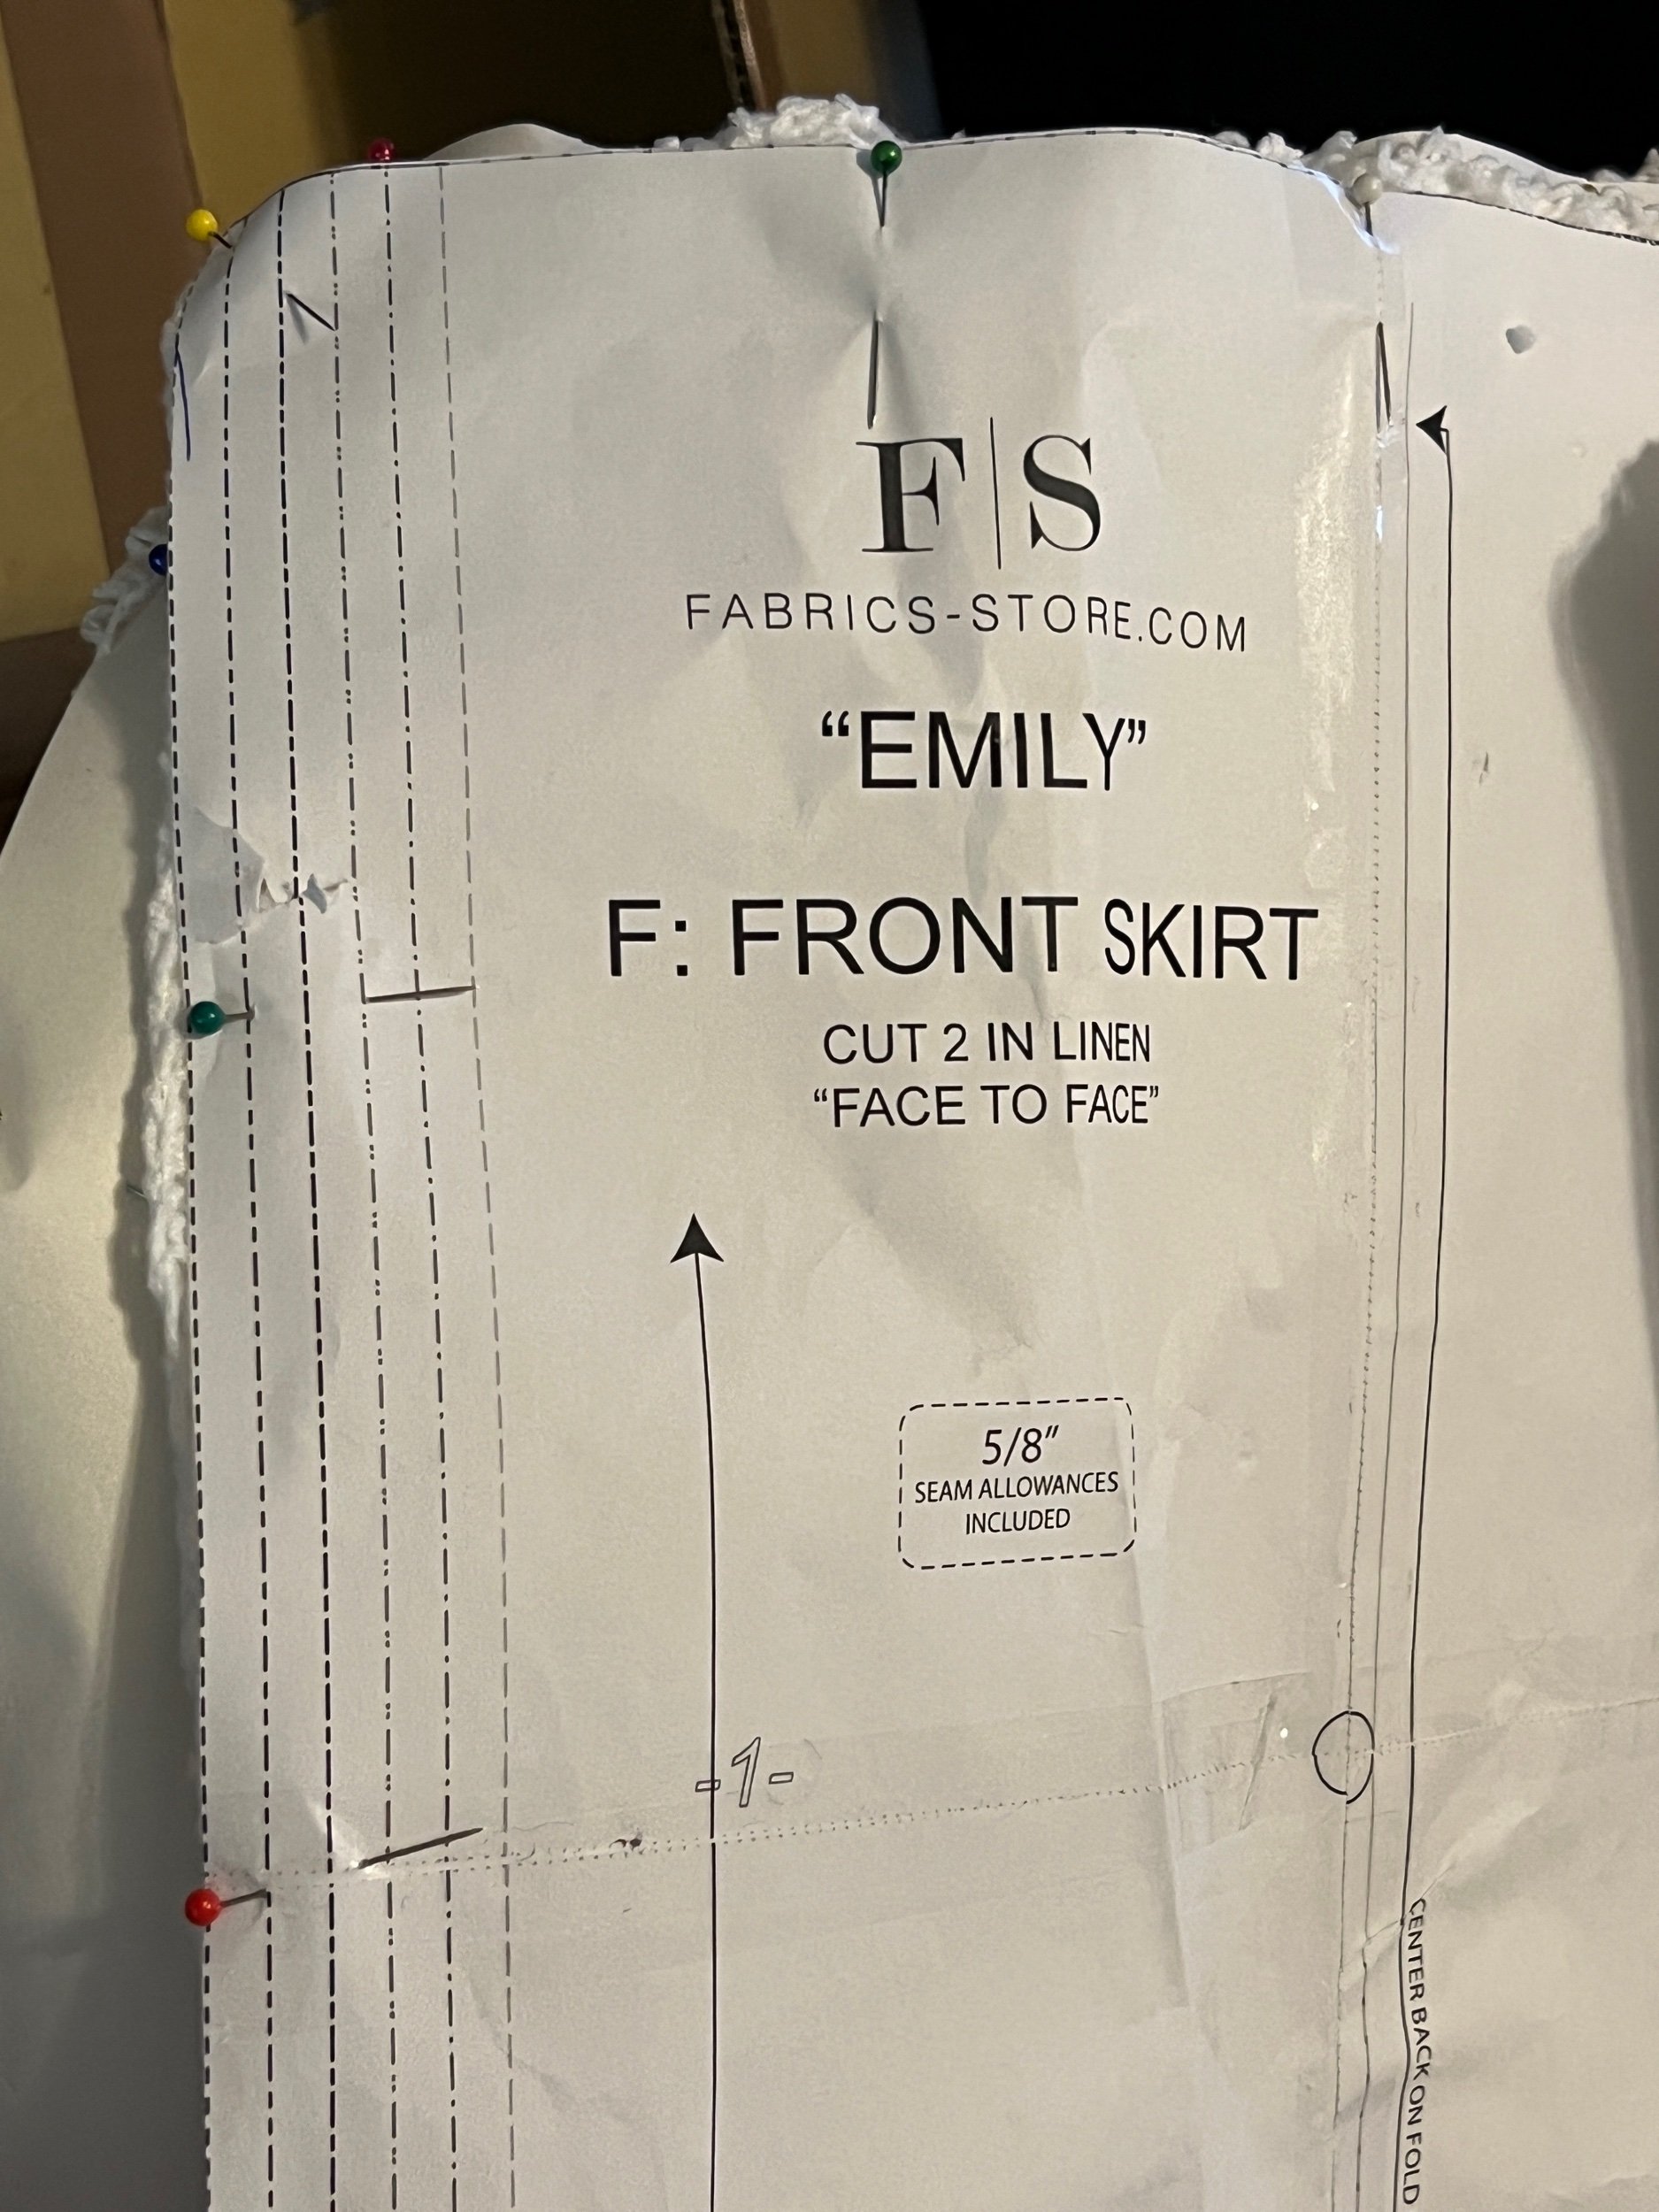
Looking for more direction I found the Emily linen dress - https://fabrics-store.com/uploads/sew-pattern-pdf/Fabrics-store-Emily_—_Linen_Dress_Pattern-1.pdf
Perhaps creating the fabric and working it cut and sew might offer best control?

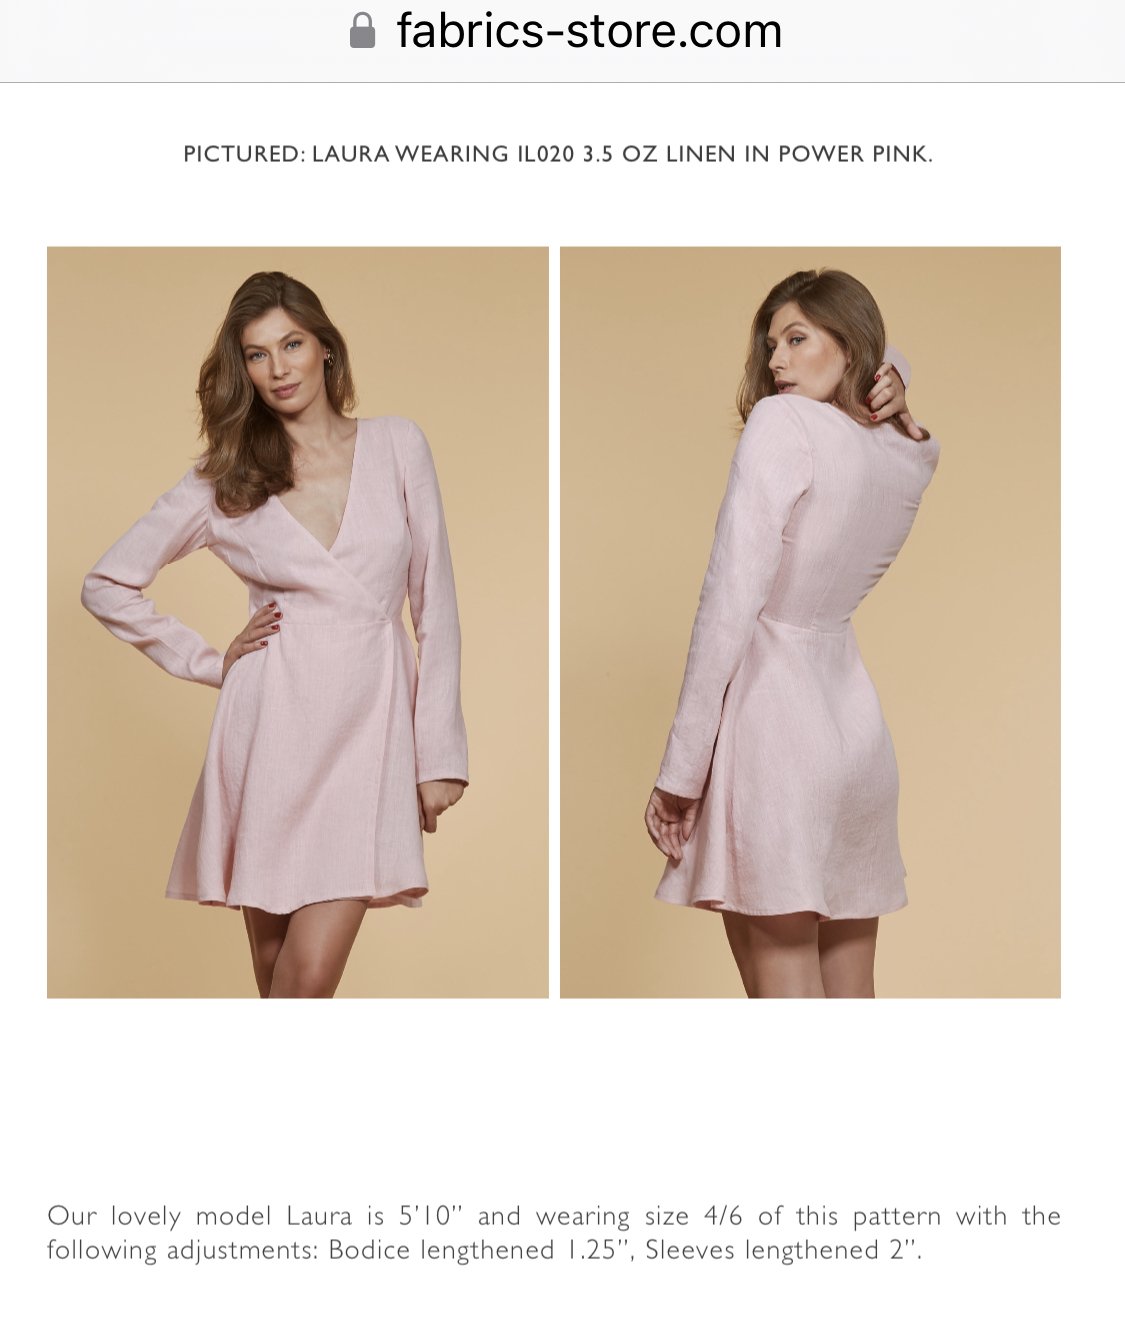


Having decided to do a cut and sew dress (create knitted panels and then treat as fabric as a sewing patter).
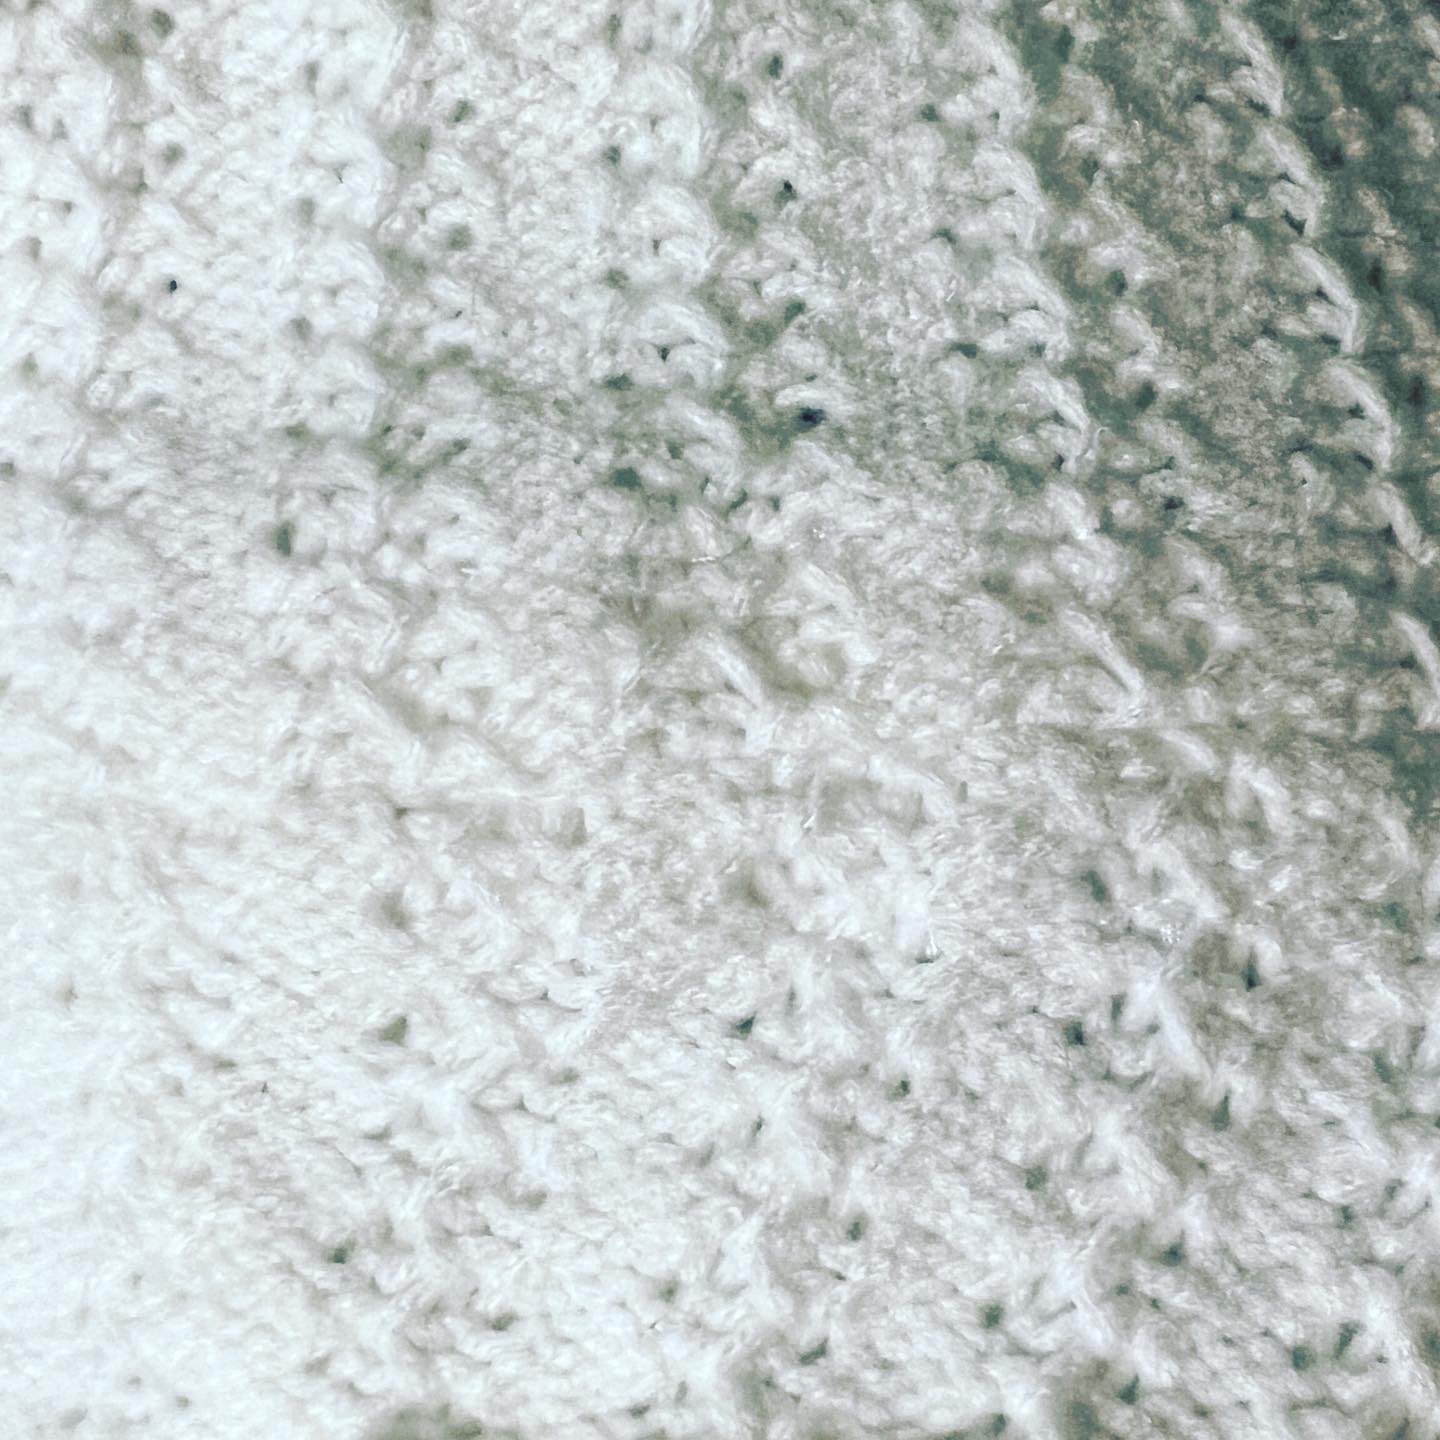
Yarn used: Micro Tamm yarn, 100% Acrylic. It has a look of cotton but the soft feel of suede. DK weight size 3.
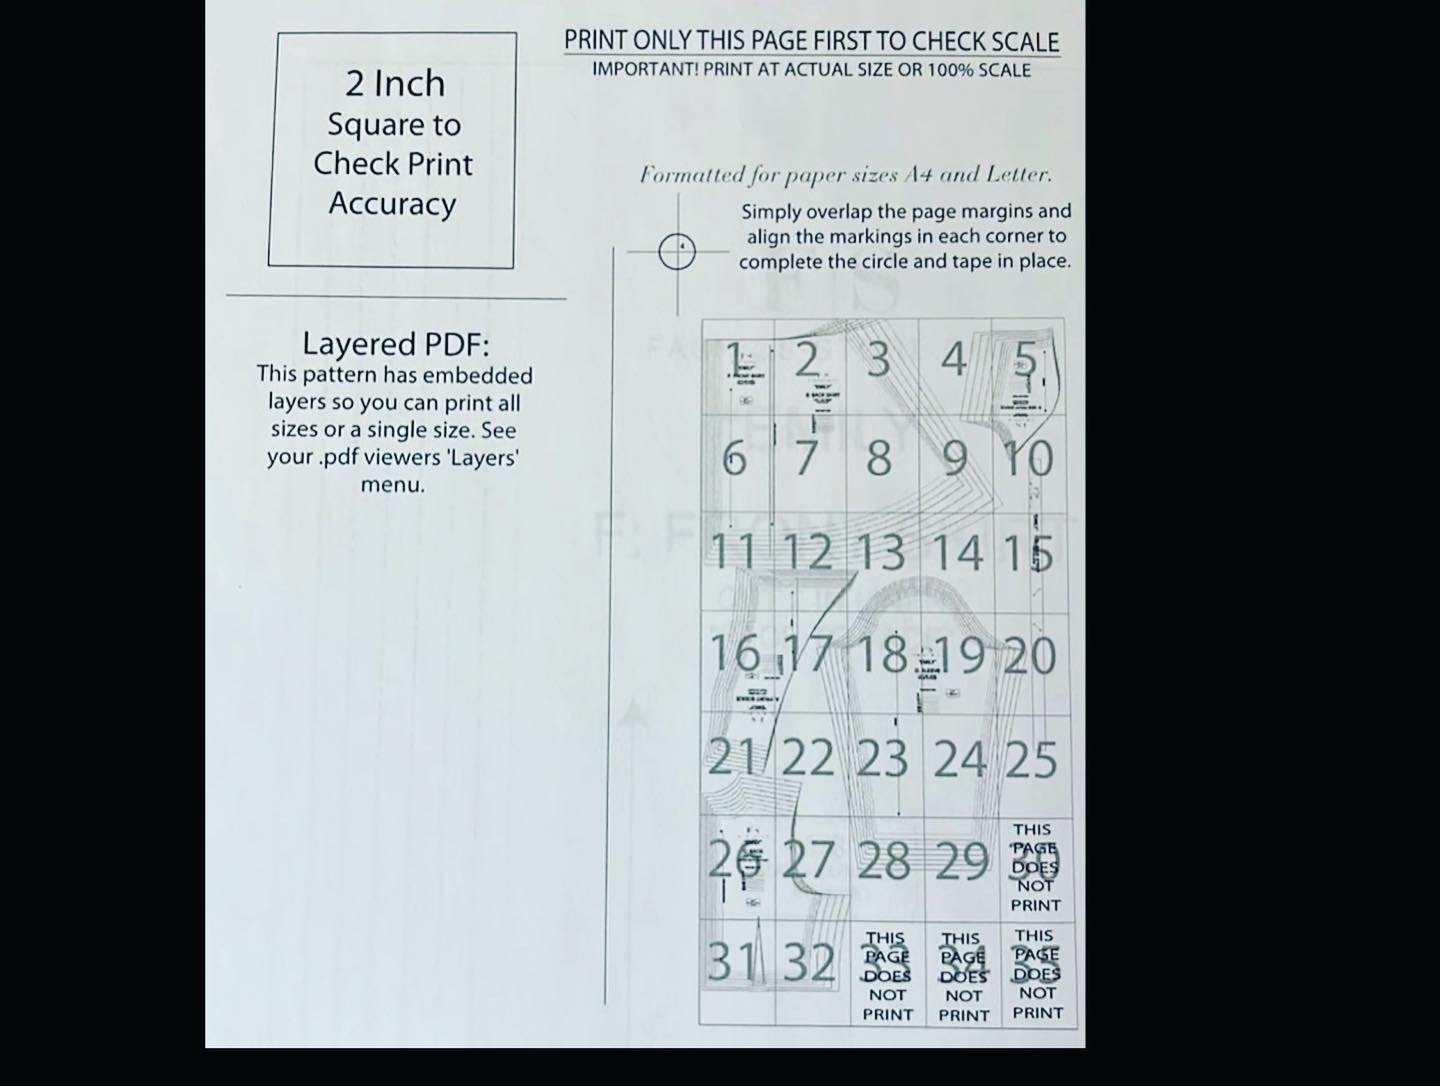
Tonight I’m assembling the @fabricsstorecom free dress pattern.
Just how big is the free size 0-30 full dress paper pattern from @fabricsstorecom ? Almost the size of our queen size bed!
April 25 - last night I cut out the paper pattern size that I think I will need and studied the construction. Tonight I will create the fabric on the knitting machine.
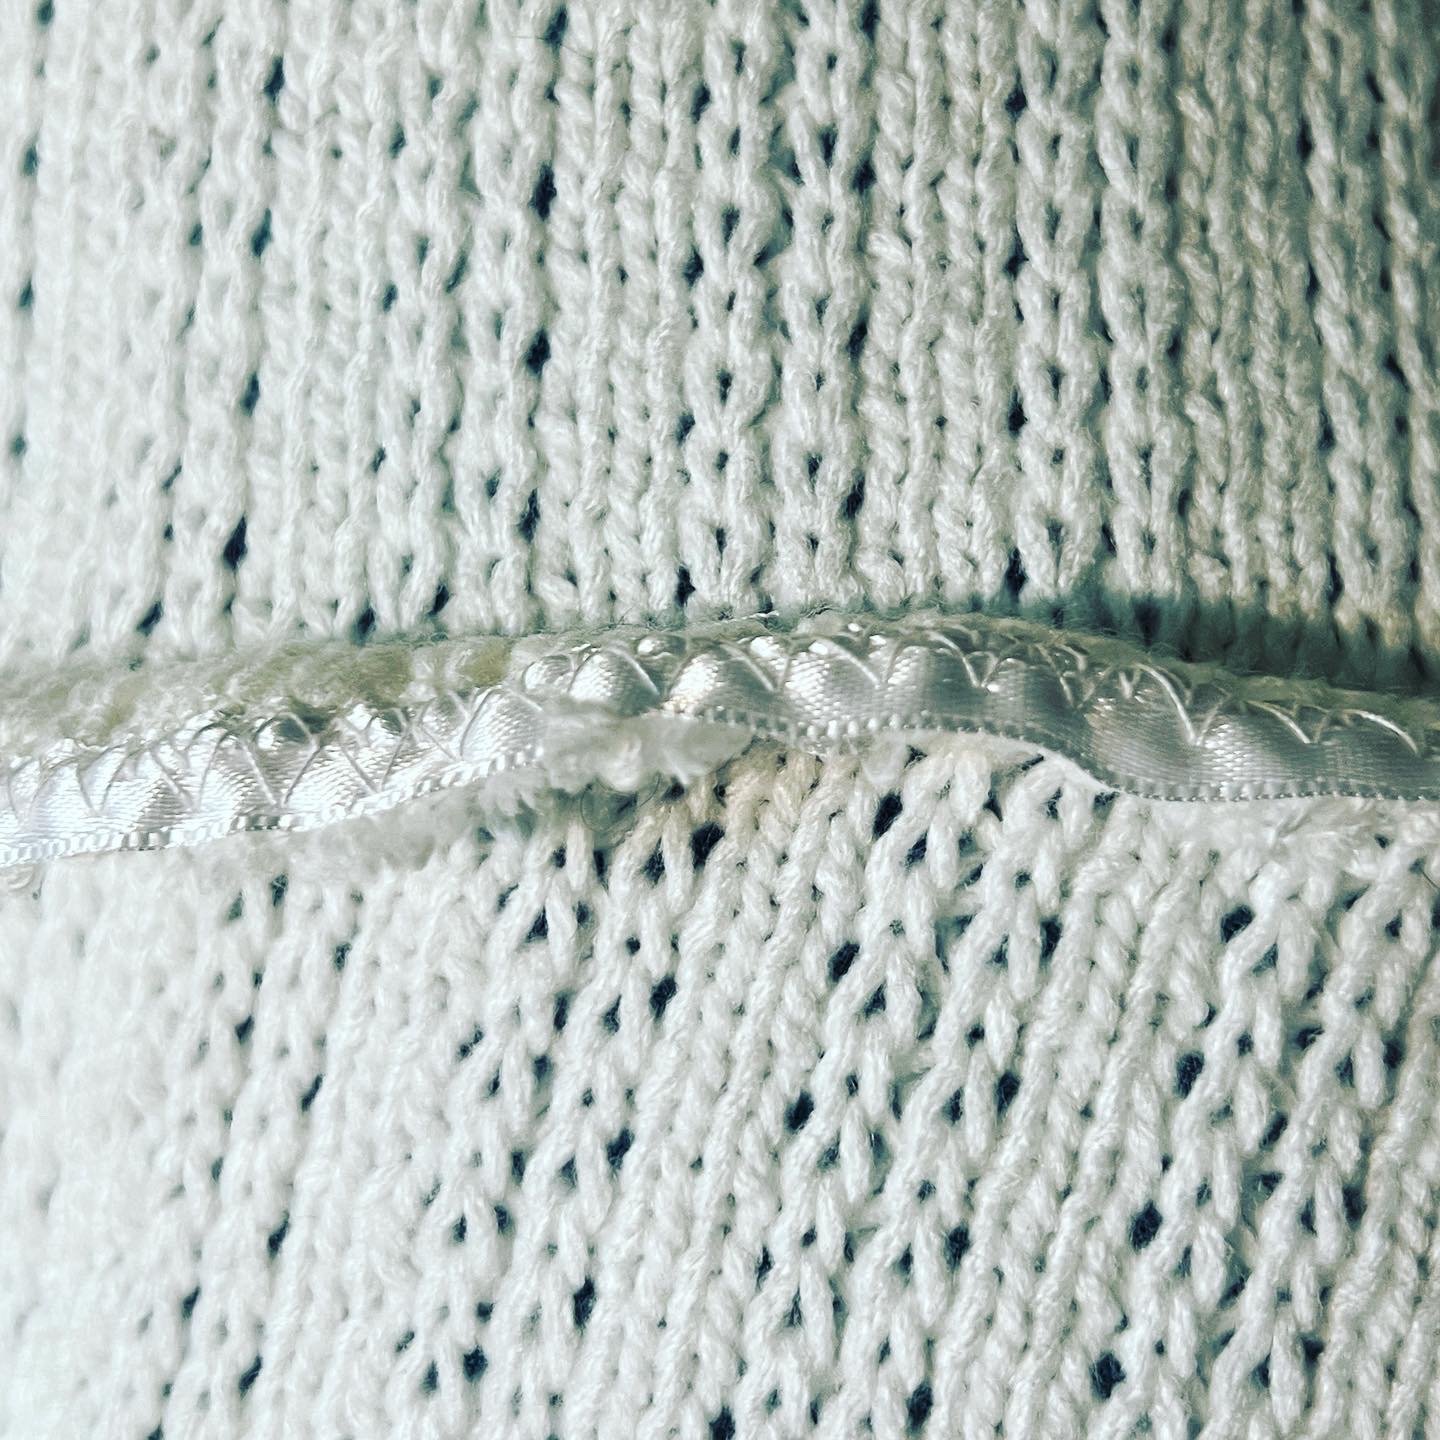
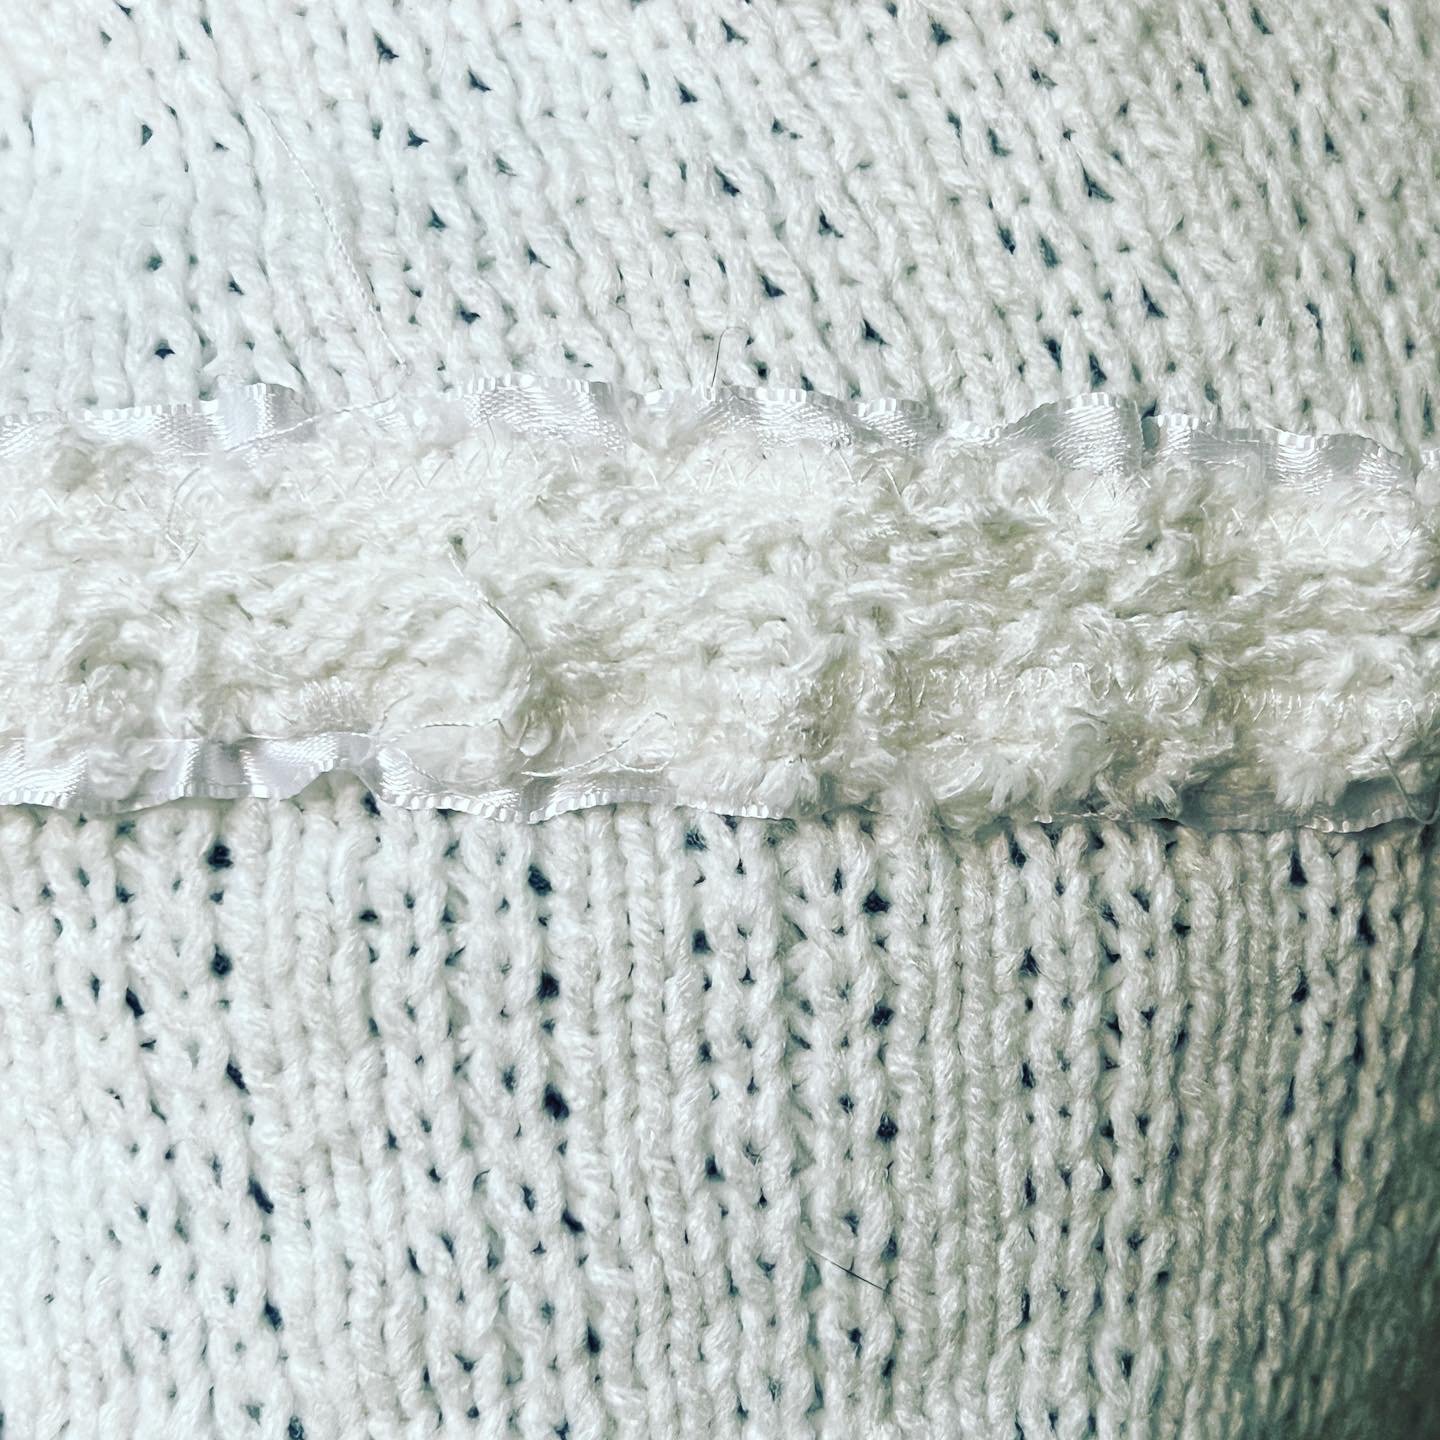
The Amazon ordered 3/8 satin fabric ribbon arrived yesterday at work - I am going to use it to help the edges not unravel or distort when locking in the raw cut knit stitches.
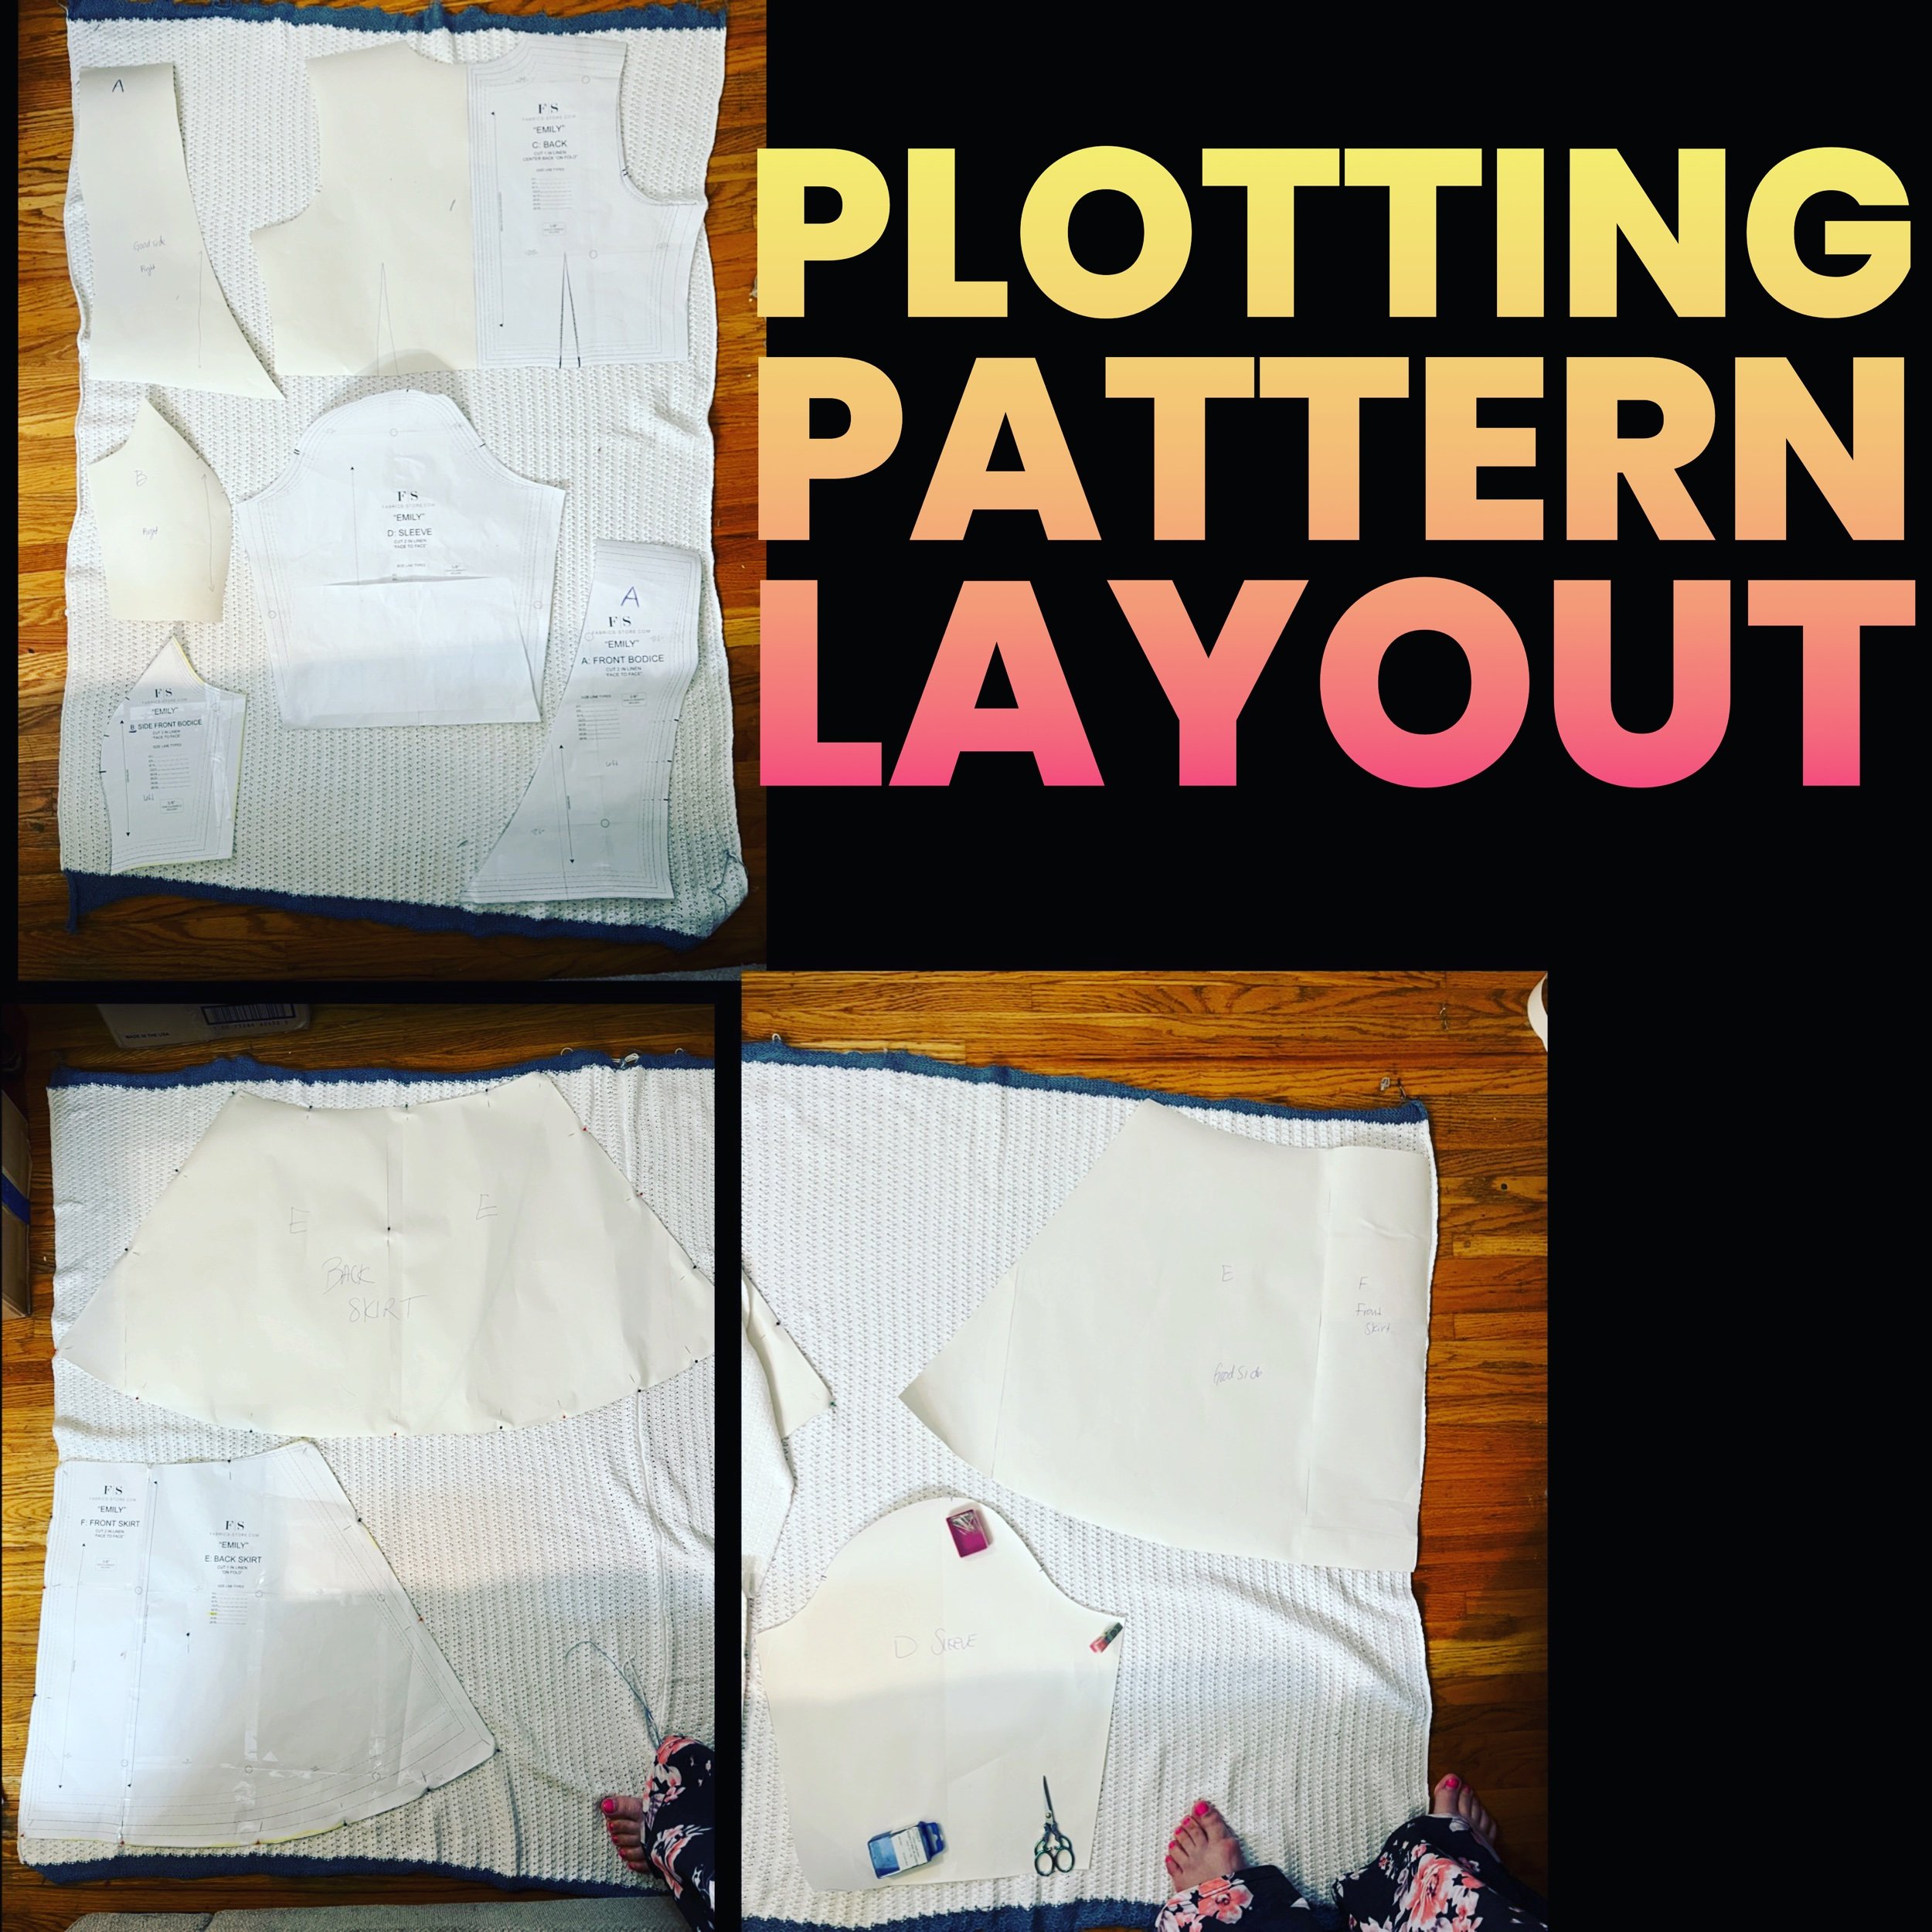
It occurred to me that the pattern utilizes a fold of “fabric” with the paper pattern to create the fabric pieces - I will make extra manual paper pattern pieces today to make paper pattern on knit fabric layout and cut easier.
I’m planning to also mock up the paper pattern pieces to see how they generally fit before committing to fabric cutting.
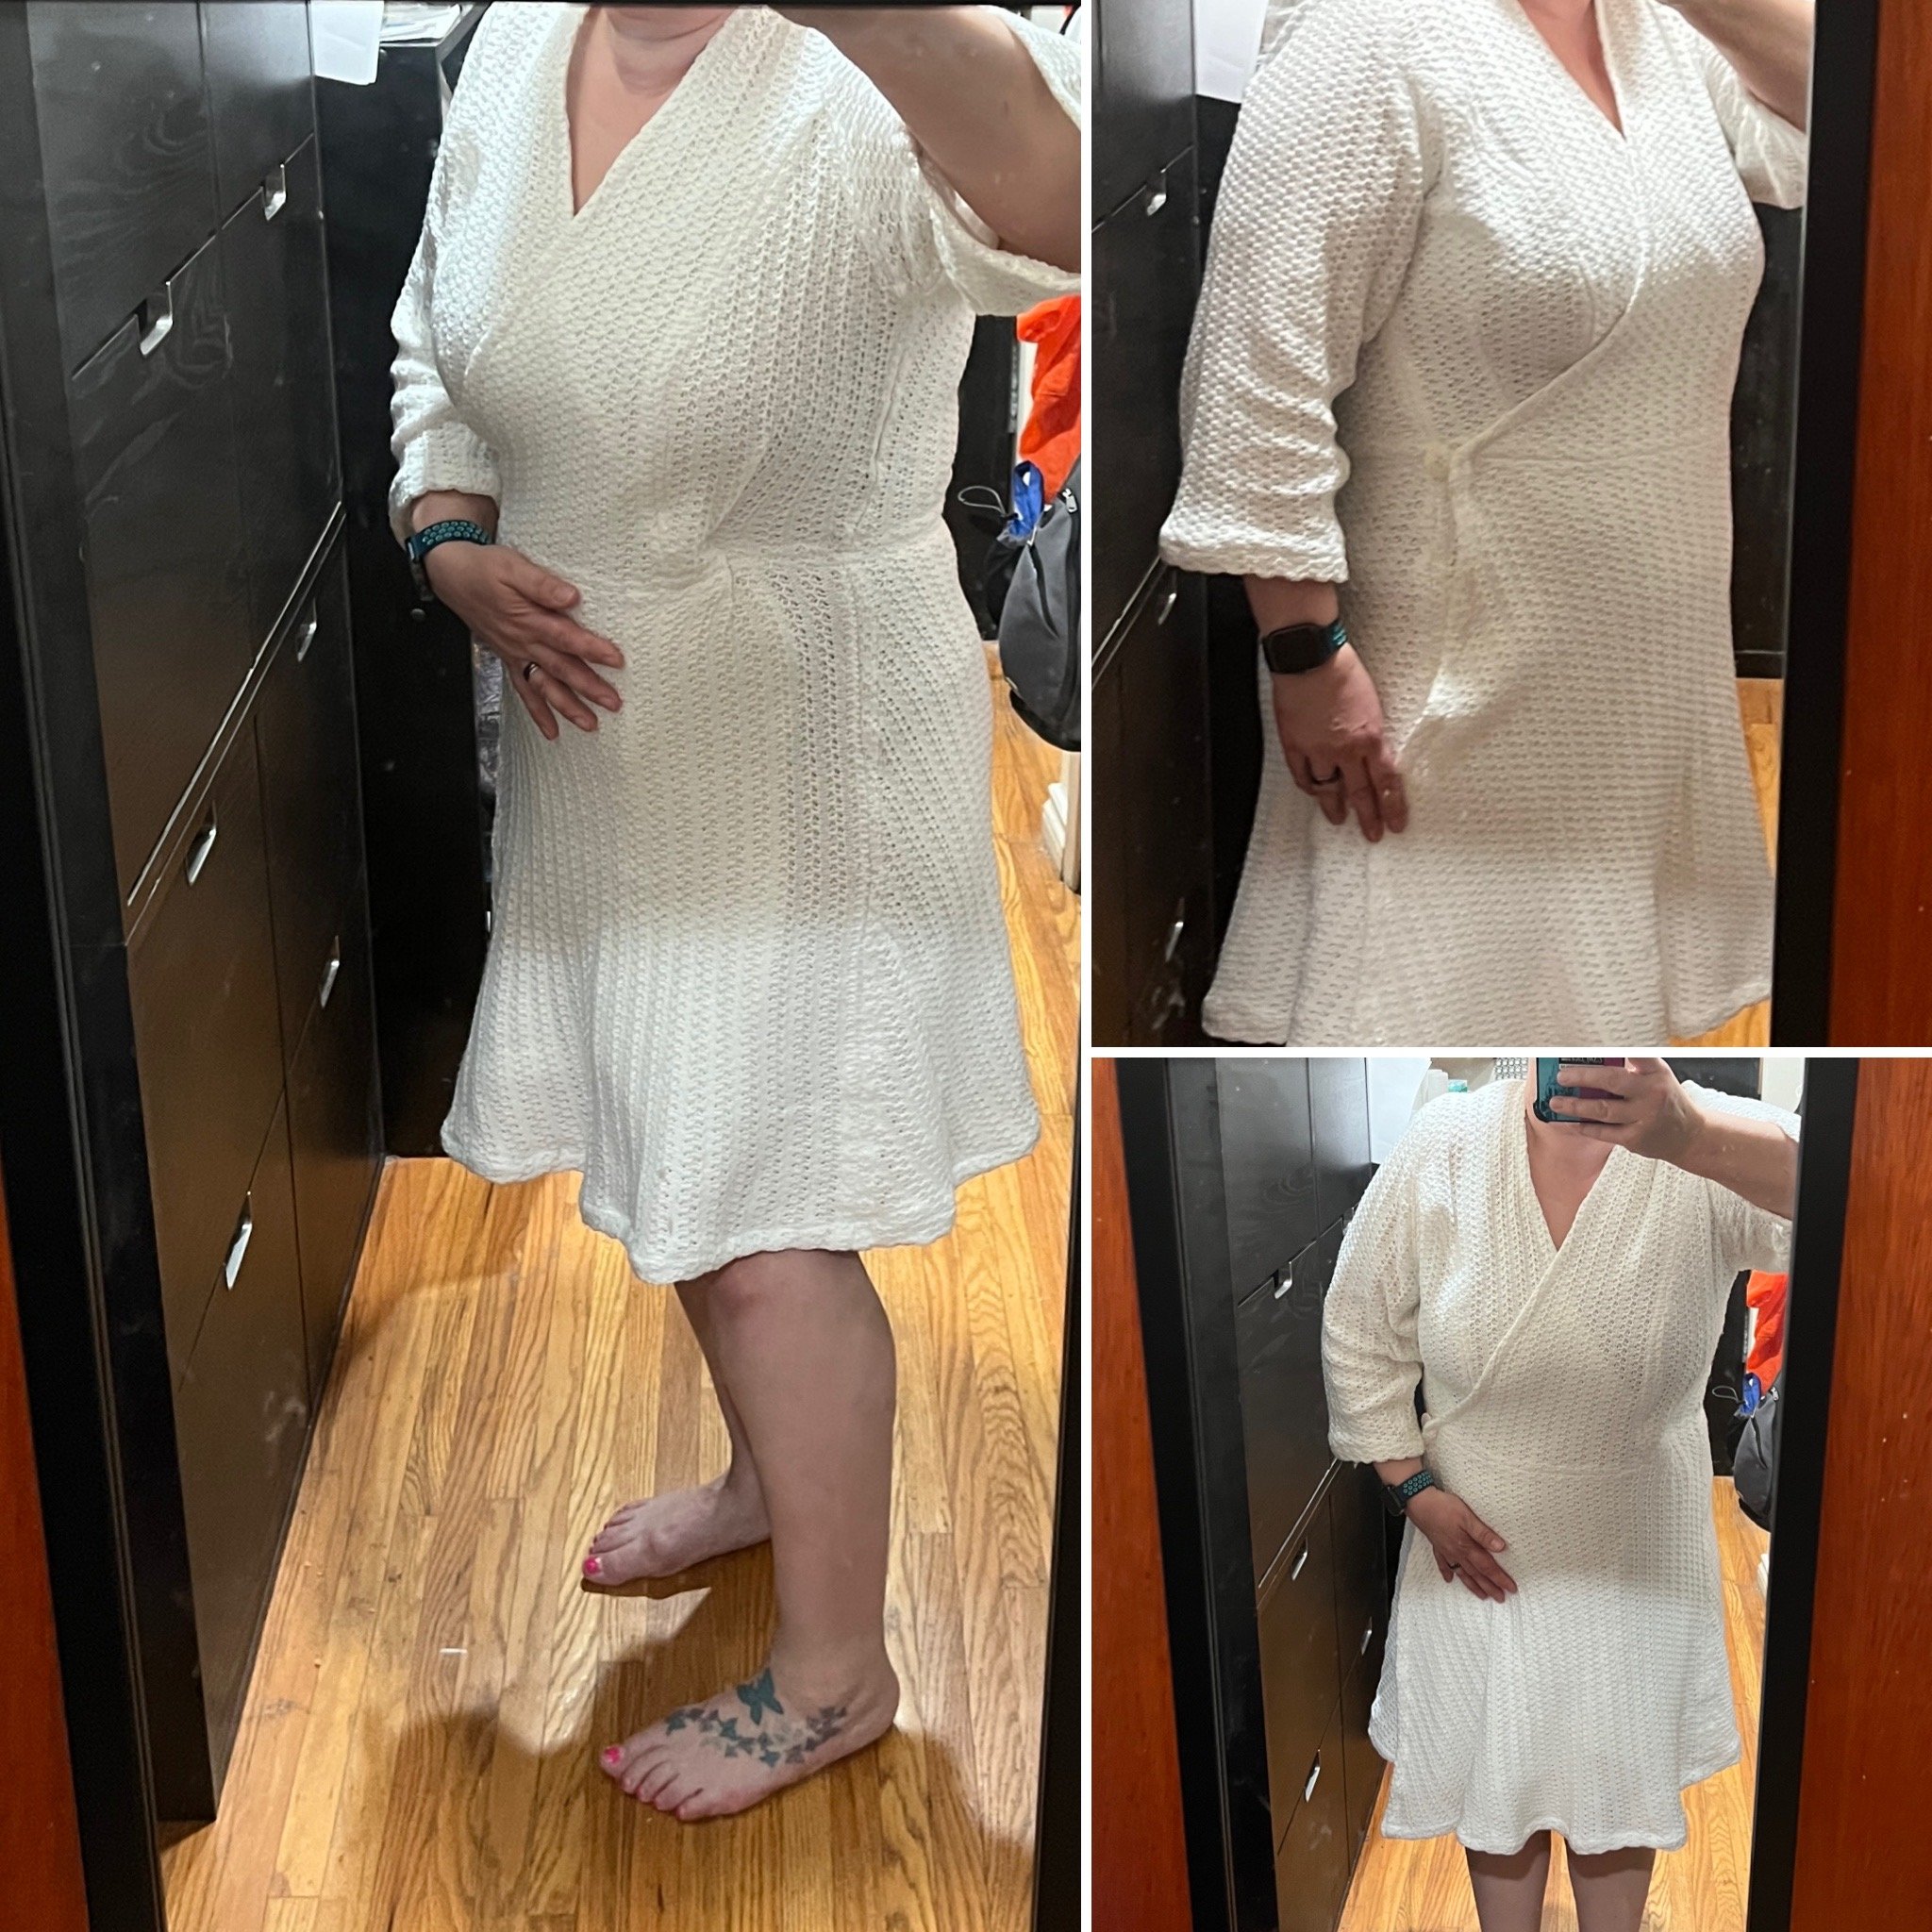
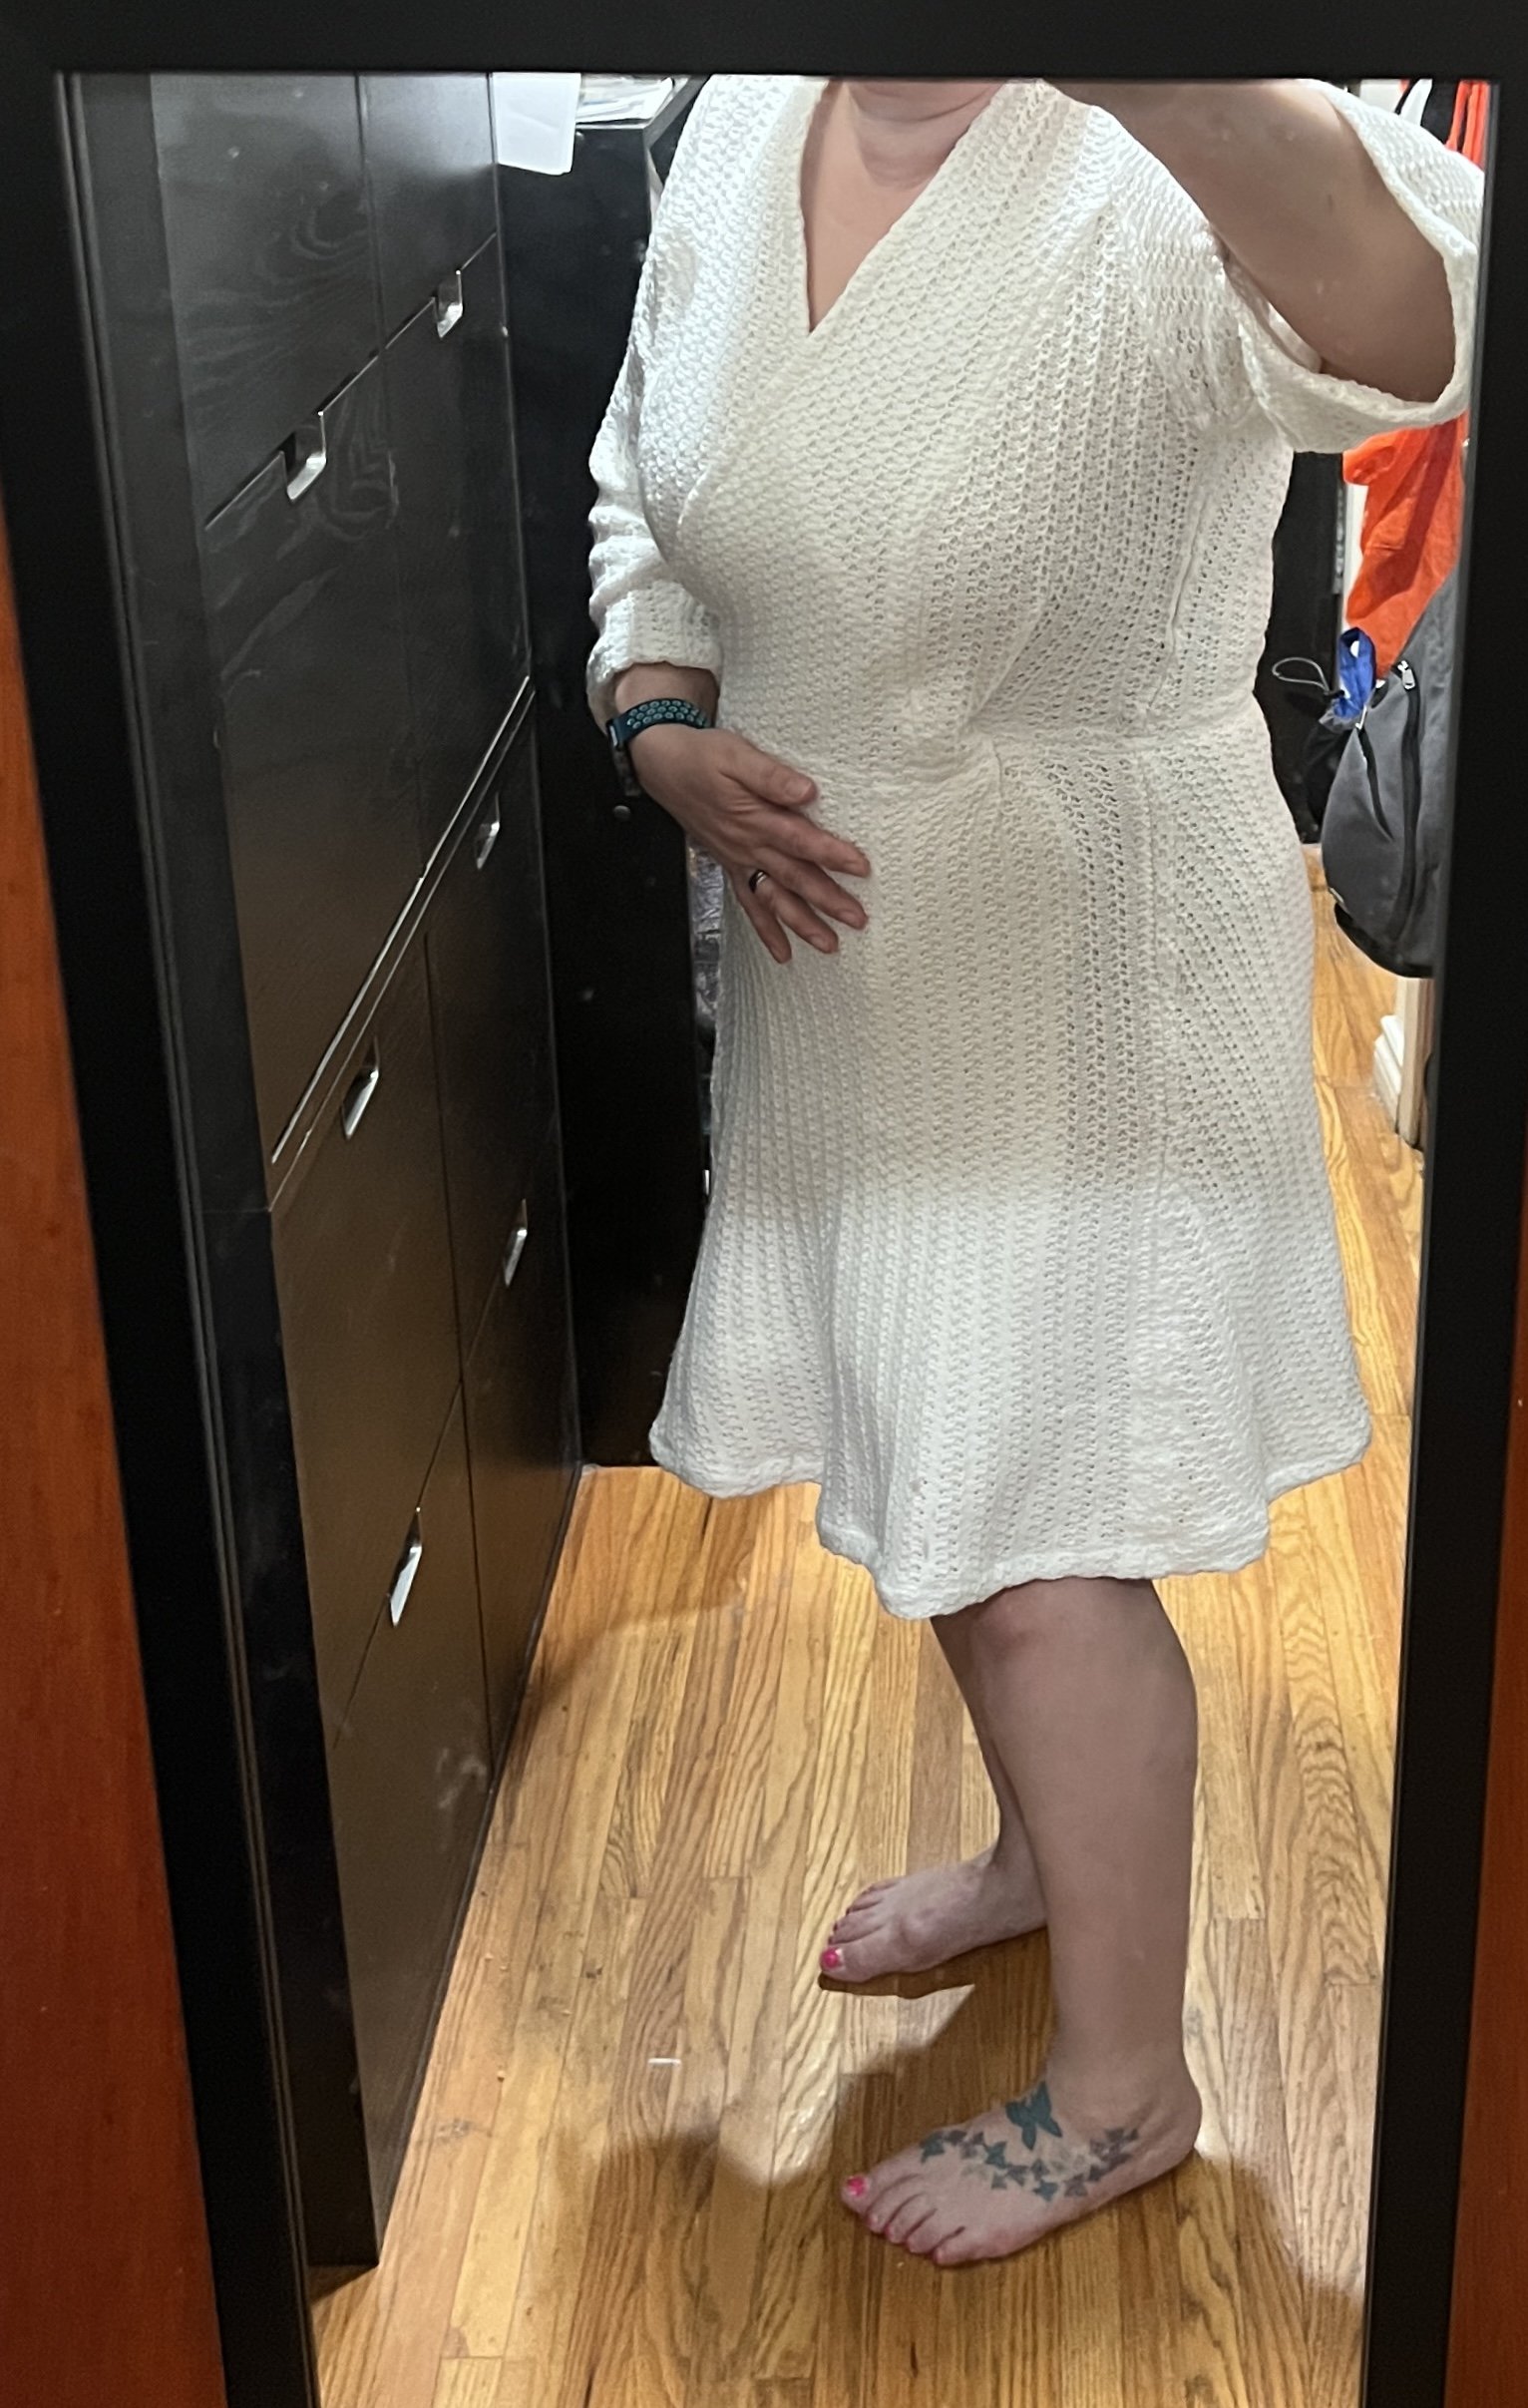
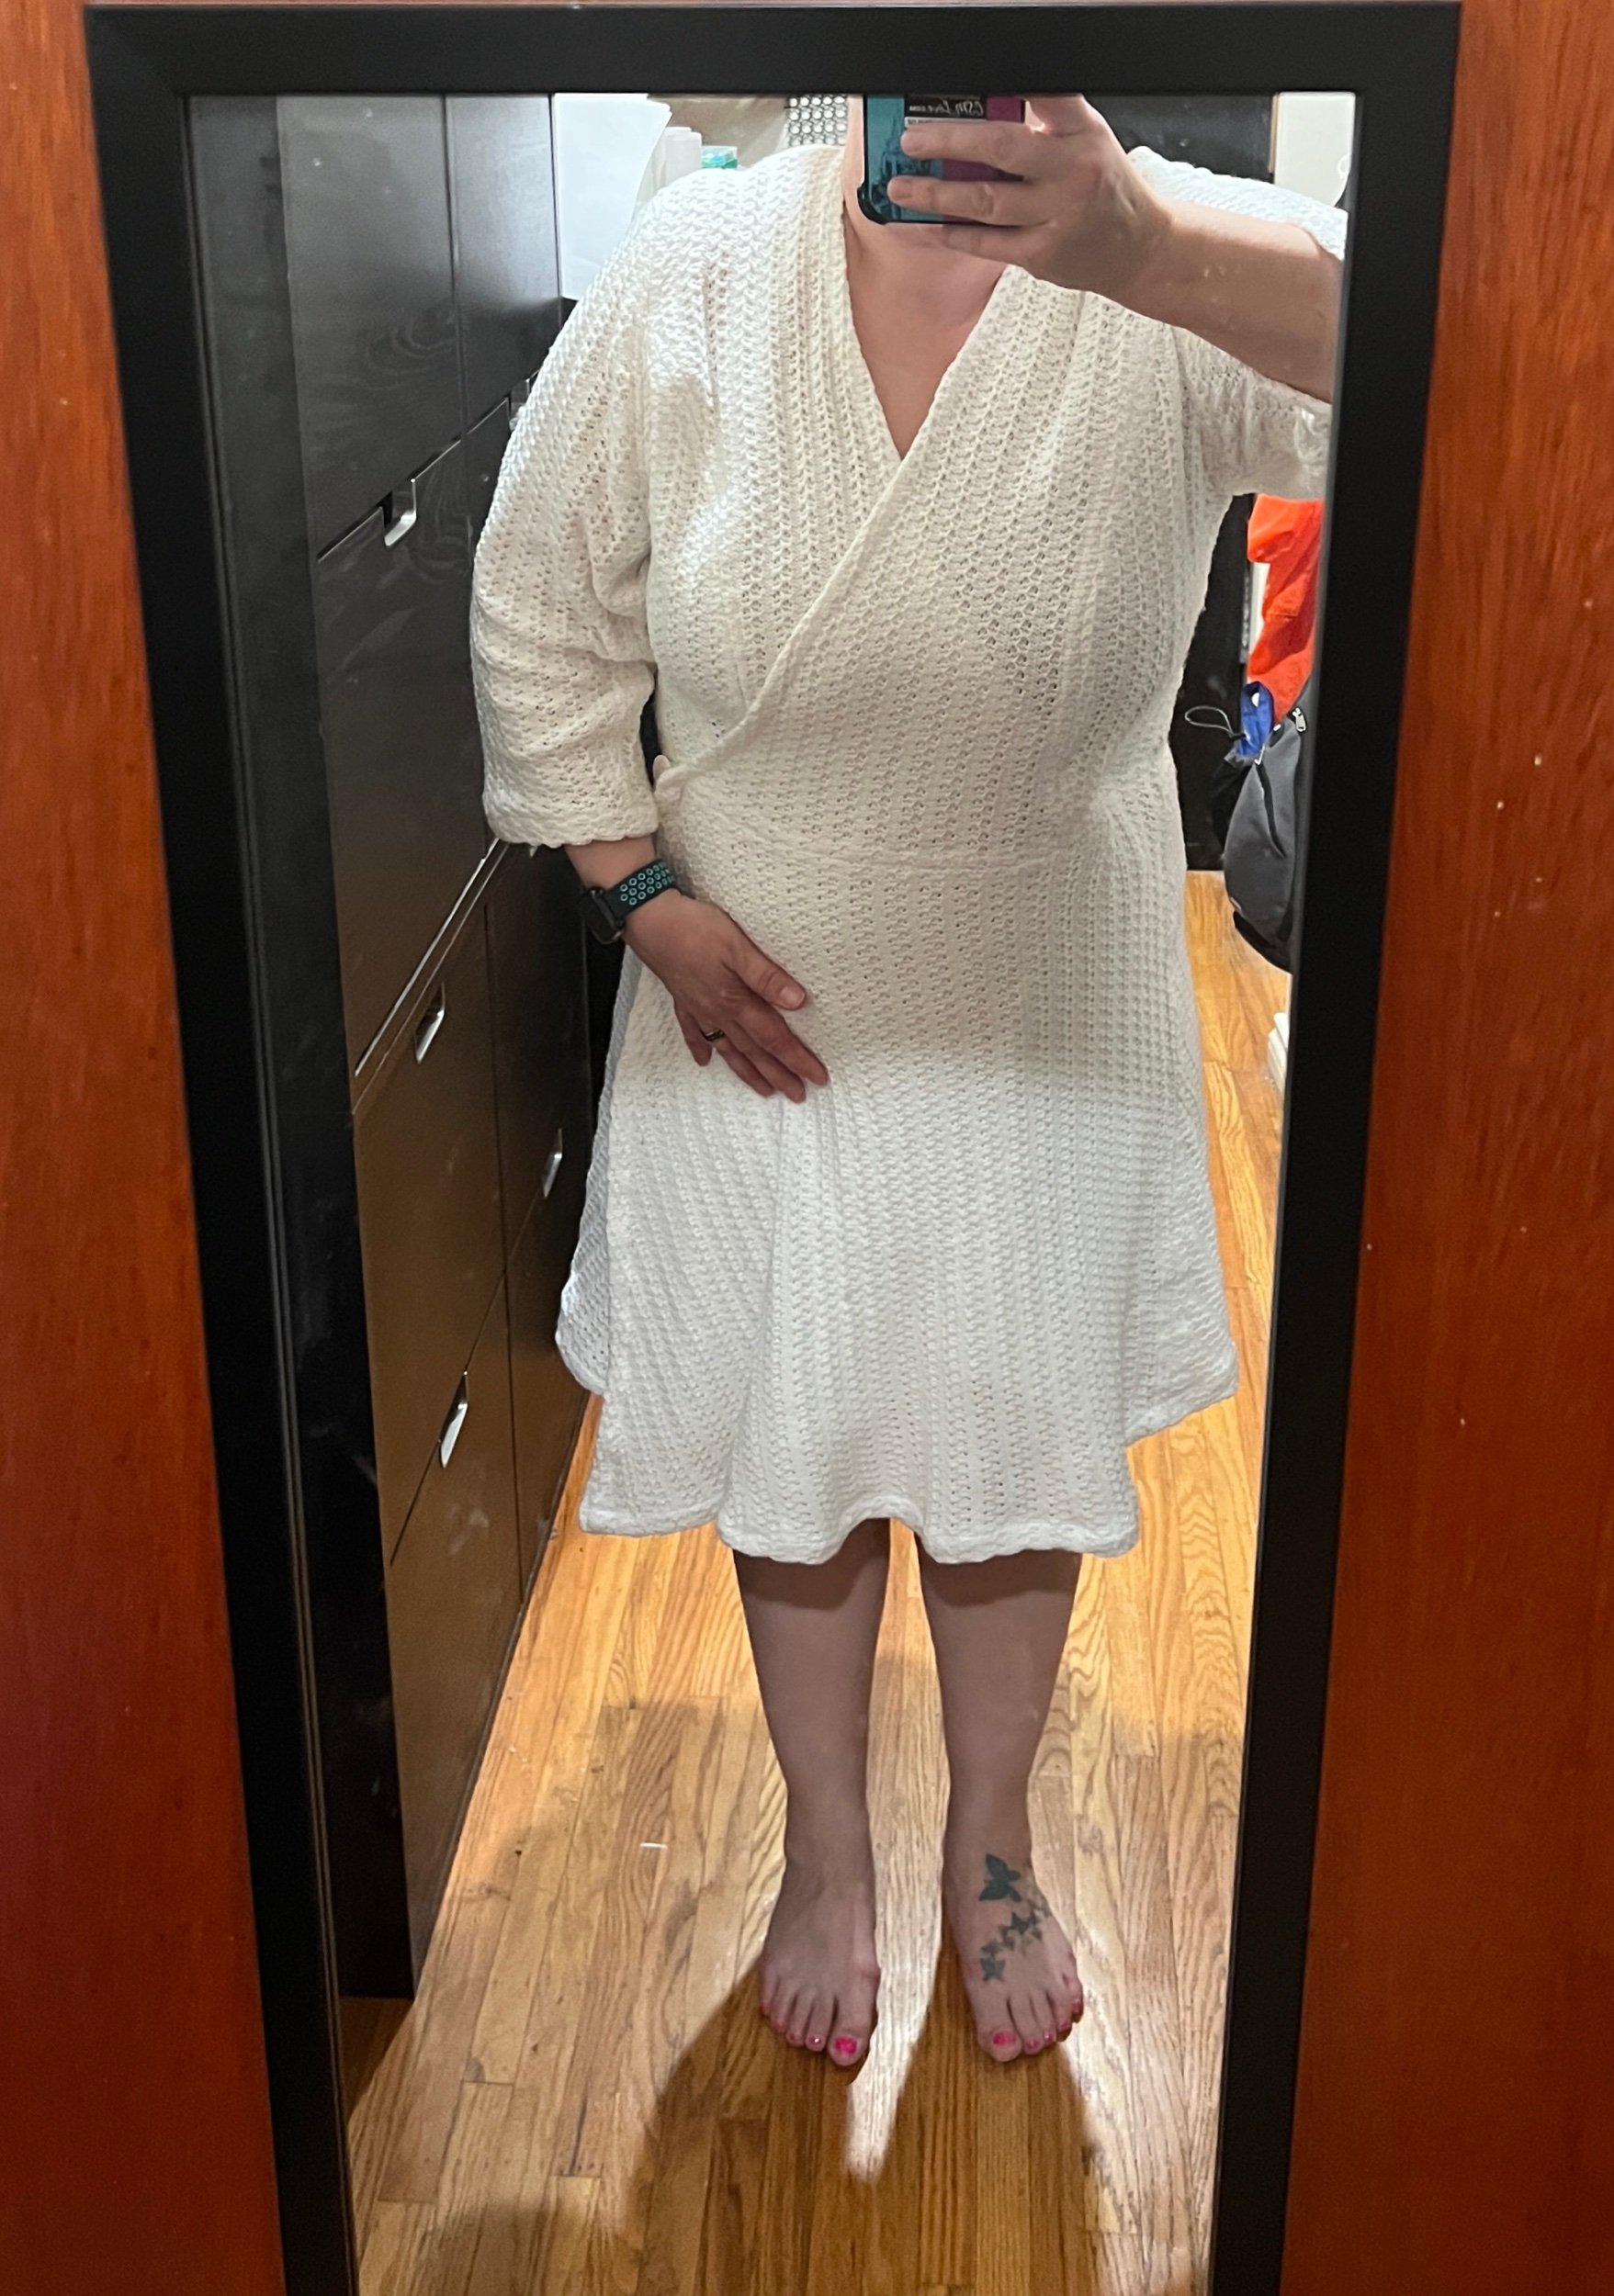
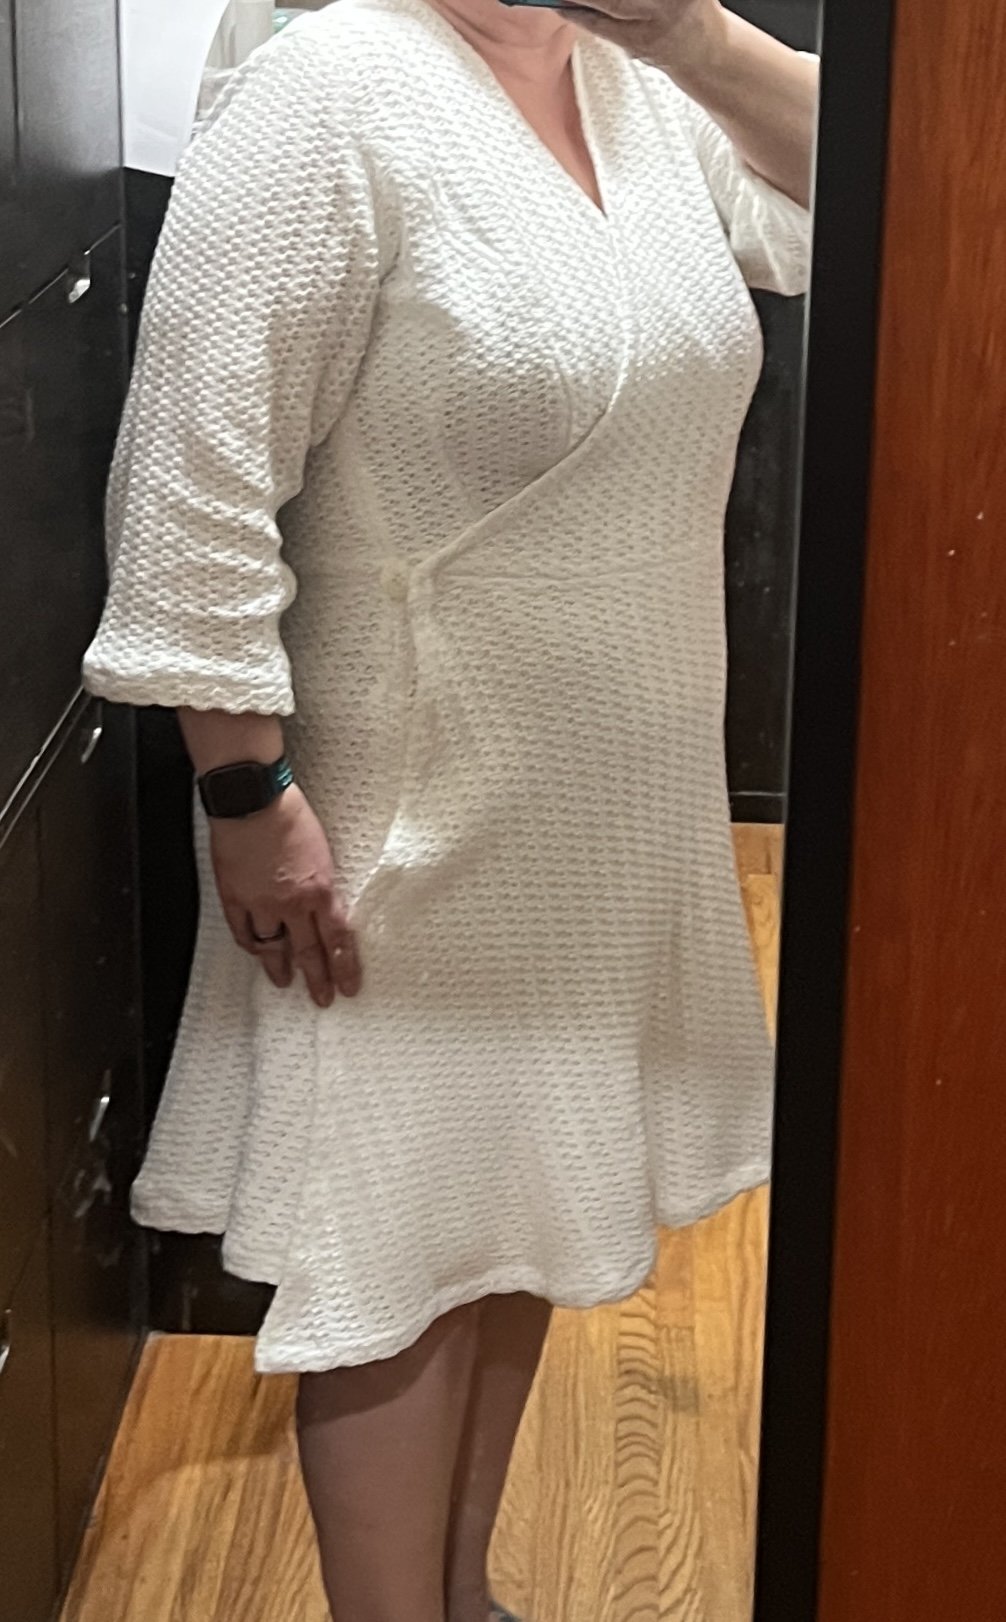
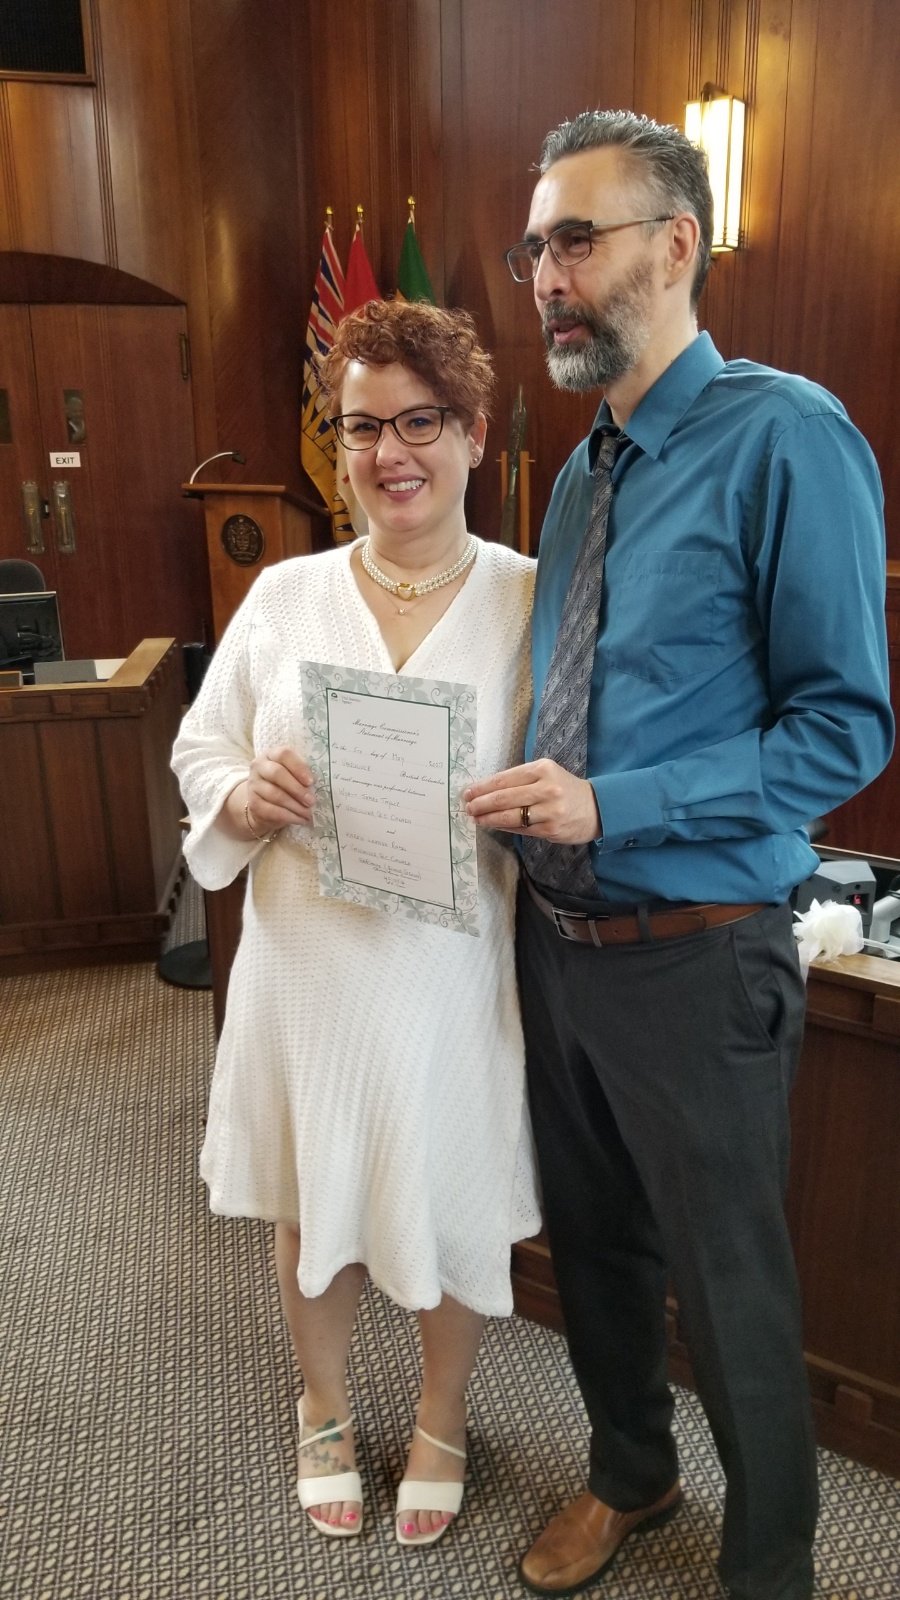
Wedding dress progress…
Perhaps you can’t tell but I’ve not sewn clothing since highschool home economics in the late 1980’s so creating a dress is a bit of a challenge. ;) (but who isn’t up for a challenge?)
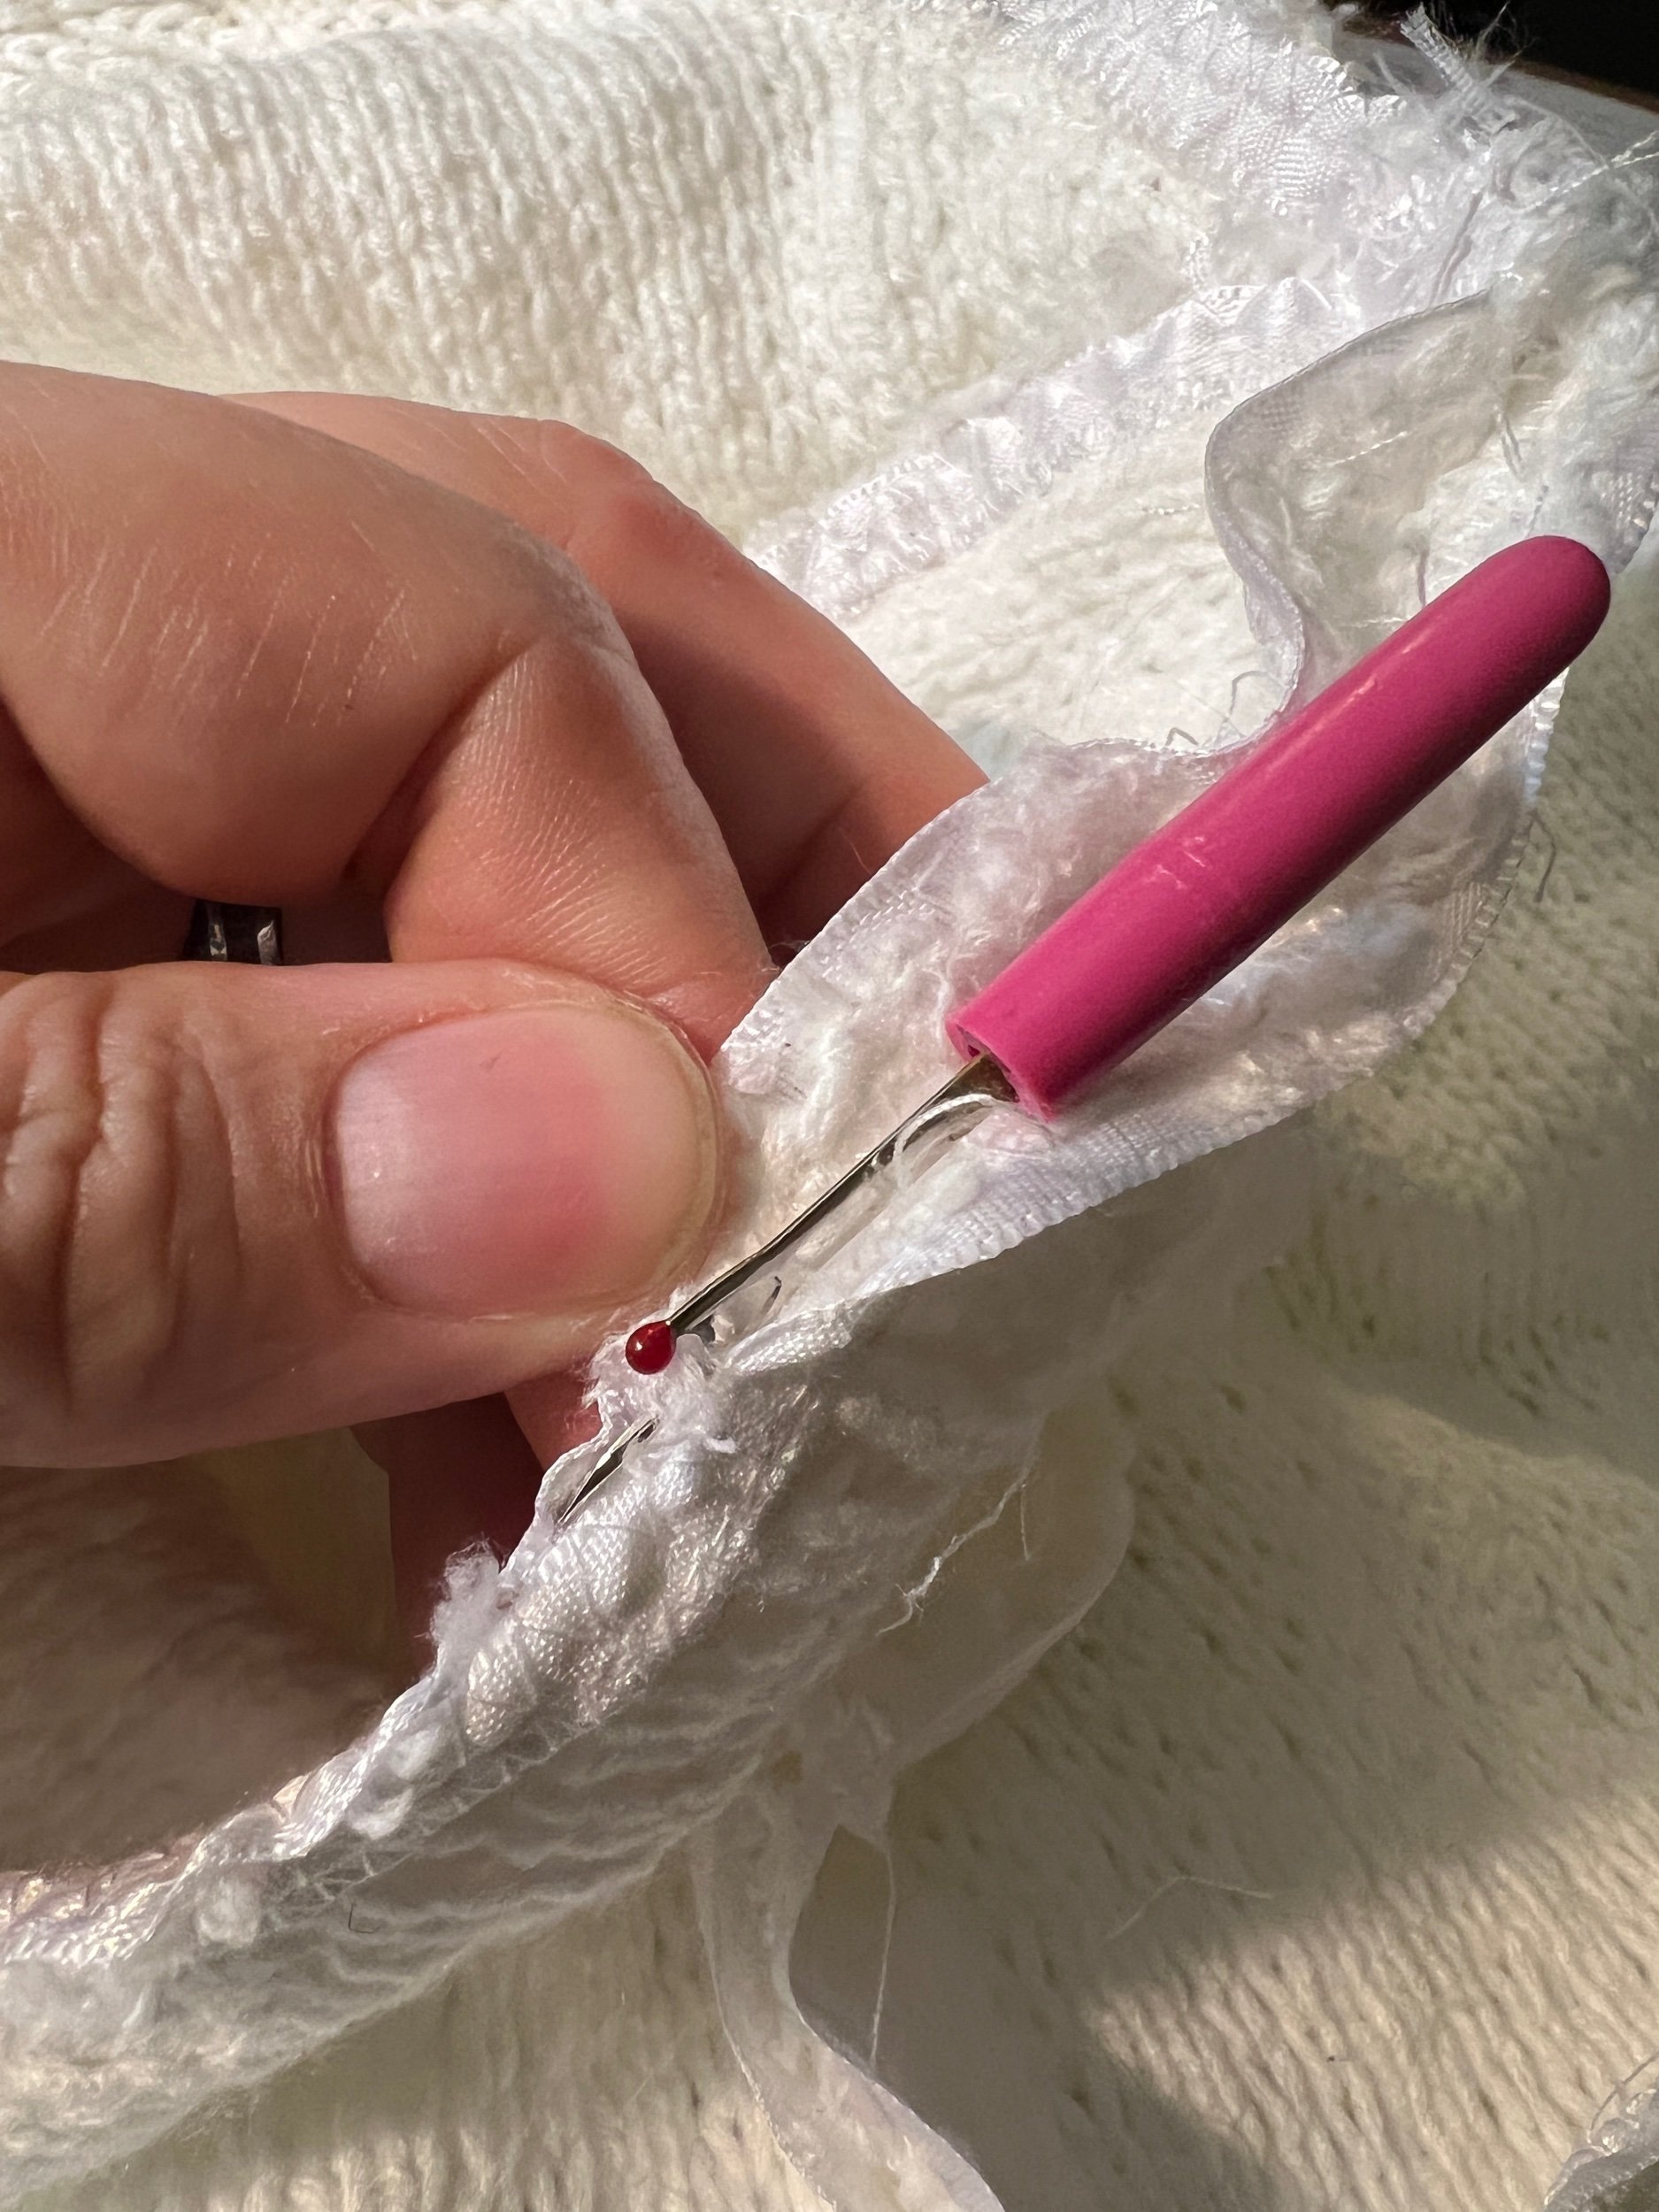
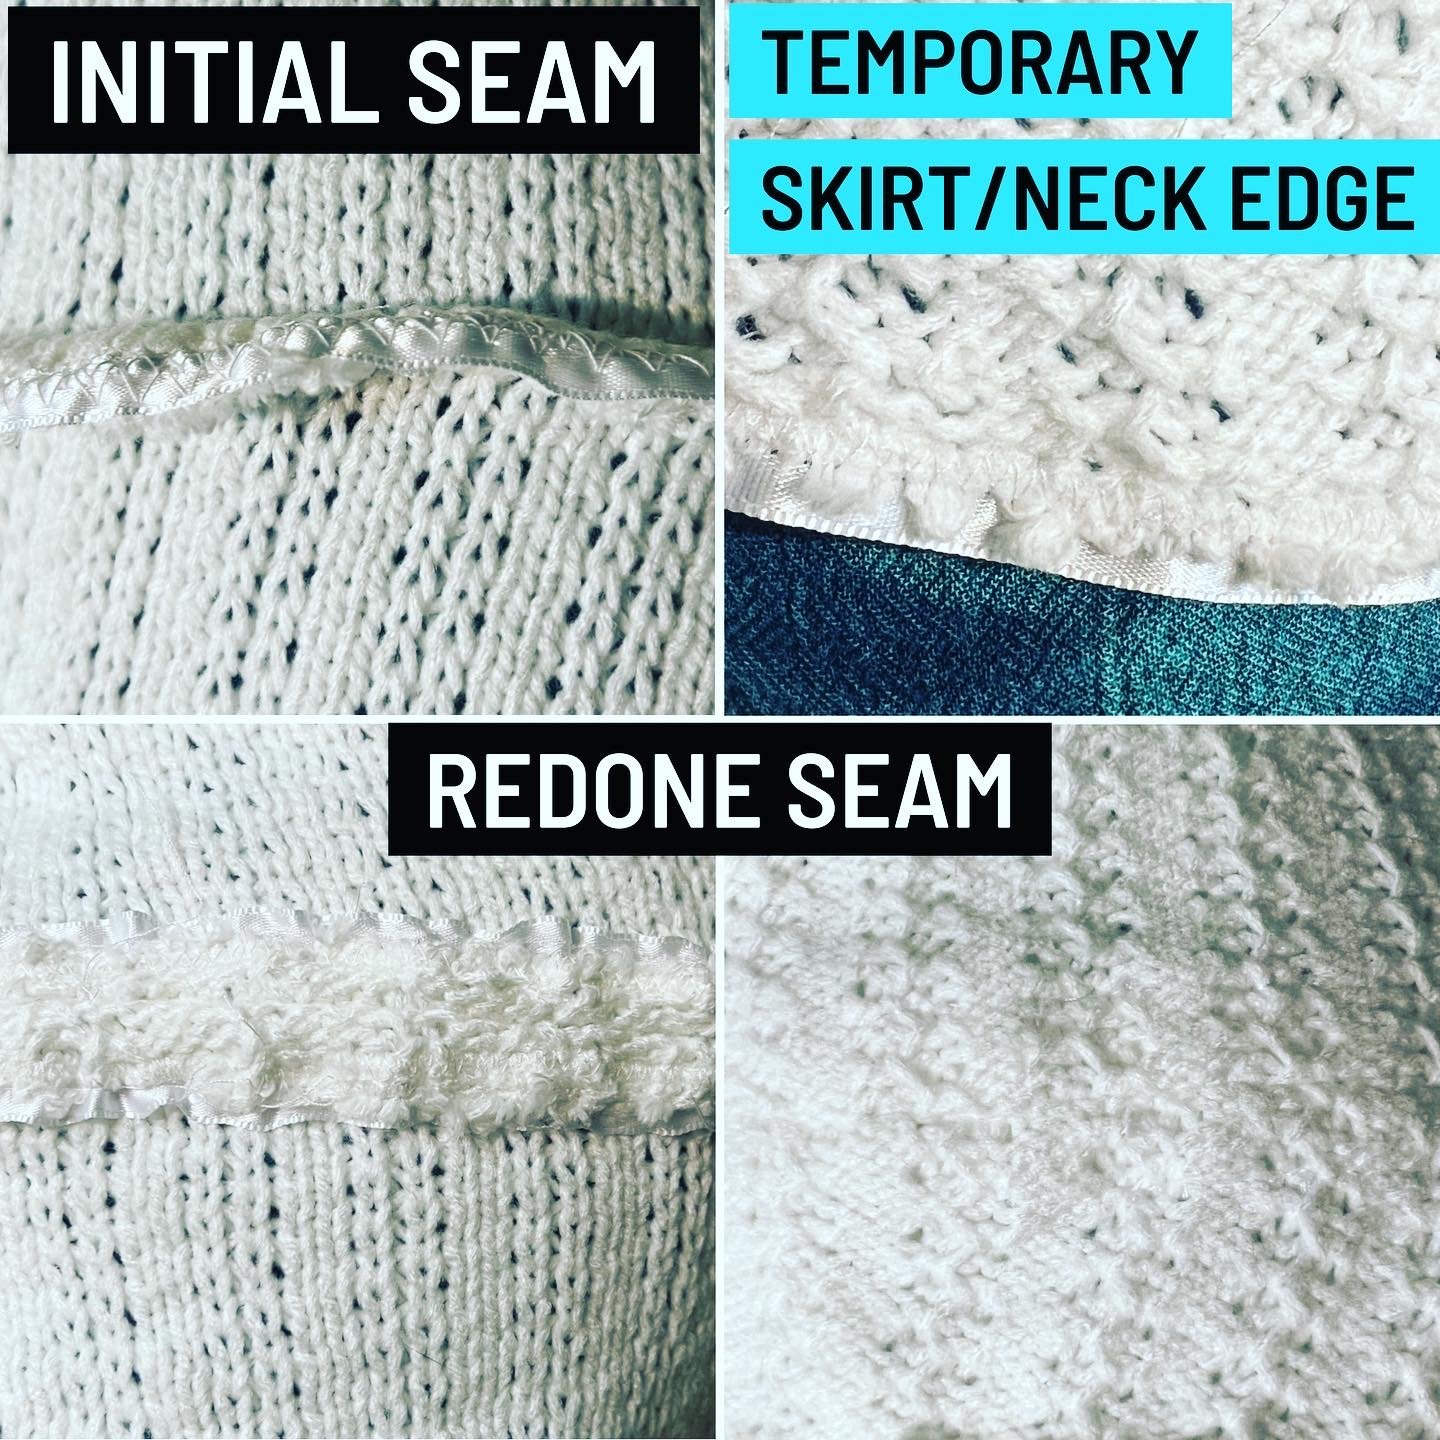
The dress is assembled but the initial seams were lumpy and not gonna work sooooo (not knowing what they’re called) I opened the edge I zig zag stitches and instead started redoing each seam using straight stitching each edge down. Sooooo much work. Working on that now.
A friend sent me a url on seams.
It looks like I intuitively created a version of the bound seam which I feel reduced seam bulk for a more appealing seam entrapment of the bumpy knit fiber. Awesome. The main seams are now complete and wonderful.
In terms of attractive fit: Now I need to slightly reduce the dress as it was too wide at the shoulders and not having any shape at the waist. I need a dress not a robe.
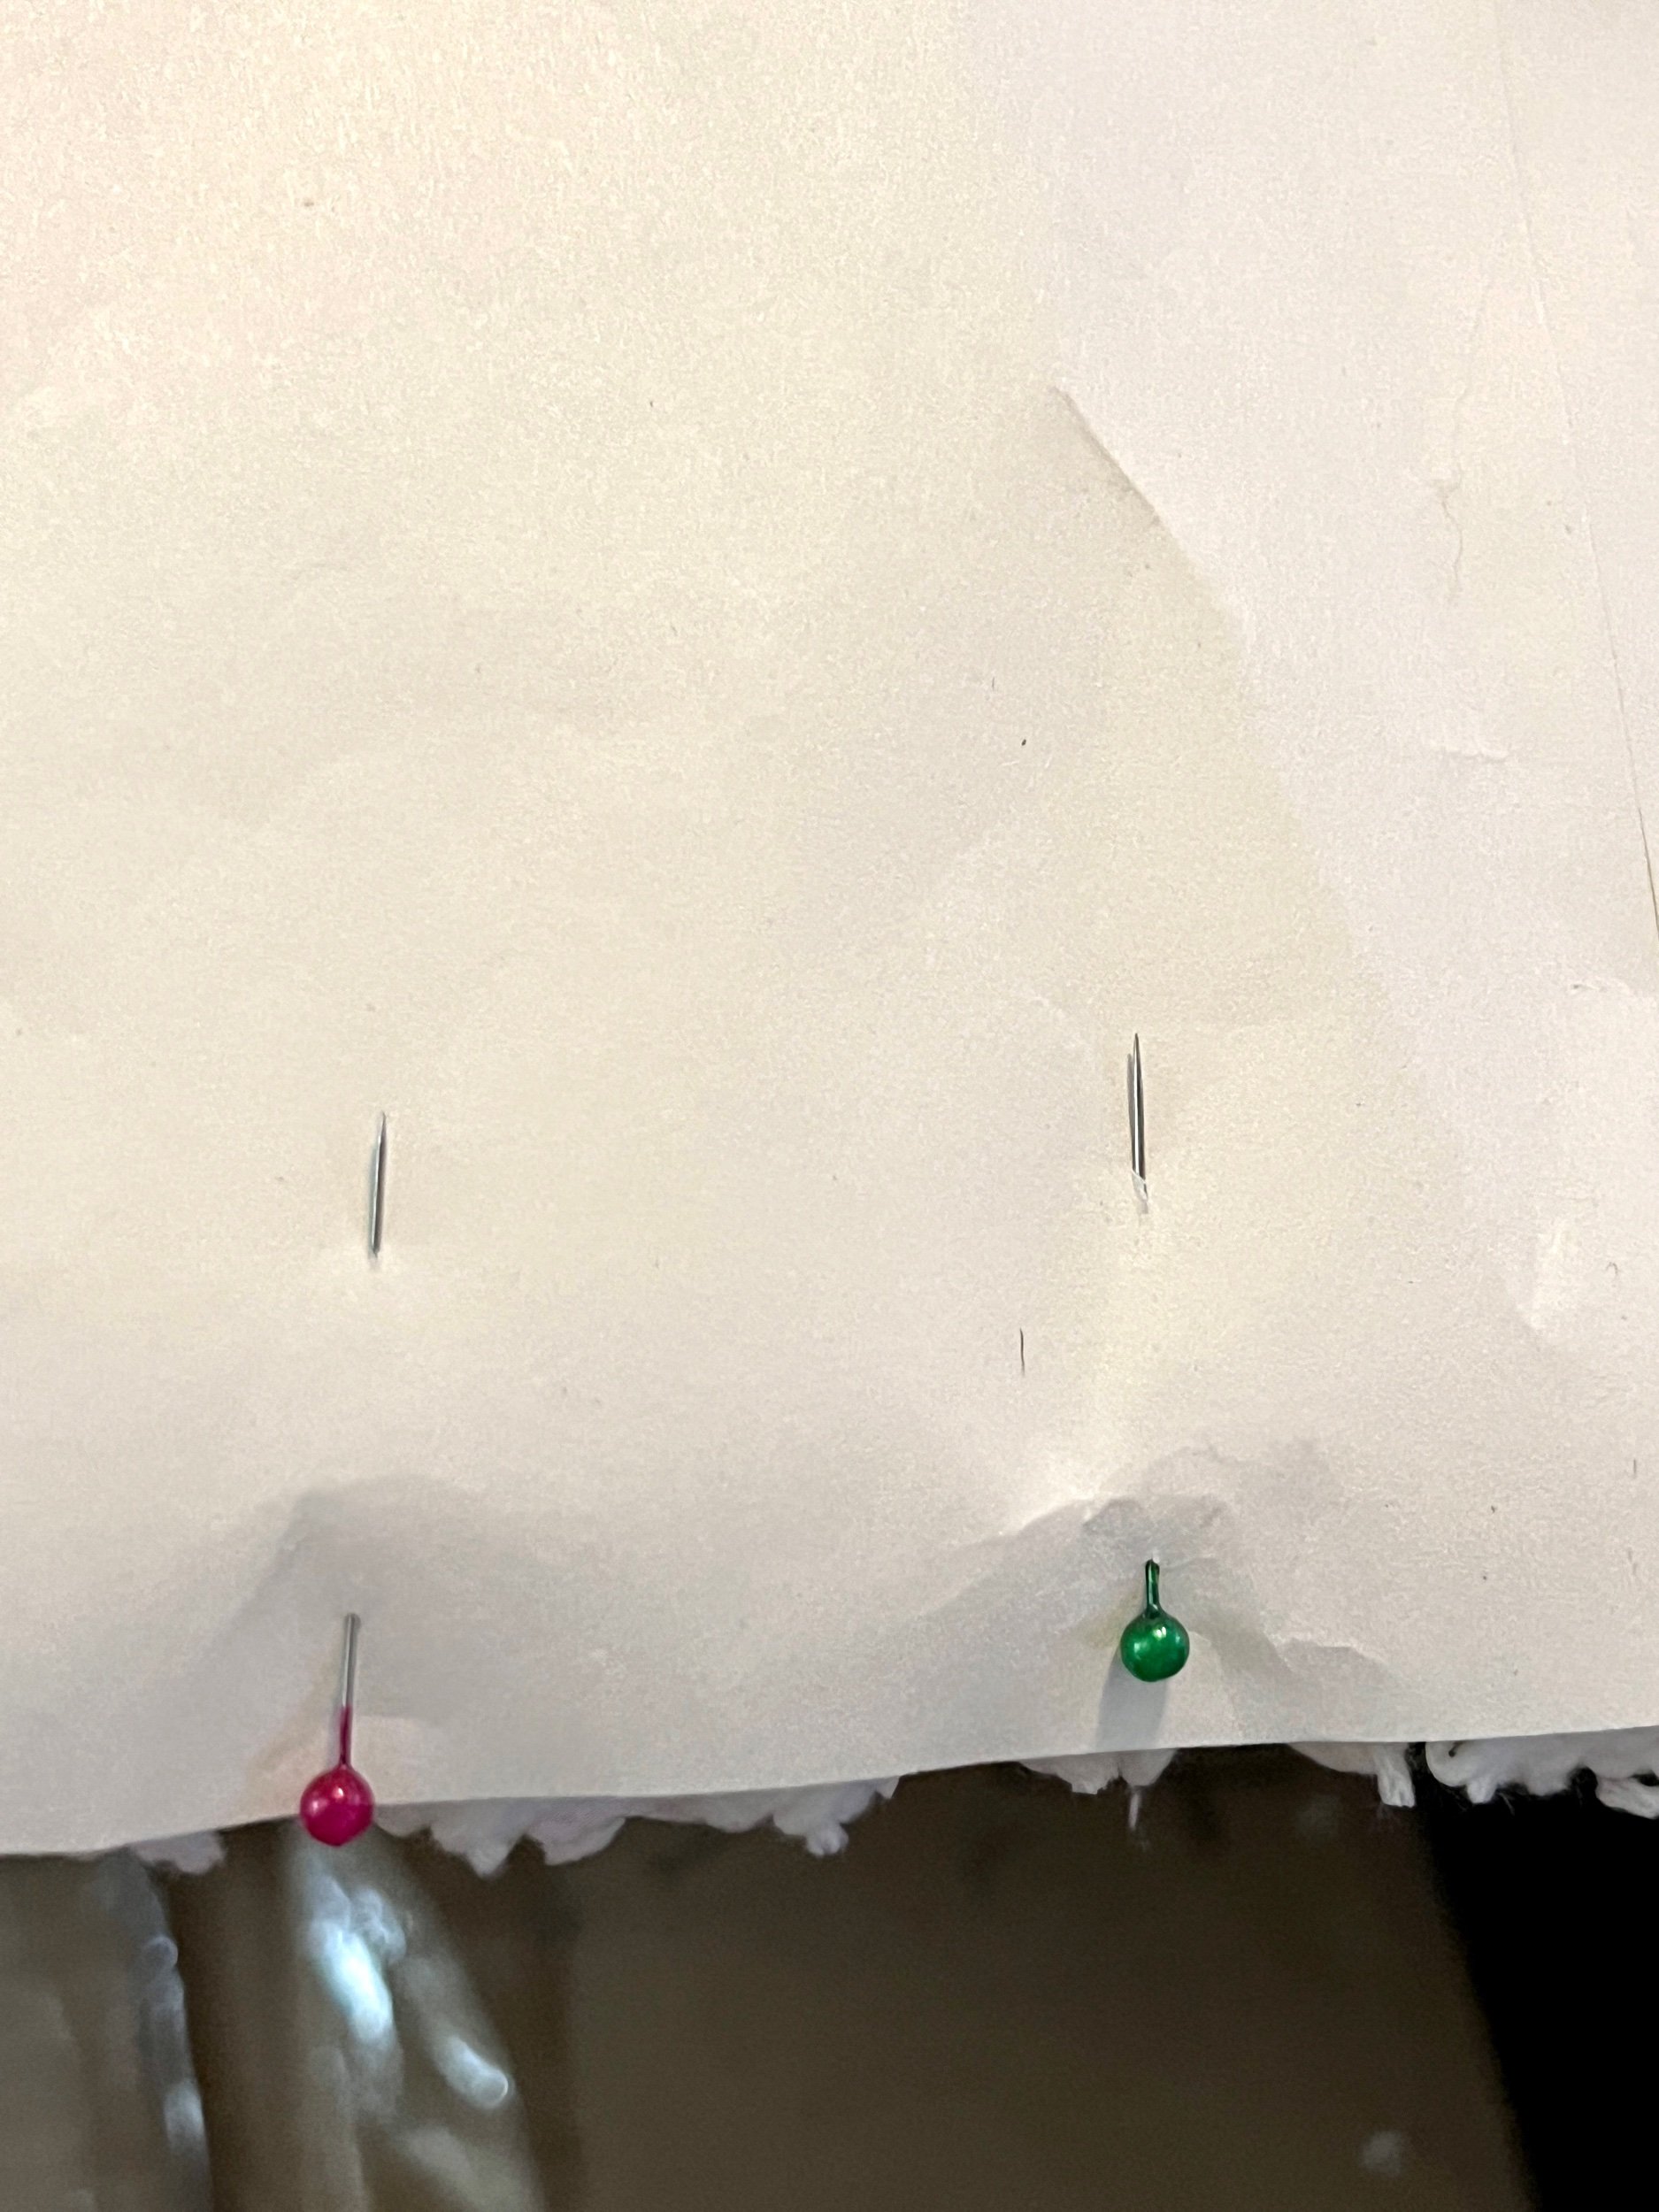
I vertically reduced the back neck to waist last night by two inches and that helped (after first pinning to see what is possible).
I’m going to add a slight short vertical reduction also between my side and bust on both sides.
I’m considering making a wide sash for the waist to enhance that area while adding functionality in the wrap dress.
Once I’m happier with fit the final approach will be the neckline and hem.
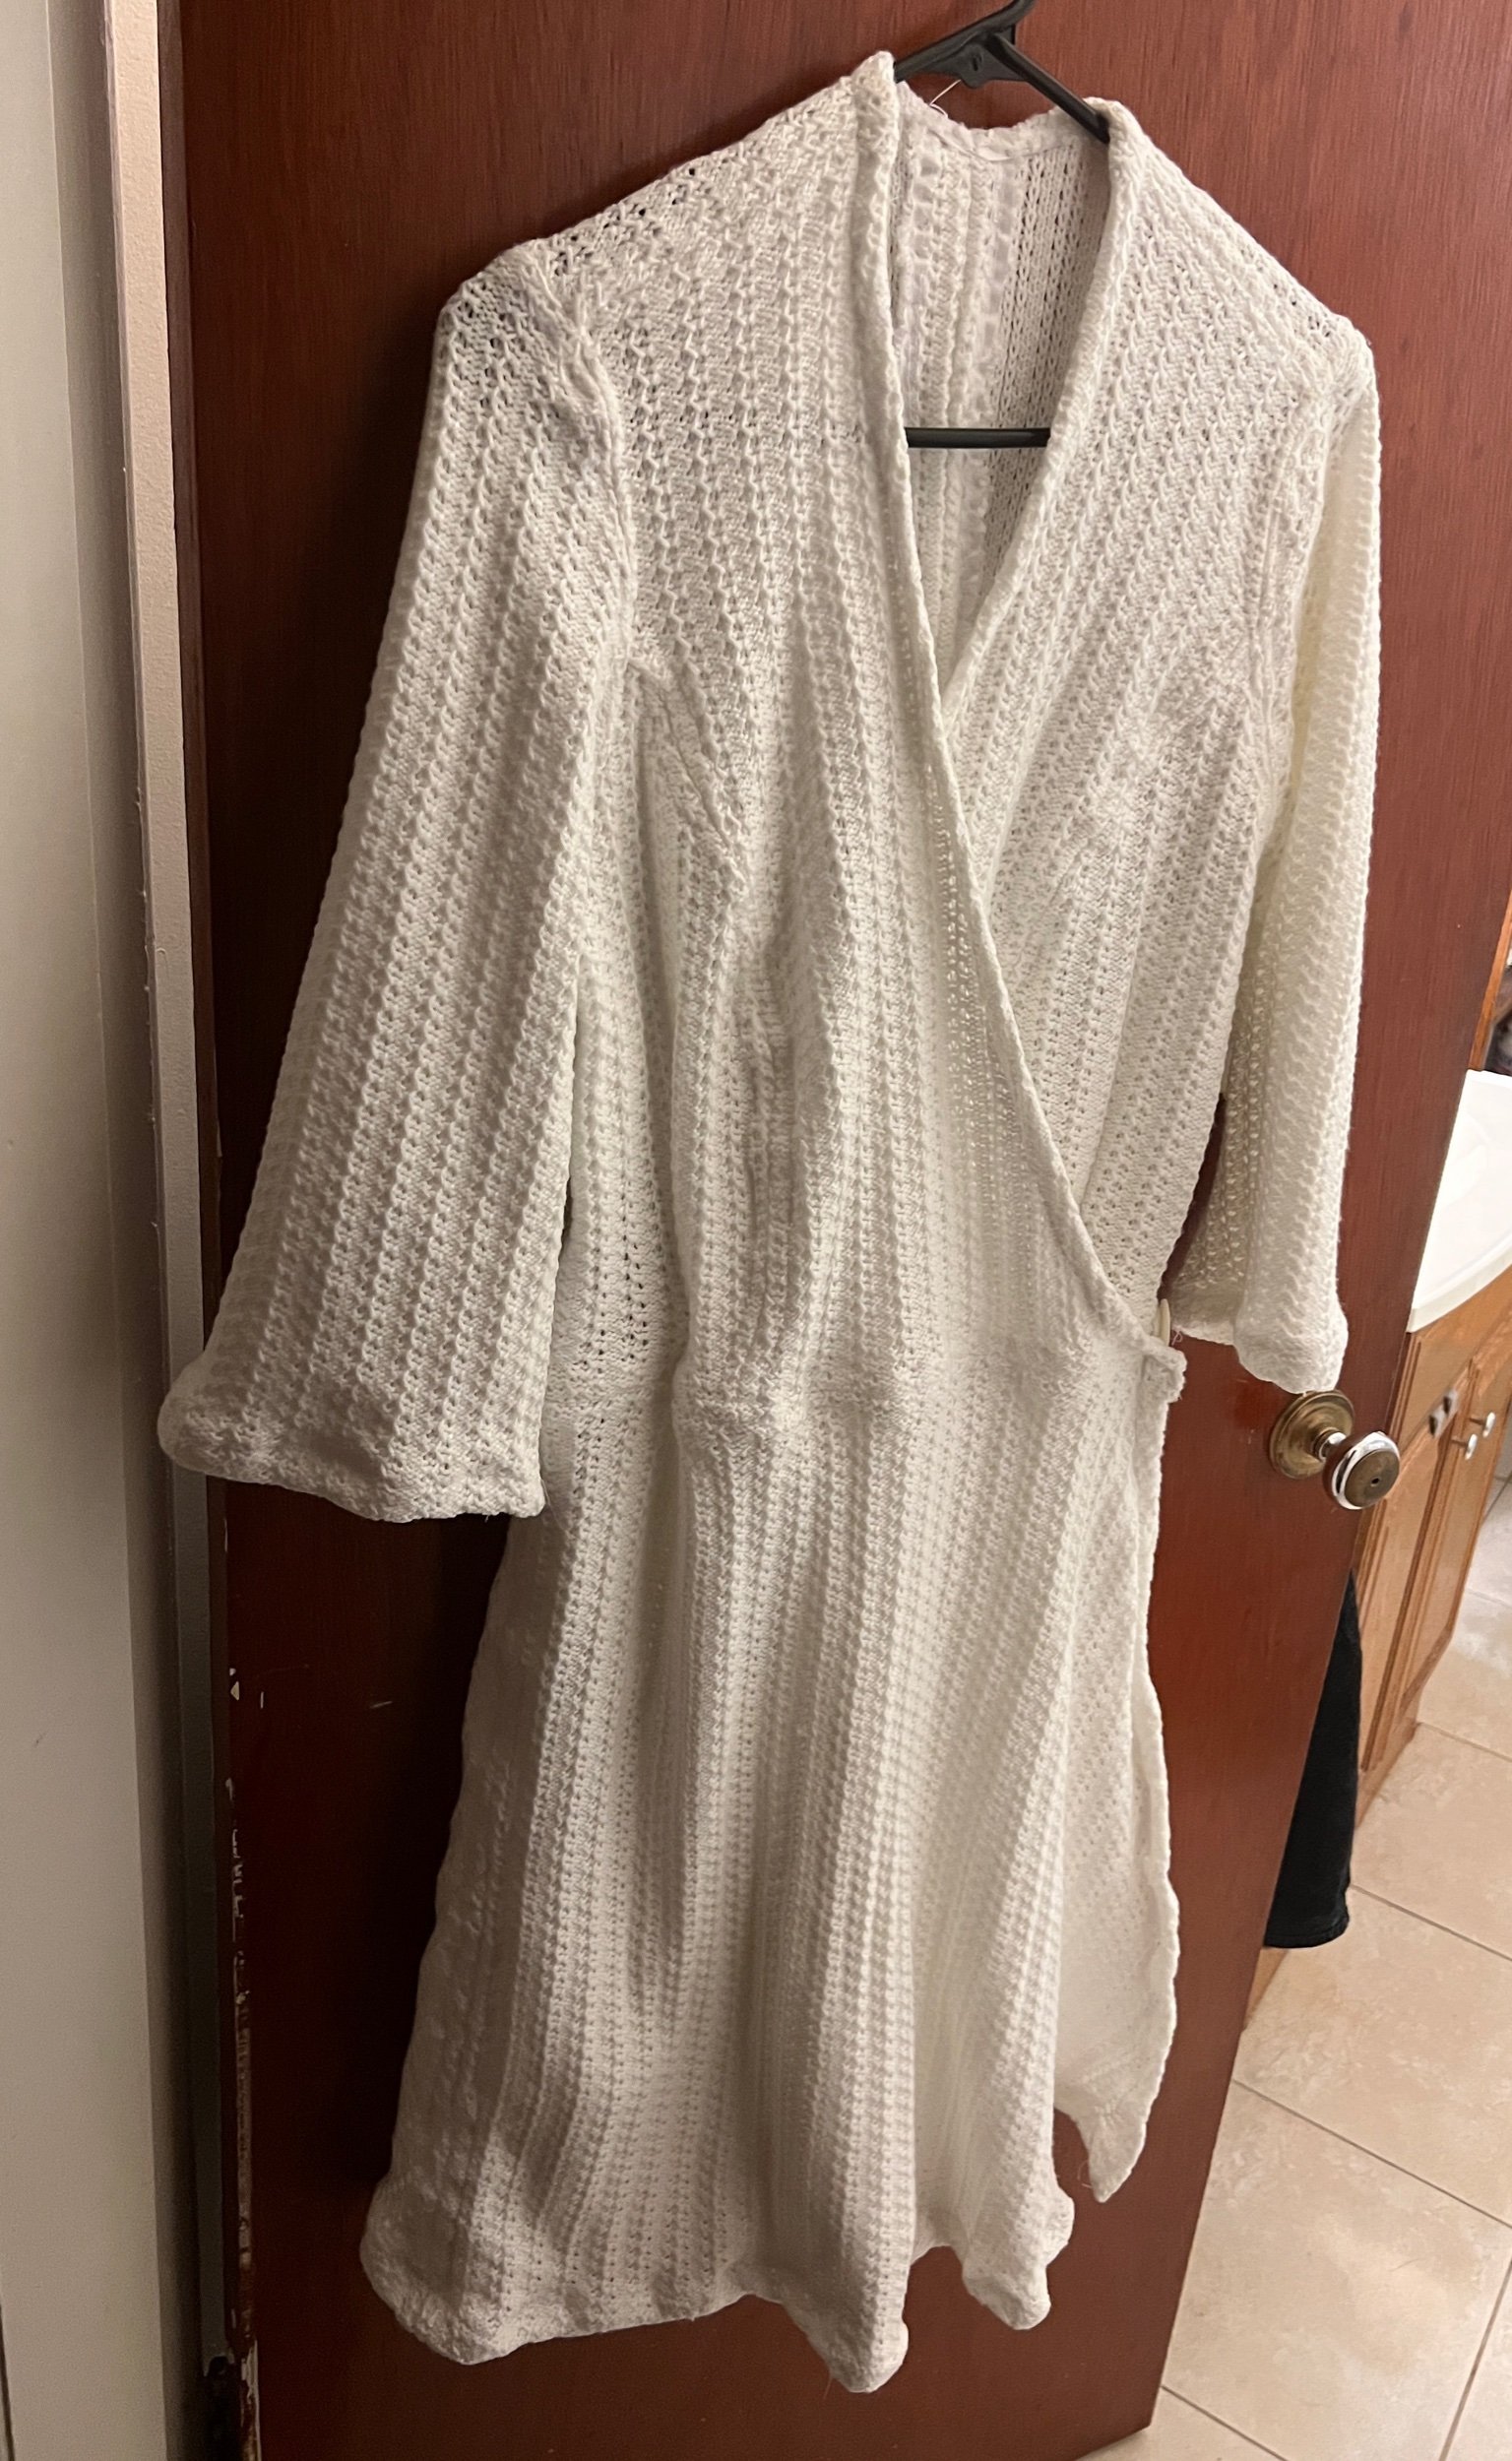
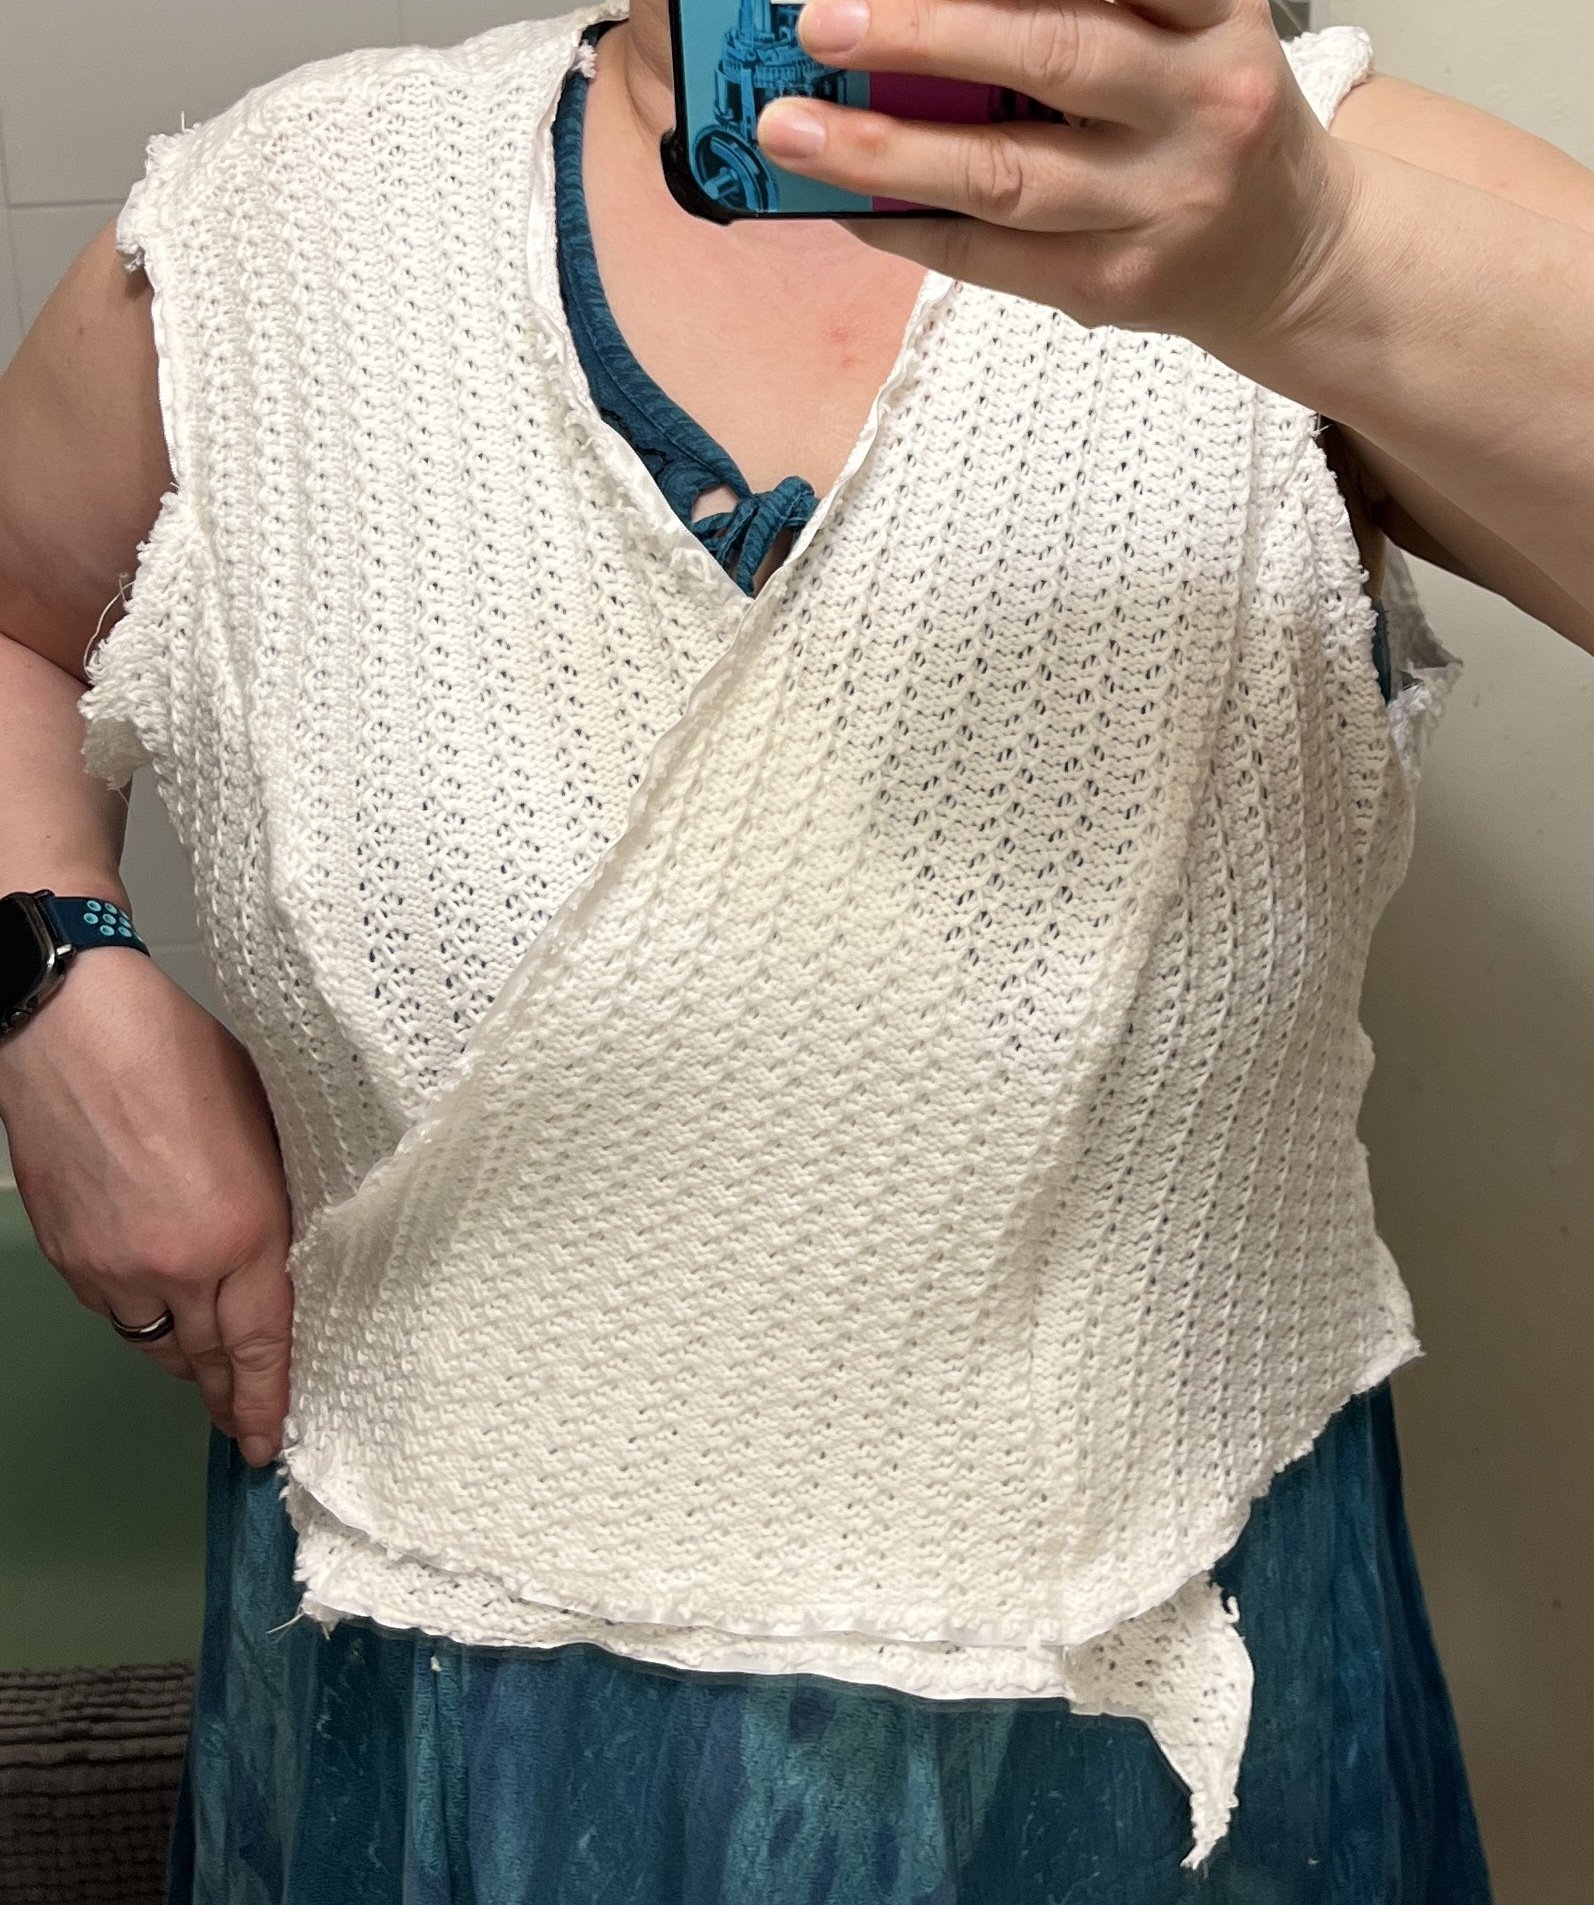
A hanger doesn’t do the dress justice.
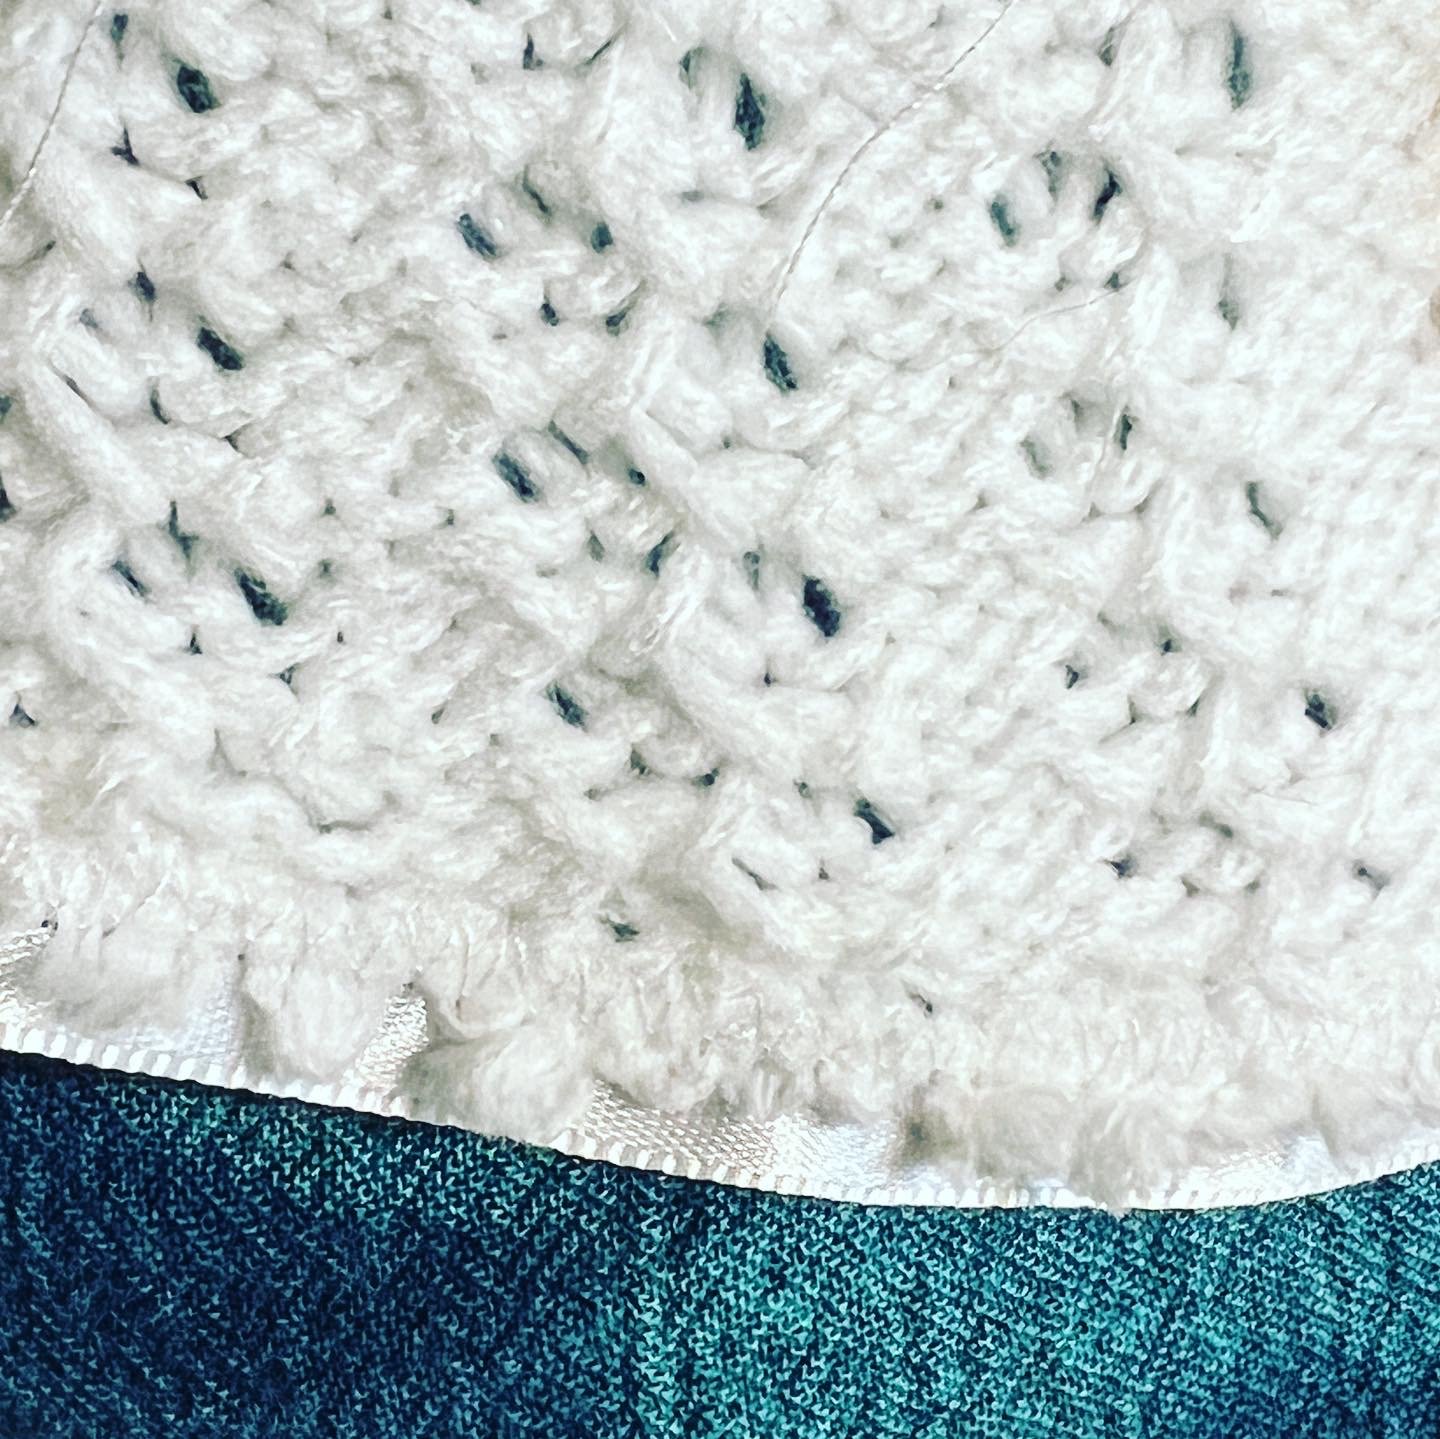
Changes to the dress included a vertical reduction in the middle of the back, under the bust vertically between the side and bust and dress hem to ensure the under layer edge stayed under the outer layer edge.
Only a couple more small things left to do on the dress: further steam press on new hems, cuffs, neckline and running a ribbon on the full hem from neck to skirt. I created two electric loops with button closure on the inside right attachment and the outside left attachment.
Not fully pleased with the results but it fits.
Tues May 2 - I did a final steam press on the dress and am pleased with how much it helped some of the more bulky seams to sit flatter. I realize I wrongly switched the left and right front dress pieces - the dress edges are vertical in the dress pattern whereas it looks as though mine are diagonal - not a big deal but the left skirt piece has an odd angle (that should have been the seamed edge)