

The Zoom course I signed up for at Grossmont presented an upgraded short-row Pumpkin version and also a Anna Haferman Dishcloth pattern on YouTube.
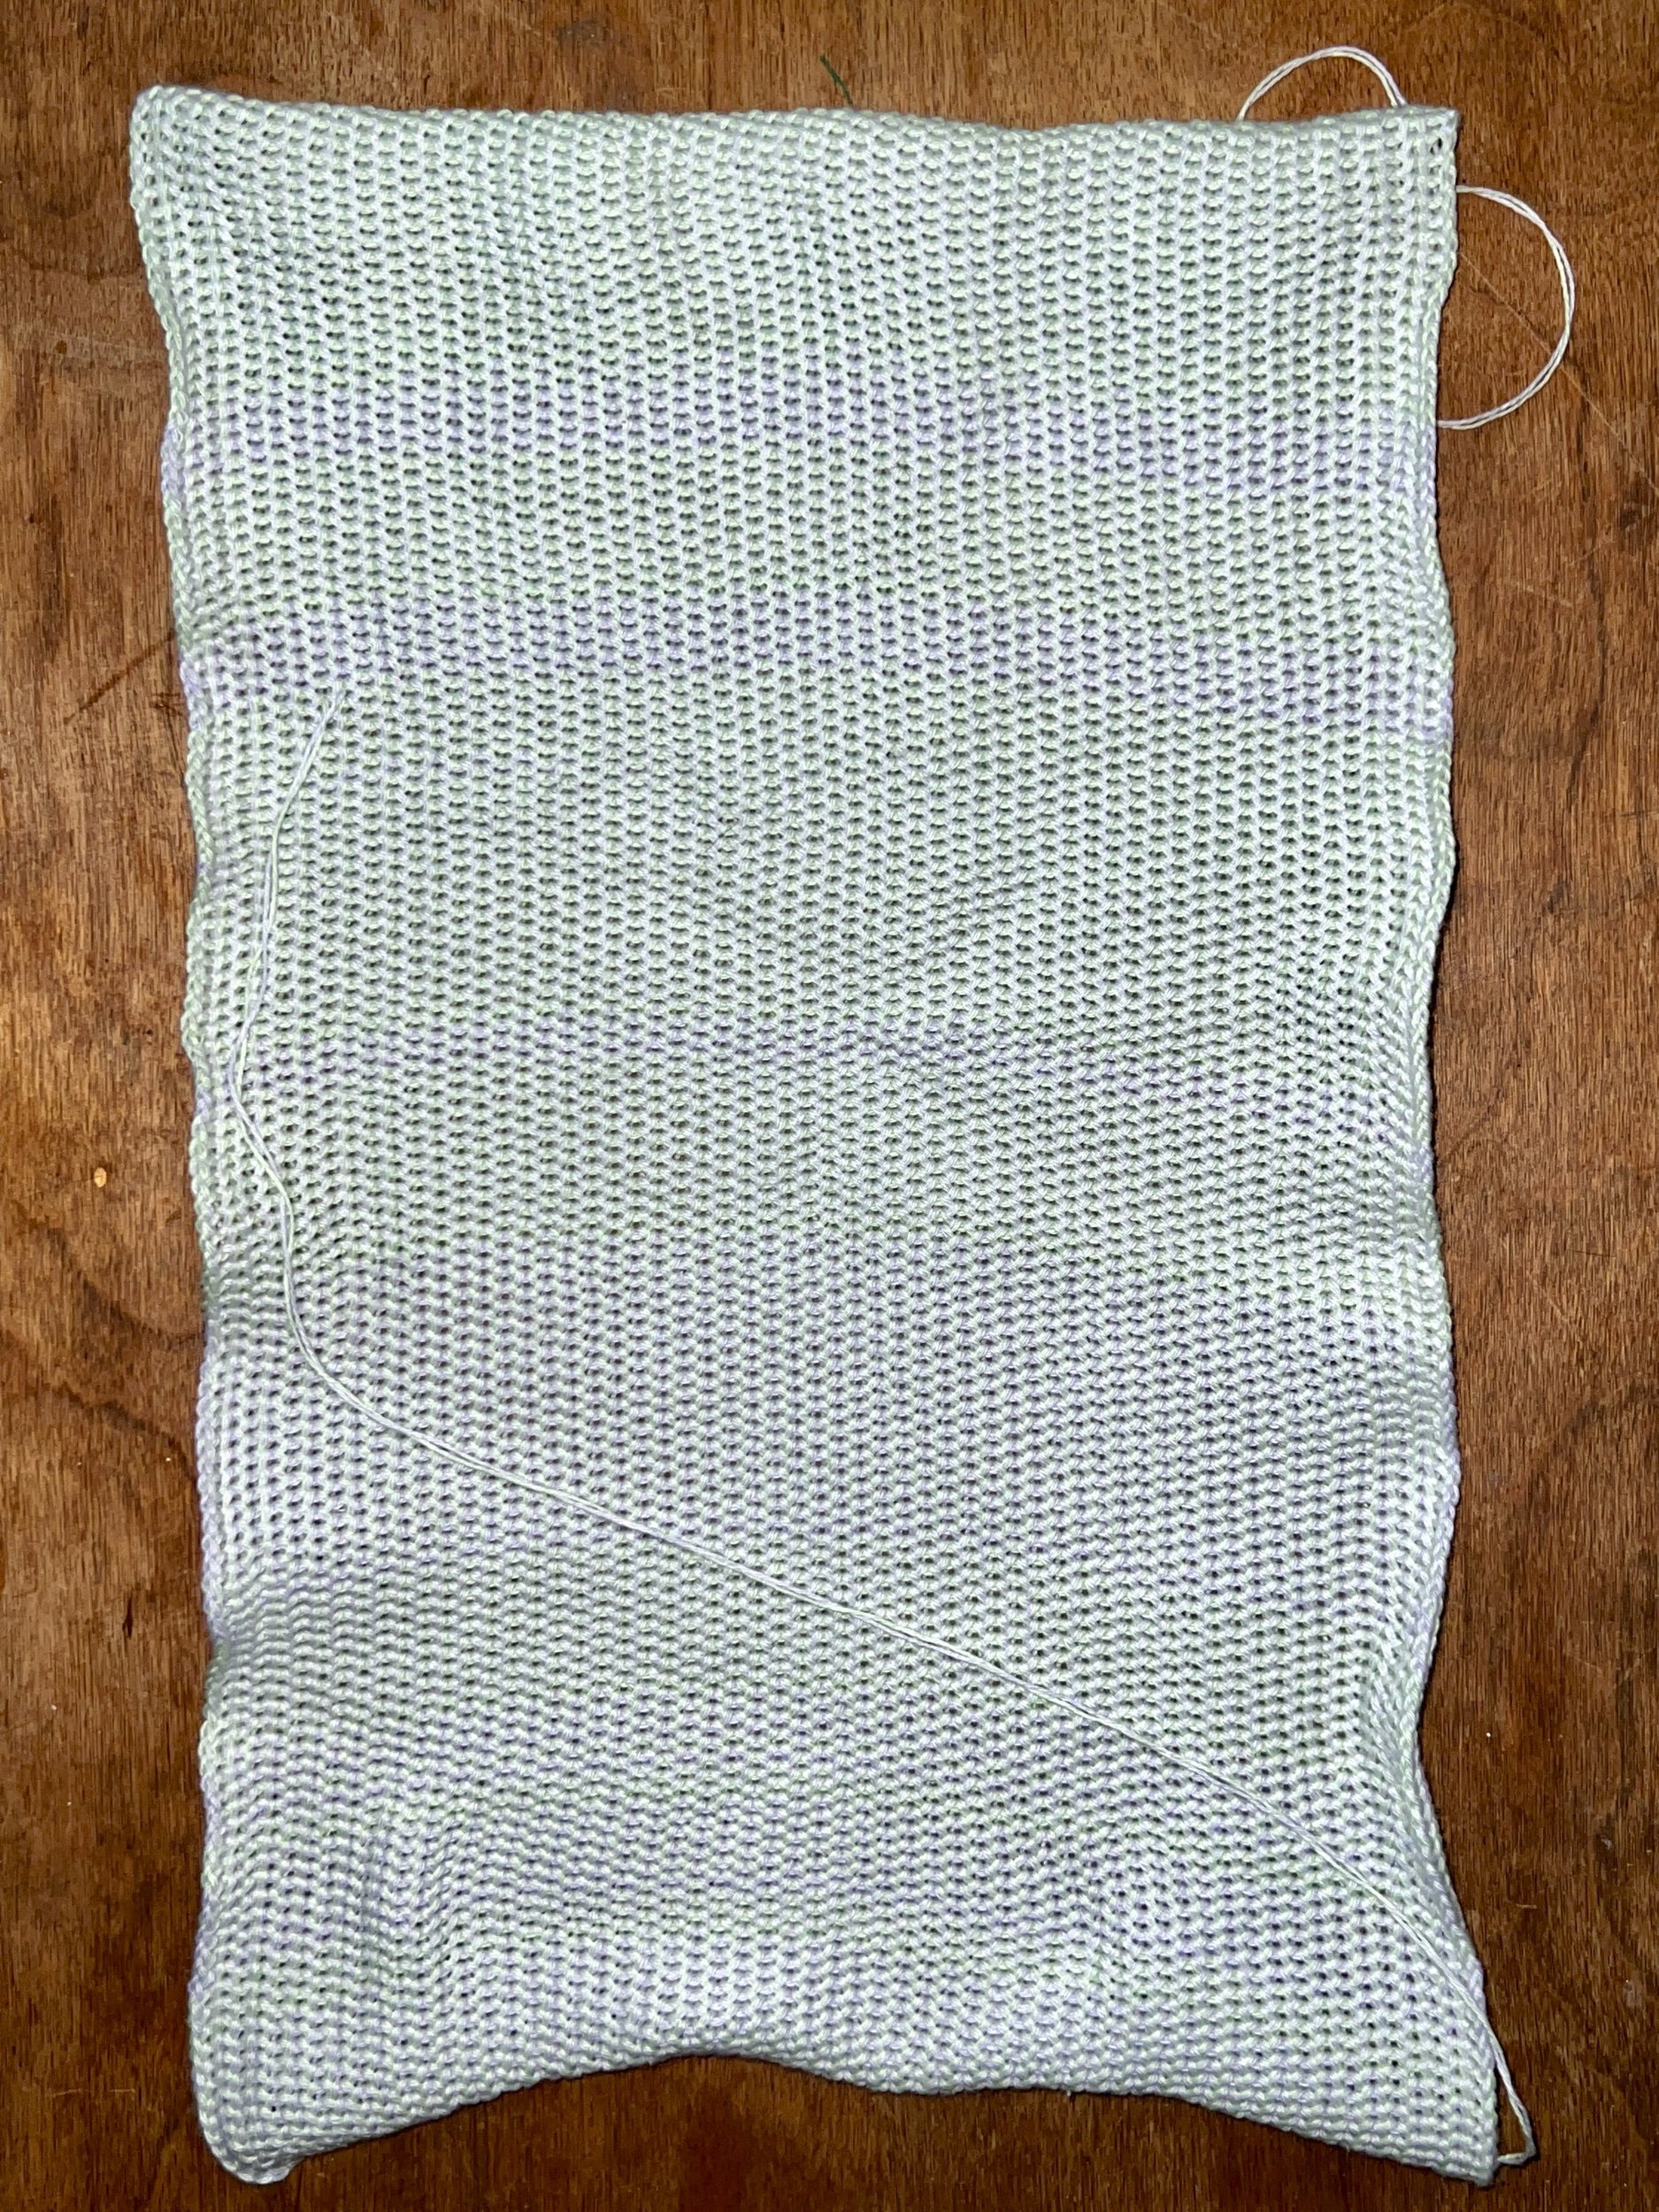
The cotton on cone that I have is VERY thin (maybe laceweight) - a muted lime green and purple.
LEARNING MOMENTS - Initially I tried an E-Wrap with both yarn strands but when attempting row one I found them incredibly twisted so I redid the E-Wrap with only ONE strand when initially using the YC6 and considering one color then the other however this attempt also didn’t work out as the knitting was too fine to reliably knit on this standard gauge machine (and on one pass I’d made a mistake and ran the carriage without yarn causing all to fall). Thin cotton even when worked at tension 1.25 is still too fine. Restarted a couple more times before choosing dual yarn without swapping rows without the YC6 THIS TIME.
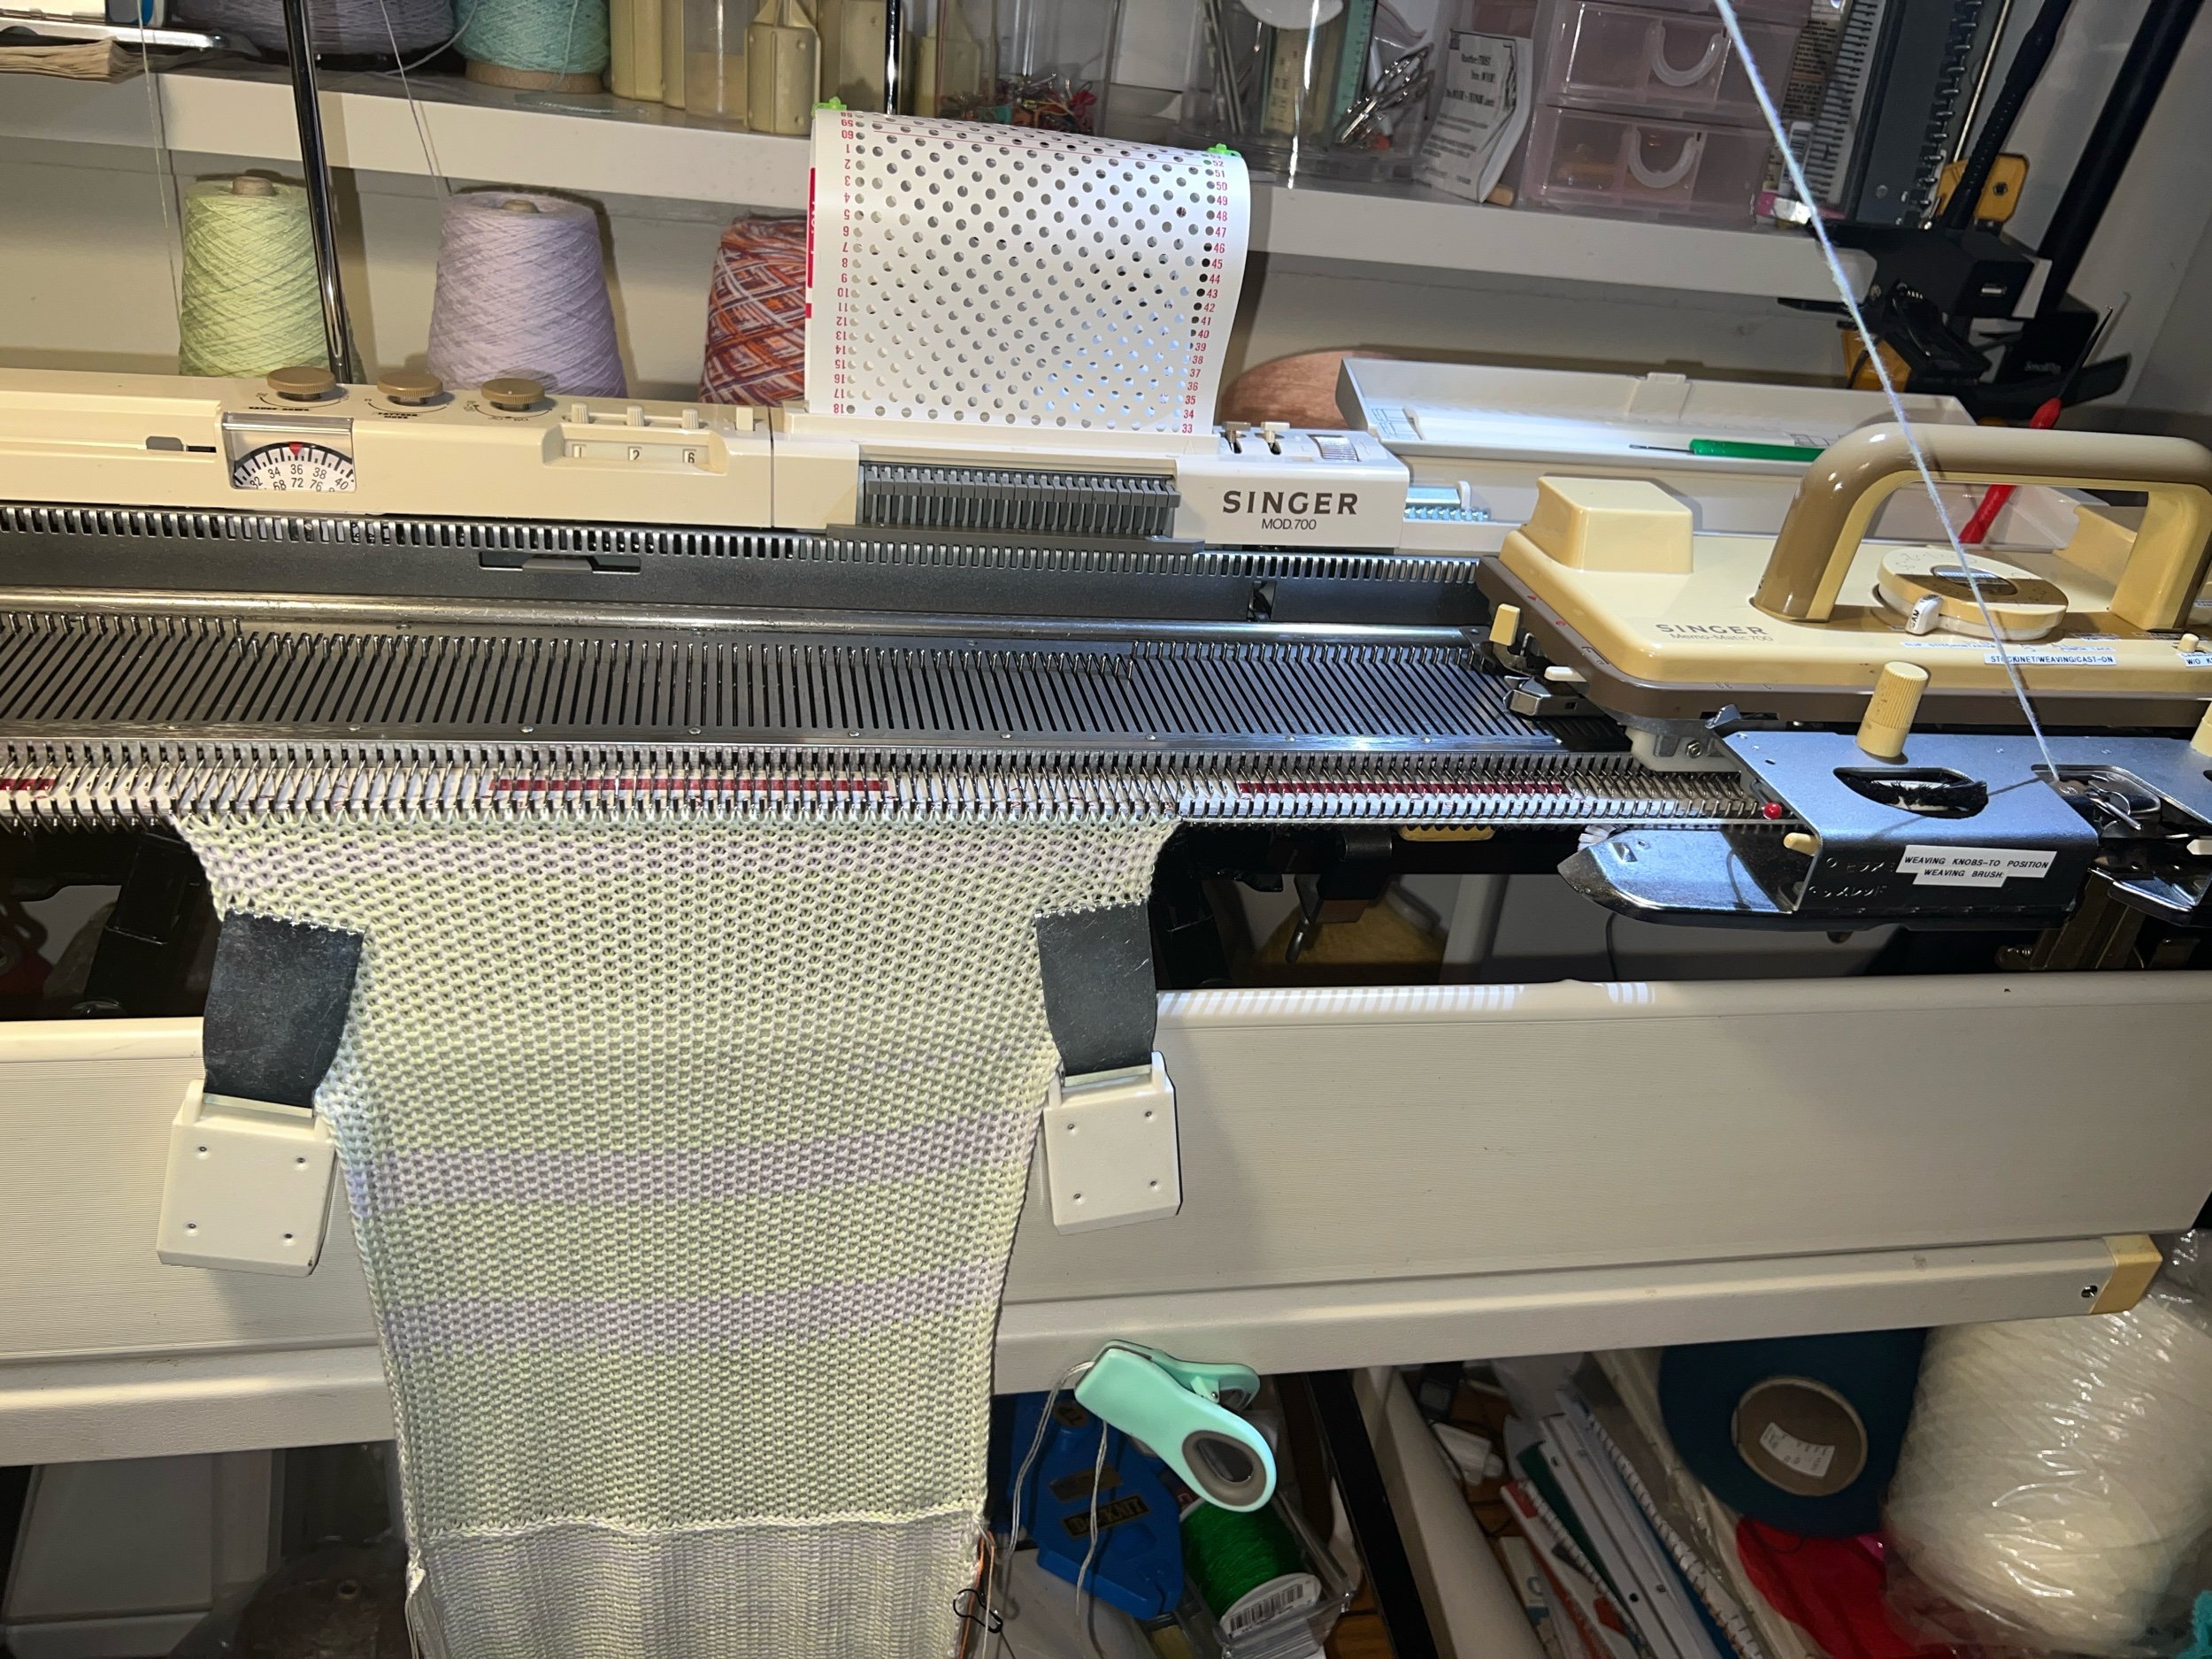
DISH CLOTH - what I did on my Singer Standard 4.5mm gauge machine with a Tuck Punch Card added to the machine:
I used thirty needles on the left and thirty on the right, bringing every second needle into work with the rest out of work. Carriage tension 7 with mast tension 4.
CAST ON: Run the carriage from the right to the left and then hung the cast on comb with some claw weights. I worked 5 rows of scrap yarn, found my 1x1 tuck punch card (photo) and after inserted the punch card into the machine, lowered the left punch card lever to read the card (moving the carriage from the right to the left and back). SEE PRIOR PUNCH CARD category on the FBL BLOG INDEX page for step by step punch card activation/settings.
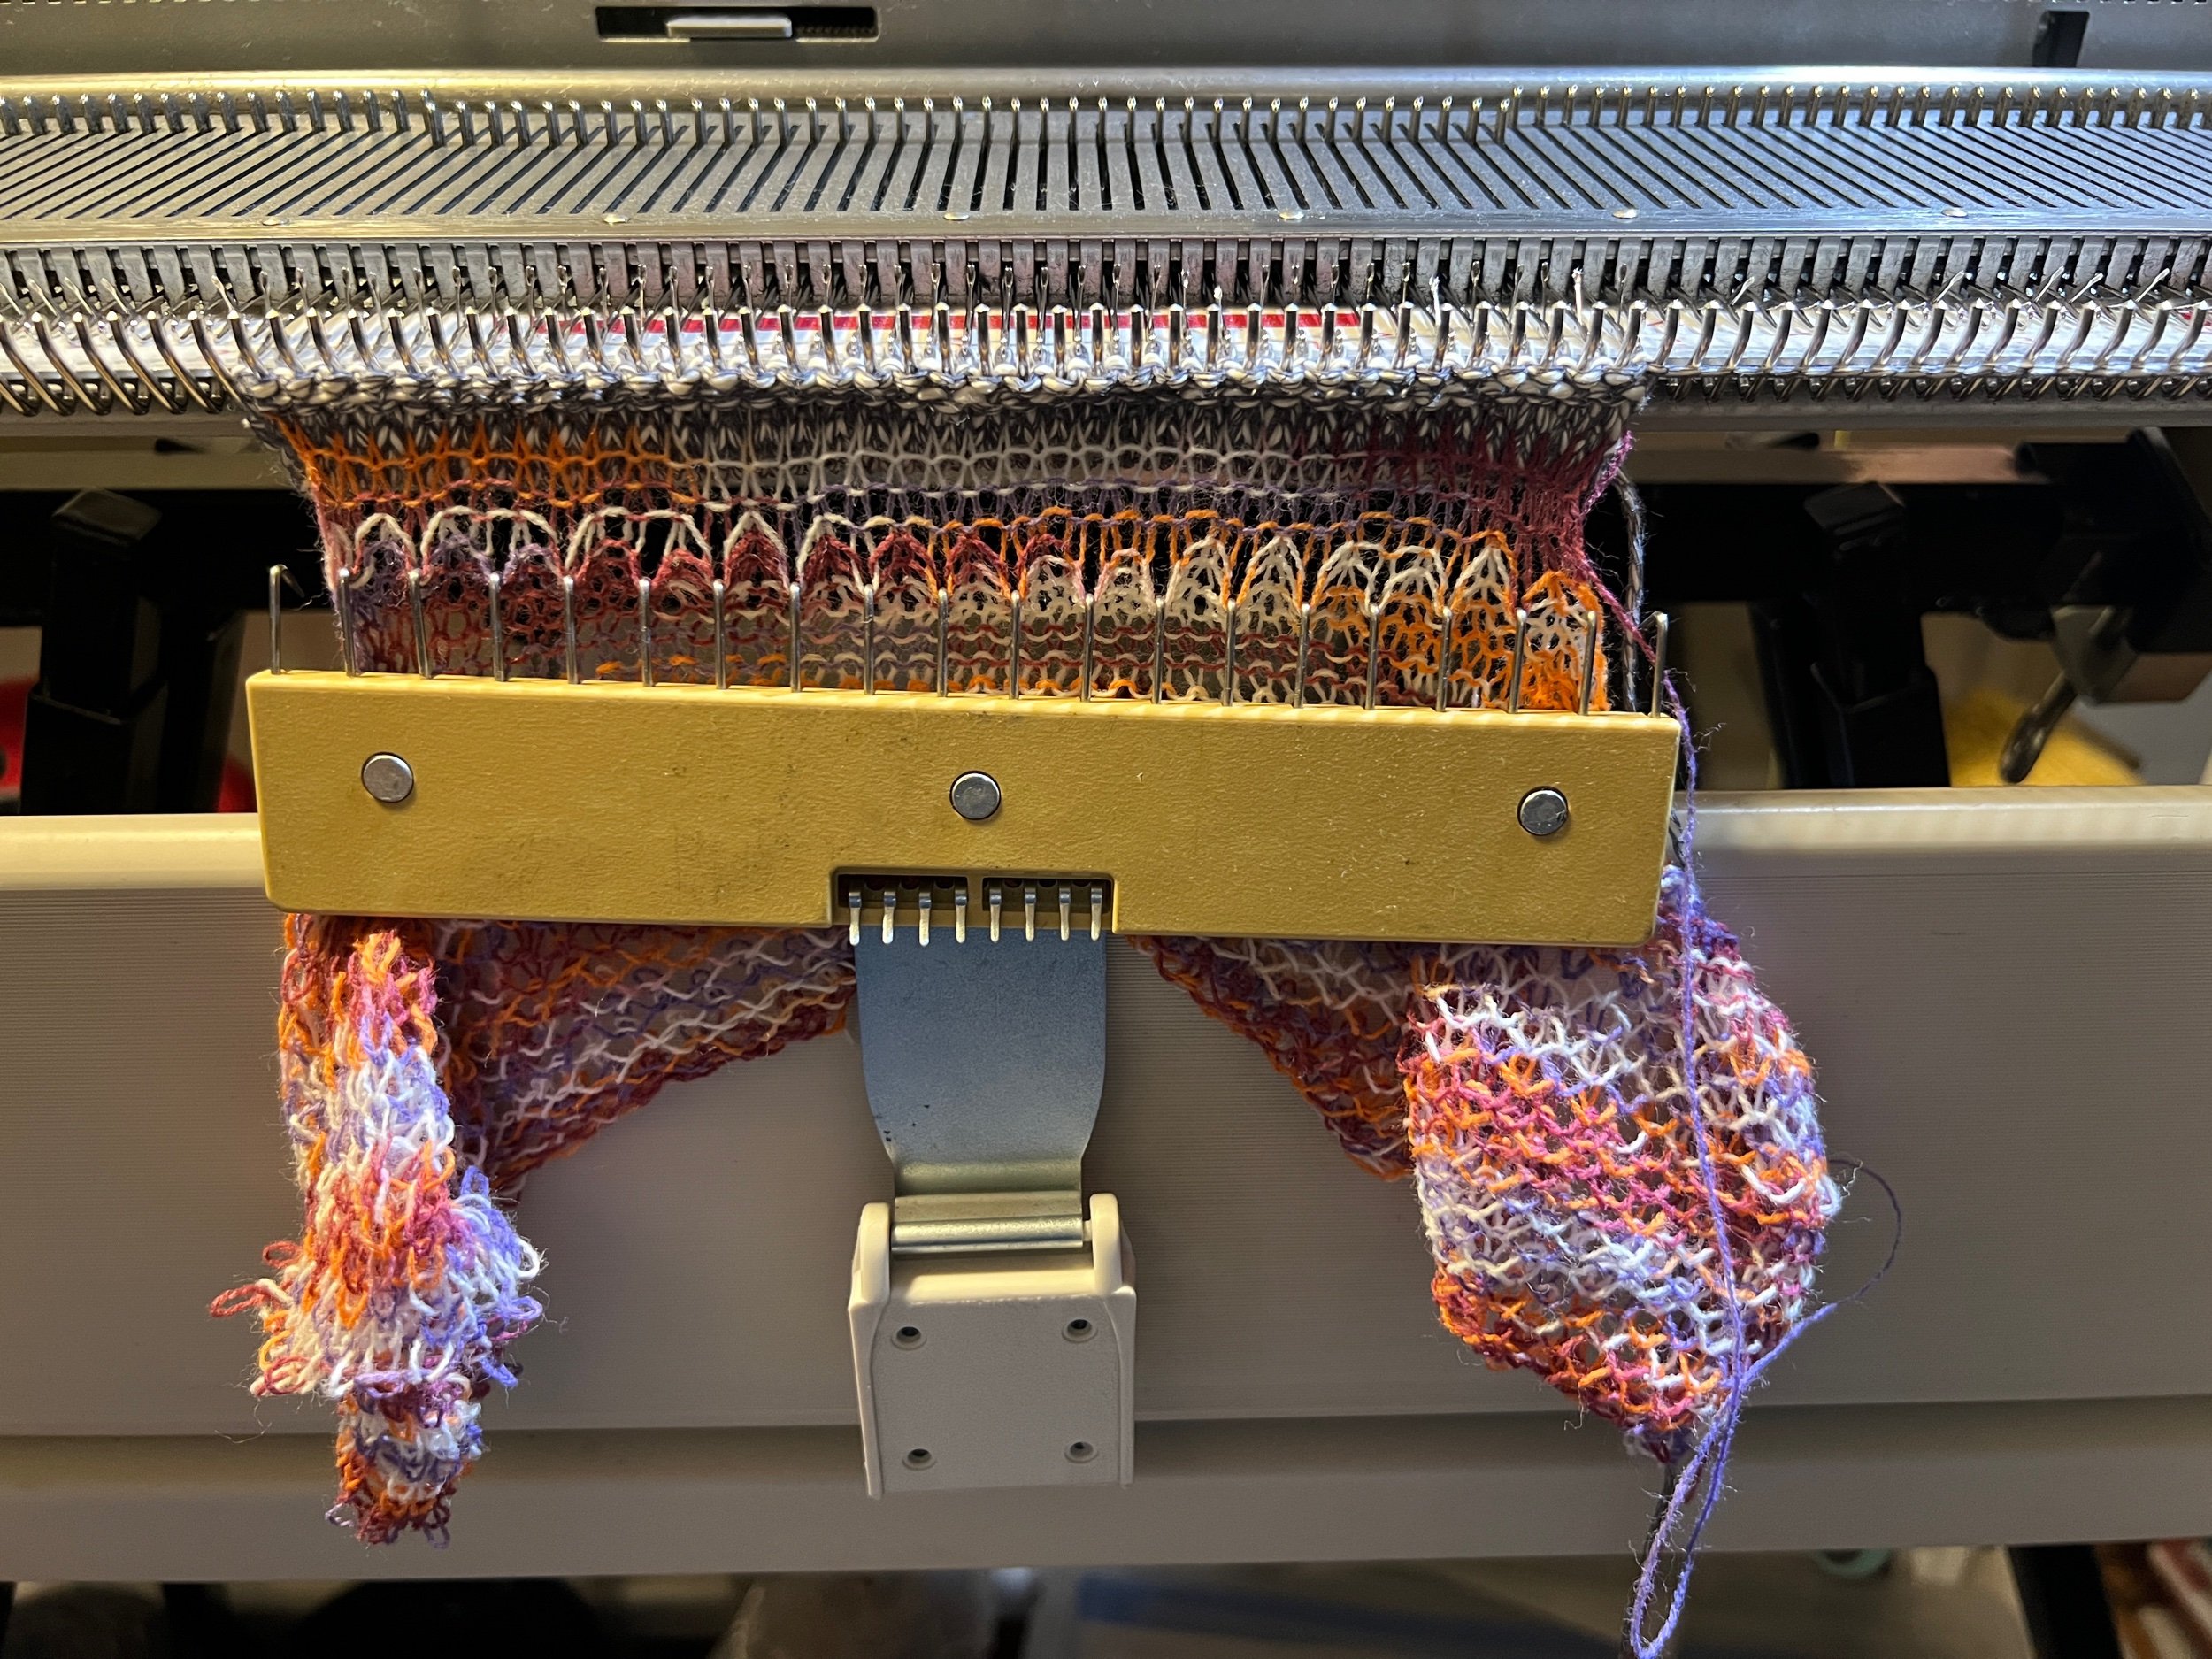
PROJECT START: Carriage on the right, I added Ravel Cord from the Left to the Right and with the carriage still on the right I used both thin yarns (double strand) to do a Left to Right E-Wrap on the extended (all the way out) D position needles.
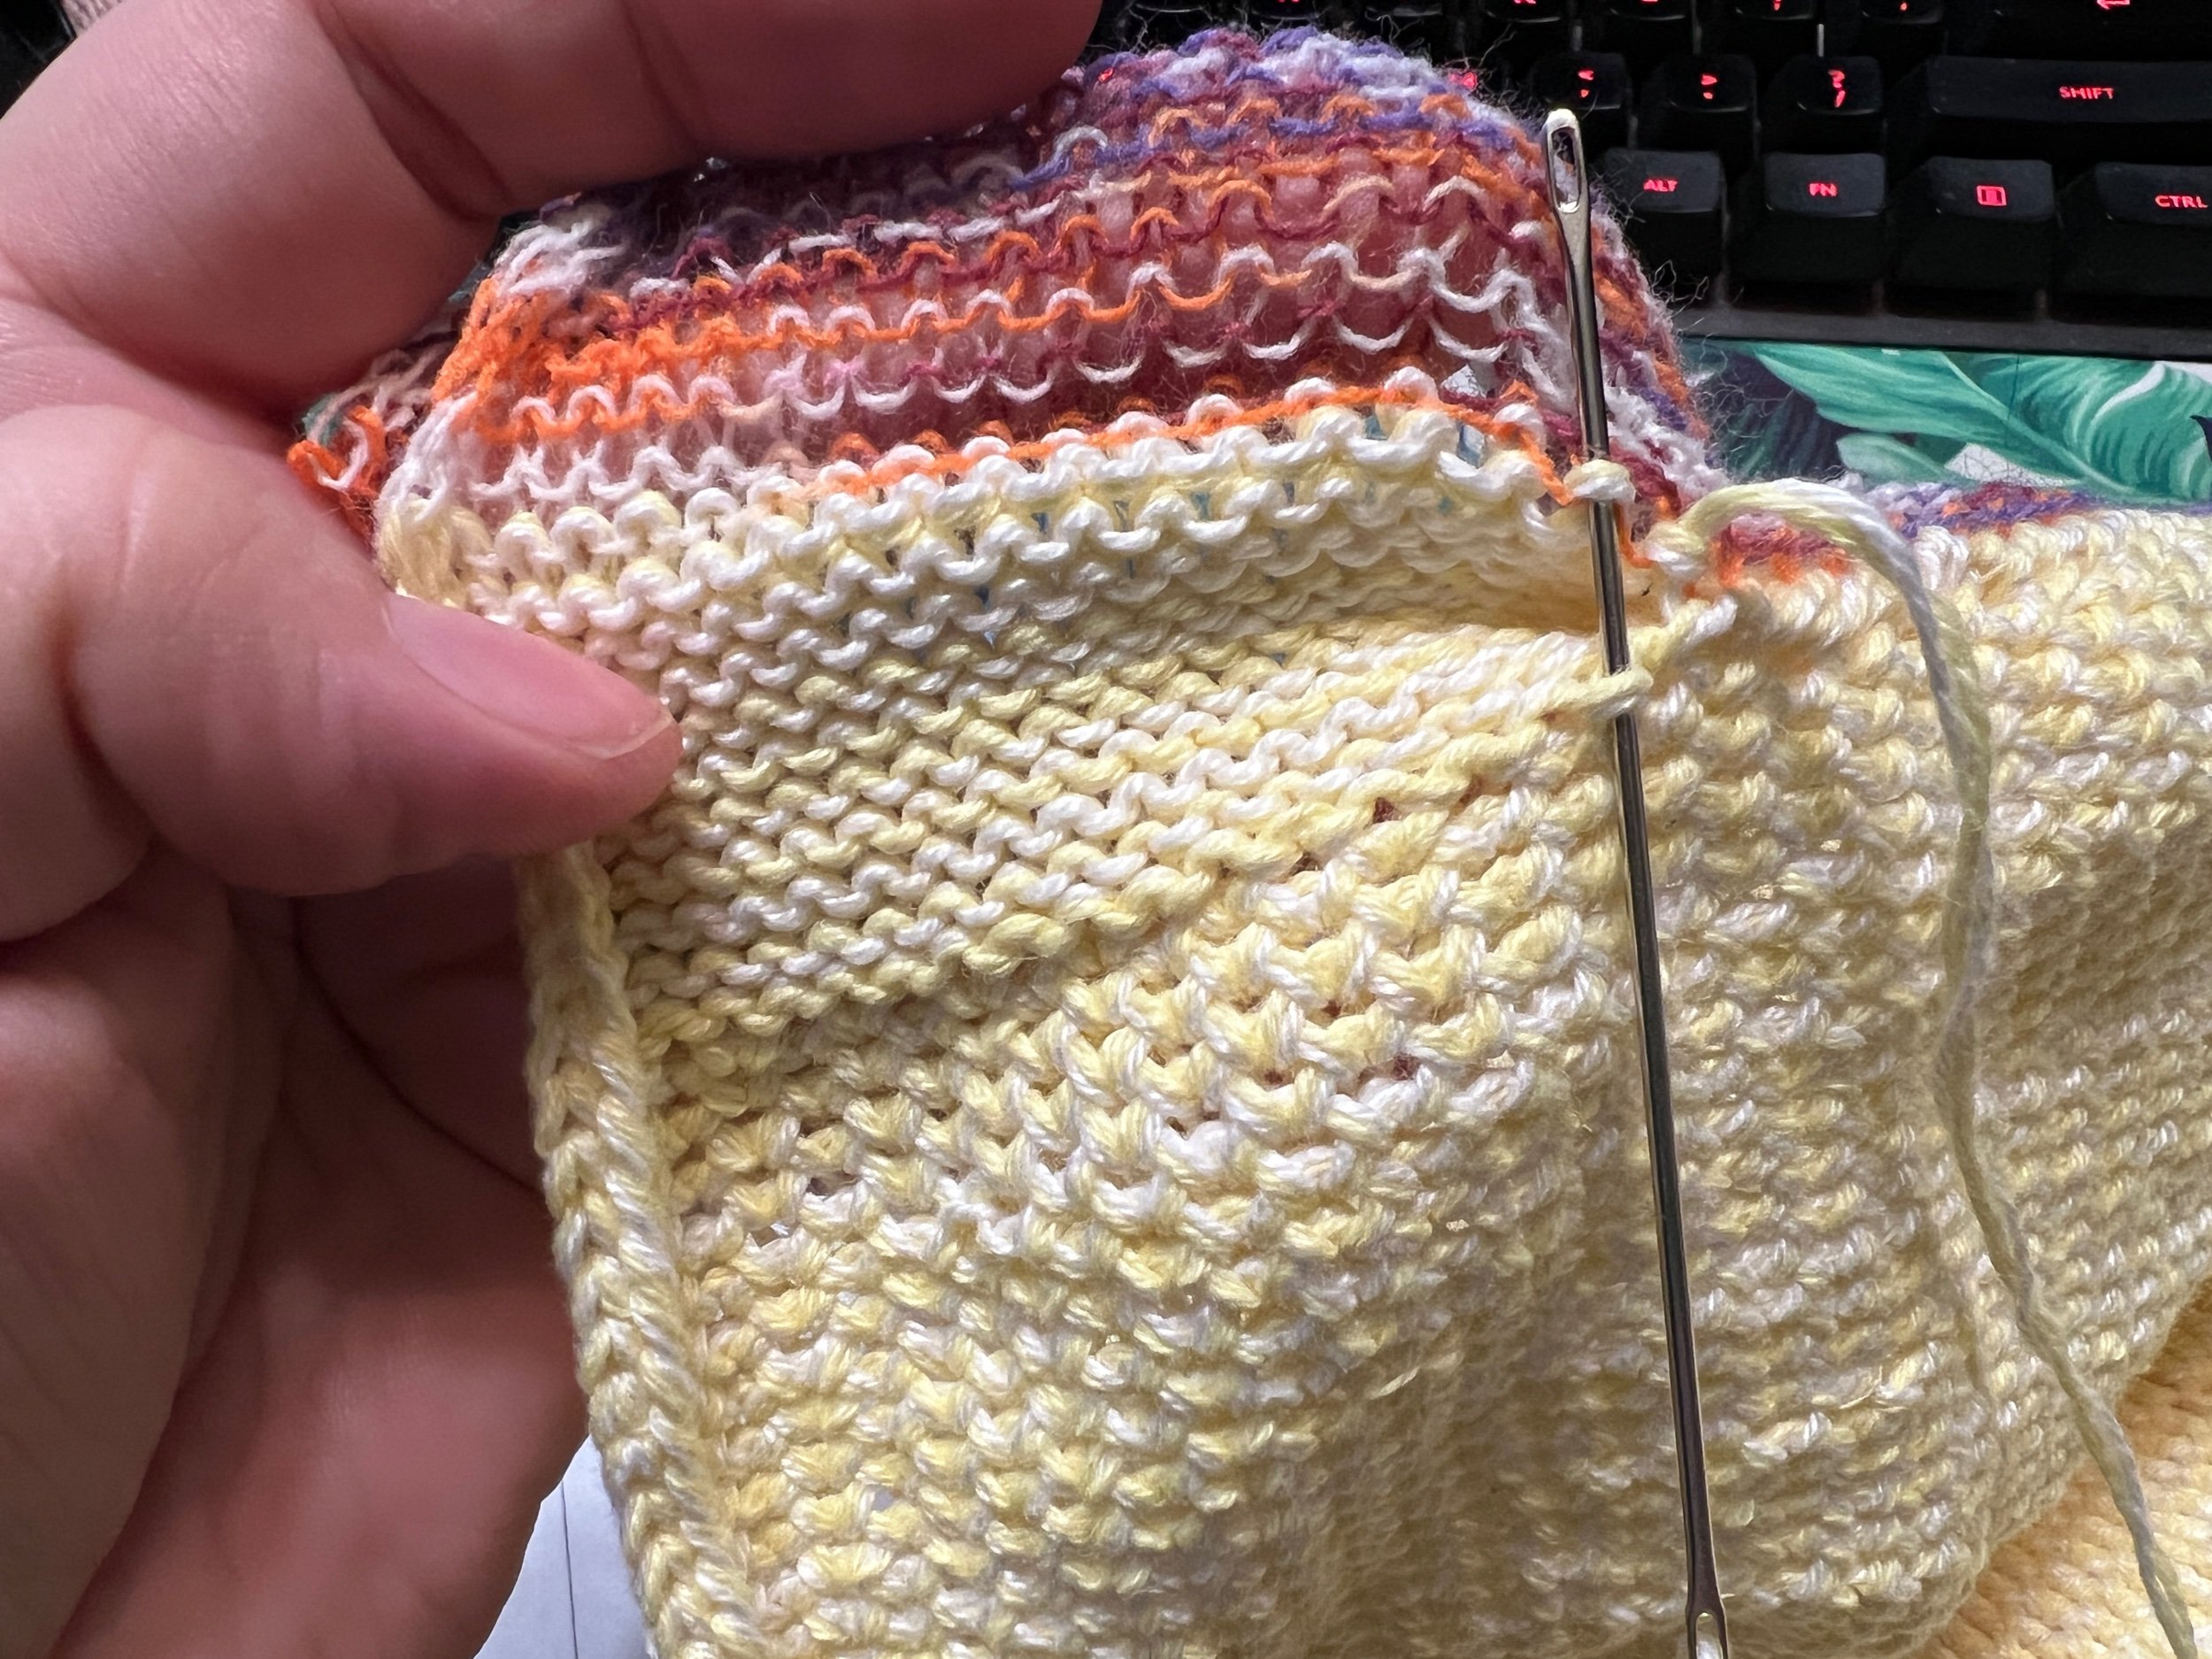
Some shared photos were taken during the initial knitting and may not represent the final approach to this project.


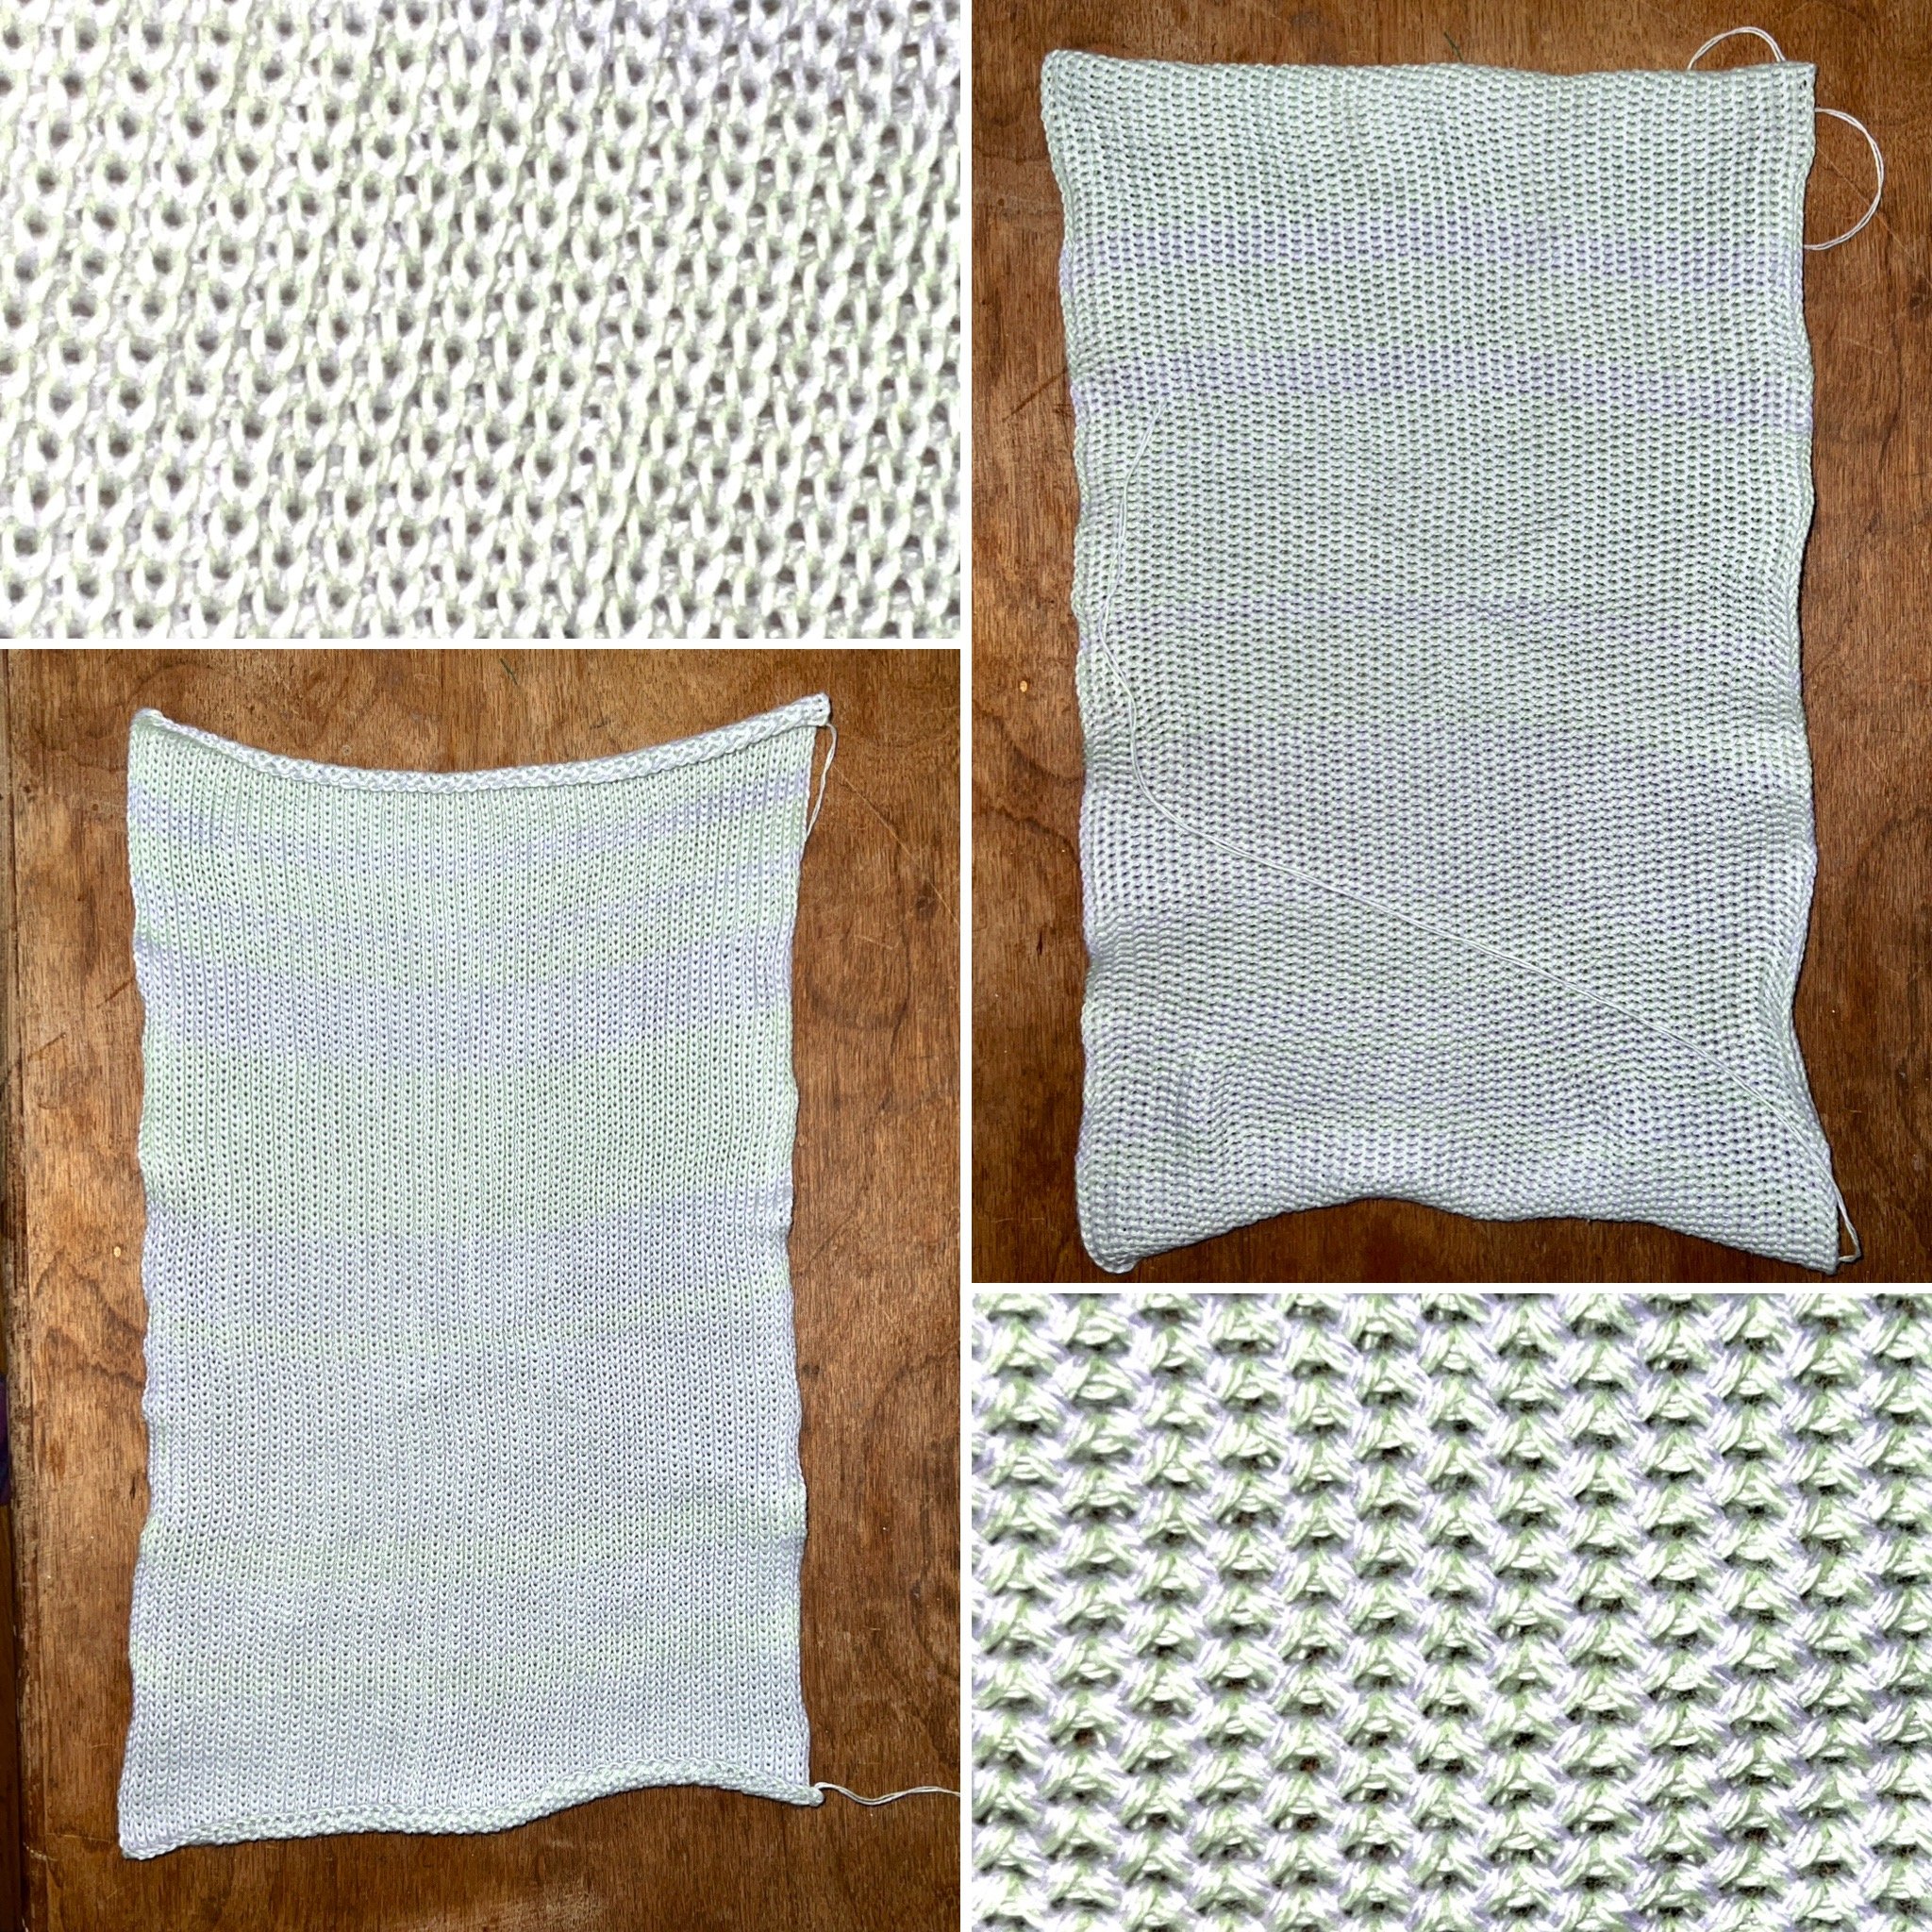
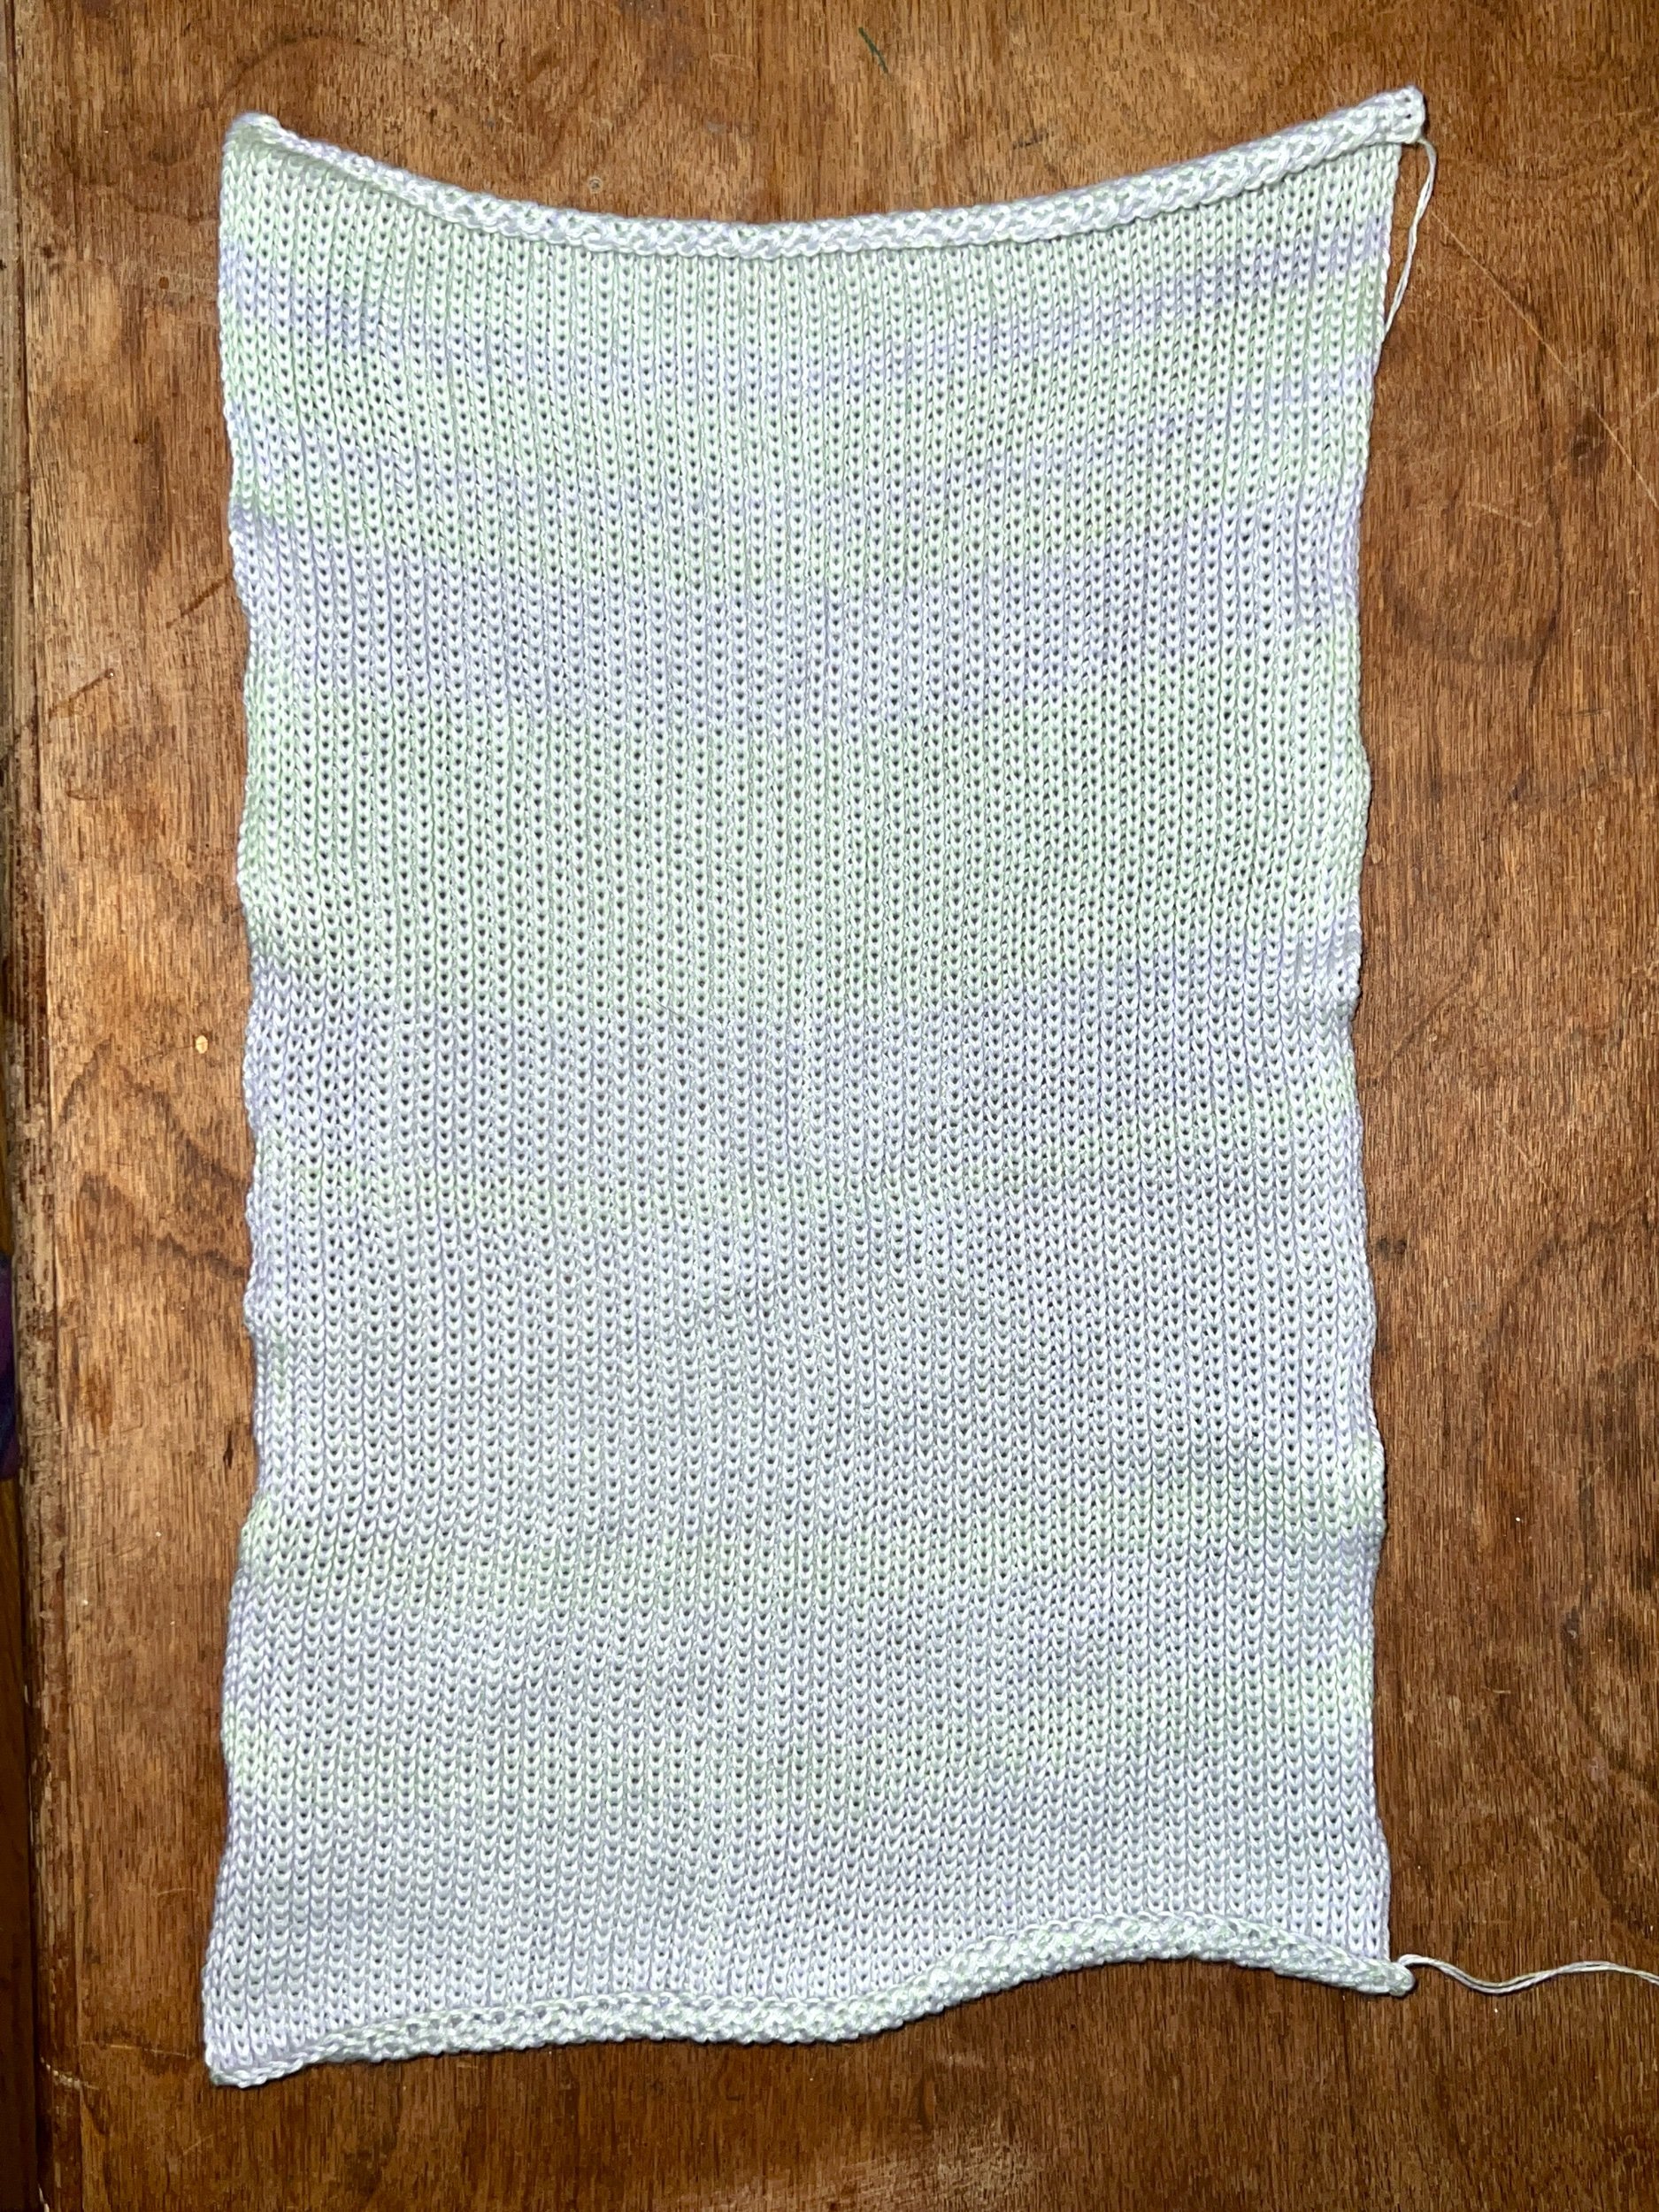
I found that at 30 needles the knitting is 10cm on the machine so I worked to create a project of the same length which needed 126 rows. I chose to make this much longer at 252 rows. This has inspired me to make tea towels for my mother in law for Christmas.


Extra shares
WHEN I TRIED USING THE YC6 I worked the carriage from the right to the left - as the carriage moves towards the YC6 I ensured the yarn used on the E-wrap and first row (and in the B position on the mast) is transferred to the B position while the next row/fiber to be used will be that in the A position on the yarn changer.
With the alternate yarn now in the carriage with the automatic change, work the row from left to right. The punch card is now read and will now be locked so raise the left lever up and change the settings on the carriage to Tuck with side levers also up for patterning.
TIP: When using the YC6 with just the two yarns it will automatically swap between A and B yarns with each fully worked row. :)
Ready to work (carriage on the right). At this point the row counter reads 2.
TRYING ANOTHER VERSION COMPLETELY:


Using 19 needles on the left and right (38 total needles) with the carriage at tension 9 and the cotton project yarn threaded into the machine (after working scrap yarn), on plain knitting work 10 rows and hang the hem. With the punch card No. 1 in the punch card reader and the carriage on the right, set the reader to read the card (left switch down), work left then right then lock the card. Set the carriage to tuck and raise the carriage side levers both up. Work Tuck for 50 rows. Switch to plain knitting for 10 rows, add extra yarn tail then switch to scrap yarn (to finish off the machine later).
Finished item is 19cm wide and 12cm long.
Perfect hand fit for dishes.
LEARNING POINTS: Next version to be at least 75 rows long as this tension/fiber shrunk slightly on use. :)
YOUTUBE VIDEO STEPS:
An actual pattern wasn’t presented in the class so I watched Anna’s video and wrote out what her steps were:
Recommend two color-ways with high contrast.
Waste yarn cast on - Bring out 20 on both sides of zero plus ONE on one side - need an add count. Ensure only every second needle is in work with the remaining out of work. Run the carriage from right to left and hang your cast on comb with the hooks facing you. Then bring all the out of work needles within the range into work. Work a couple rows and cut the waste yarn - carriage on the right.
Anna says her book says to hang the comb hooks away but she found it sat better with the claw weight facing this way.
Example used pink and white cotton yarn. Bring all working needles all the way out into D postion and white cotton ewrap all the way across with the yarn tail on the far left. Put the settings on the carriage into HOLD. (On the singer the Russell levers need to be in ONE position on the left and right so that the extended D position needles do not get knitted).
Push all working needles into B then every second into D position. With the carriage on the right work two rows. Park the white worked yarn out of the carriage.
Now push all stiches in D (all the way out) to the B position and those that were in the B position are pushed all the way out into D position. Knit one row to the left - the second to last needle knitted - manually take the yarn path around the unknitted last needle - from under on the right to the left and over) and then work the last row to the right. Park the Pink worked yarn out of the carriage.
Now repeat STEP 2 swapping yarns and working the two rows.
Recommended rows: 120 rows. HINT: recognizing what last happened helps when loosing one’s point in the yarn change. If there are two stands of one color you know its time to switch to the other color.
When the final contrast yarn rows is knitted cut that yarn (pink). Do the yarn swap. Now for a back stitch bind off using a long piece of yarn.
Into the front of the first stitch then into the back of the second stitch. Then go into the first one then to the third one.
BETTER BACK STITCH BIND OFF - By Love your Knitting Machine |
Darning needle - Make your yarn three times the length of your project.
Bring needles out slightly making it easier to see where you need to work the needle.
Run needle from first stitch on the far right to the second.
Run that same needle back into the first stitch, behind the second and over to the third from the right and through.
Run the needle into the second stitch from the right, behind the third and over to the fourth from the right and through.
Repeat.
How to end the bind off: WHERE ARE WE? We are four machine needles from the far left we go through this needle, behind the third needle from the left and into the second machine needle on the left. Then run the darning needle into the third machine needle from the left and behind the second machine needle from the left and over to the first needle on the left. Final pass goes from the second machine needle from the left then through the last and furthest left machine needle holding stitches. Run the darning needle again into that last stitch. HOW TO REMOVE FROM MACHINE: Extend all working needles into D position. Gently pull knitting off machine - will go over closed latches.
*Ensure when going through the stitches on the machine needle that you are on top of all yarn bars behind the work.
Pattern can be used for anything.
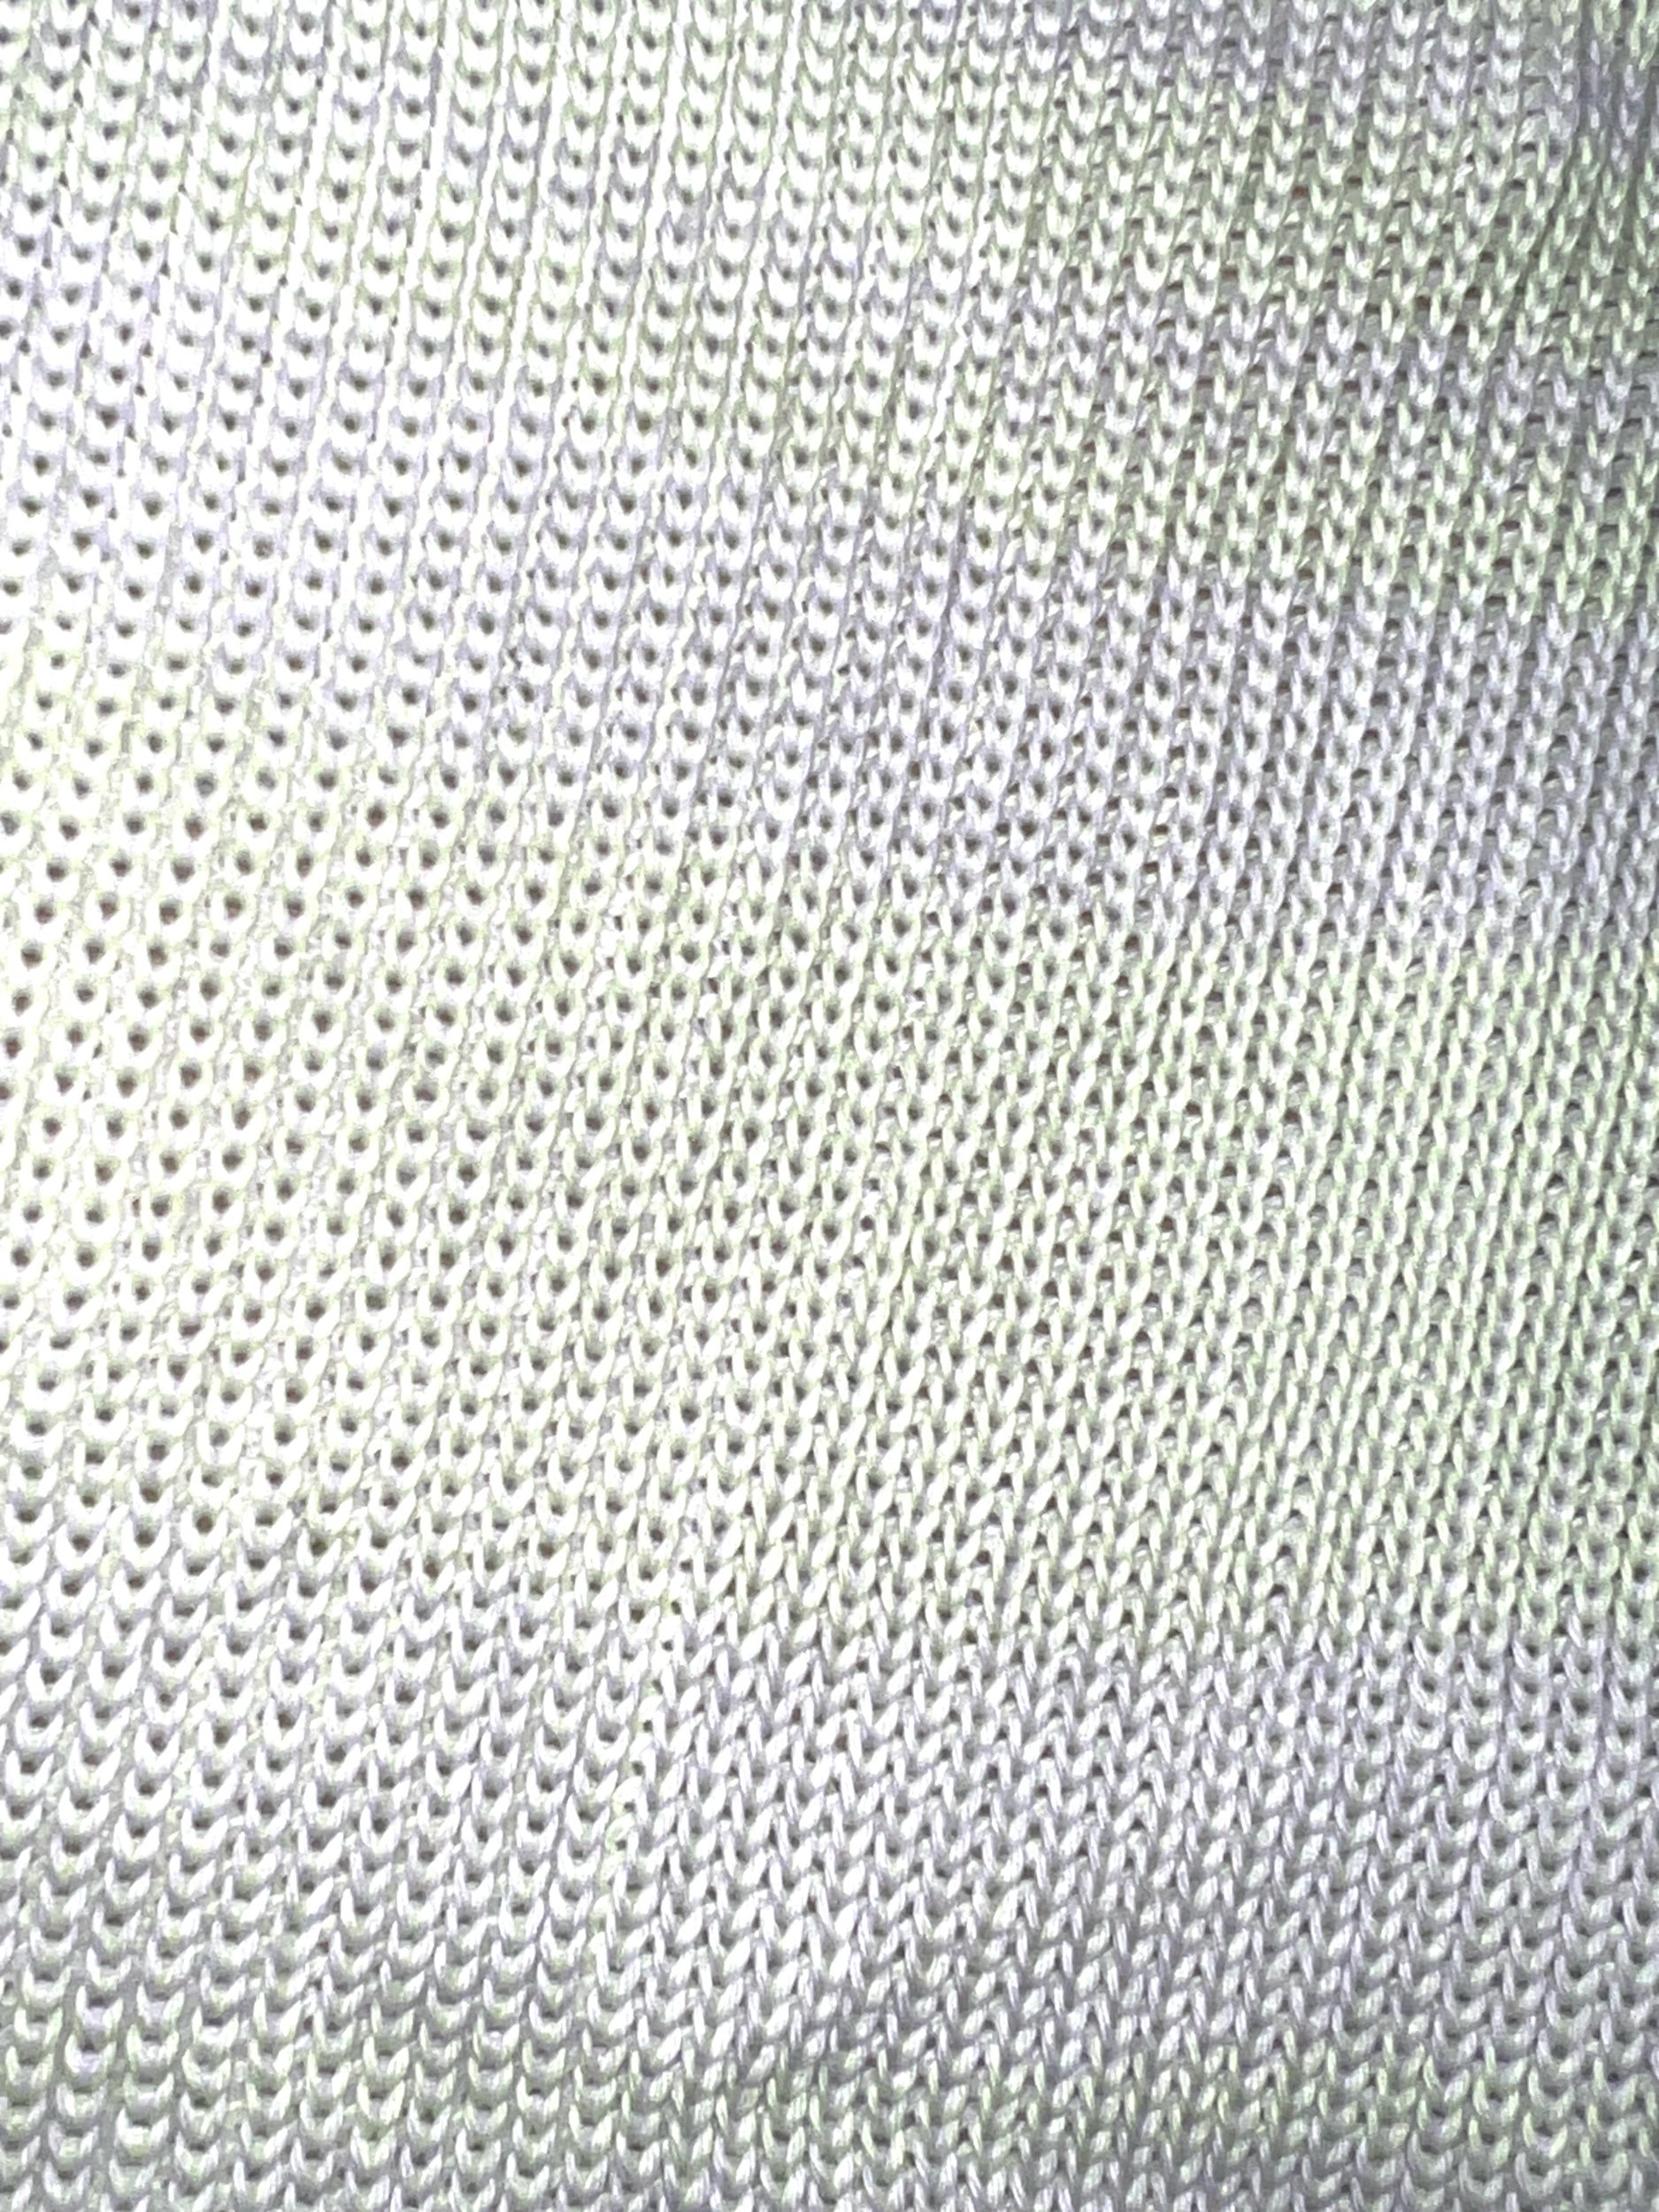
The photos below are my testing and findings prior to working the item I wanted to keep.


