


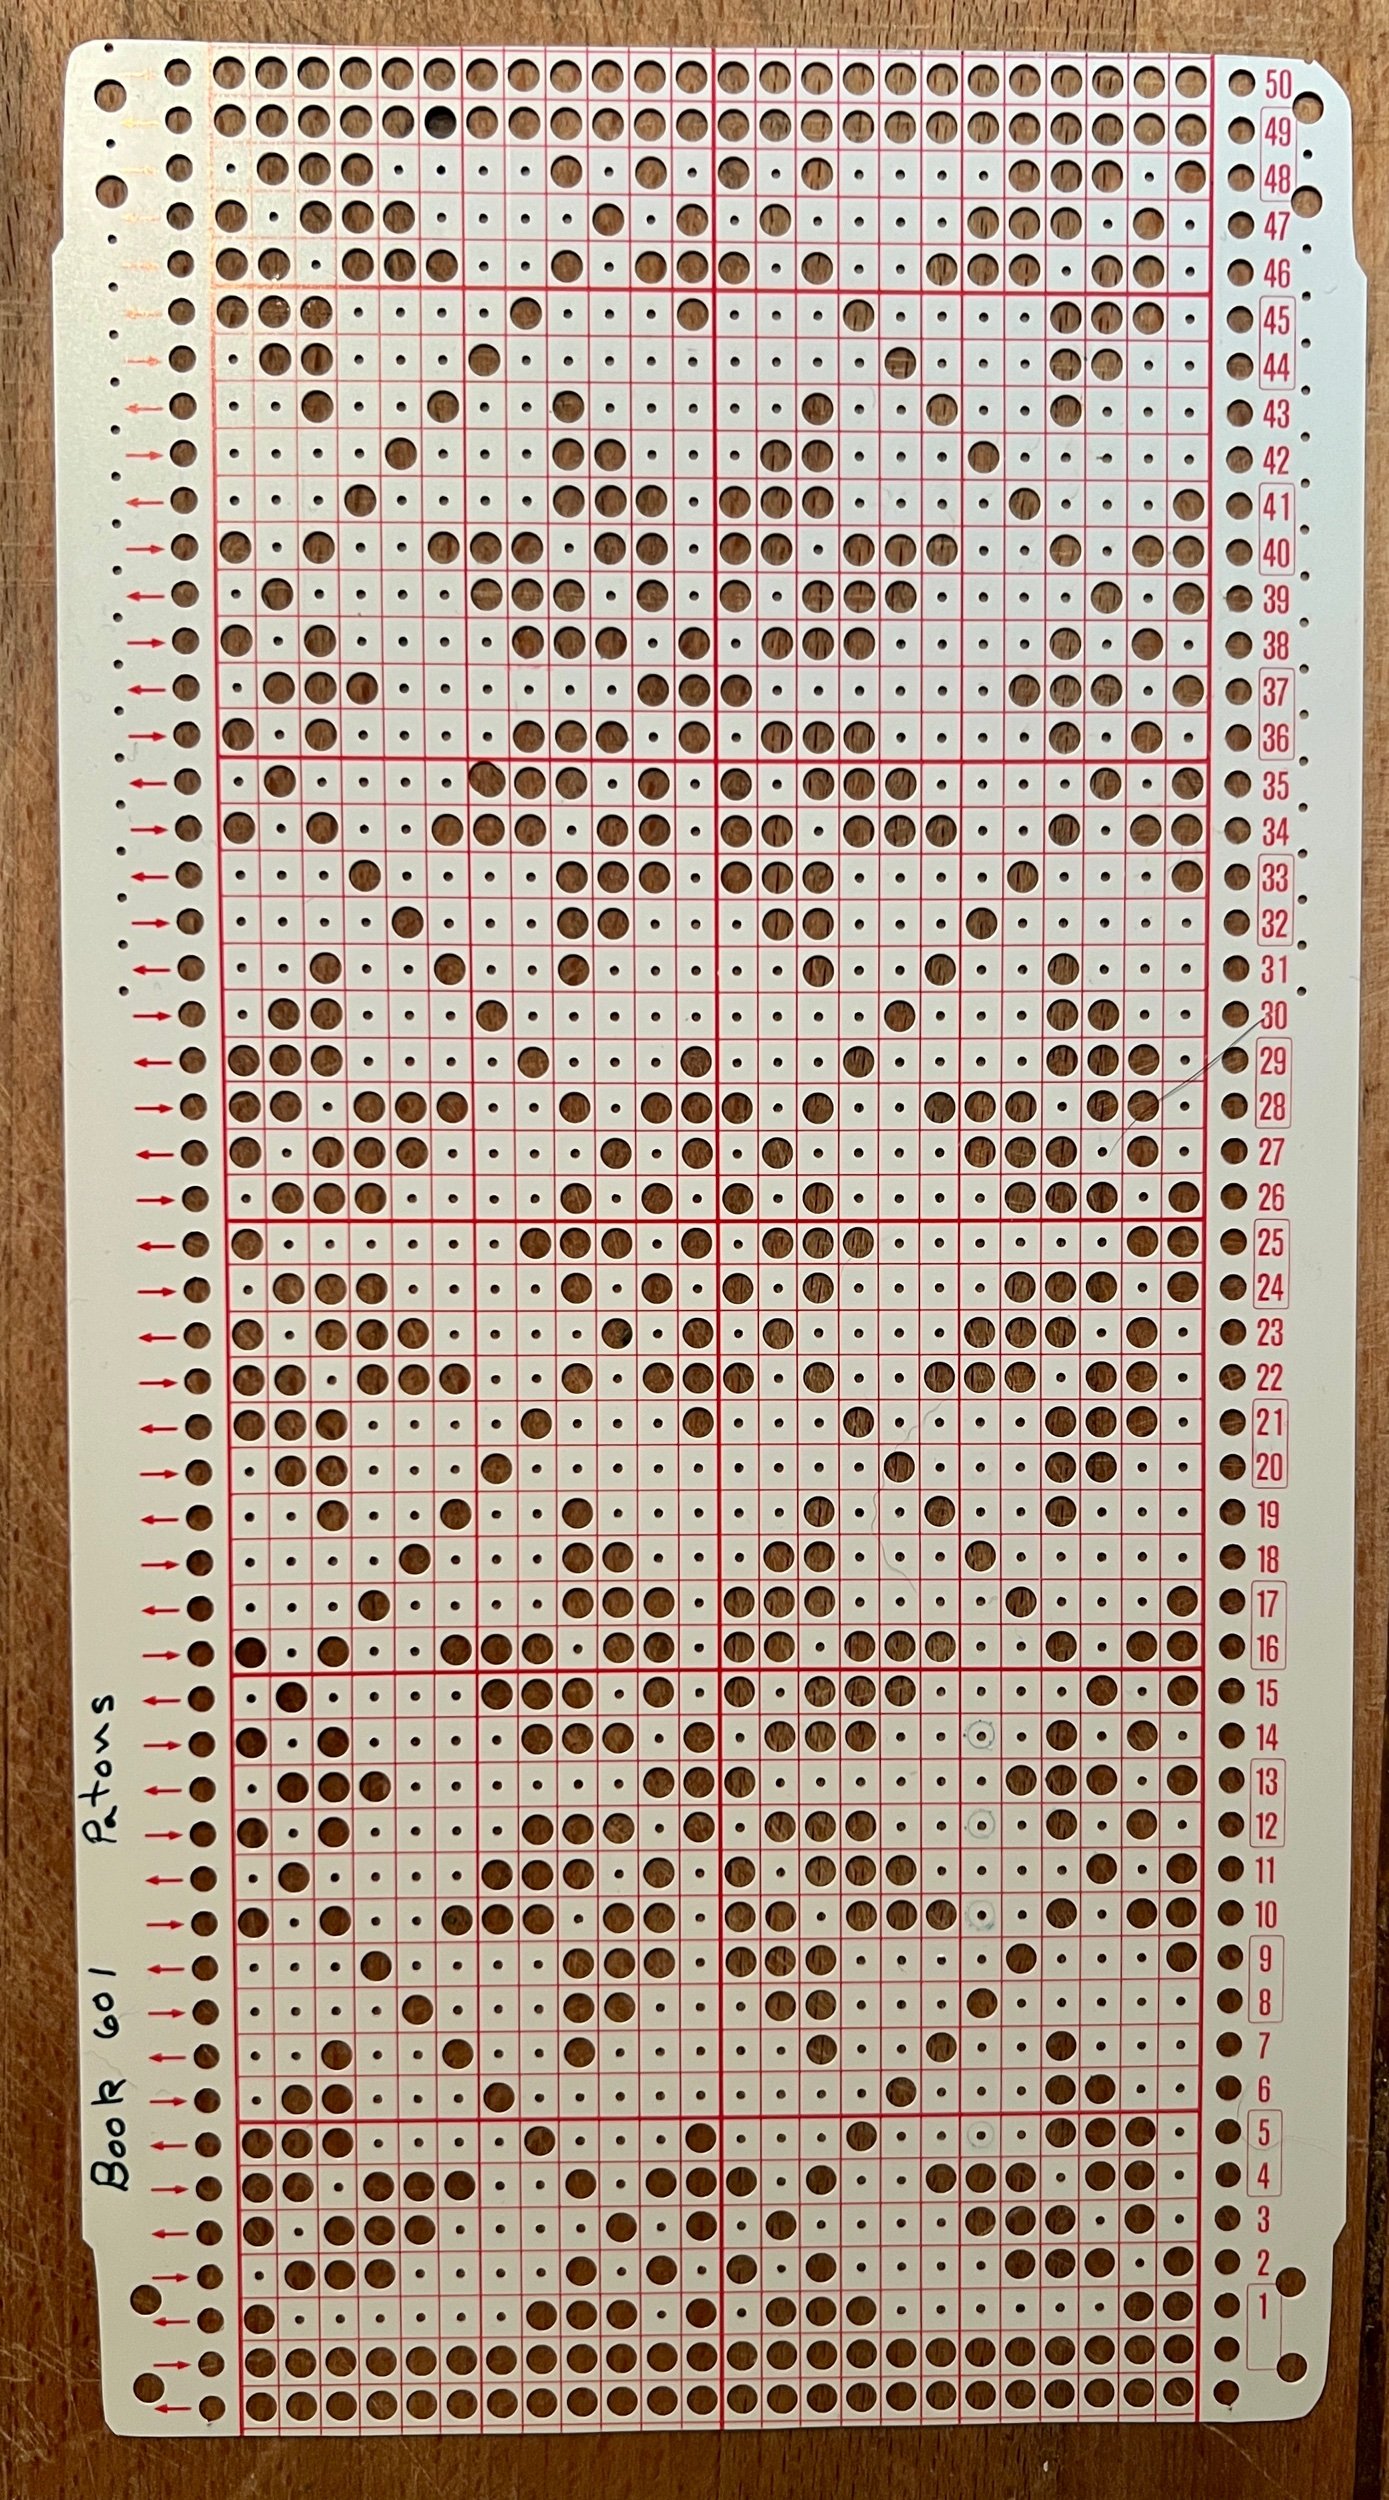
I saw a Bat bit of knitting and loved what I saw so I worked out what the punch card might look like. Then the idea of this was born. See my punch card collection.
I will create a reversible item using two panels of the same number of needles/stitches. One panel will be Halloween themed and the other panel Christmas themed.
The first panel:
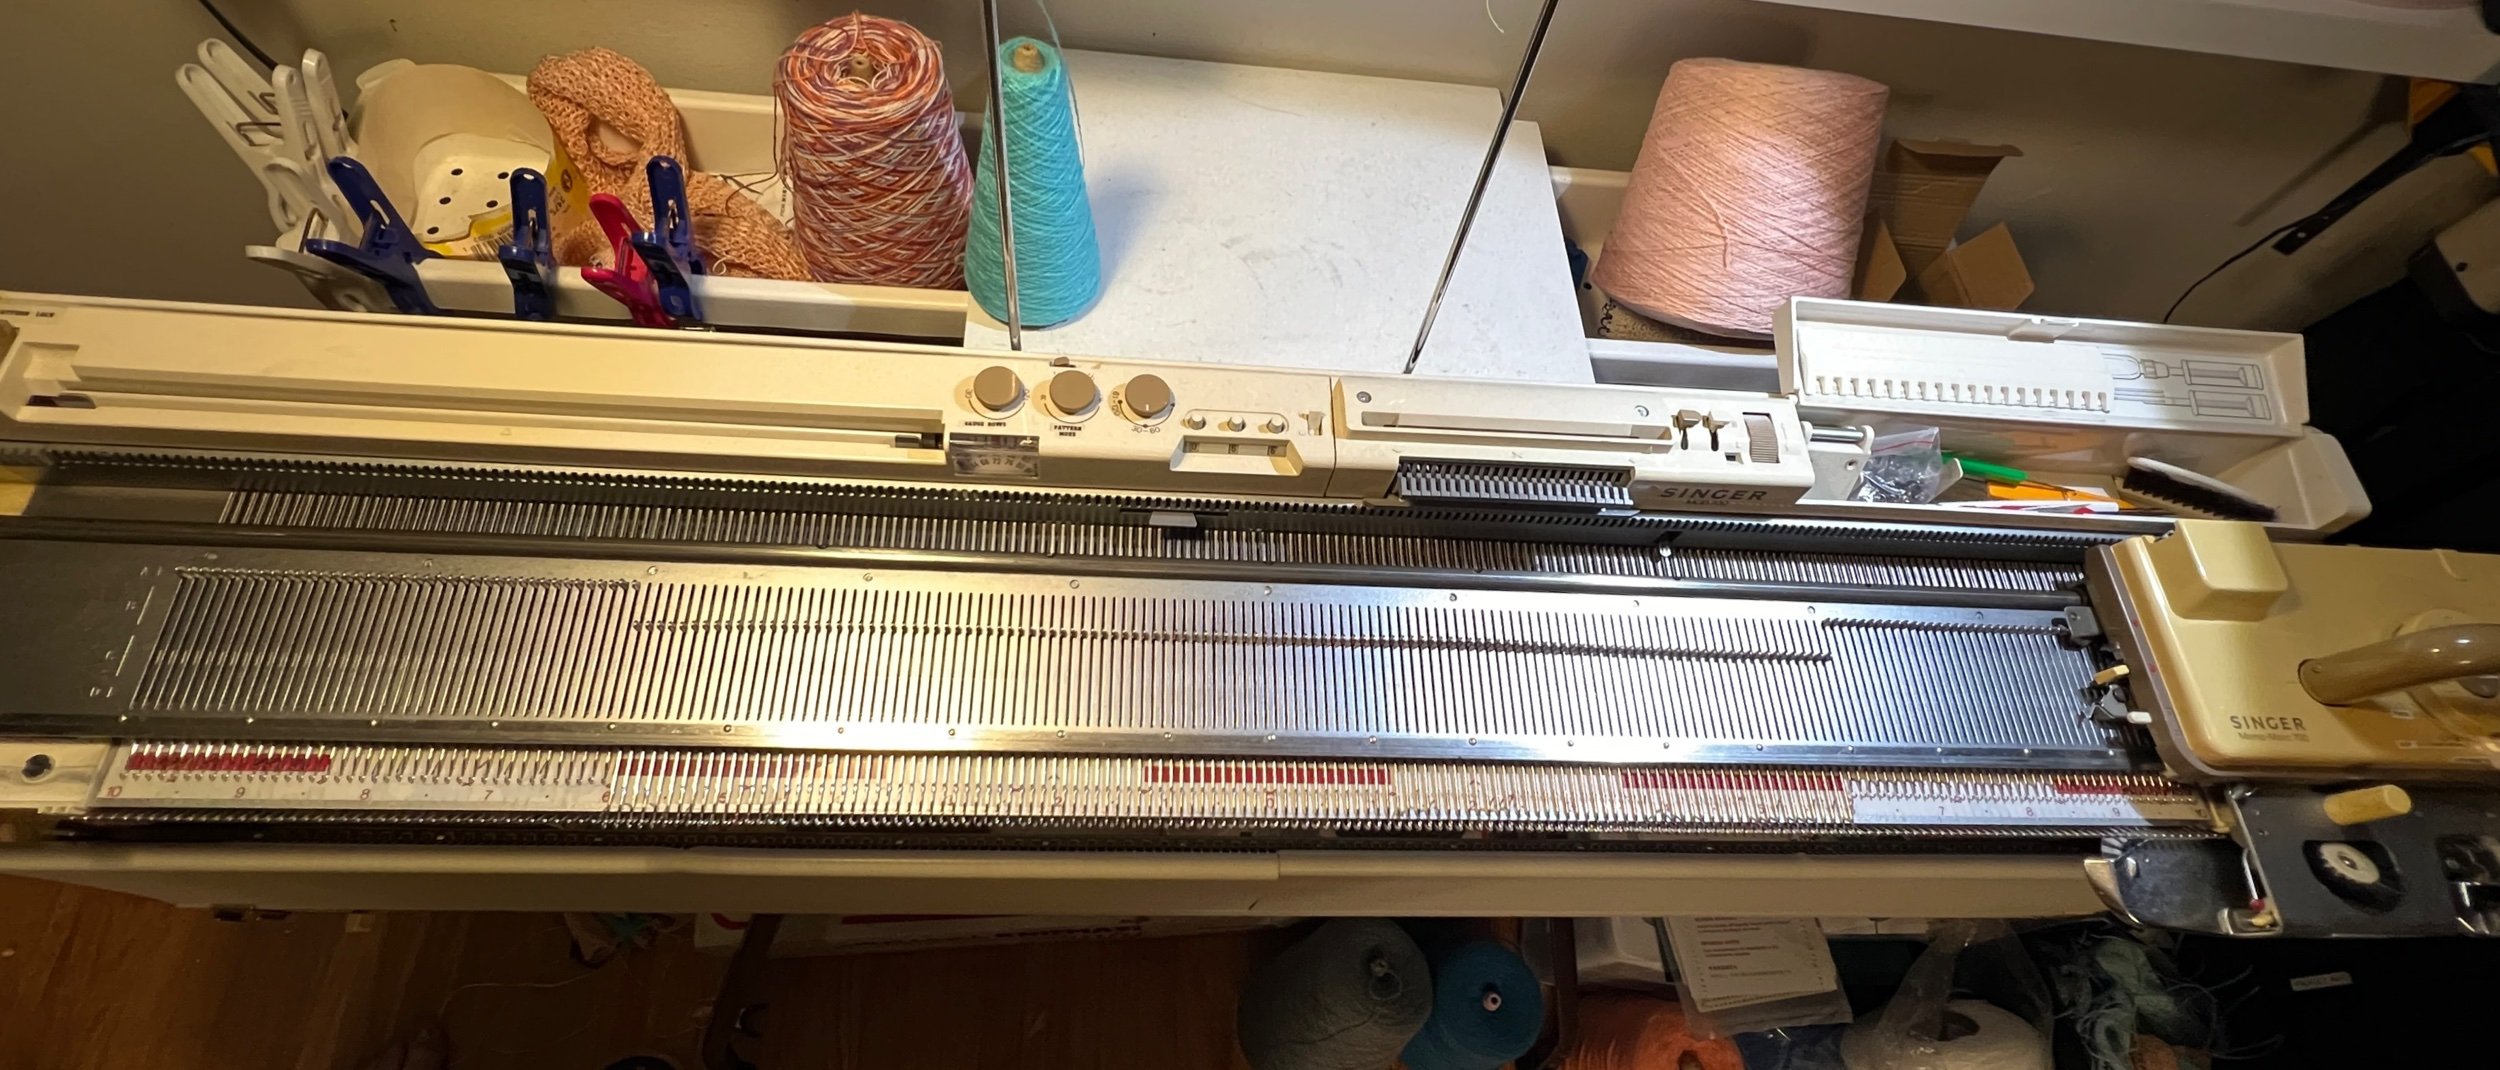
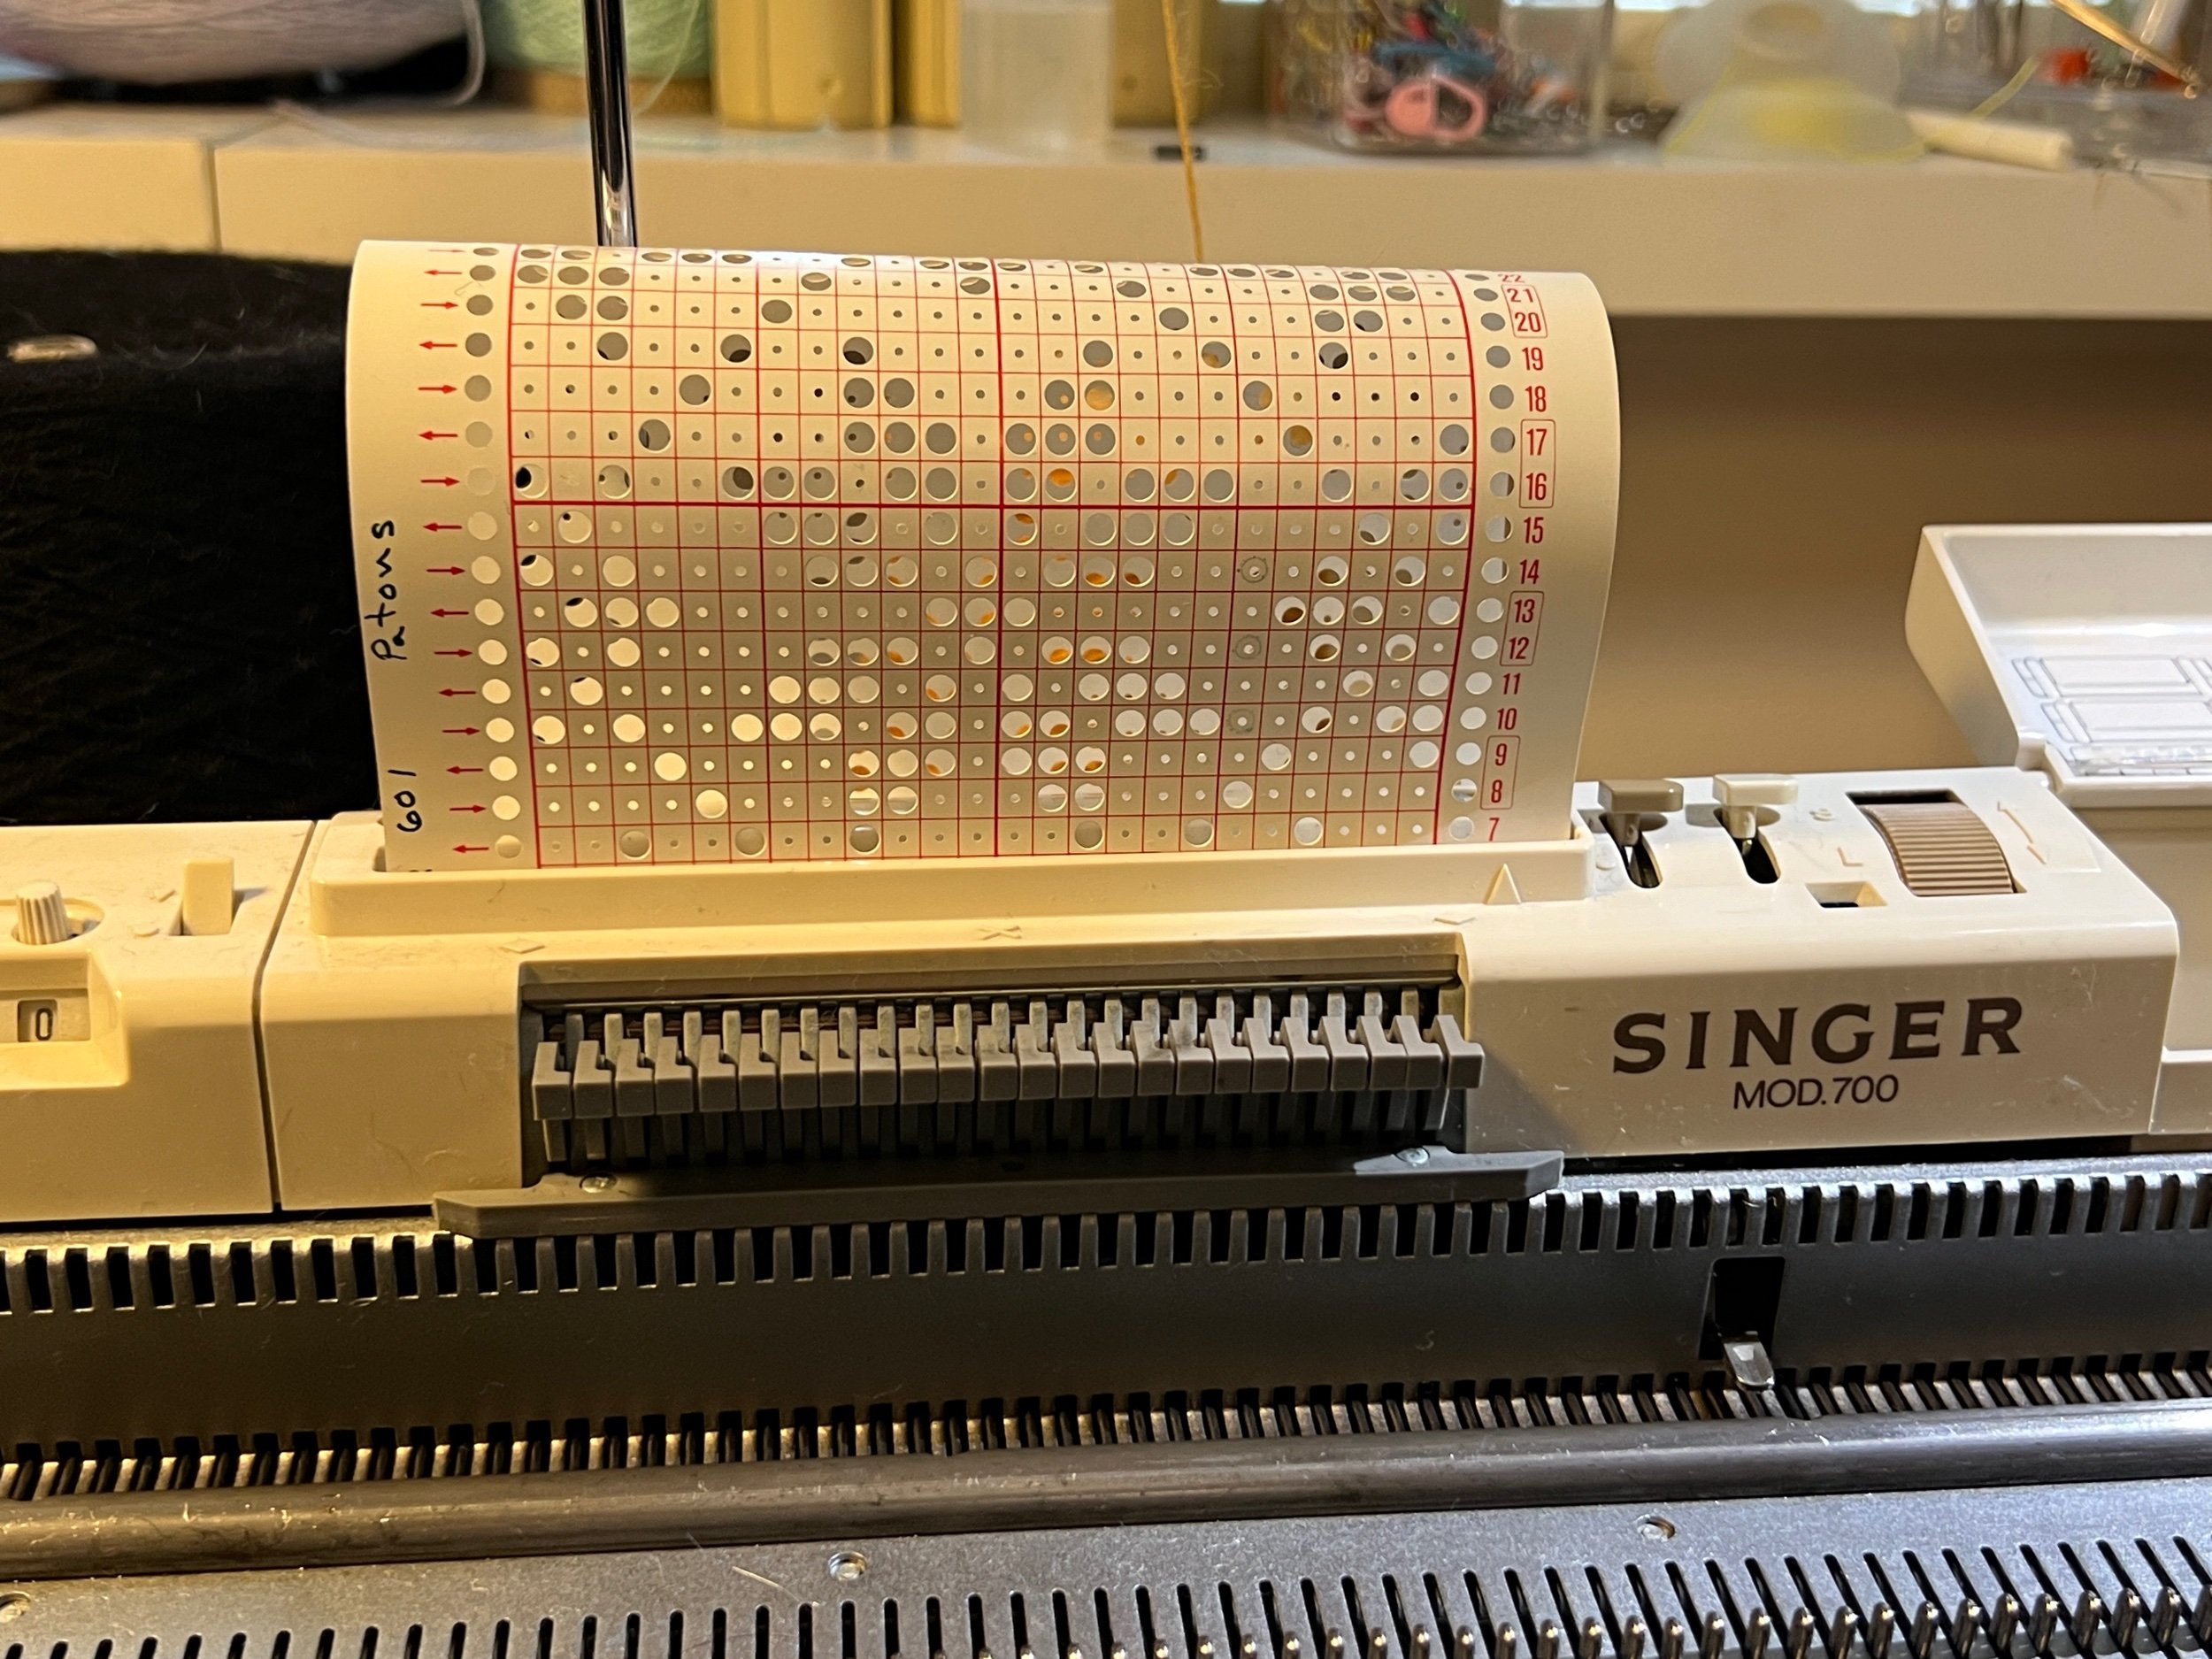
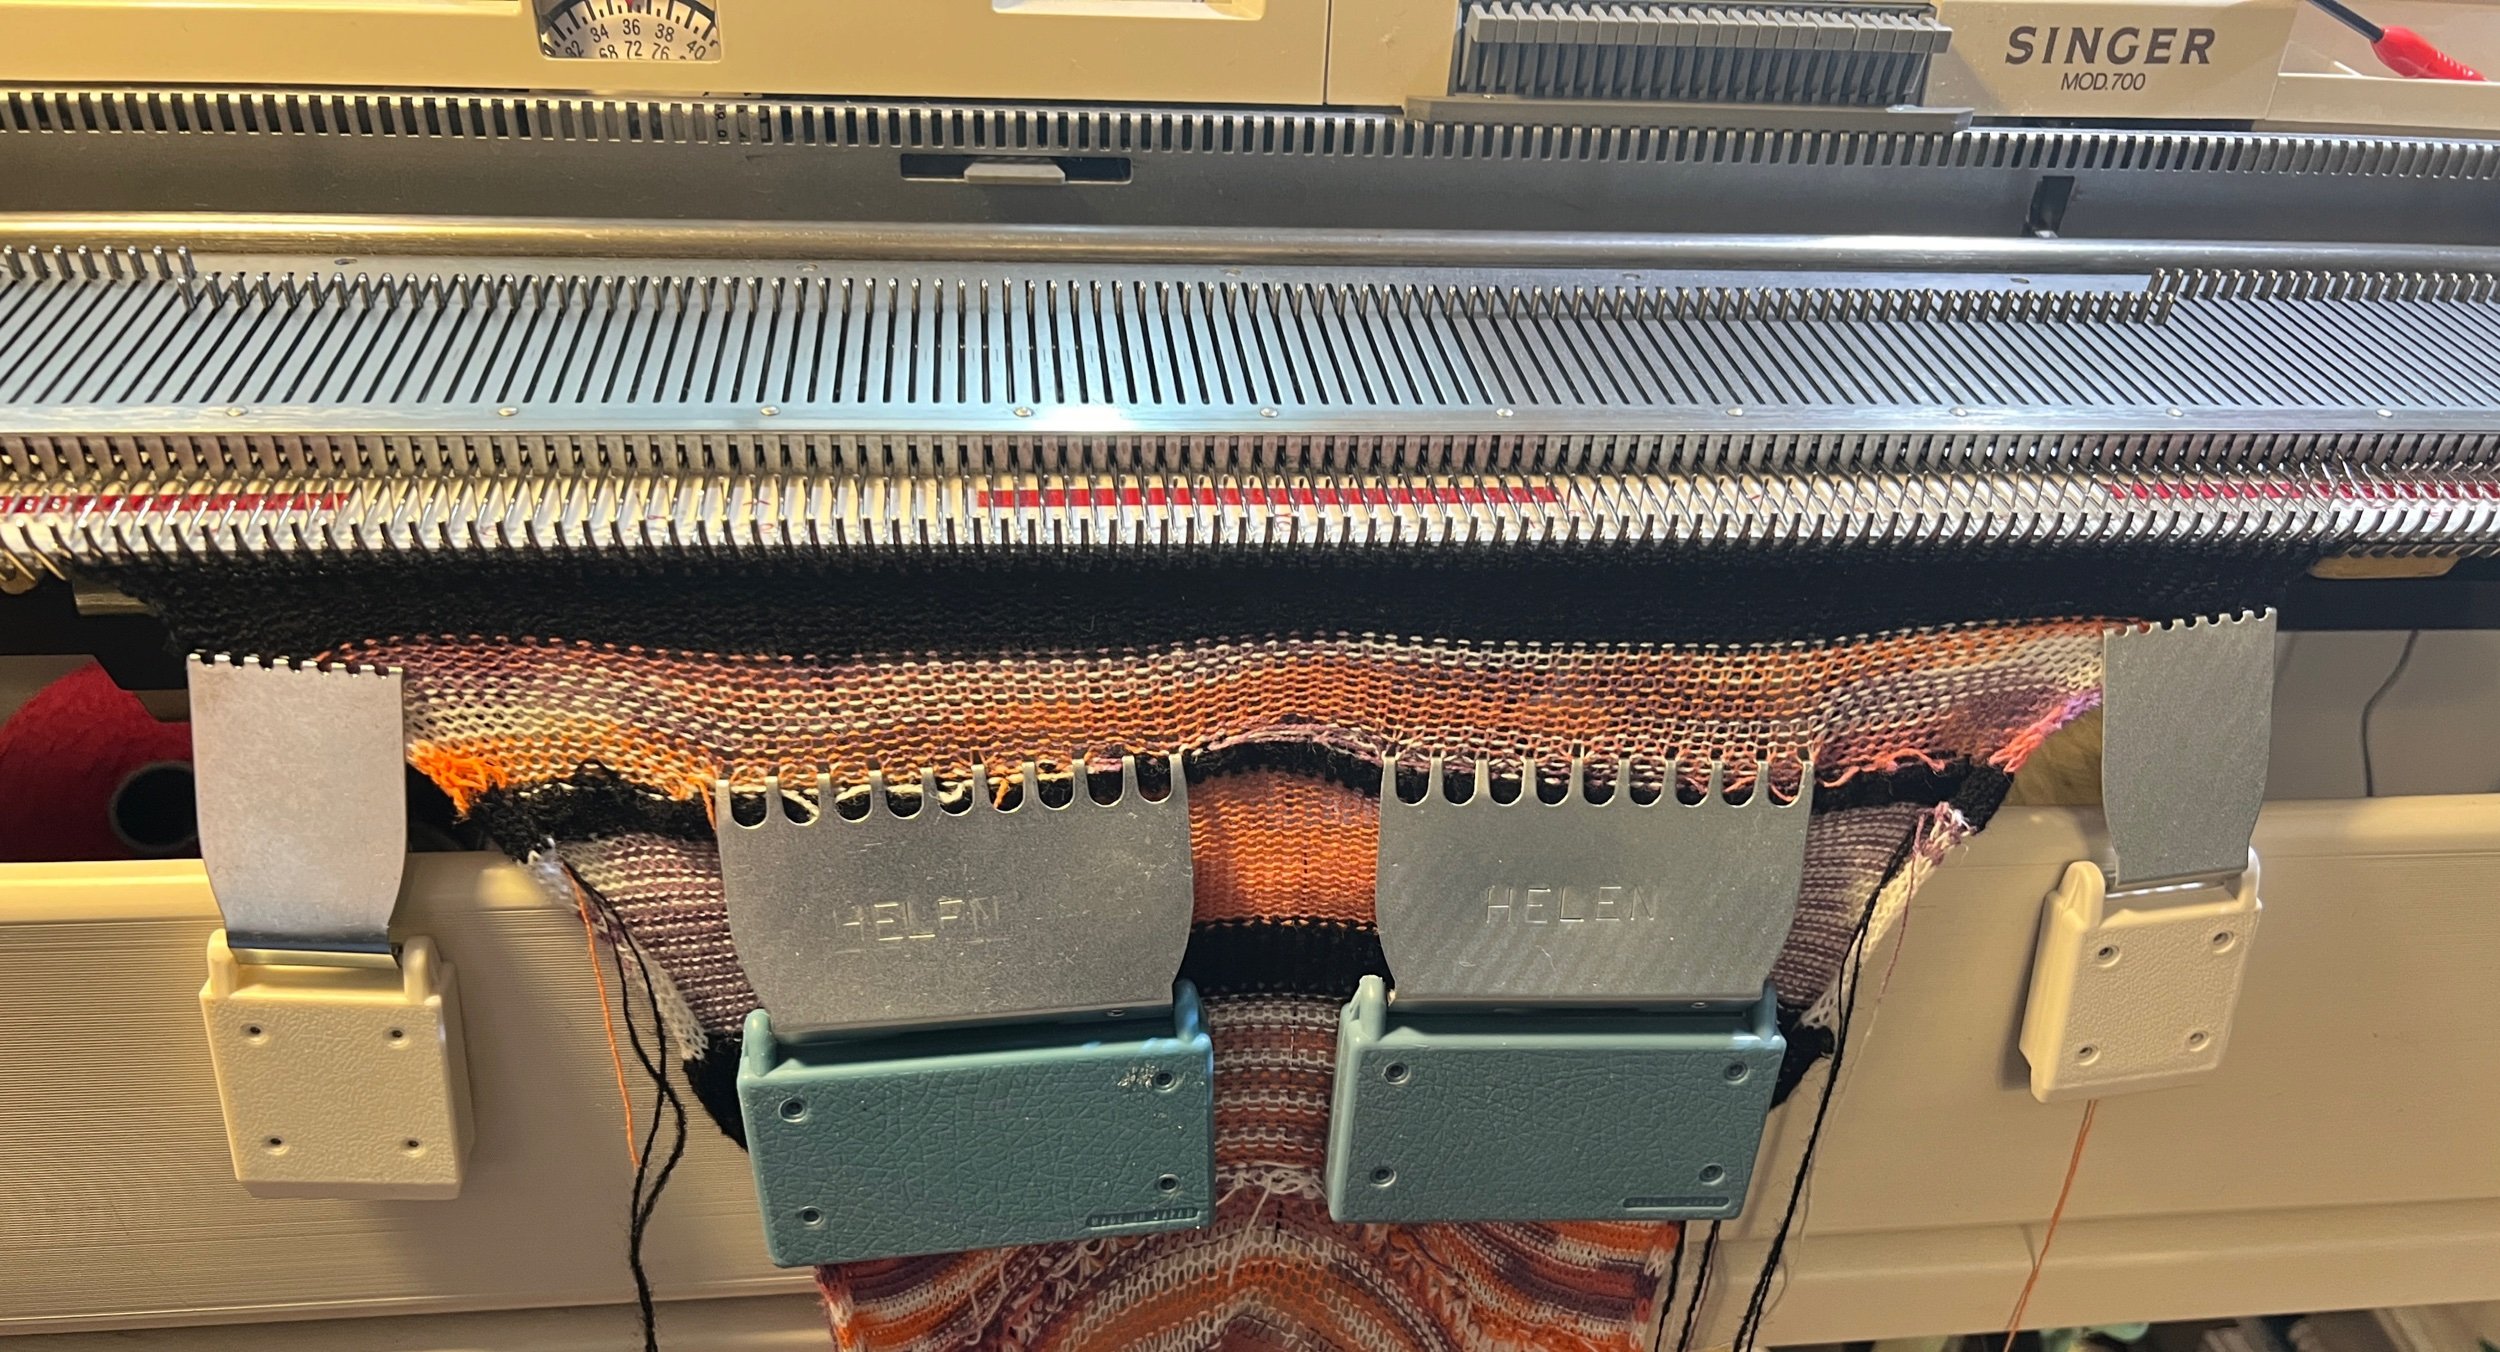
I open cast on with 120 stitches using scrap yarn then setup the punch card with the mast
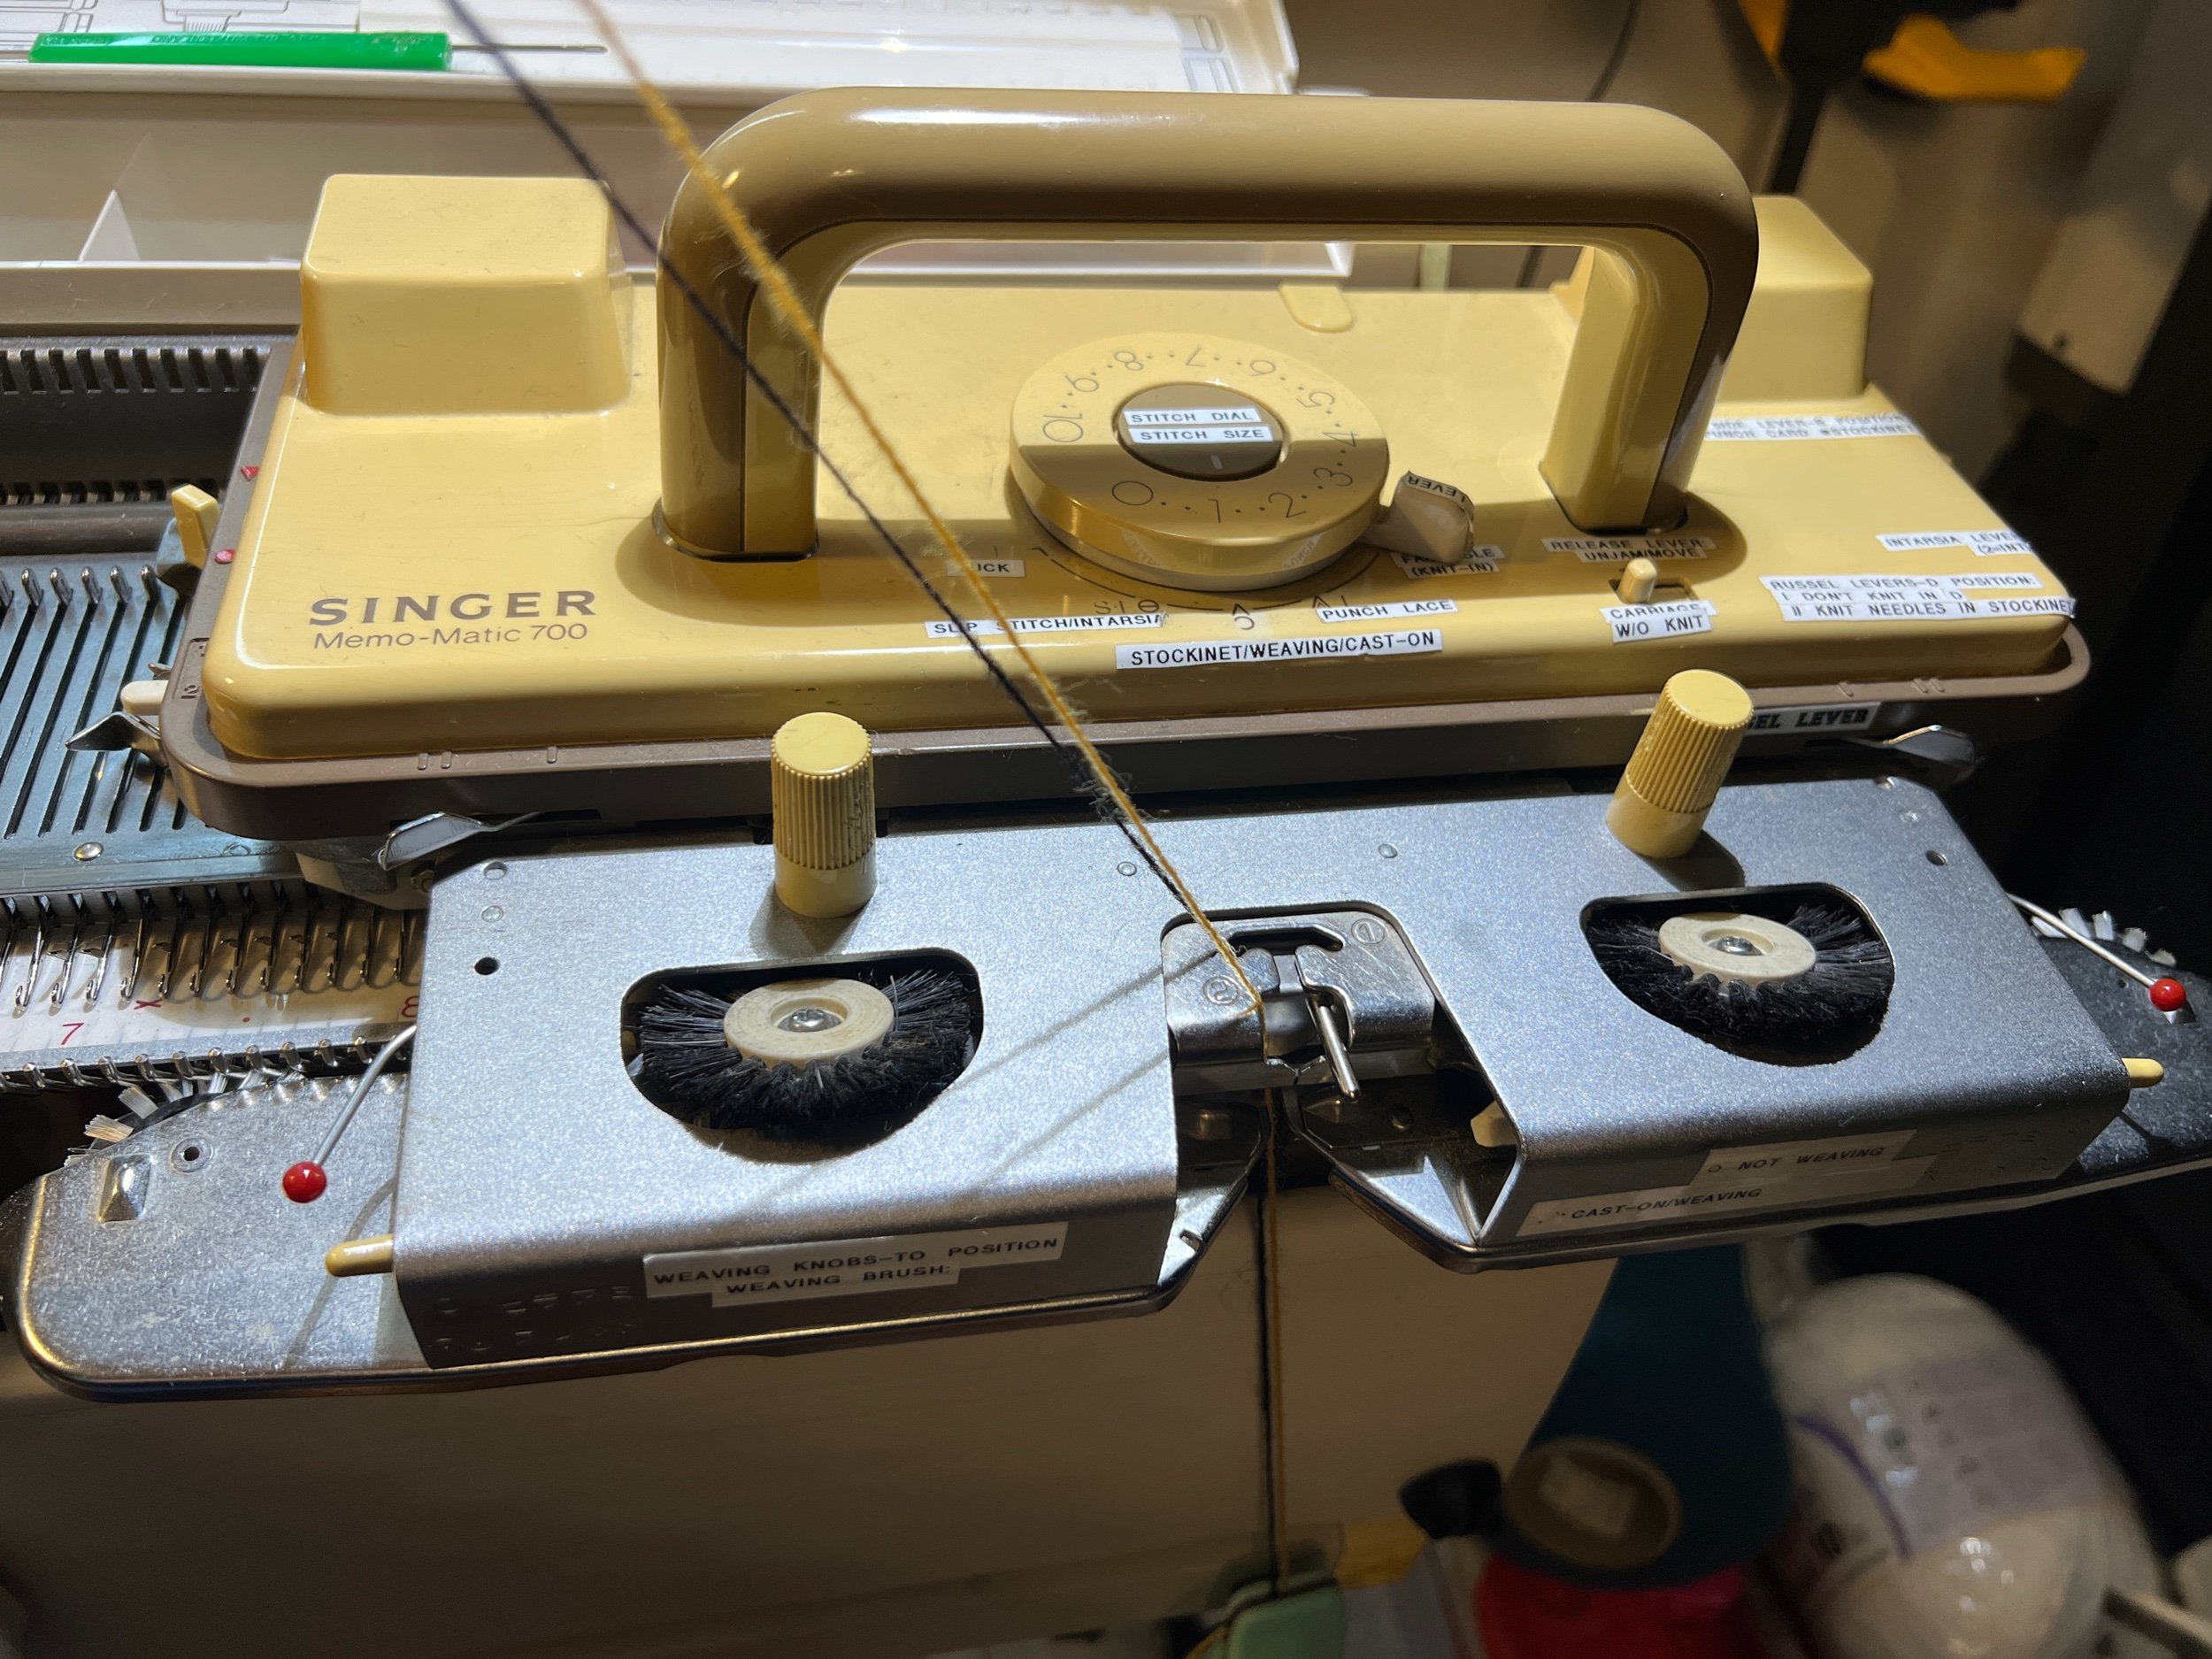
Machine settings: Tension 1 on the overhead mast, carriage tension dial at 1.25.
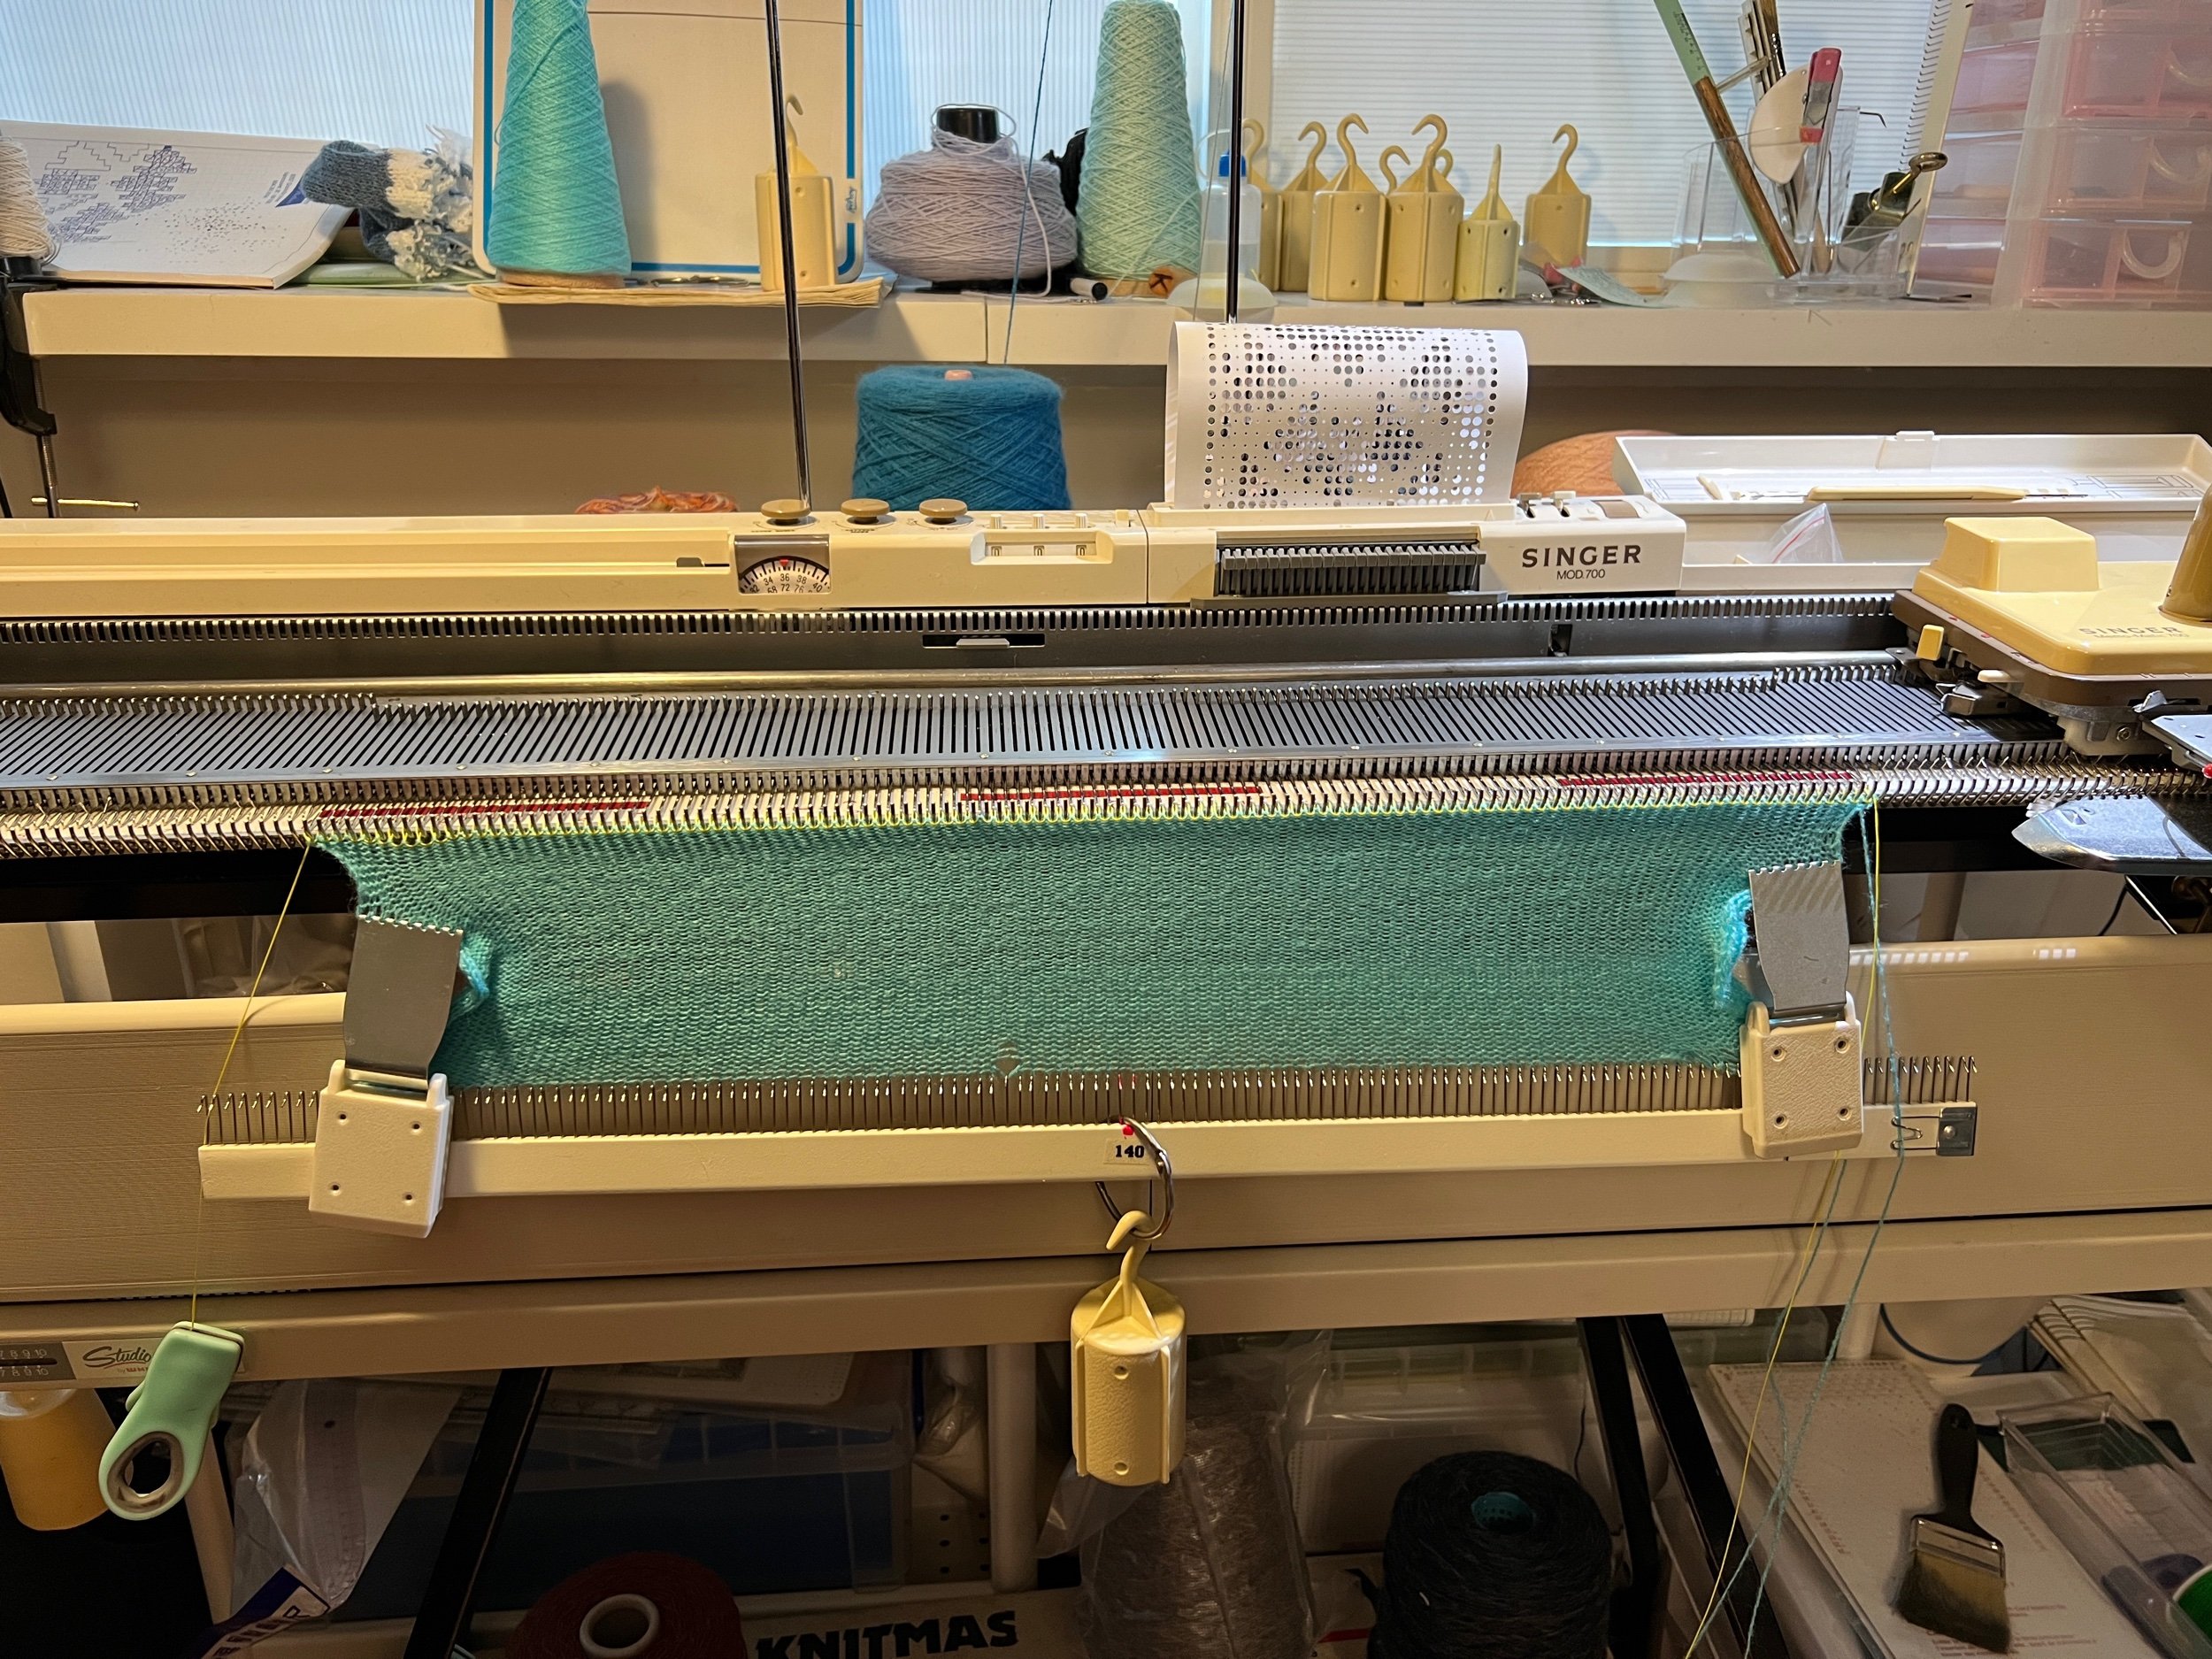
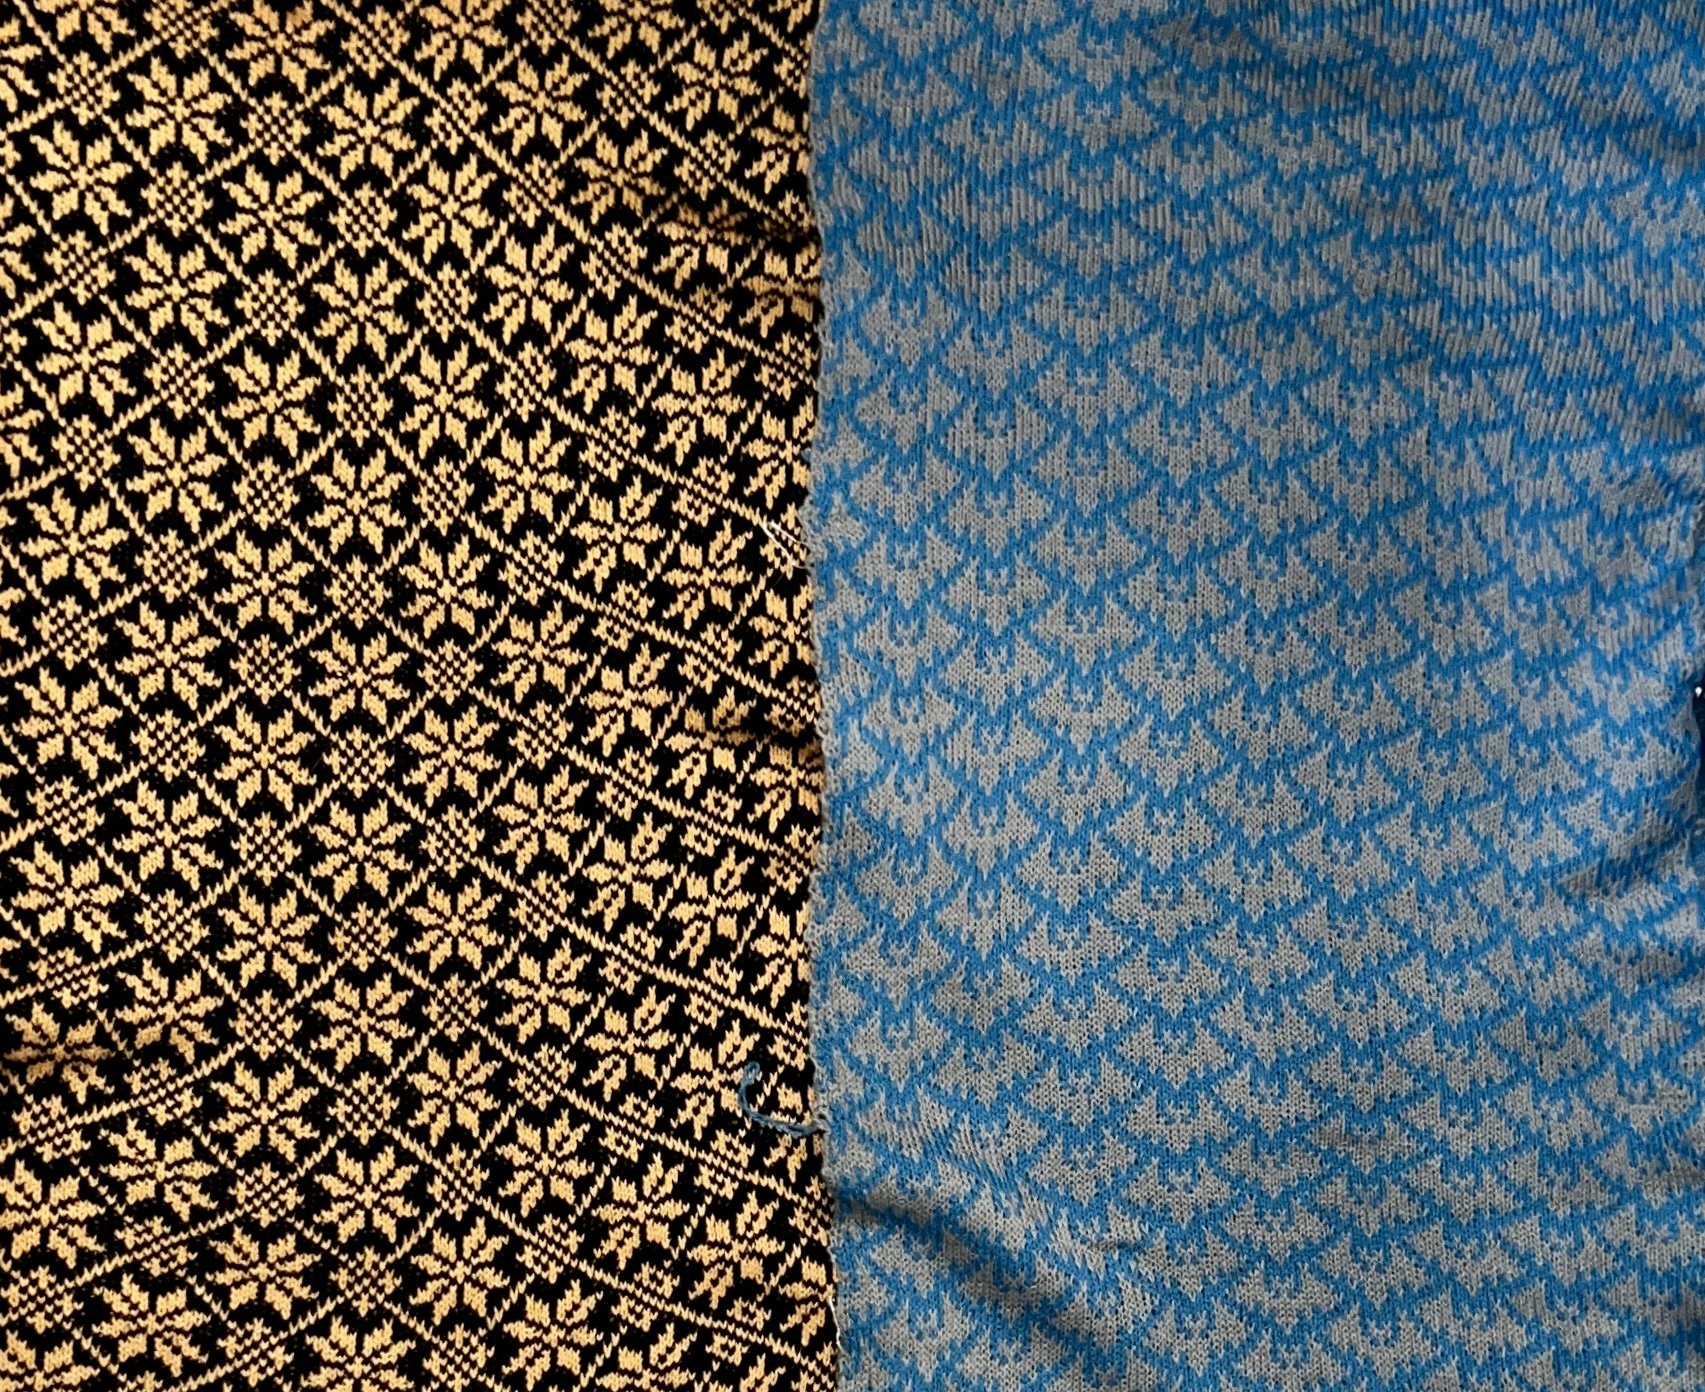
Punch card review: Dark Blue acrylic yarn in yarn position 1 (non-punched holes) and Grey acrylic yarn in yarn position 2 (punched holes). The result is a grey bat with blue background.
I worked 920 rows in Fair-Isle with scrap before and after this project.


The second panel:
With a bit of scrap between this project and the last I will then switch to the project yarn of this new panel.
Machine settings: Tension 1 on the overhead mast, carriage tension dial at 1.25.
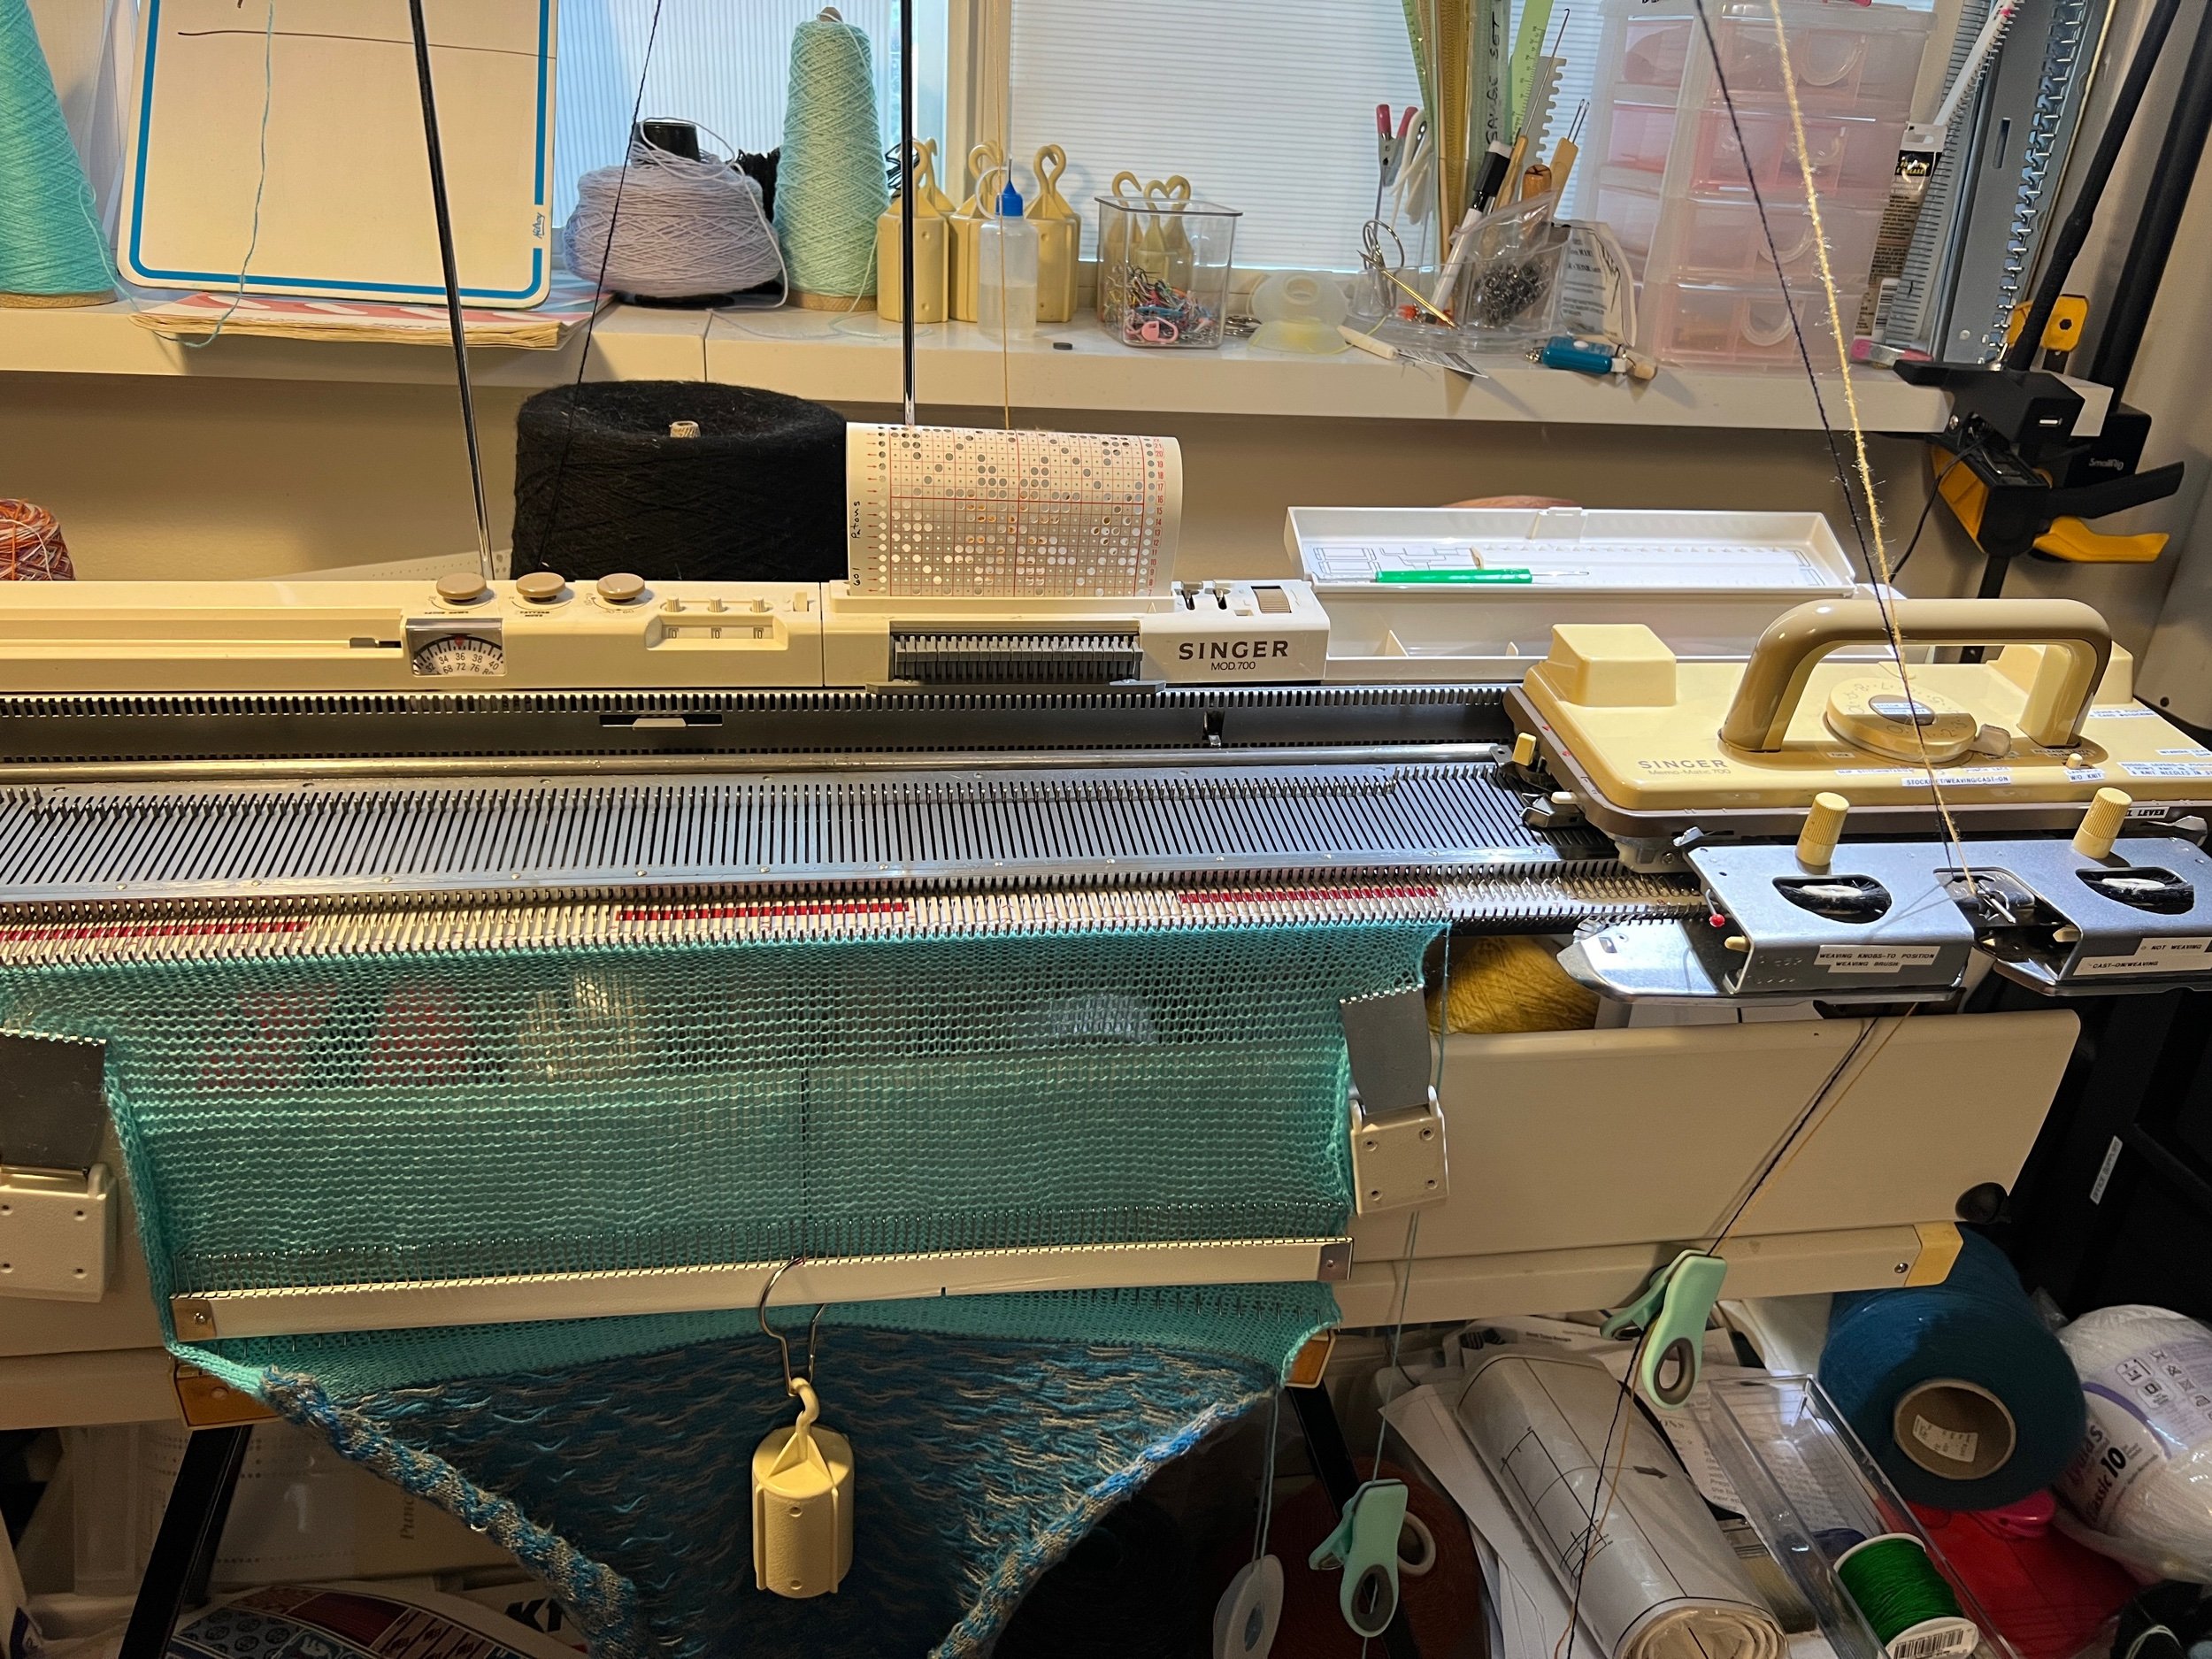
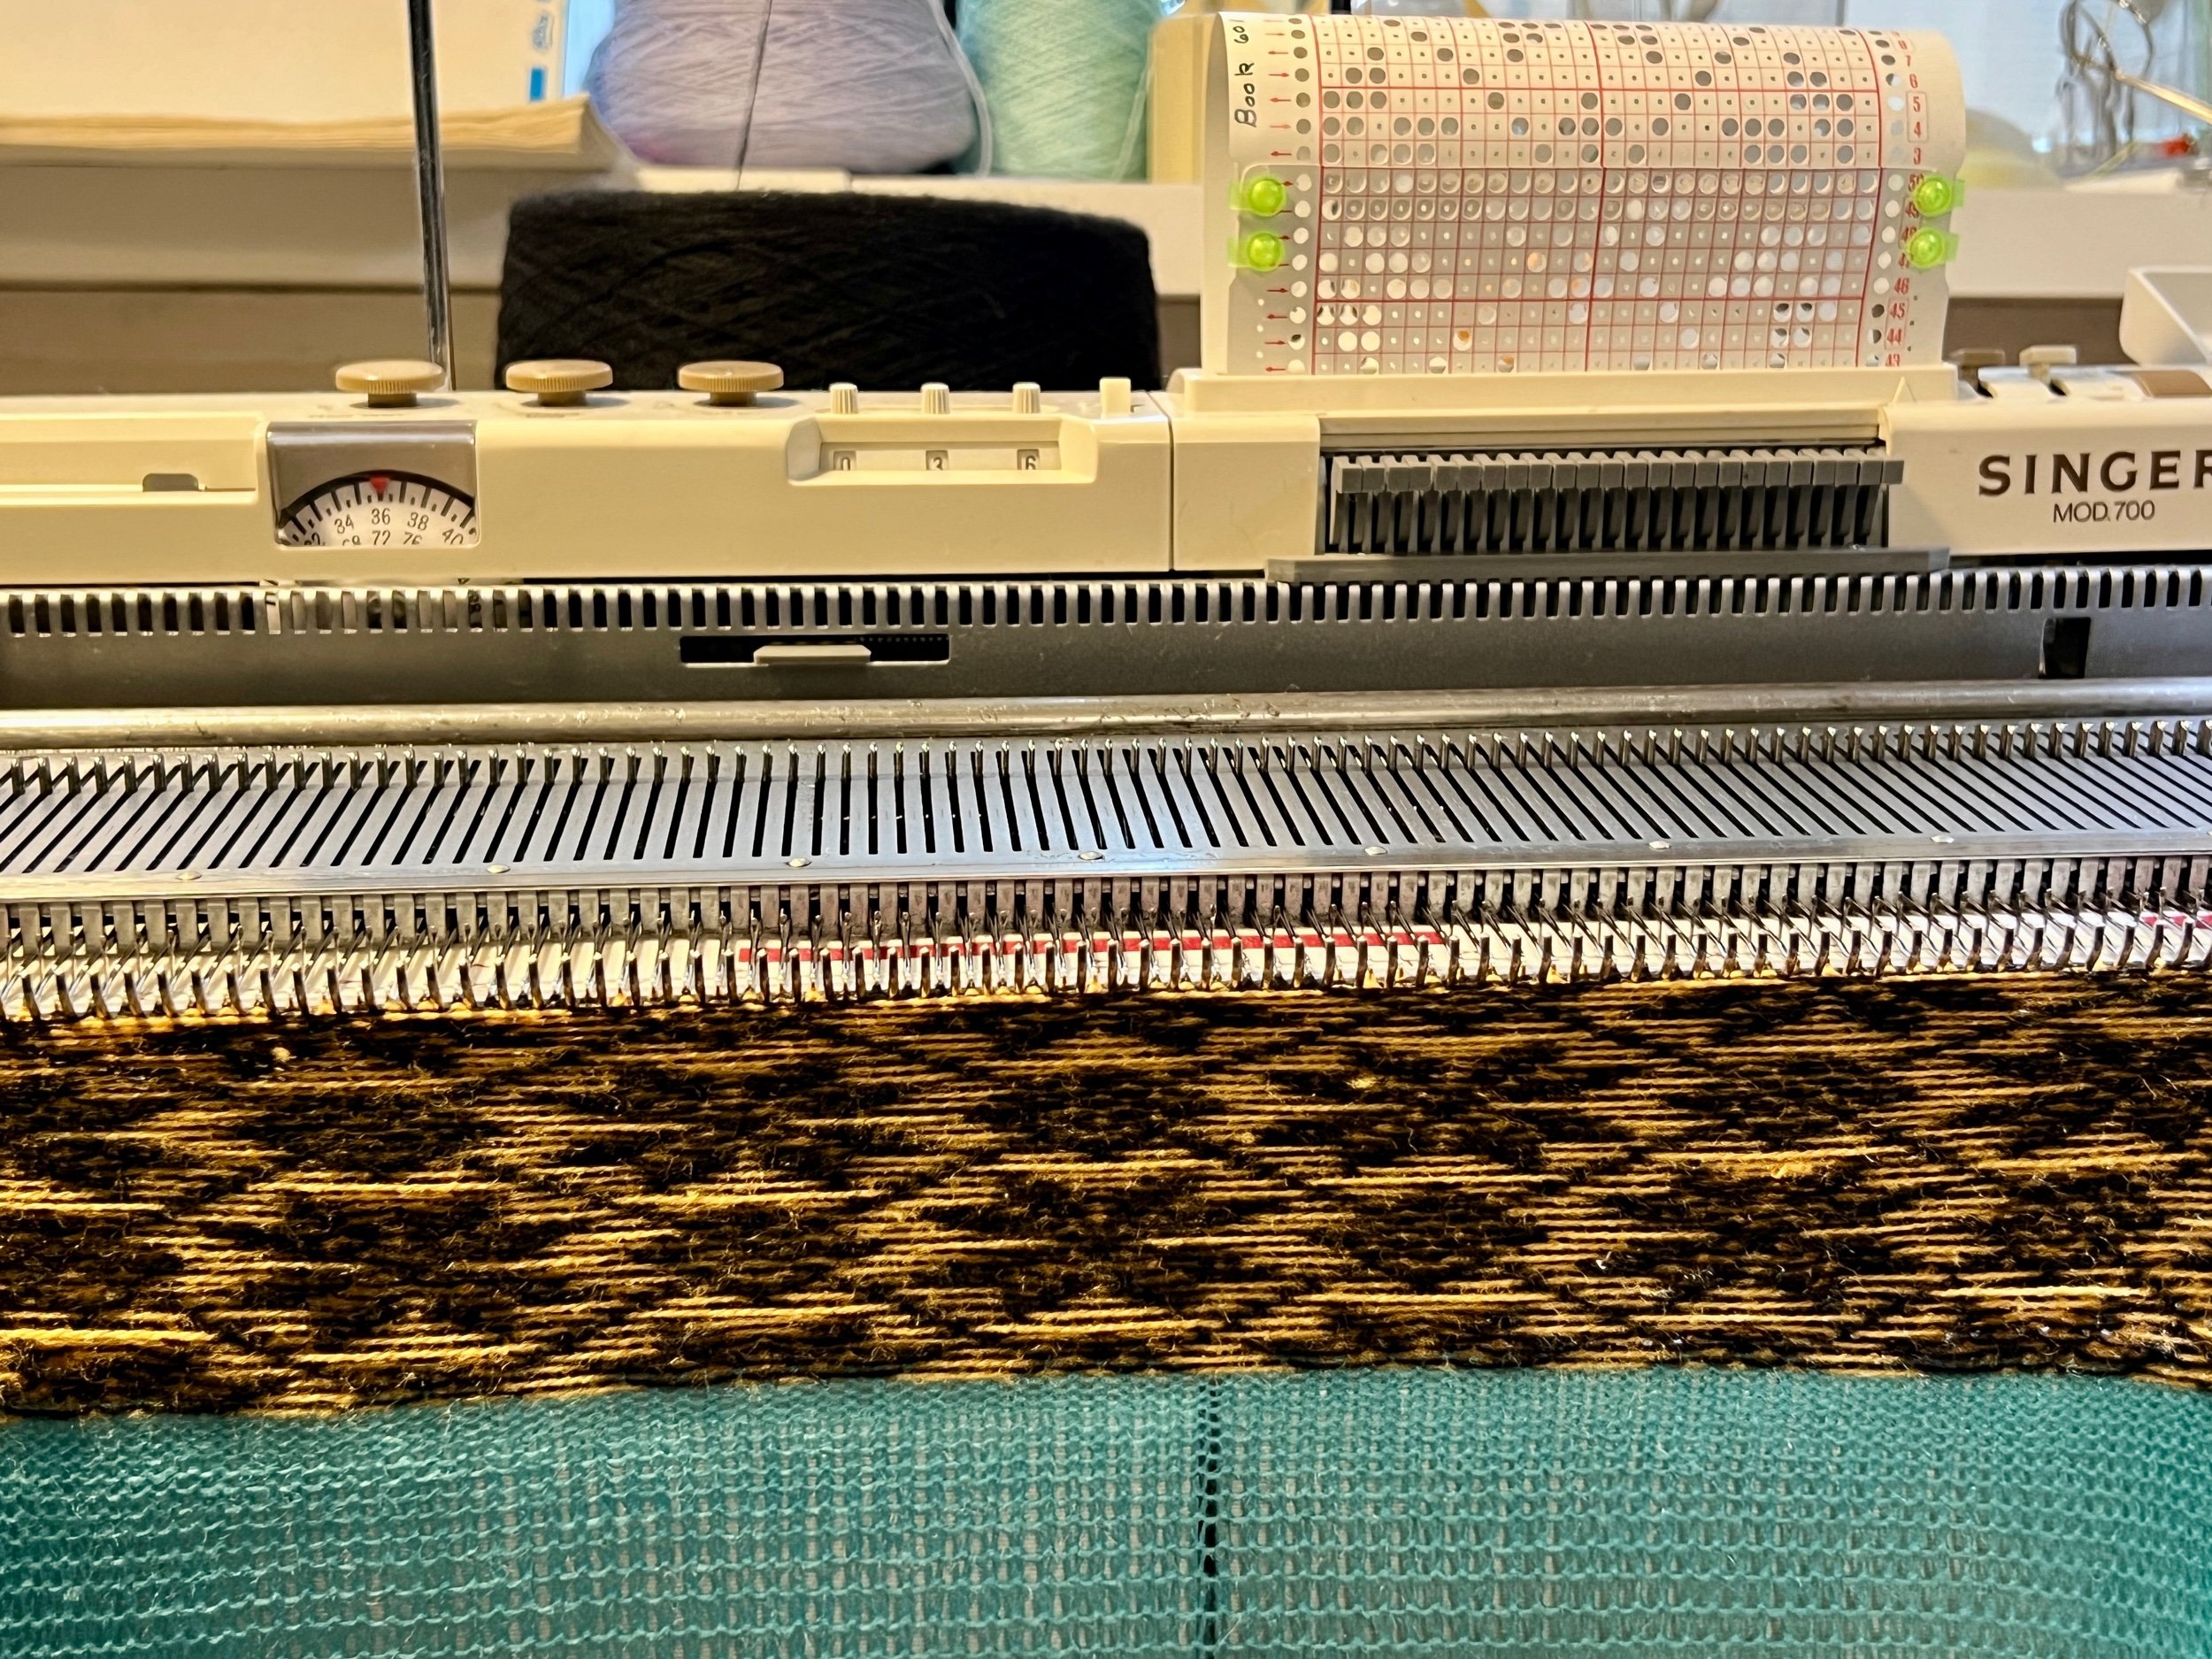
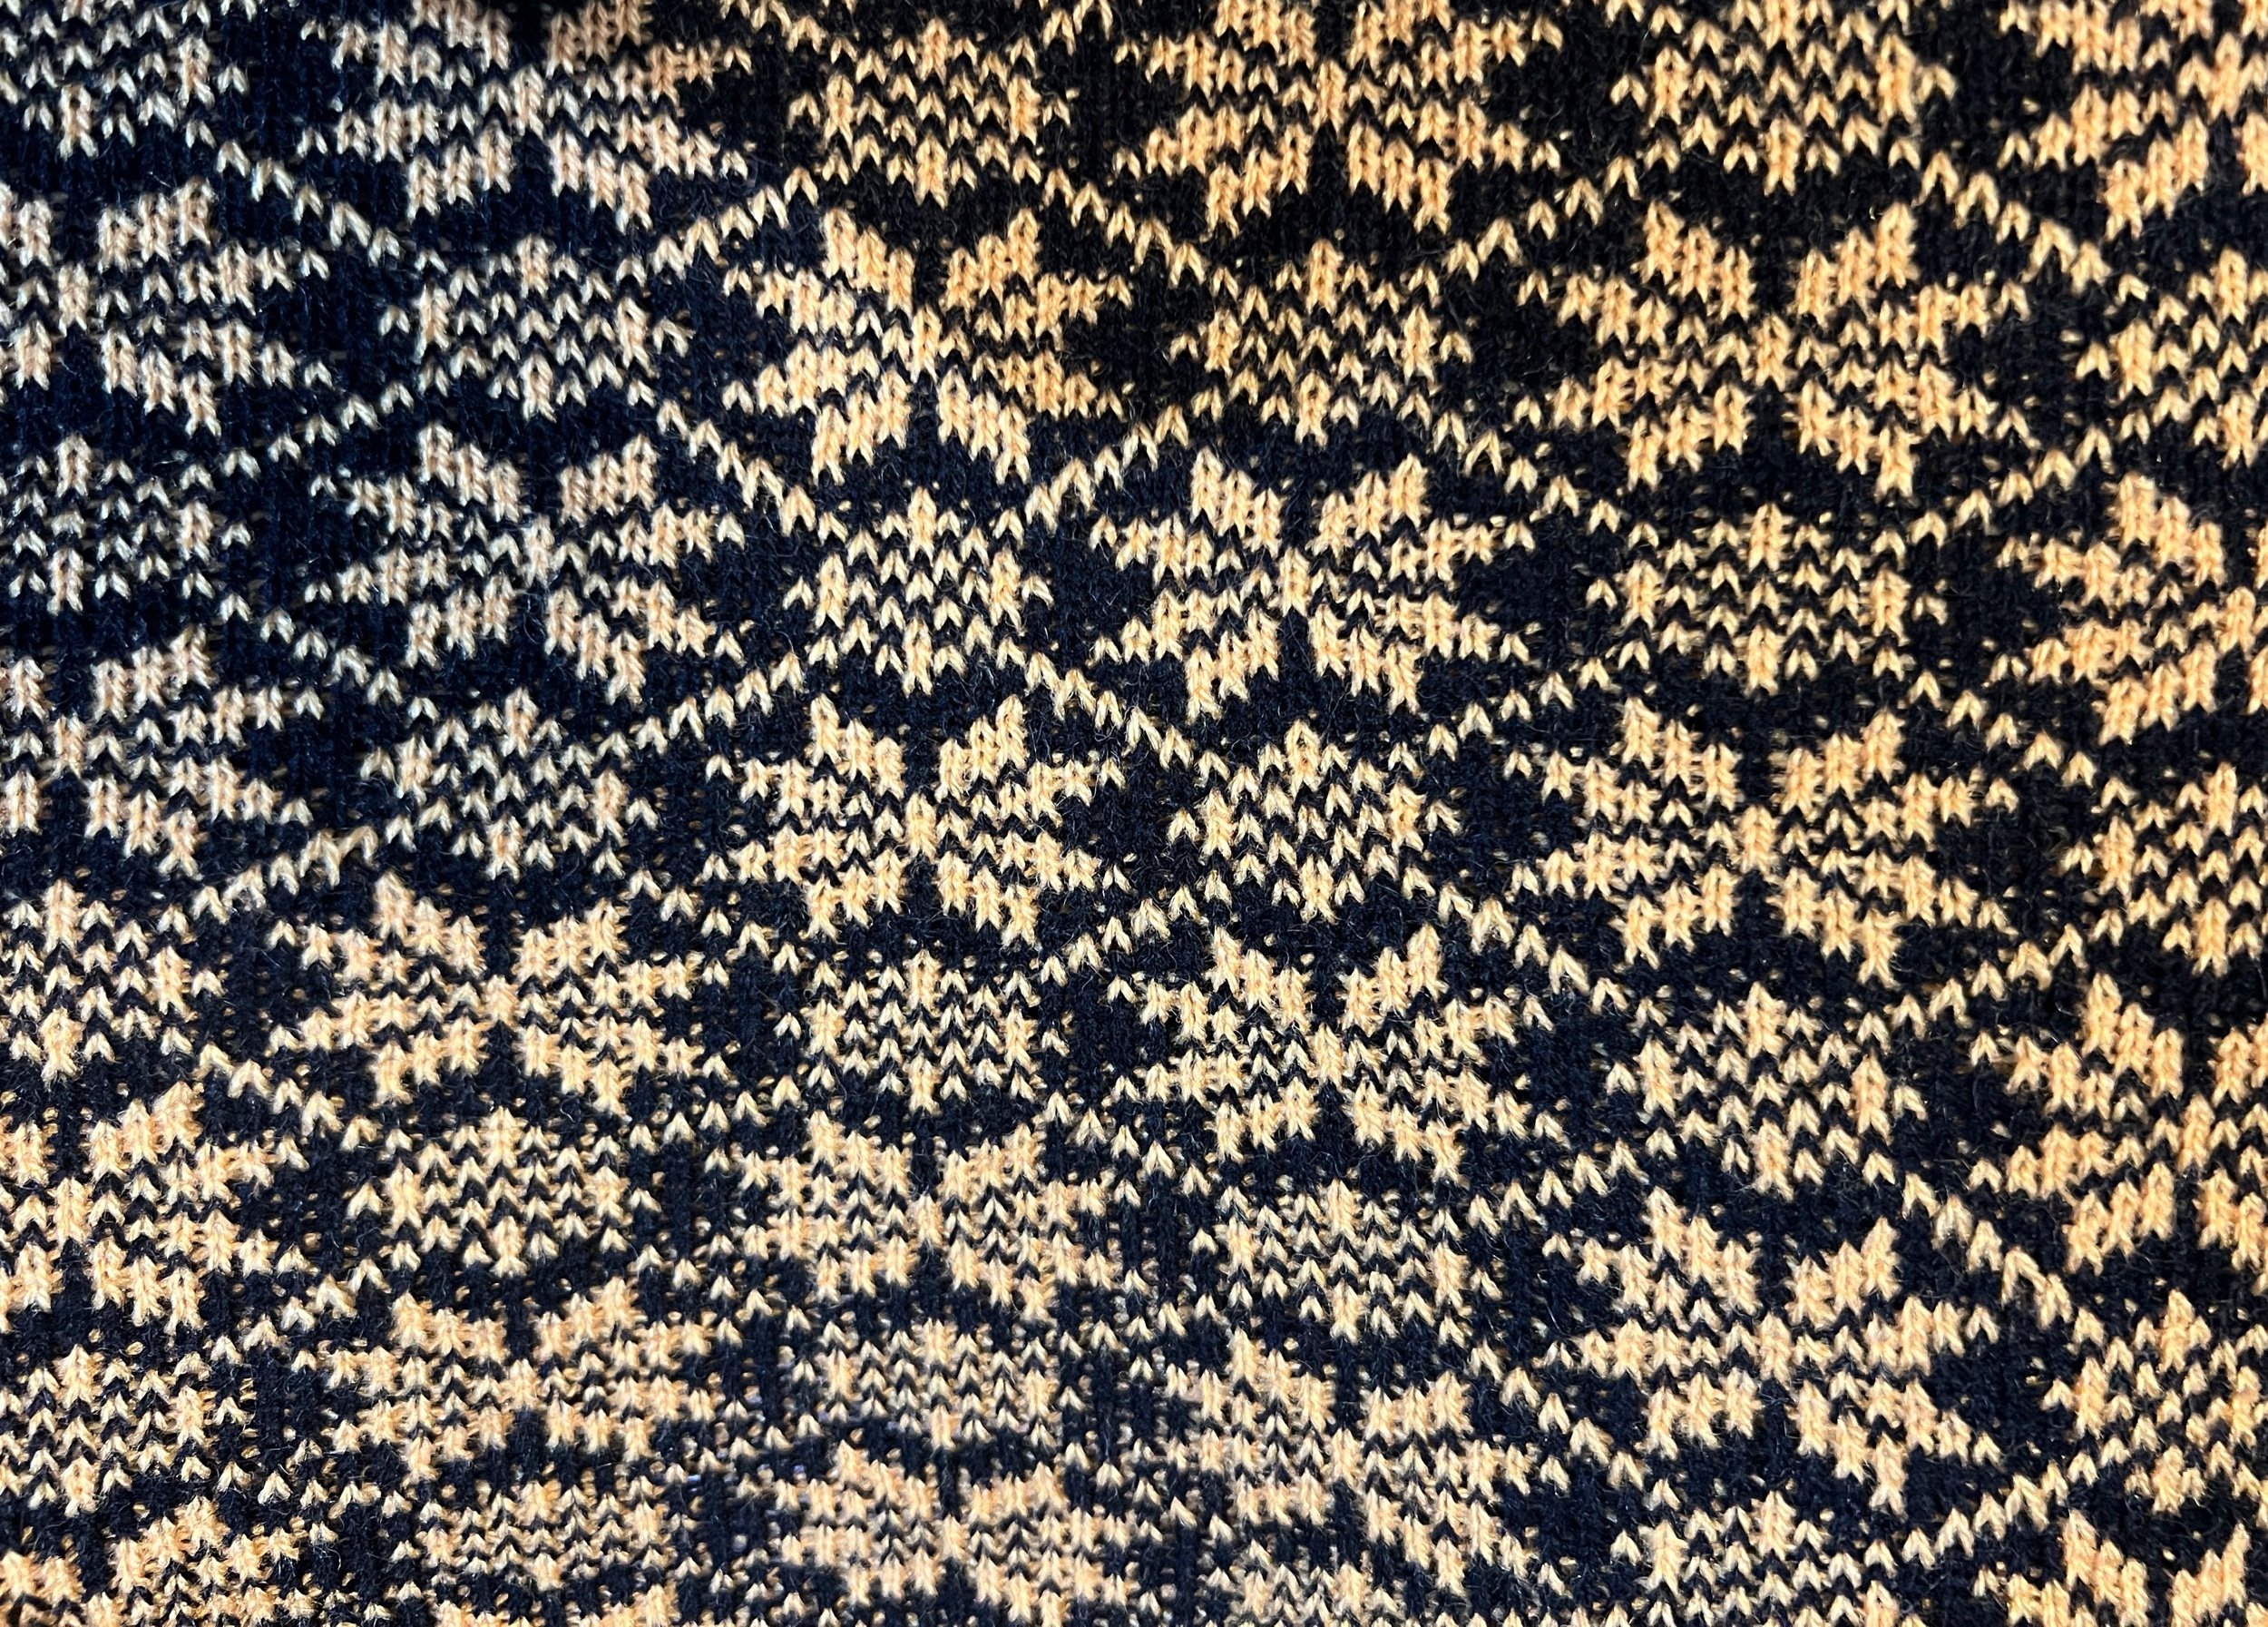
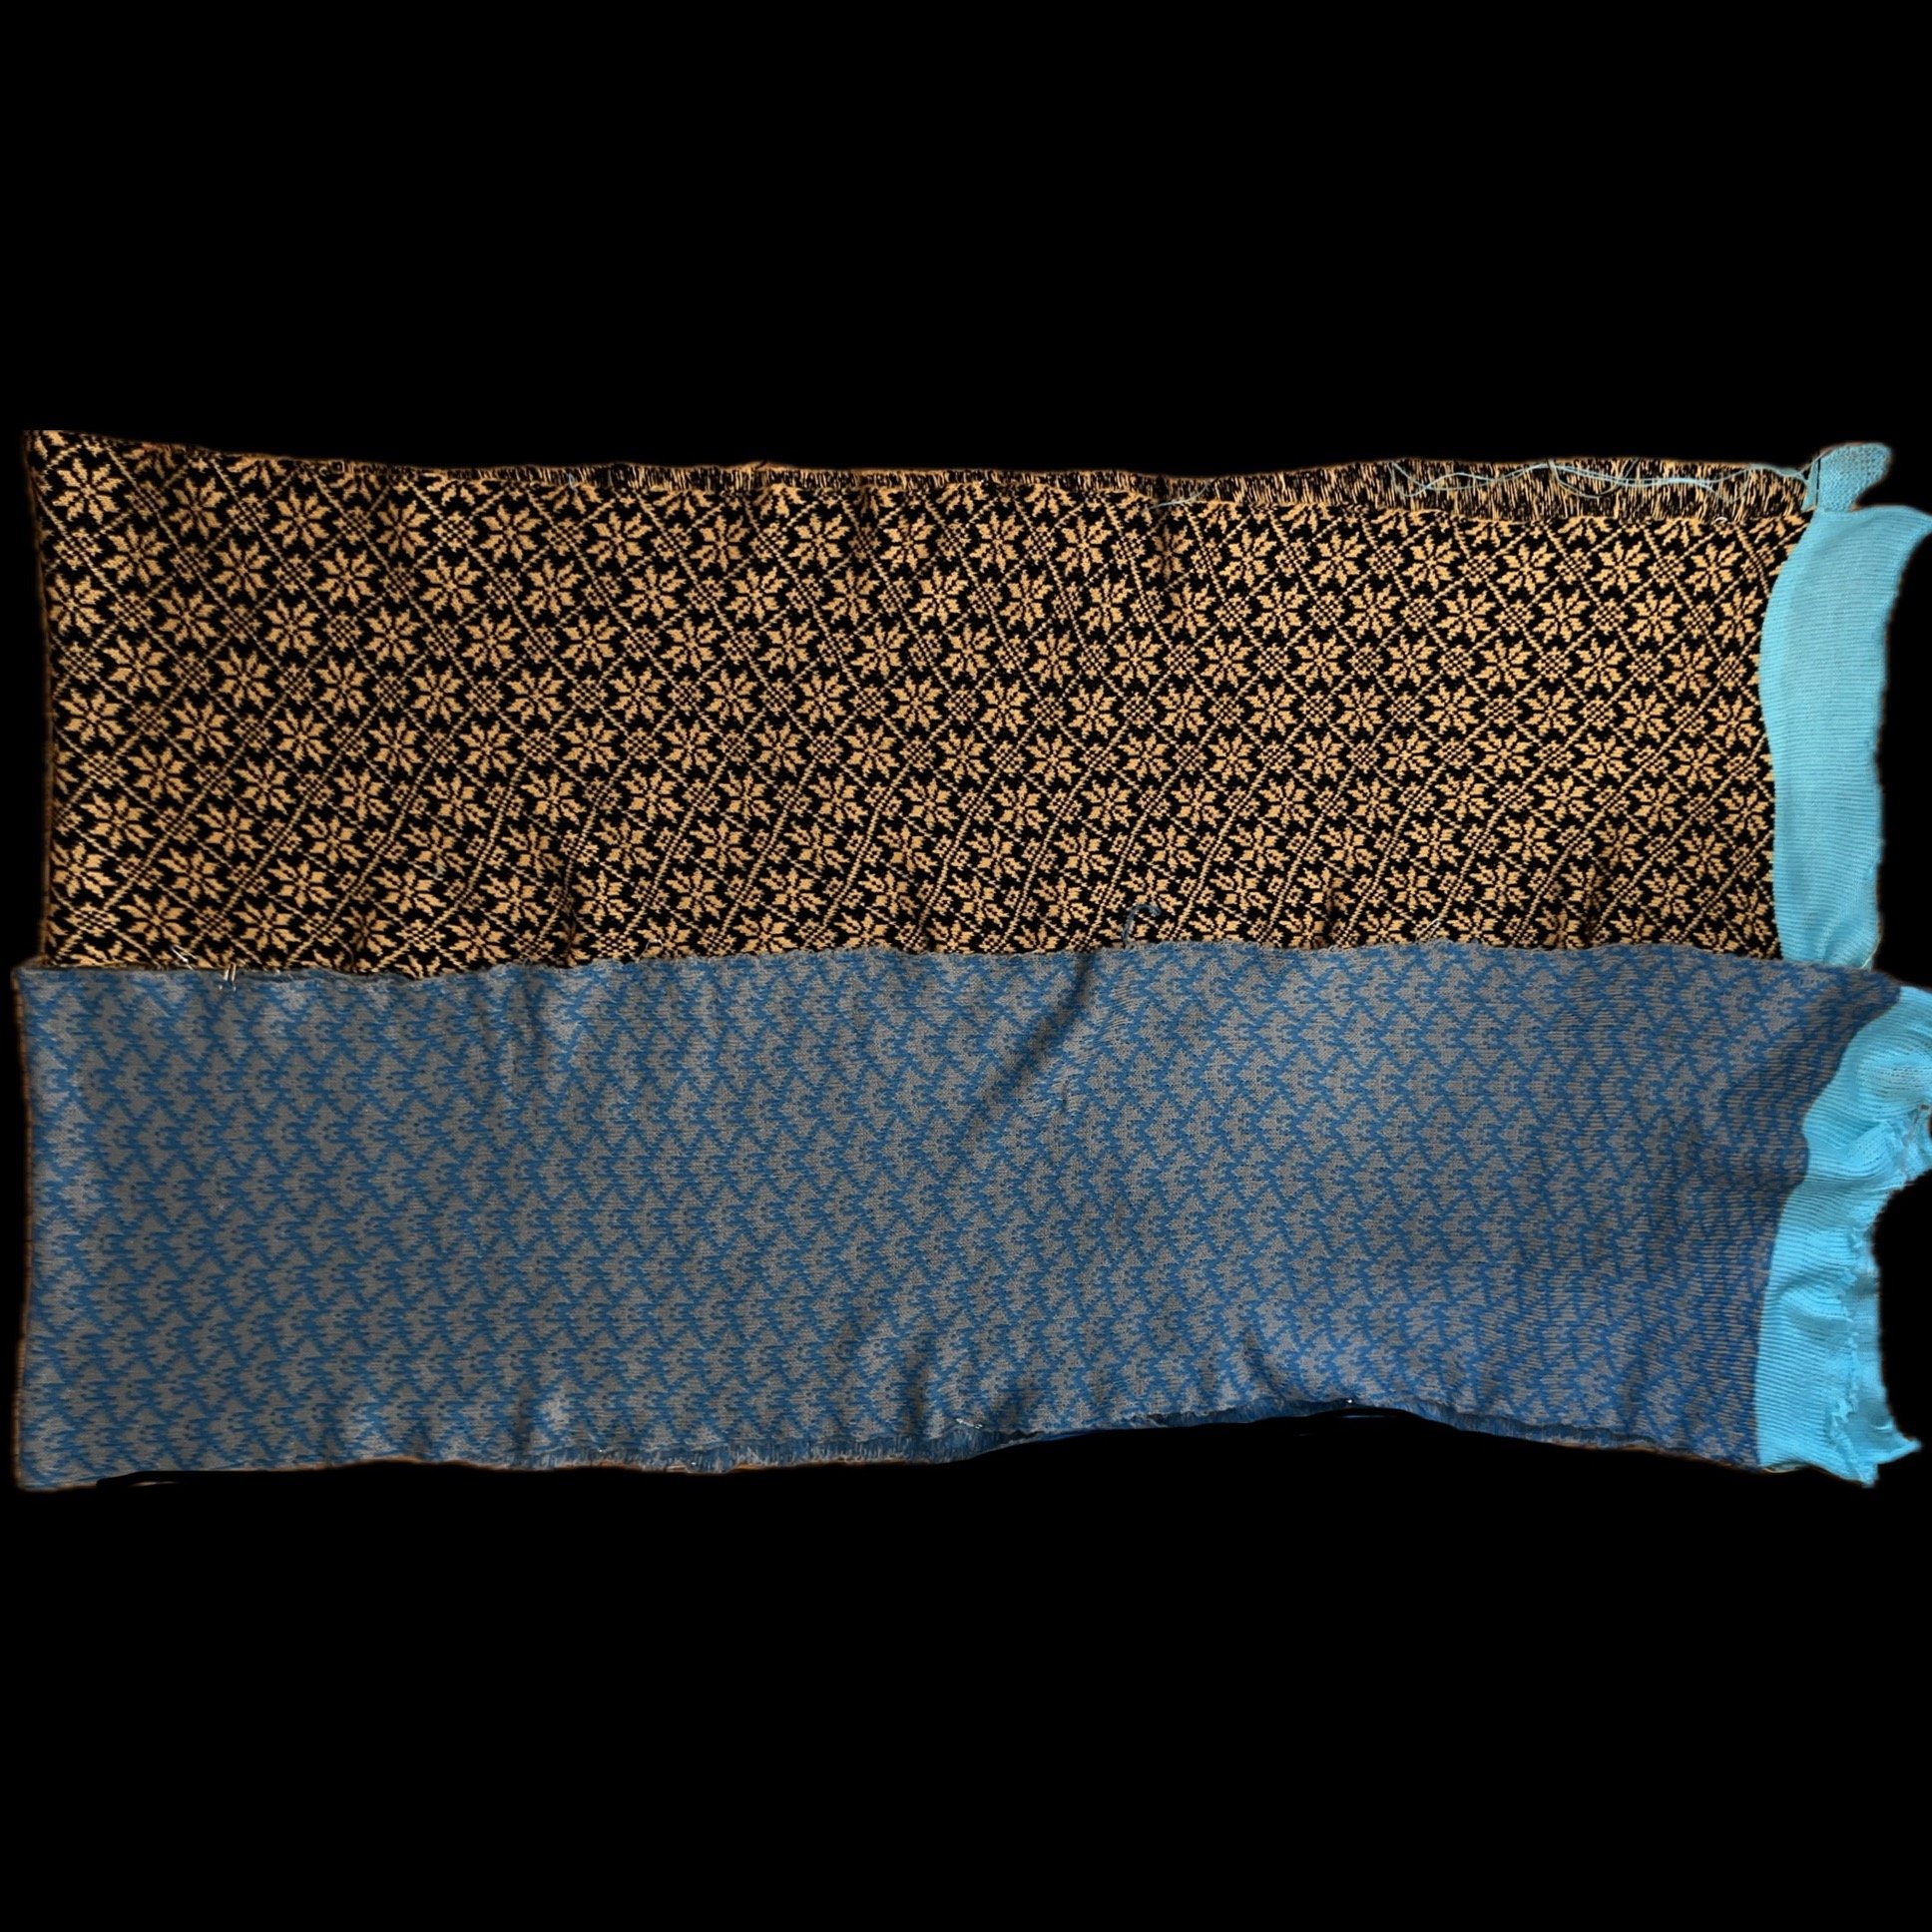
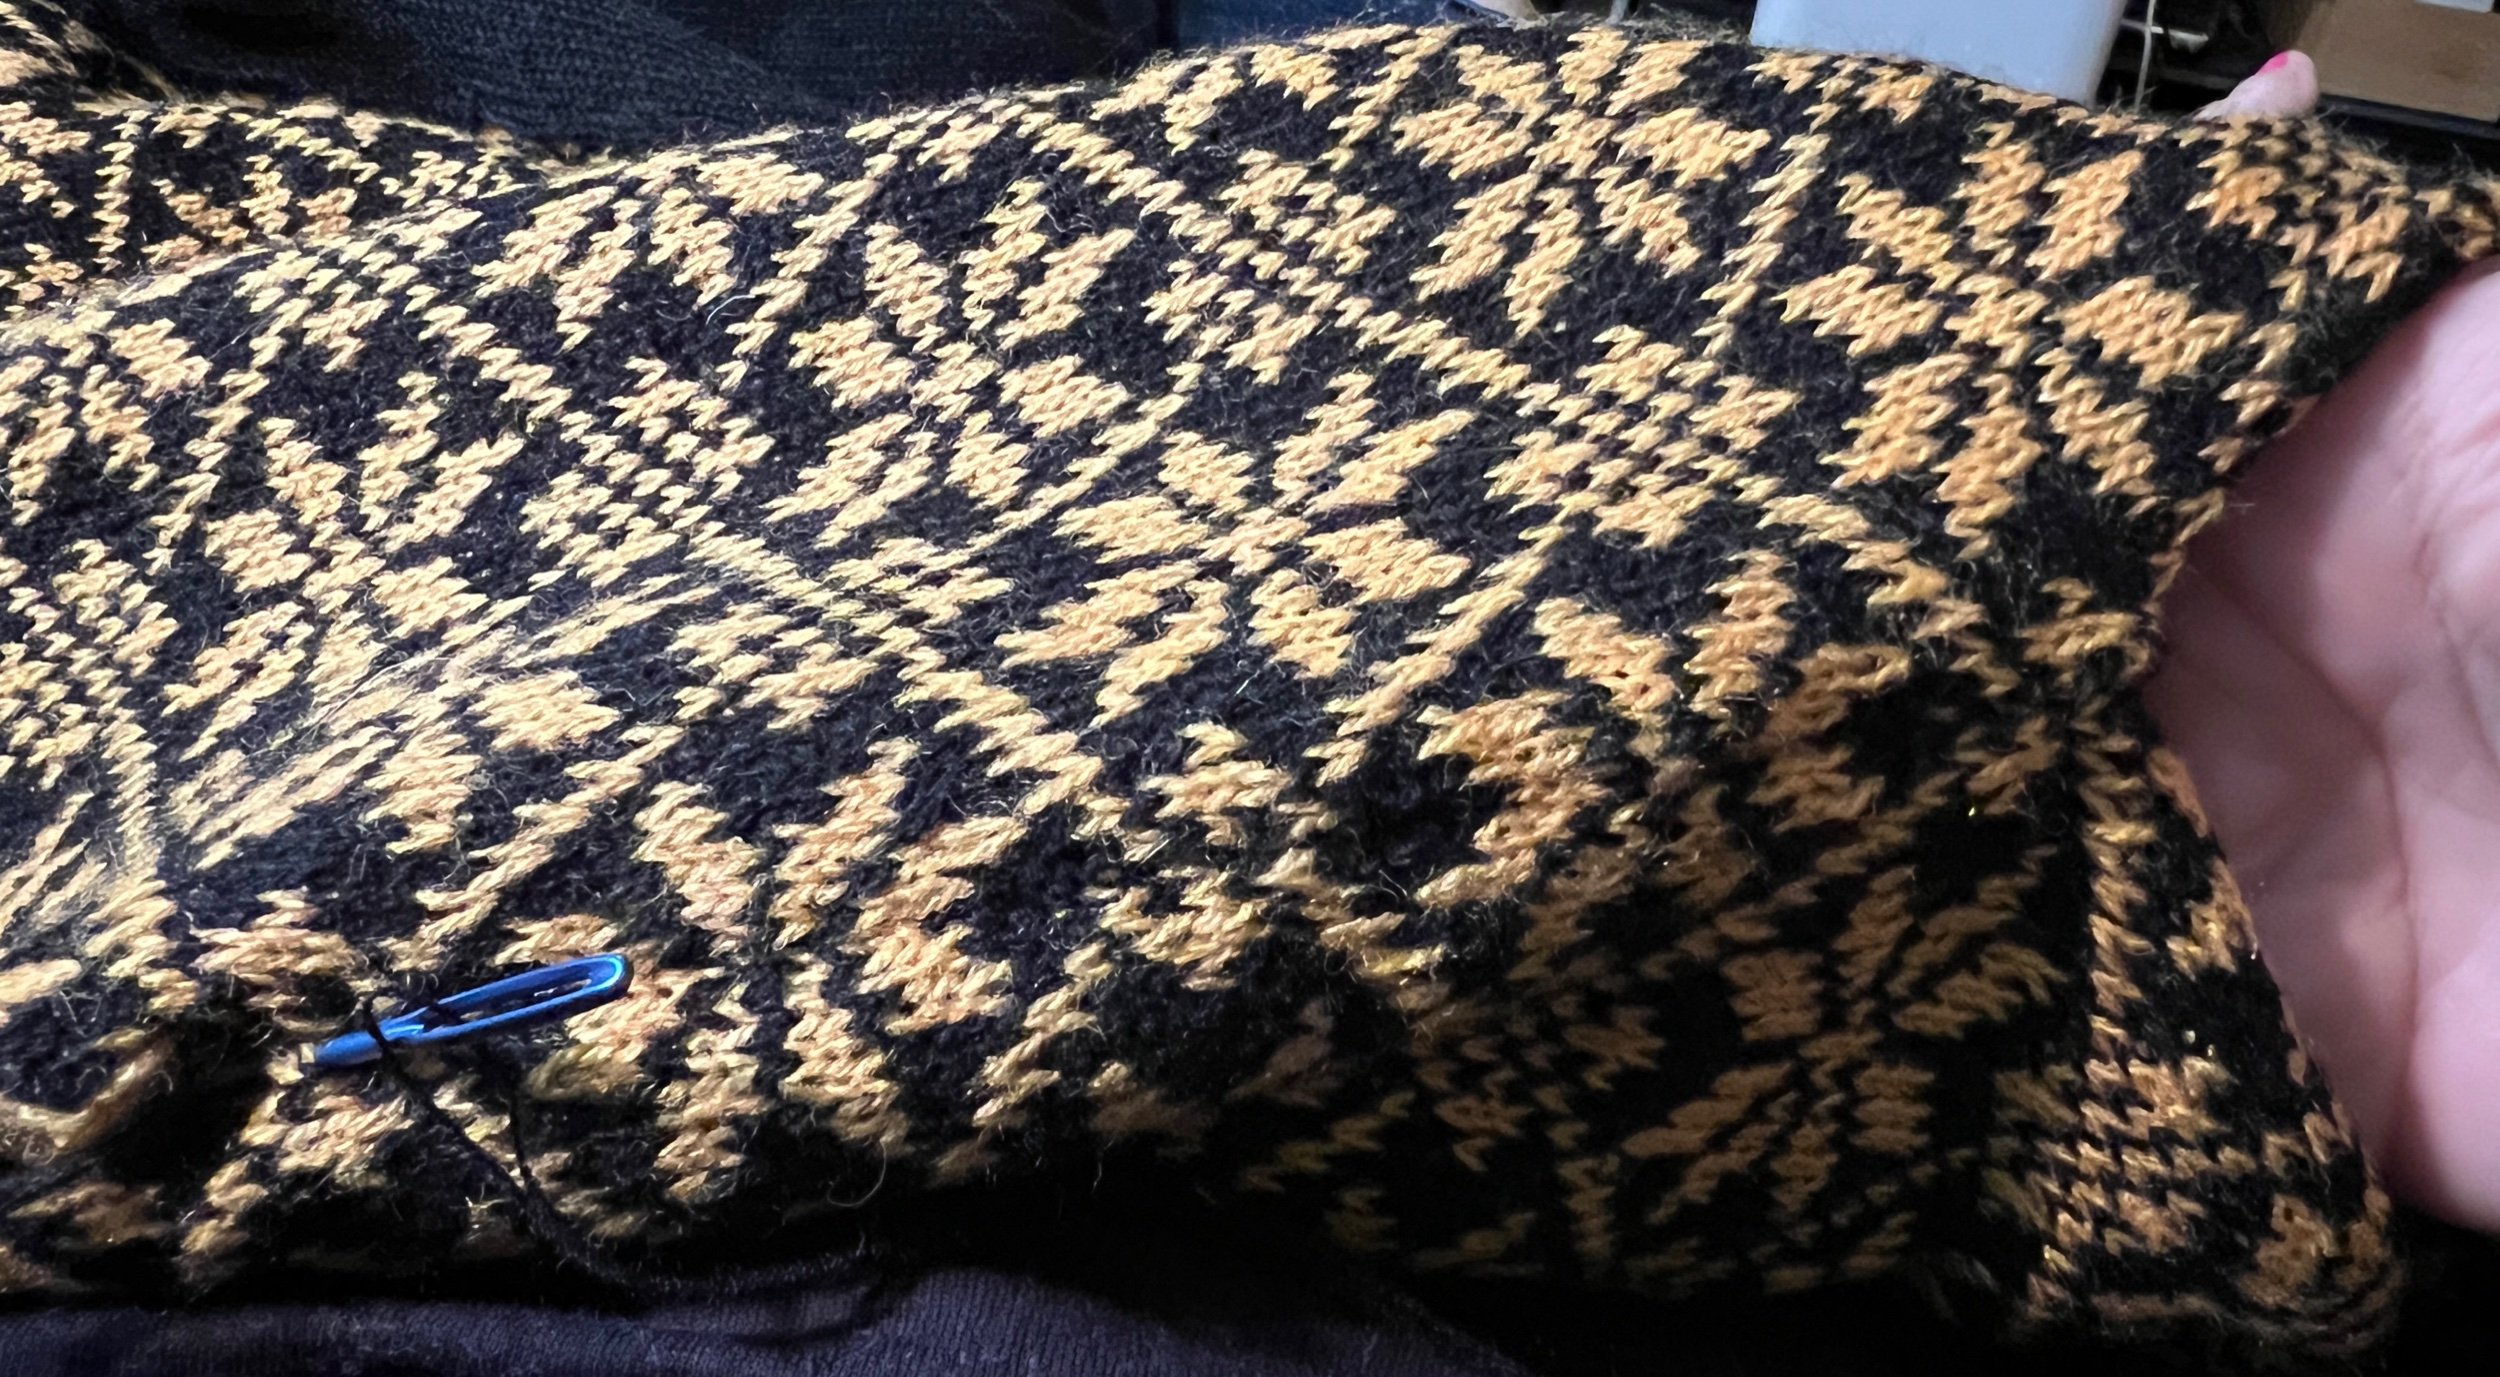
Punch card review: Black acrylic yarn in yarn position 1 (non-punched holes) and Mustard Yellow acrylic yarn in yarn position 2 (punched holes). The result is a background of black with golden yellow flower outlines.
The plan:
First confirm that both panels are the same length/width. These two panels folded are 106cm (x2) long and 34cm wide.
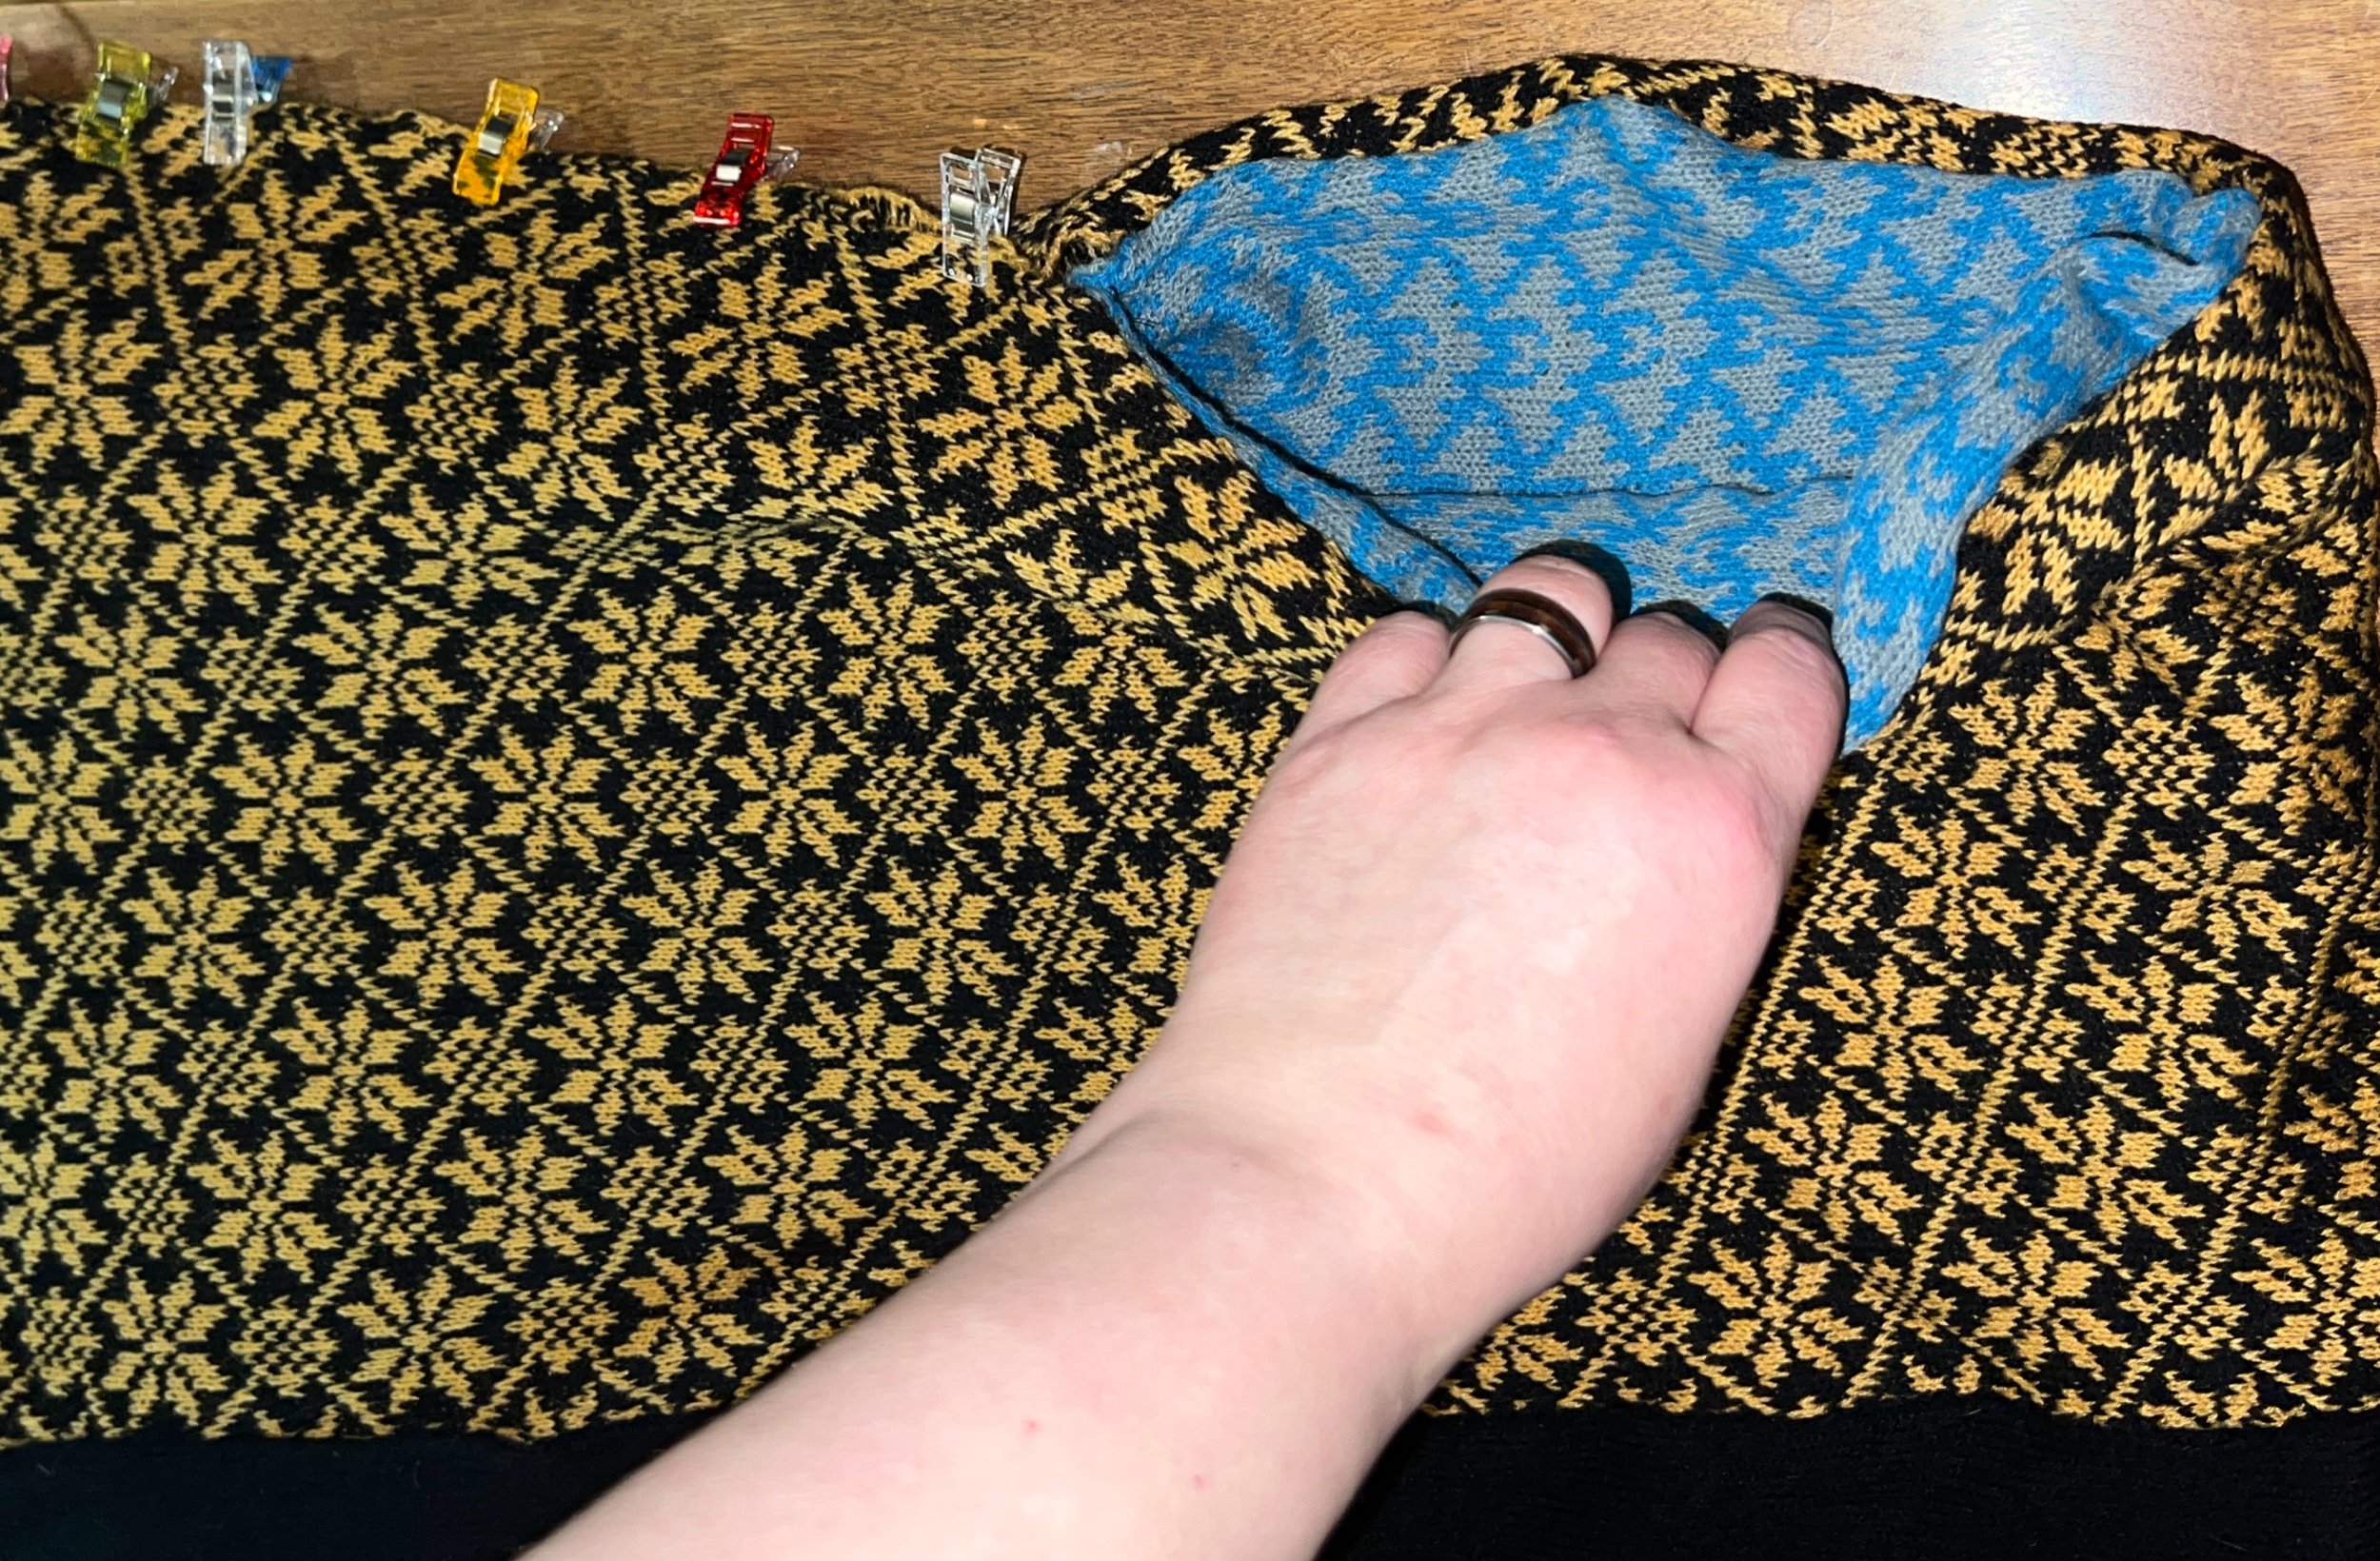
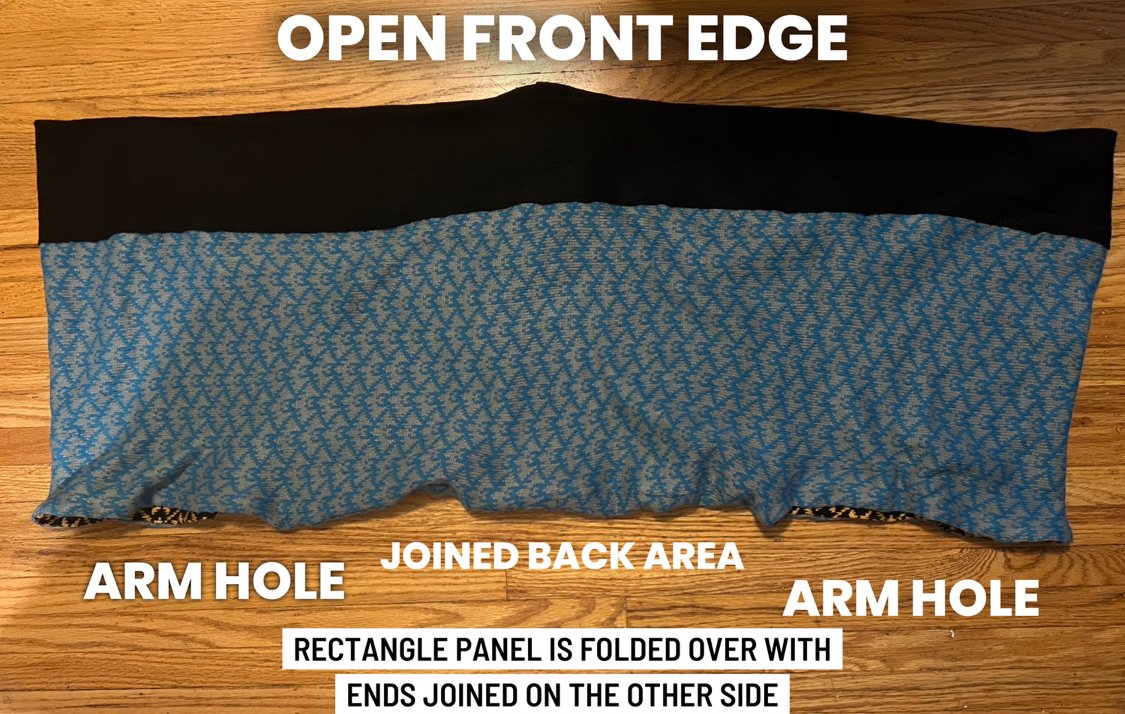
Summary of project: I will create the garment using one of the panels by joining a long edge a minimum 6 inches from both ends (room for arms). Then with the second panel I did the same. Finally I will seam the two projects together so that the purl sides are facing (will hid the floats).
Overview: Each panel is a long rectangle folded in half so that the joins are mid project. One long side is joined with space open for human arms. This version is still in progress.
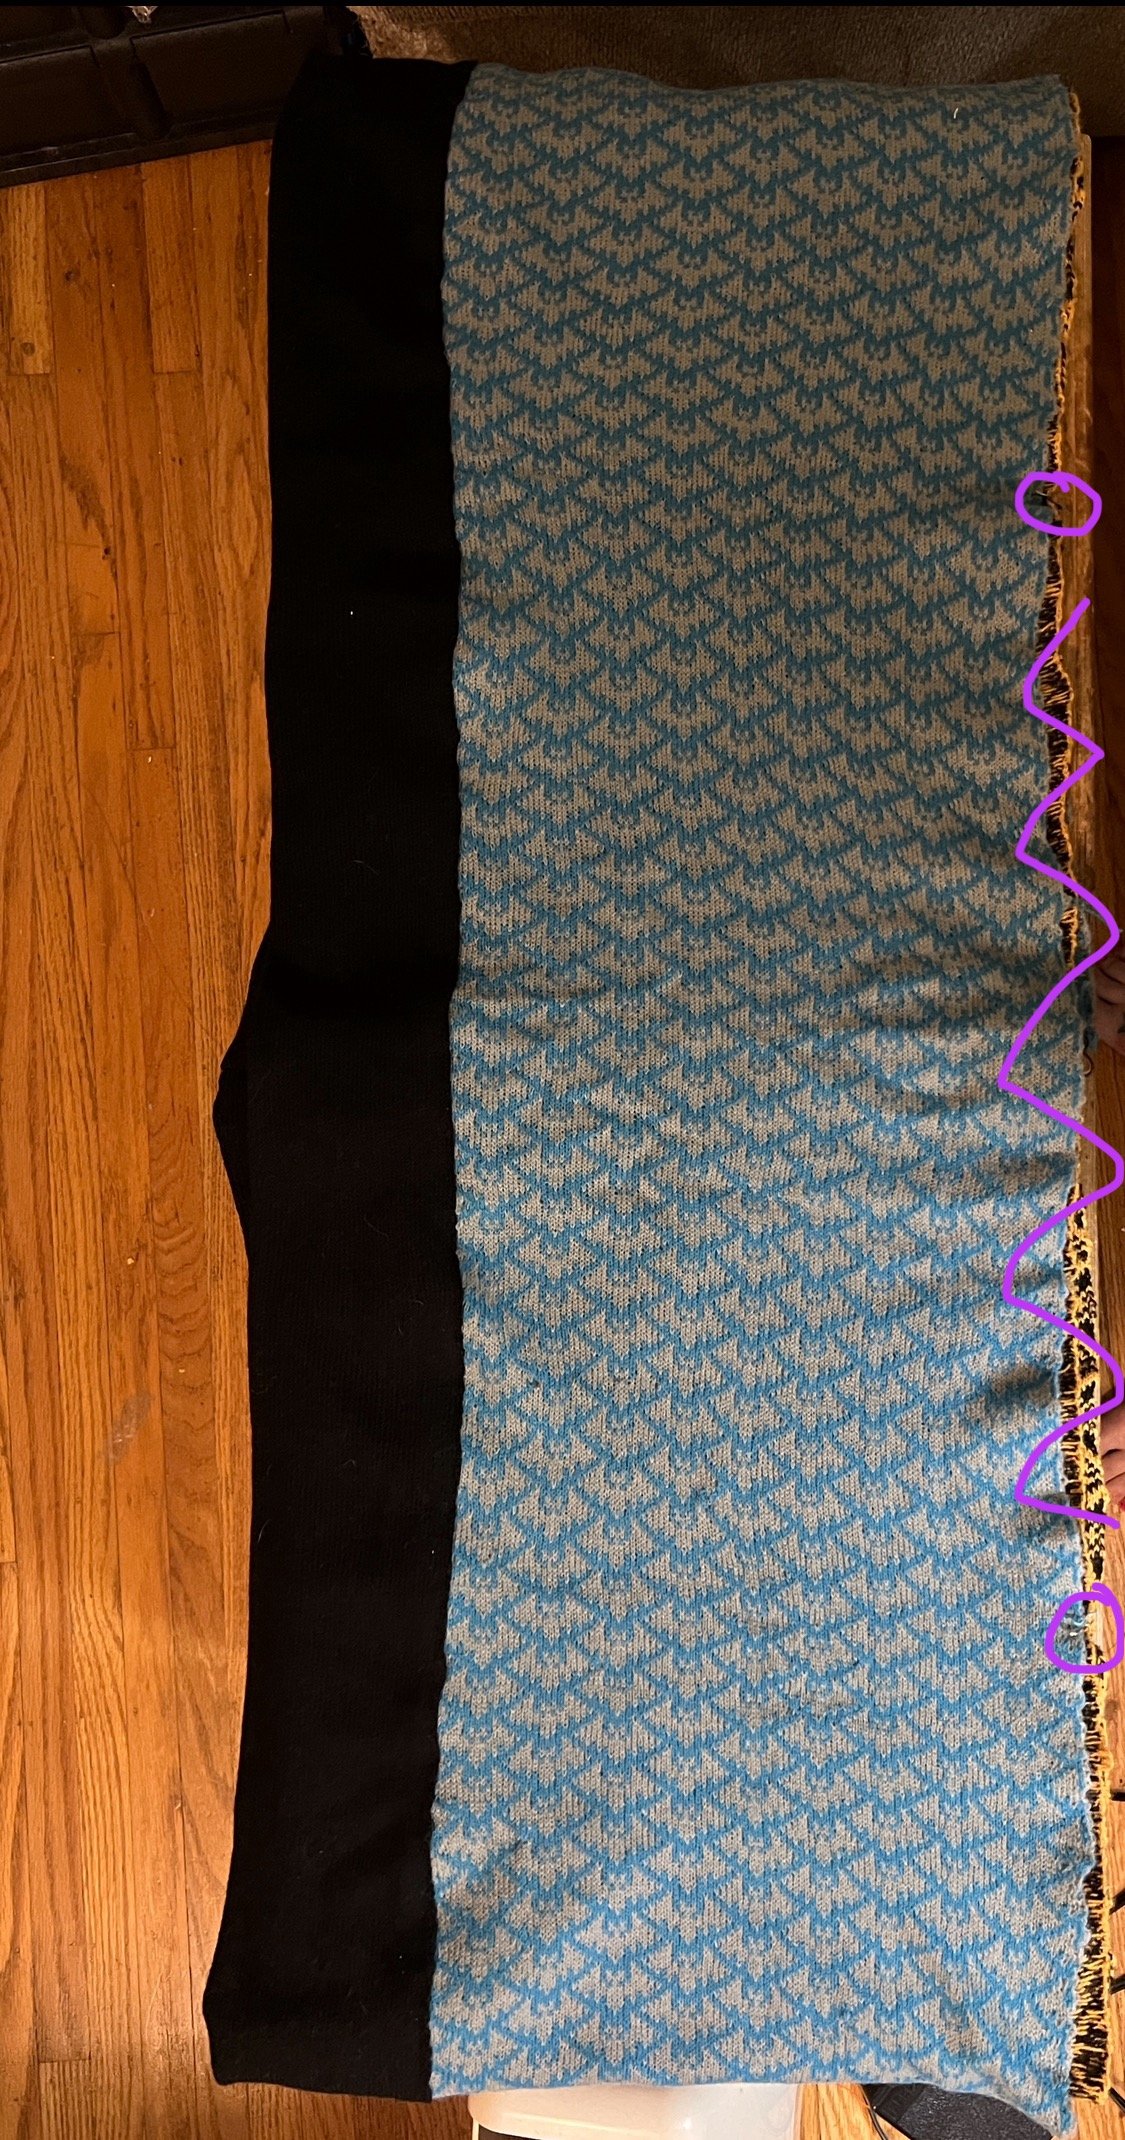
Each panel has ended up being at least a hand-width shorter than the desired panel width (after steaming) so now I am adding a all black worked segment at least two hand-widths wide (and a bit more).
Nov 19, 2023 Today I am back on this project to accomplish the black panel addition.
BLACK ADDENDUM PANEL: Upper mast tension 1, carriage tension 1.25 using plain knitting. Scrap open cast on using 45 right and 45 left needles (90 needles). Switch to black thin acrylic yarn and then I worked 1200 rows after approximating the length I needed comparing to the two prior panels. Using the sewing machine I sewed one long edge of the black panel over one long edge of the bat panel then snowflake panel. All panels are now assembled to resemble one end joined rectangle, the black edge is the front outer edge, one grey/blue bat panel and one gold/black snowflake panel. I marked the back edge 11 inches / 28 cm from both back edges - these will be the arm holes later. Between the stitch markers I will panel join each panel separately so this is the next step using mattress stitch on each color panel separately.
First I will finish the arm holes using the sewing machine. Now with both arm holes done I used clips to hold the knit sides together of the bat panel long edges between each arm hole and used the sewing machine (removing the temporary clips). Then I put the sewing machine aside and used those same clips to align the gold/black snowflake long edge between the arm holes. Now I threaded a darning needle with black acrylic double strand yarn and hand mattress stitch joined the edges together.


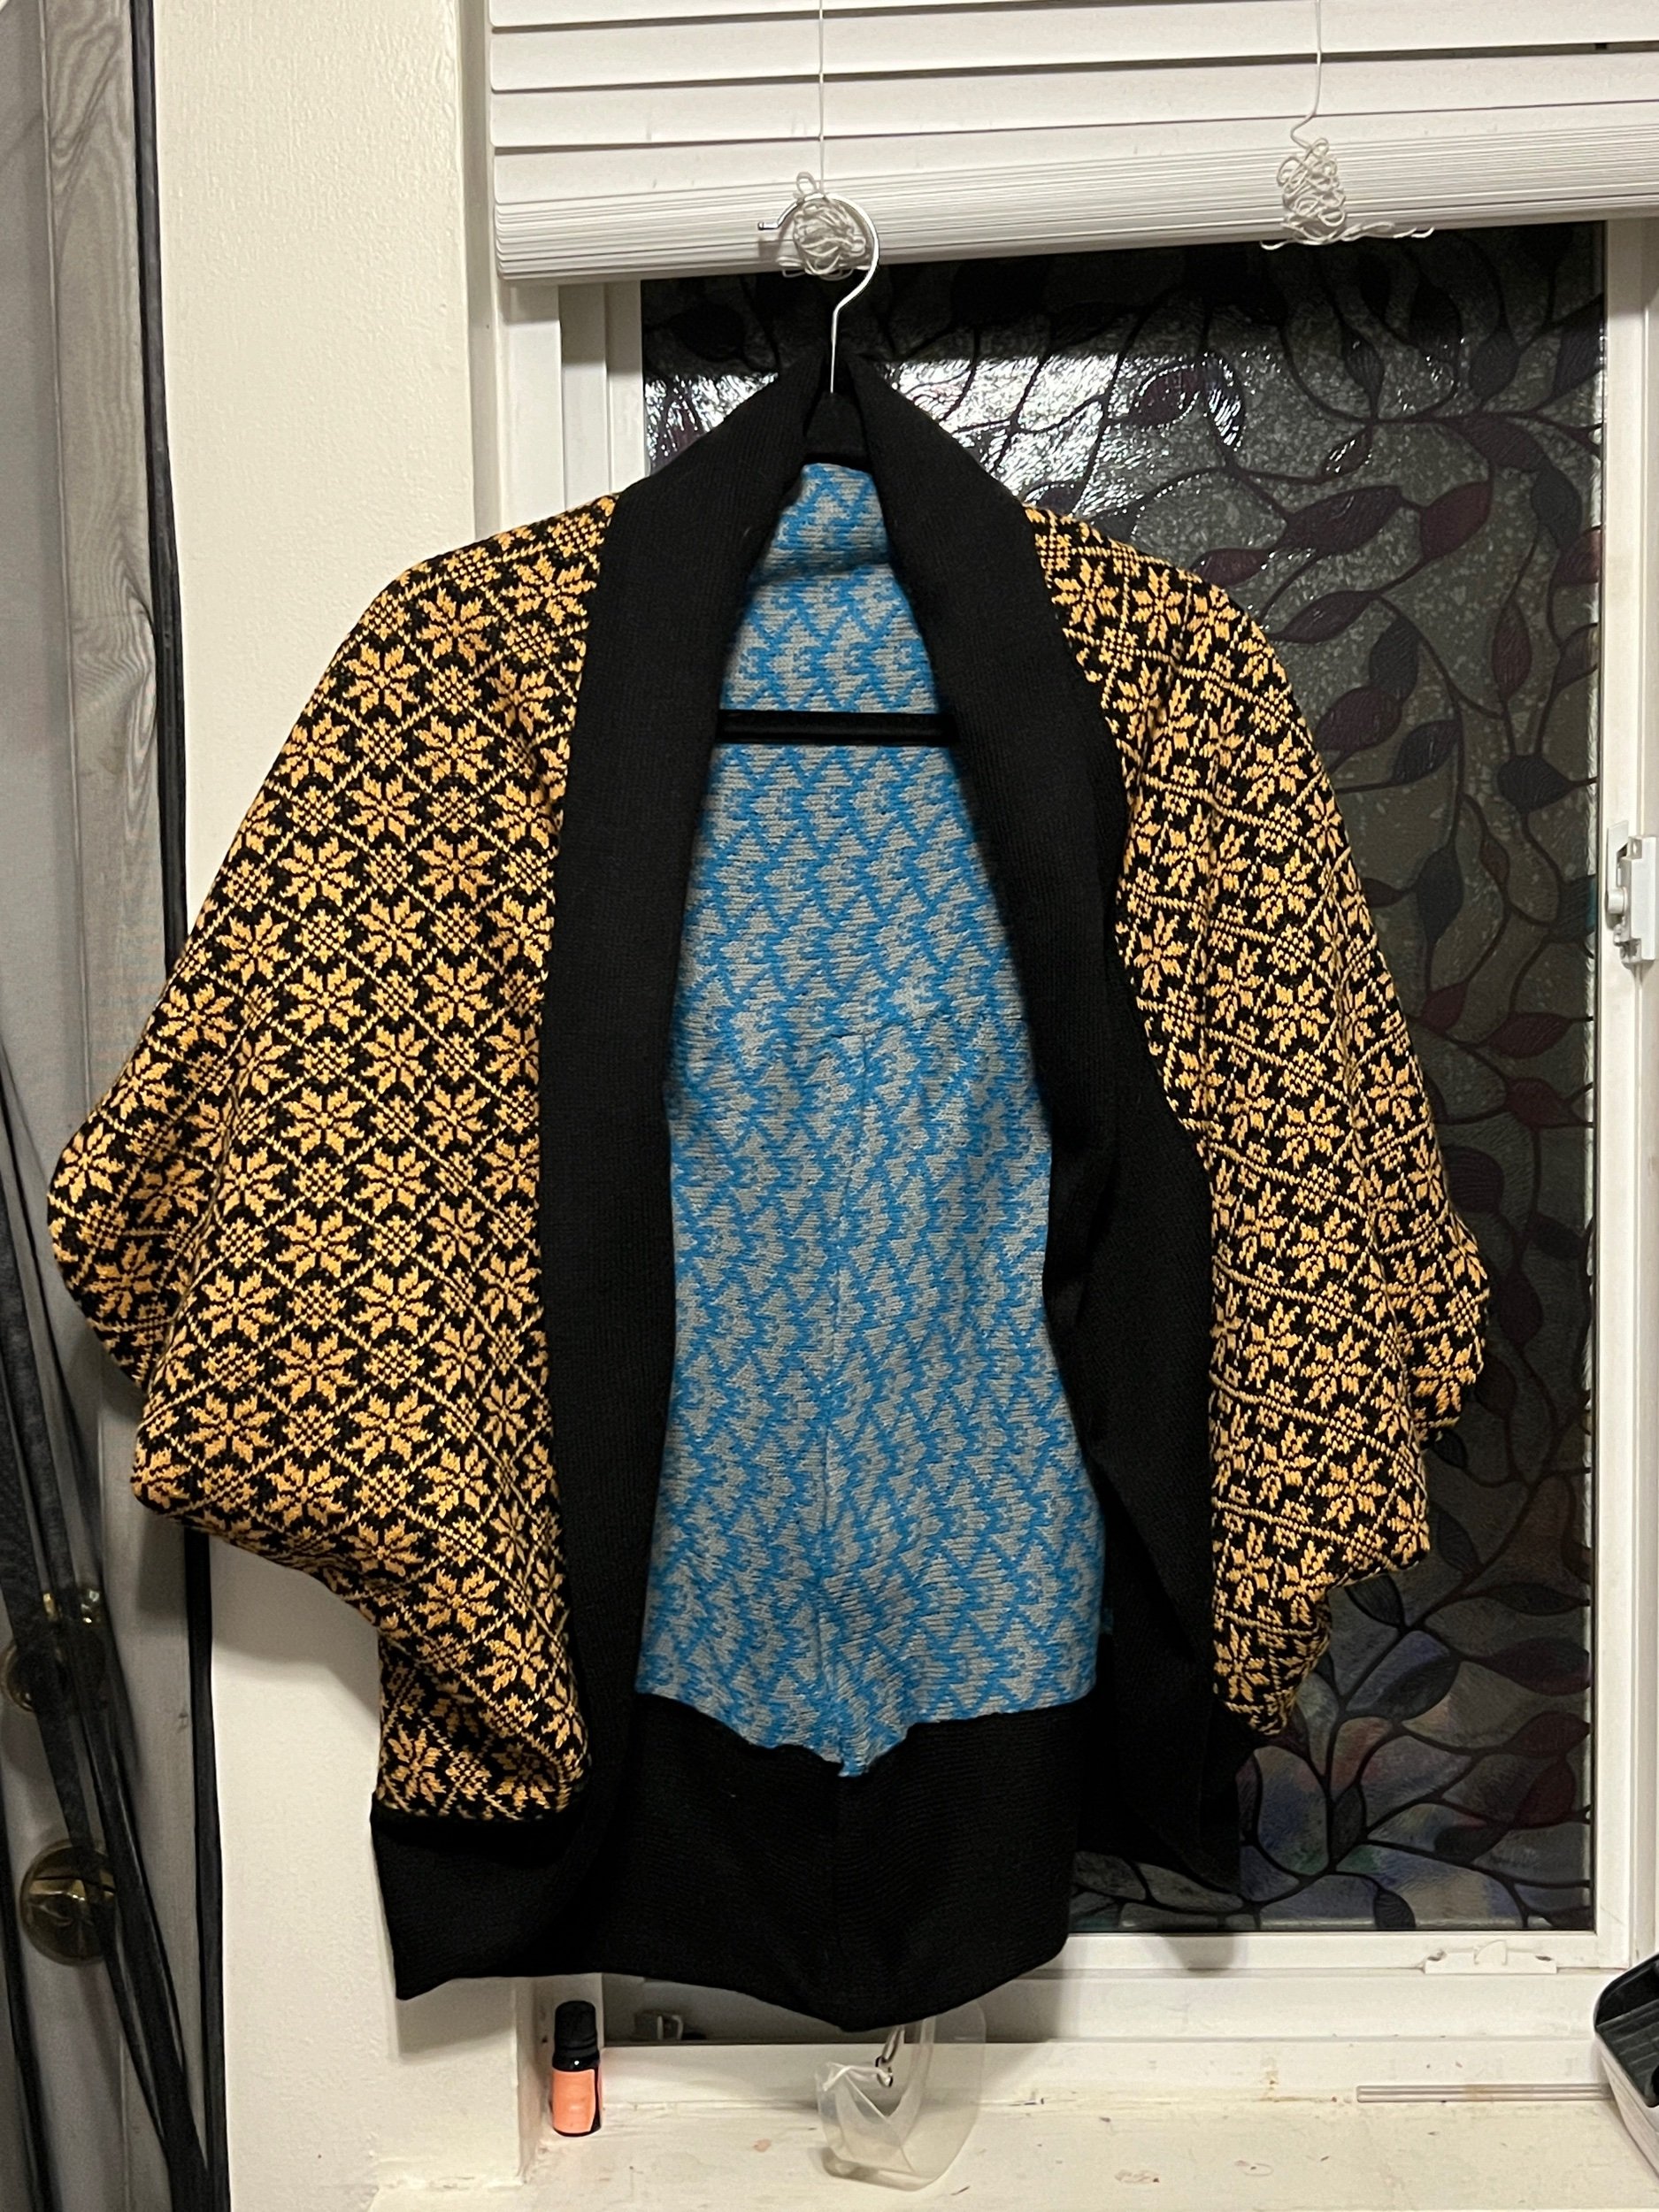

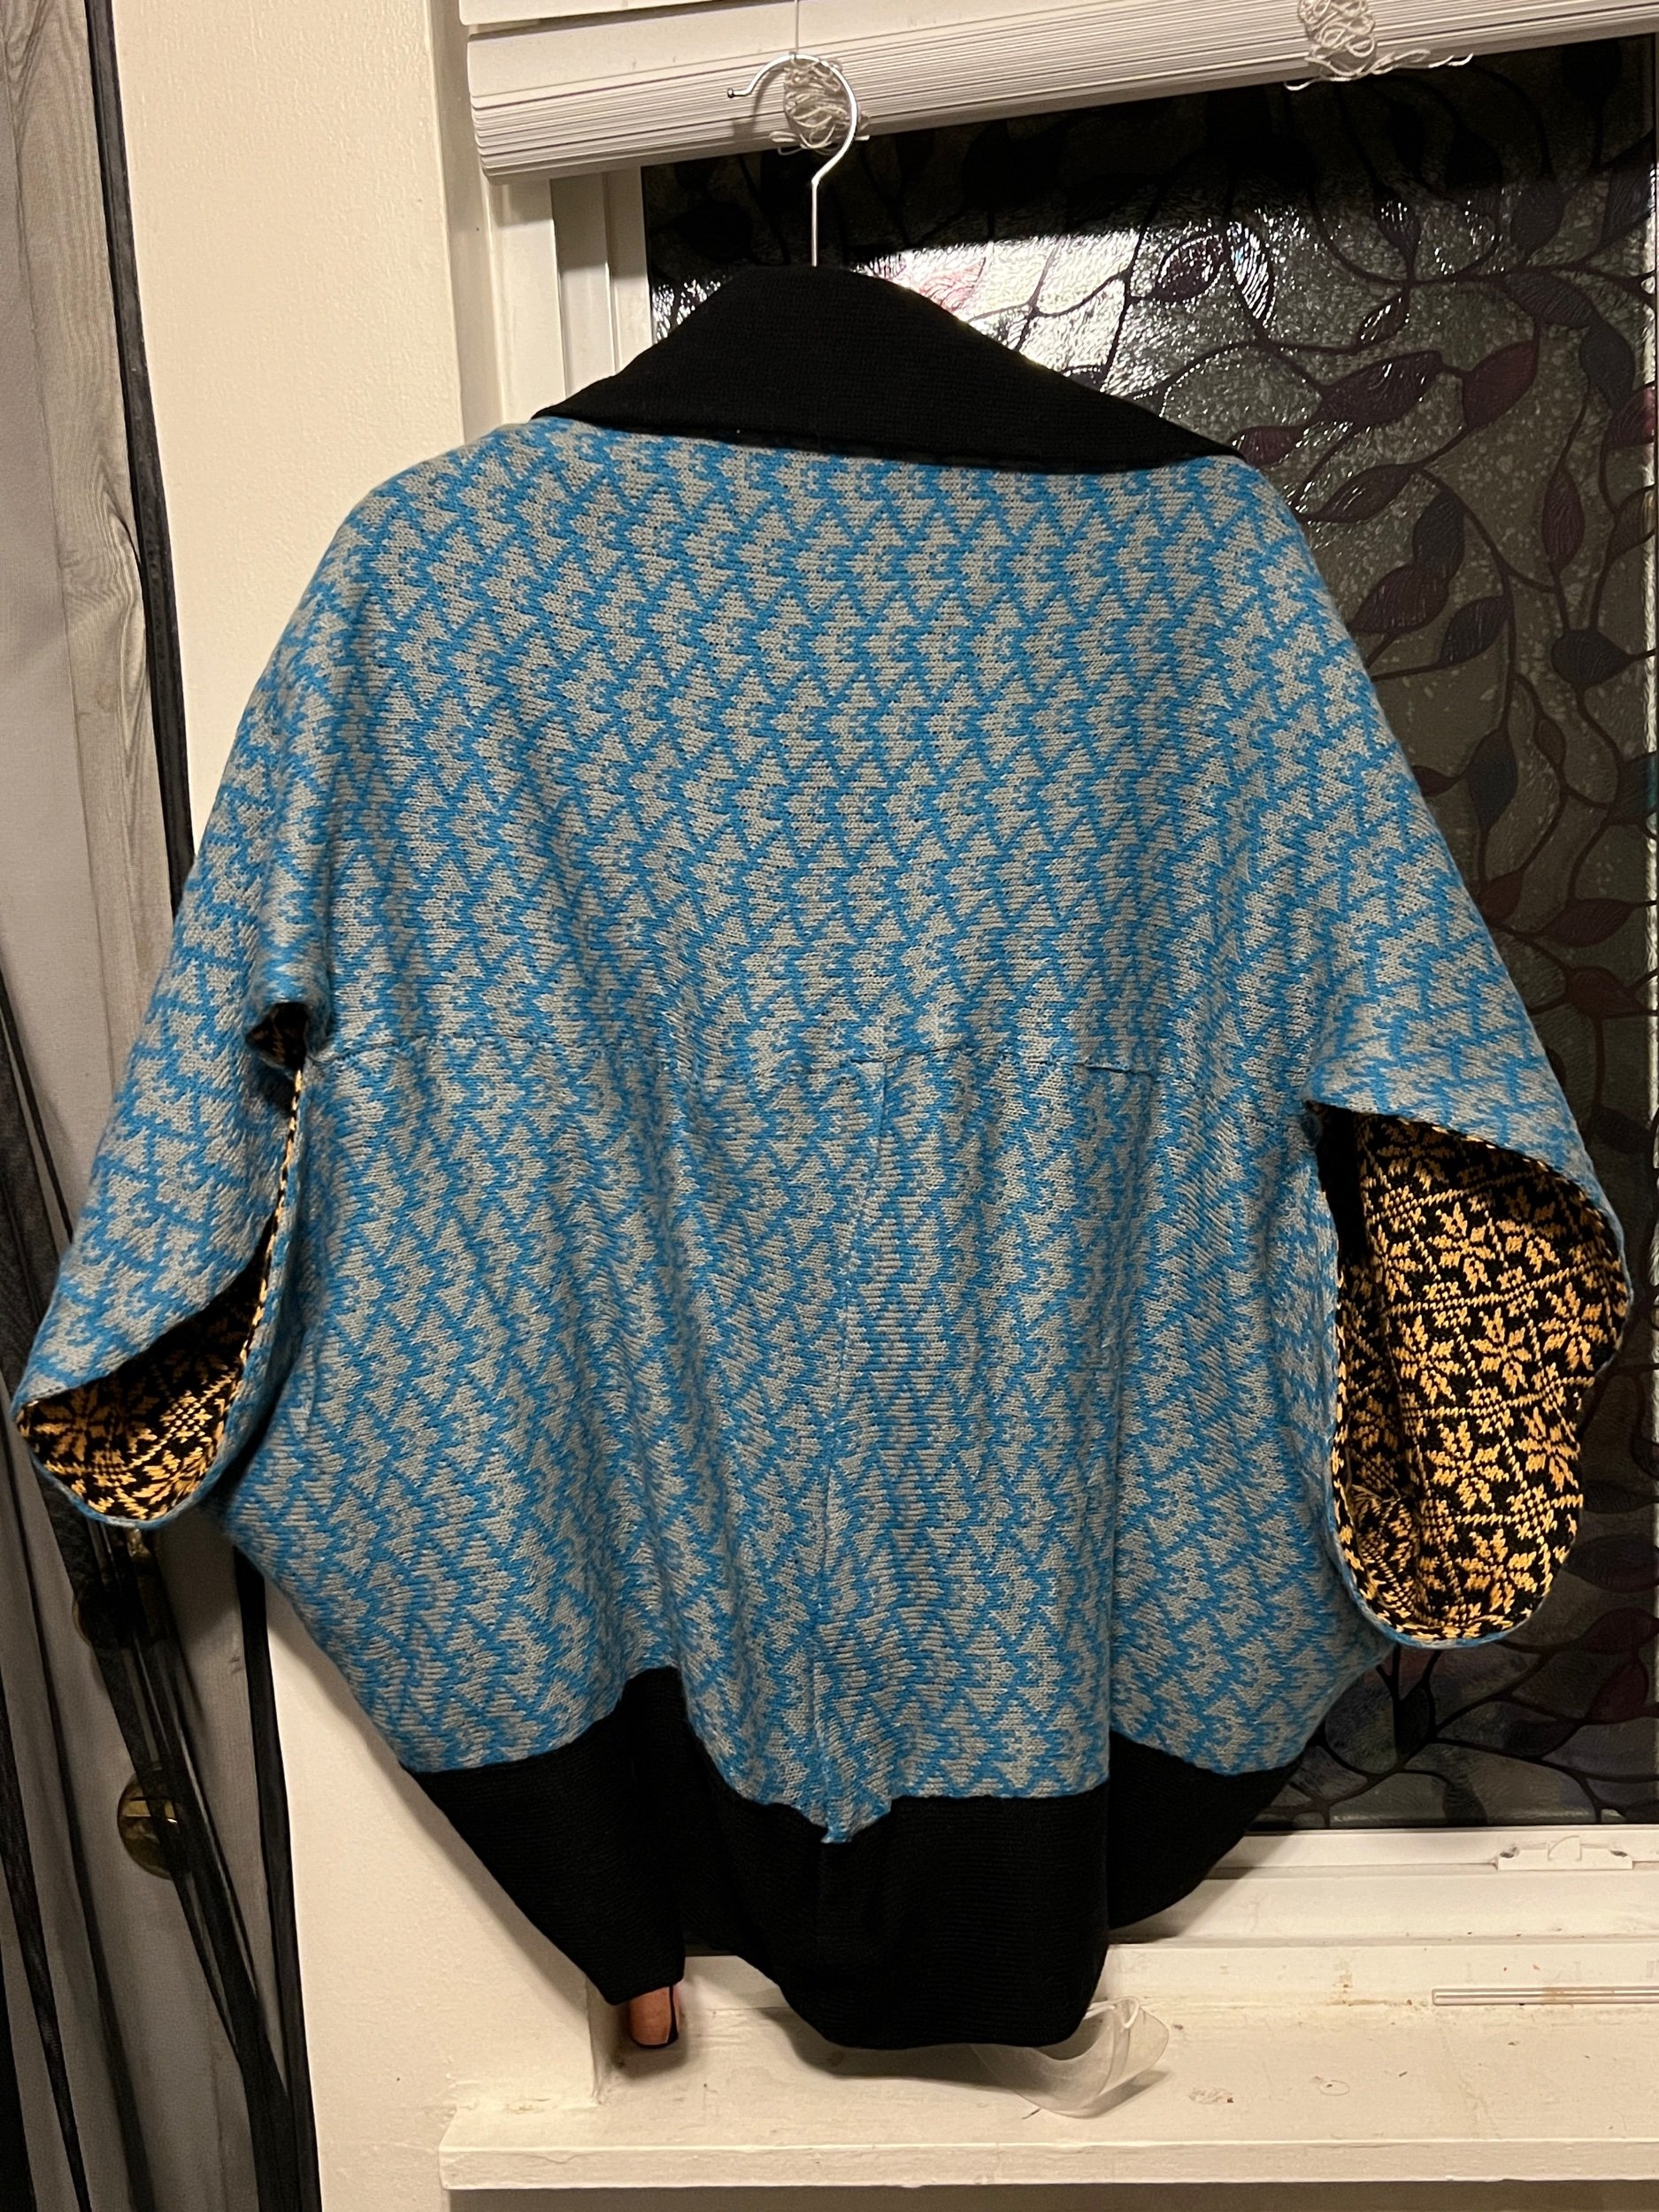
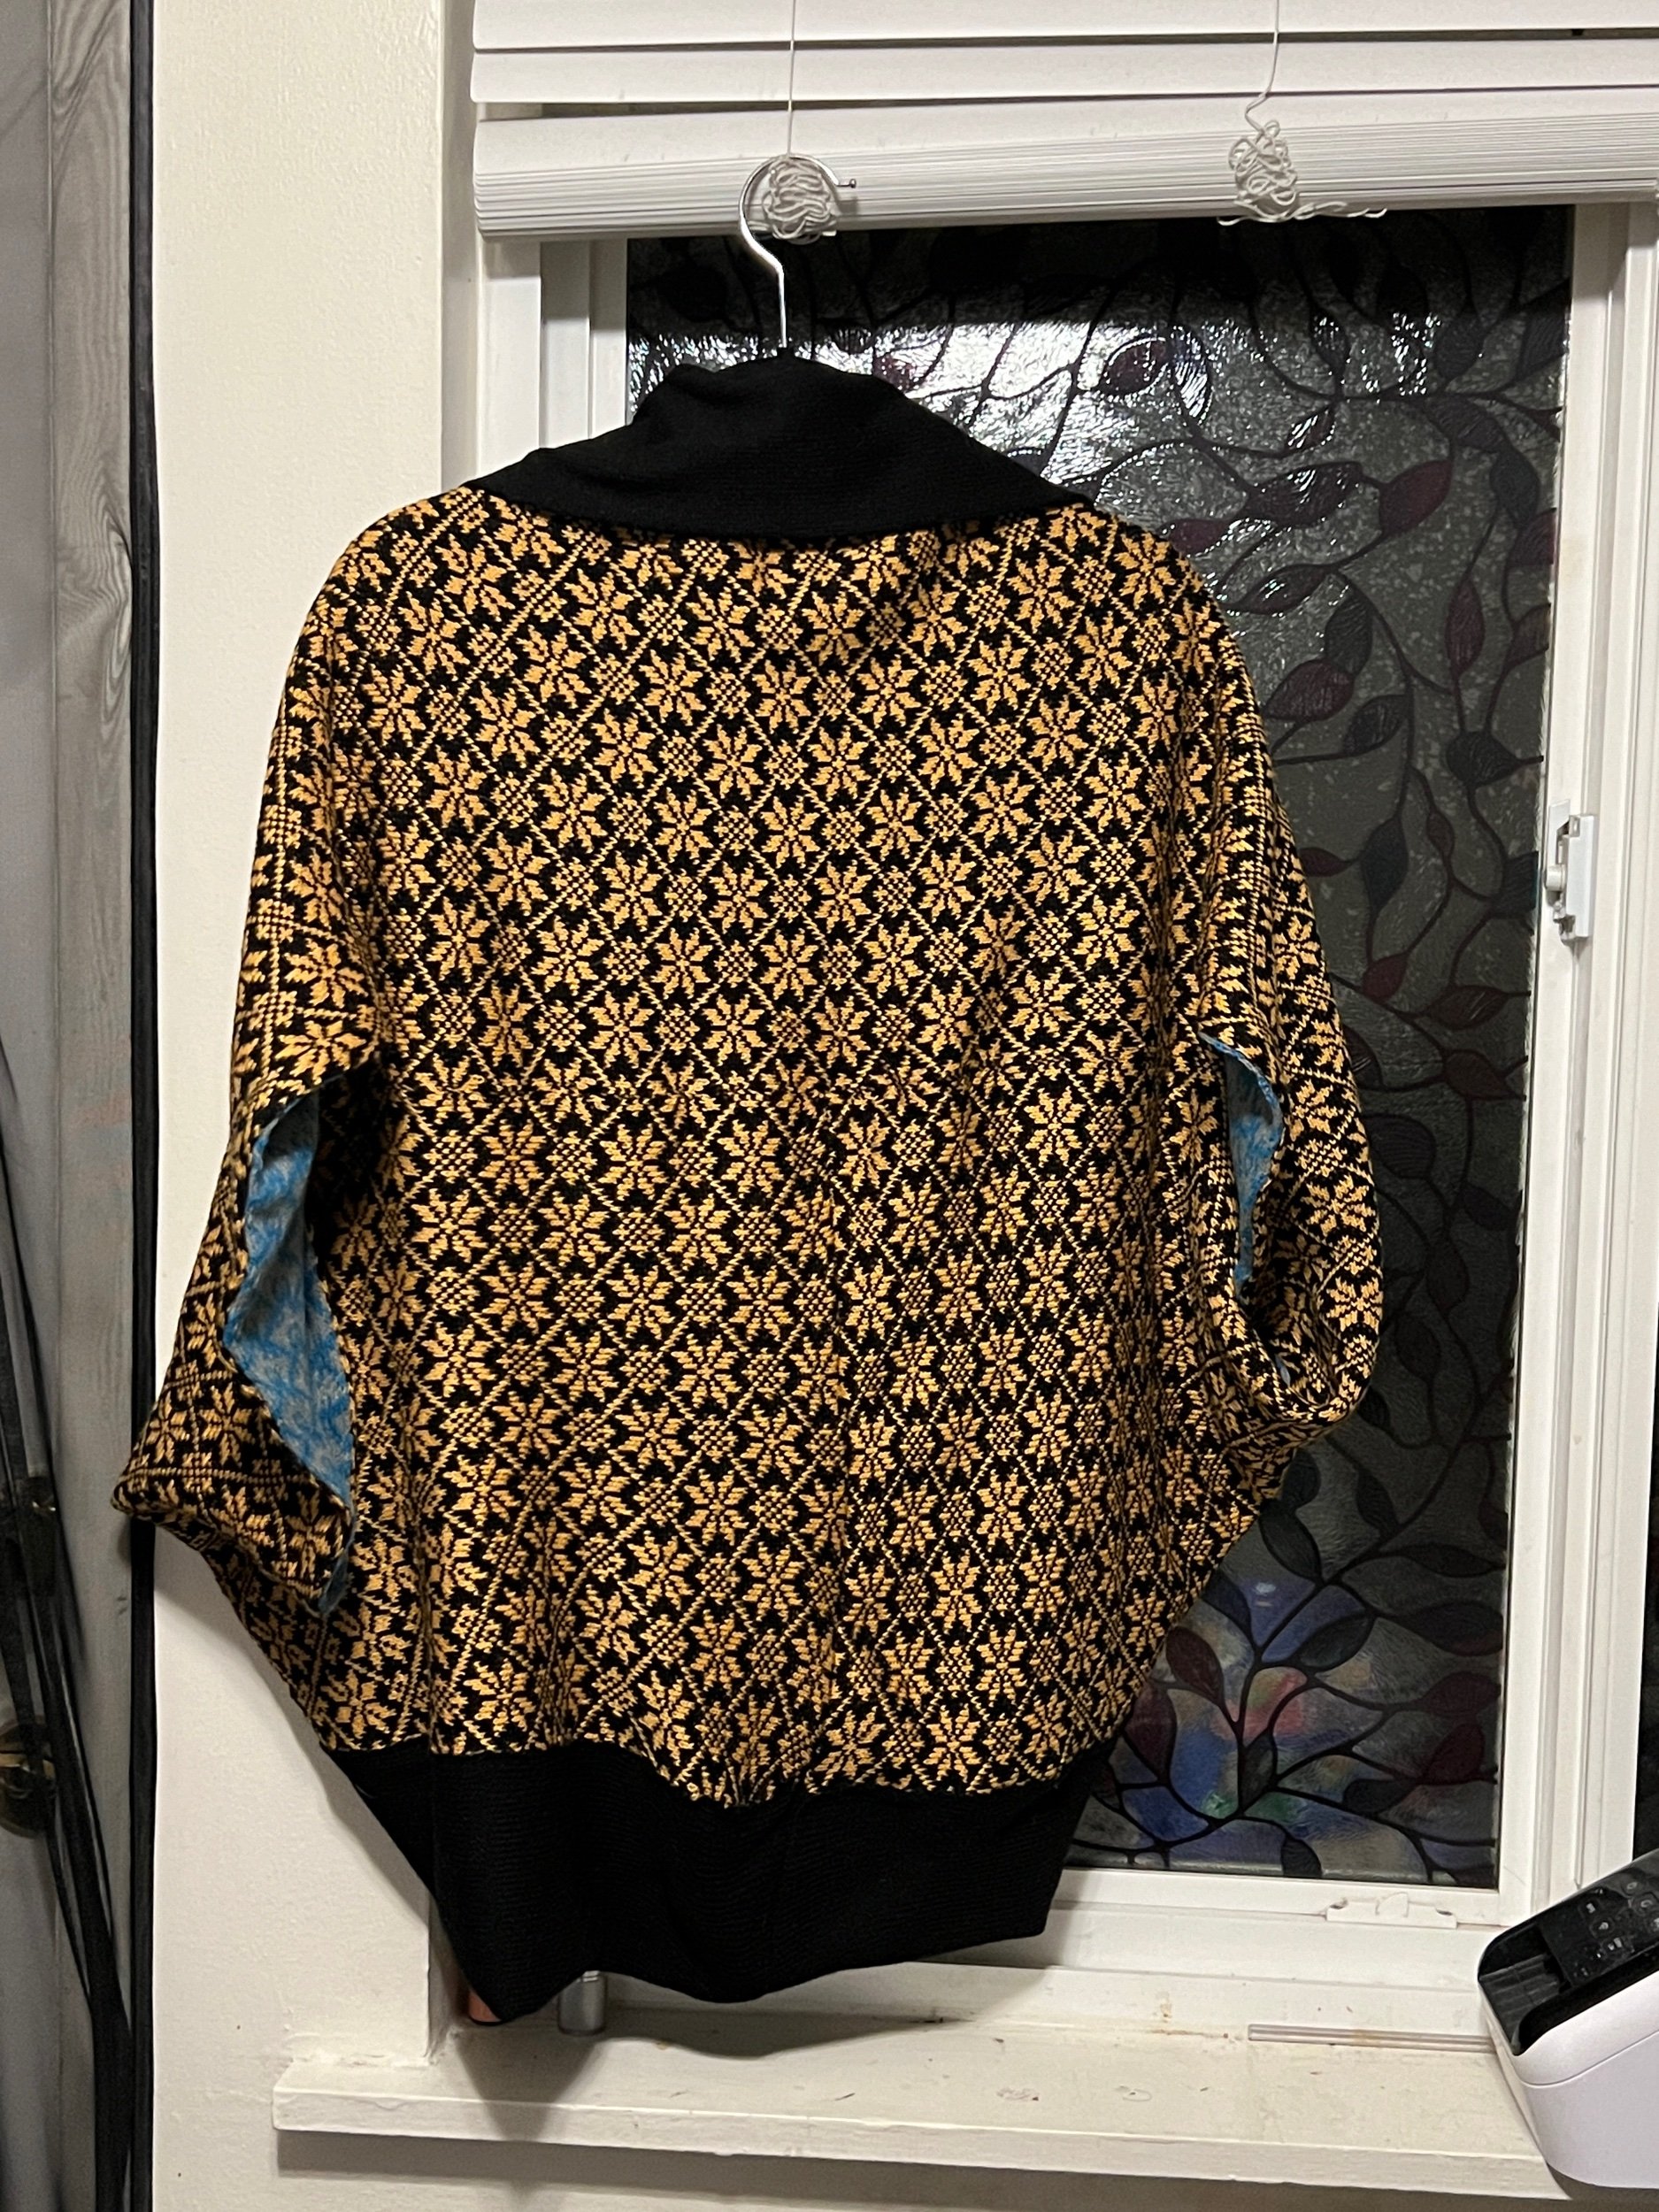

This project is done! I will measure its dimensions when I can. The black panel looks intentional and awesome!
Total garment weight: 399grams.
Laid as it sits this total vertical width top and bottom comes to 44 cm (x 2). The horizontal length left and right is 109 cm (full panel x2). The inside snowflake panel is on the garment inside and therefore matches these finished dimensions.