These notes follow this VIDEO. Other sections of information can be found in the KNIT CONTOUR blog entry and the TENSION SWATCH blog entry.
(TIME MARK 50:30) Demo noted if using the ribber to create the Knit Contour sweater using the ribber (not the manually manipulated rib that was demonstrated). Knit ONE Purl ONE
Set the half pitch lever to P for Knit ONE Purl ONE. And the Swing Indicator to P5
First push the required number of needles to the D position on the knitting bed and then push every other needle back to the A position. Next push the ribber needles to the D position, arranging them so that they alternate with the knitters needles. Set both carriage set dials to the zero stitch setting. And then move the carriages once or twice to align the needles into the B position. Making sure to complete the movement with the carriage on the left side. Next thread the yarn through the yarn feeder between the two carriages. Temporarily secure the yarn tail as needed under the machine. Knit one row from left to right. Using the ribber cast on comb remove the wire and hold it from under the machine up into the needles - add the wire back into the comb to hang it there. Add weights. Now set both carriages according to the instructions in the manual and knit three rows:
(Without explaining it): visual demo showed ribber carriage left front lever beside dial in the up position with carriage on right moving to the left. On the left the main carriage cam ring was moved to SLIP (from knitting) and the carriage was moved from left to right. The cam ring was moved from SLIP back to knitting with the carriage moved from the right to the left.
With this cast on is complete.
Reset the carriages. (Without explaining it the front left lever beside the ribber dial was lowered and the stitch setting adjusted). Now you can begin knitting in Knit ONE Purl ONE rib.
You never have to cast on with waste yarn and you never have to reform stitches by hand.
DEMO: If we were wanting to knit the back of the demo sweater noted in the KNIT CONTOUR blog entry we of course would need to start with a tension swatch.
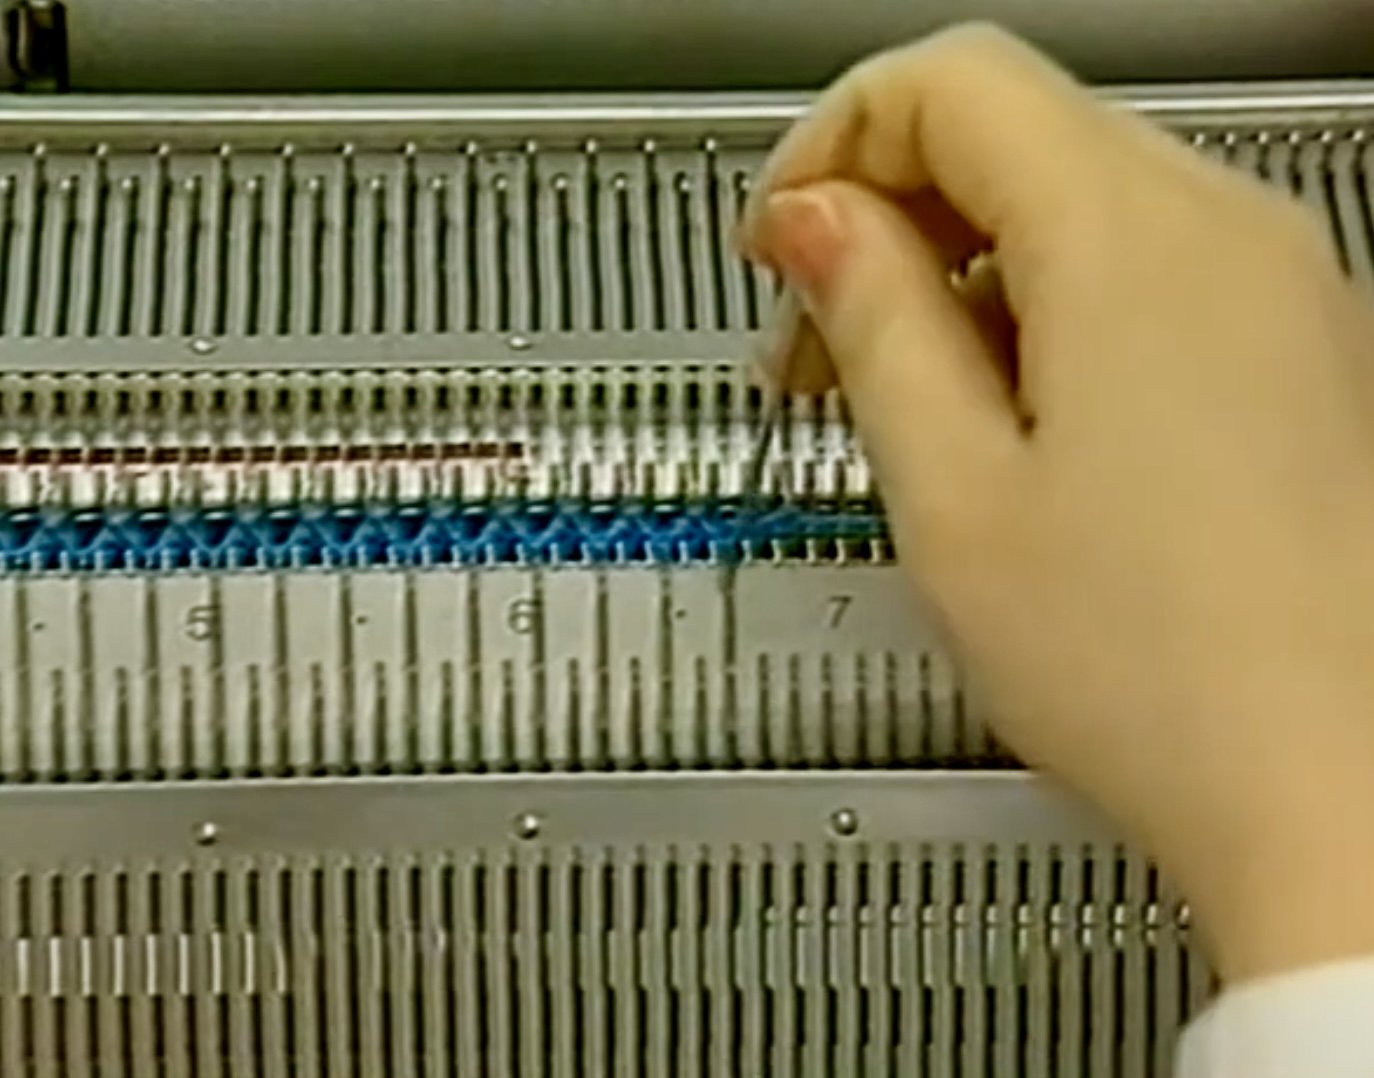
The demo stitch and row settings measured should be the same stitch scales. The row numbers will be reflected in the swatch. The next step is to arrange the needed needles for the K1P1 rib followed by casting on the main yarn and knitting the required number of rows for the welt. (TIME MARK 55:43) Using the double eye transfer needle transfer each ribber stitch to the corresponding knitting needle on the main bed.
Release the ribber carriage from the ribber arm using the switch on the metal component near the yarn feeder between both carriages. The ribber carriage will lean towards you. By depressing the drop levers twice that hold the ribber bed beneath the ribber, the ribber will lower the ribber to the lowest position. Then remove the weights and cast on comb from the fabric. Next we exchange the ribber arm on the main carriage back to the main carriage sinker plate. Thread the carriage. Reset the row number and stitch dial.


