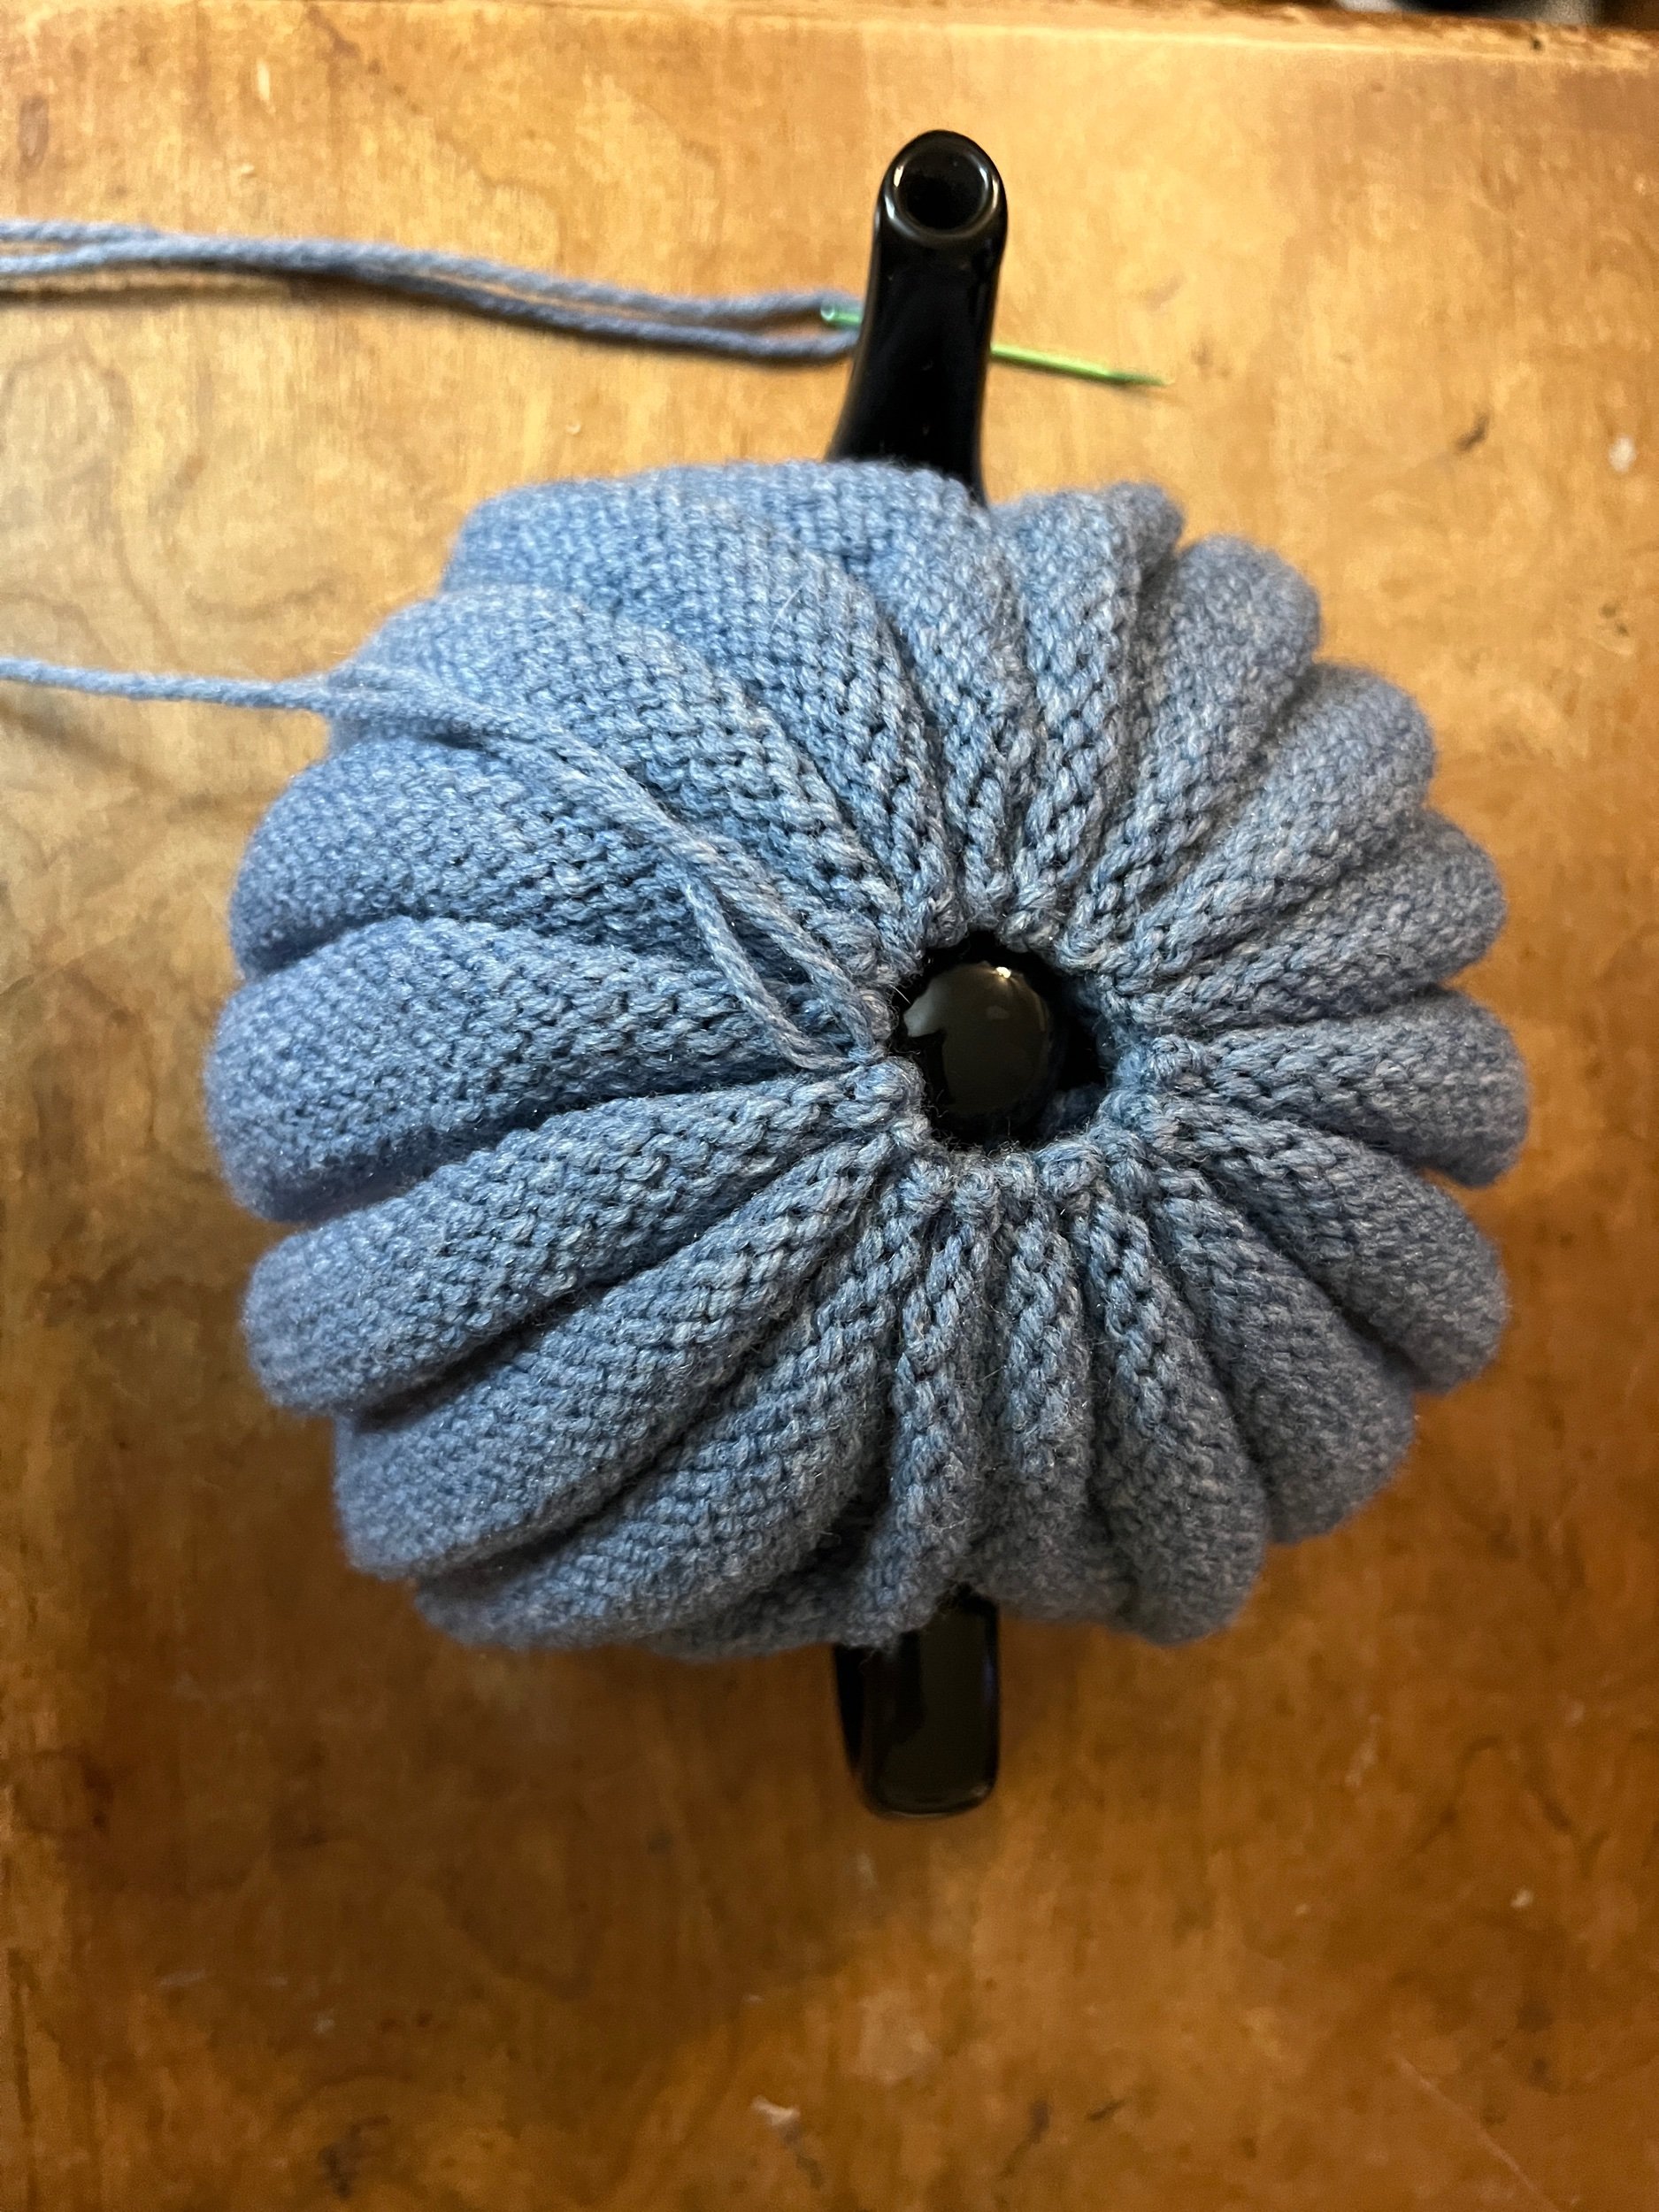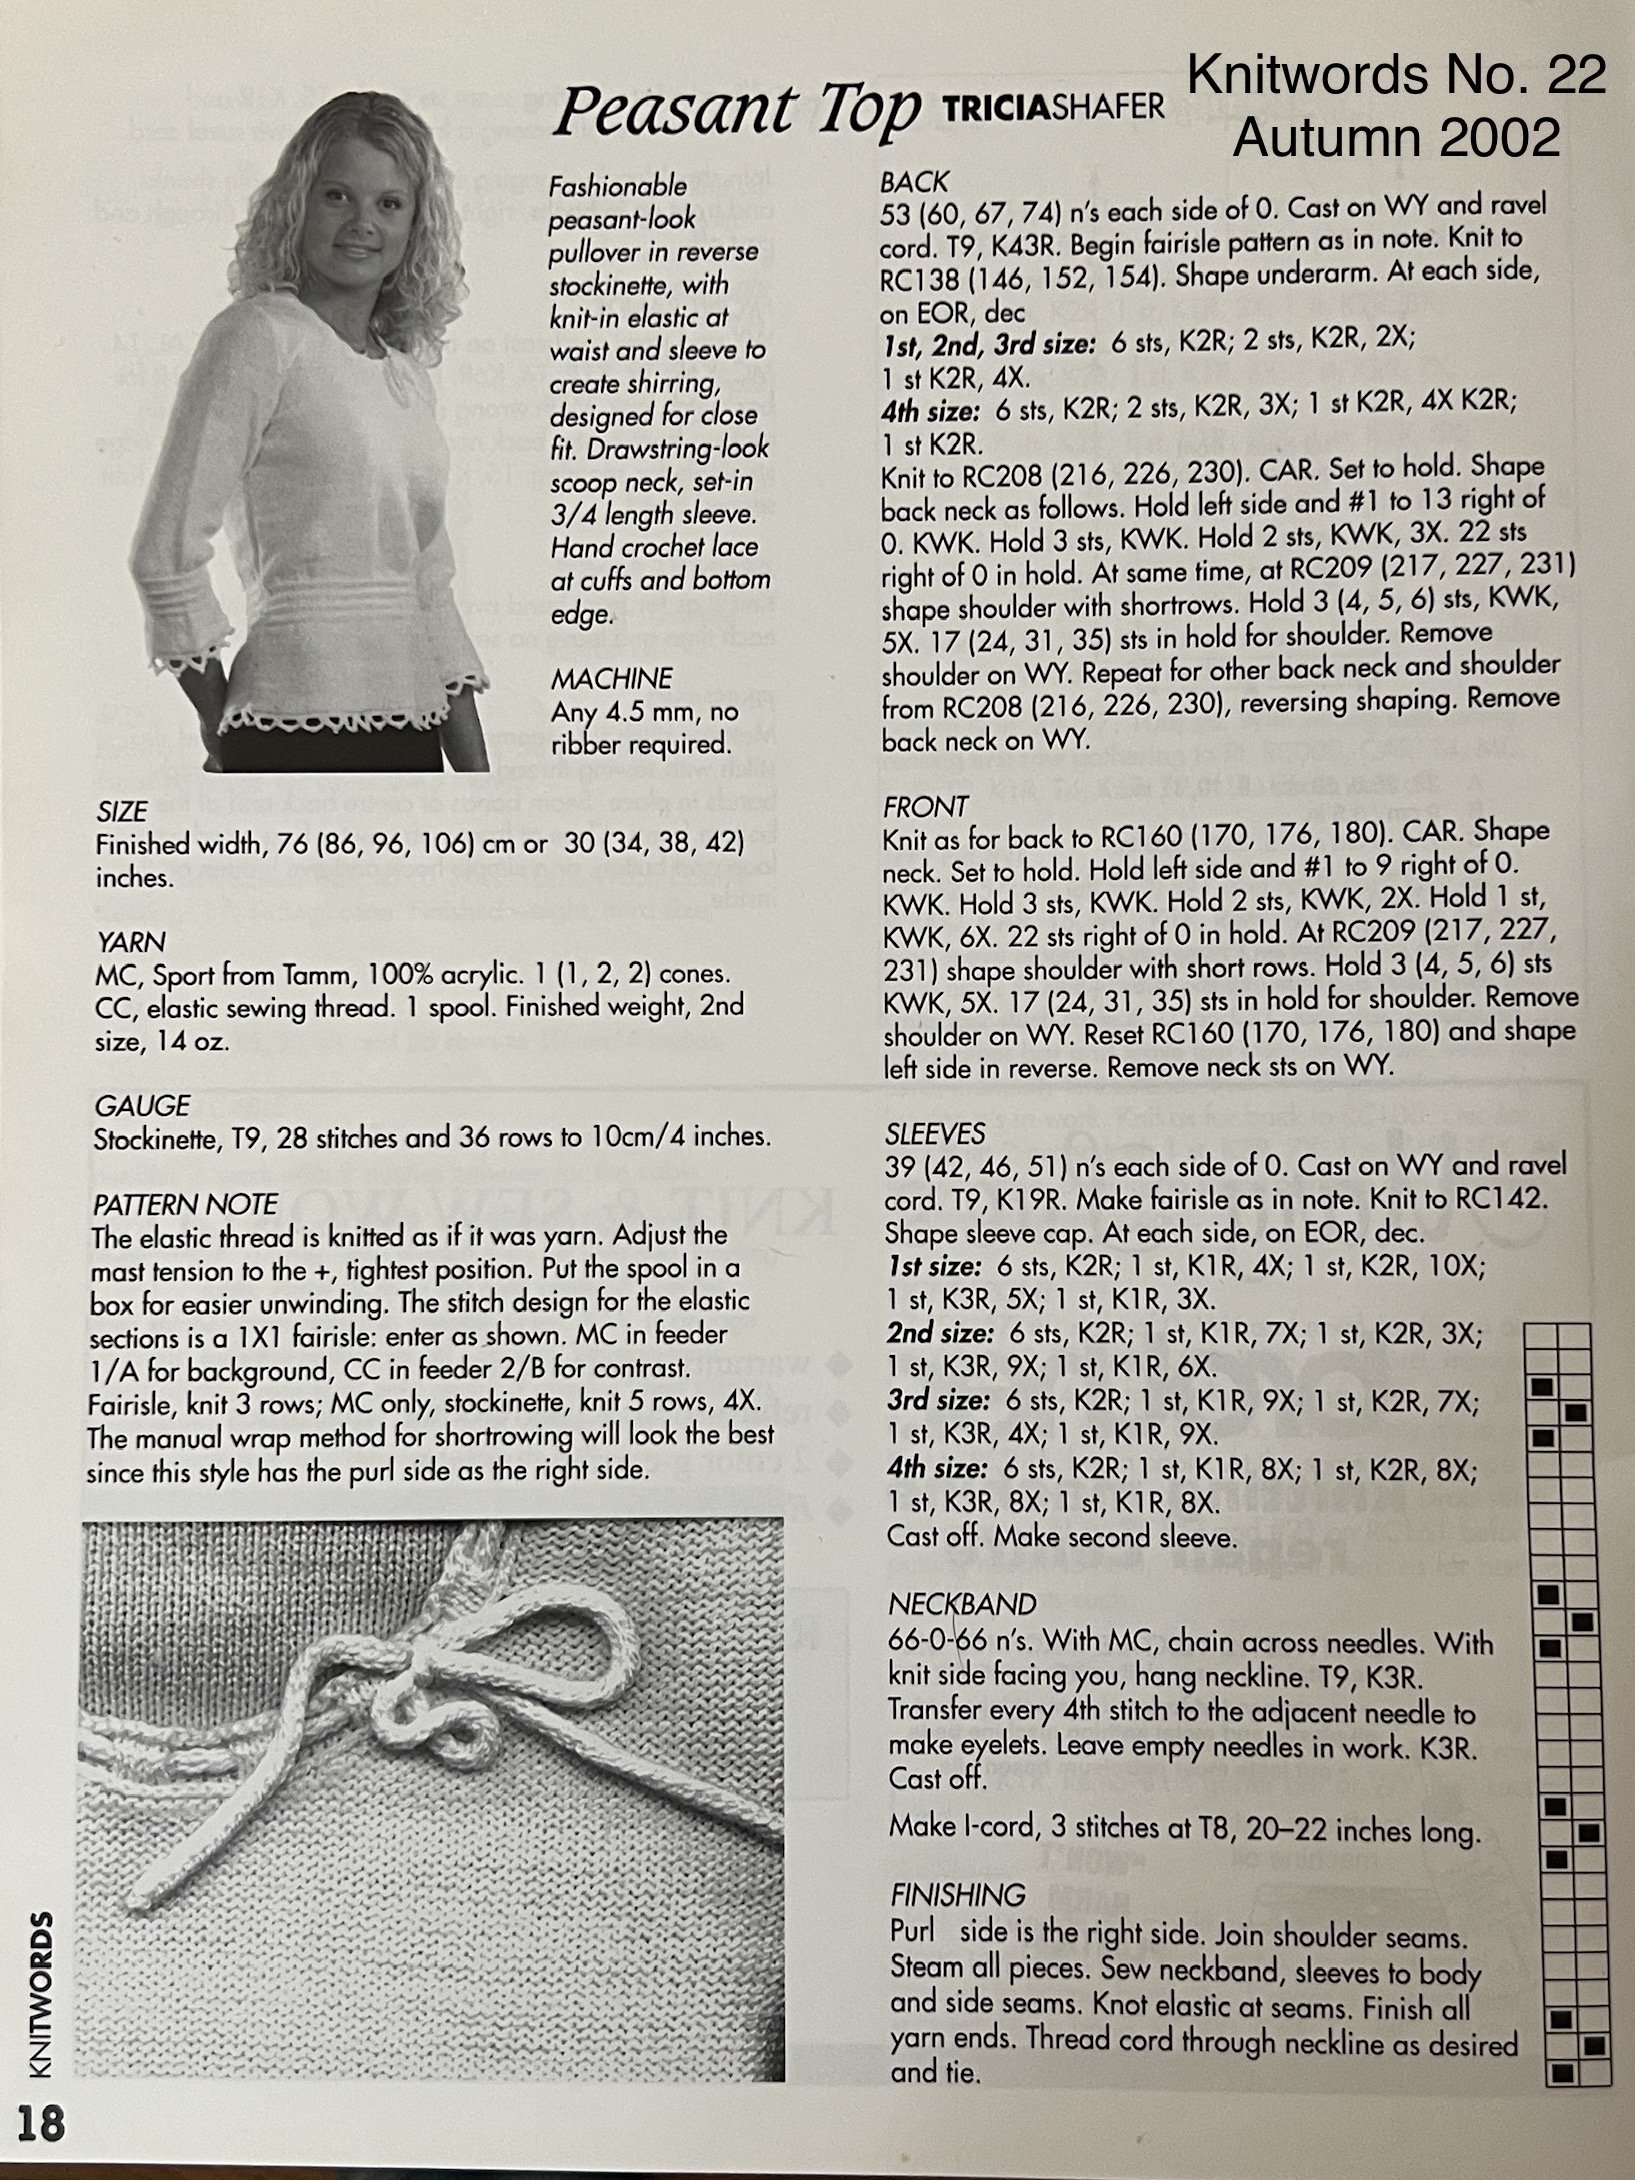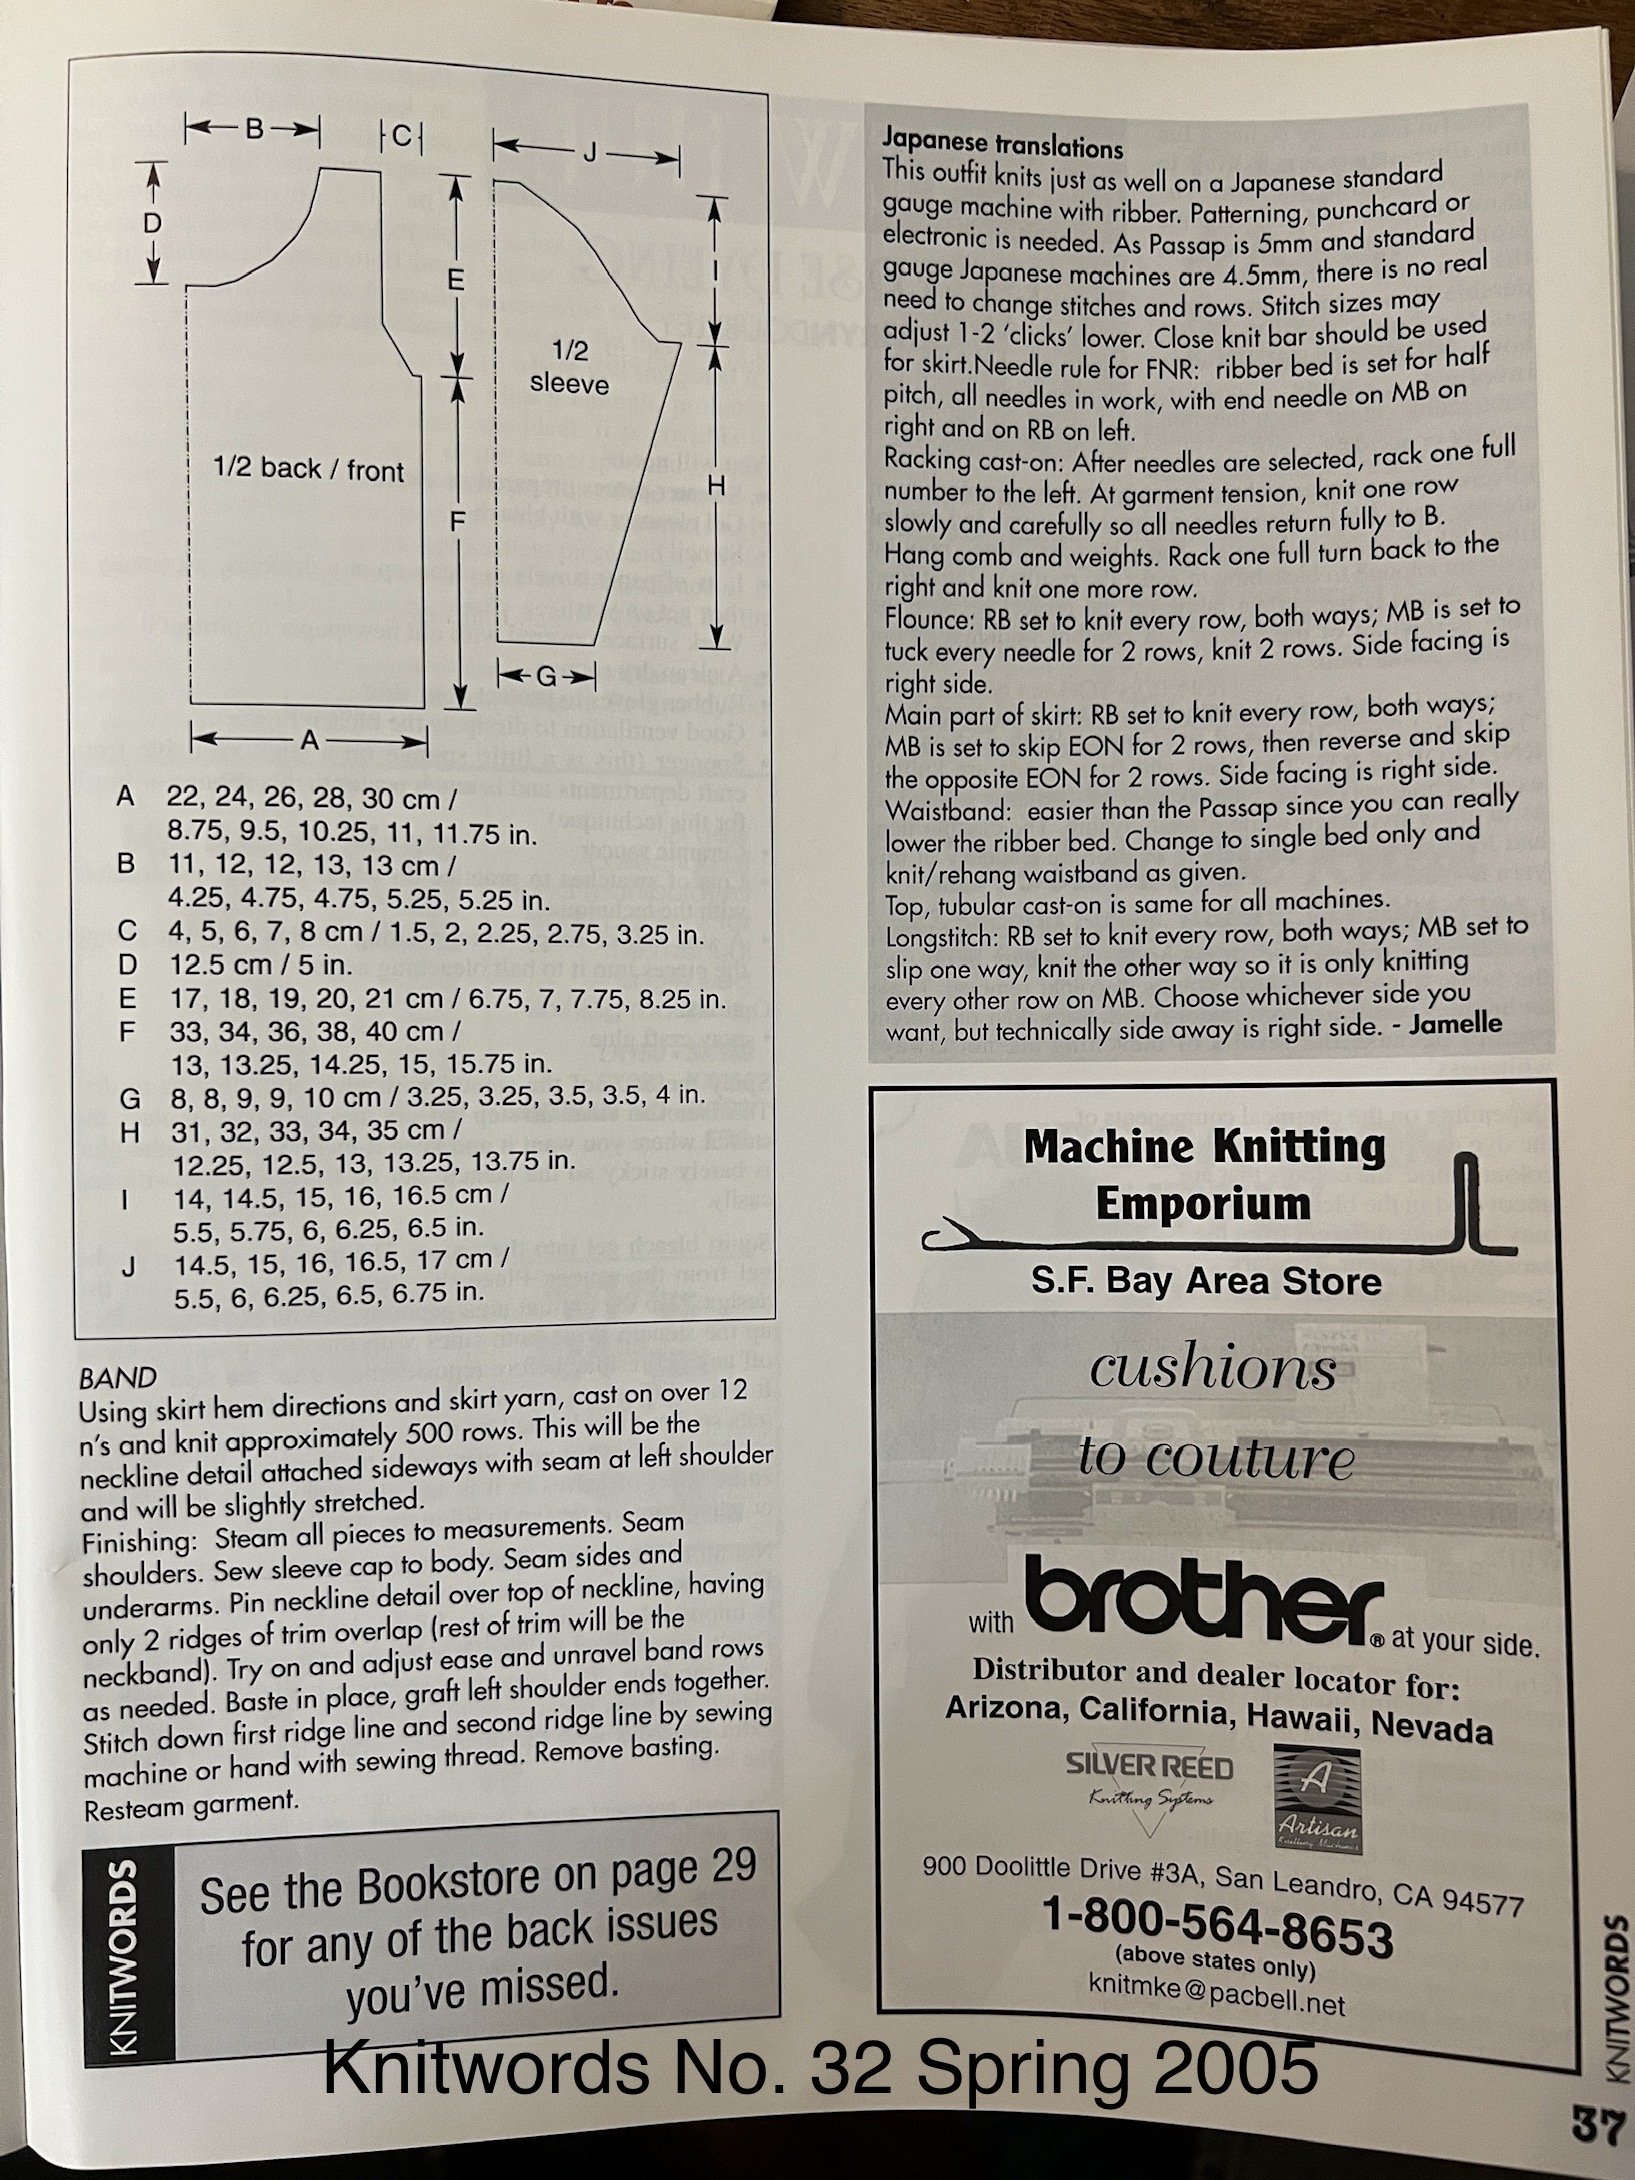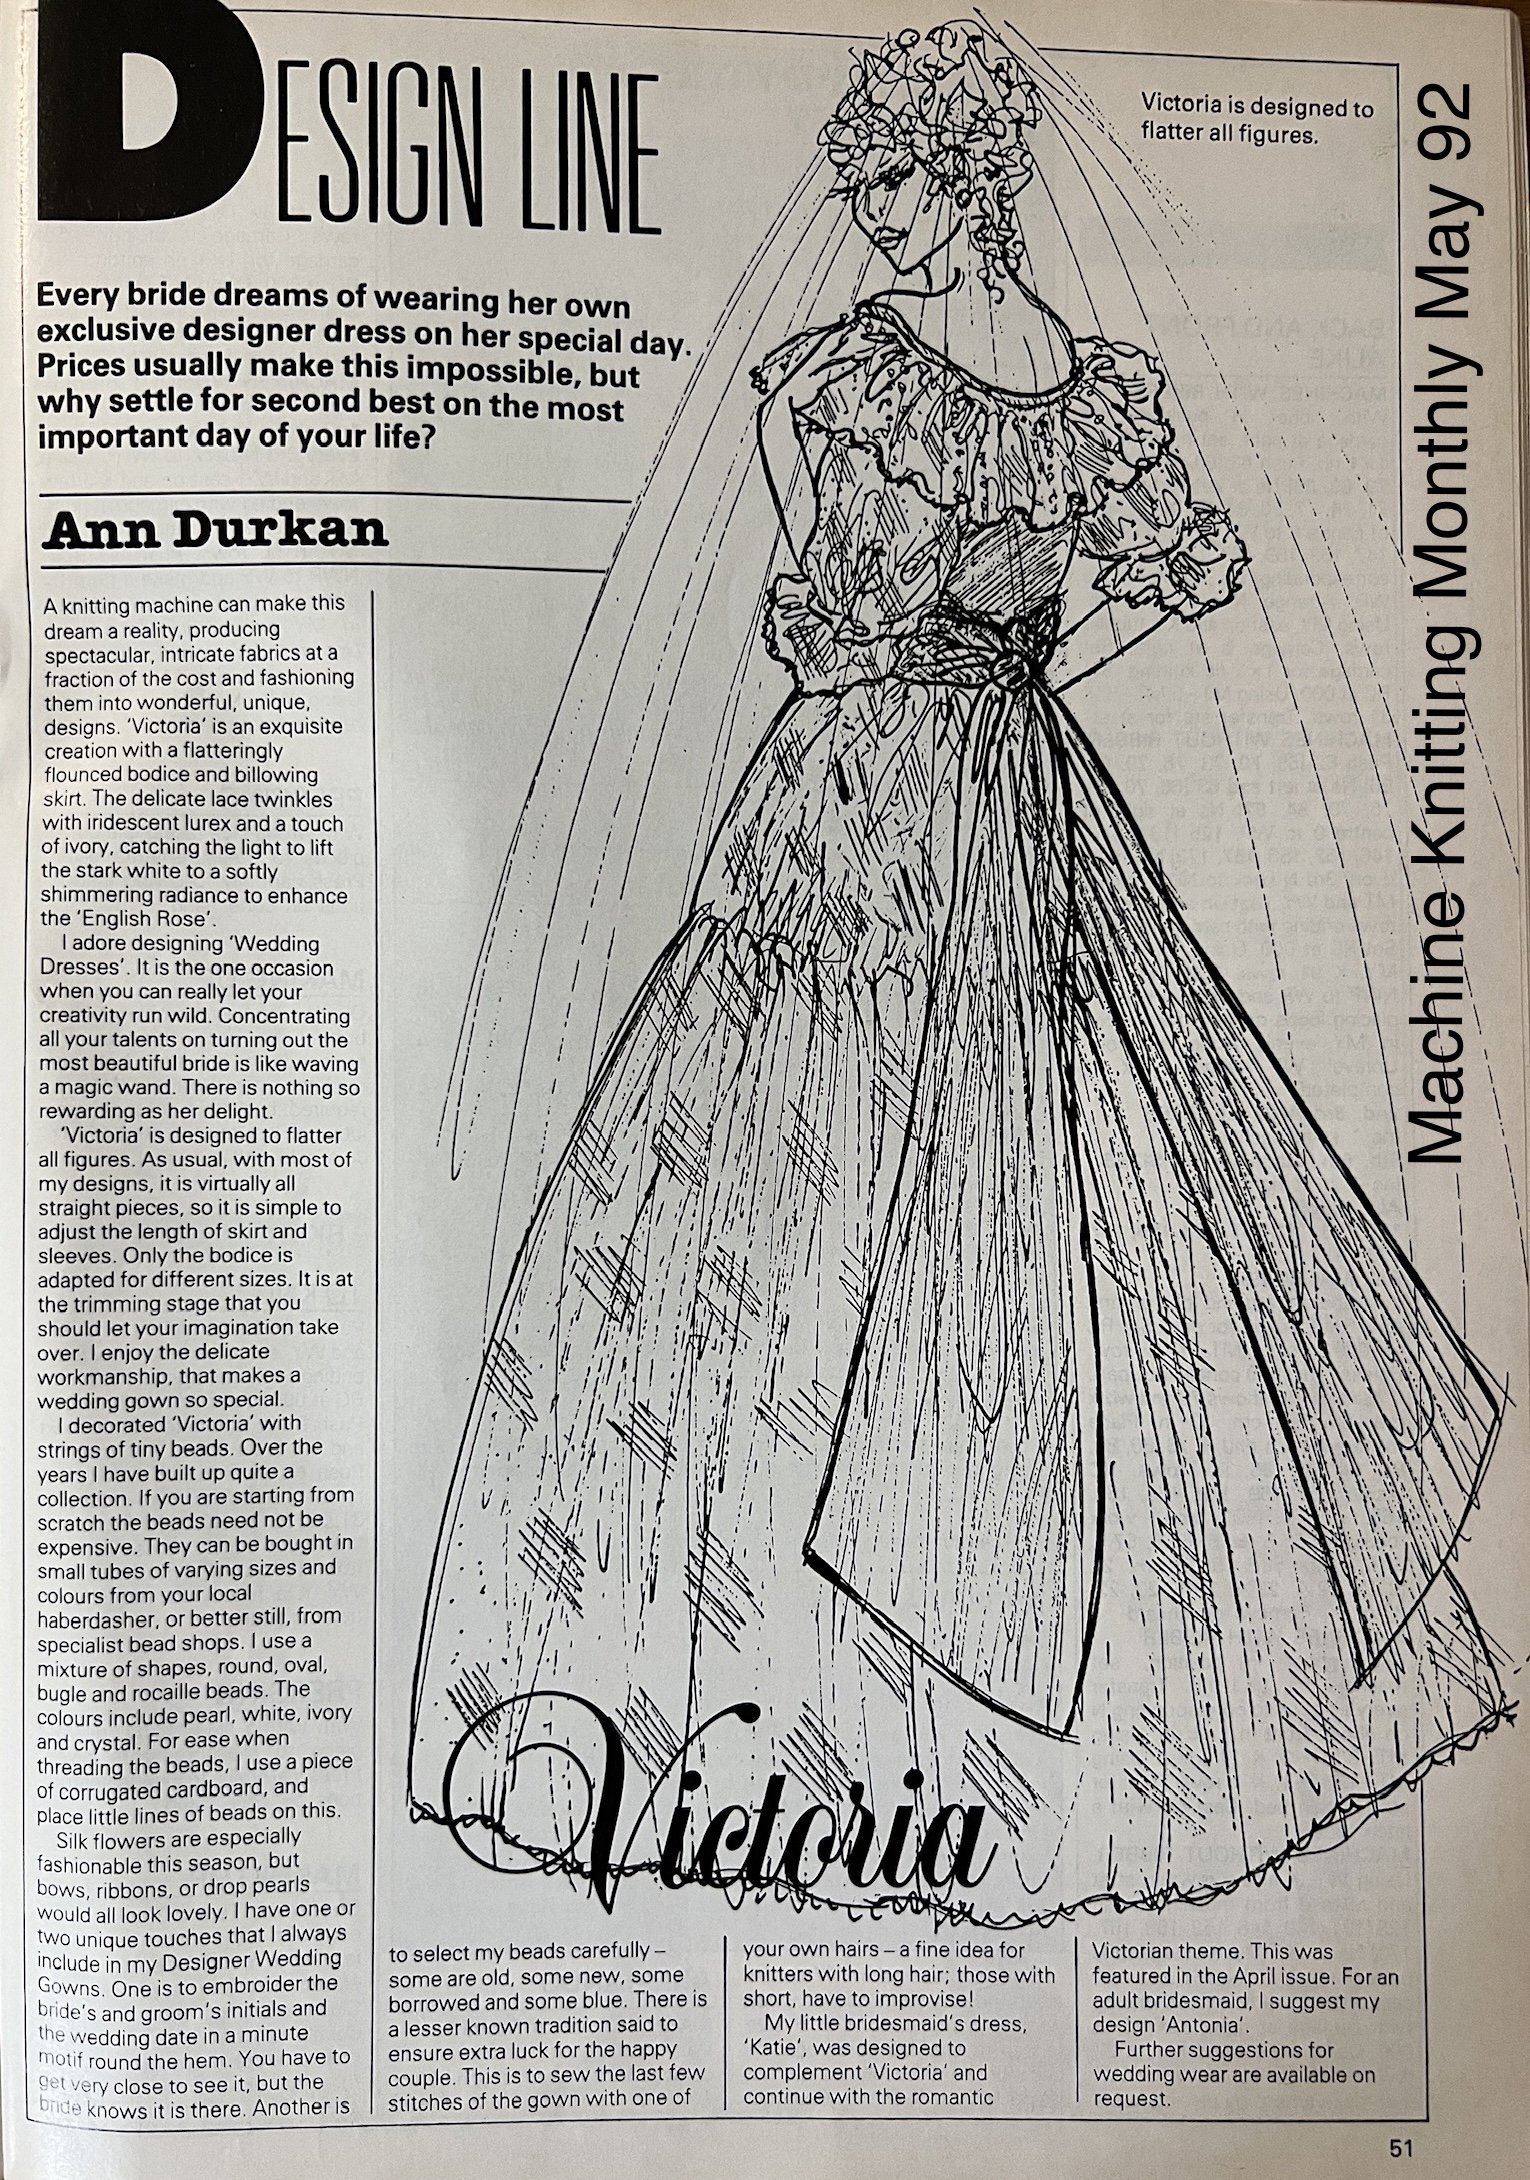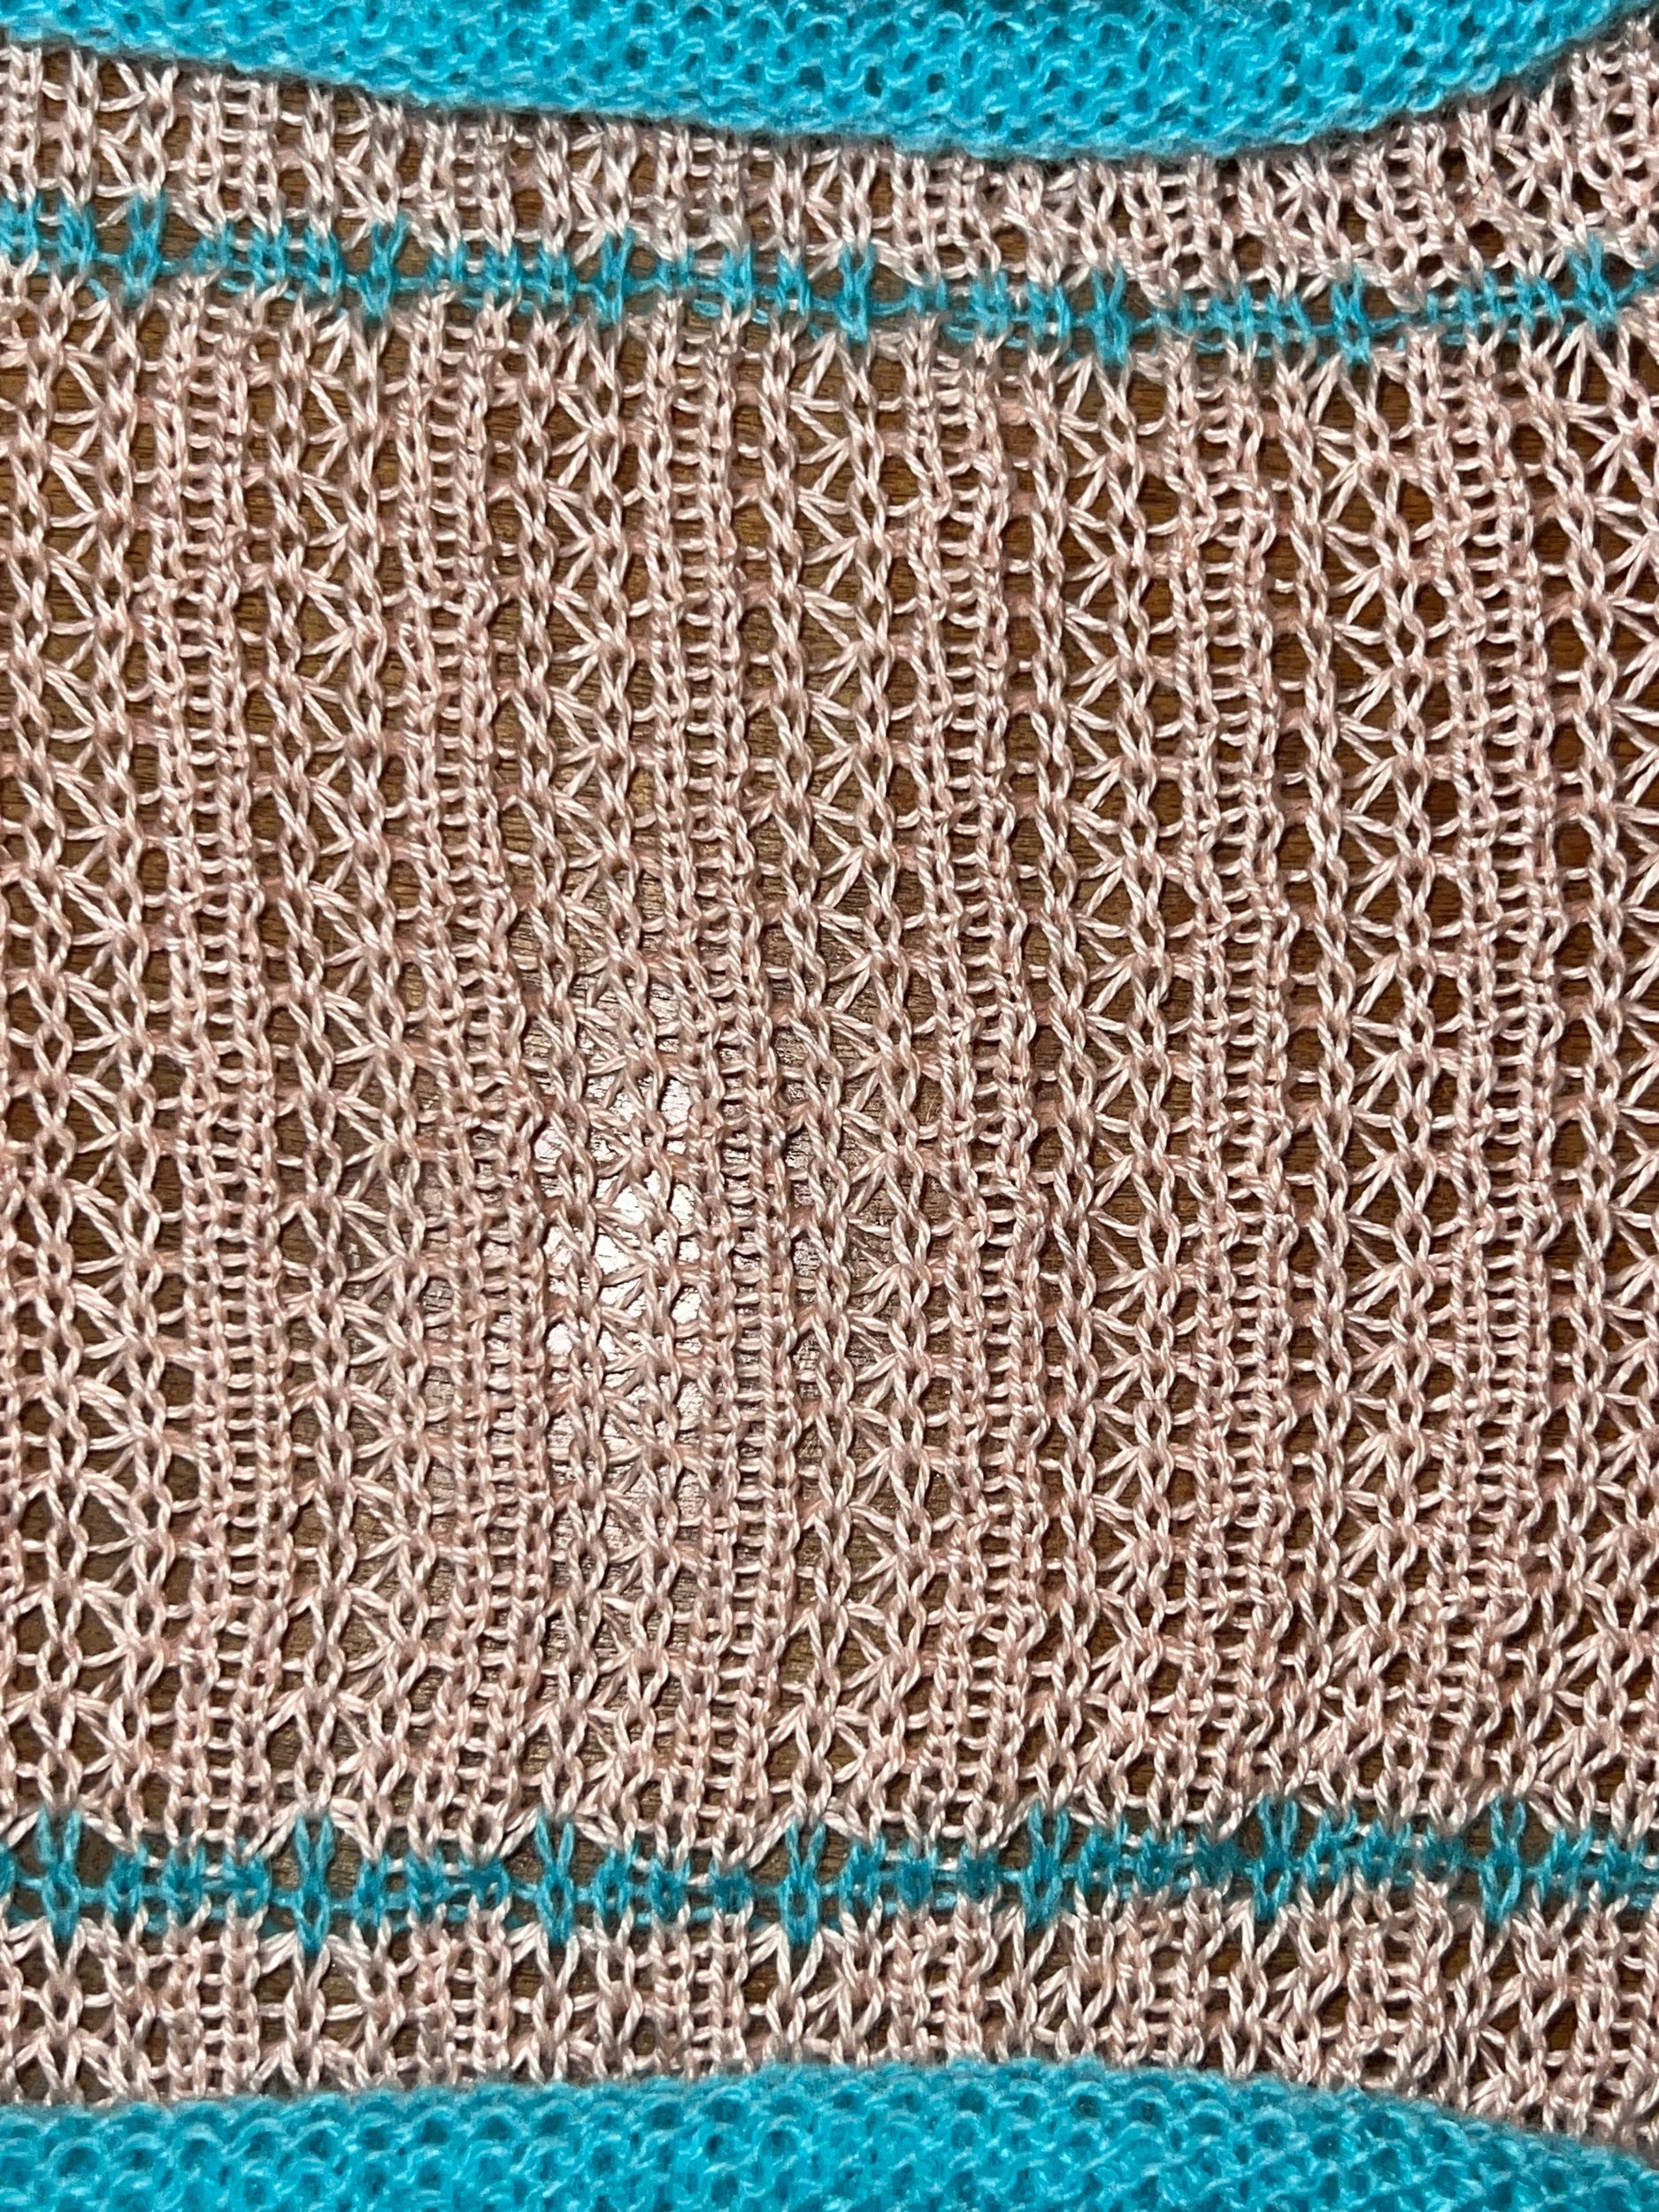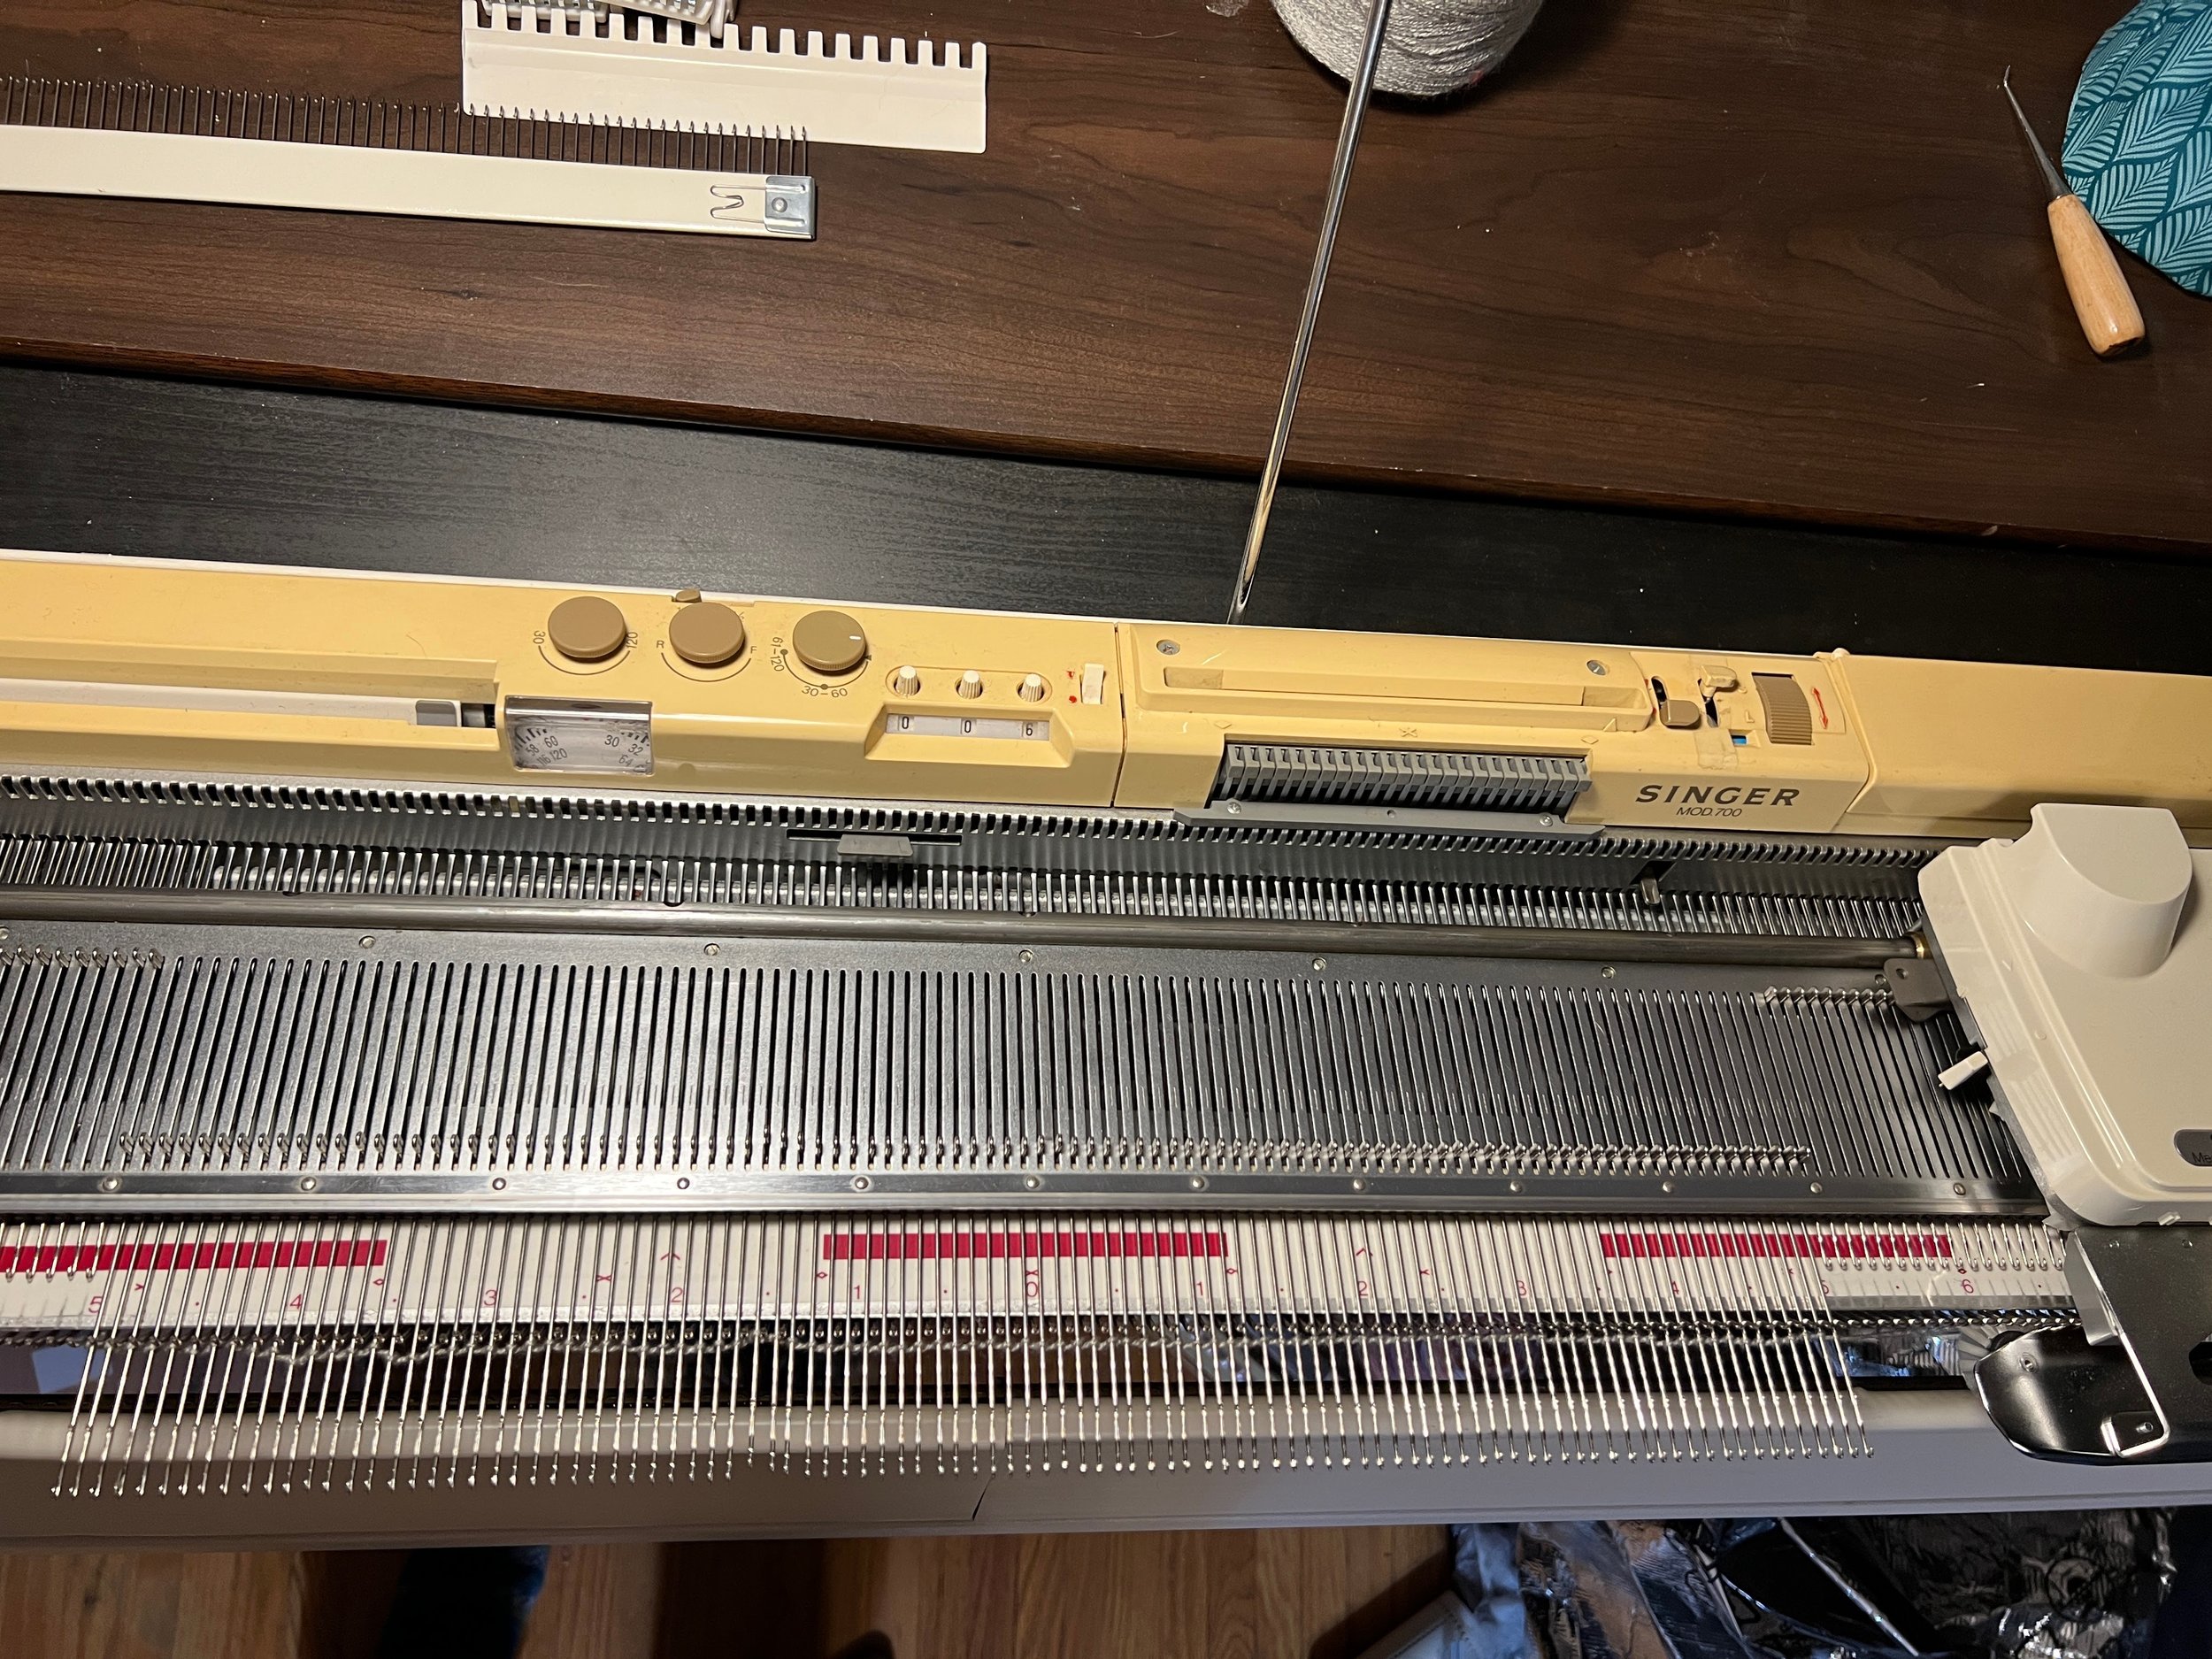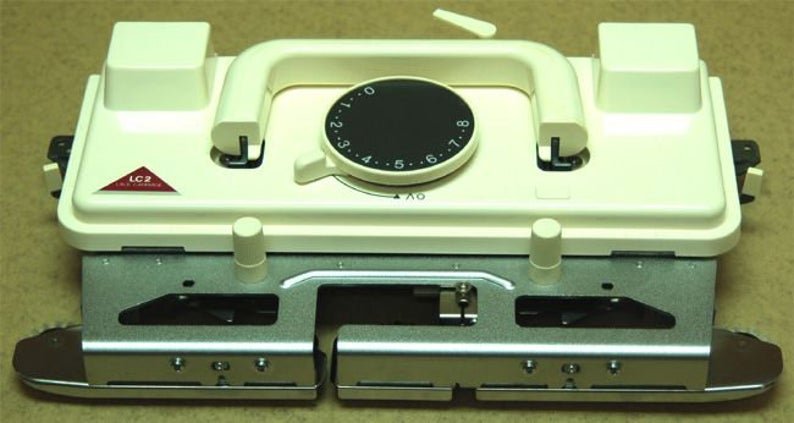
2023 Jul 17 - Quick Knit Bag

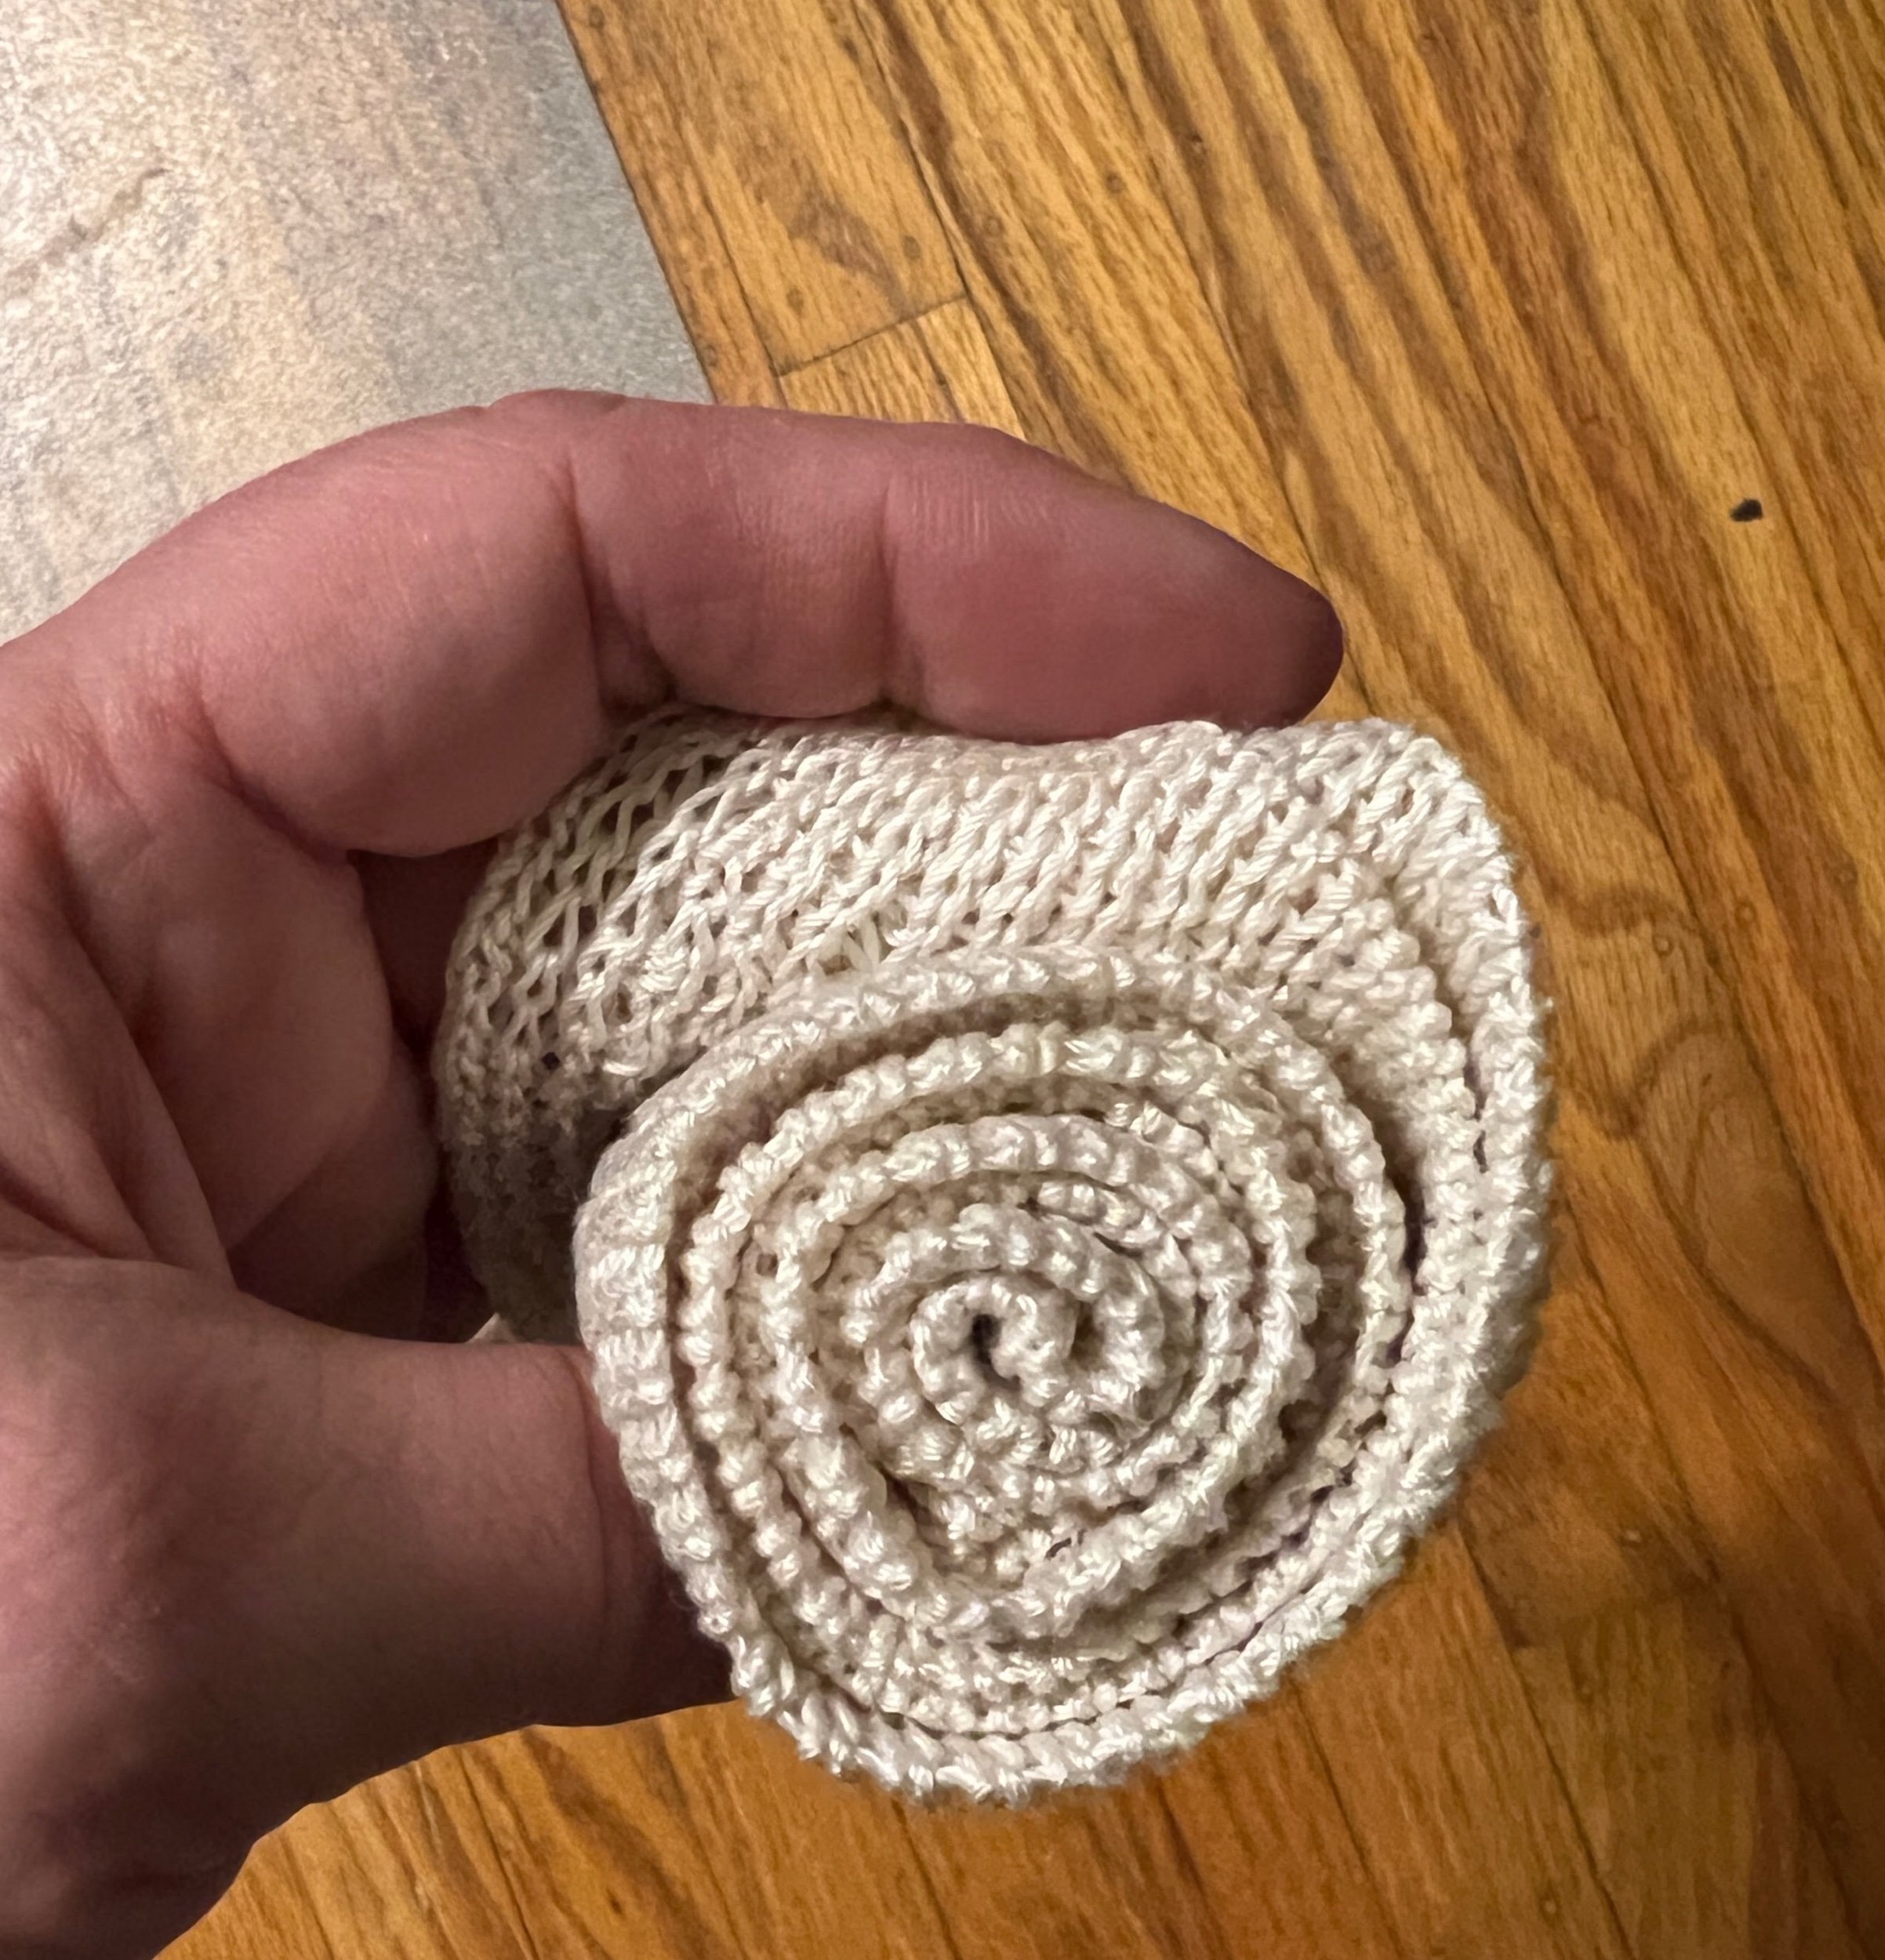
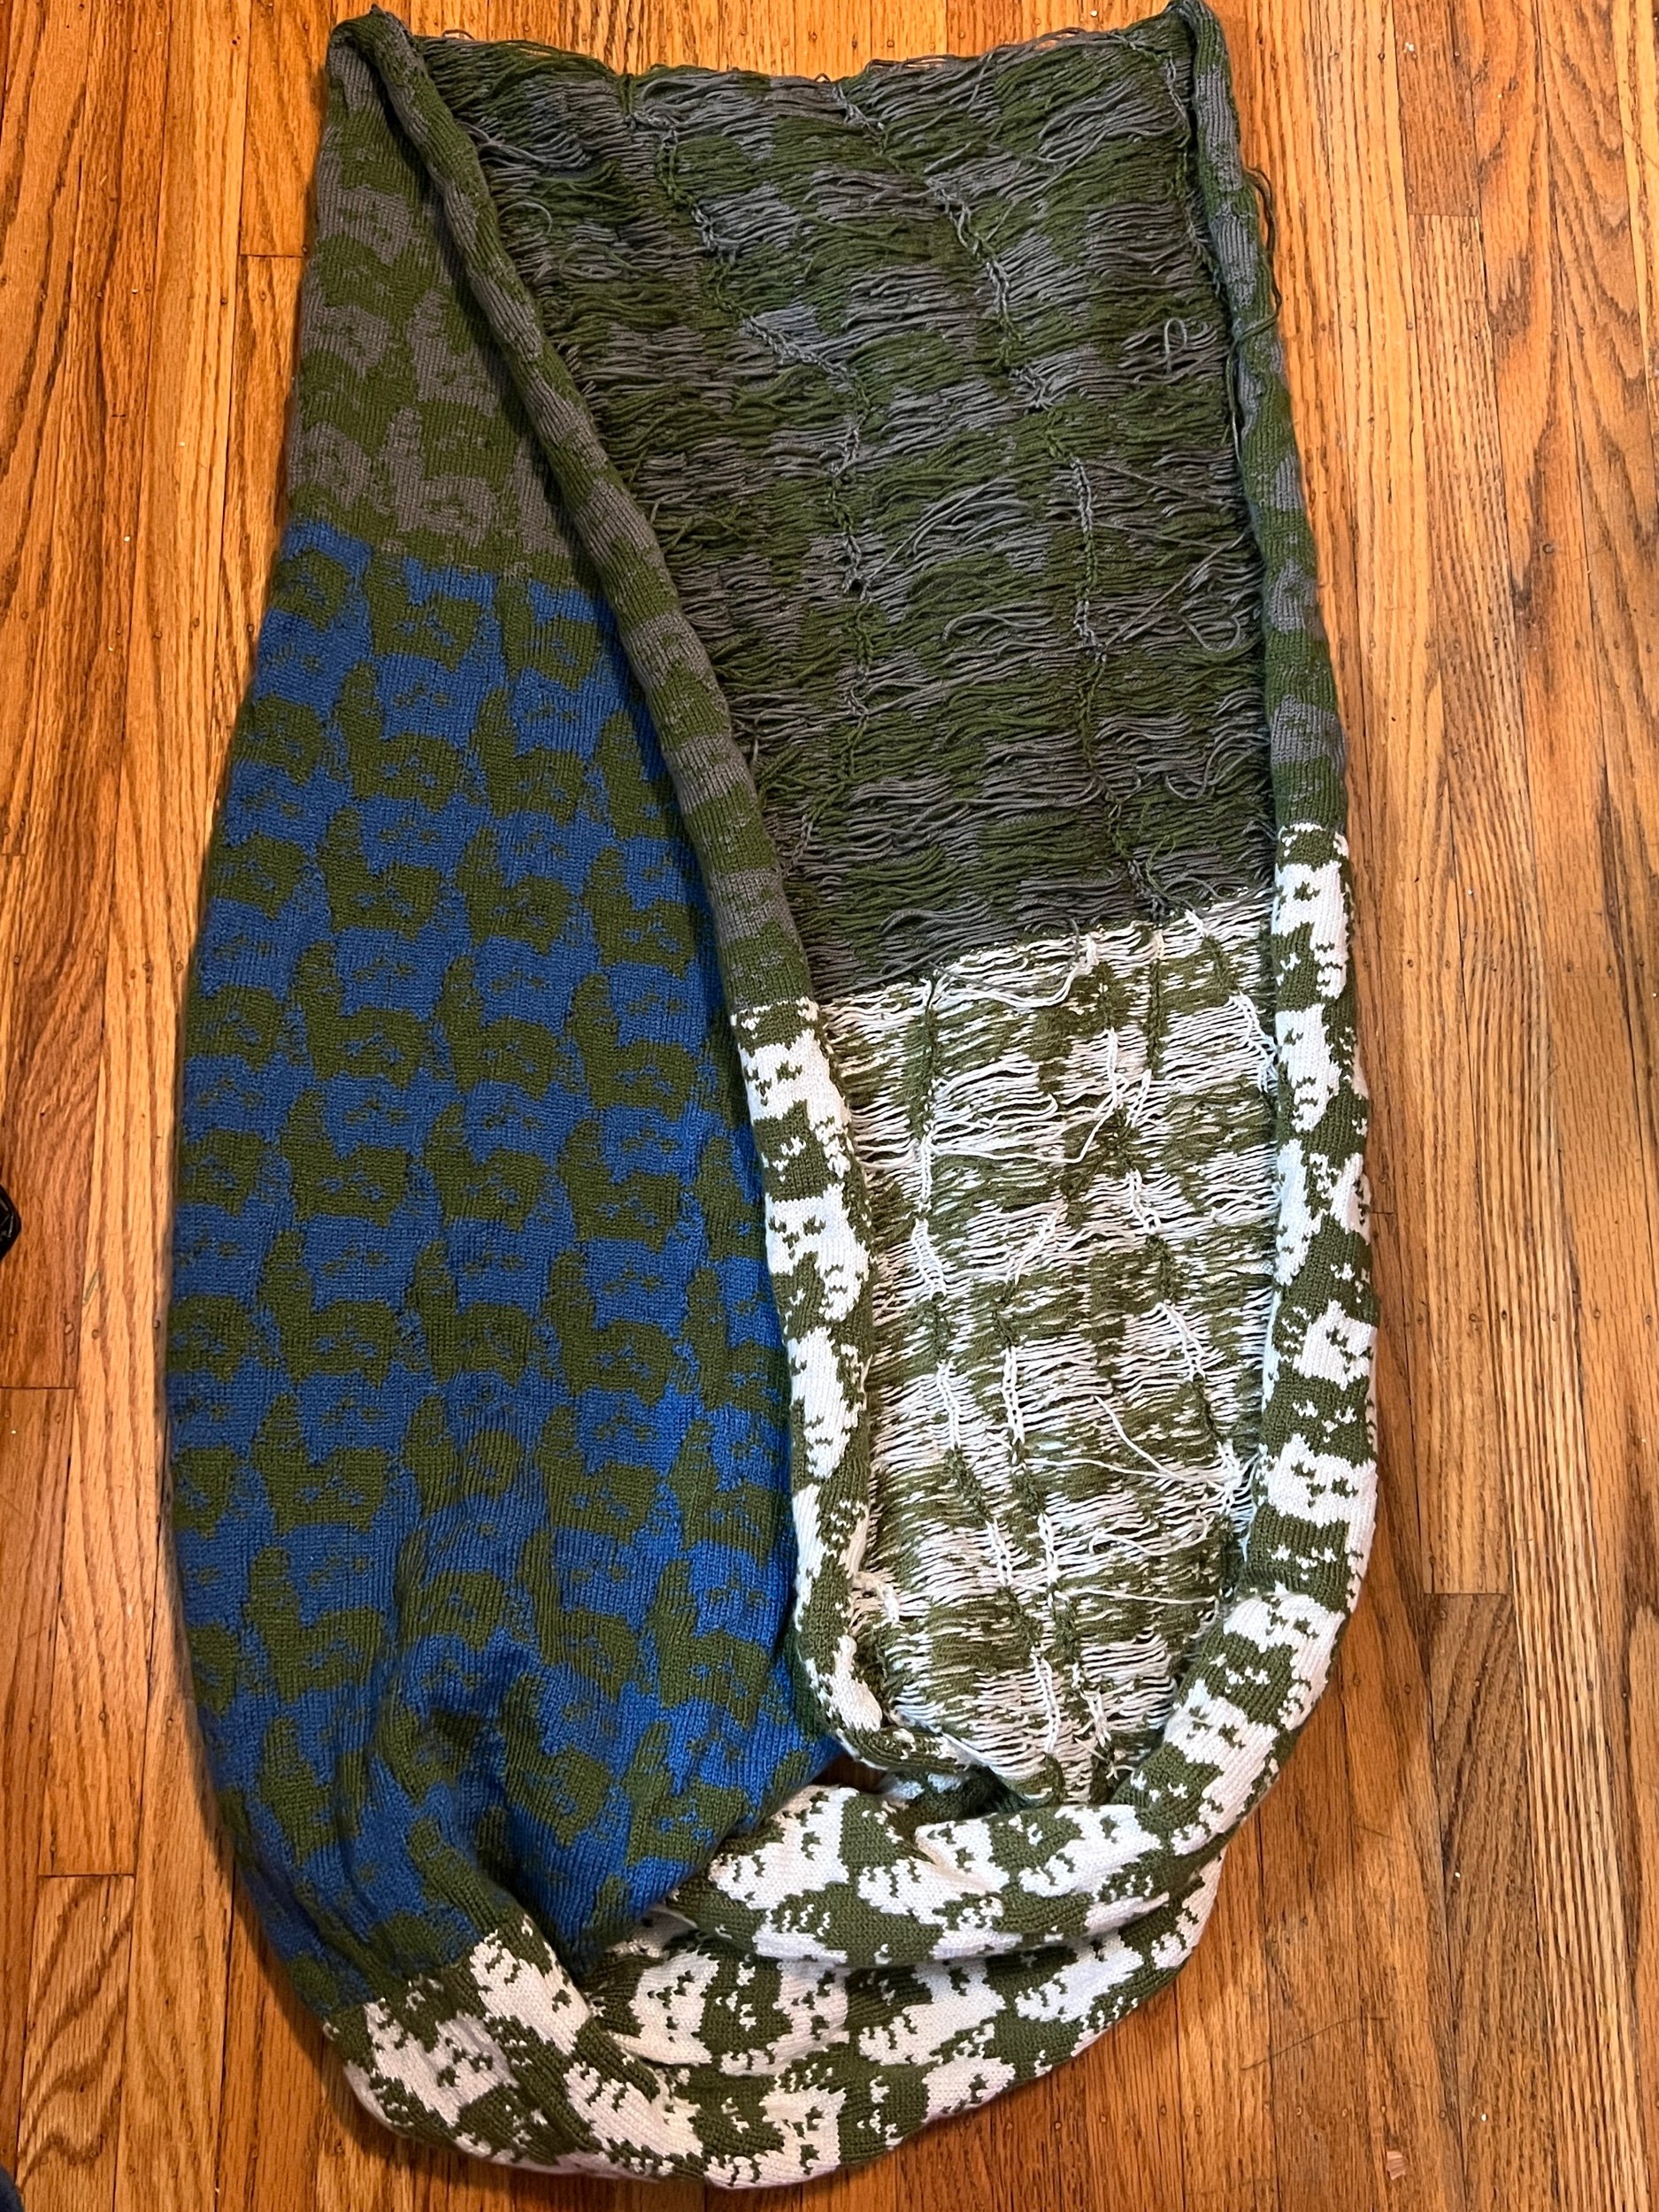
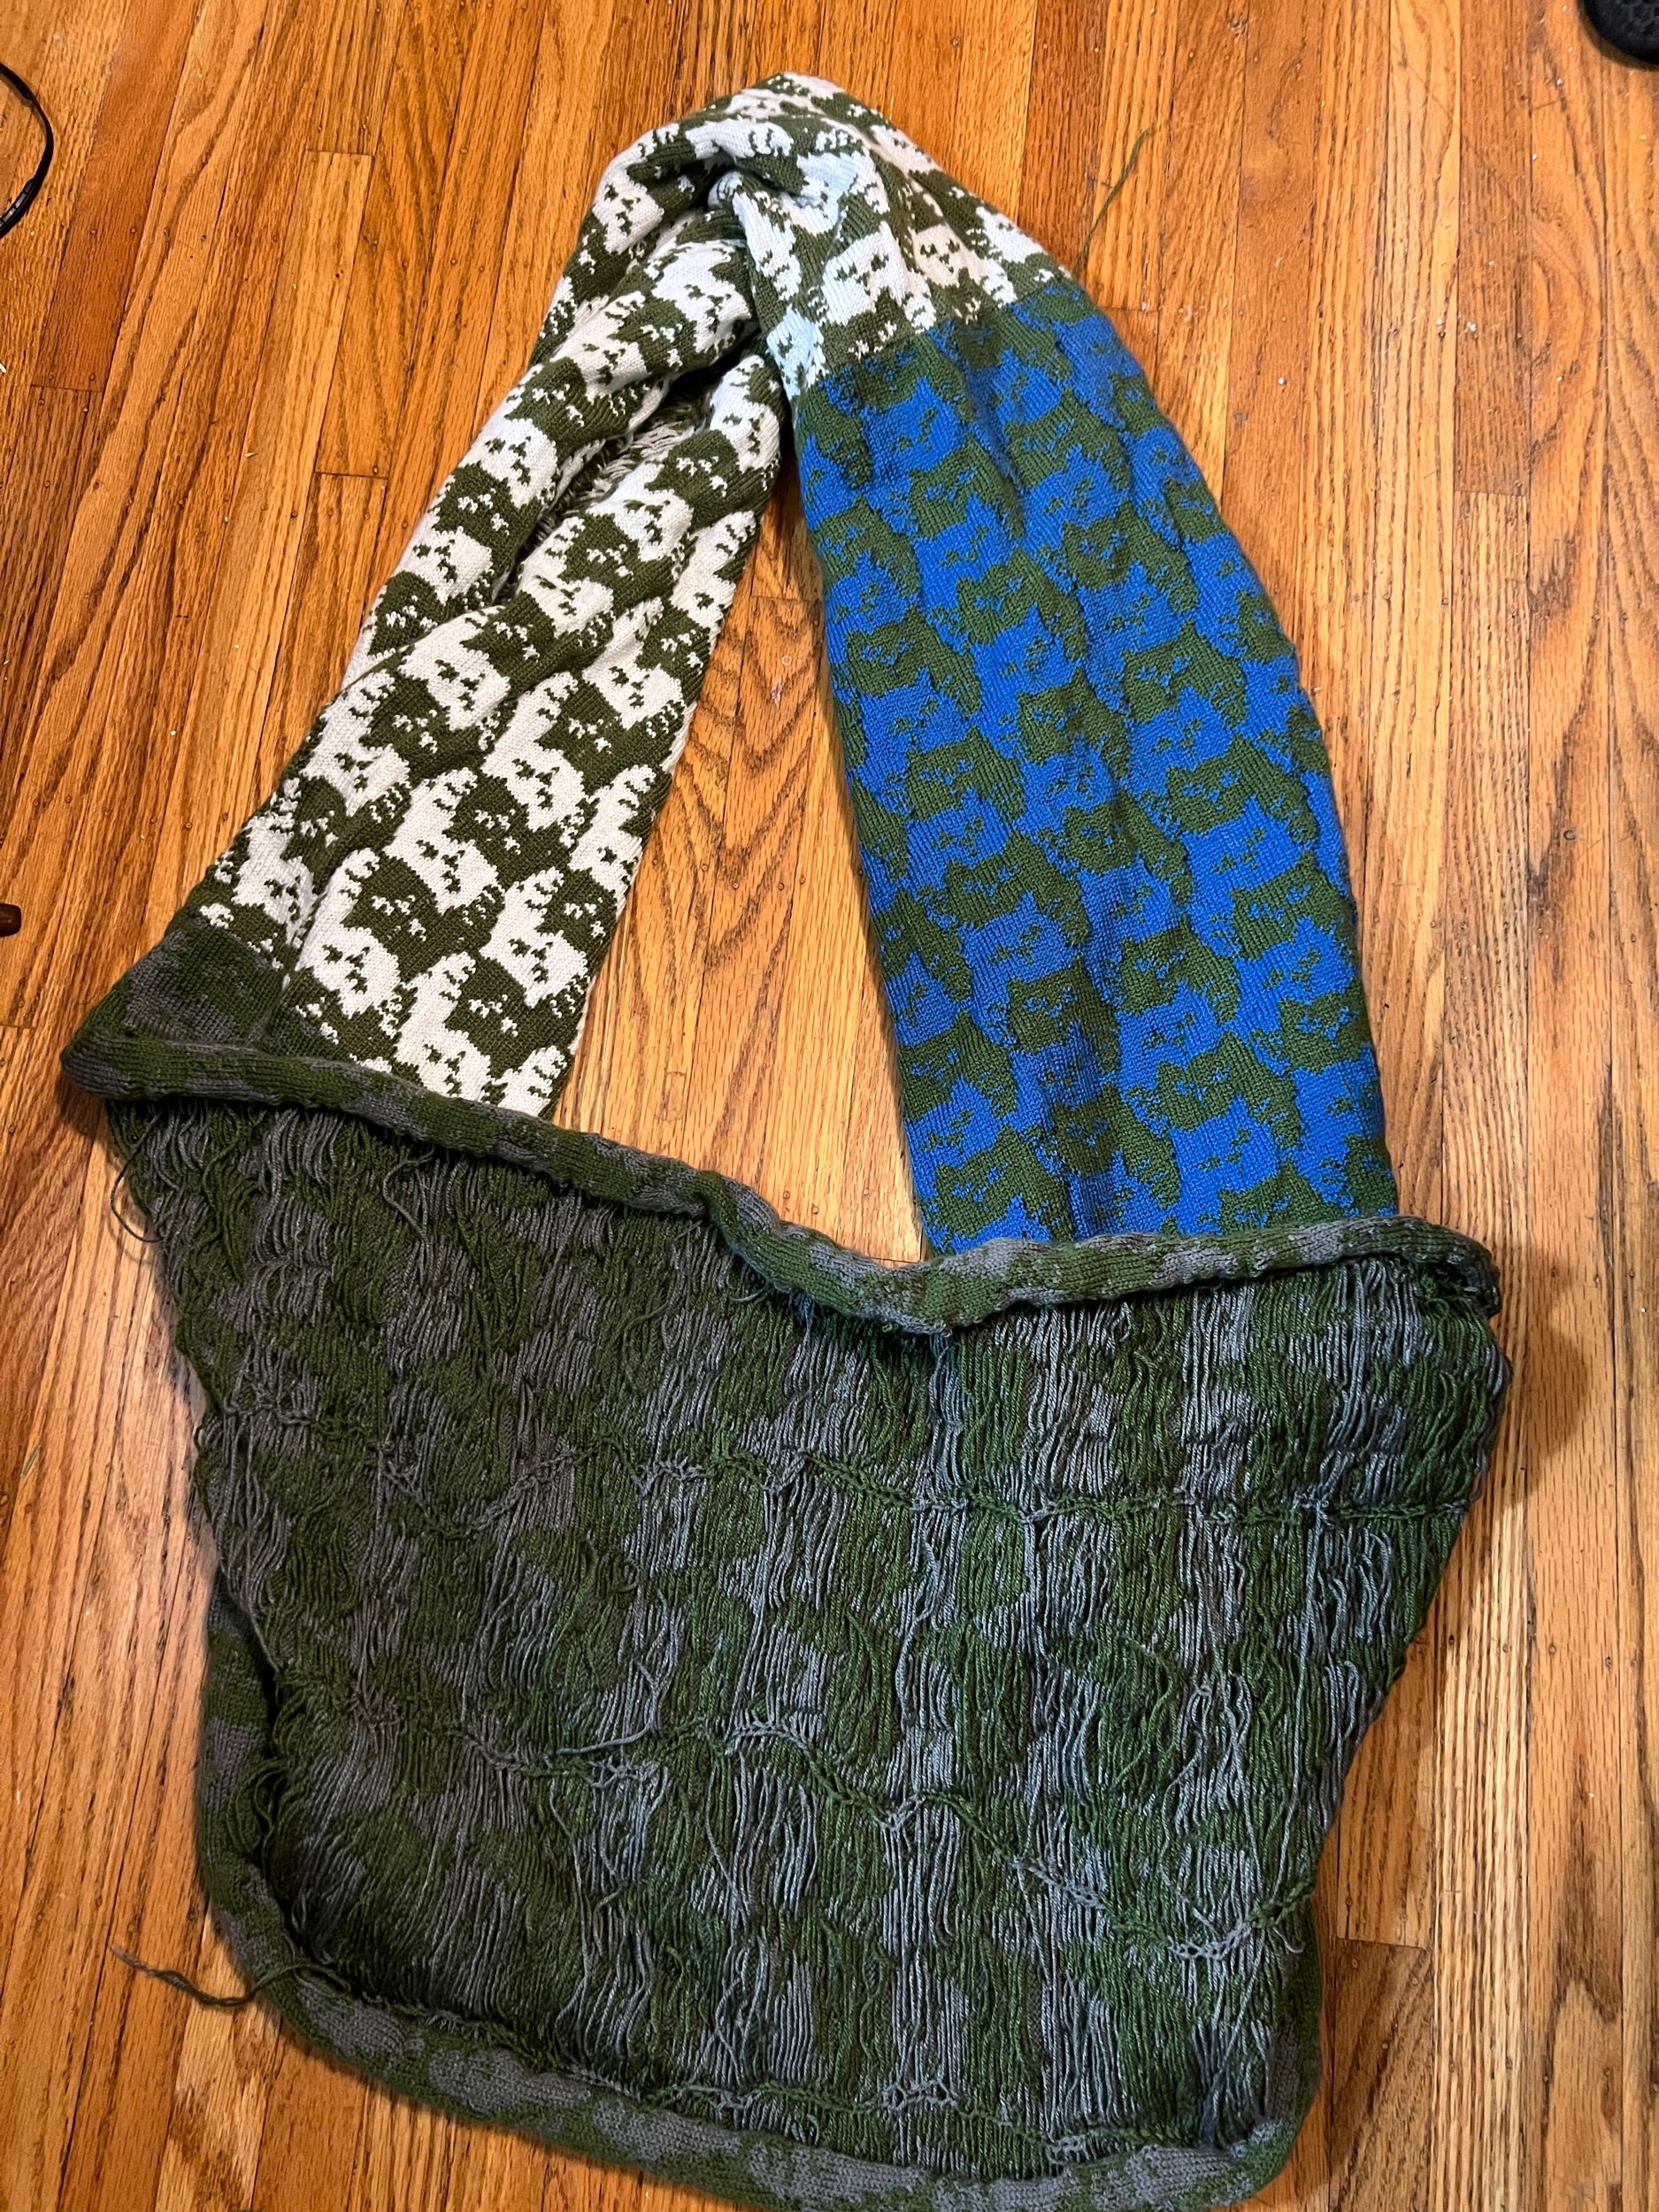
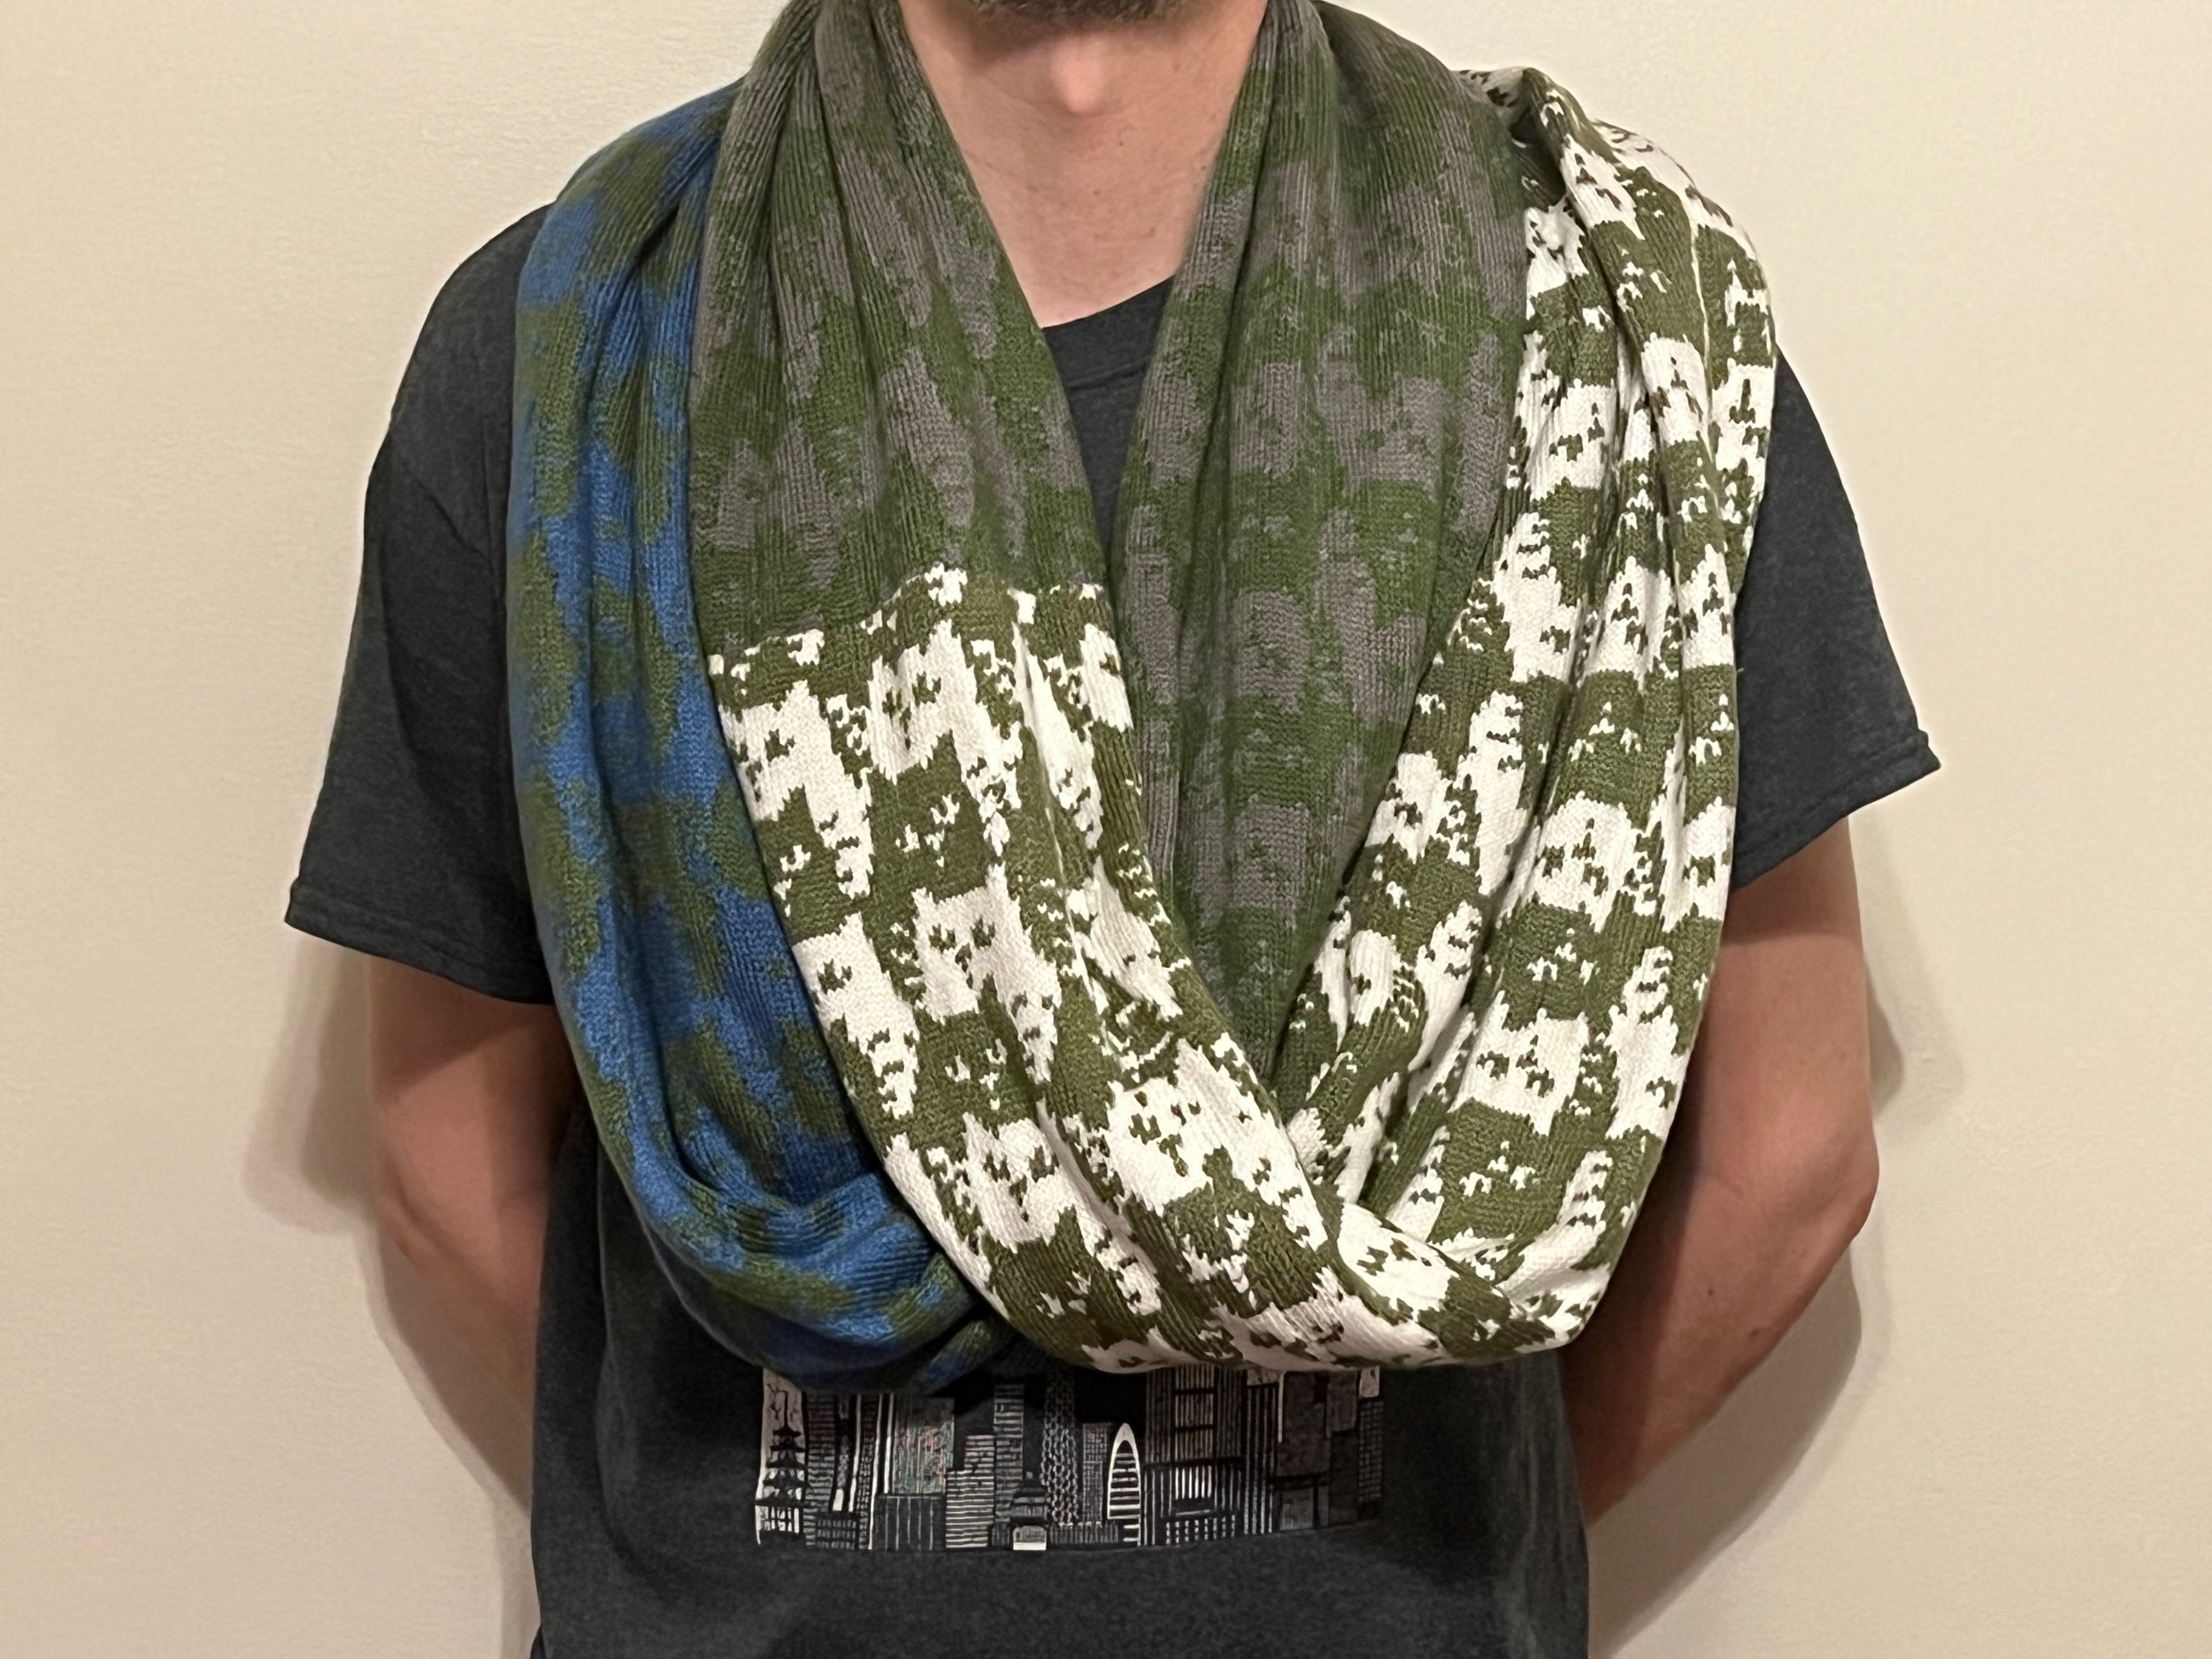
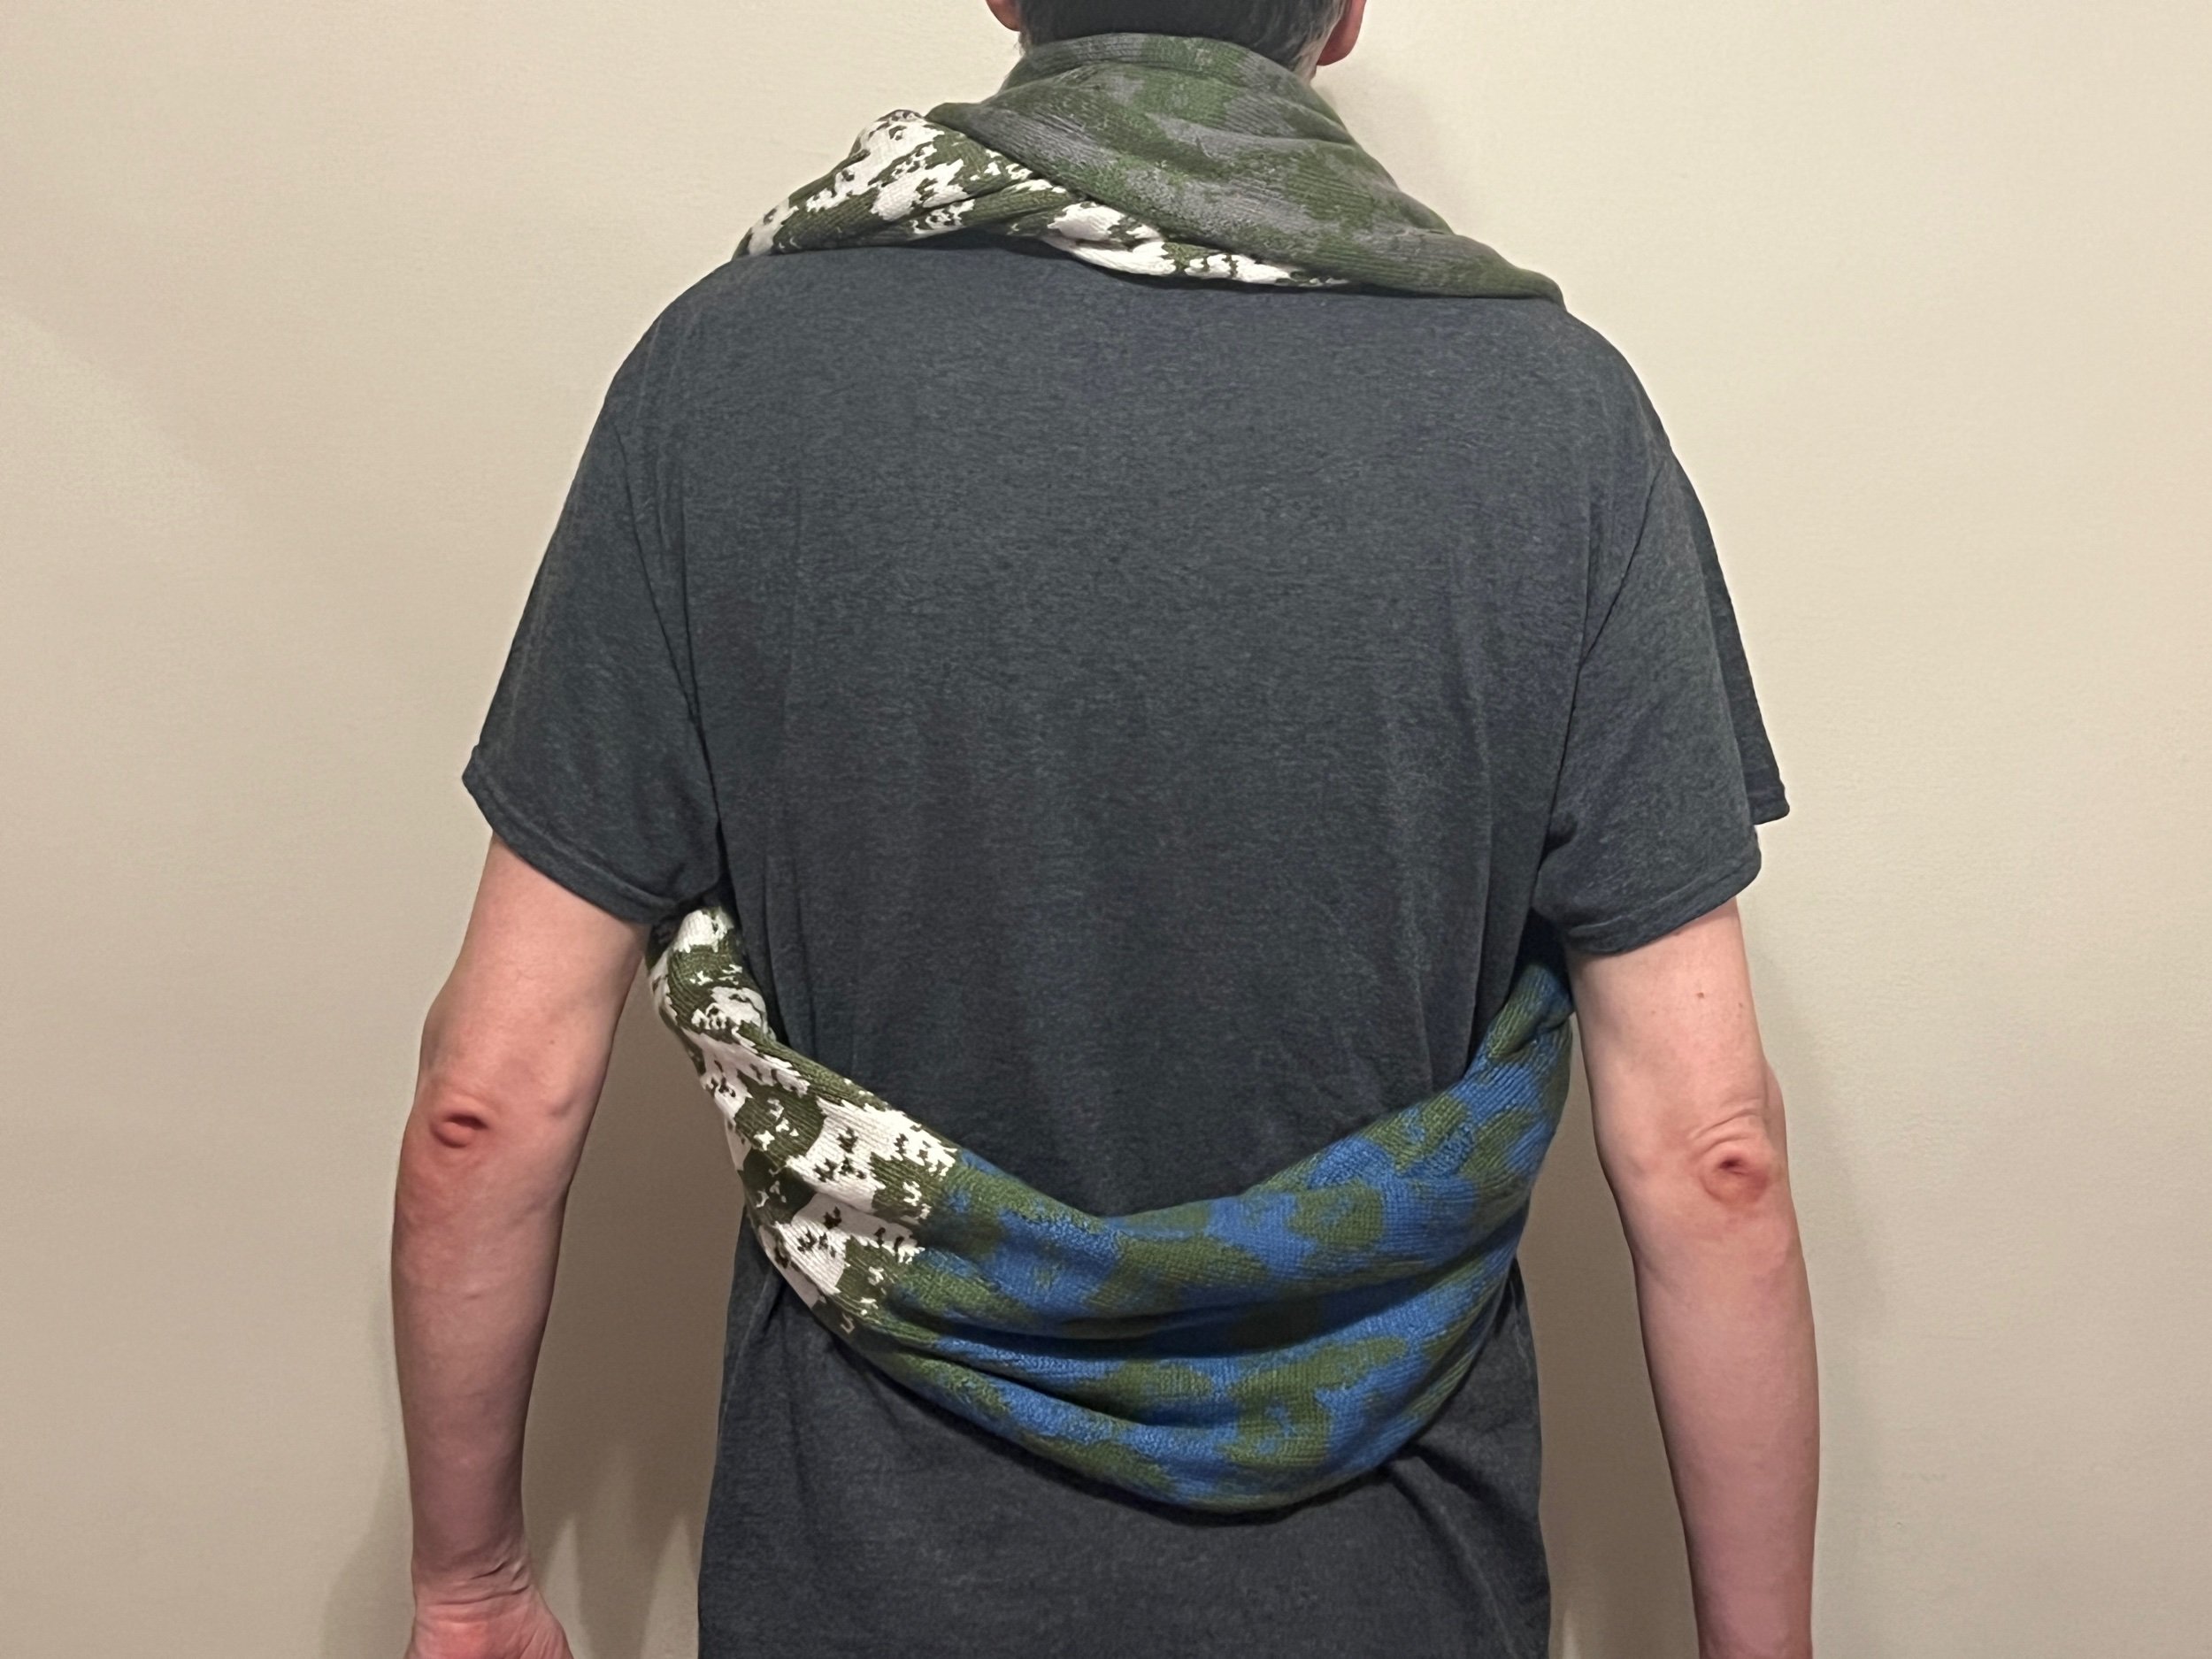
Inspired by the Instagram post by blackroseatelie - by creating a long rectangle of knitting you can form it into a quick knit bag. Apparently many persons are making this style bag - Instagram person |

My flat bed knitting machine version:

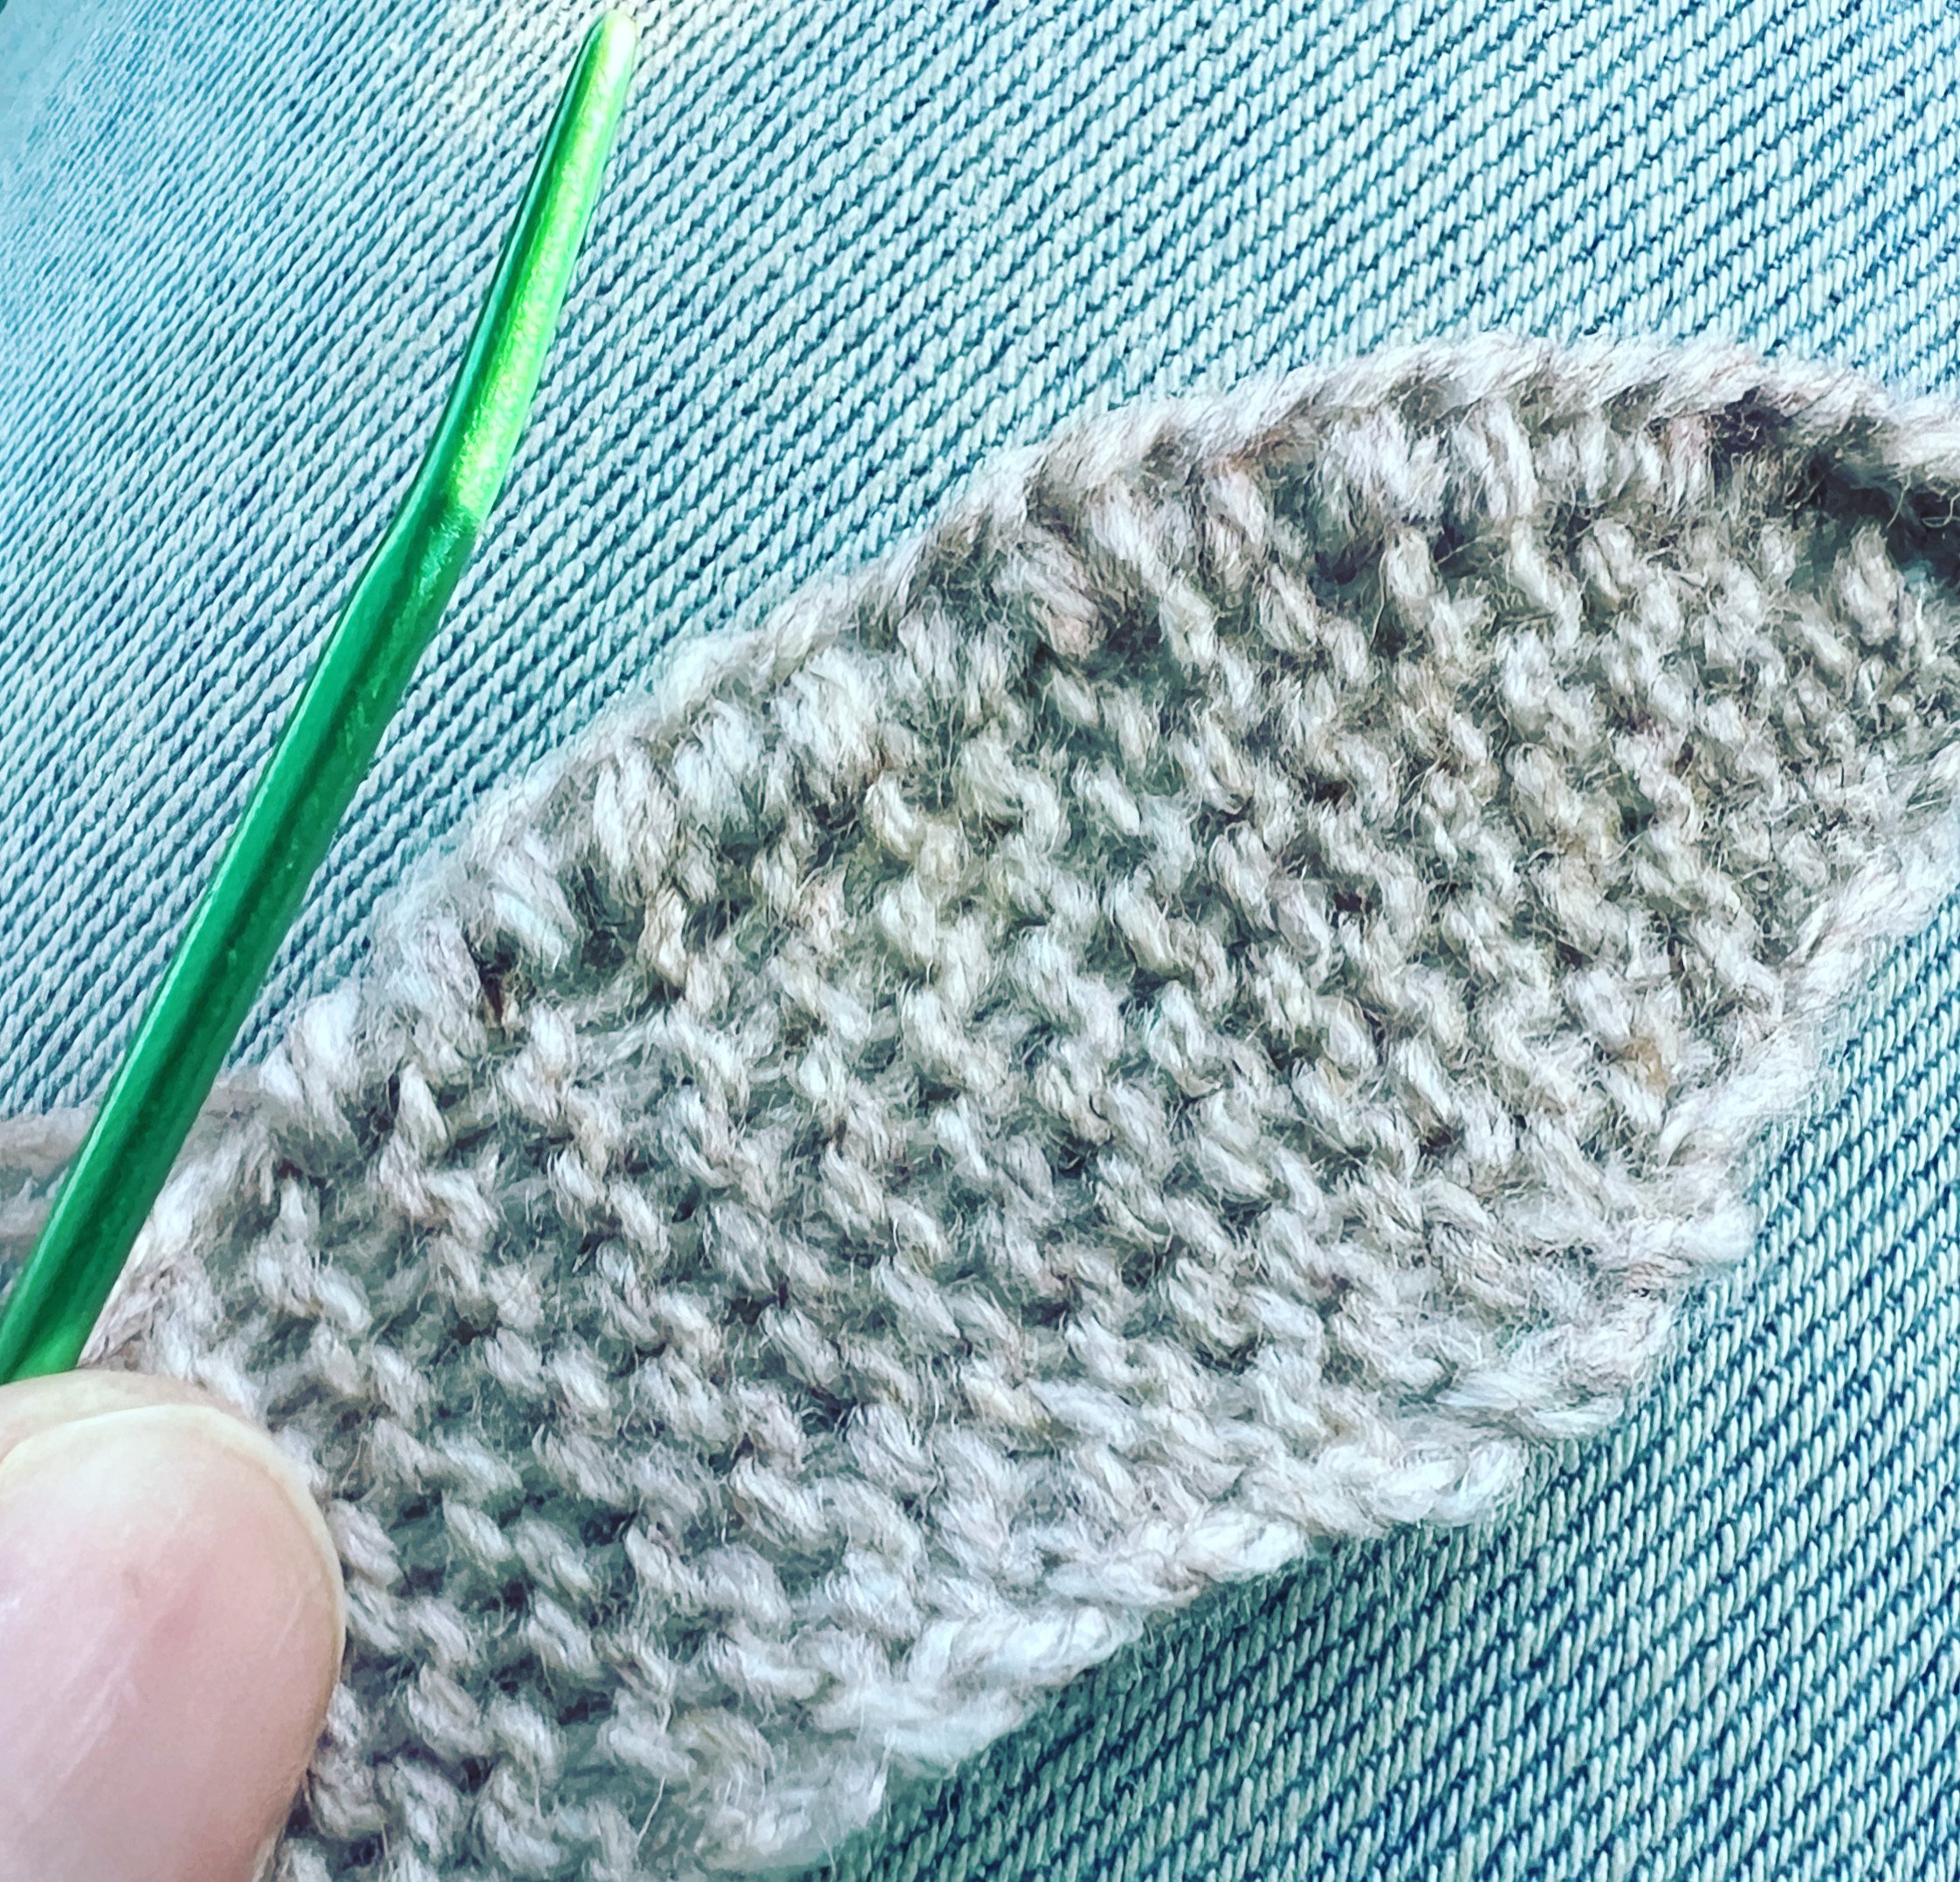
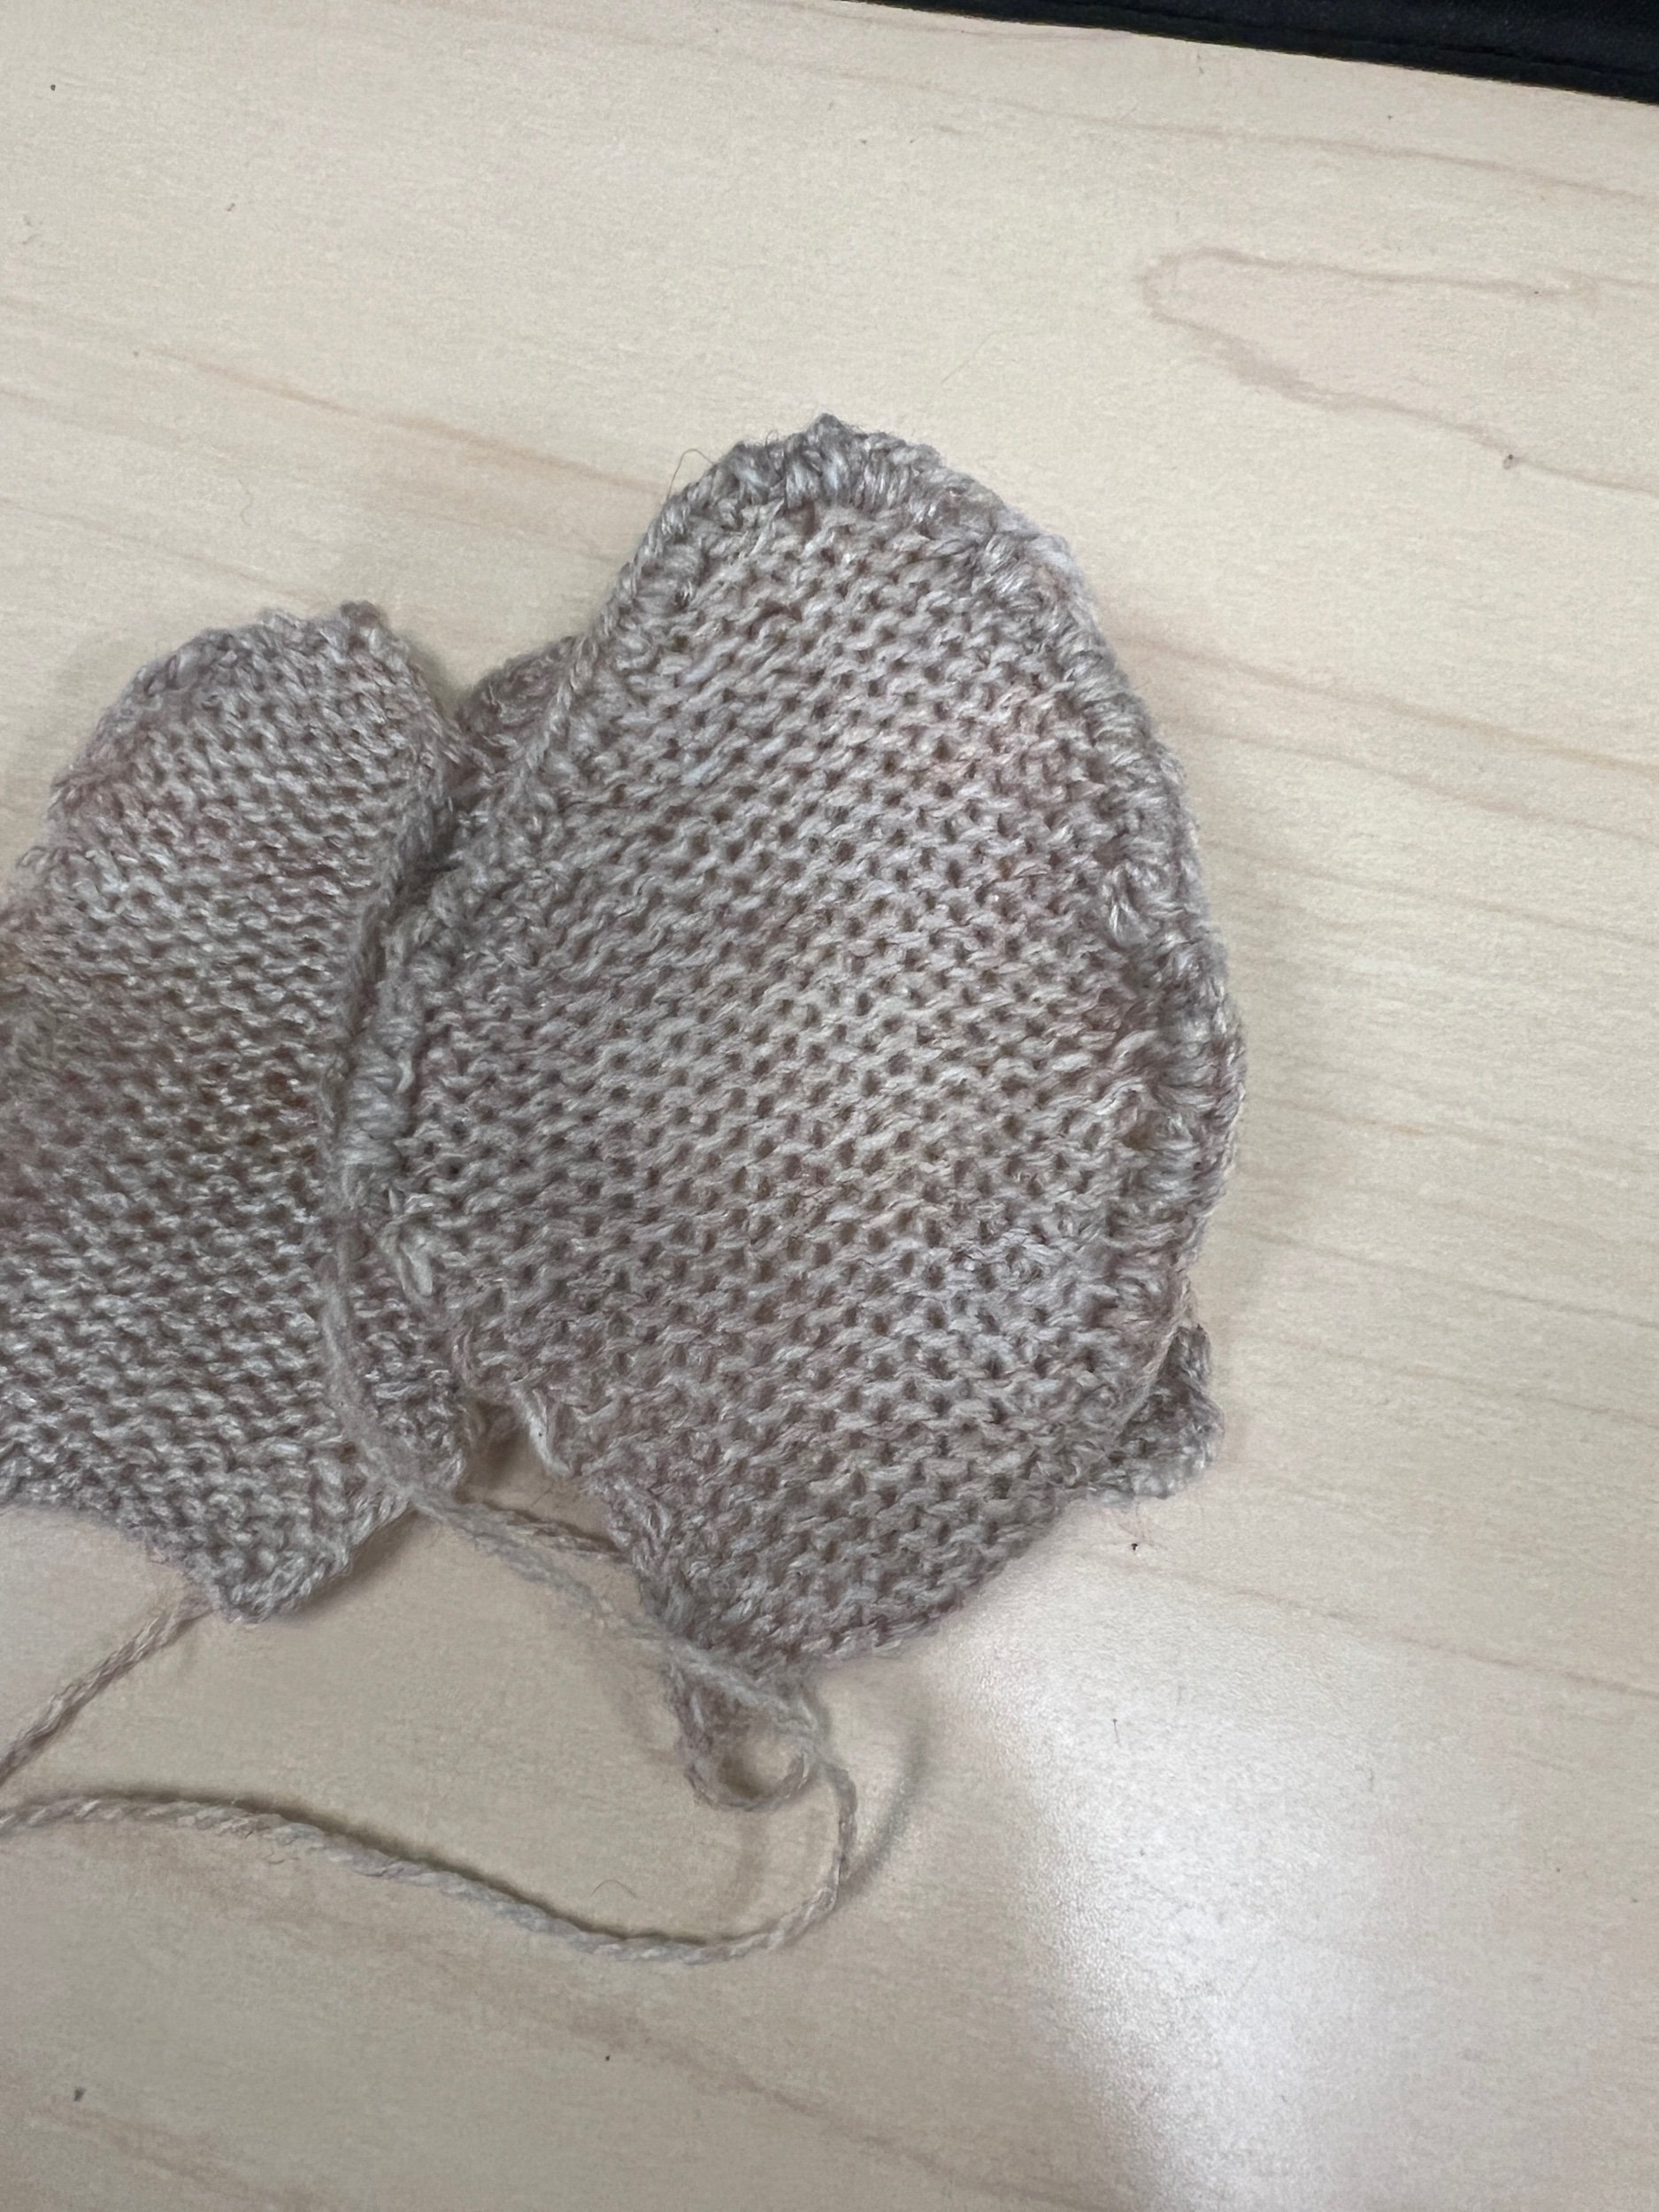
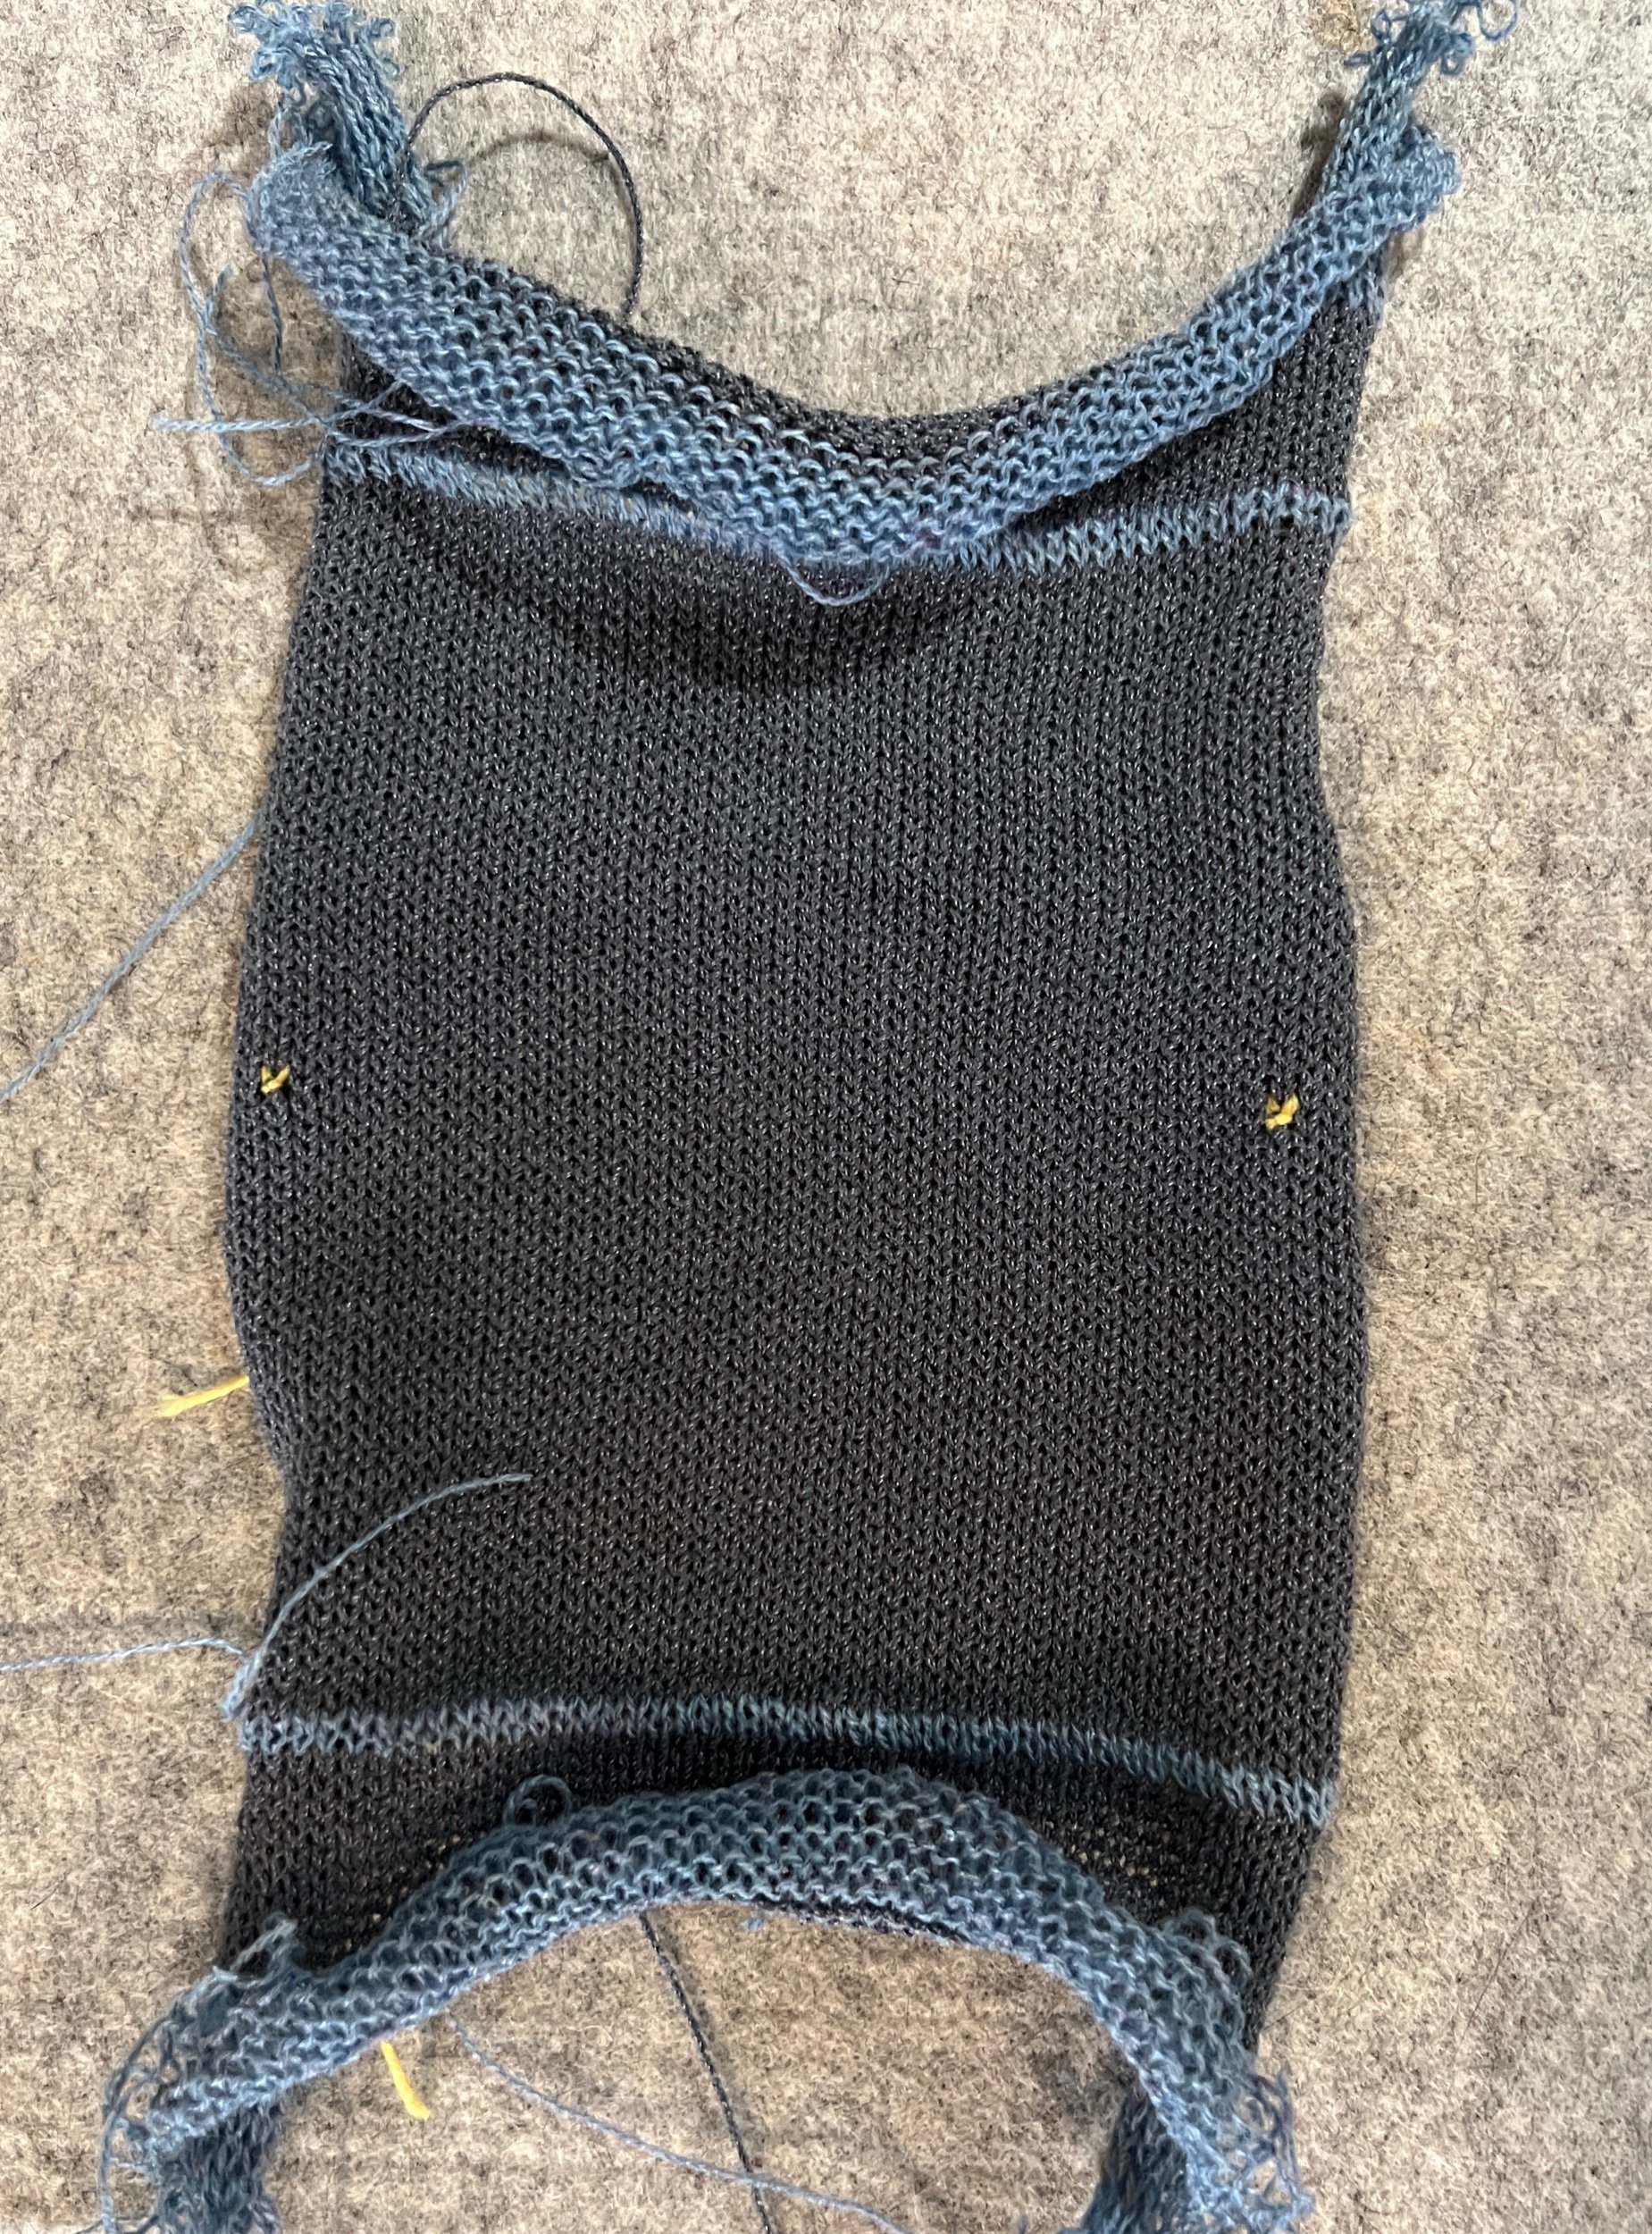
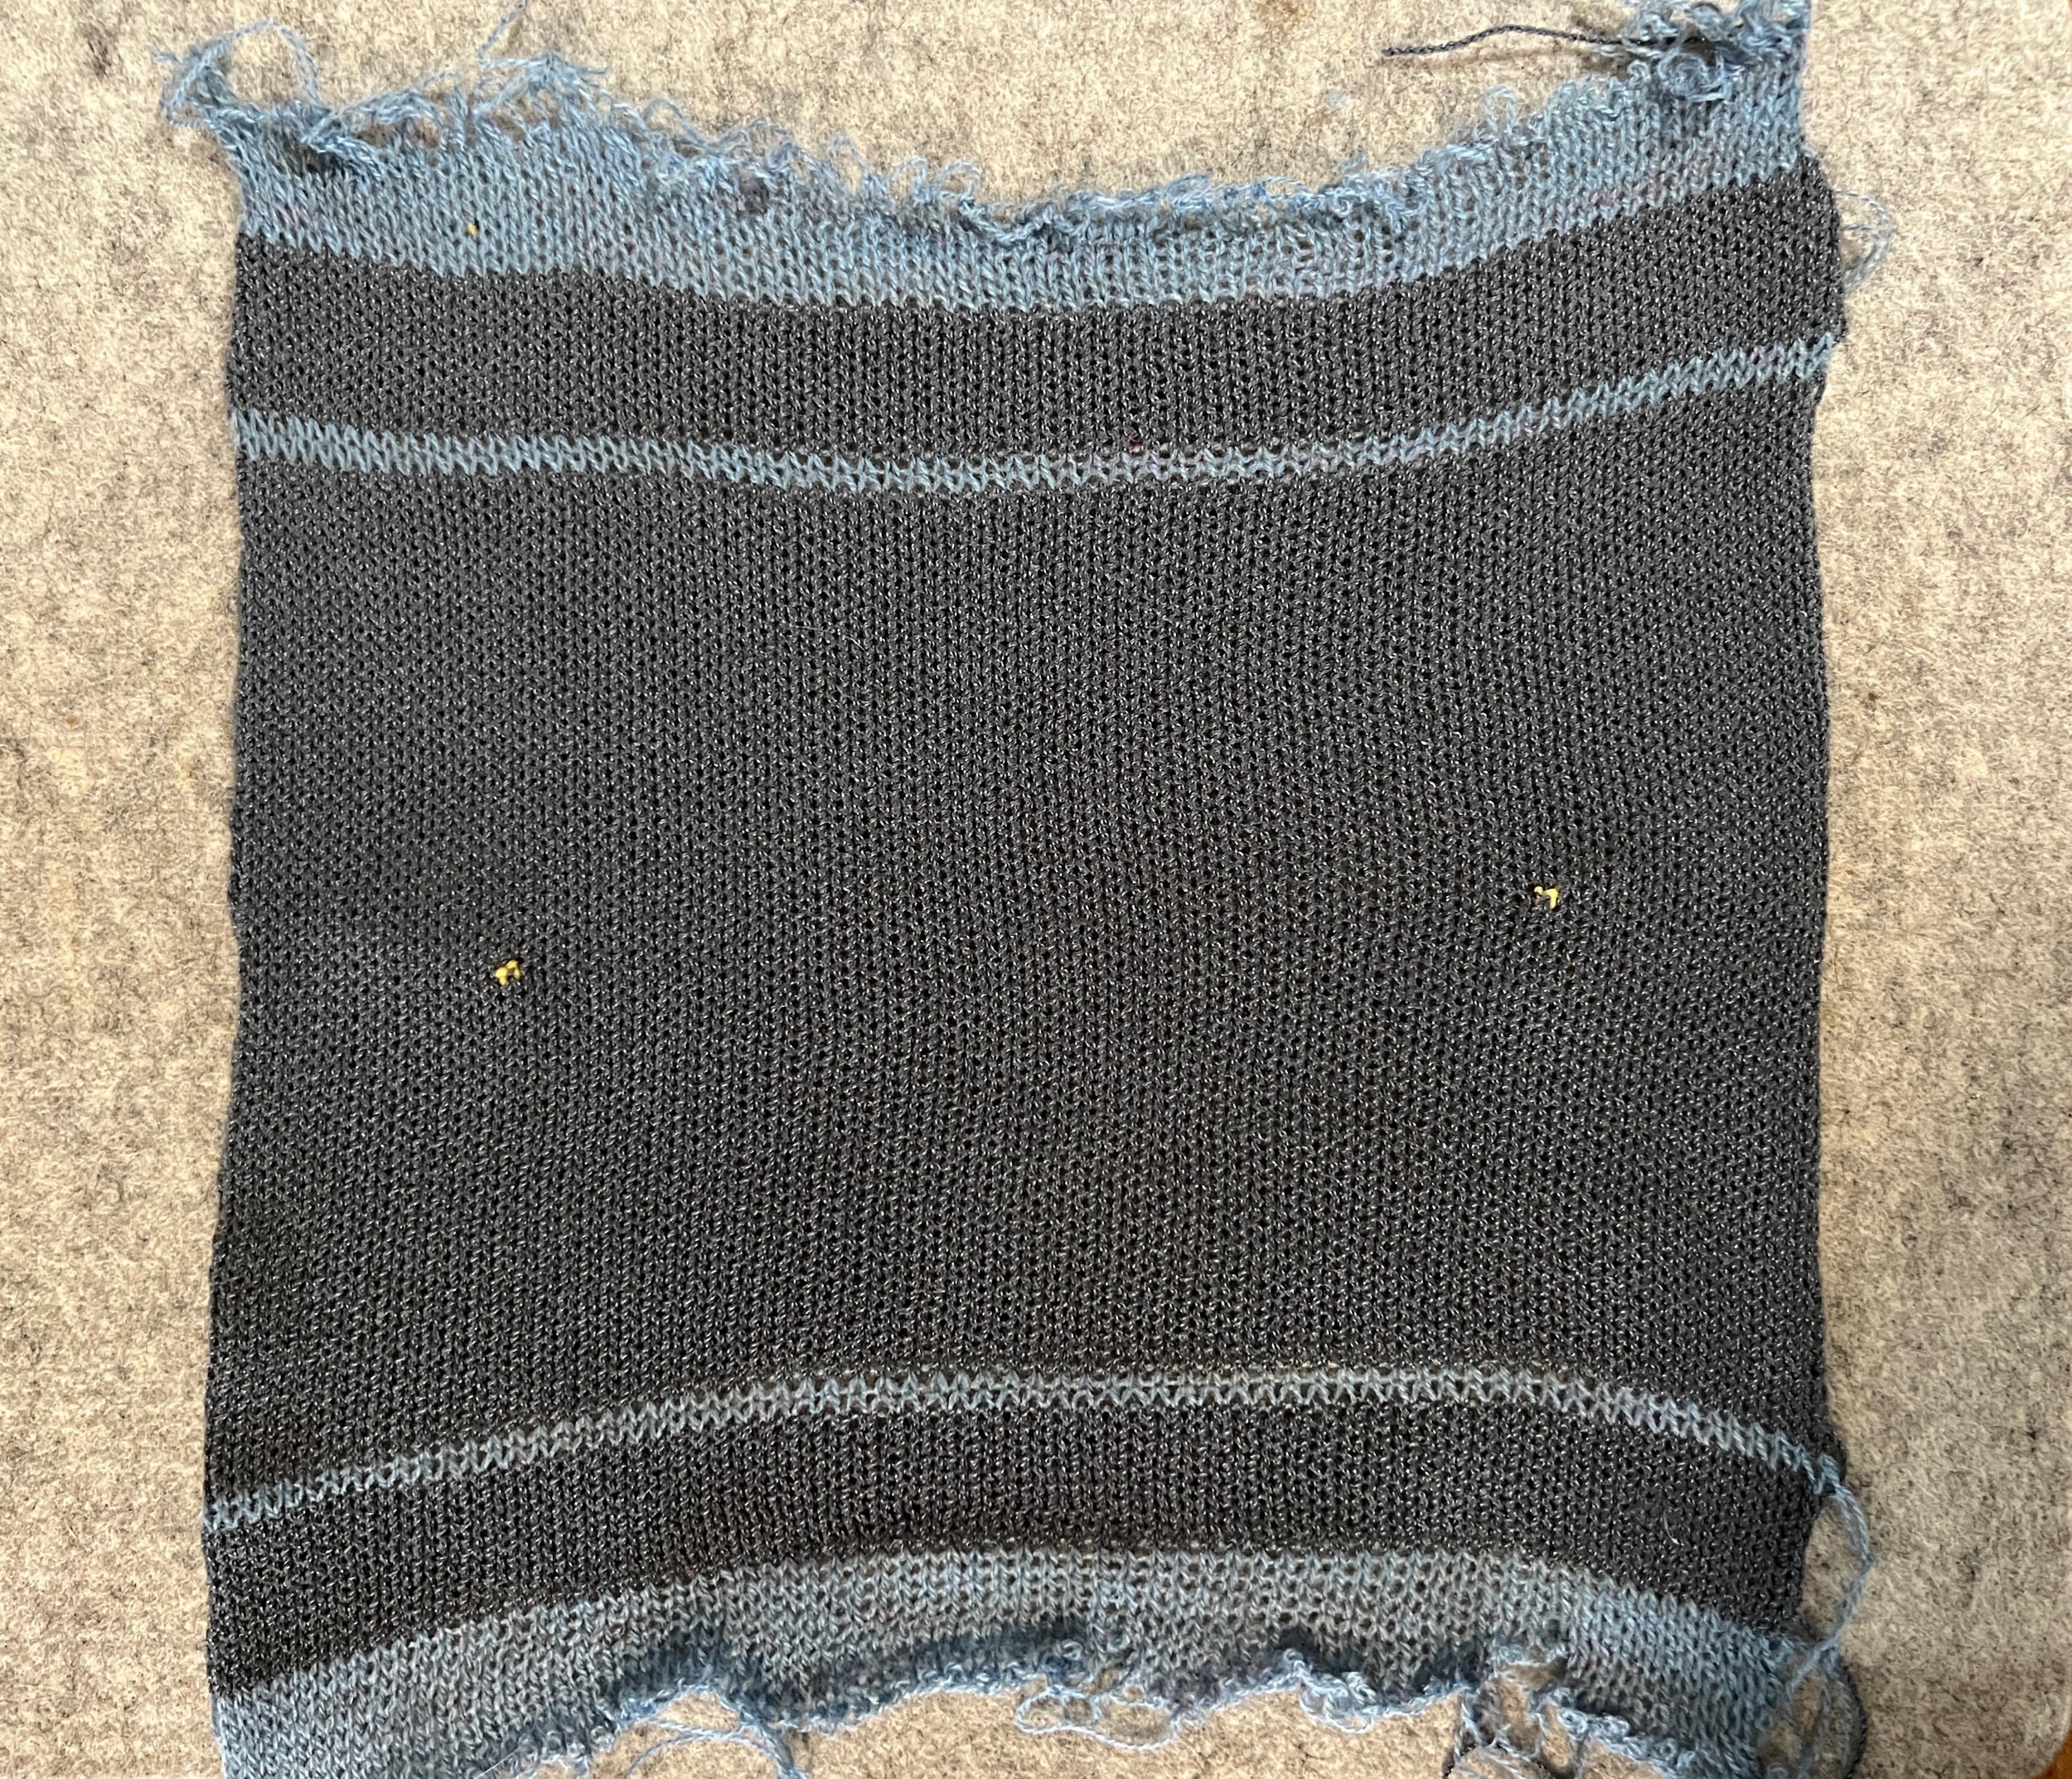
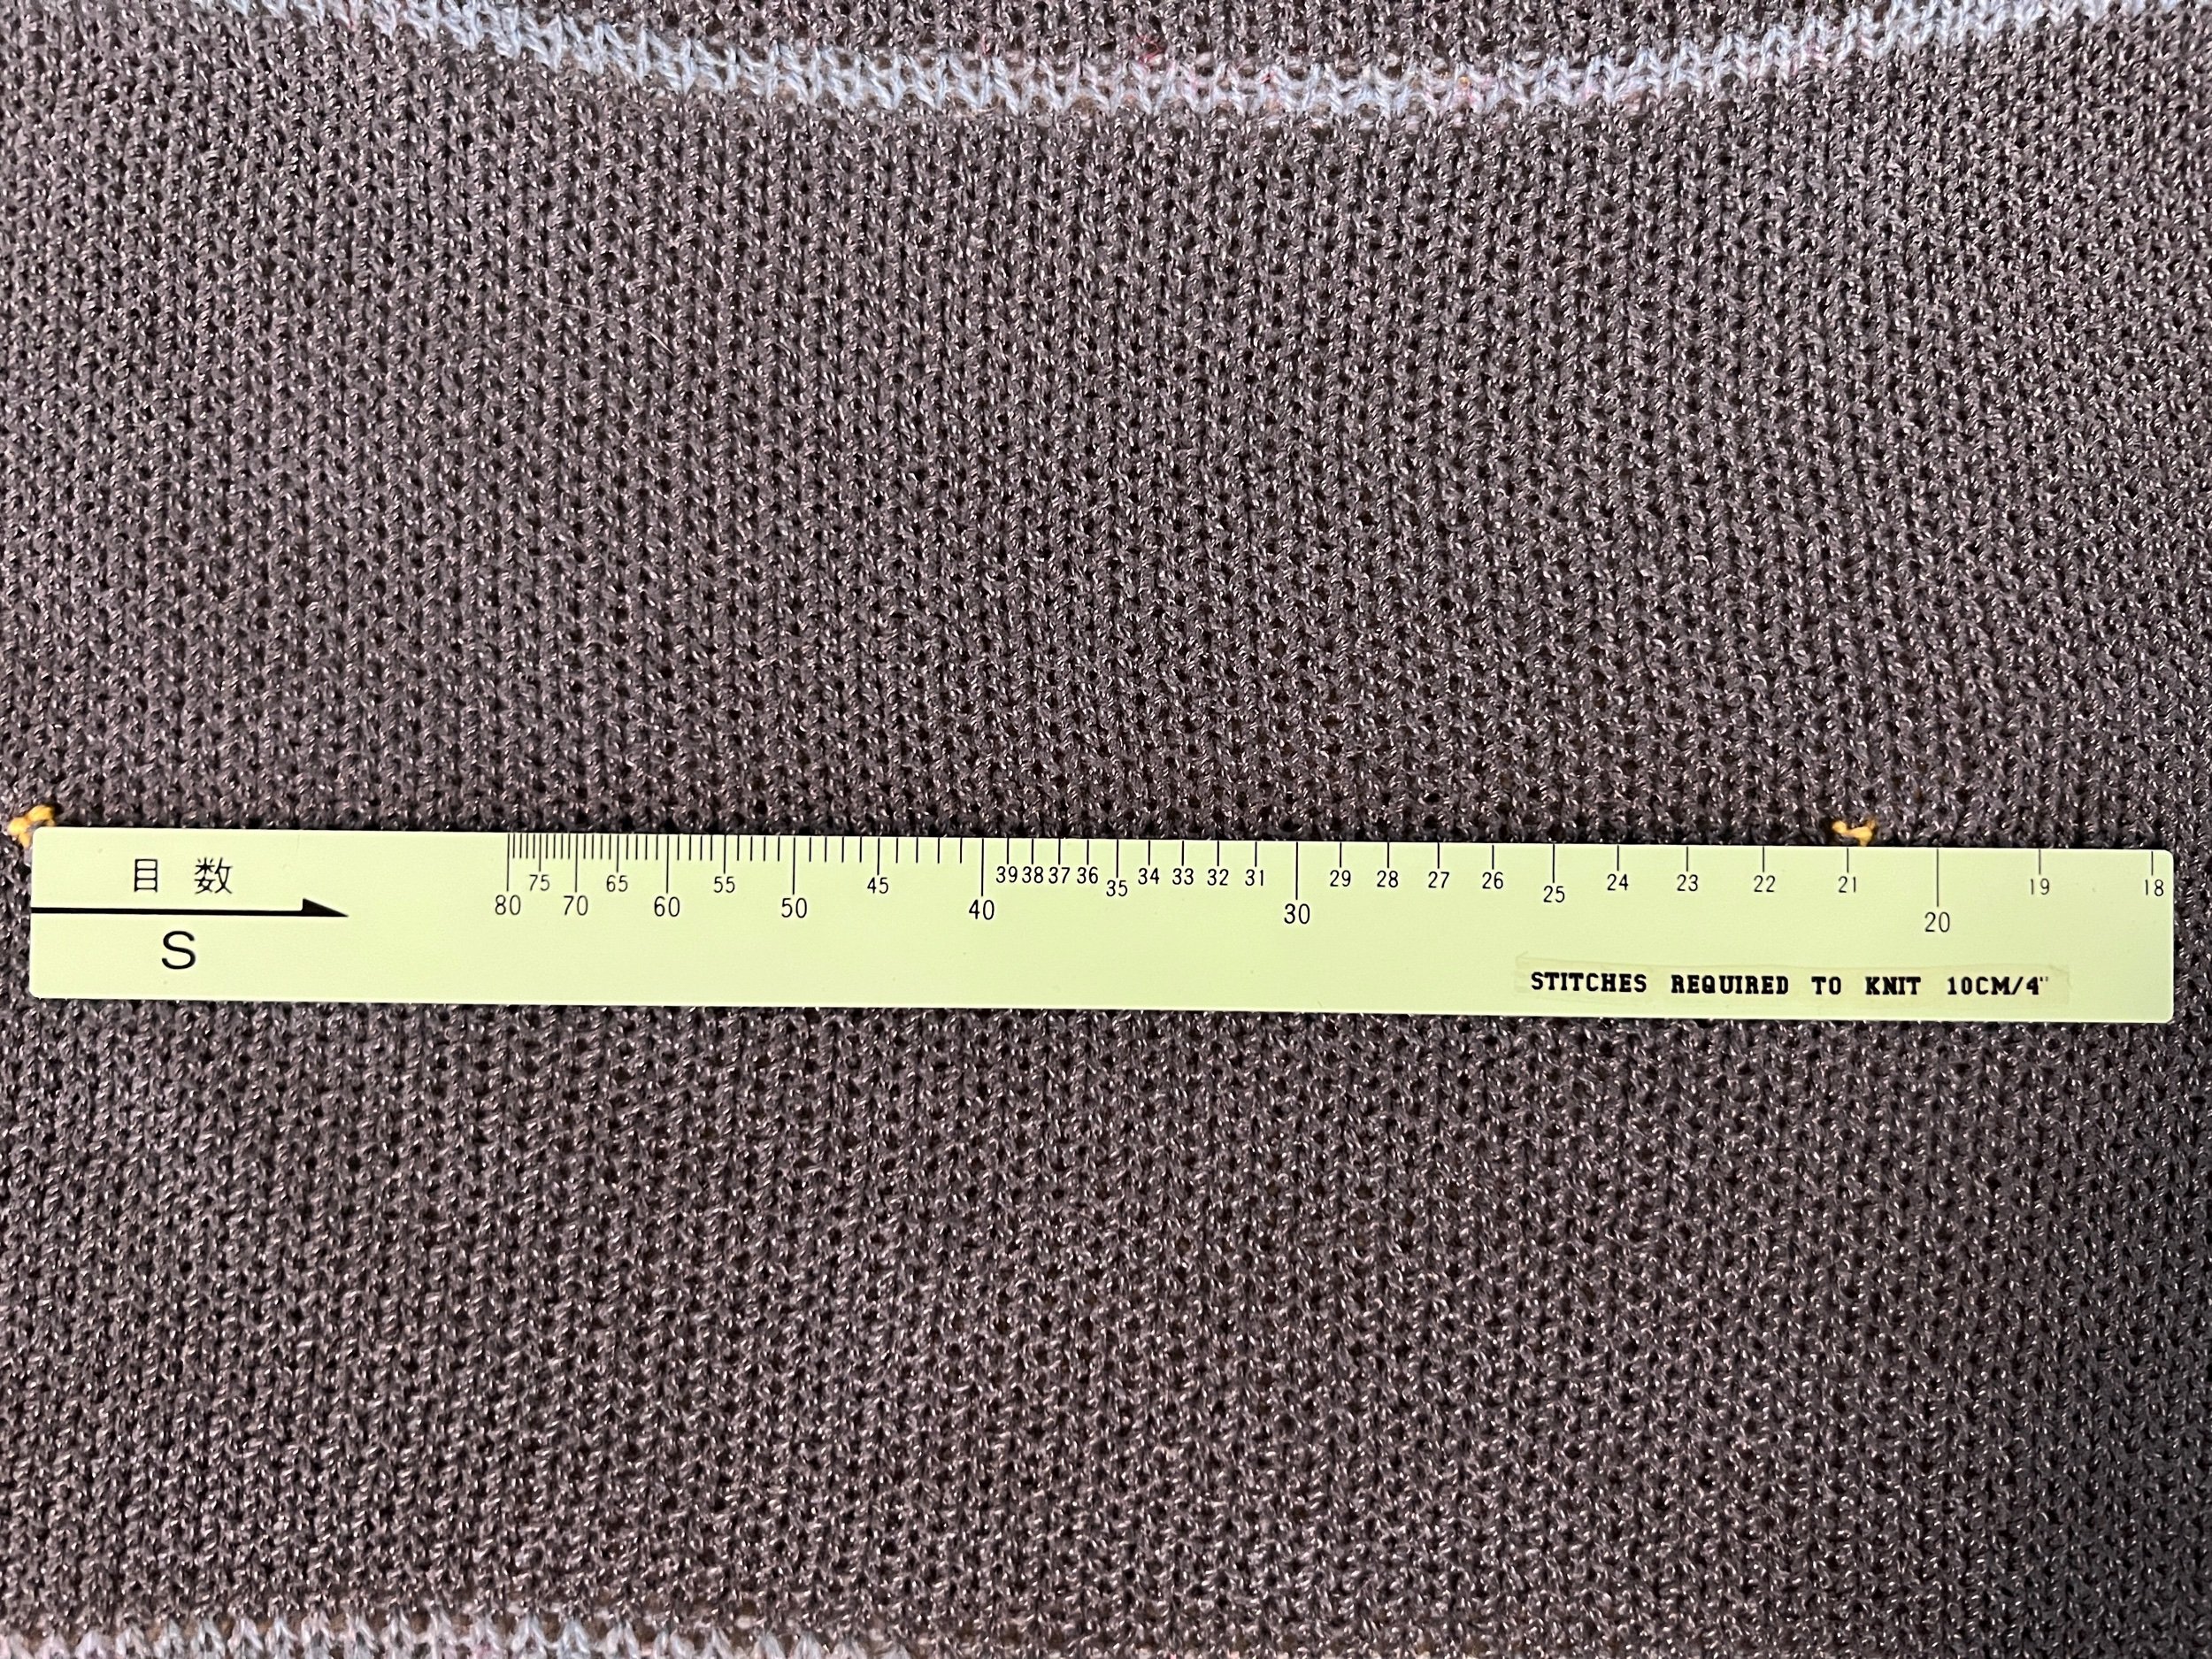
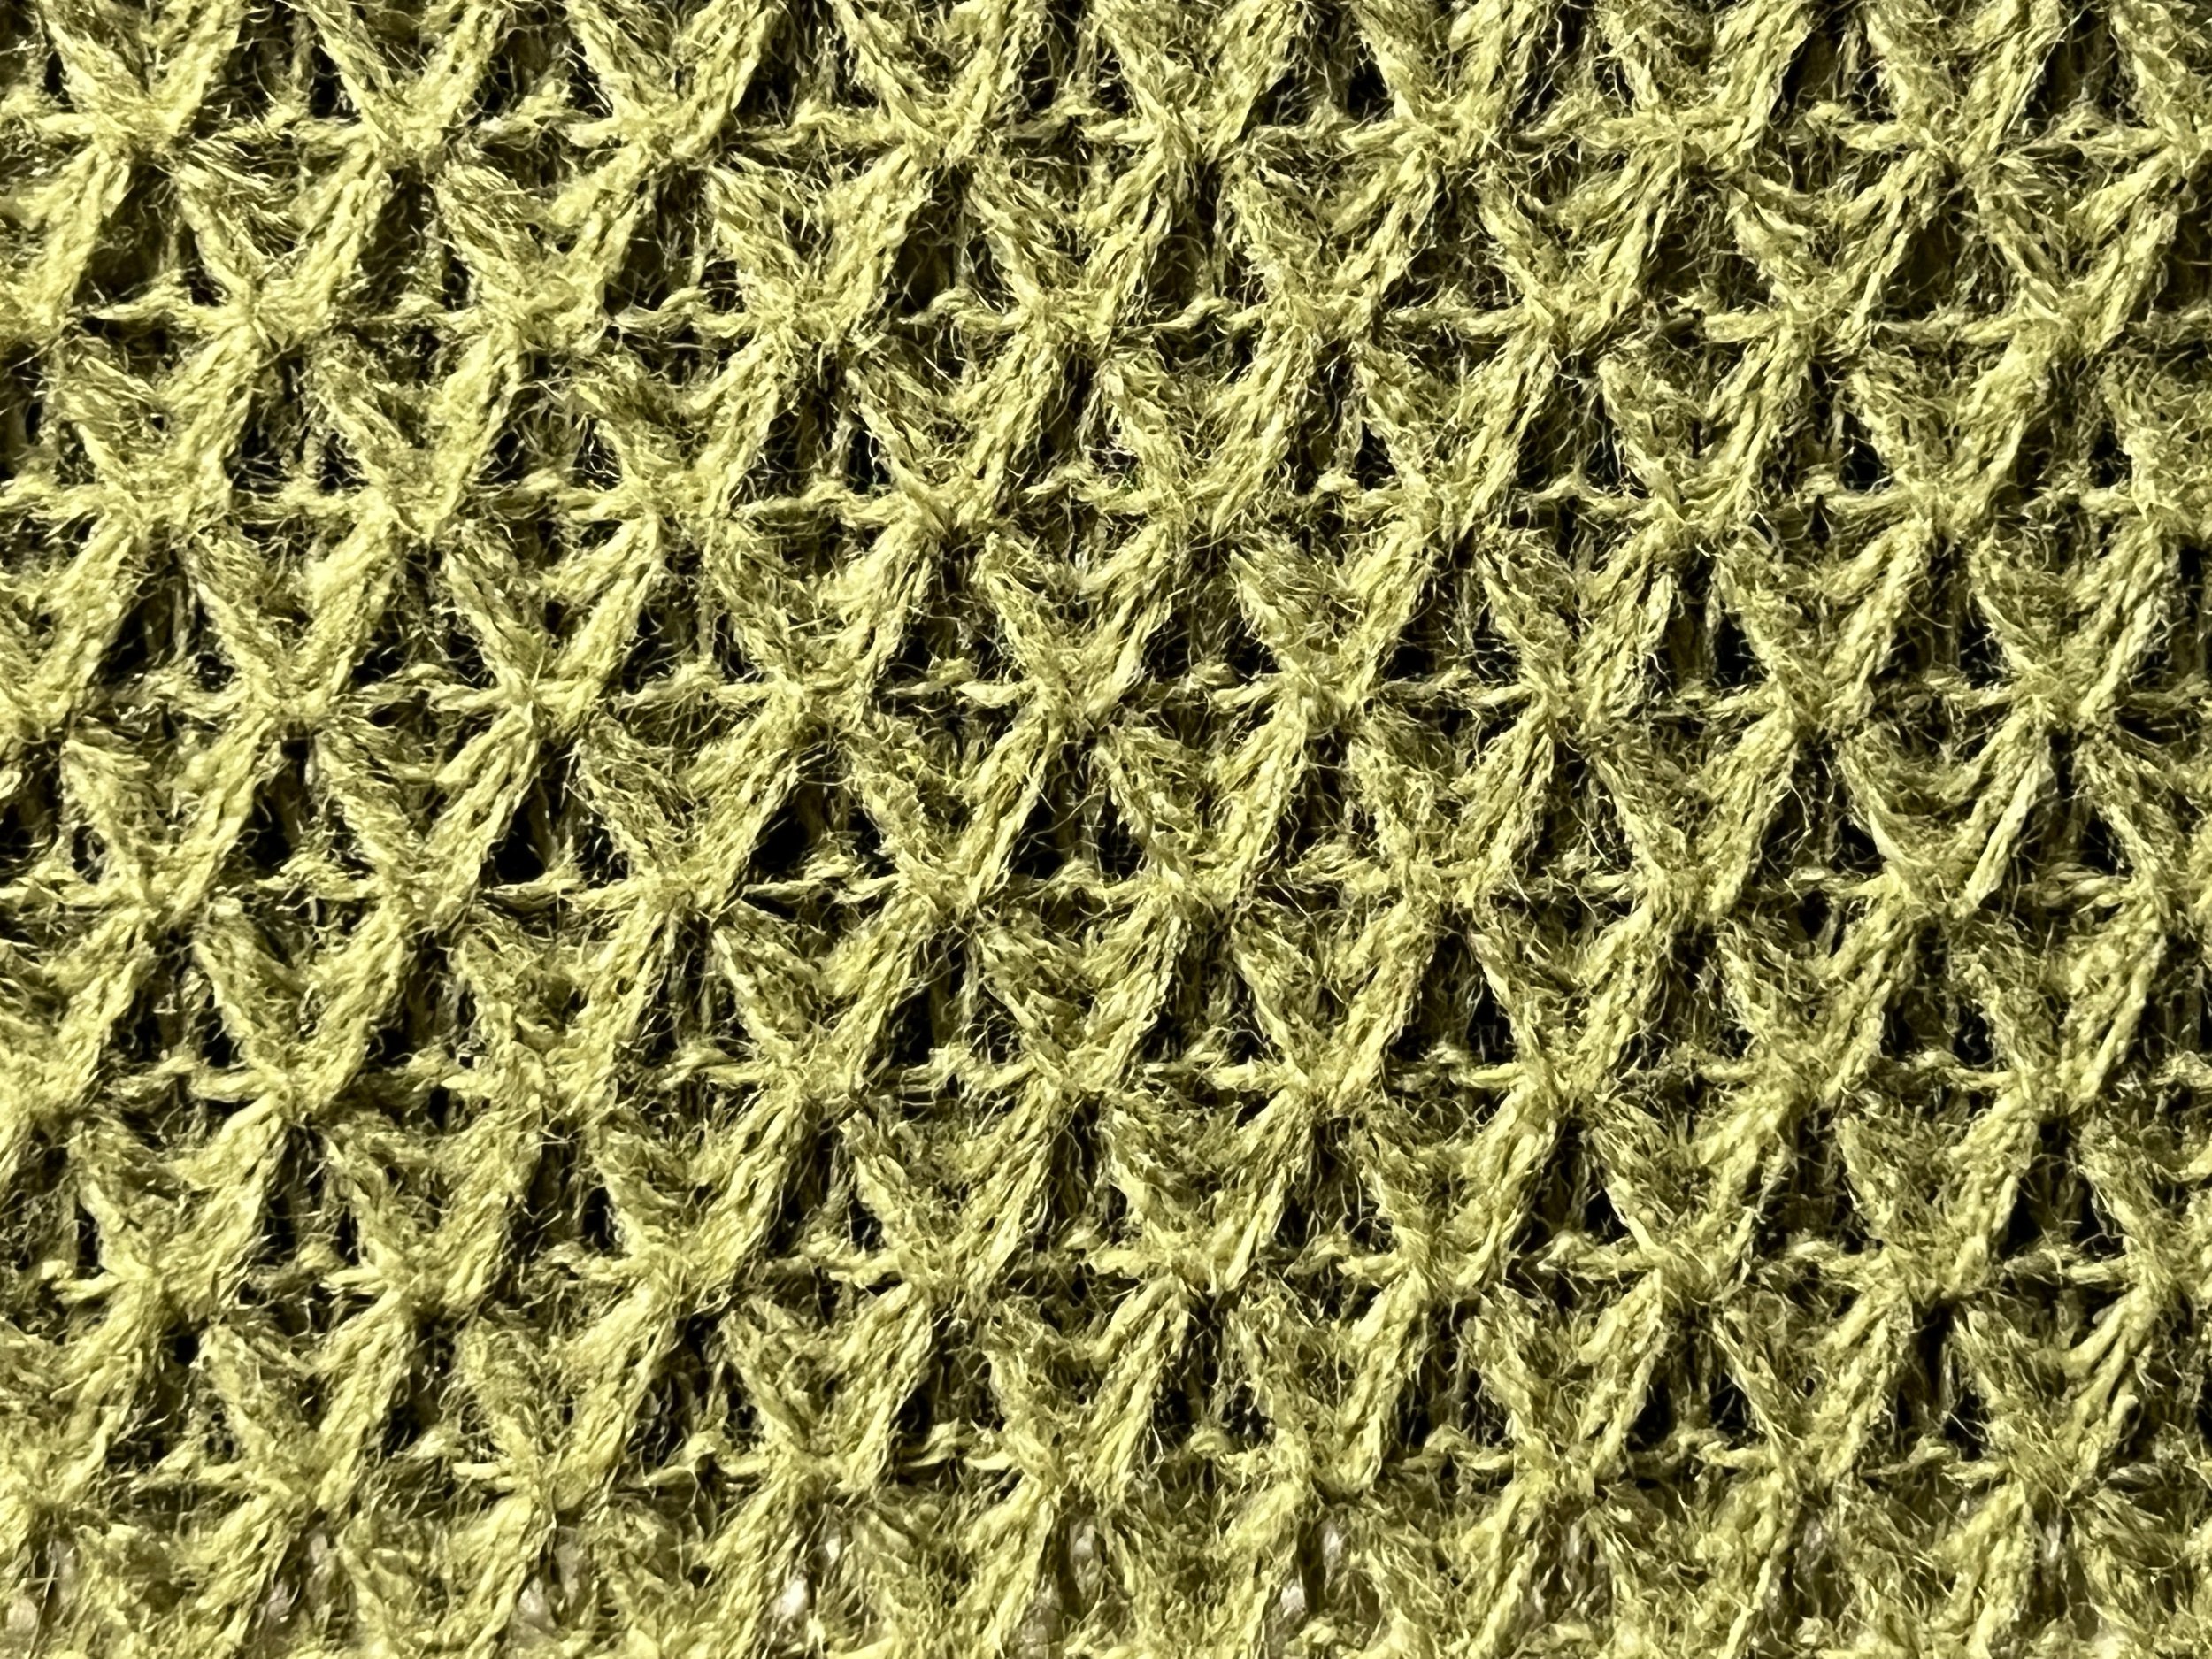
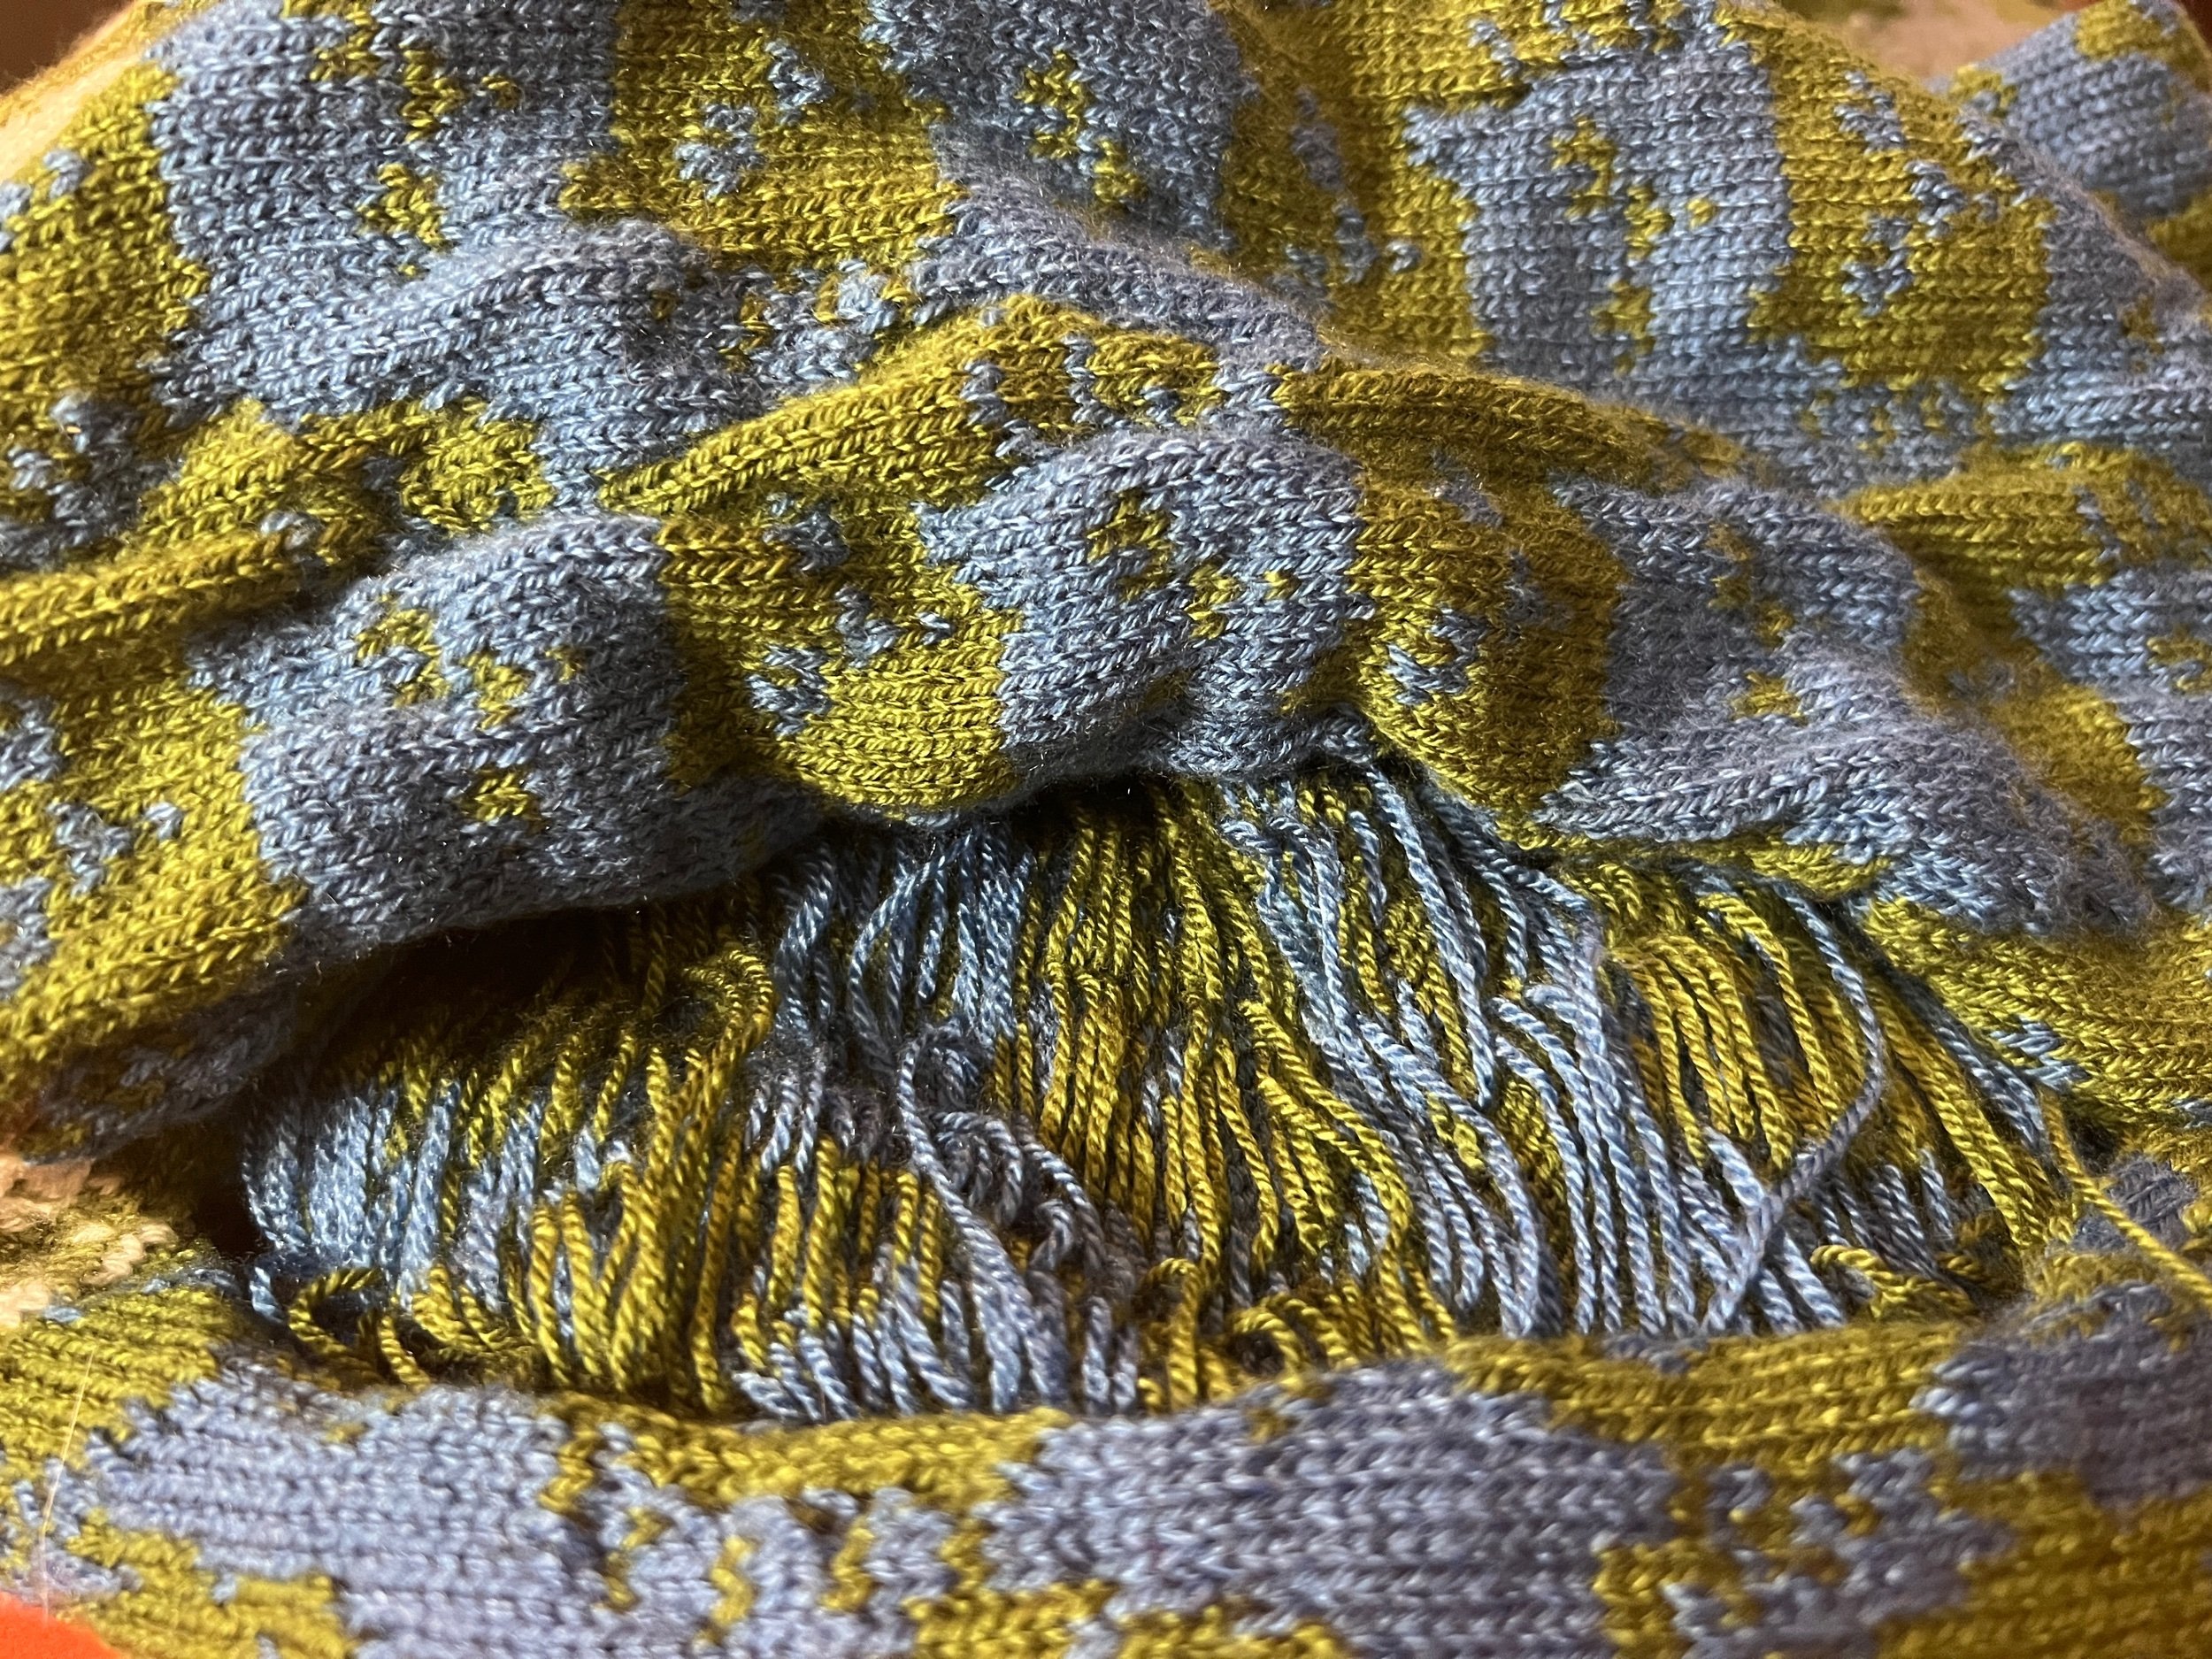
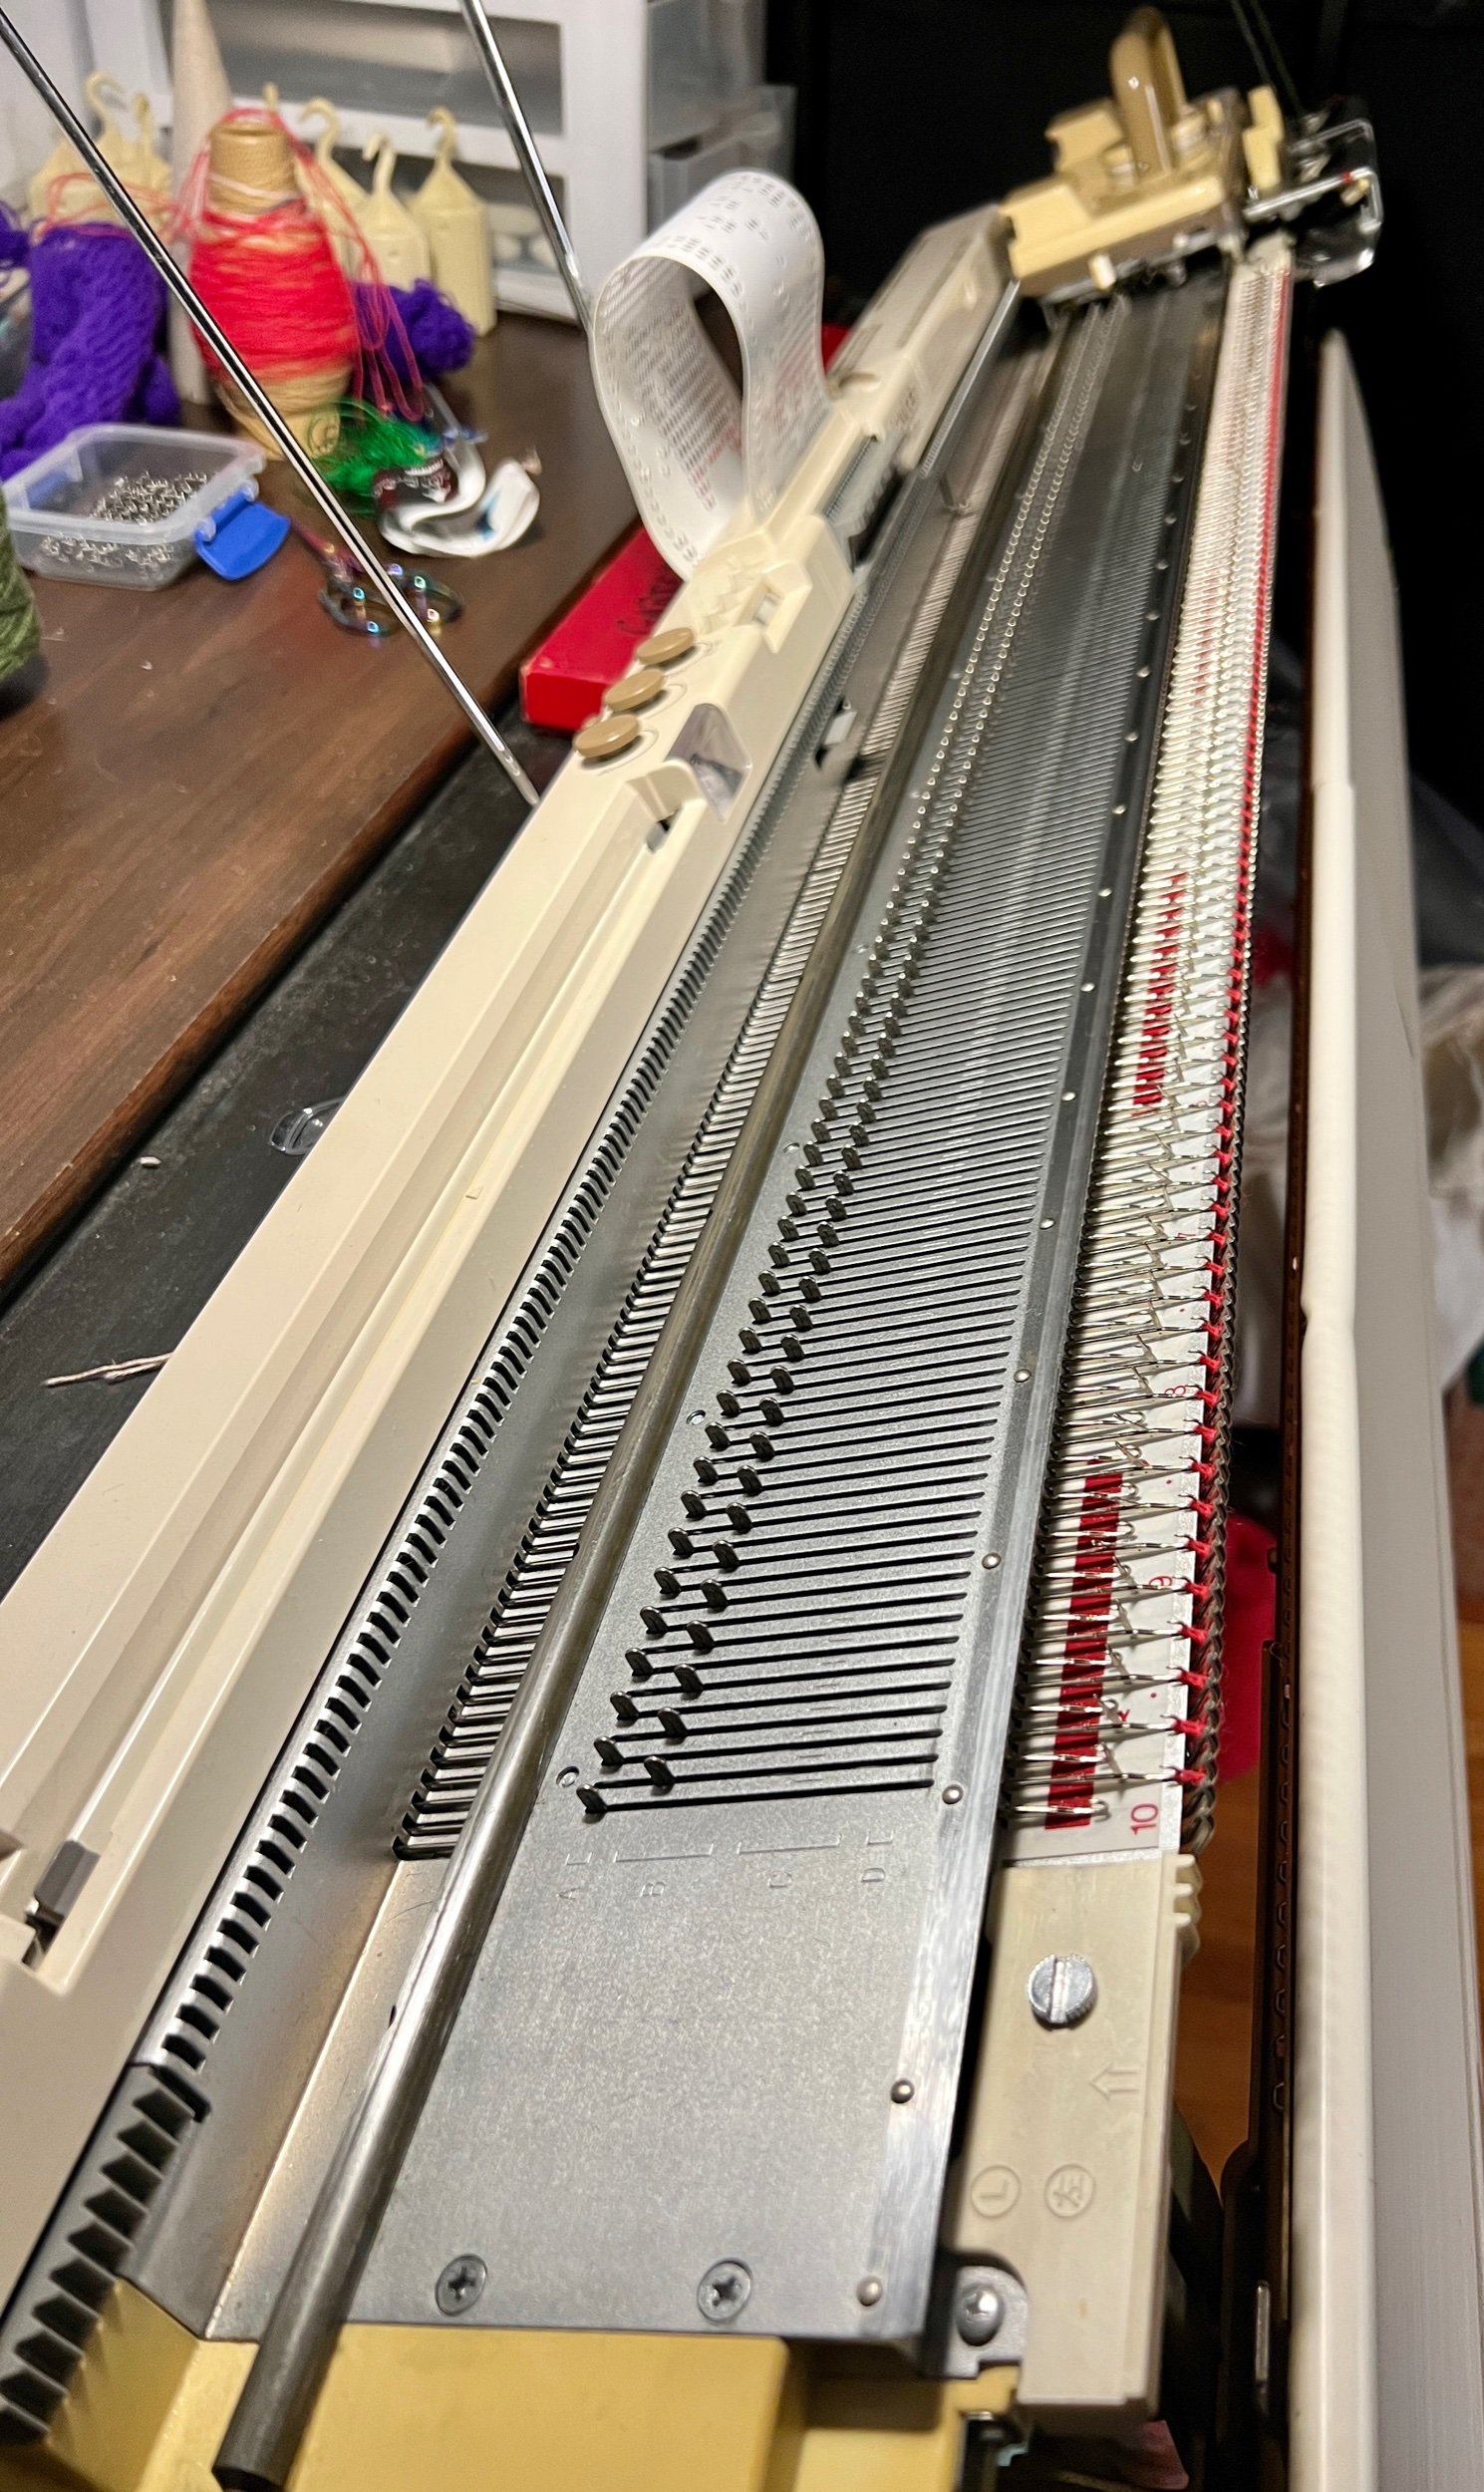
First I created a prototype - I ewrap cast on with scrap using 80 total needles. Carriage set at 10 and overhead mast tension at 1. Using punch card #3 on the tuck setting I worked 92 rows before calling it a night. On the machine it’s 30cm knitting both wide and long (to the needles).

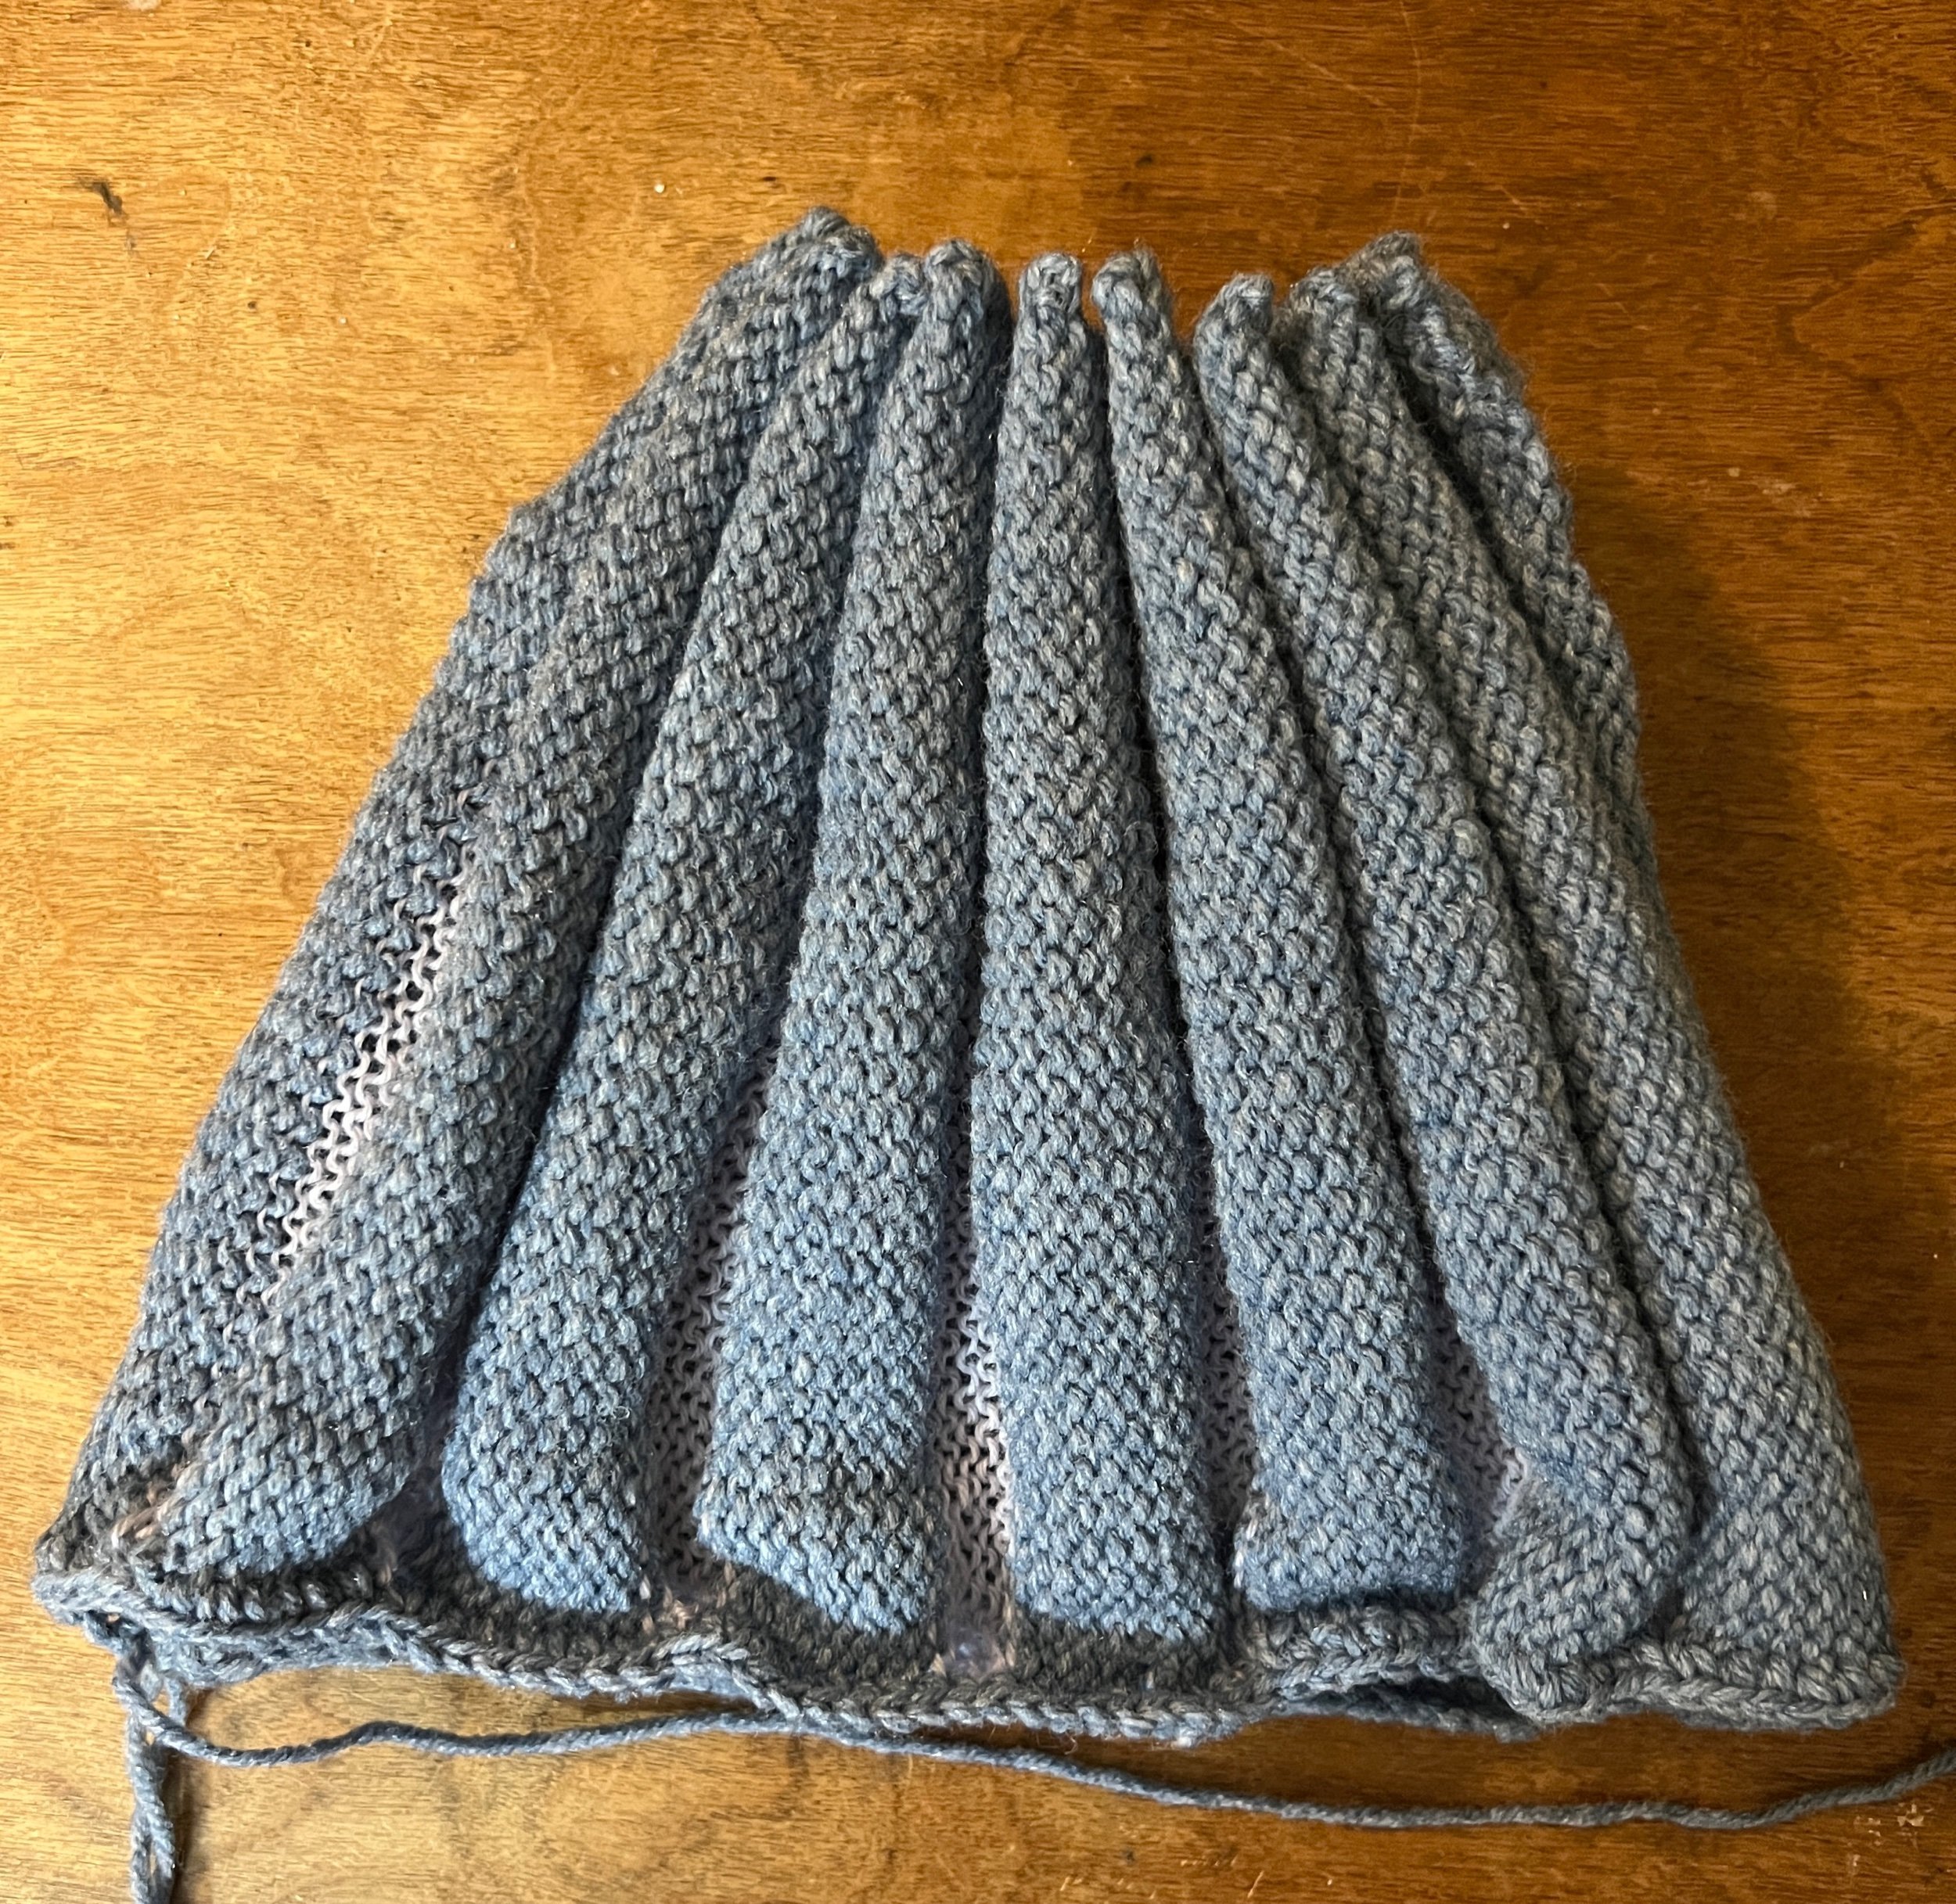
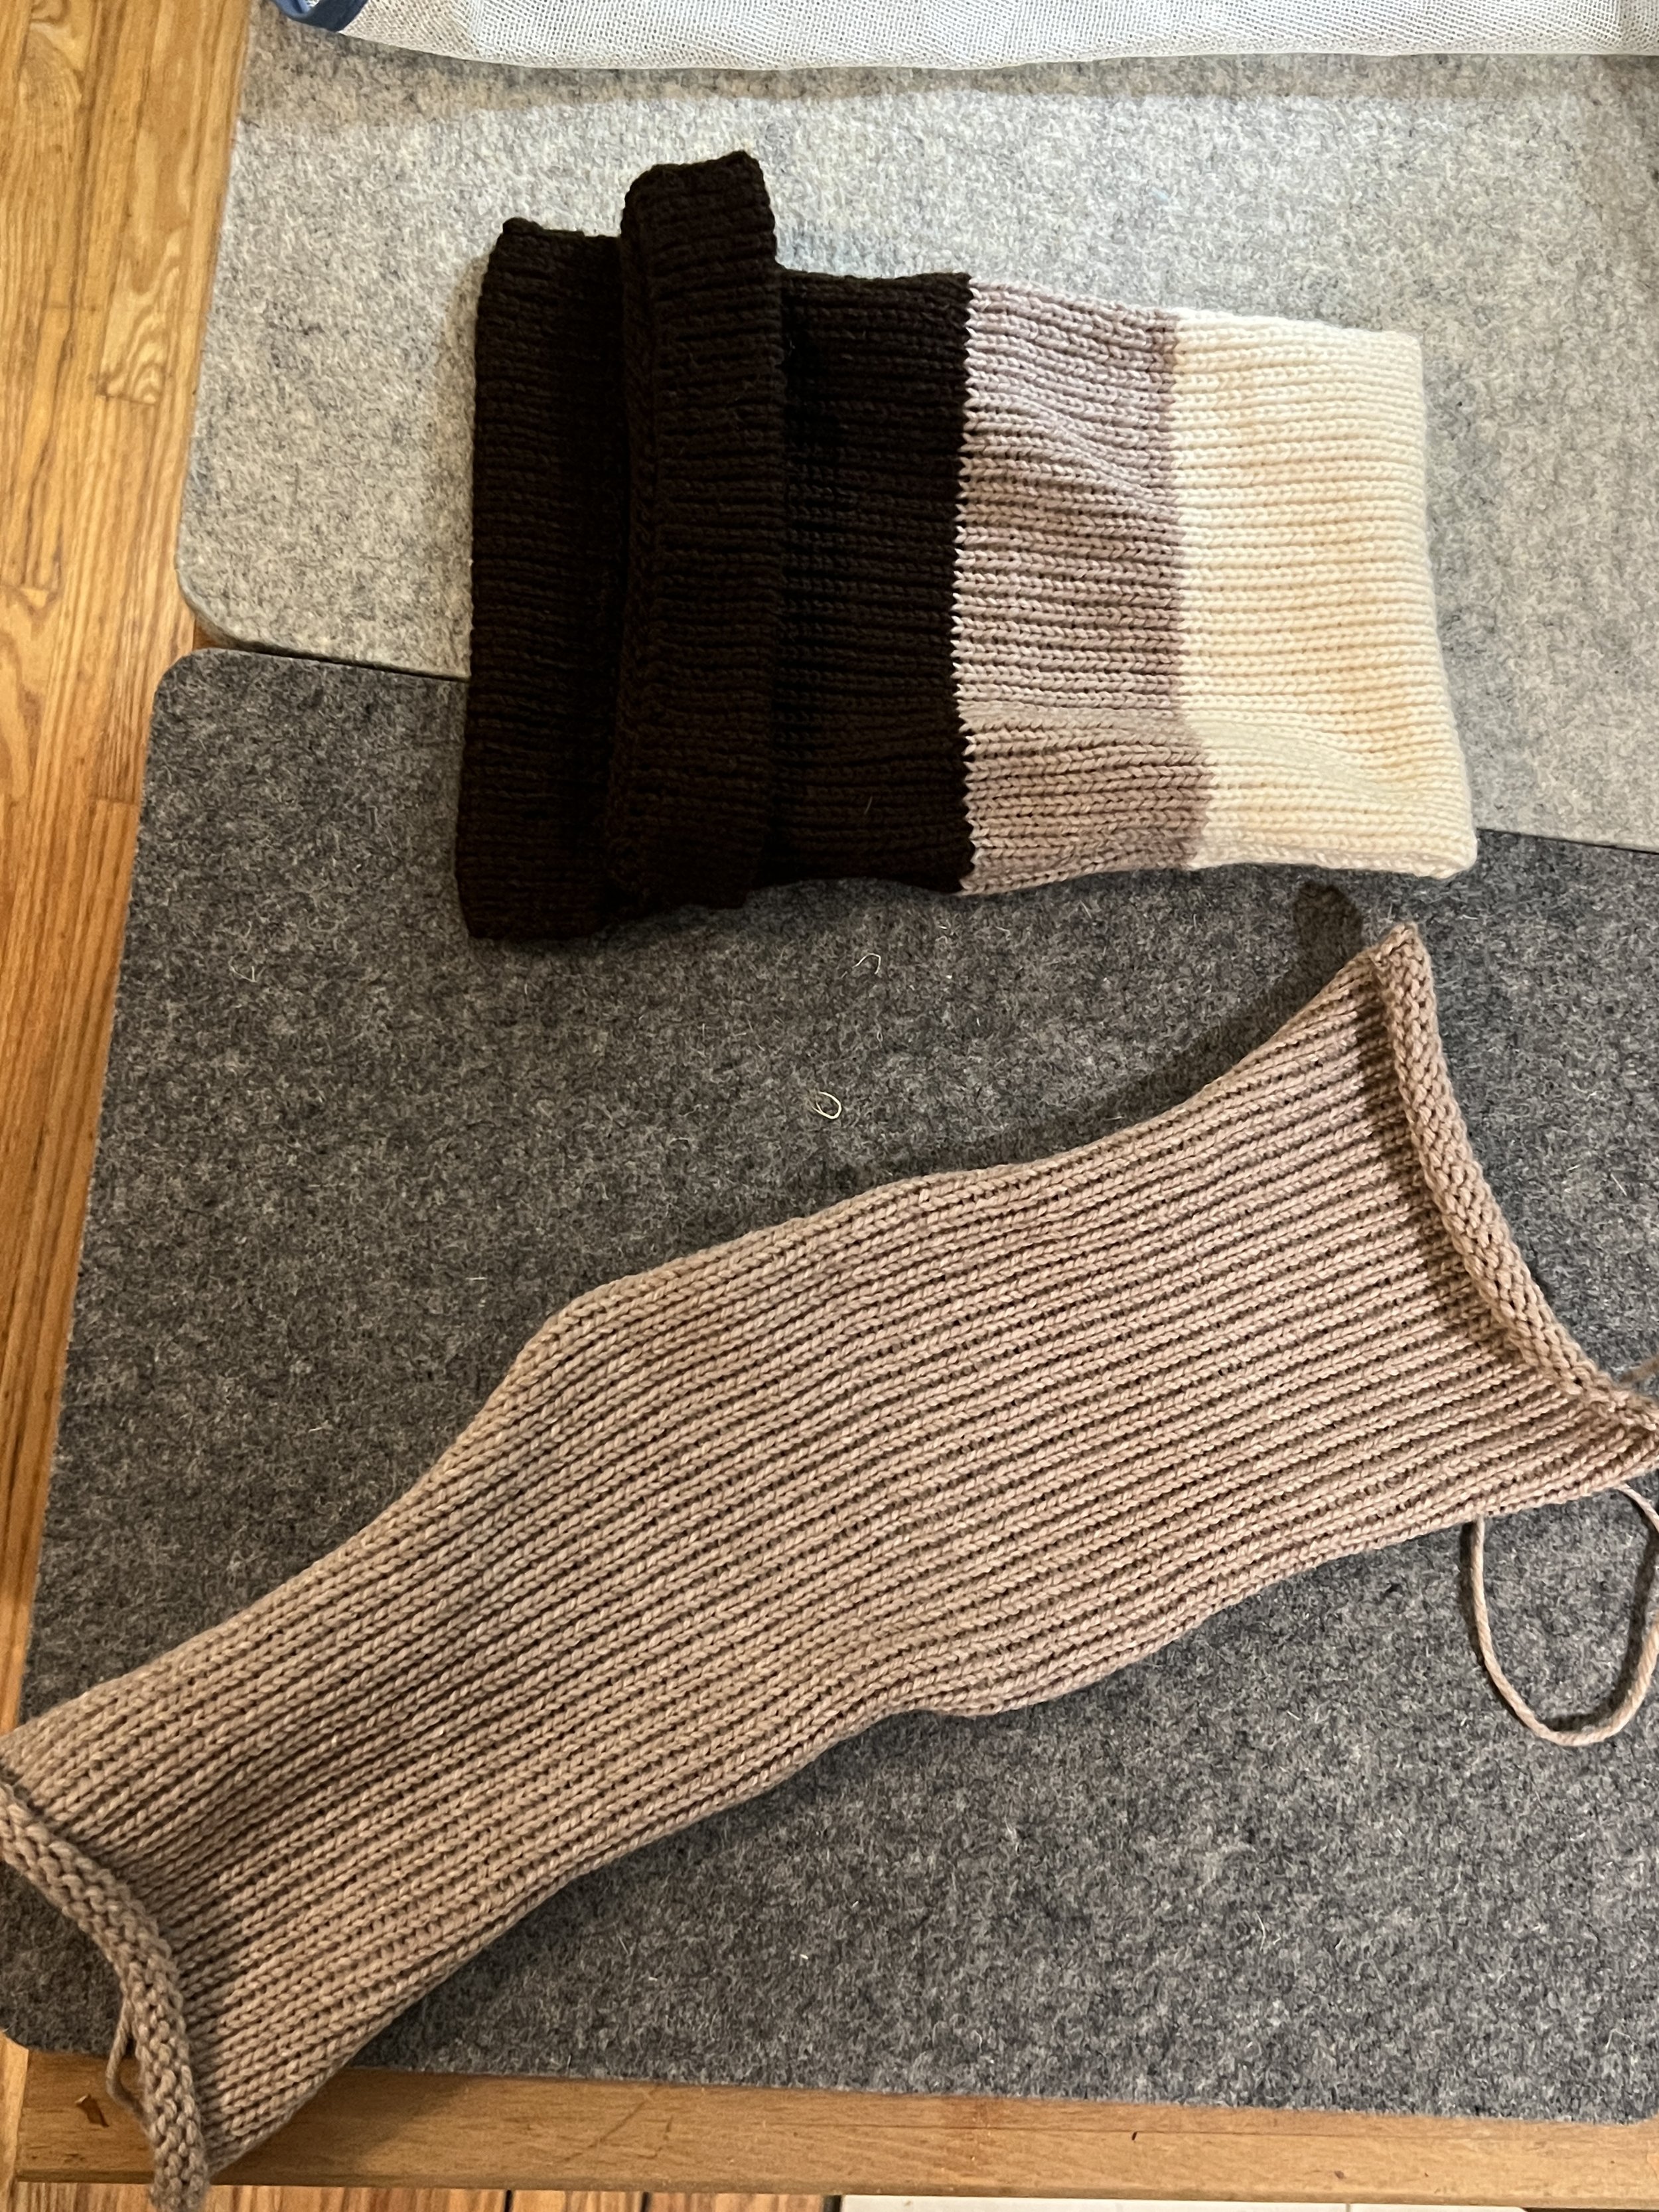
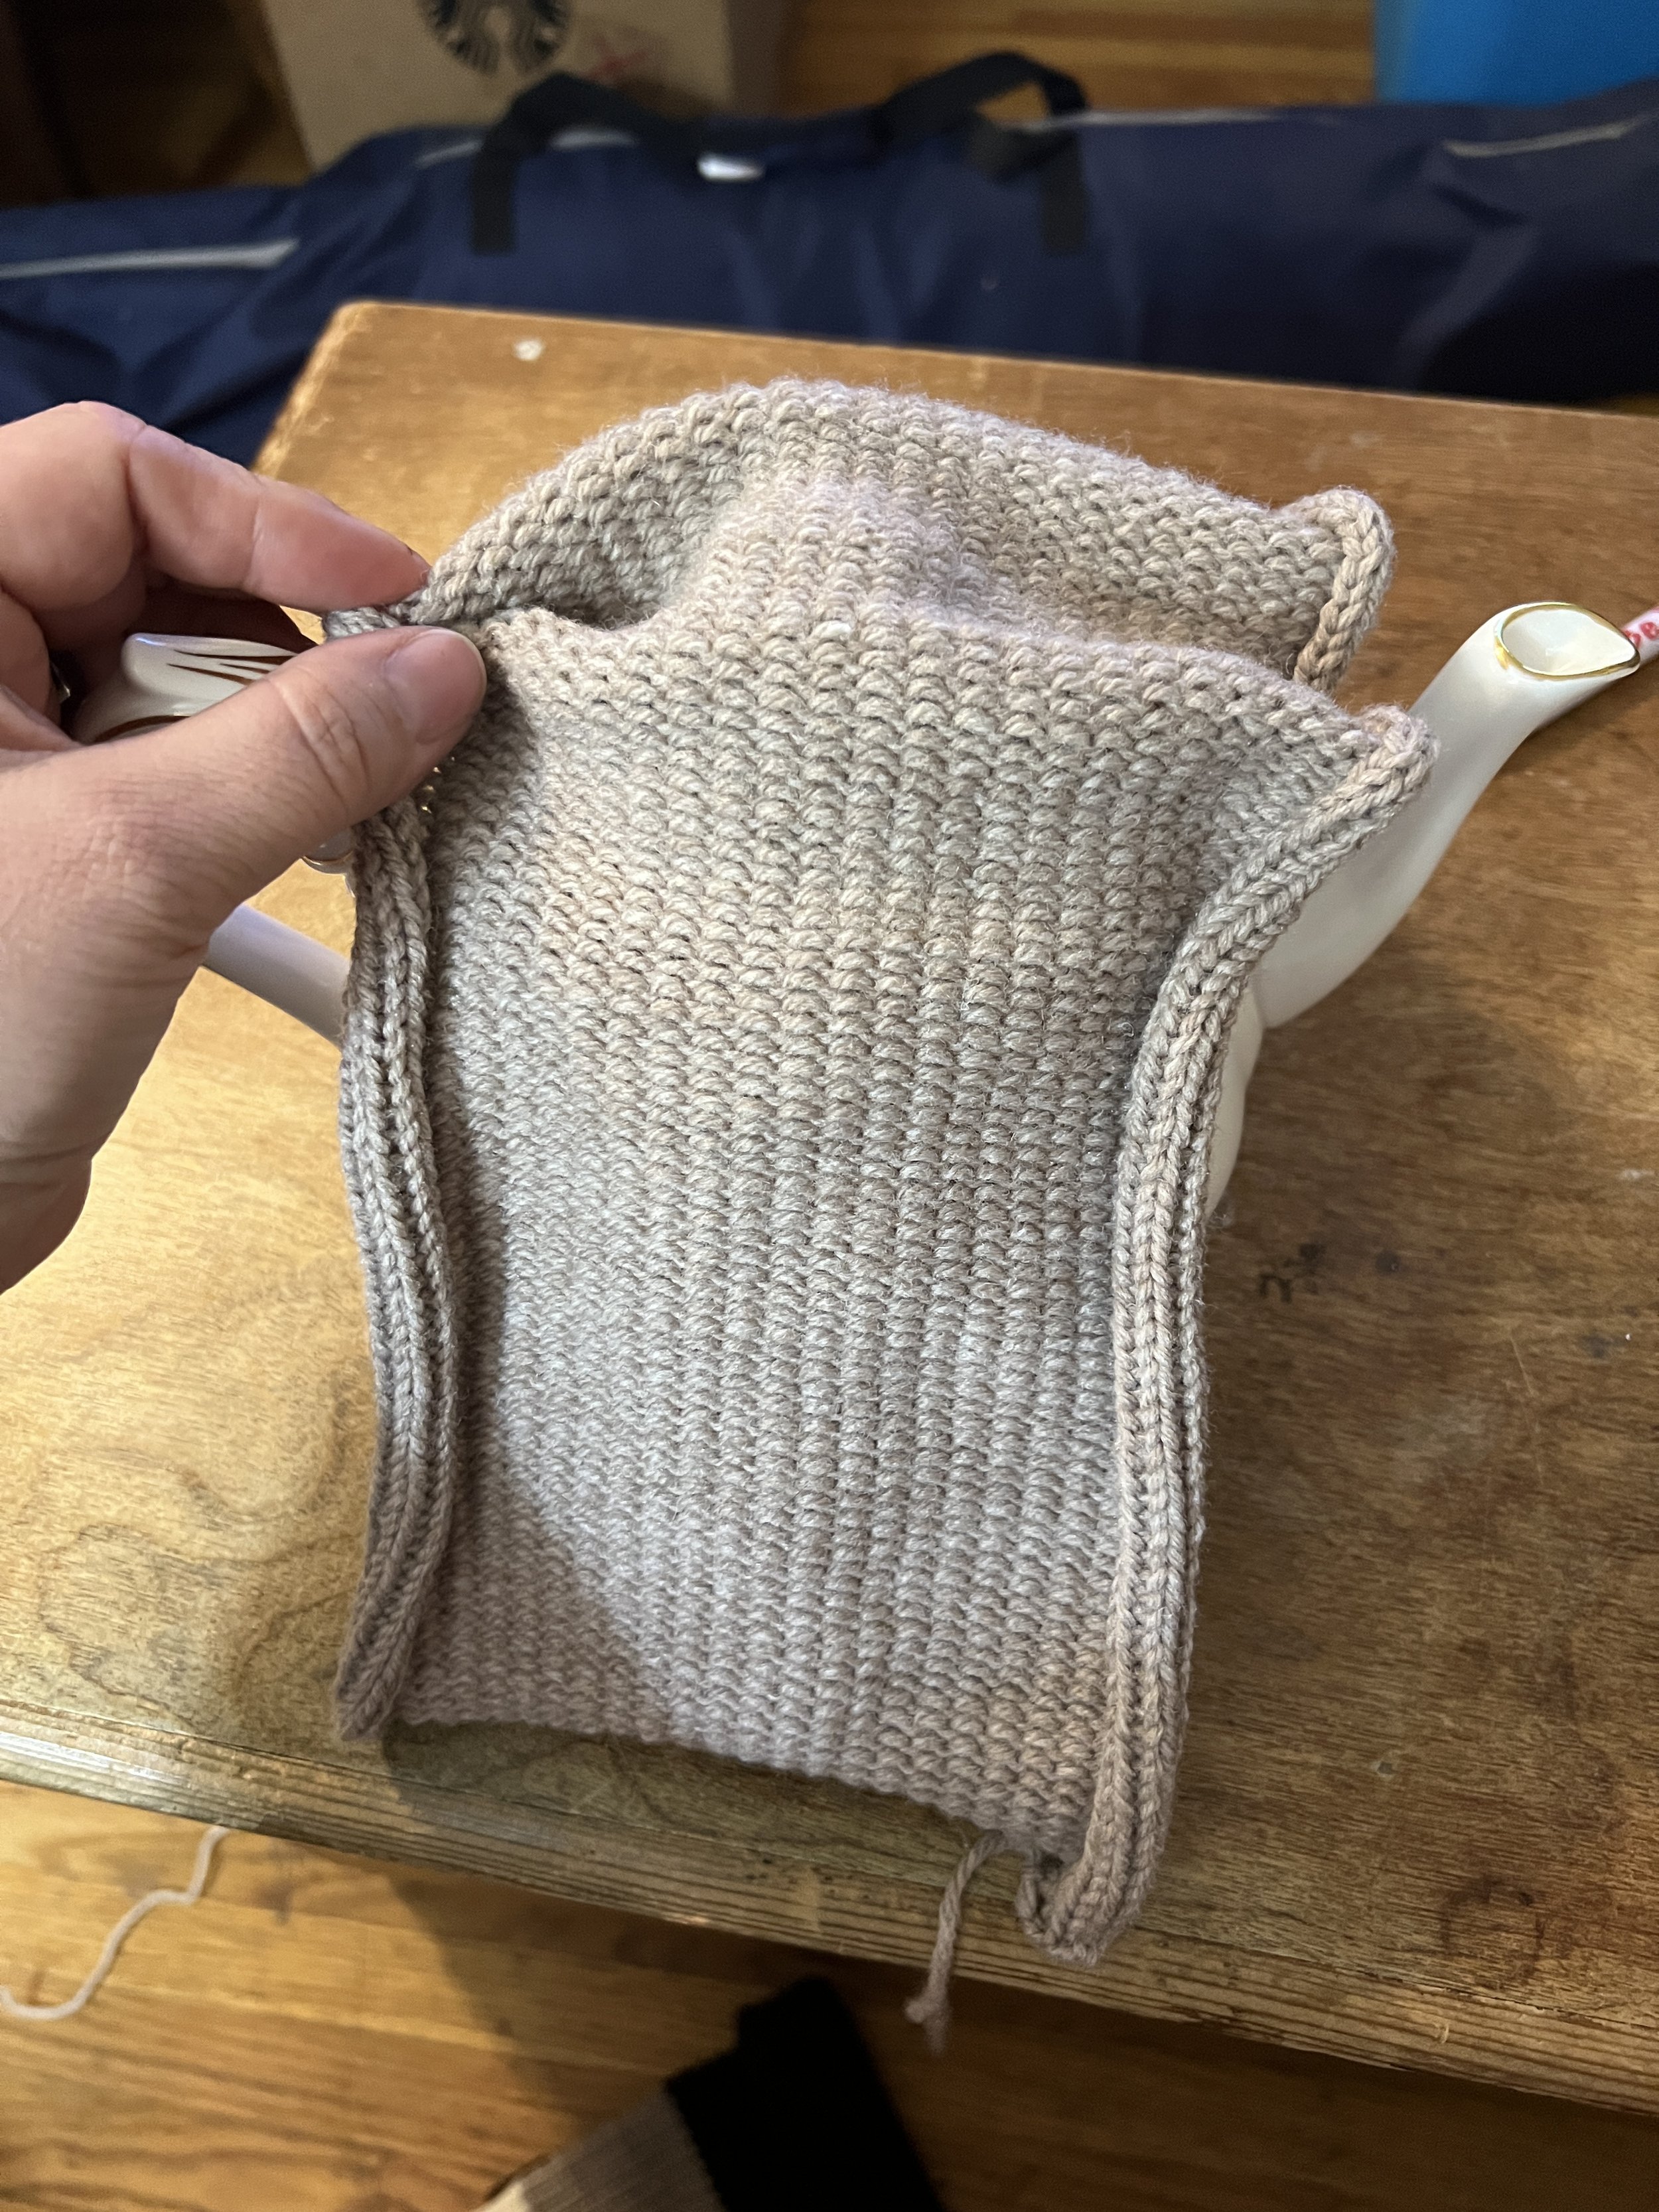
I created a plan using a piece of paper plan to determine rectangle length. The finished project would than have a shoulder strap created. This project prototype was worked using 370 rows. The grey prototype used yarn that was old and breaking so it was created as a prototype. :)

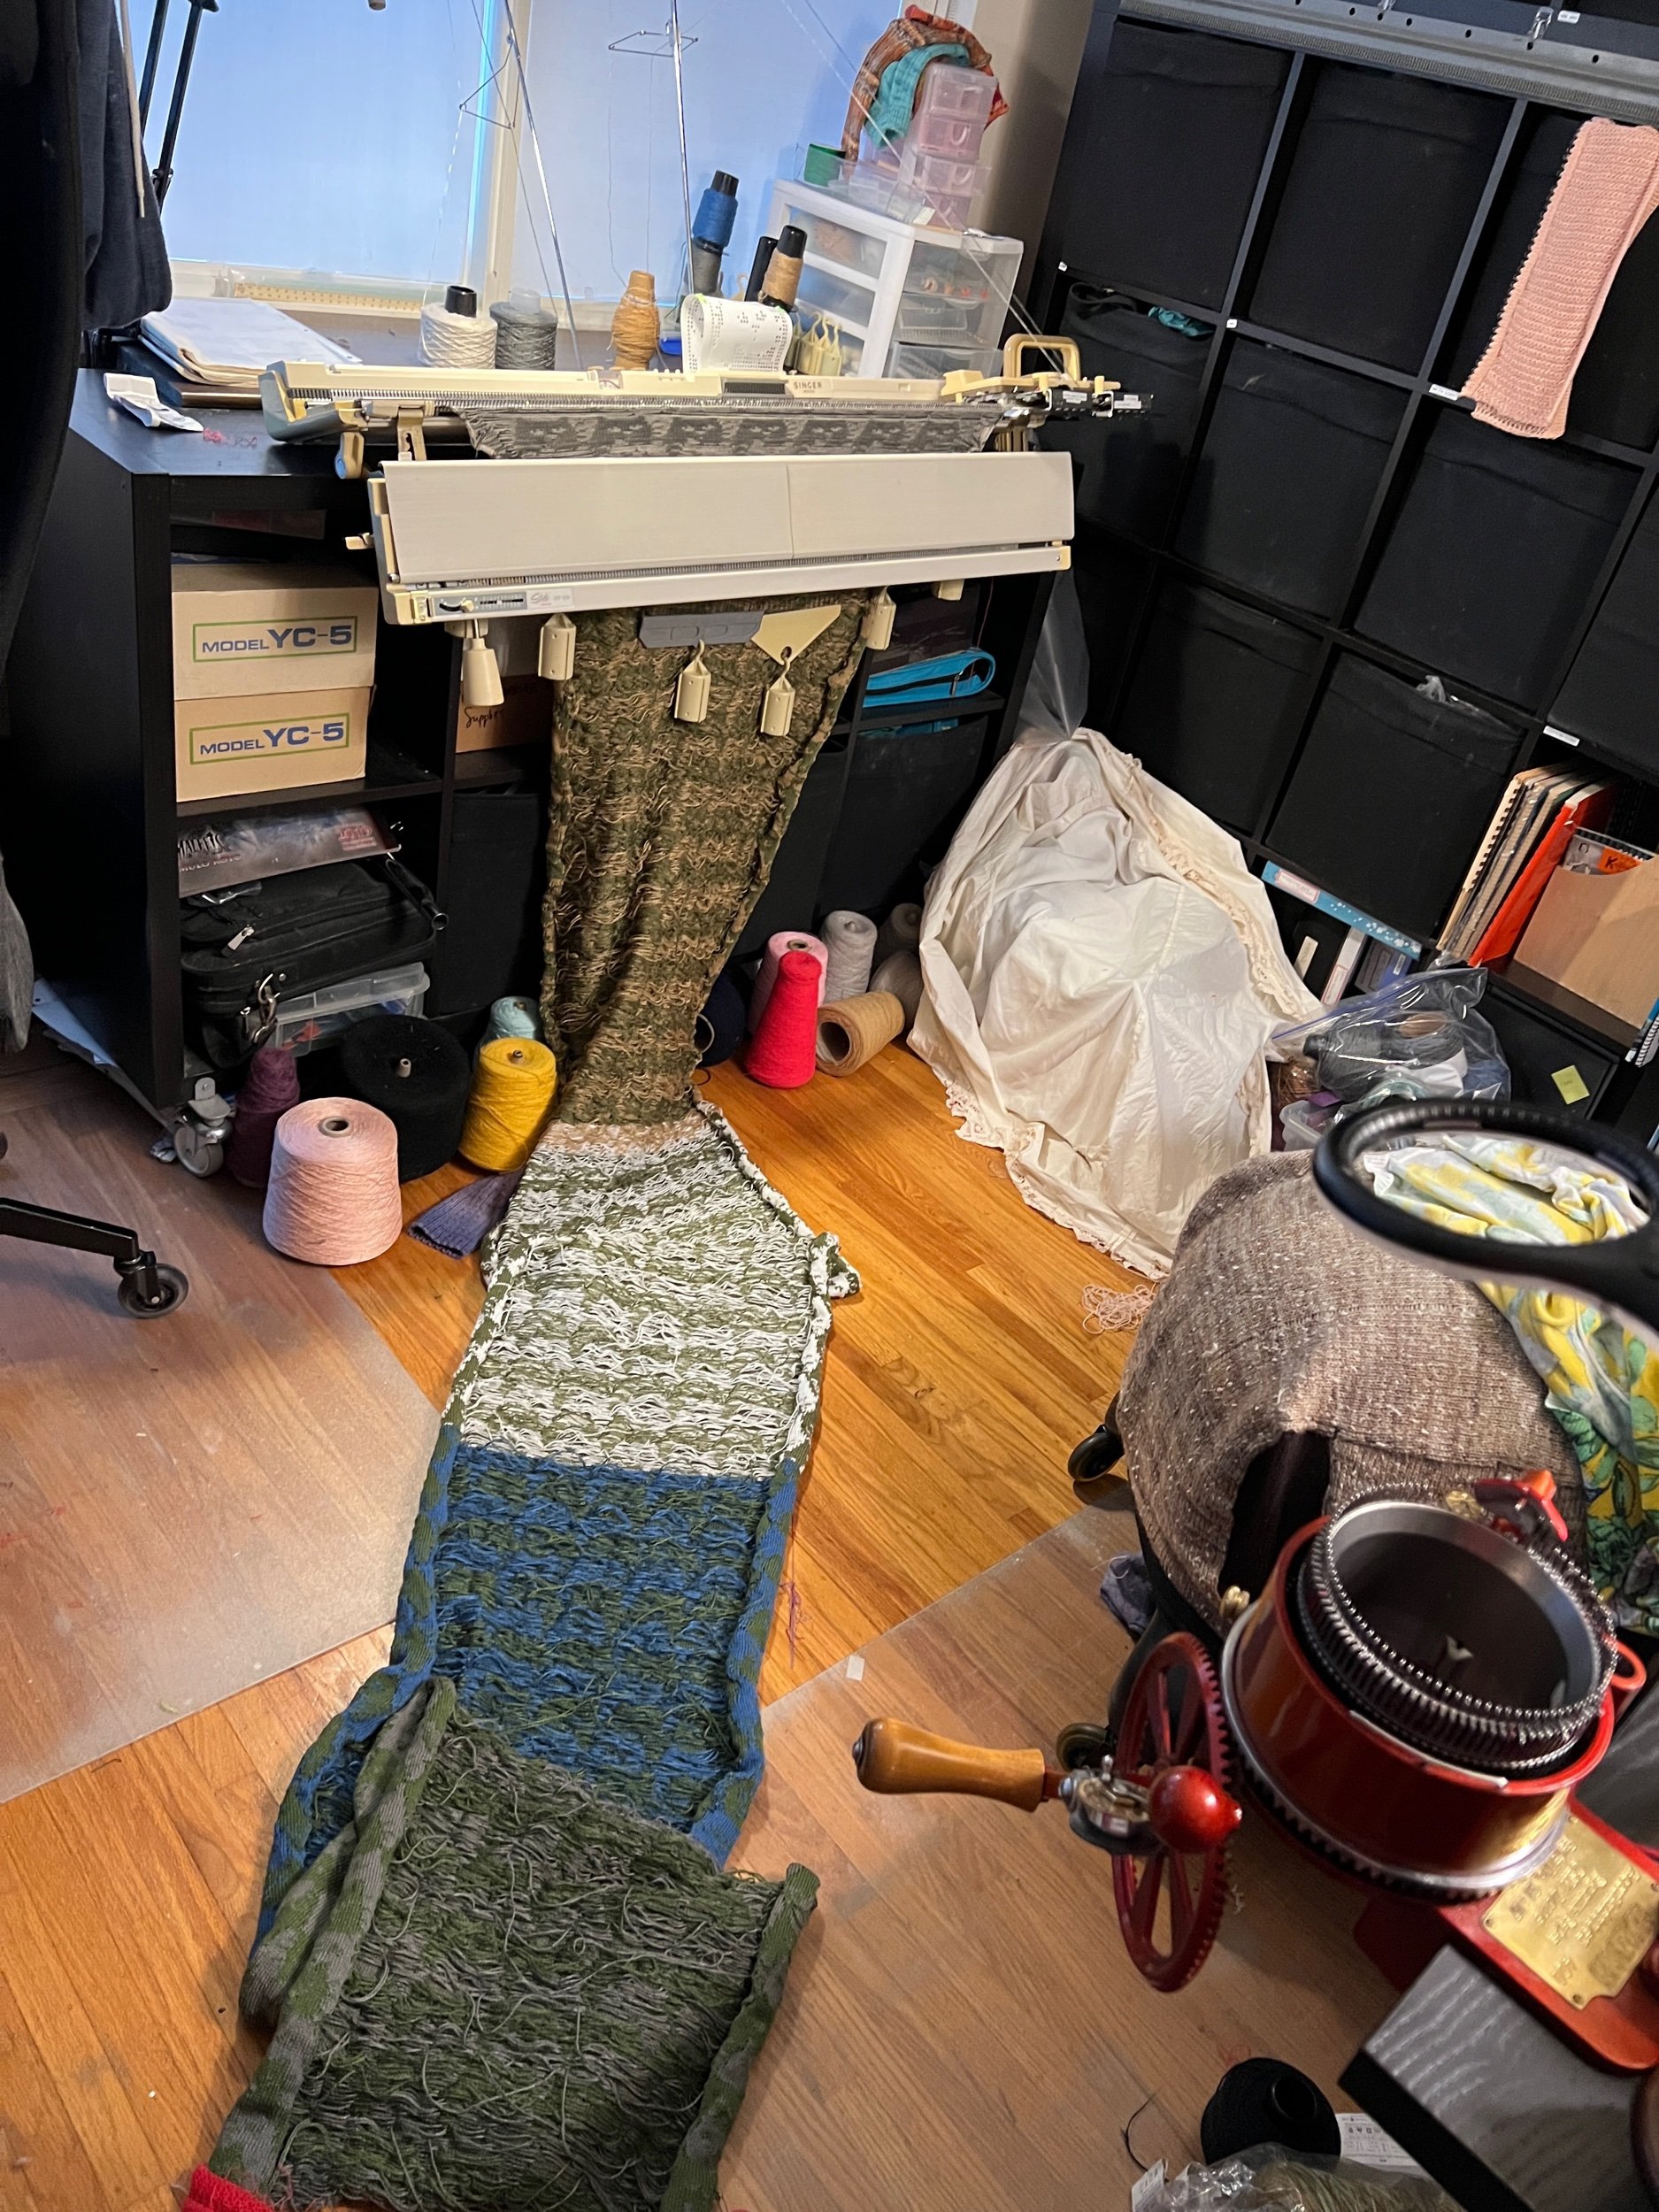
The bottom left and right width of this bag as it lay on the floor straight from the machine is 42cm, The height of each side is the same 42cm. The diagonal top left to bottom right is approximately 57cm.

Now to make the bag for real :) While this is indeed a quick project, I wasn’t giving it full priority (why it’s not done on the day it was blogged about)

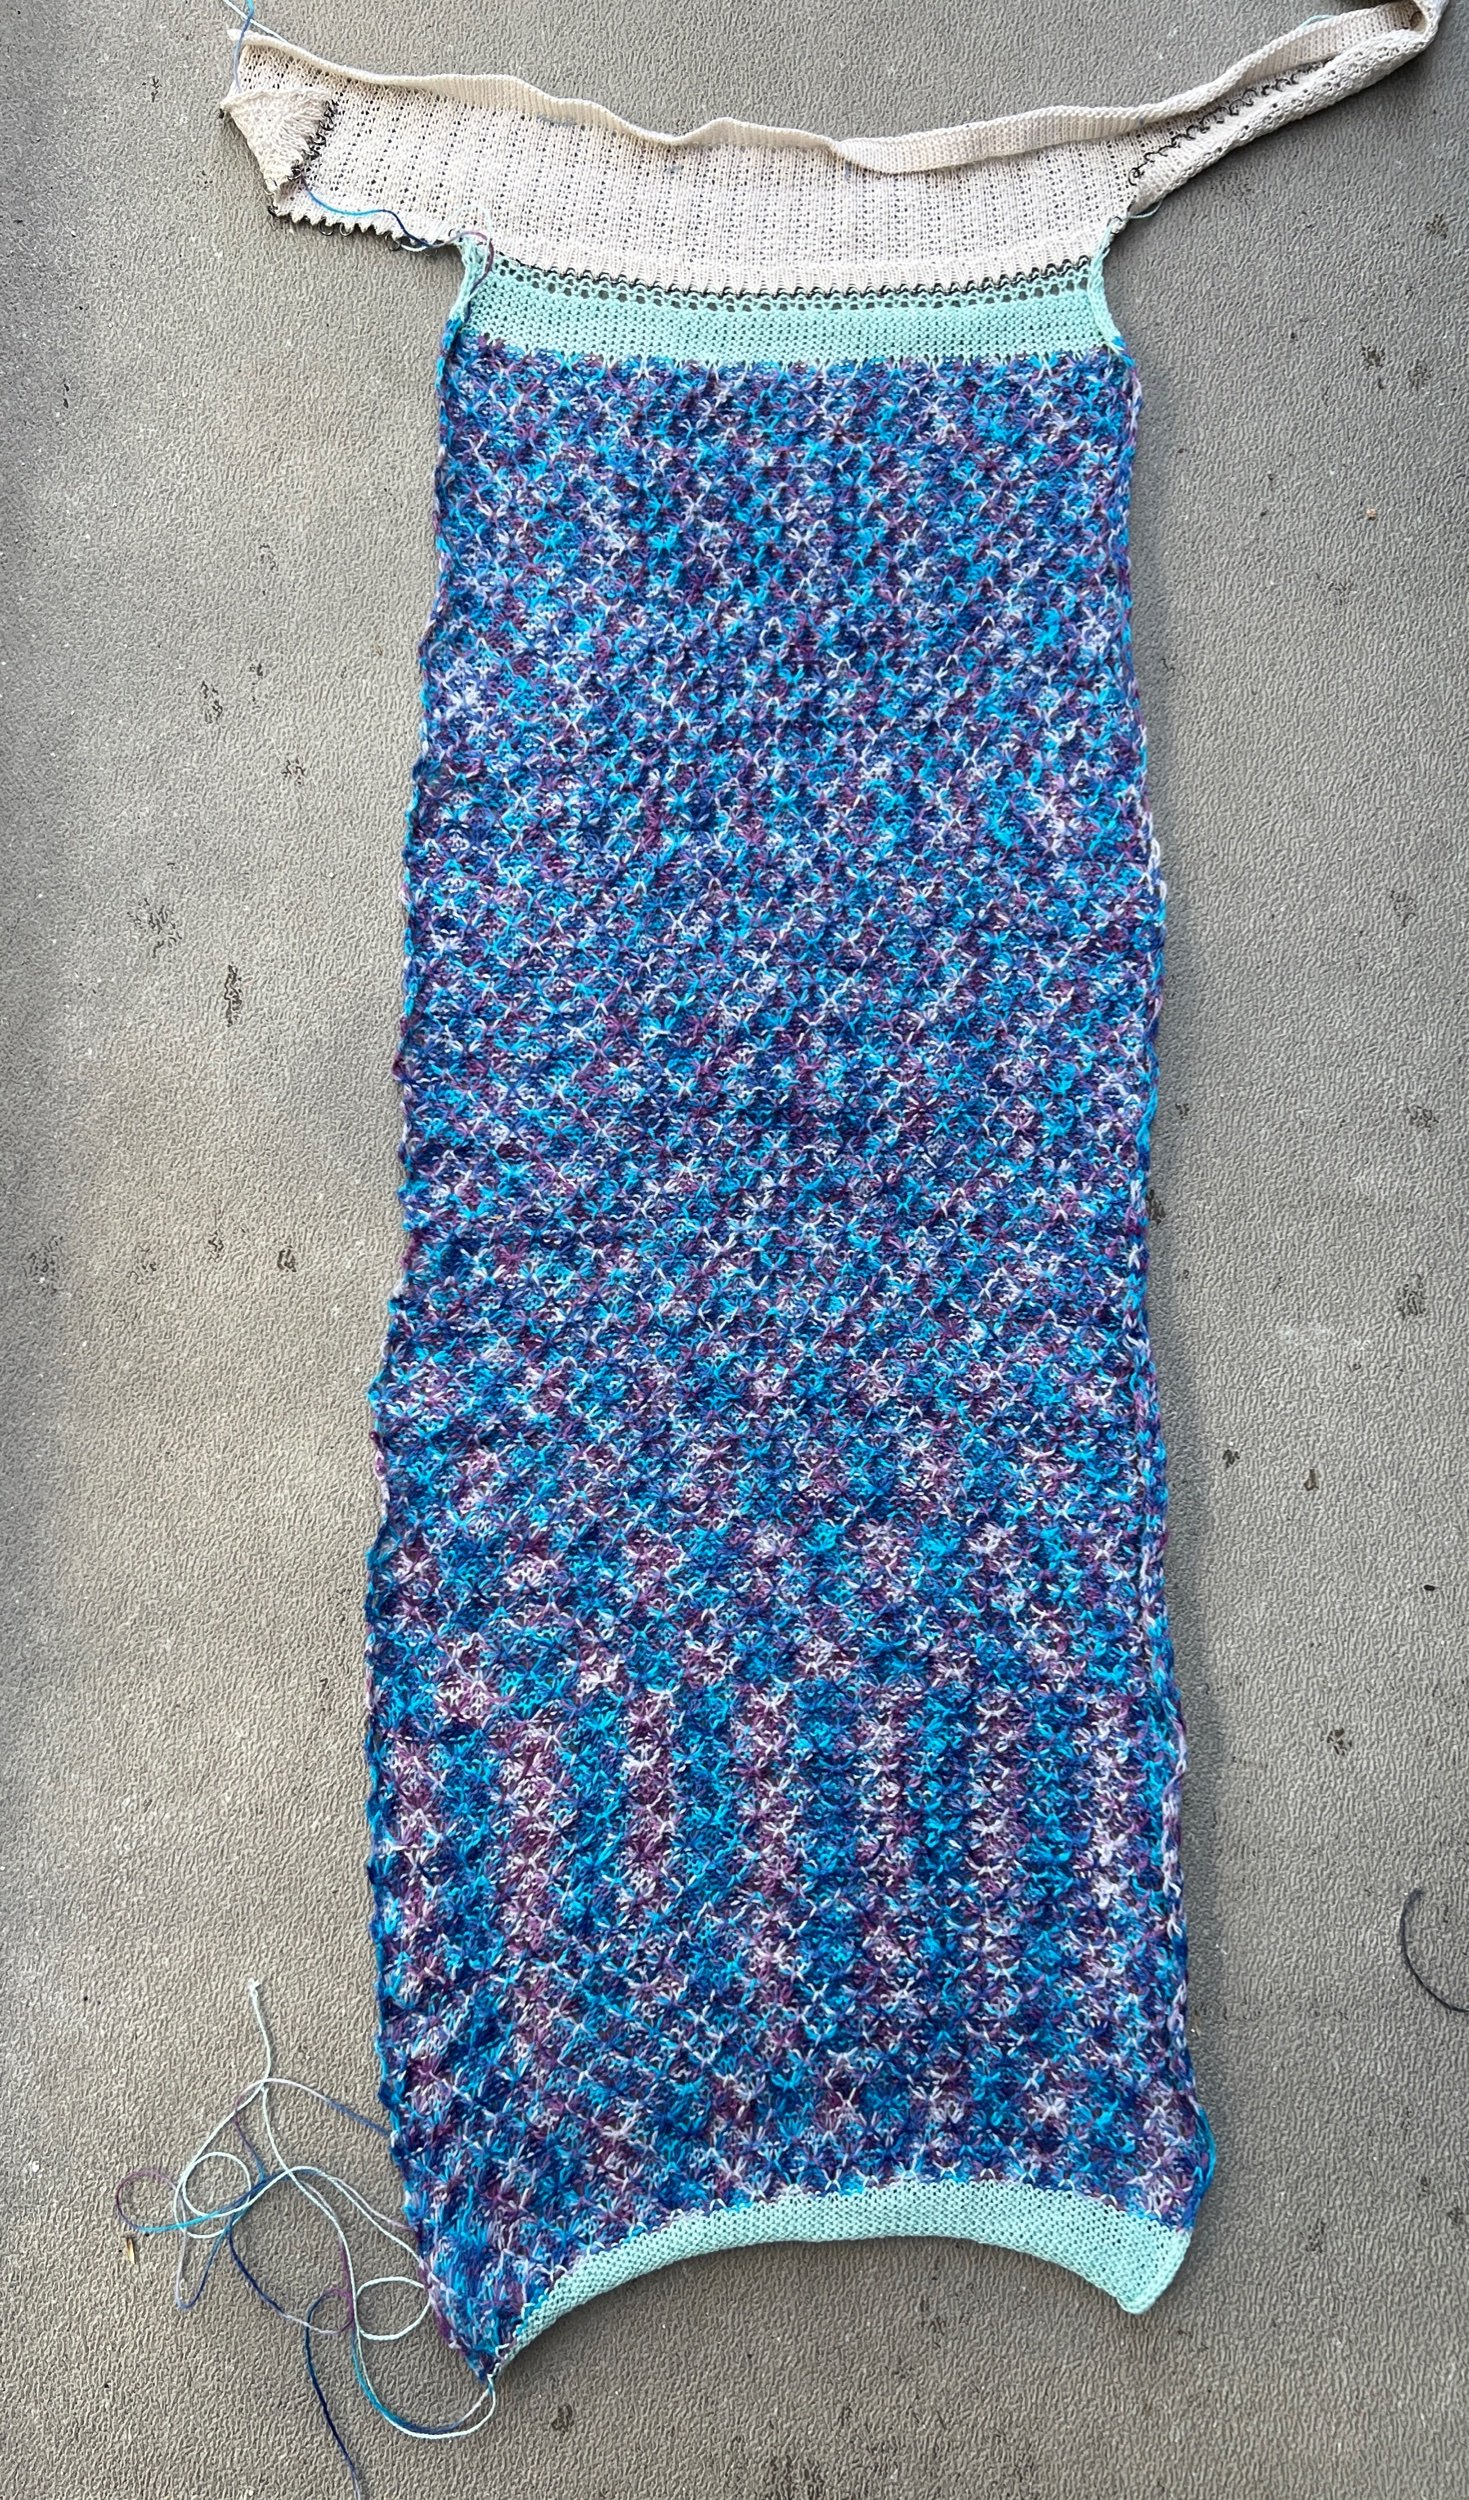
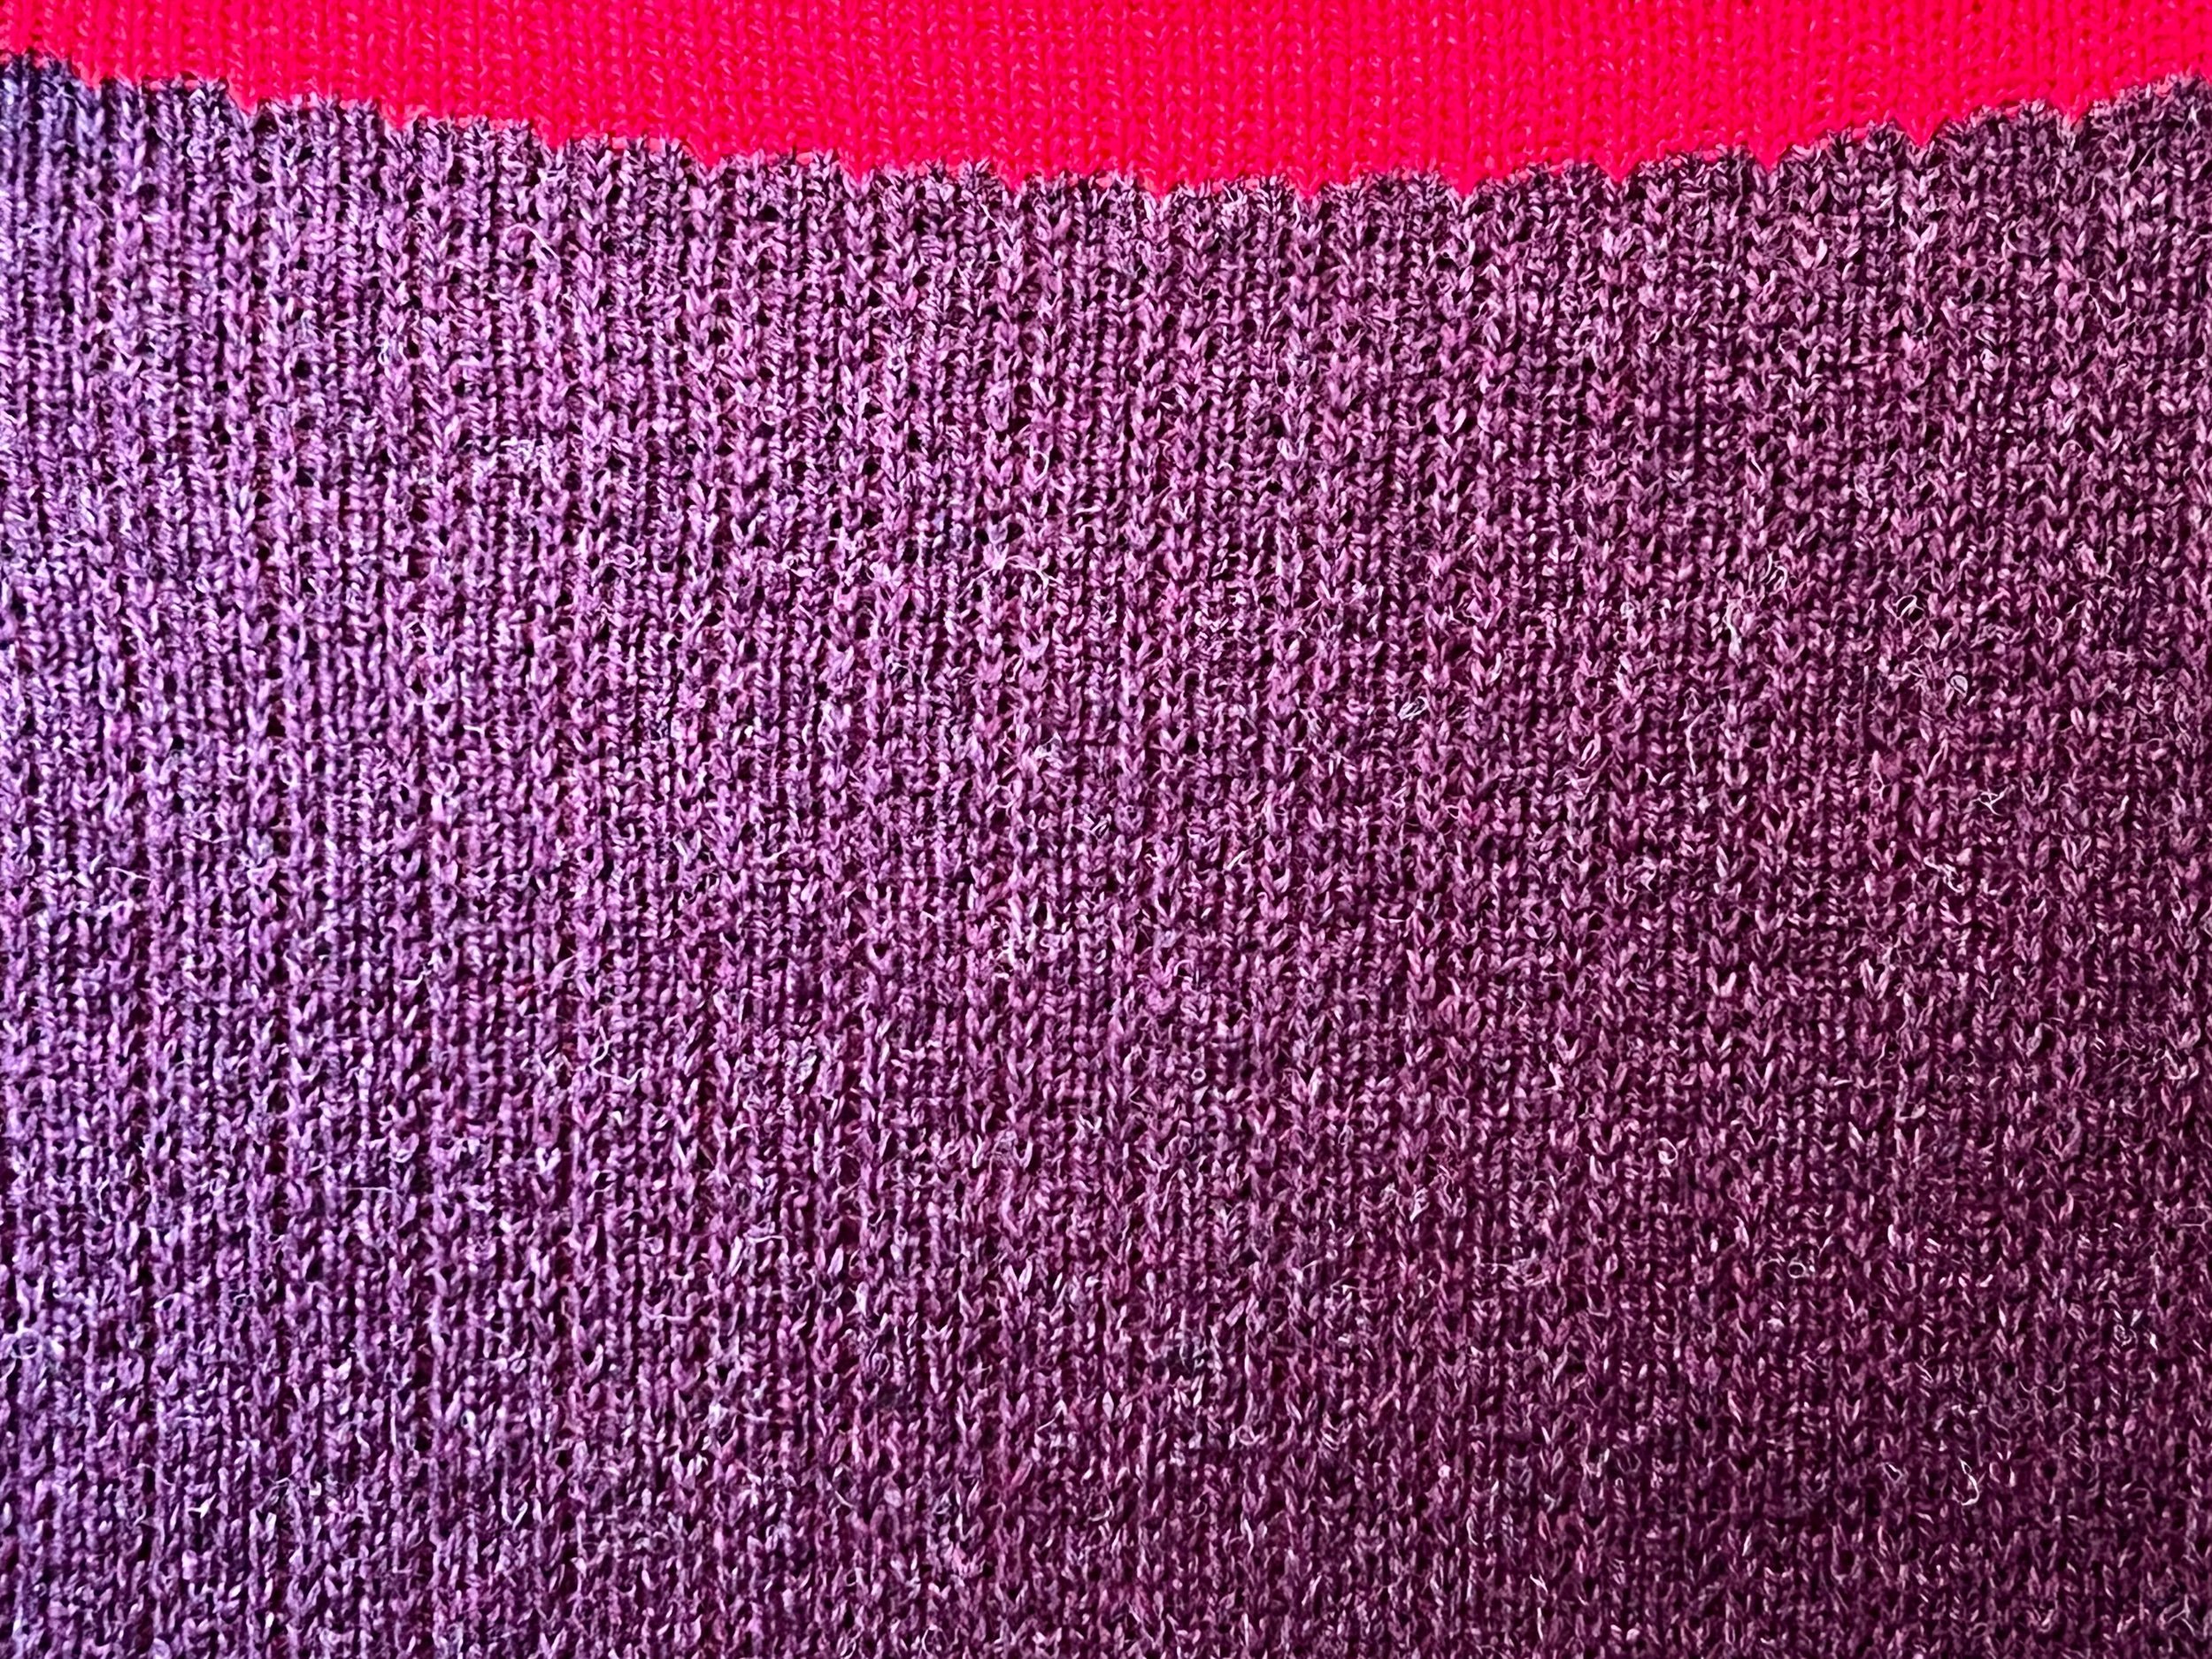
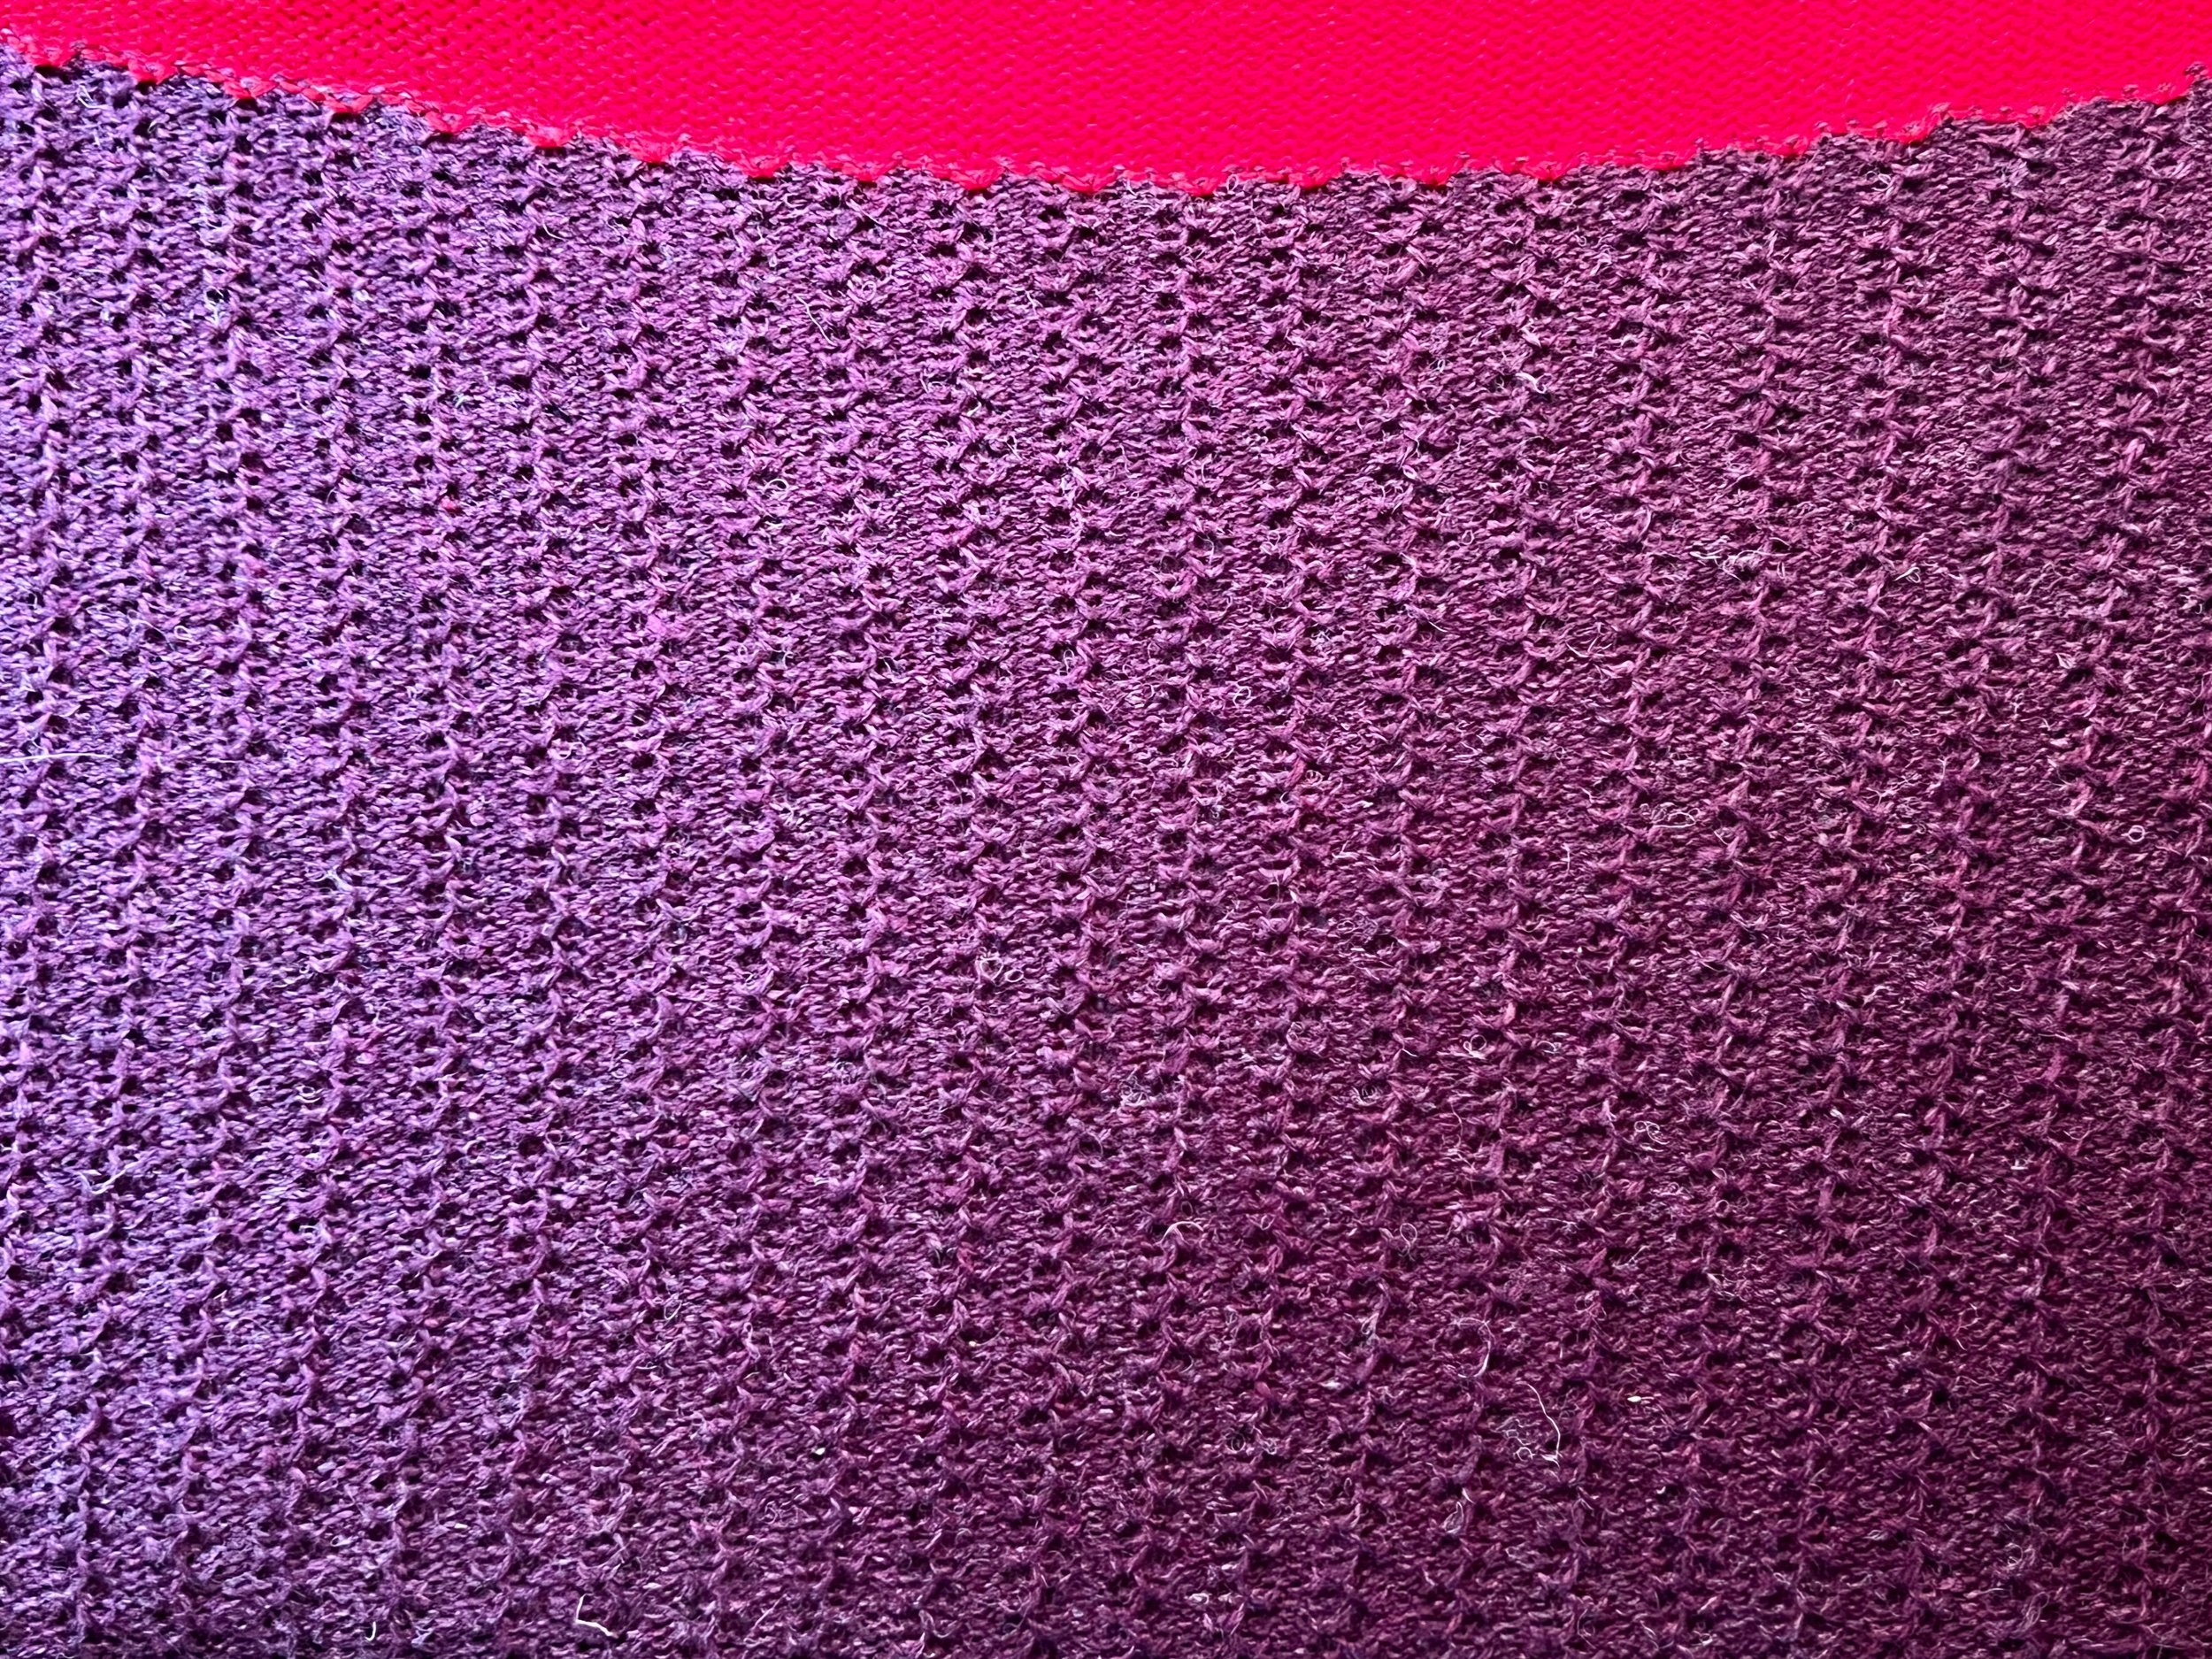
The blue variegated acrylic version I am making worked up to 360 rows in the same punch card tuck setting. Off the machine the fabric curled with total length 89cm now to steam it semi-flat. After steaming the length is now 90cm, the width is 38cm.

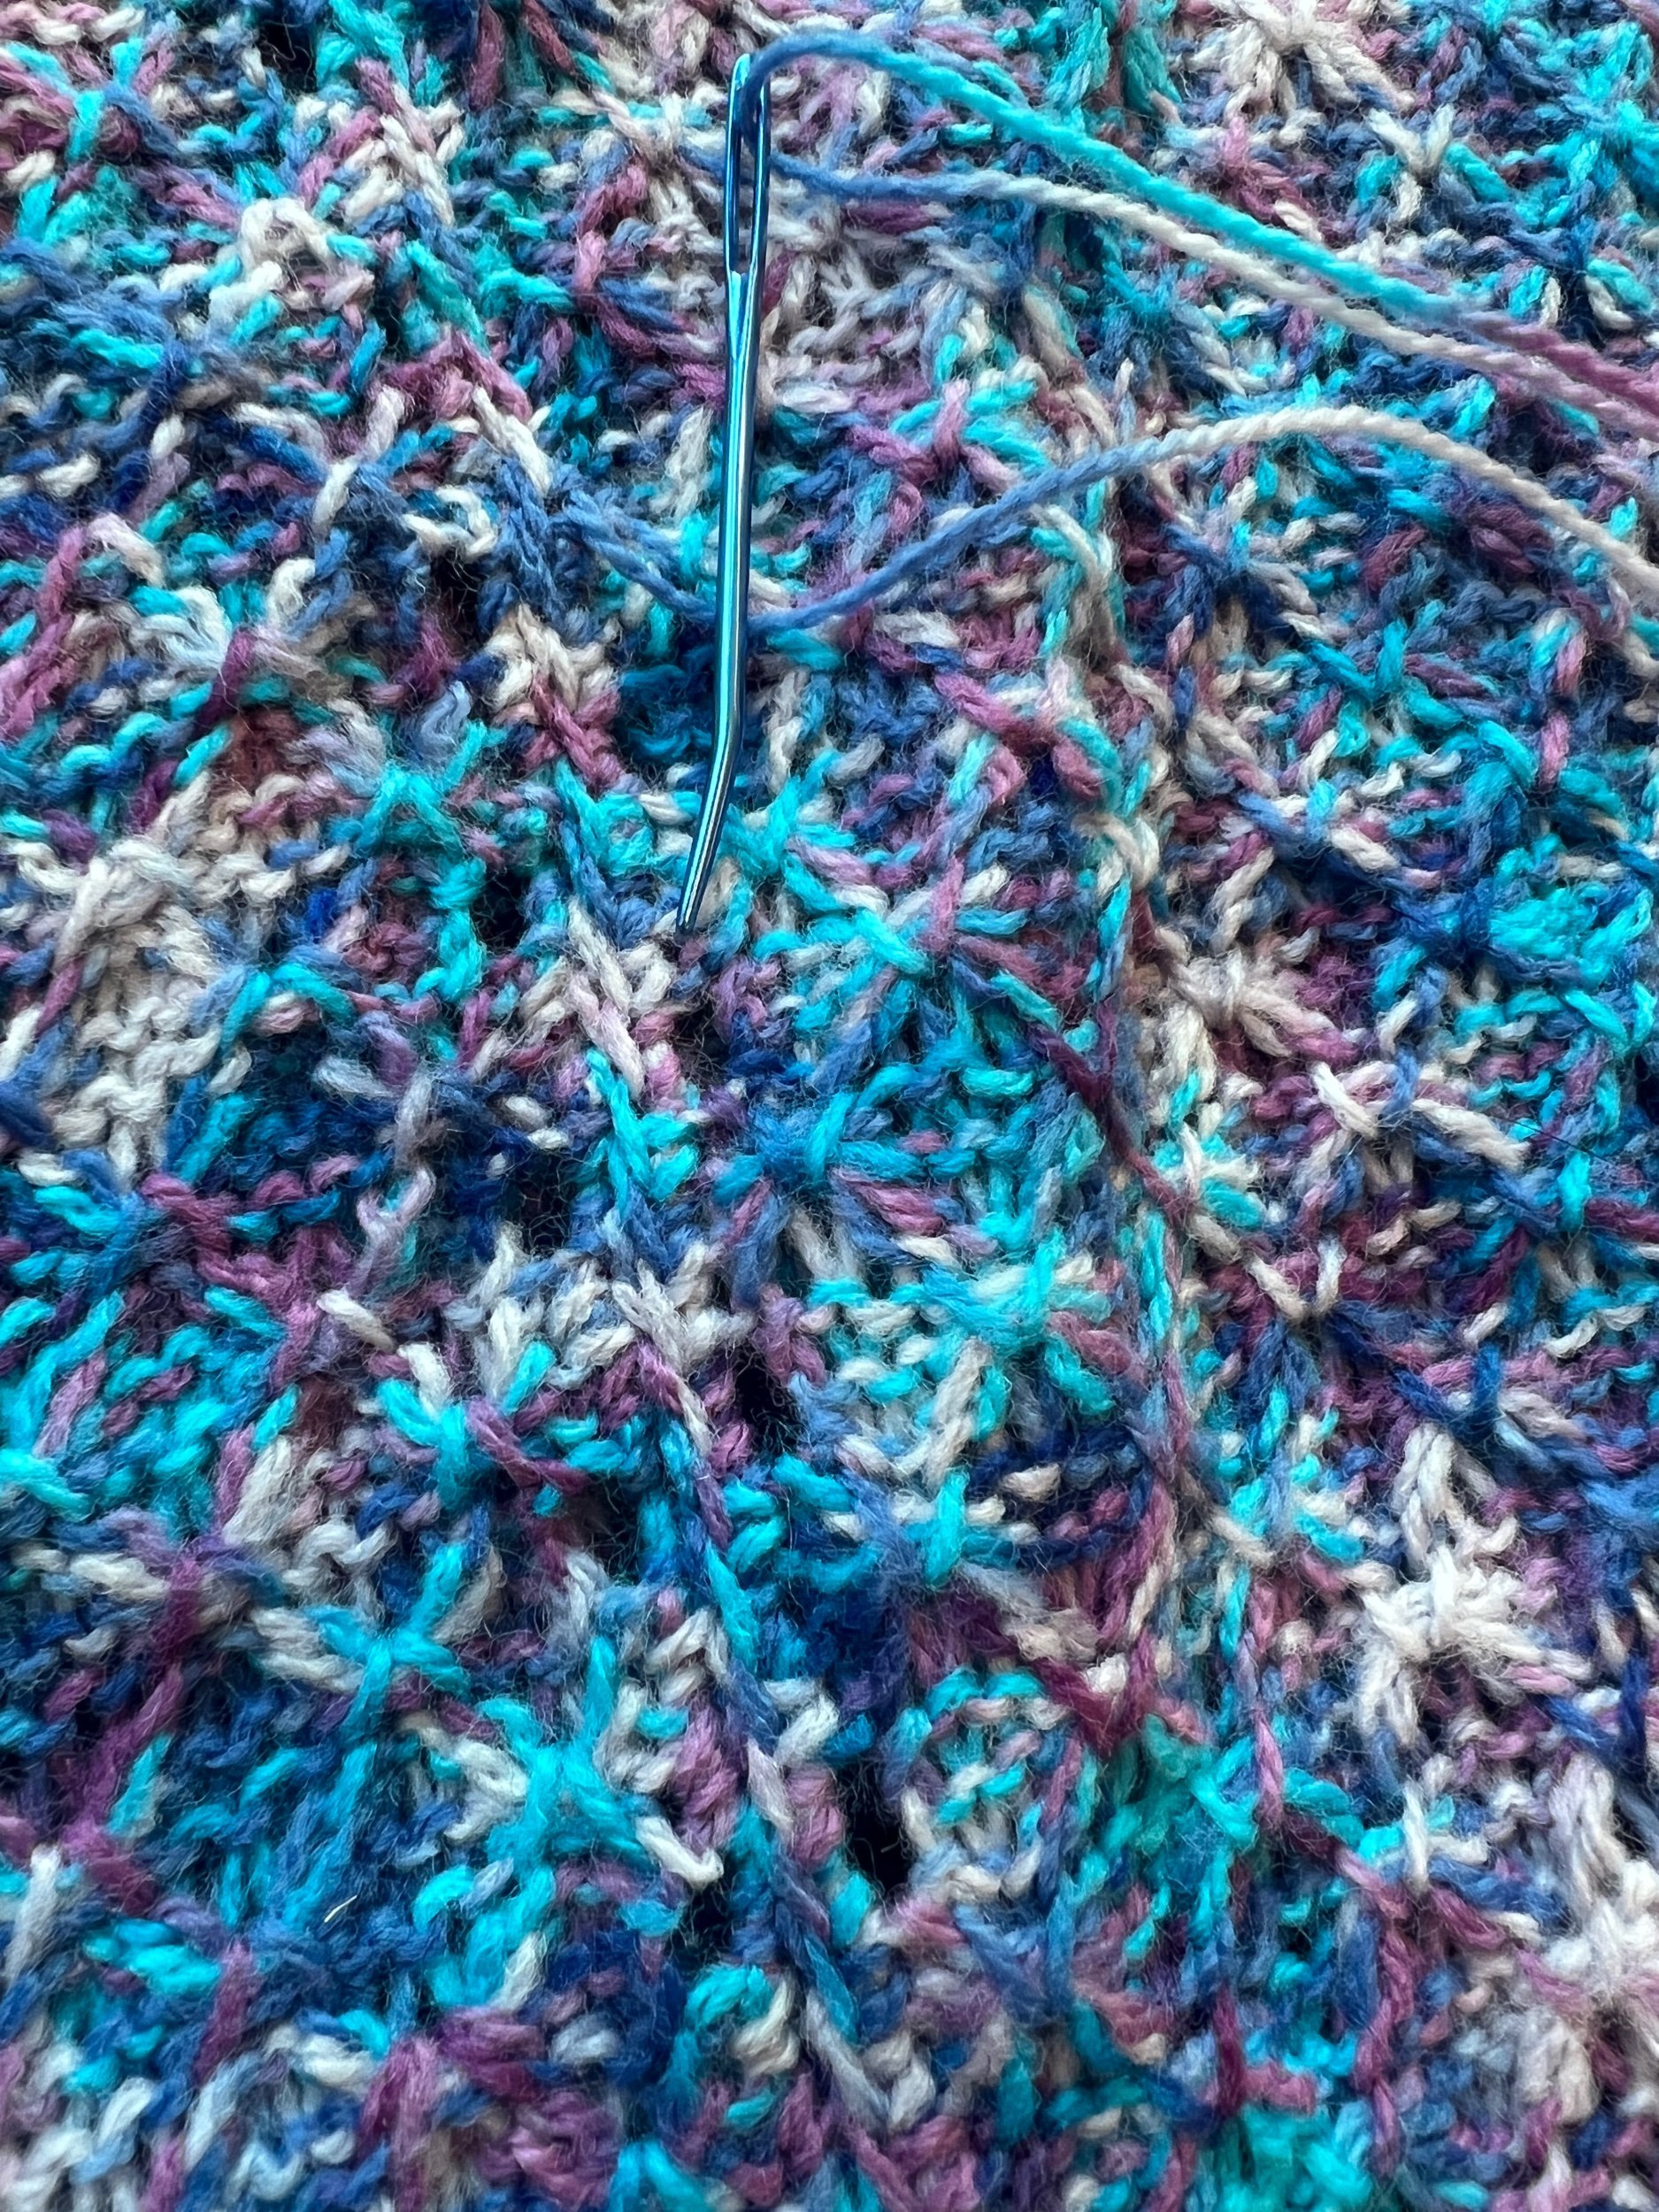
Now to seam.

An update:

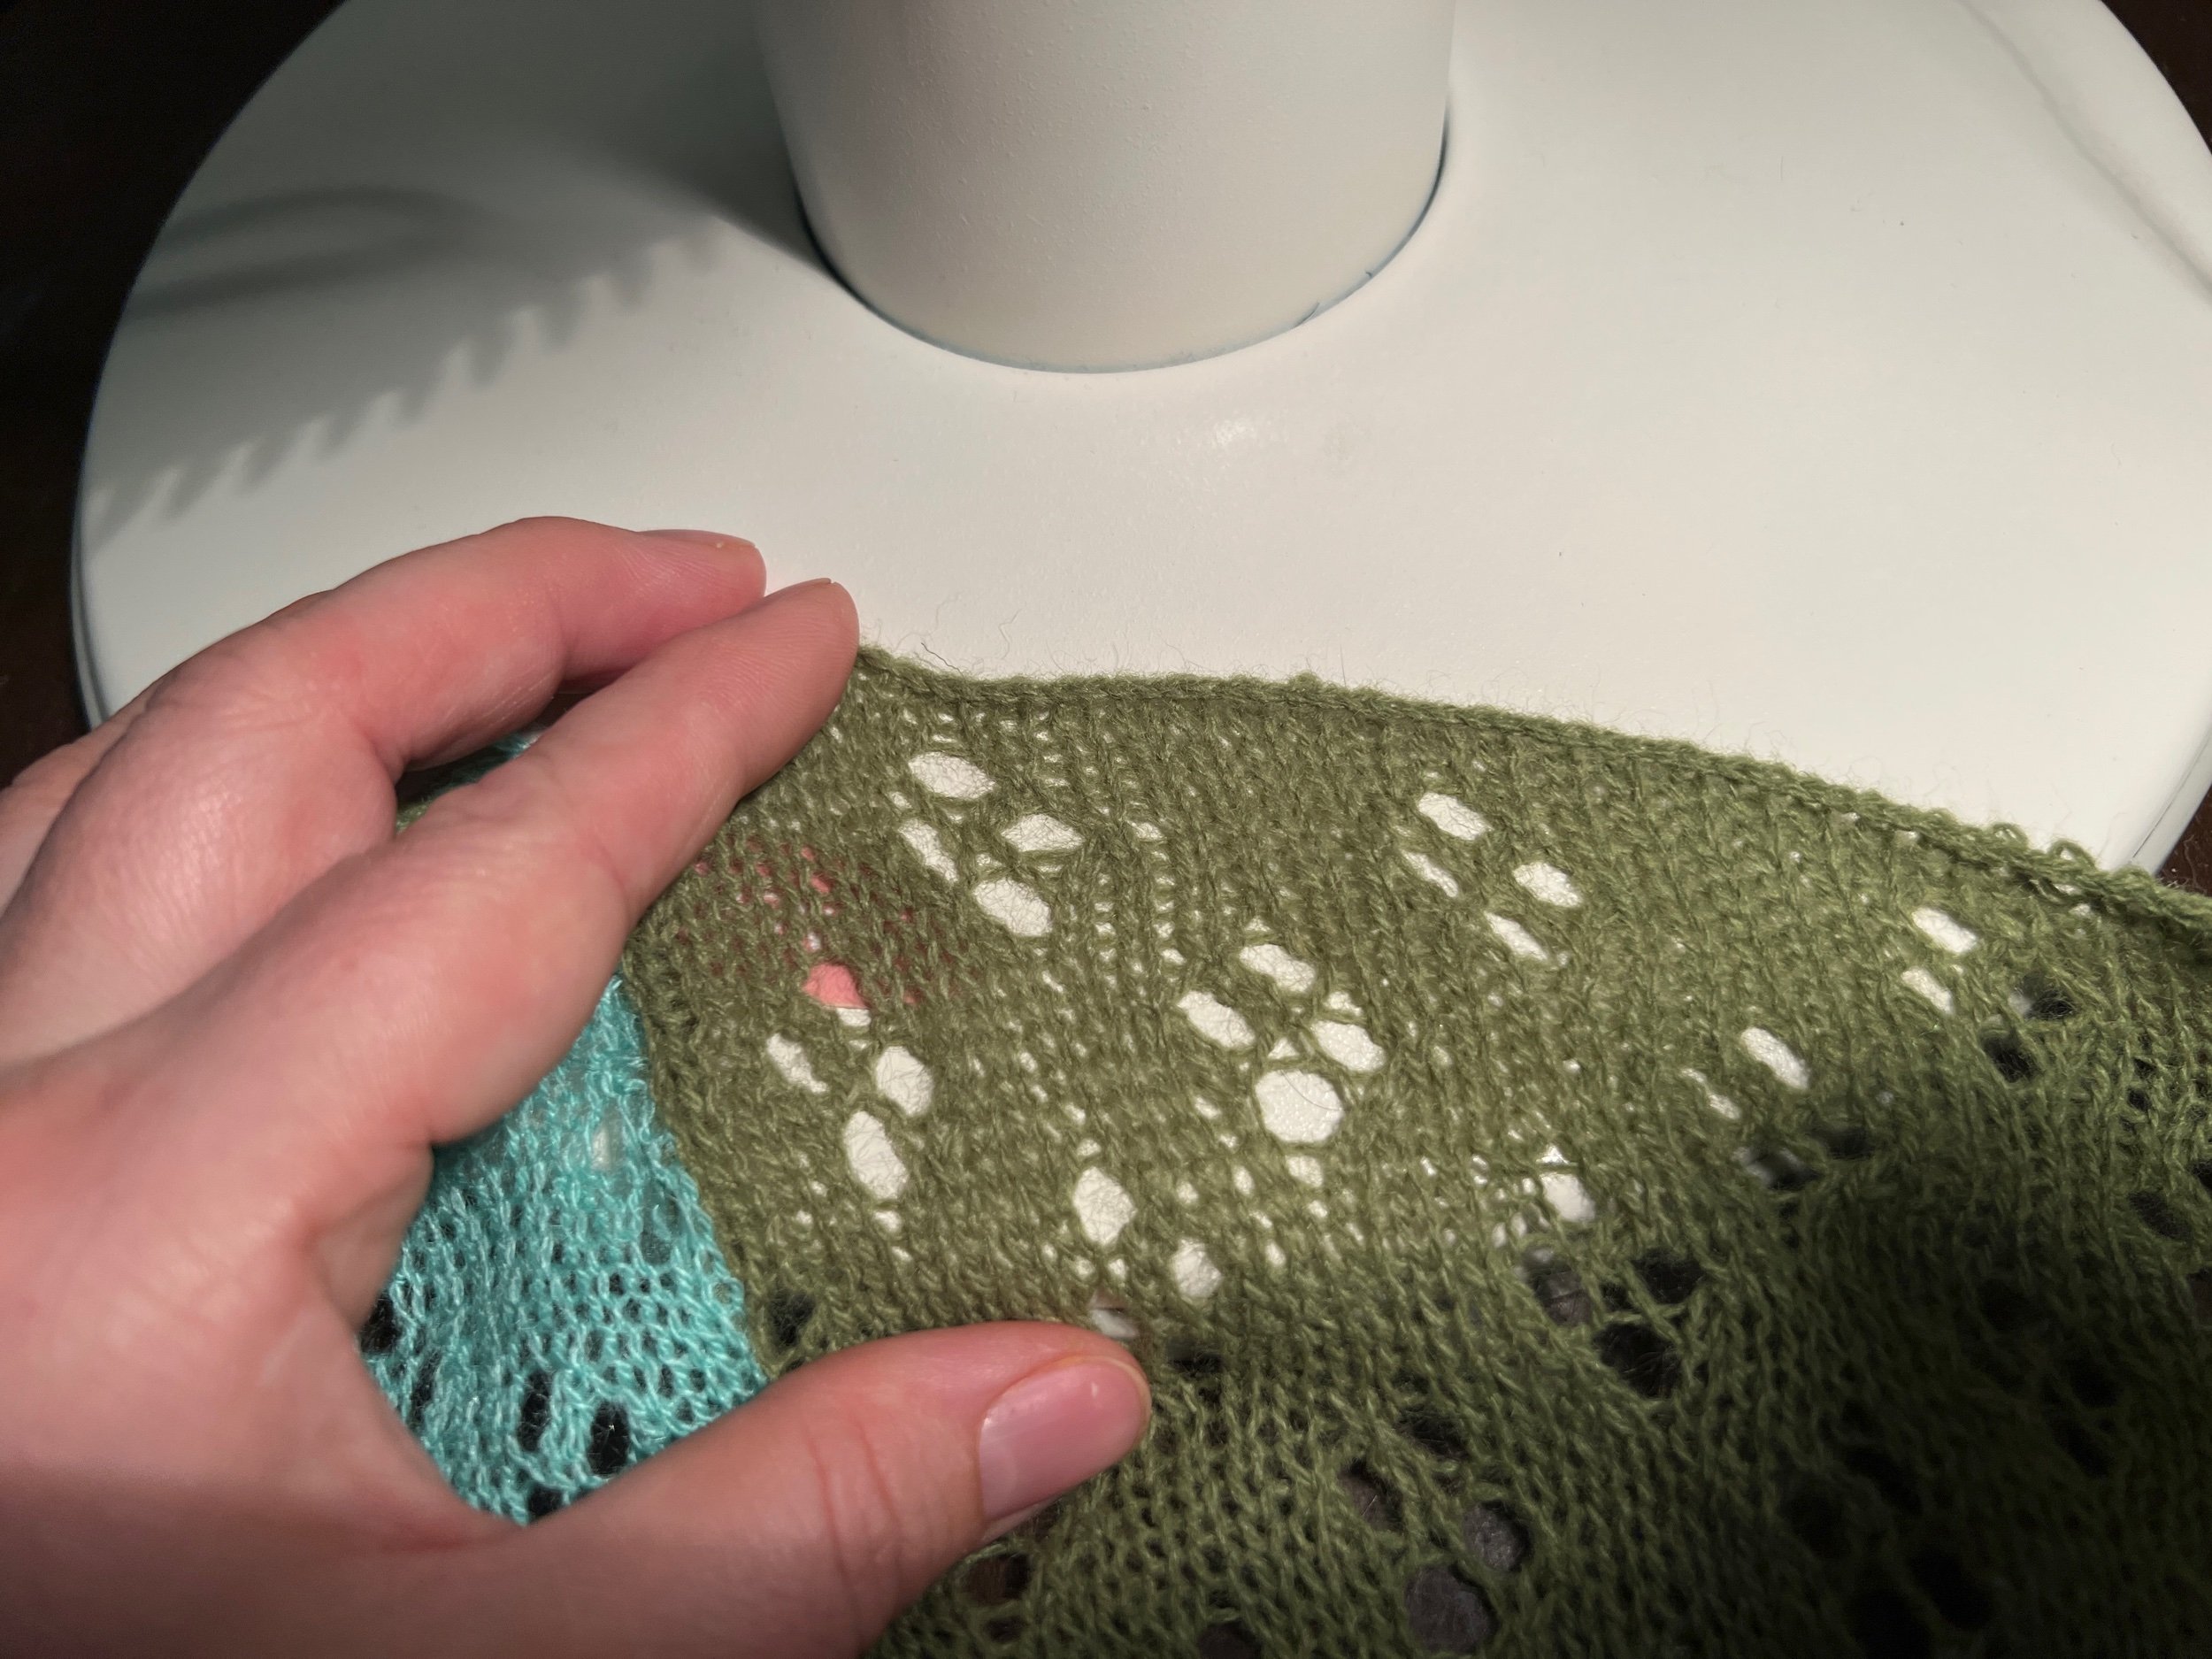
Sunday I powered through on the quick knit bag, finishing seams wonderfully only to find the knitted rectangle was maybe 6 inches too short for seams to nicely align.

I had hoped somehow it would look okay - it really didn’t.

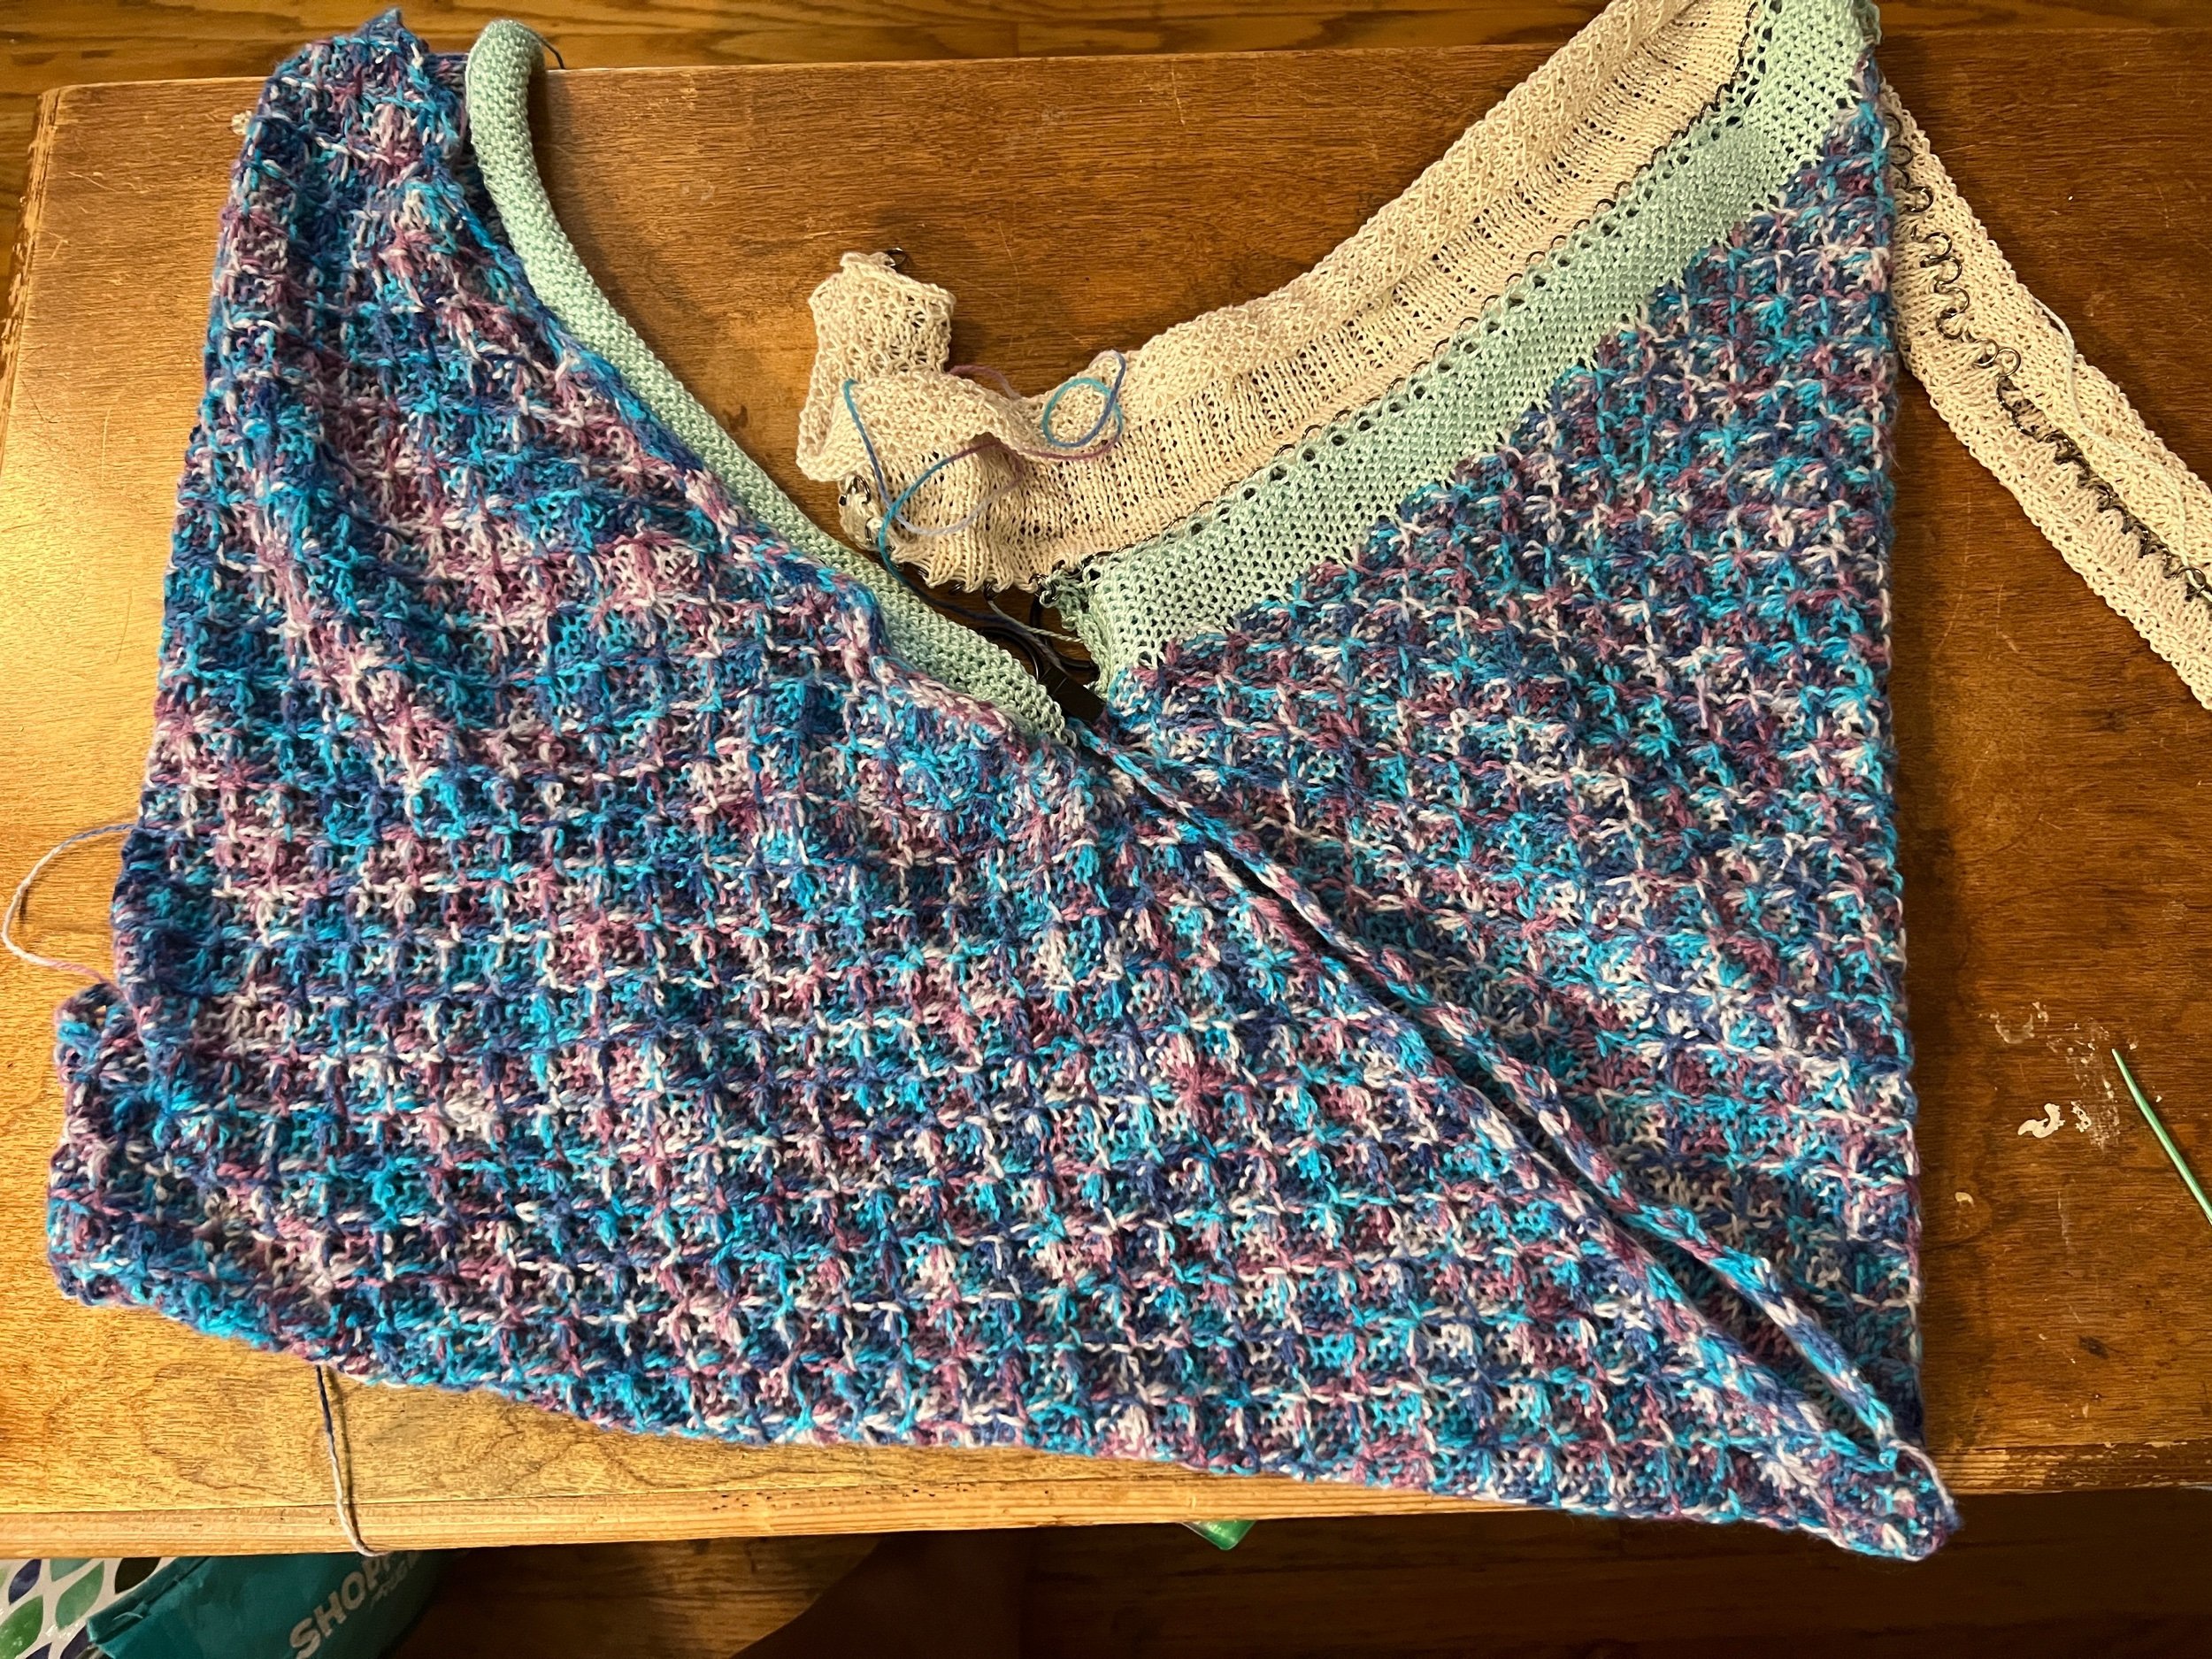
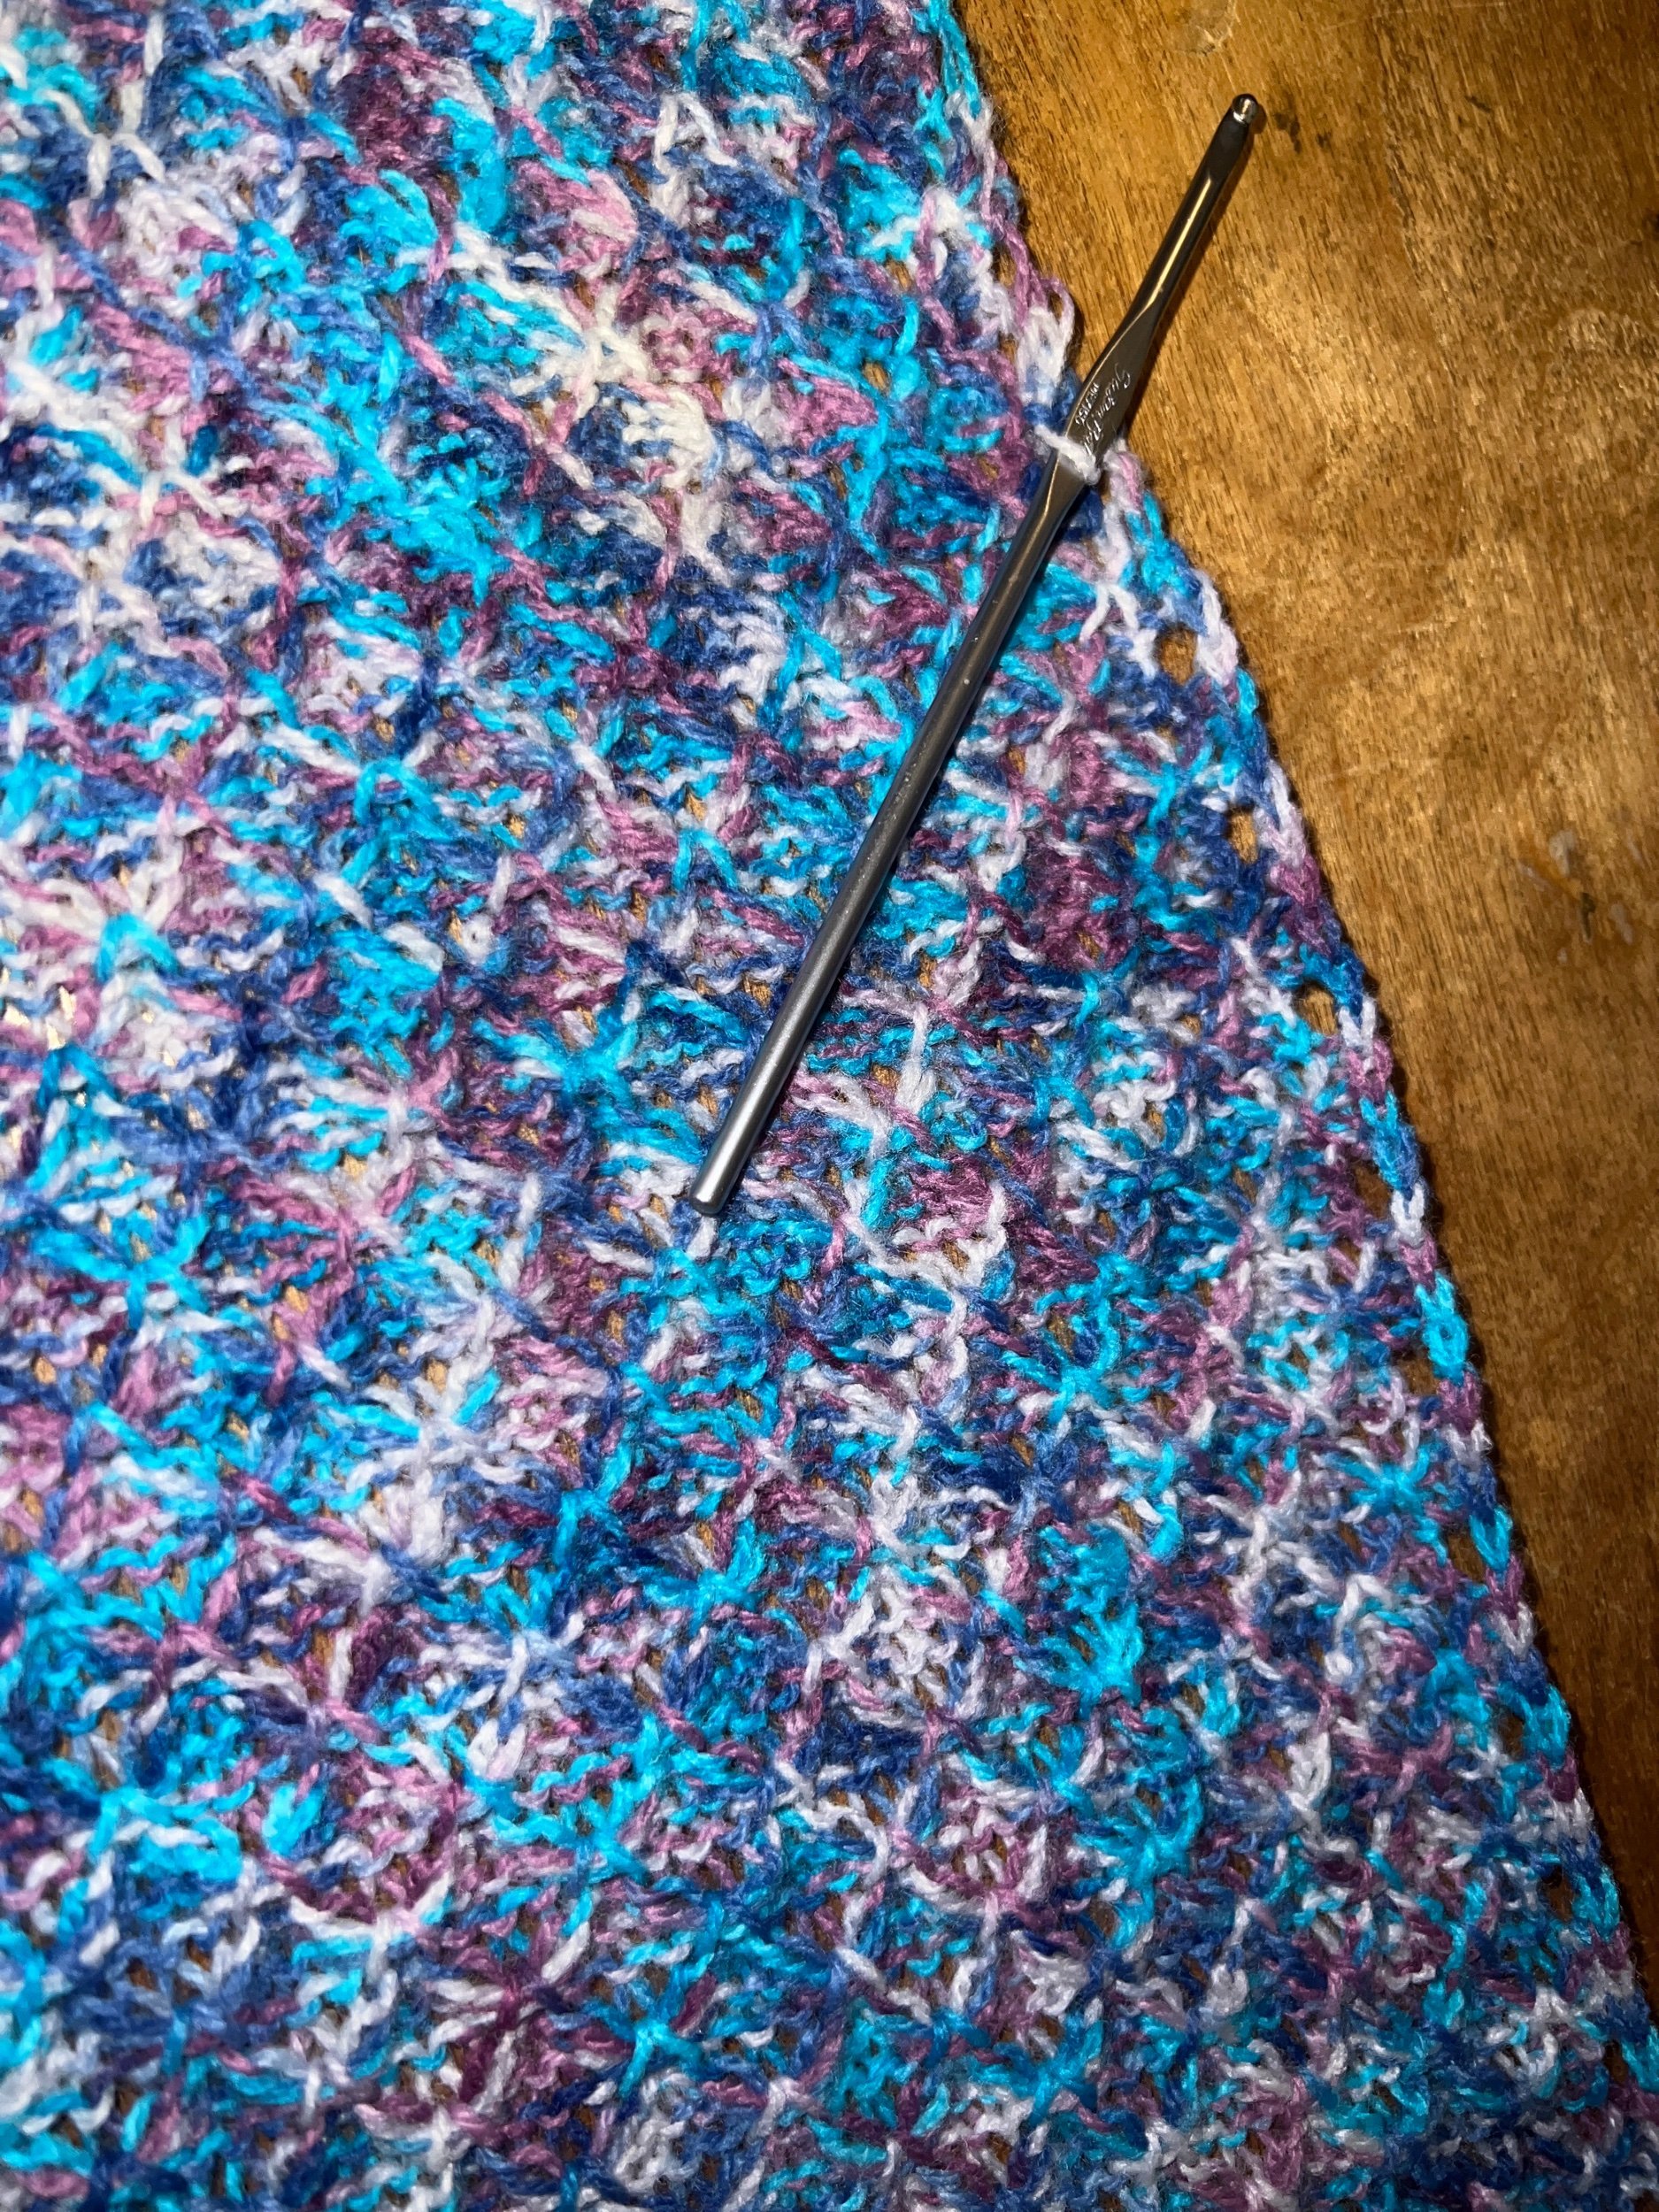
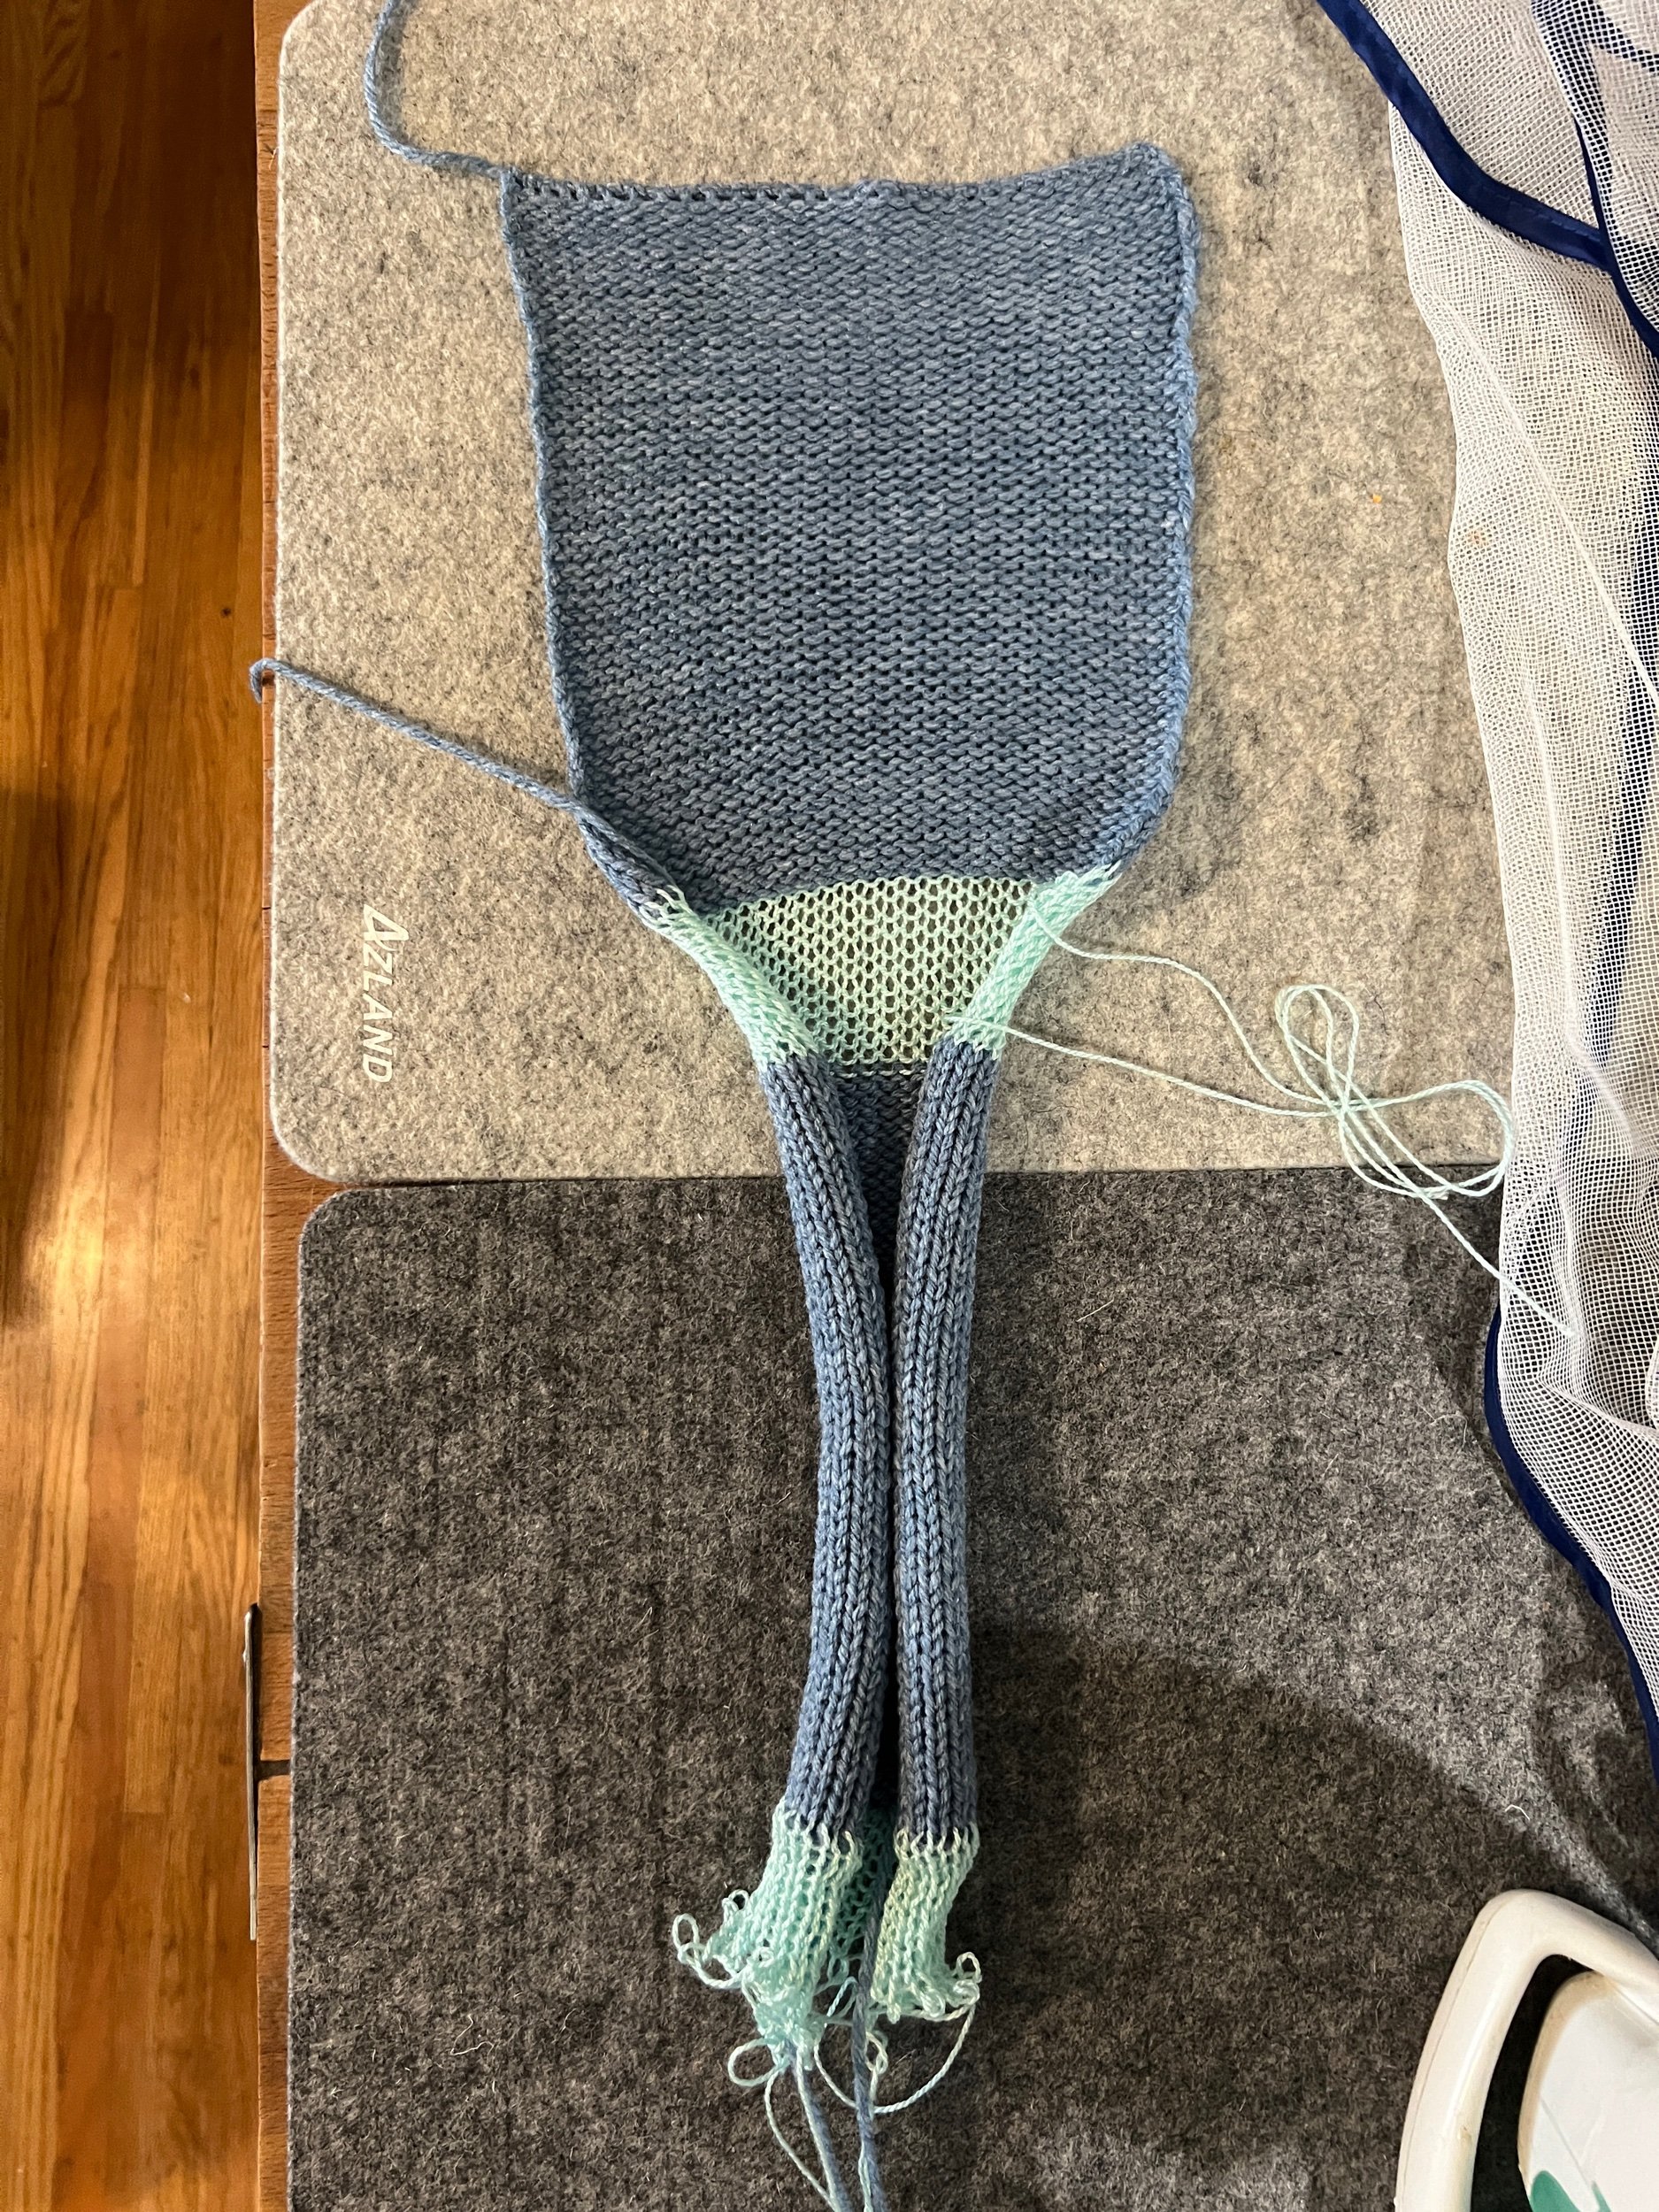
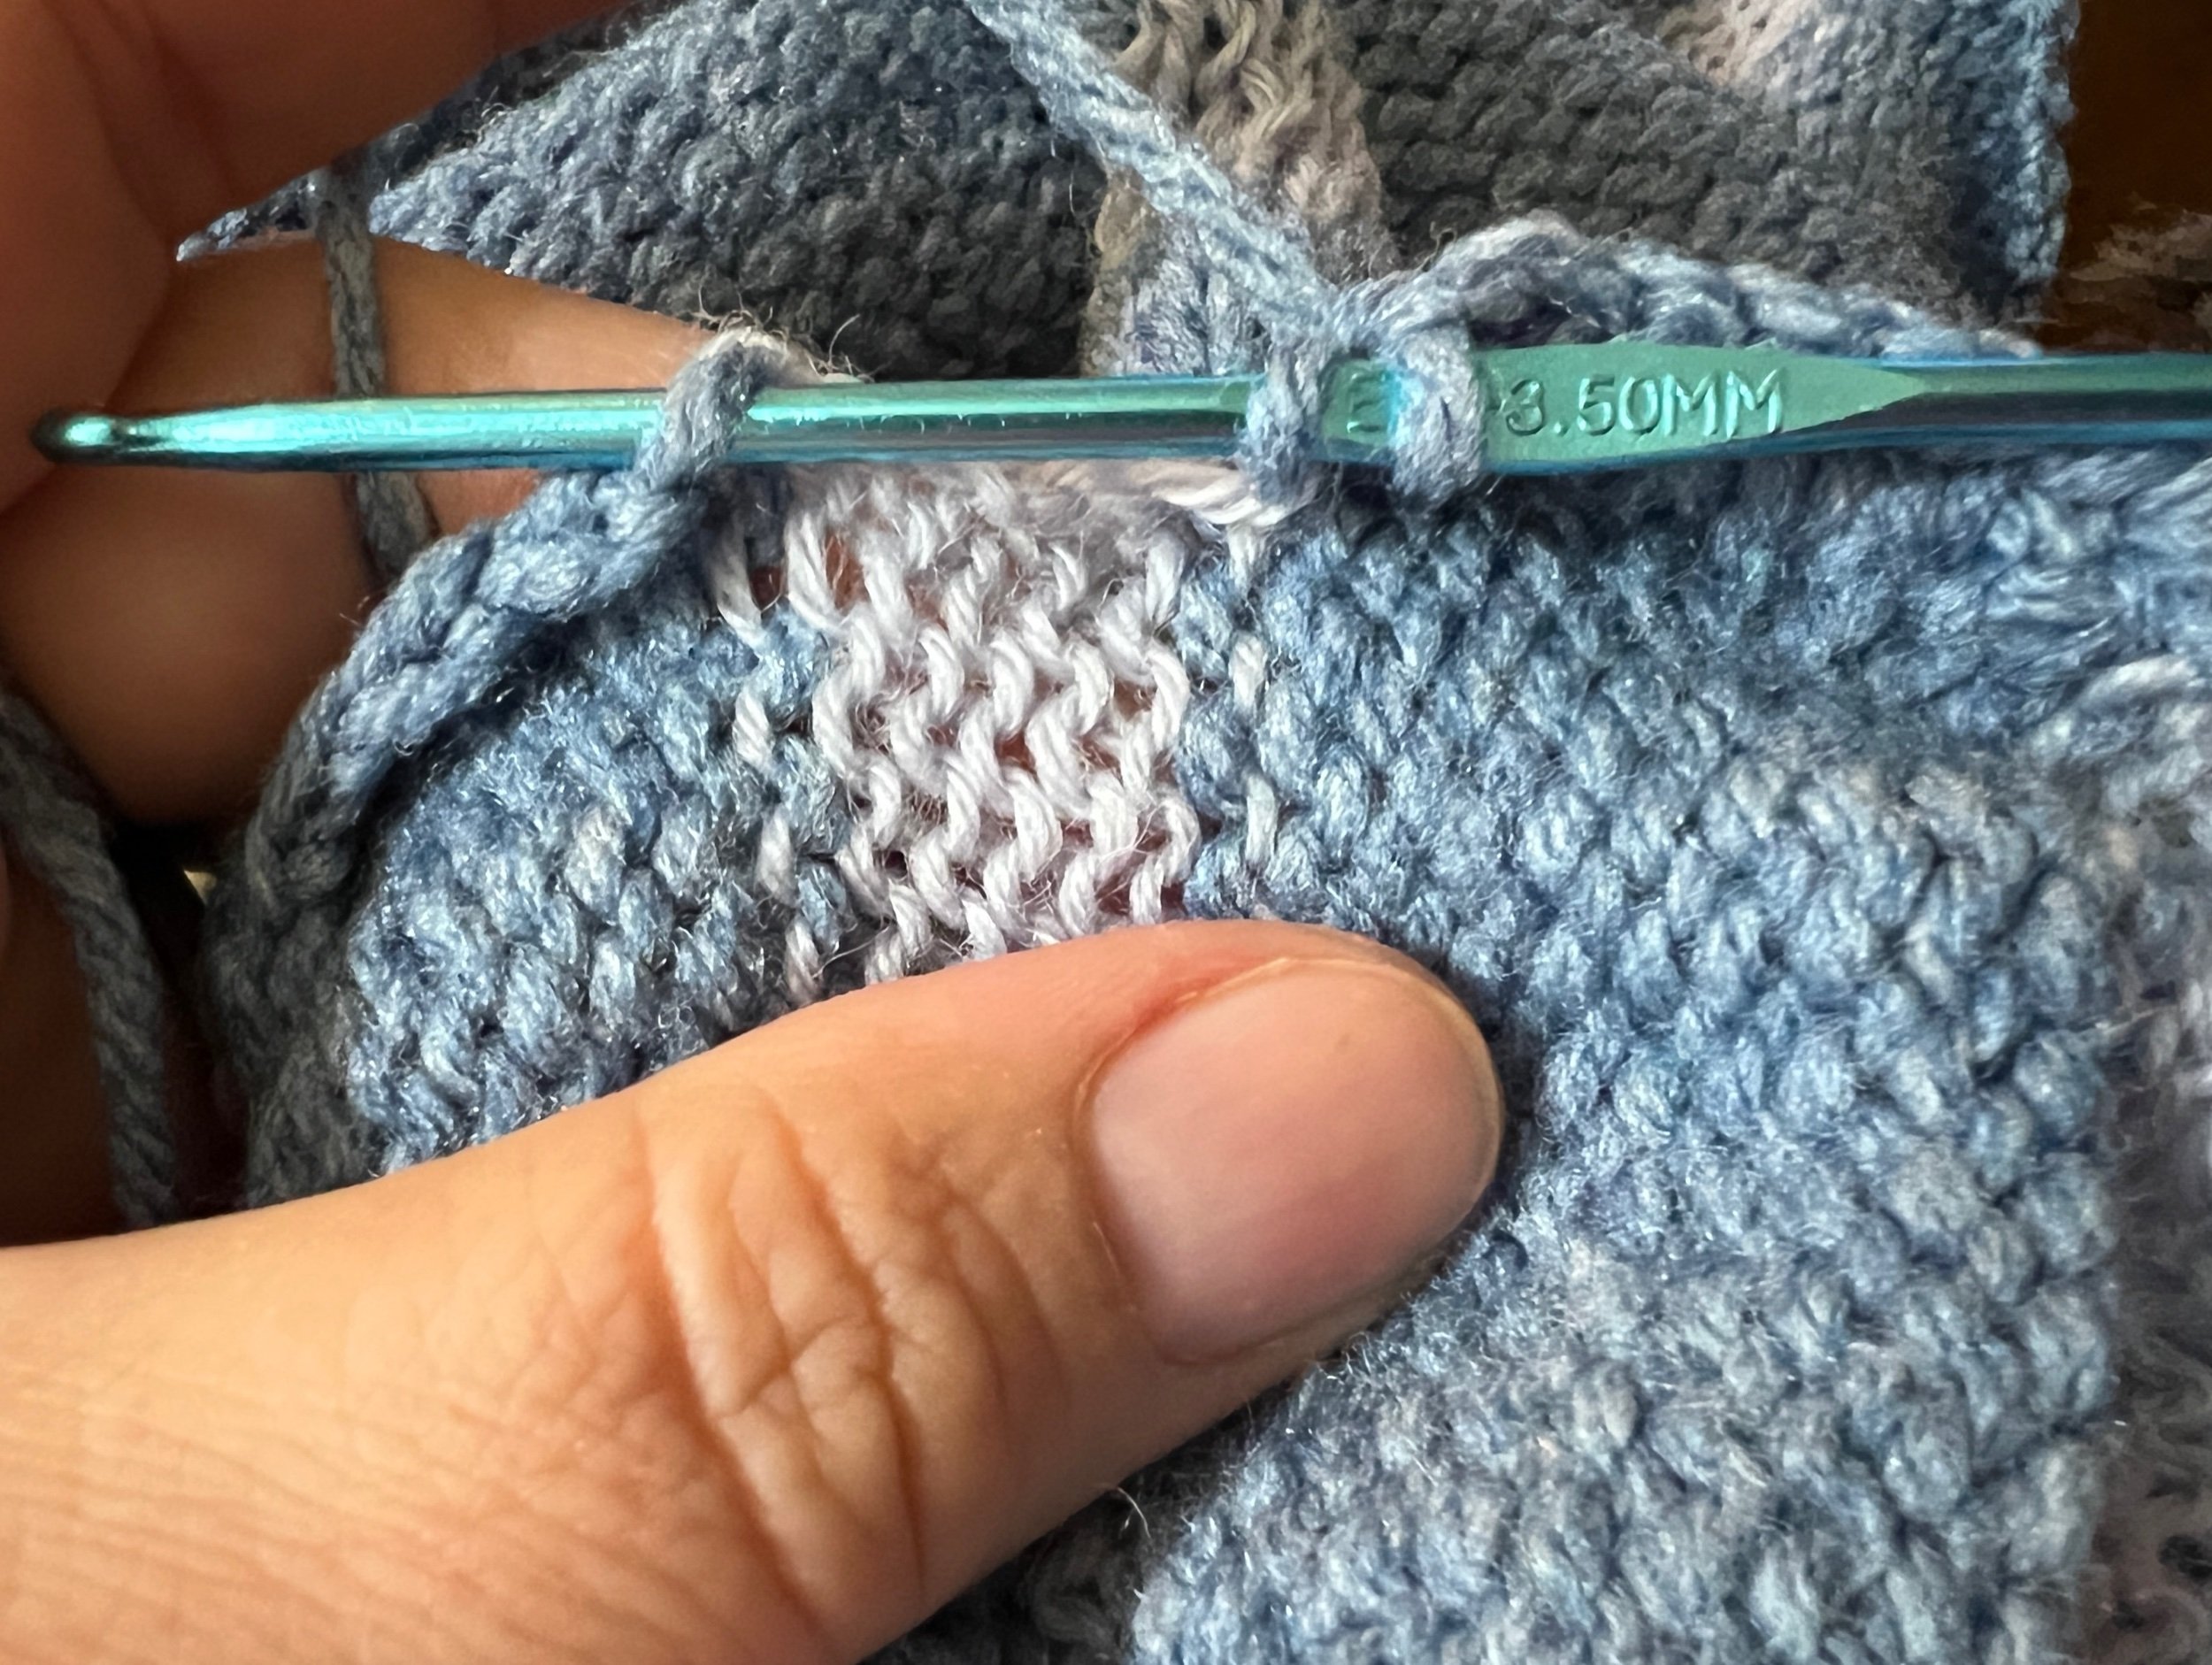
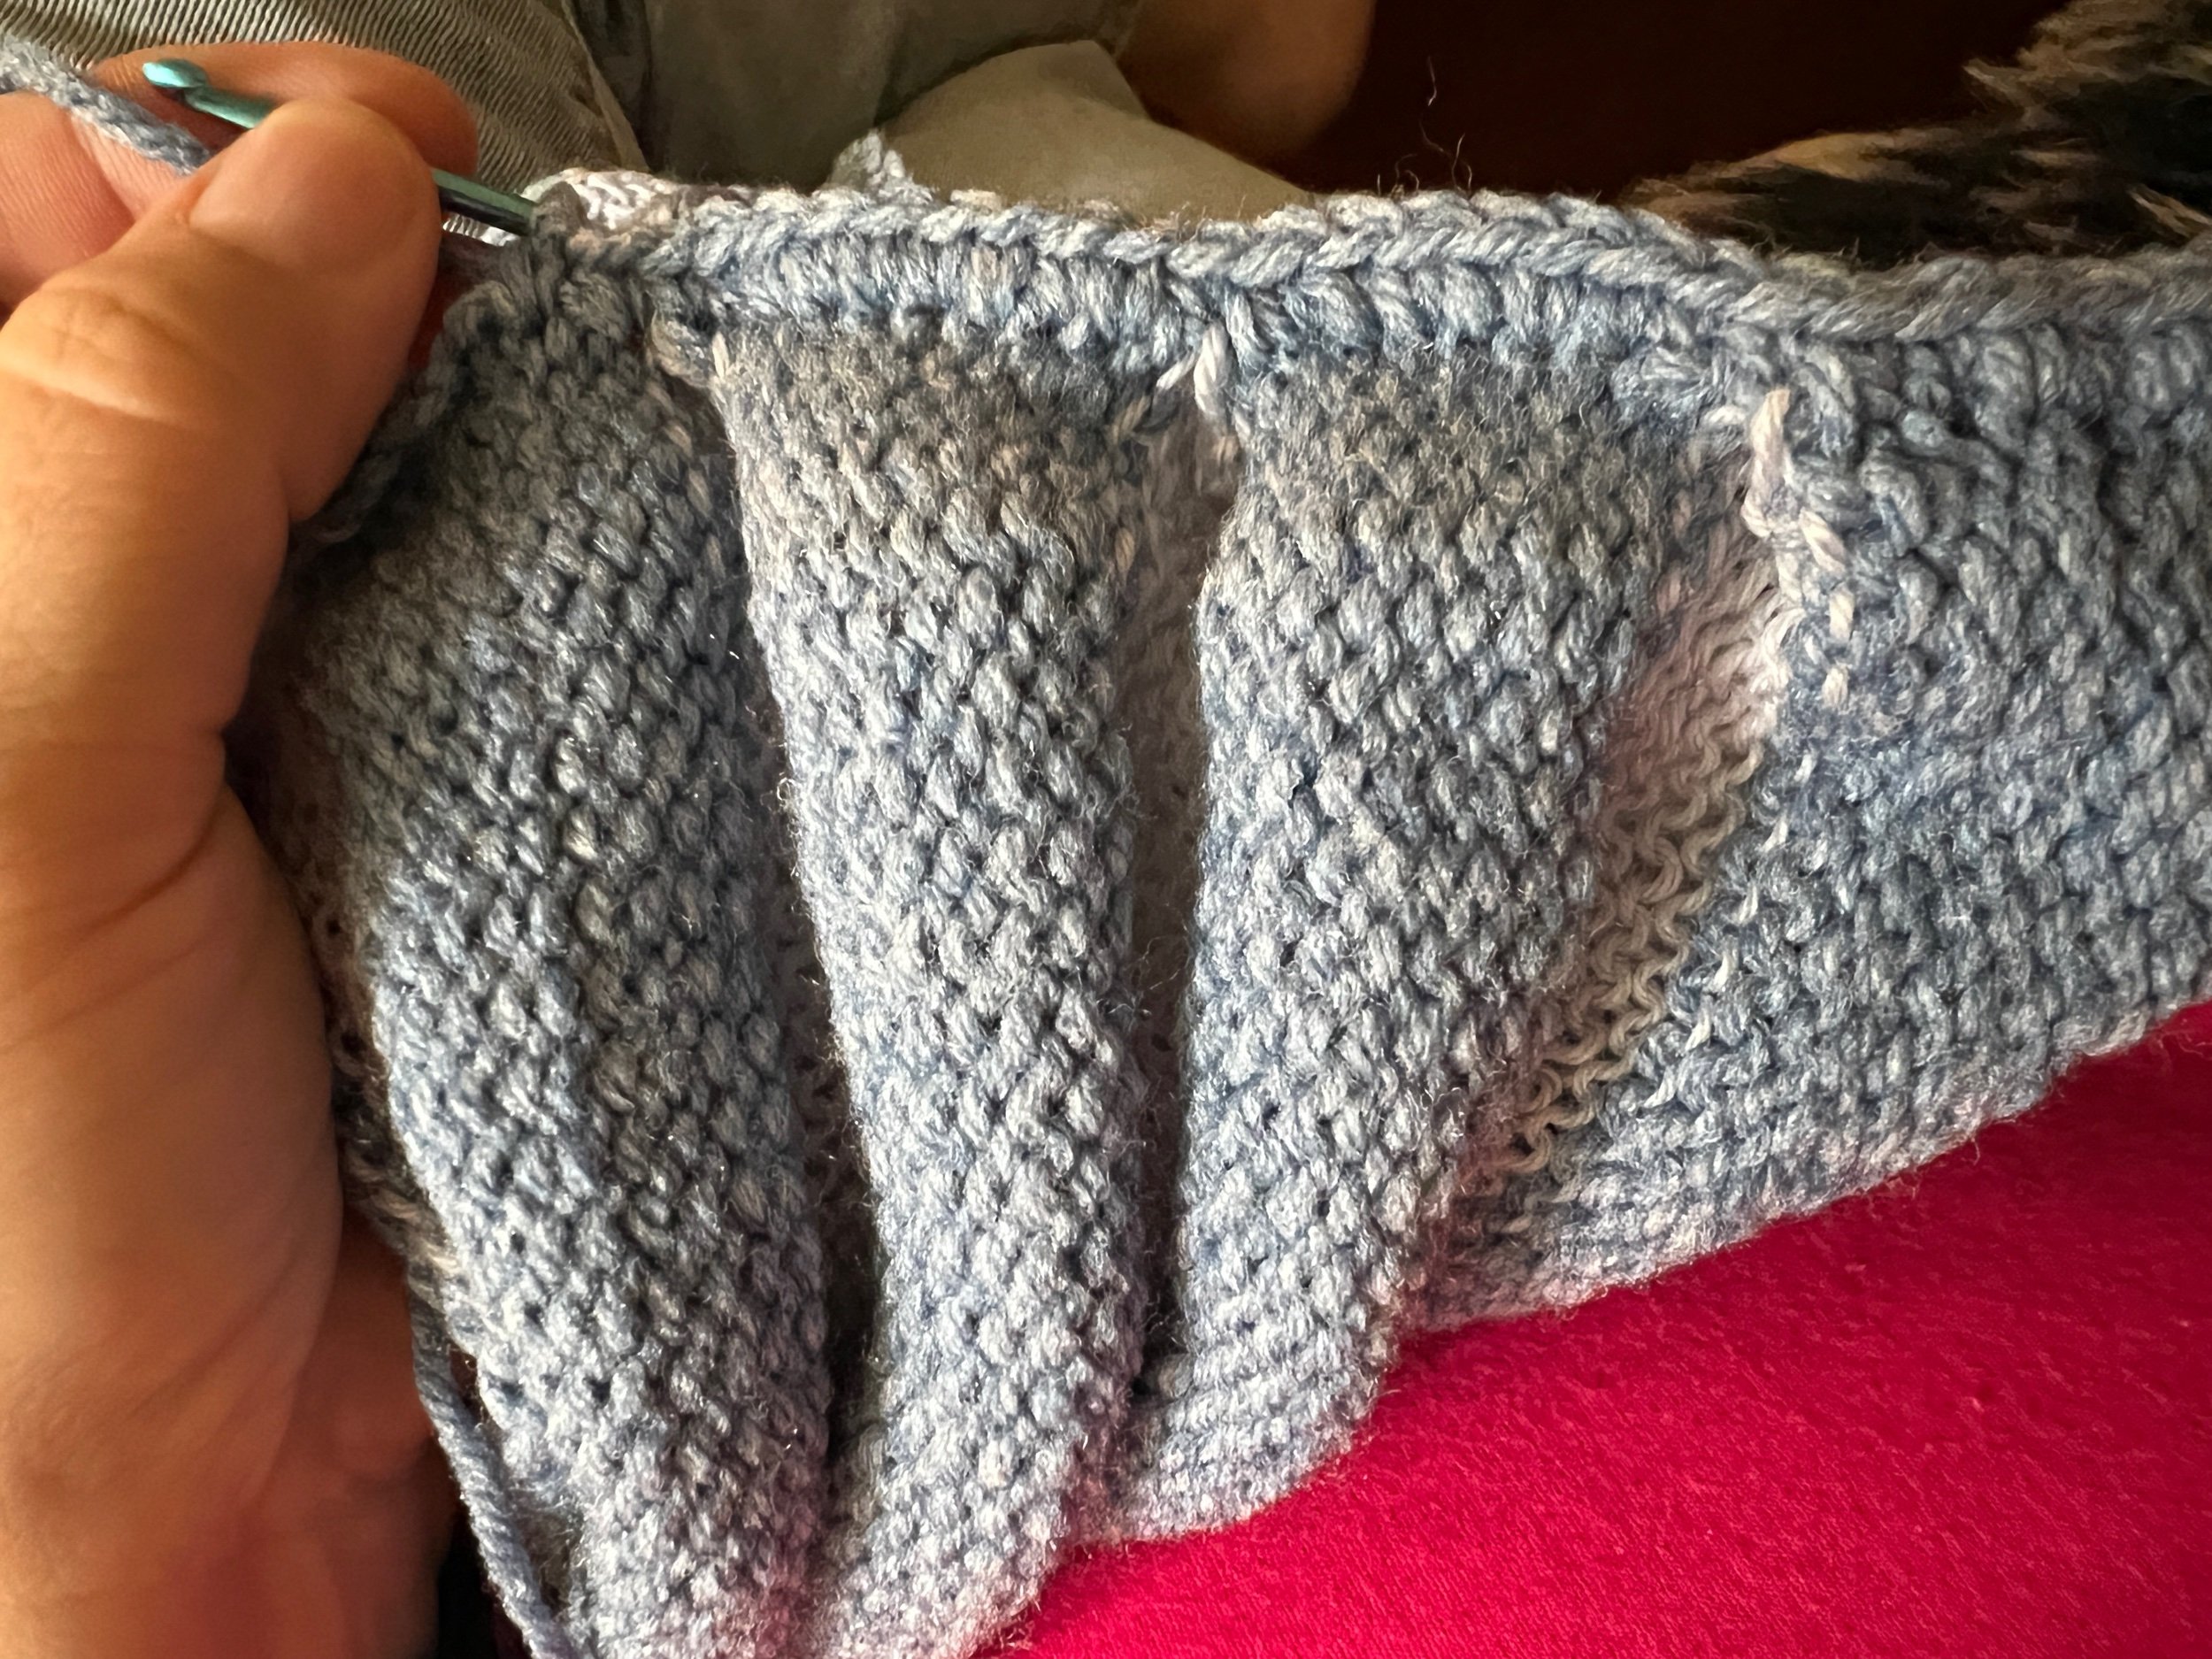
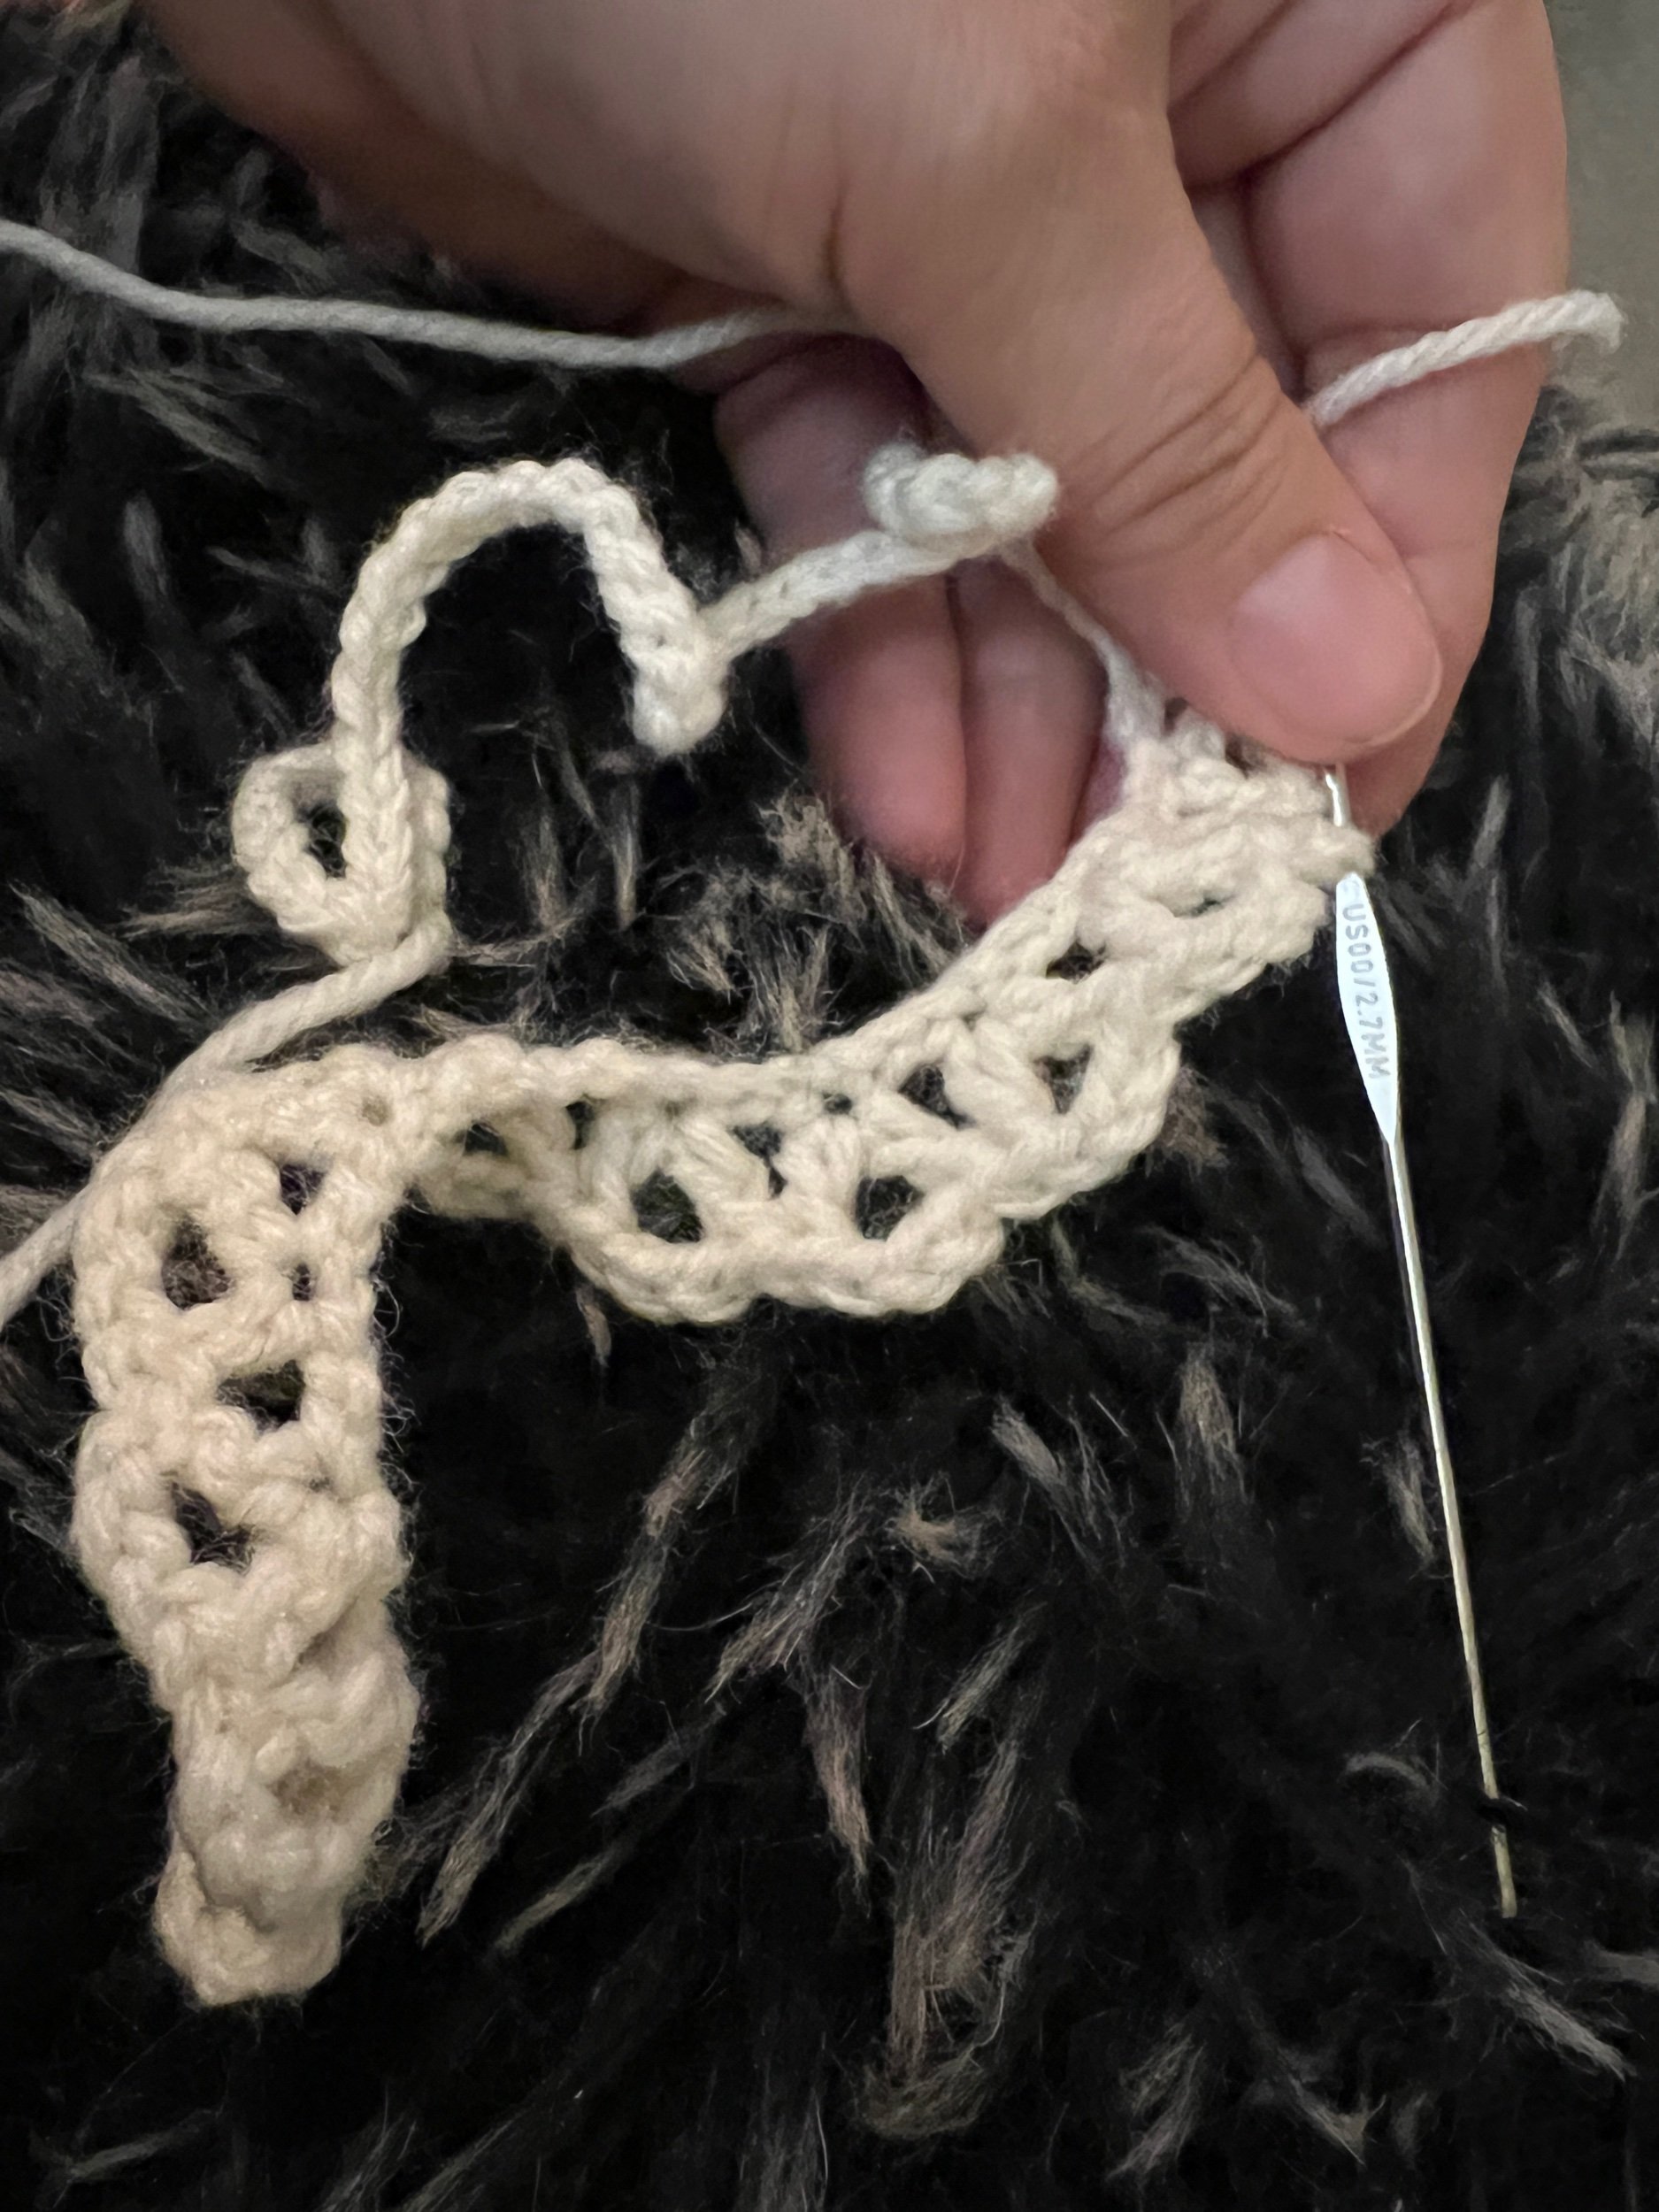
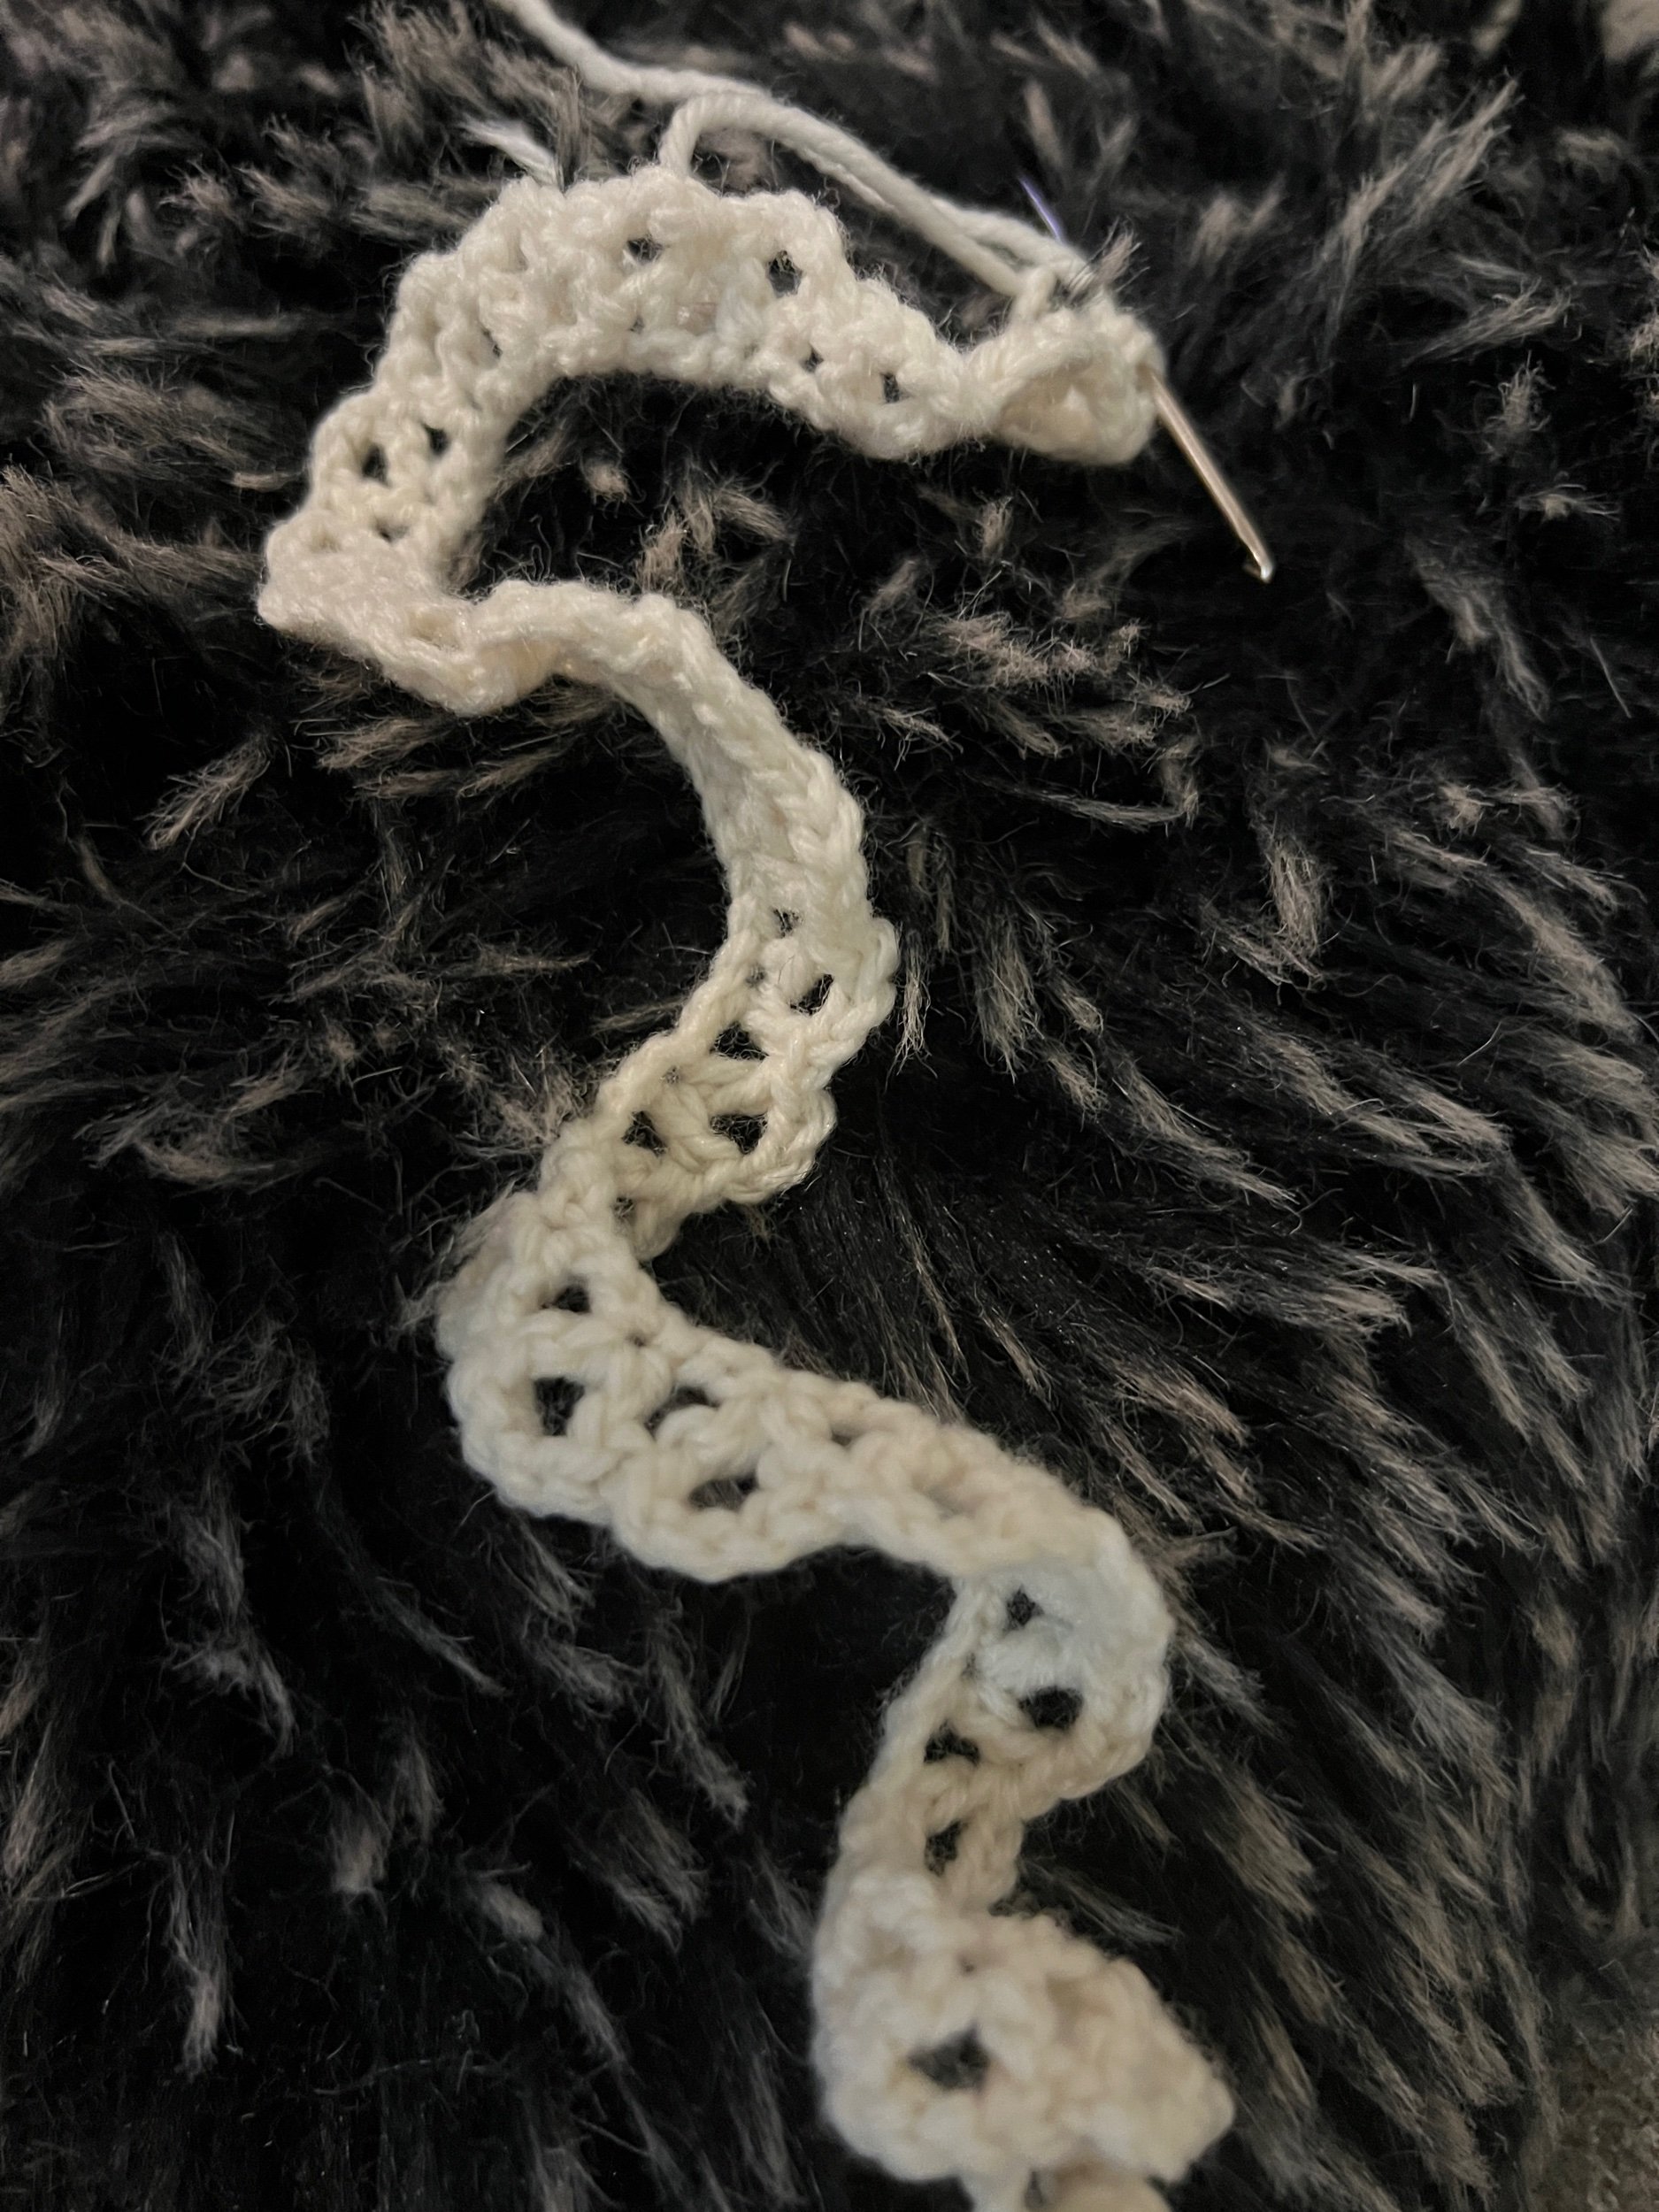
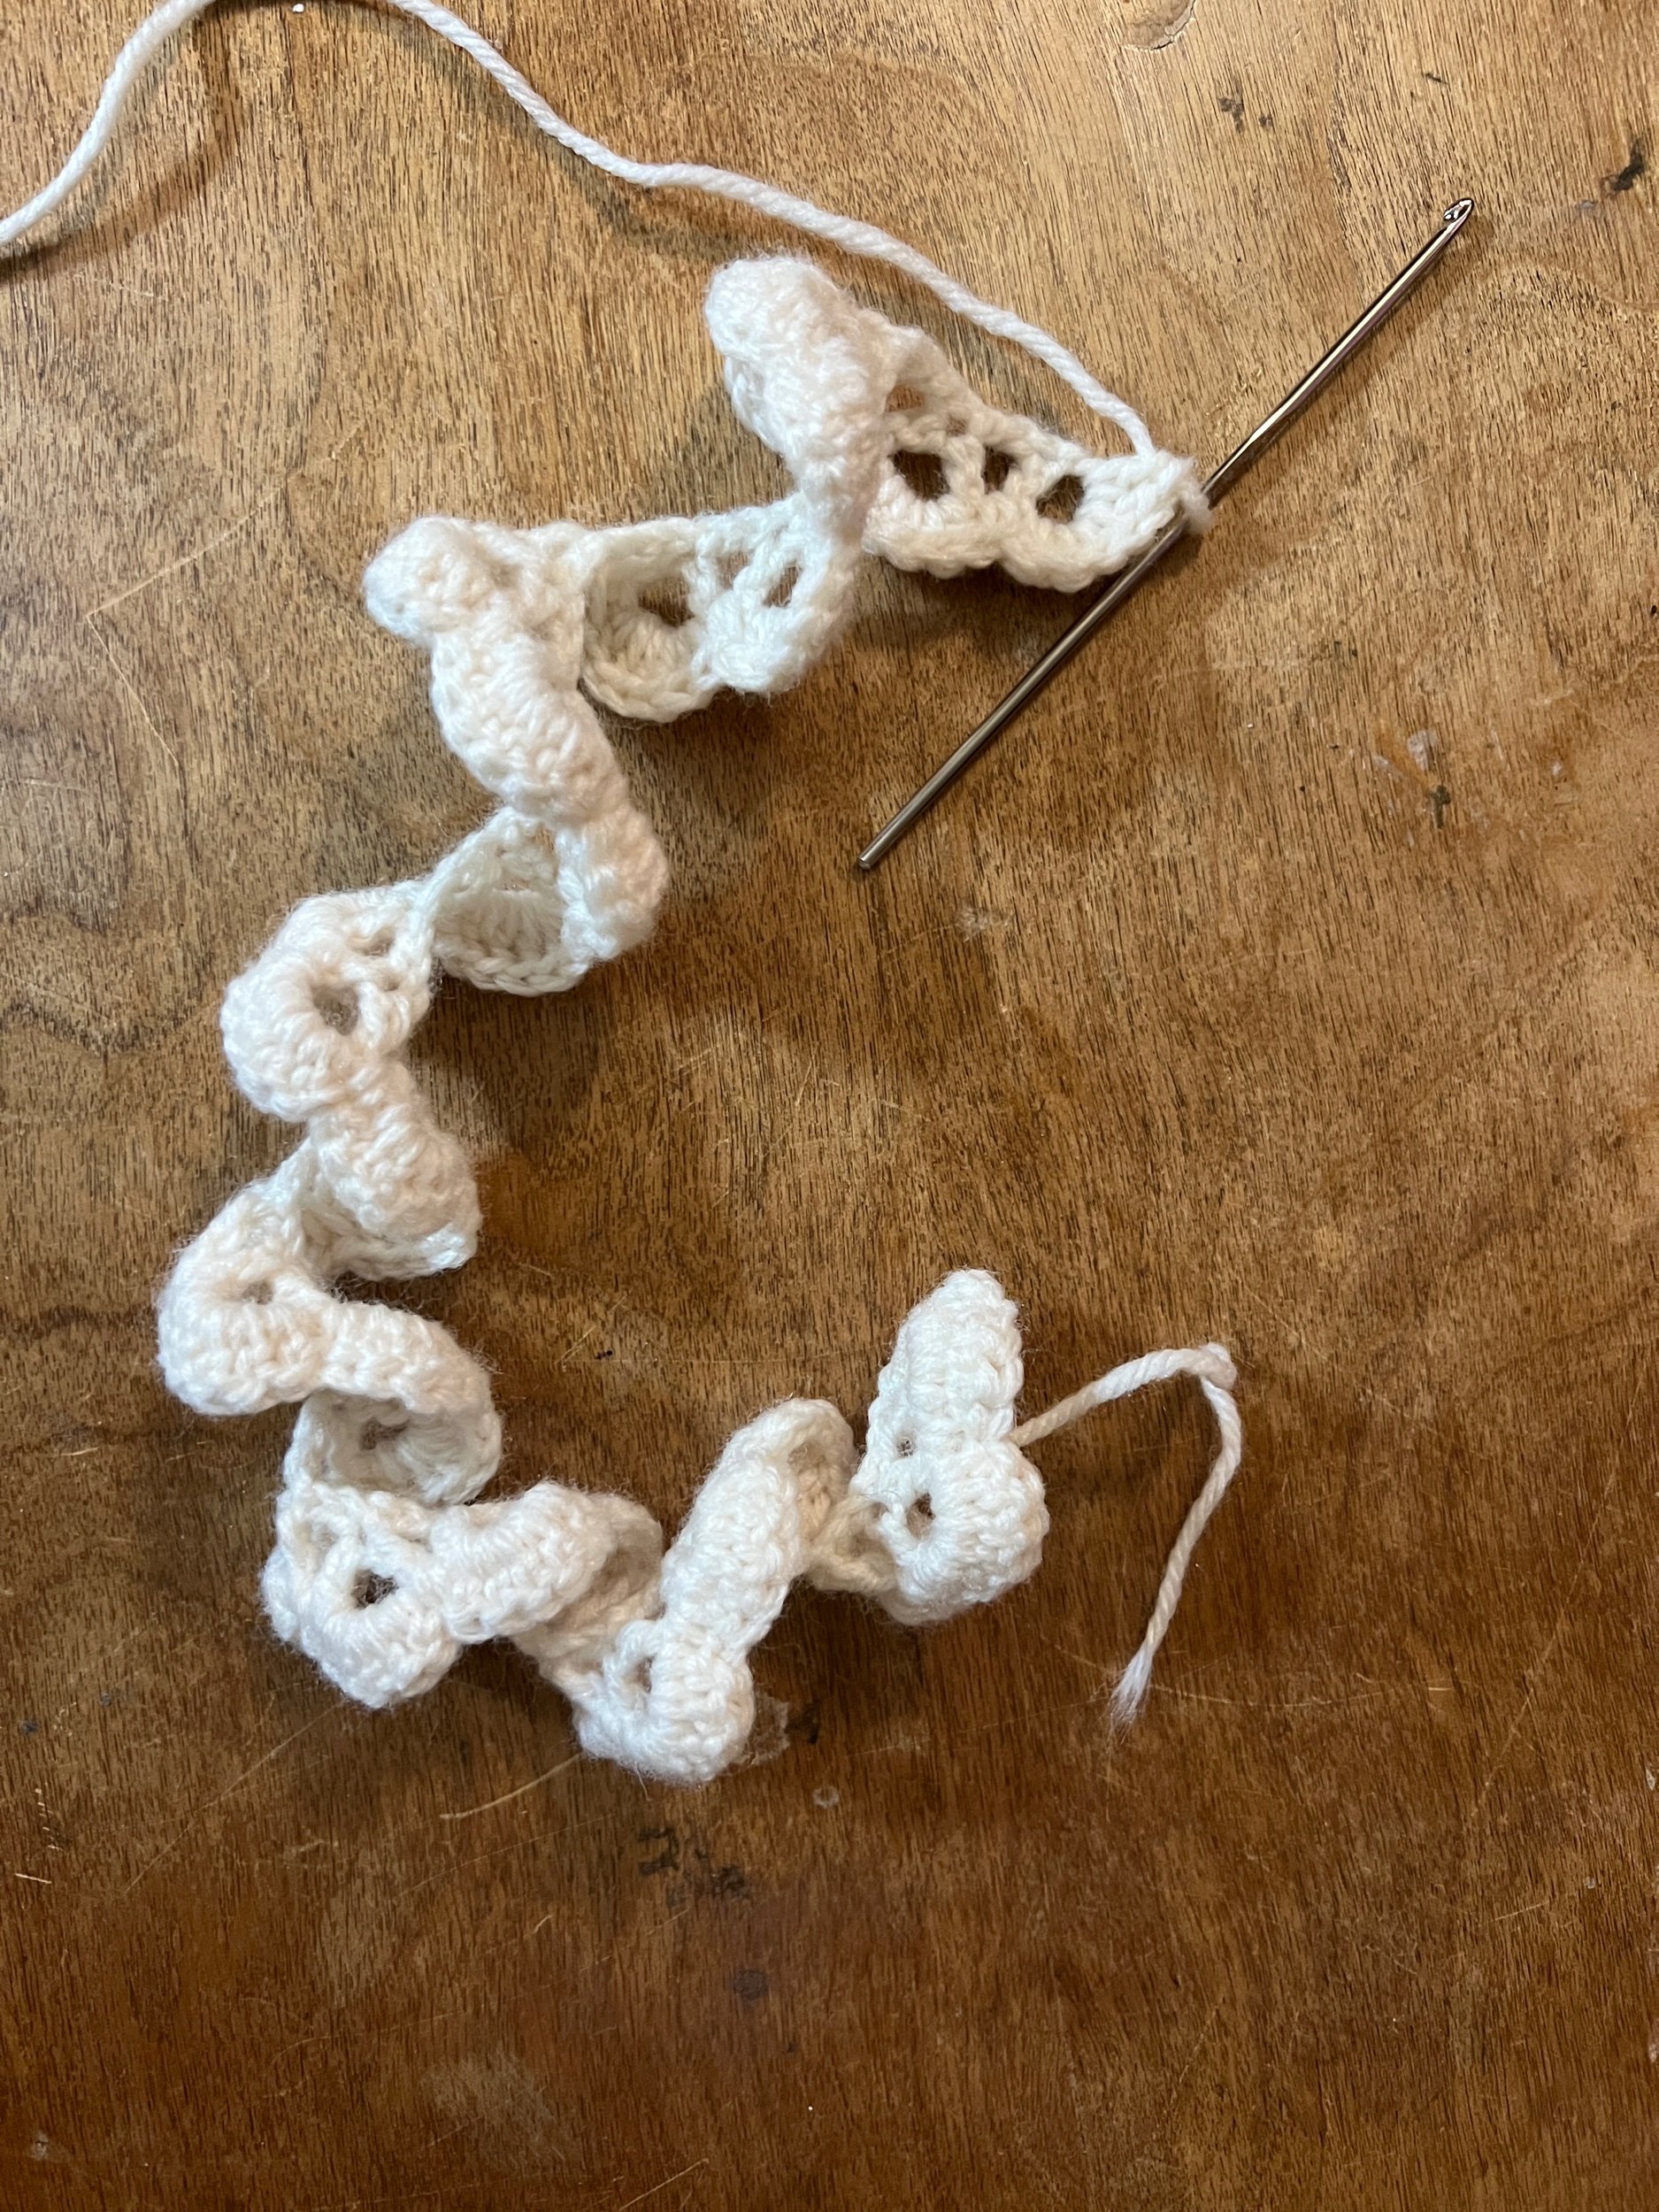
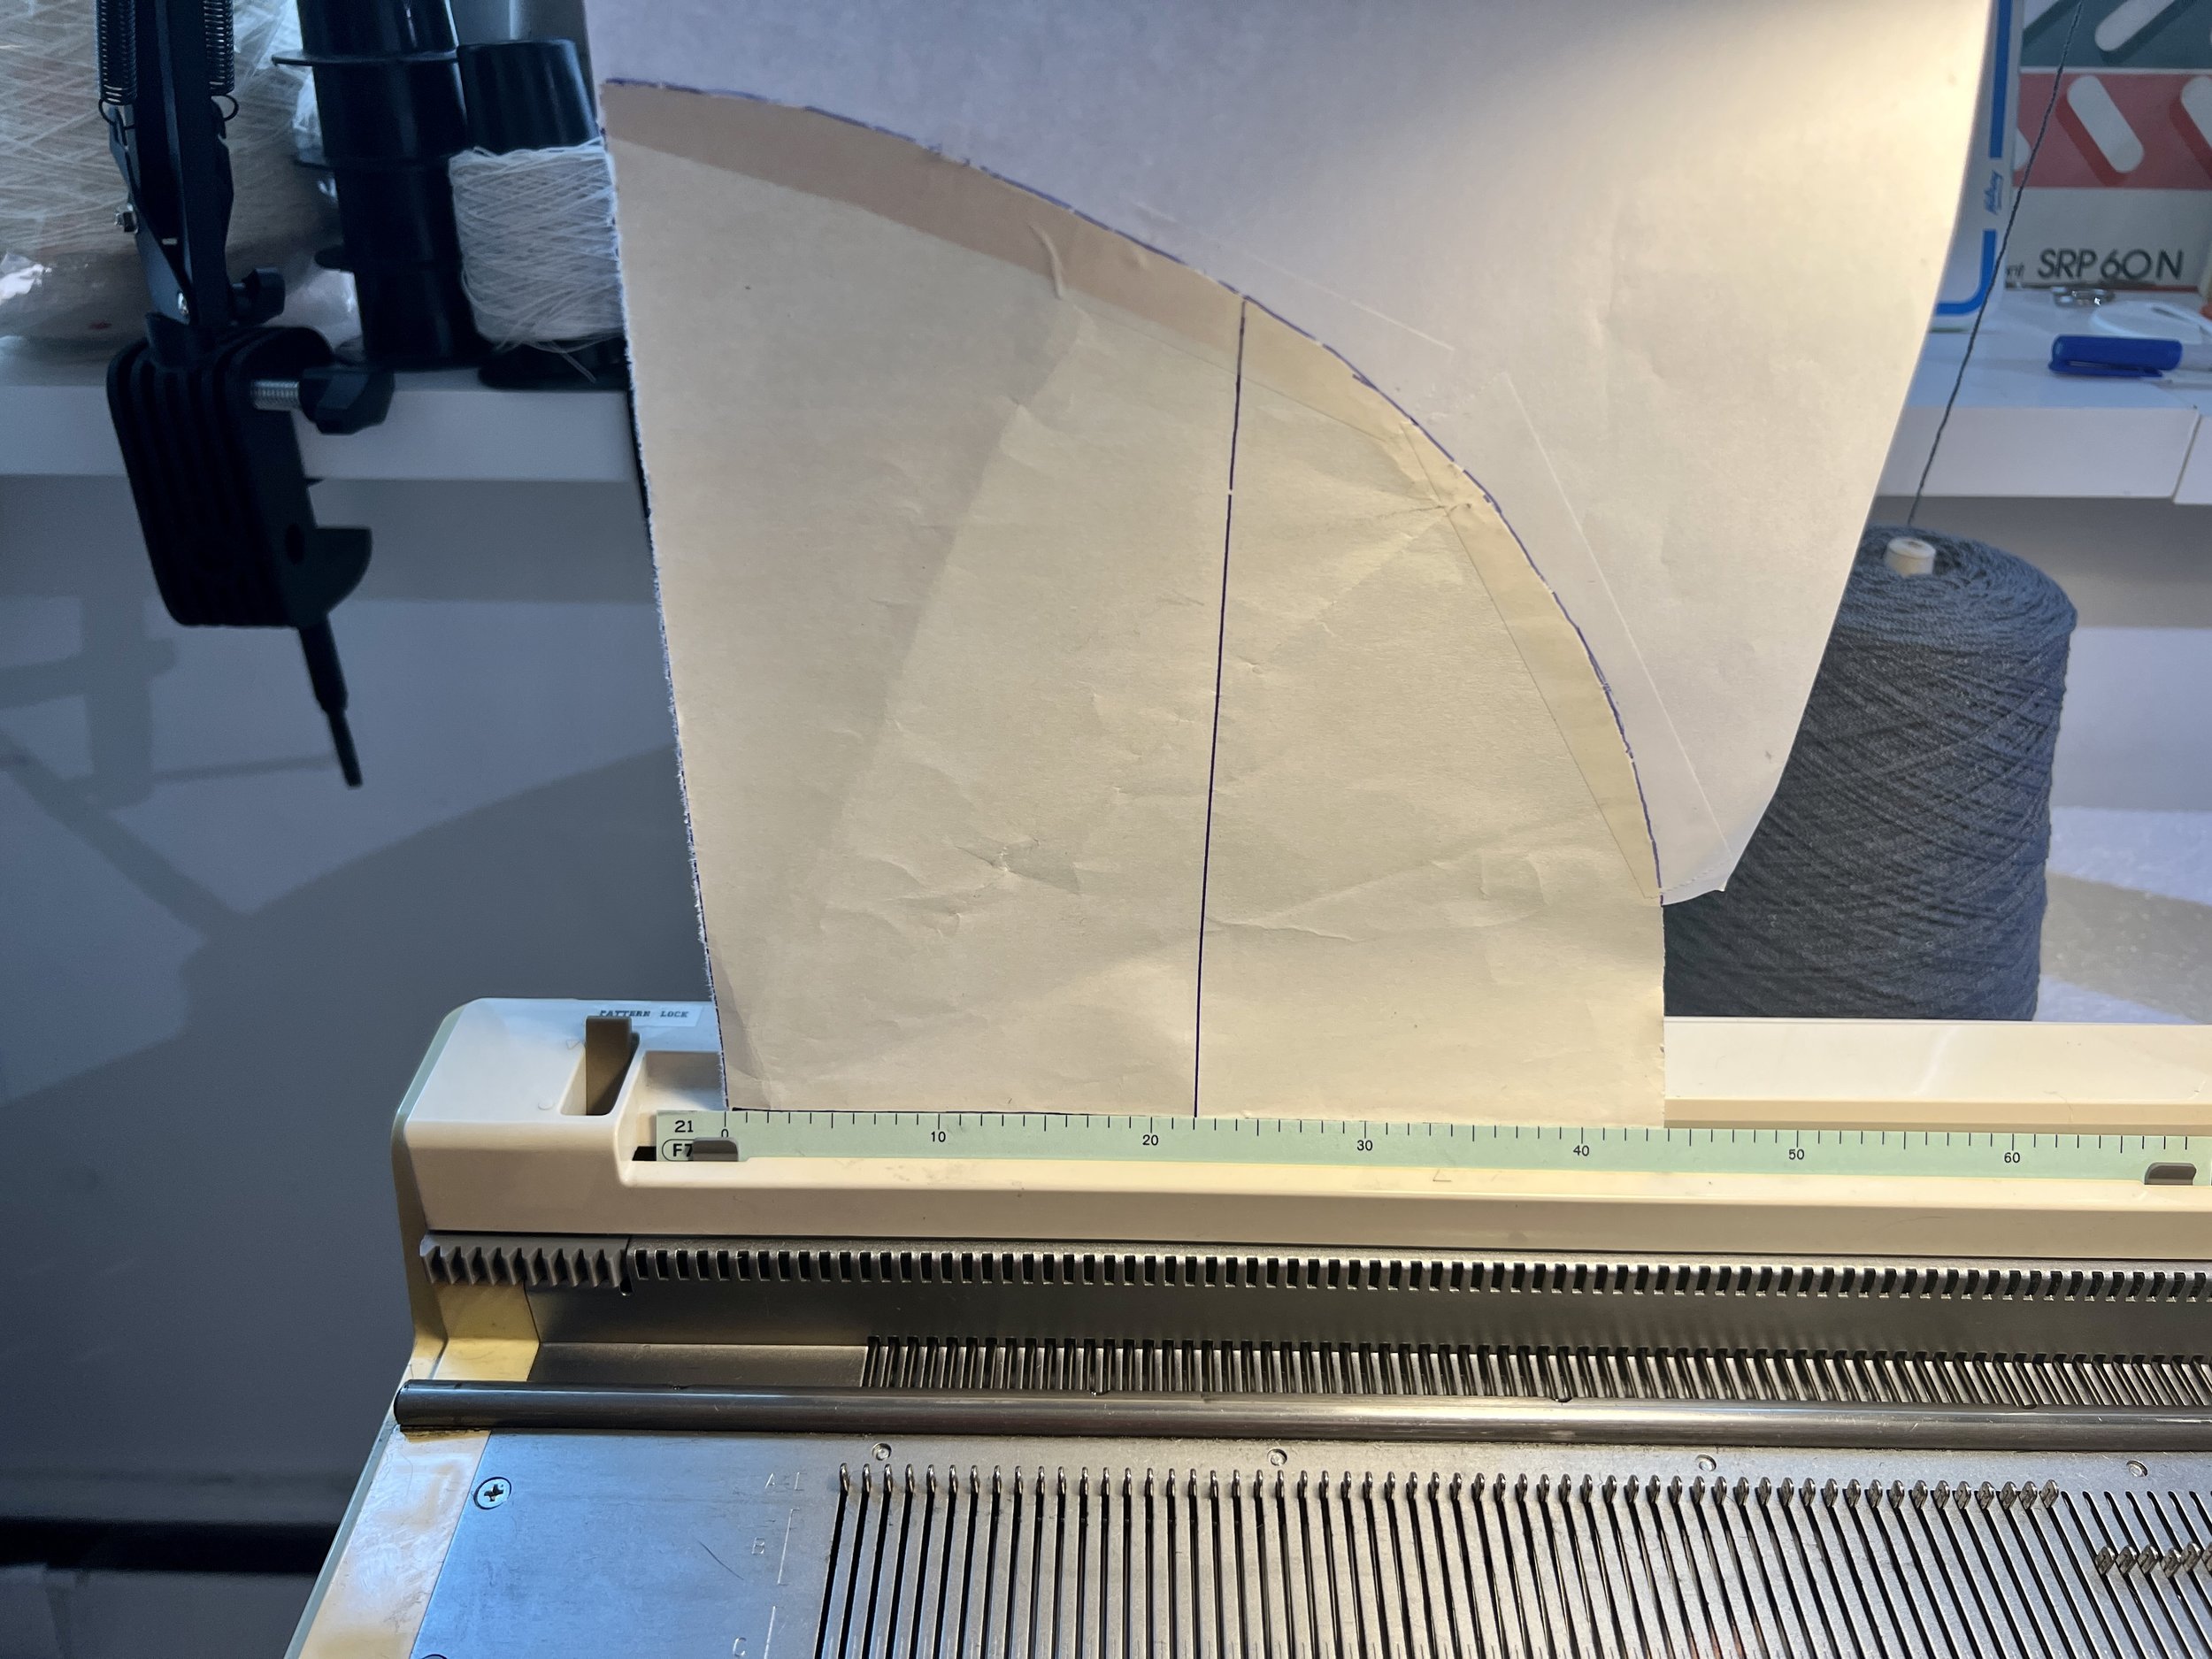
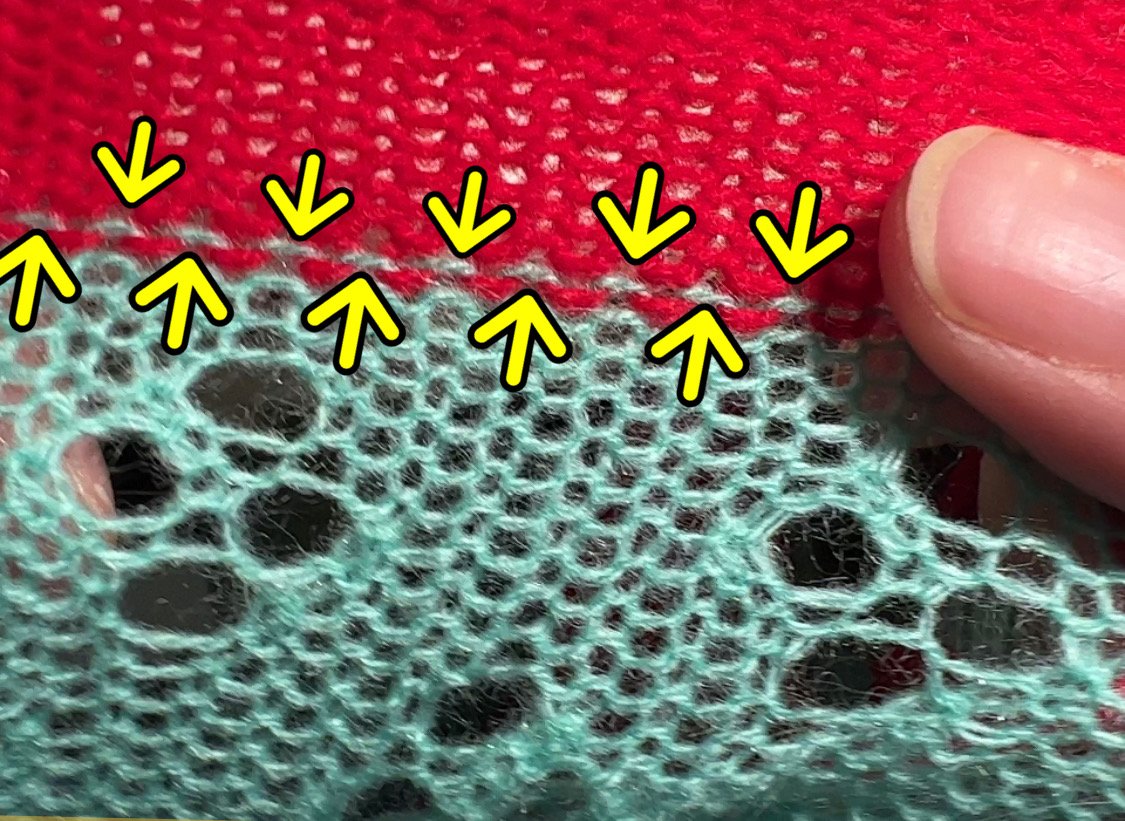
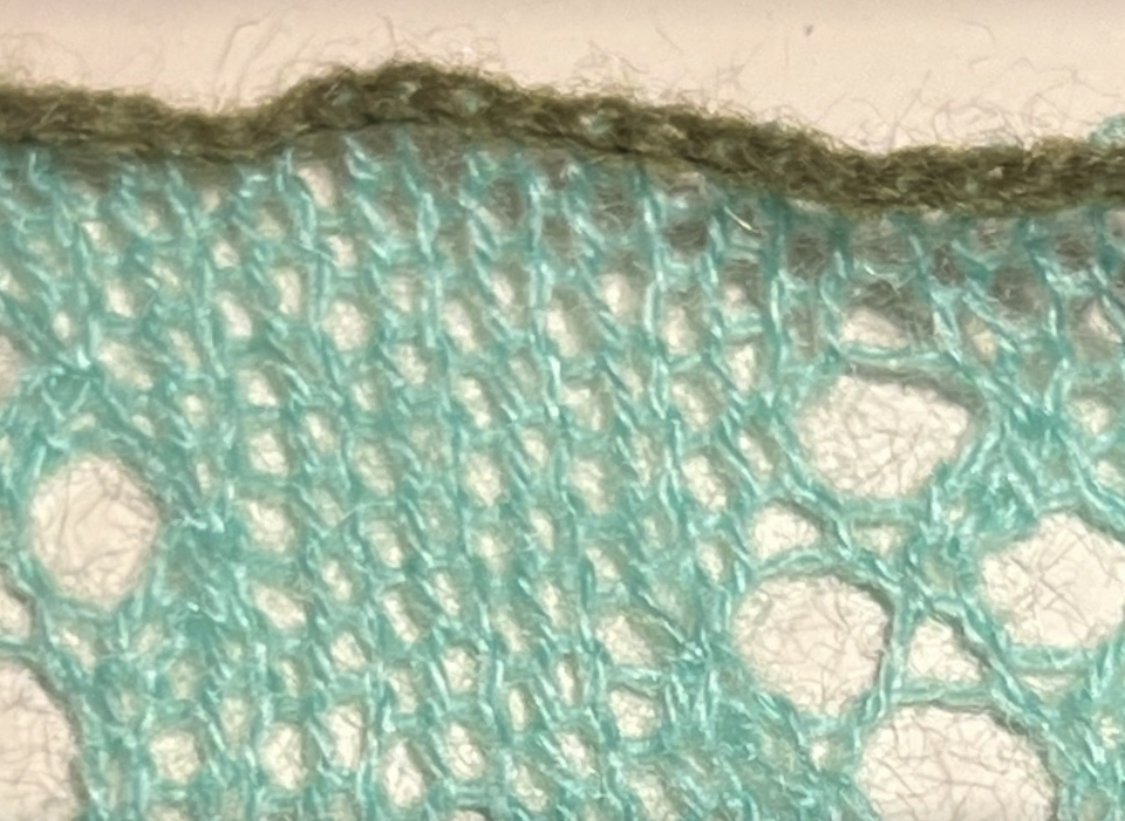
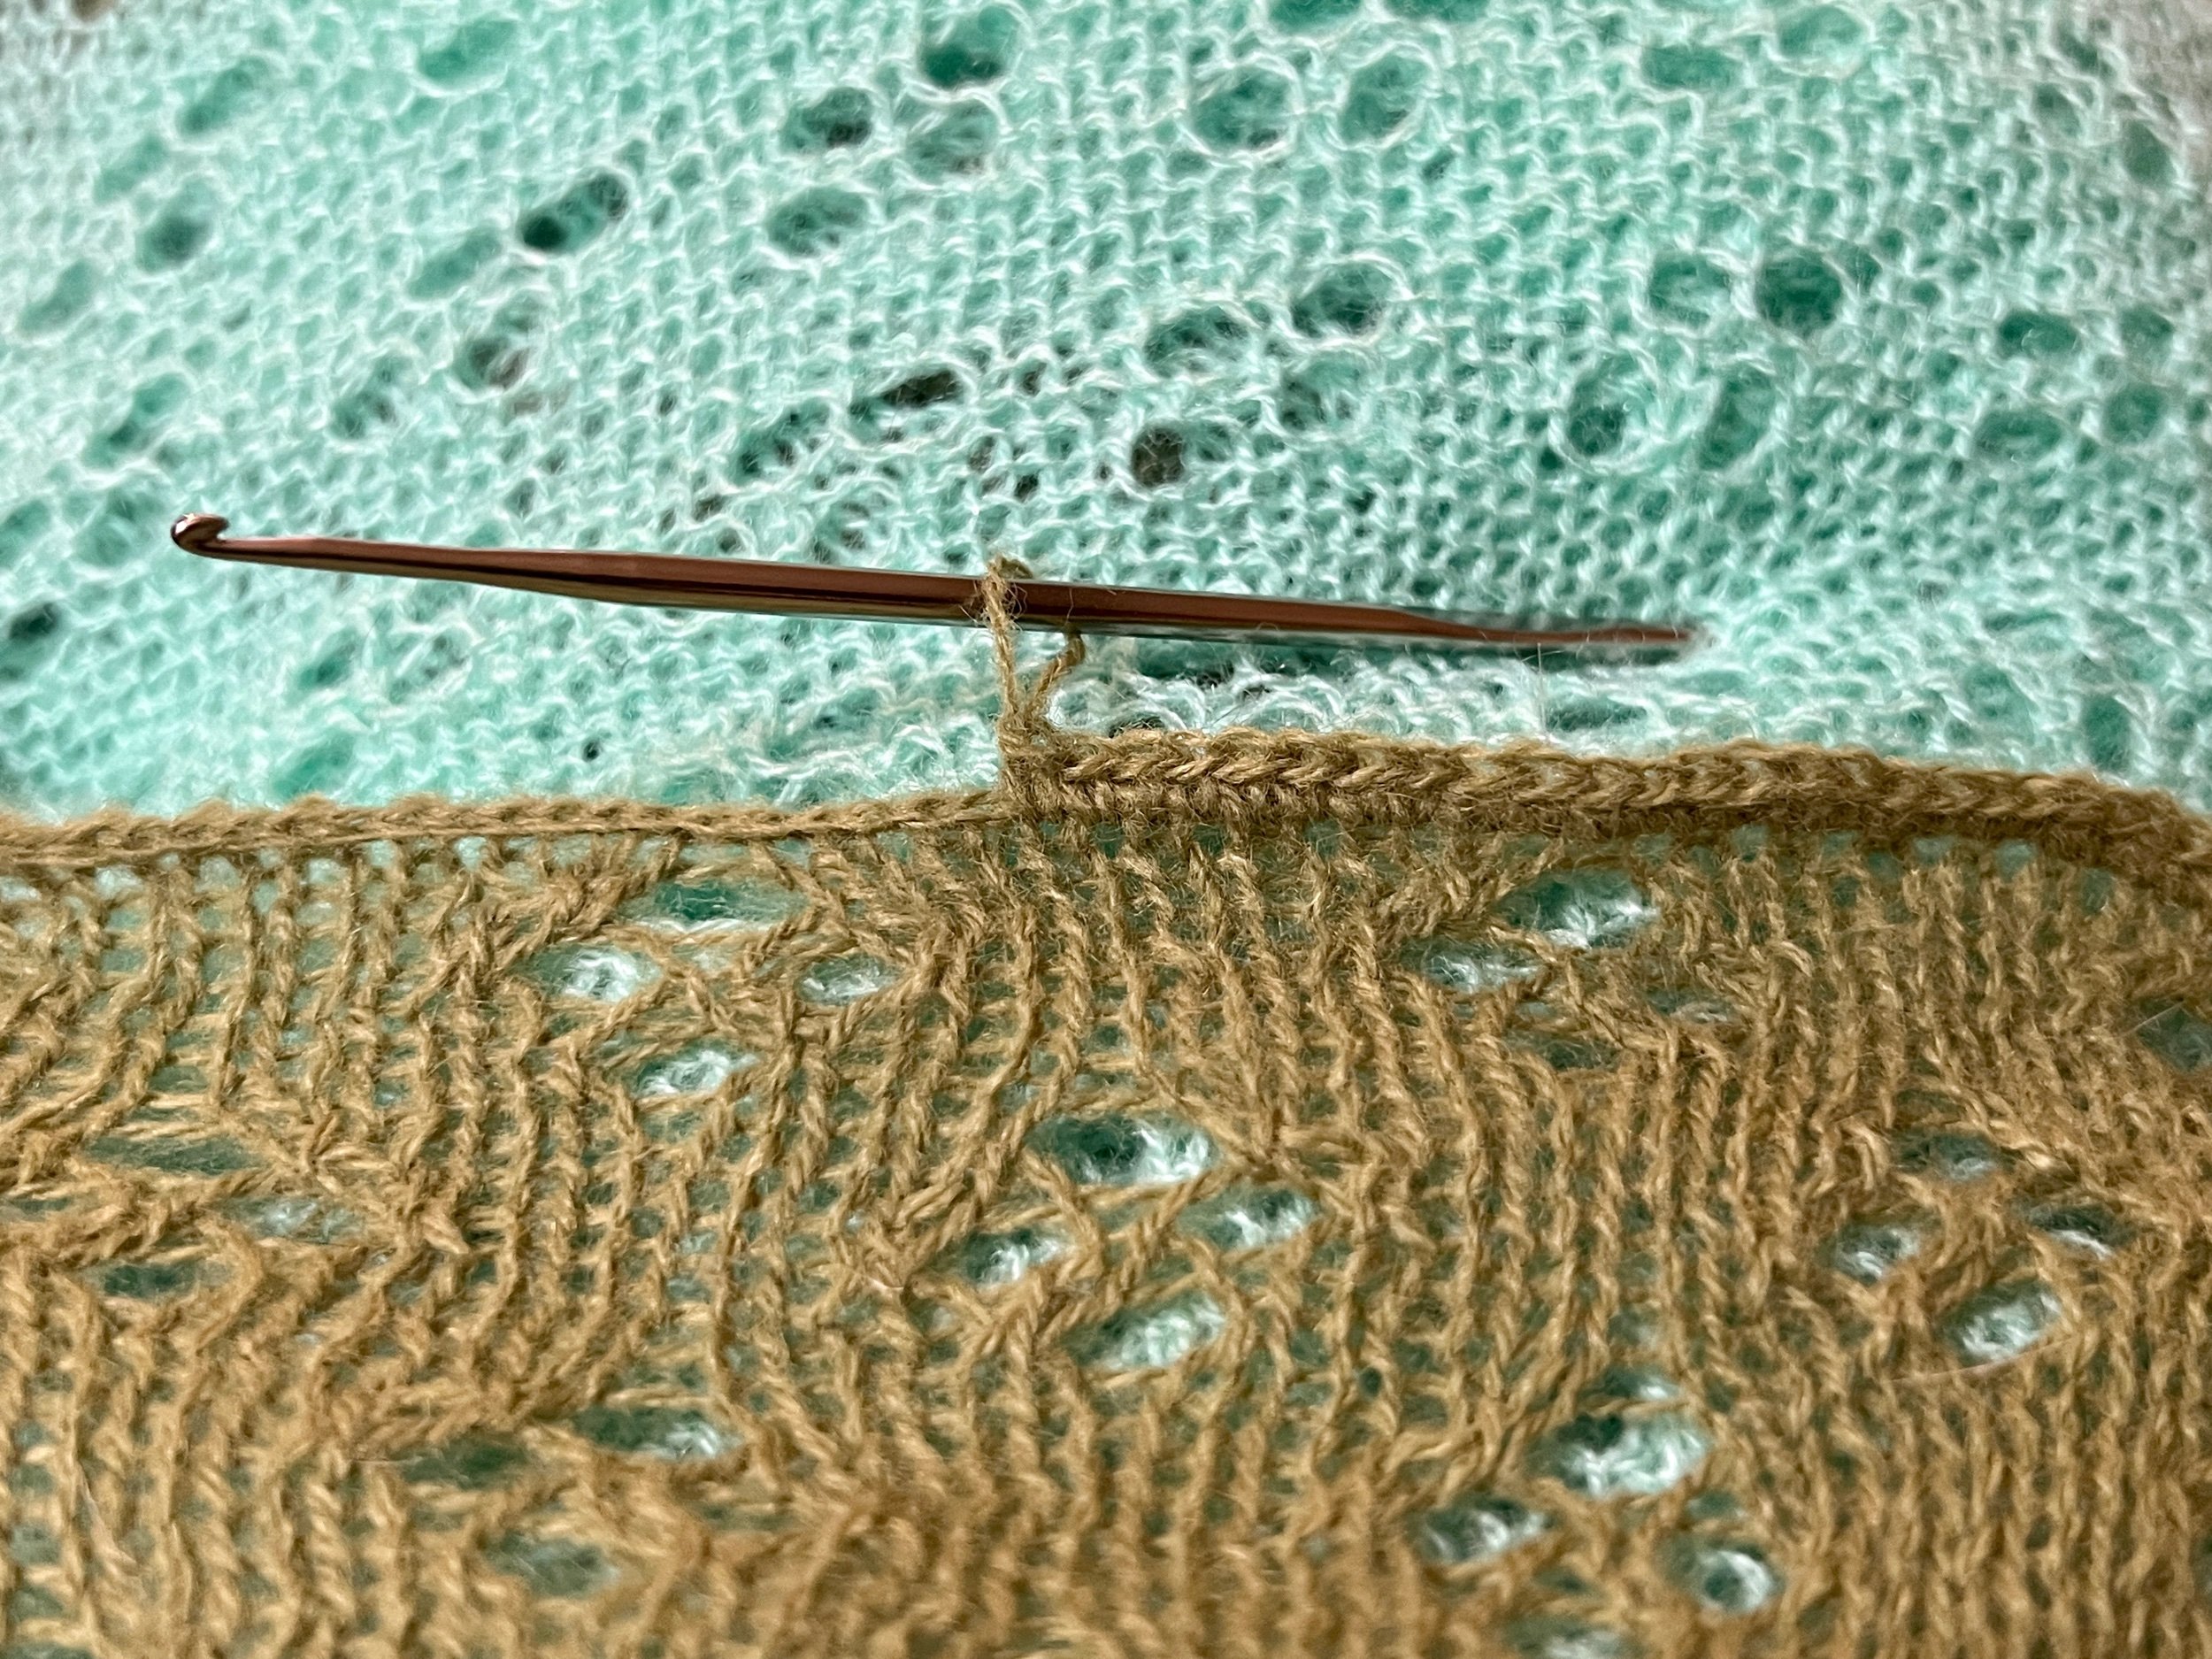
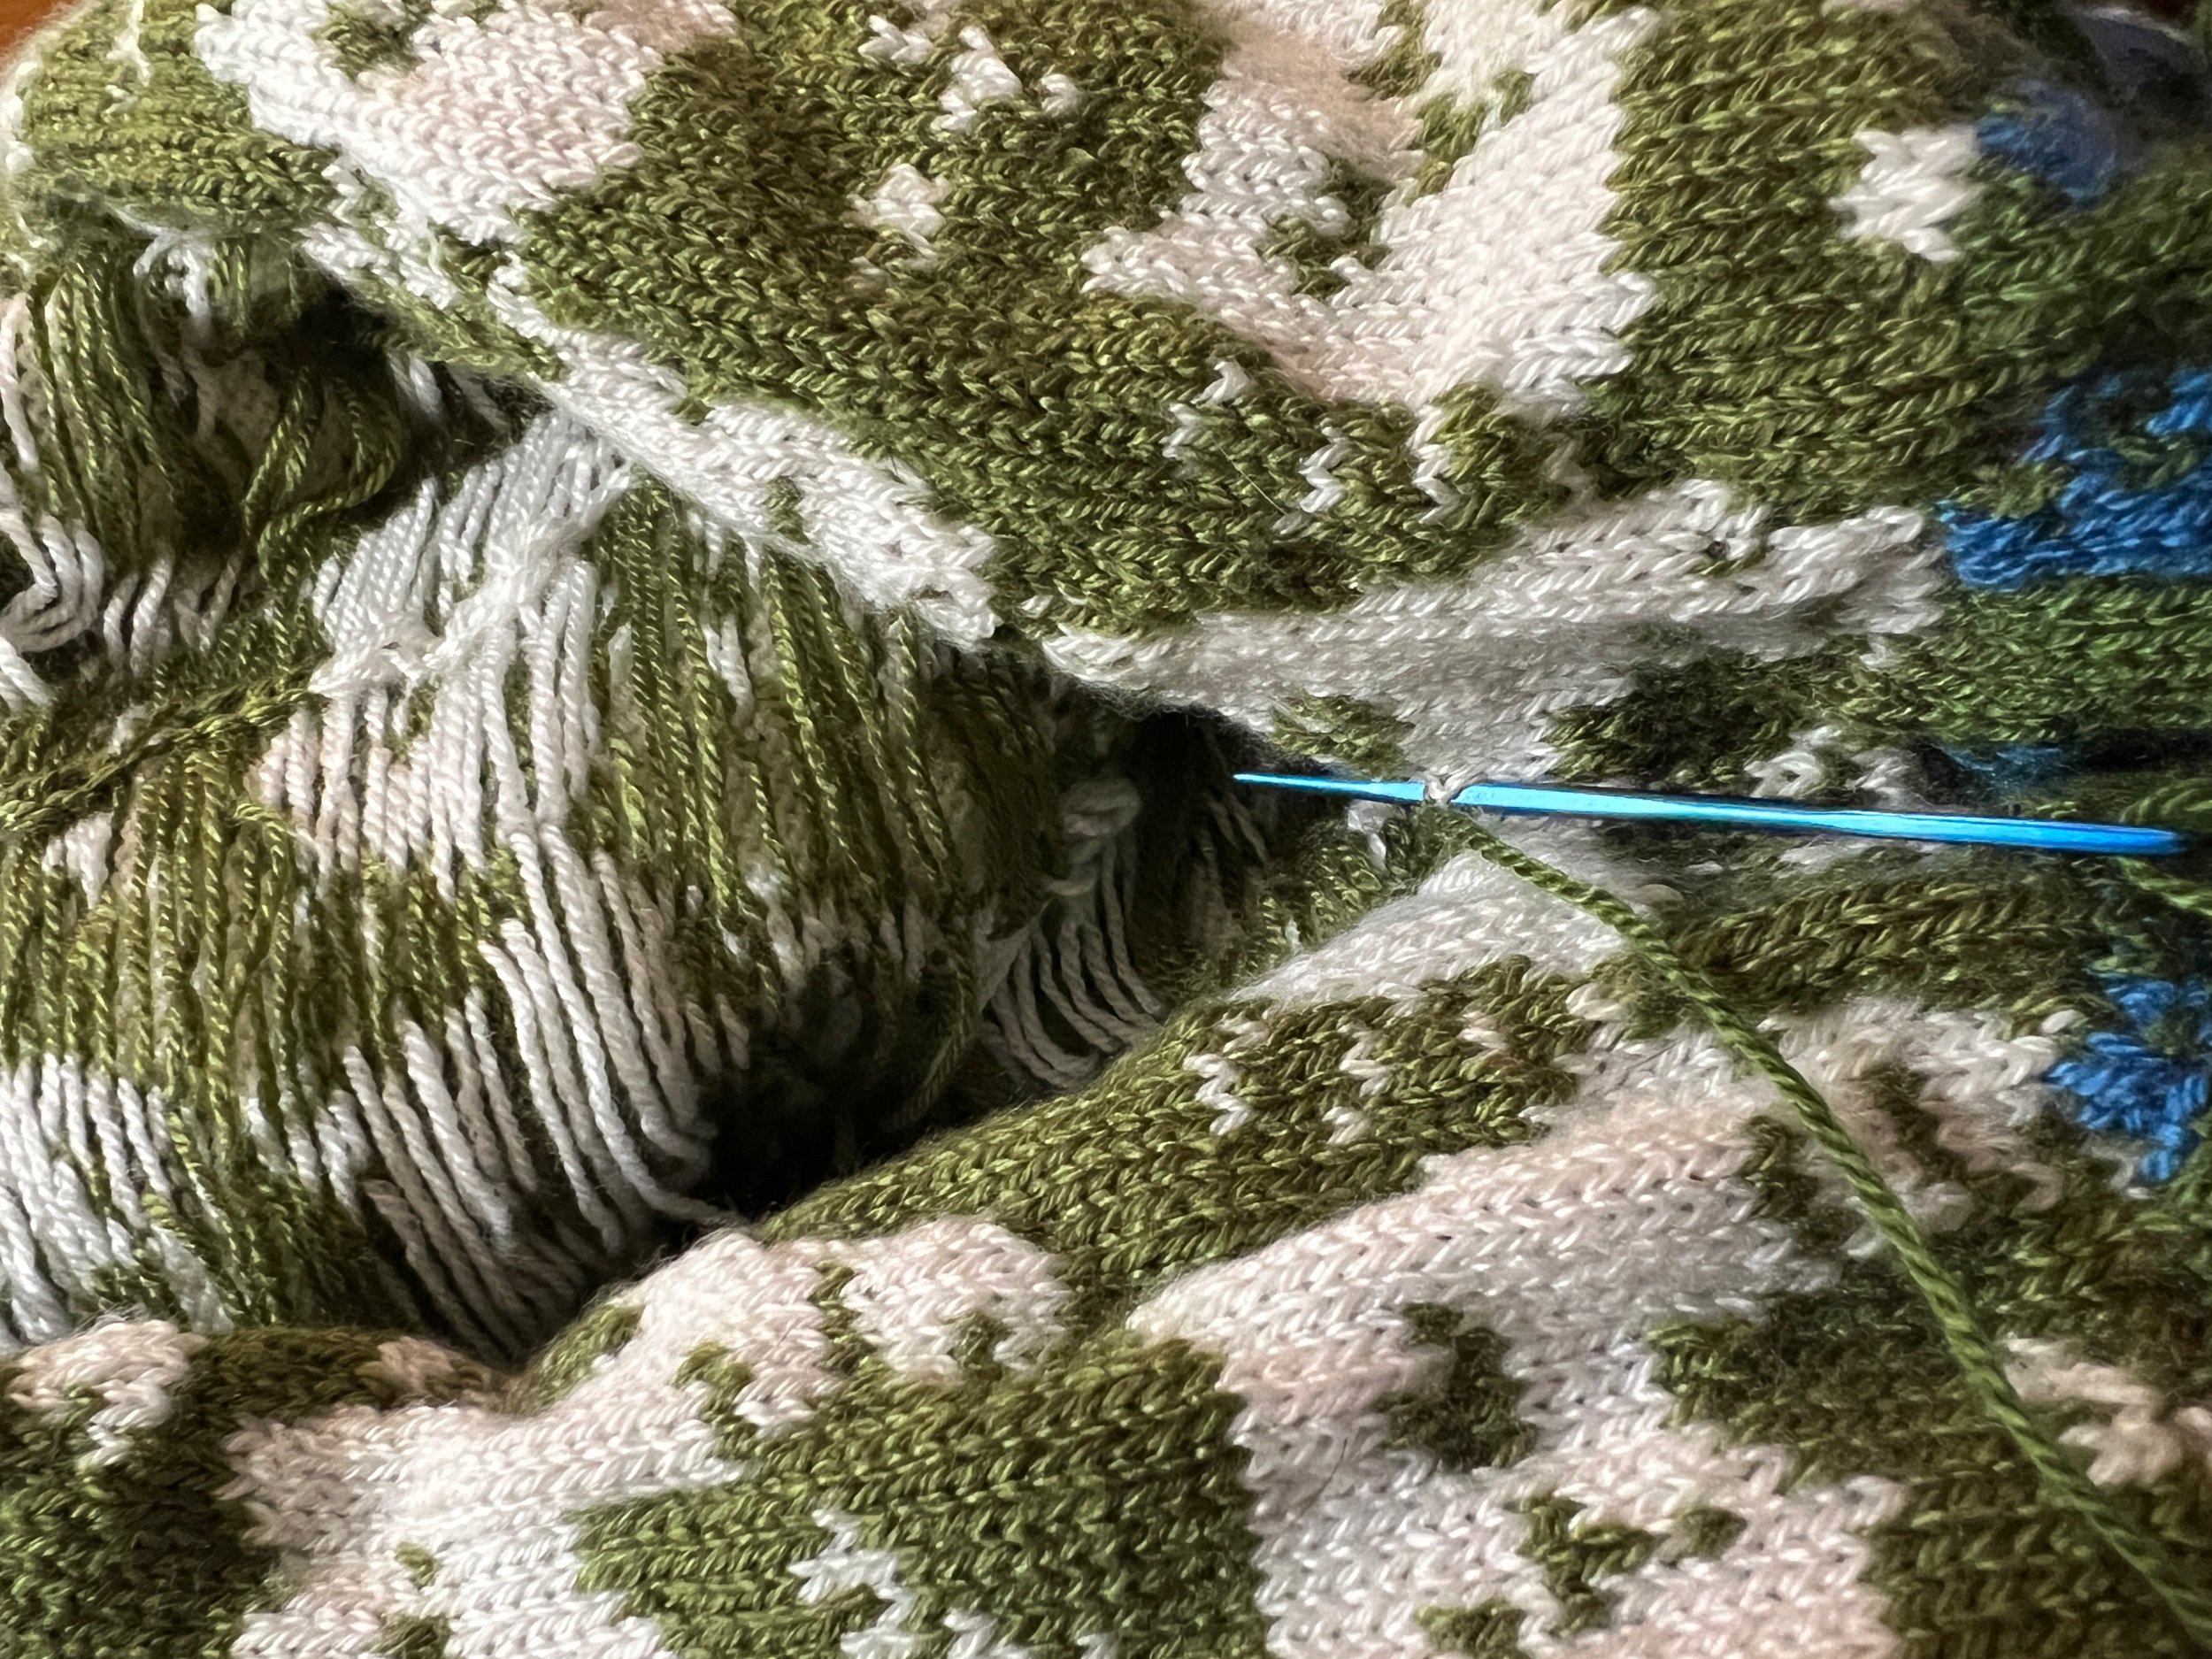
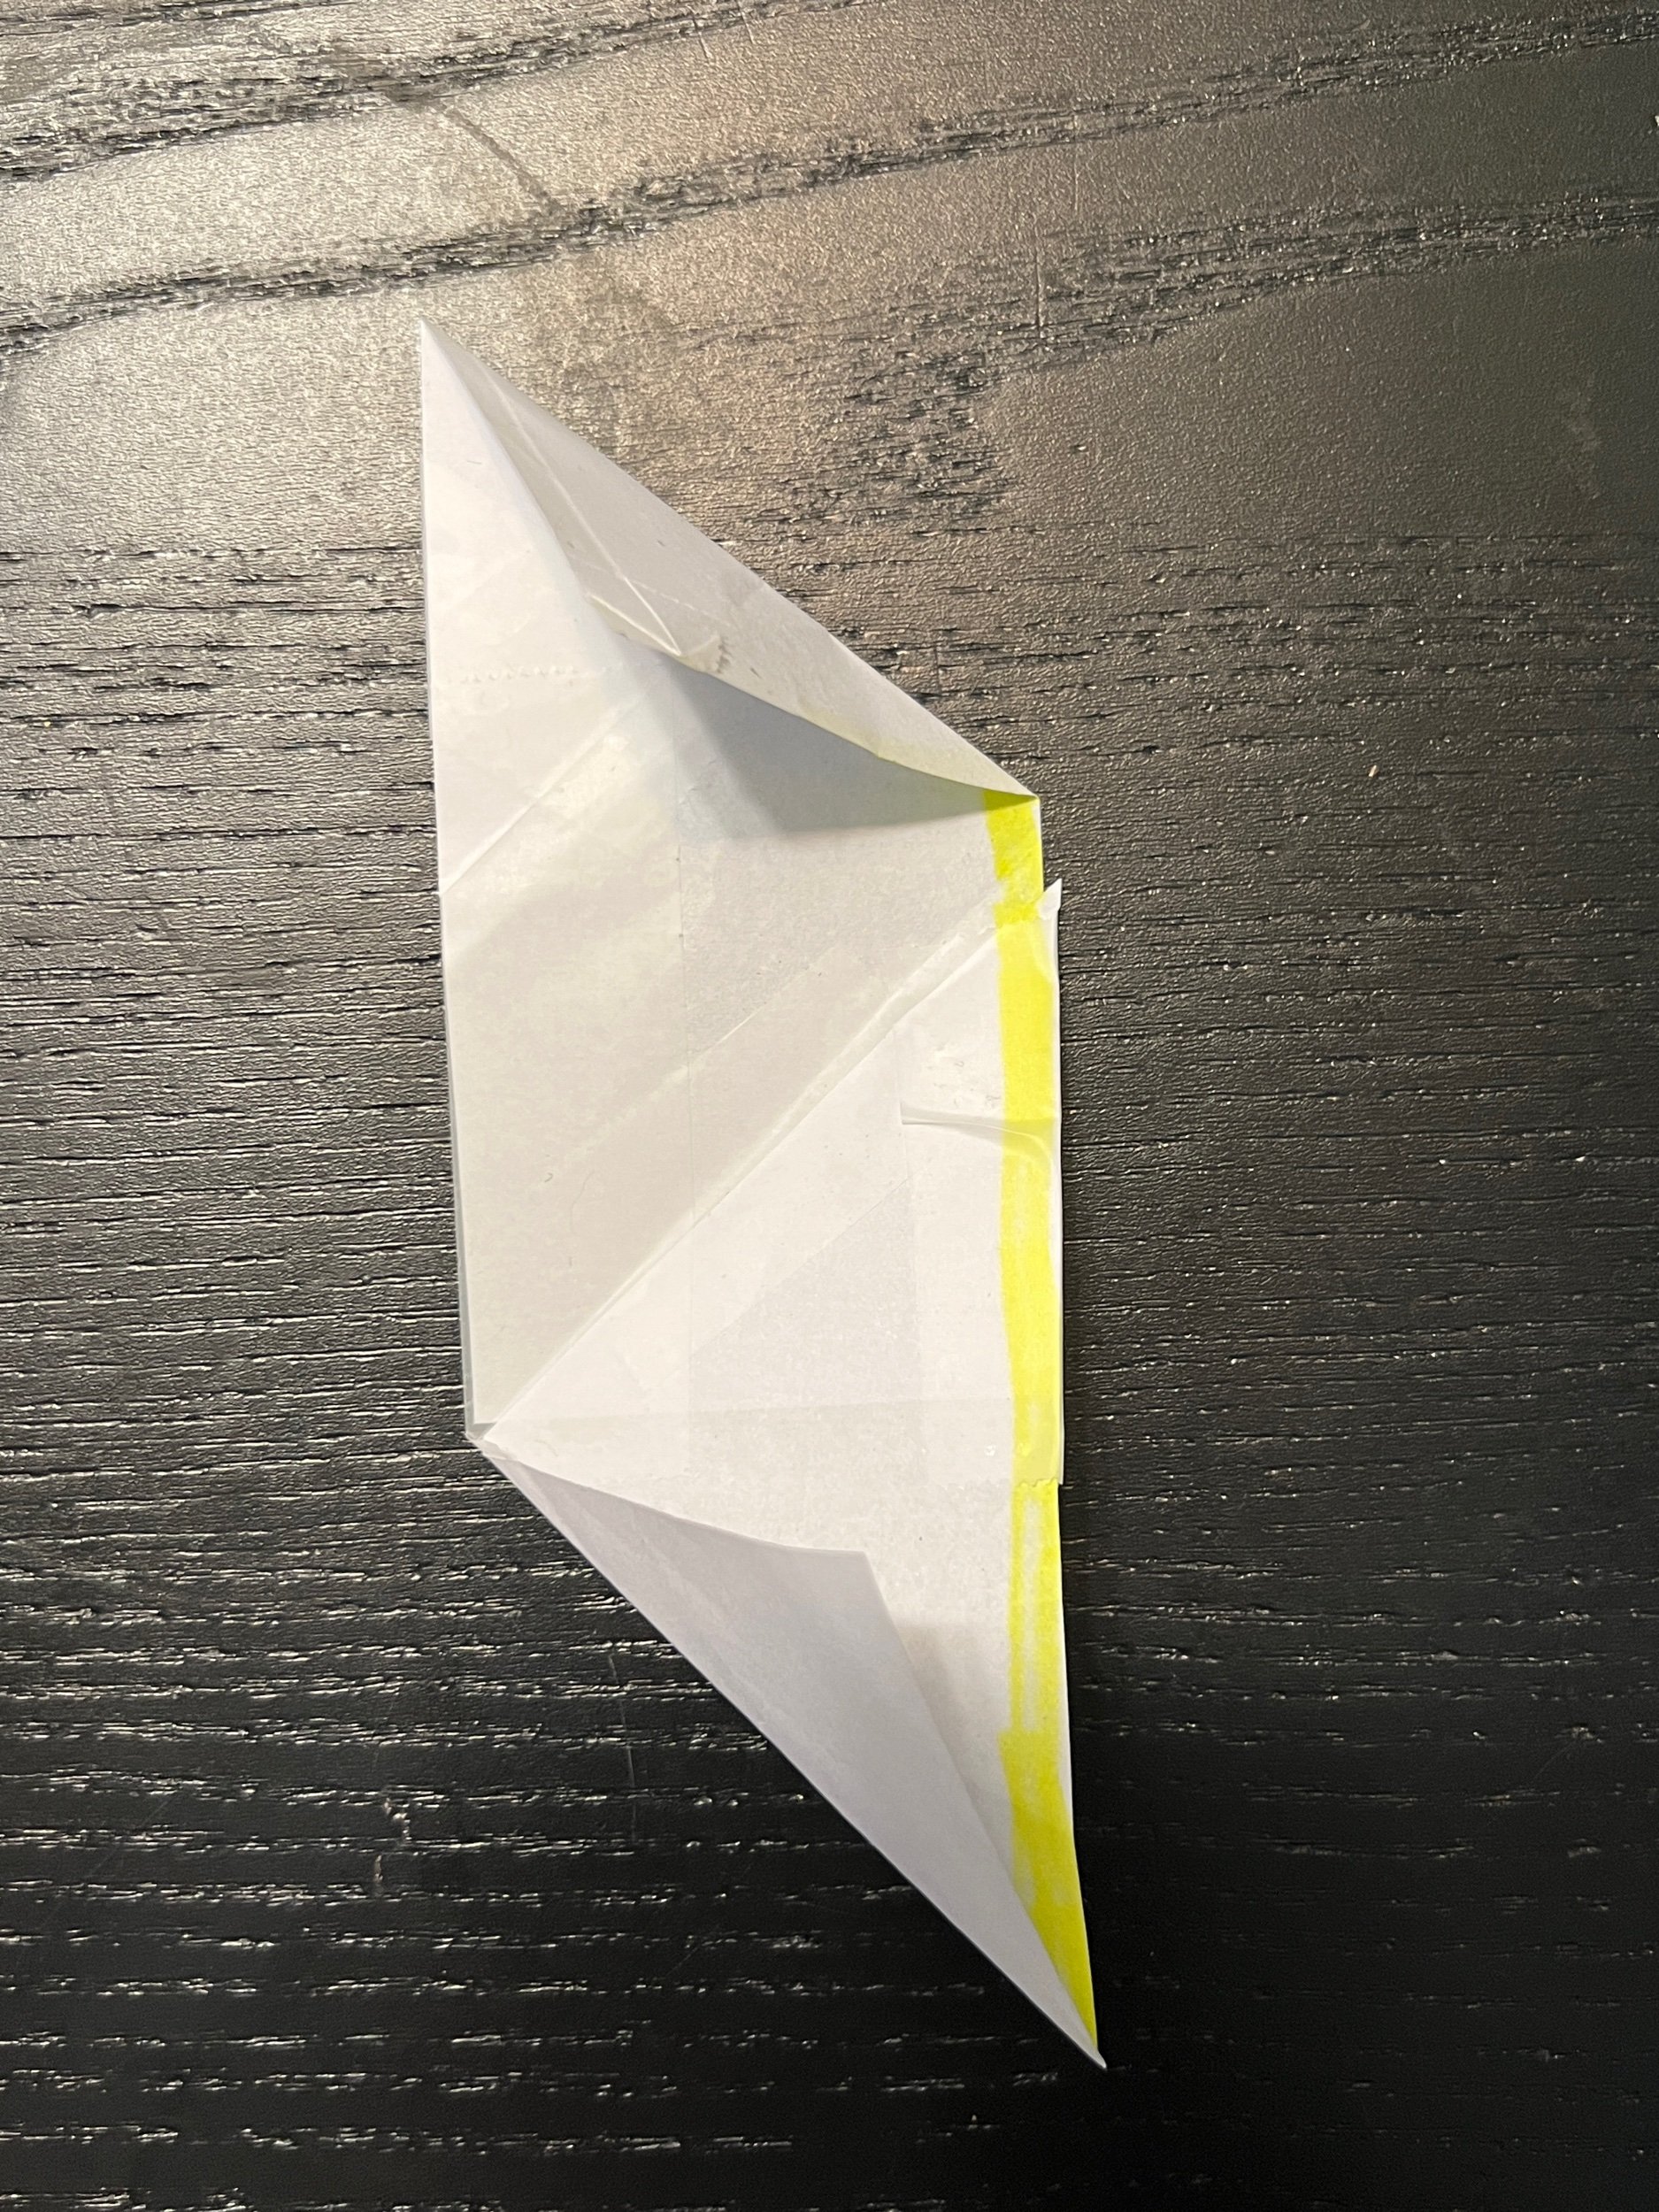
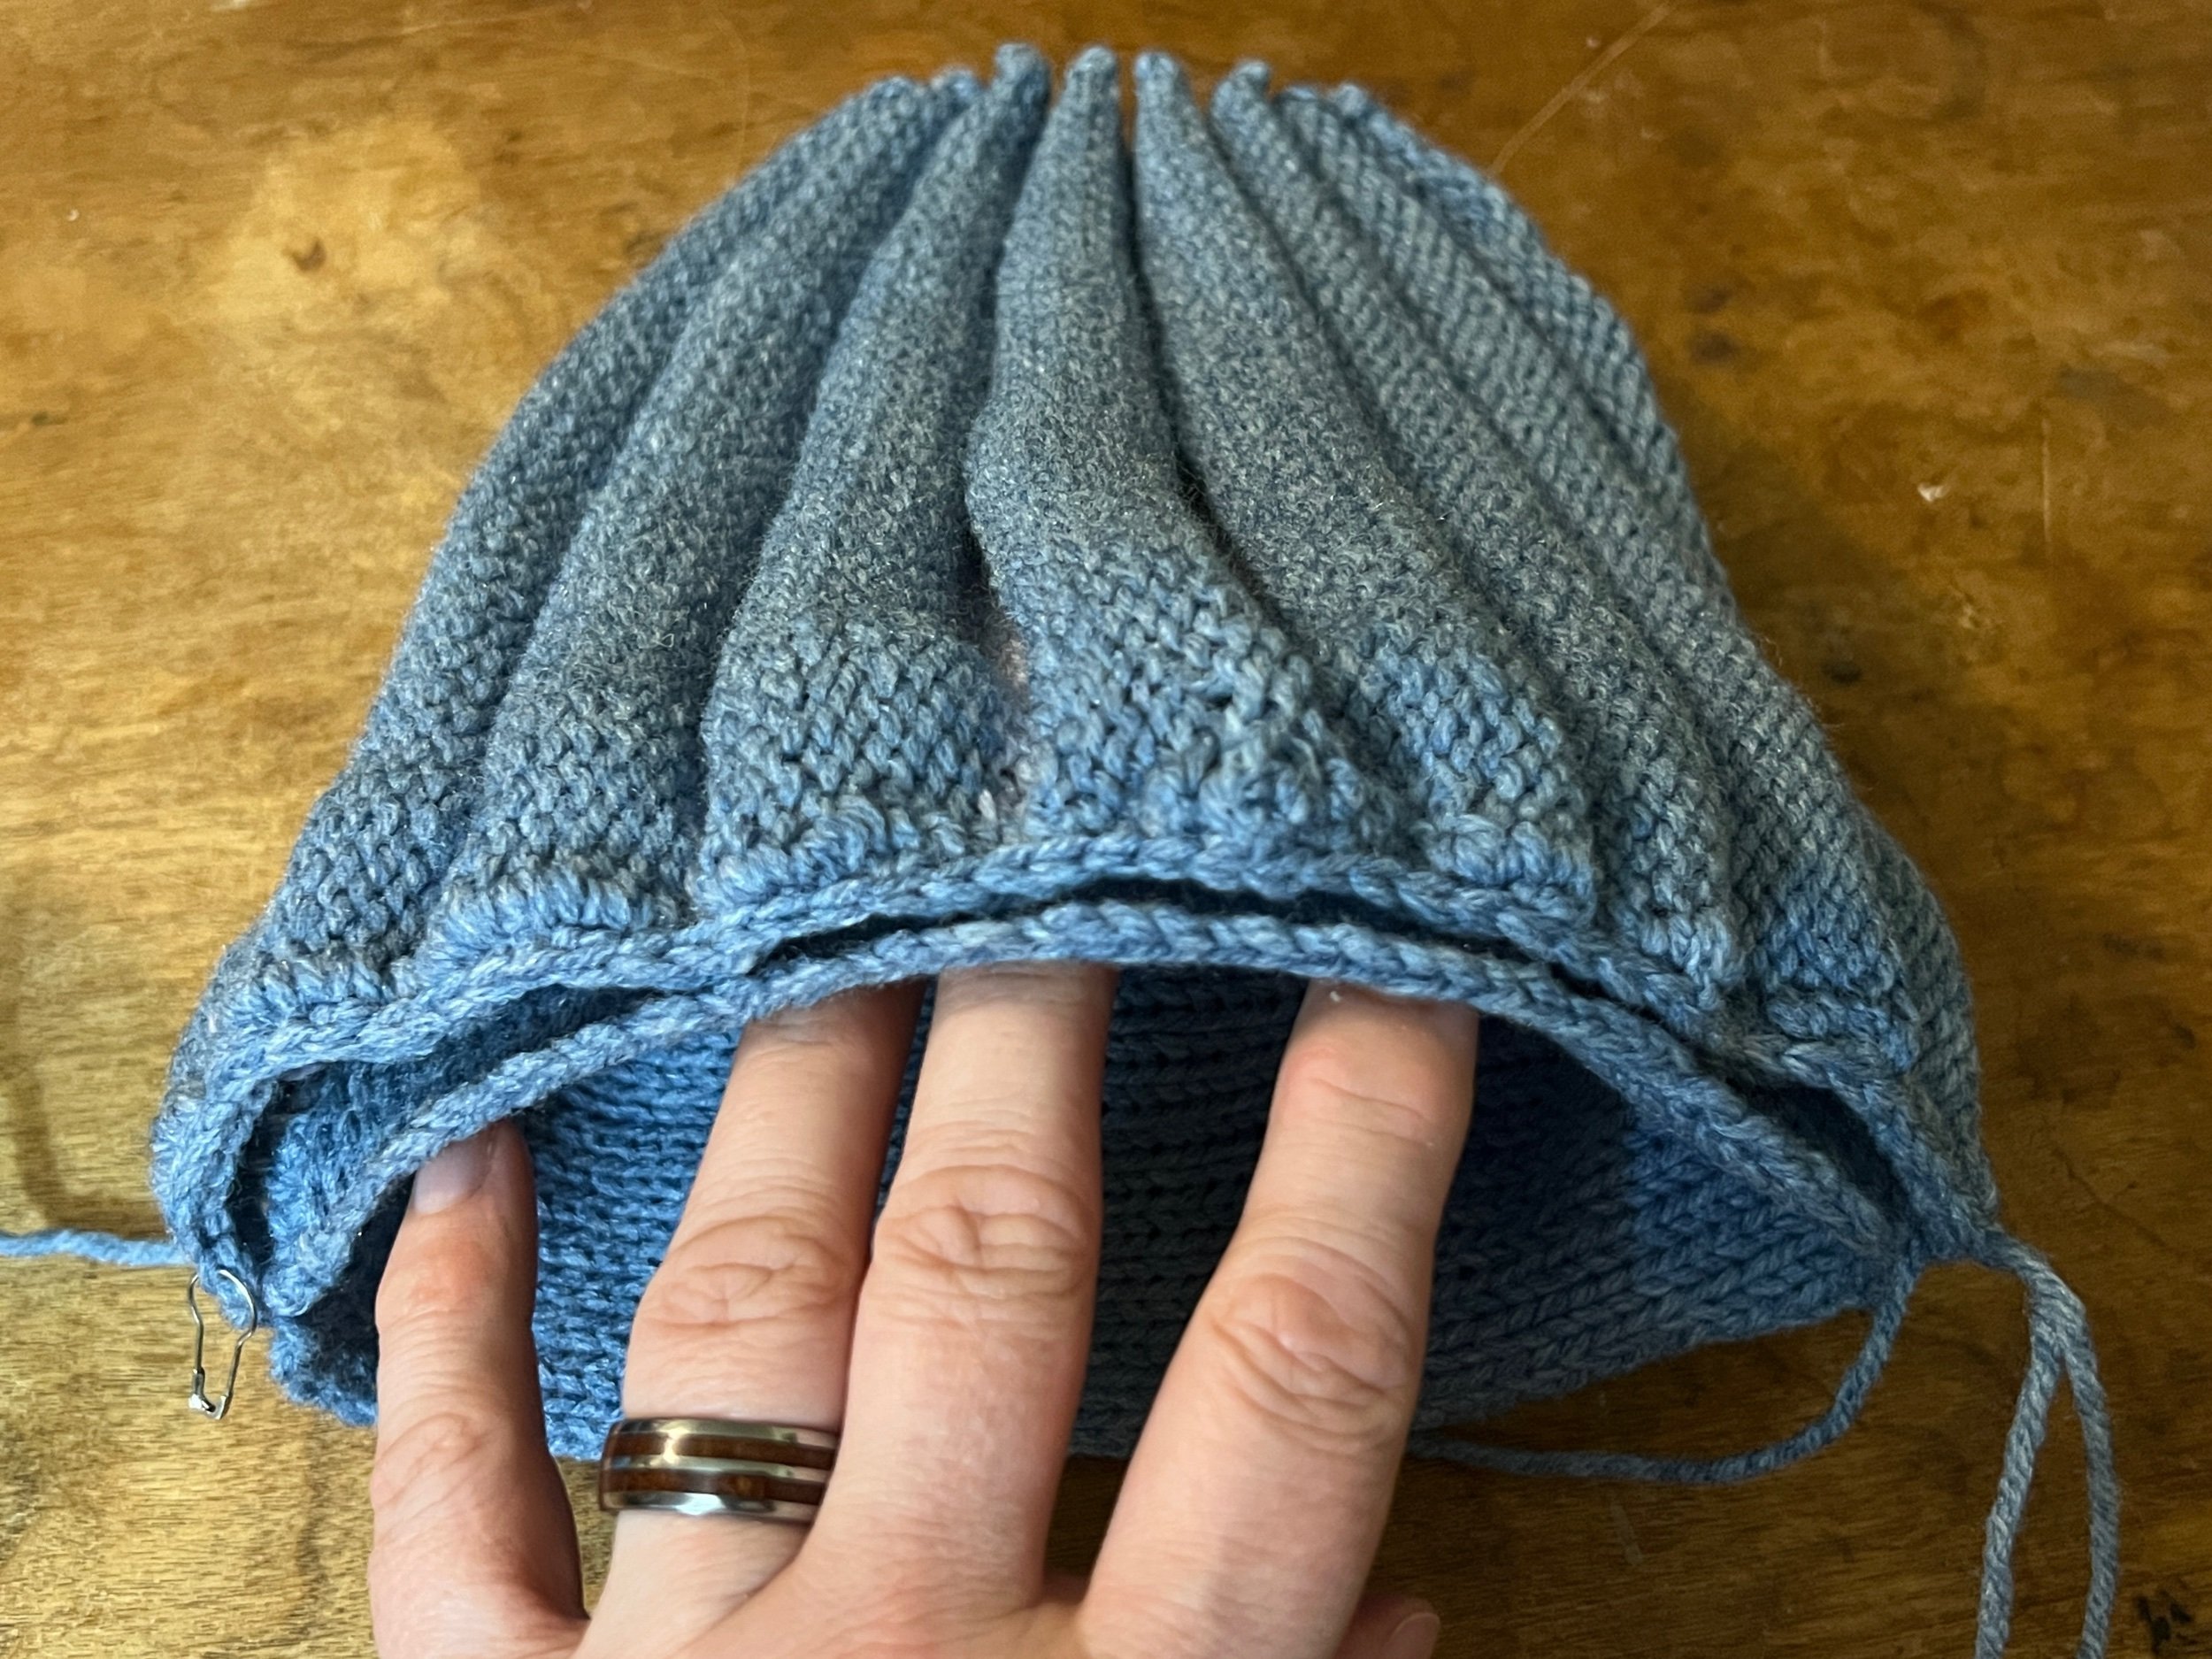
While at work today I pep talked myself into undoing the seams and considering how to make the flat bed knitted piece longer somehow. I ended up working 20 rows of single crochet on the short end of the rectangle. Here’s a poor triangle layout image planning how much more fabric is needed. This shows the shapes and further fabric needed still to extend with crochet.

Never give up!

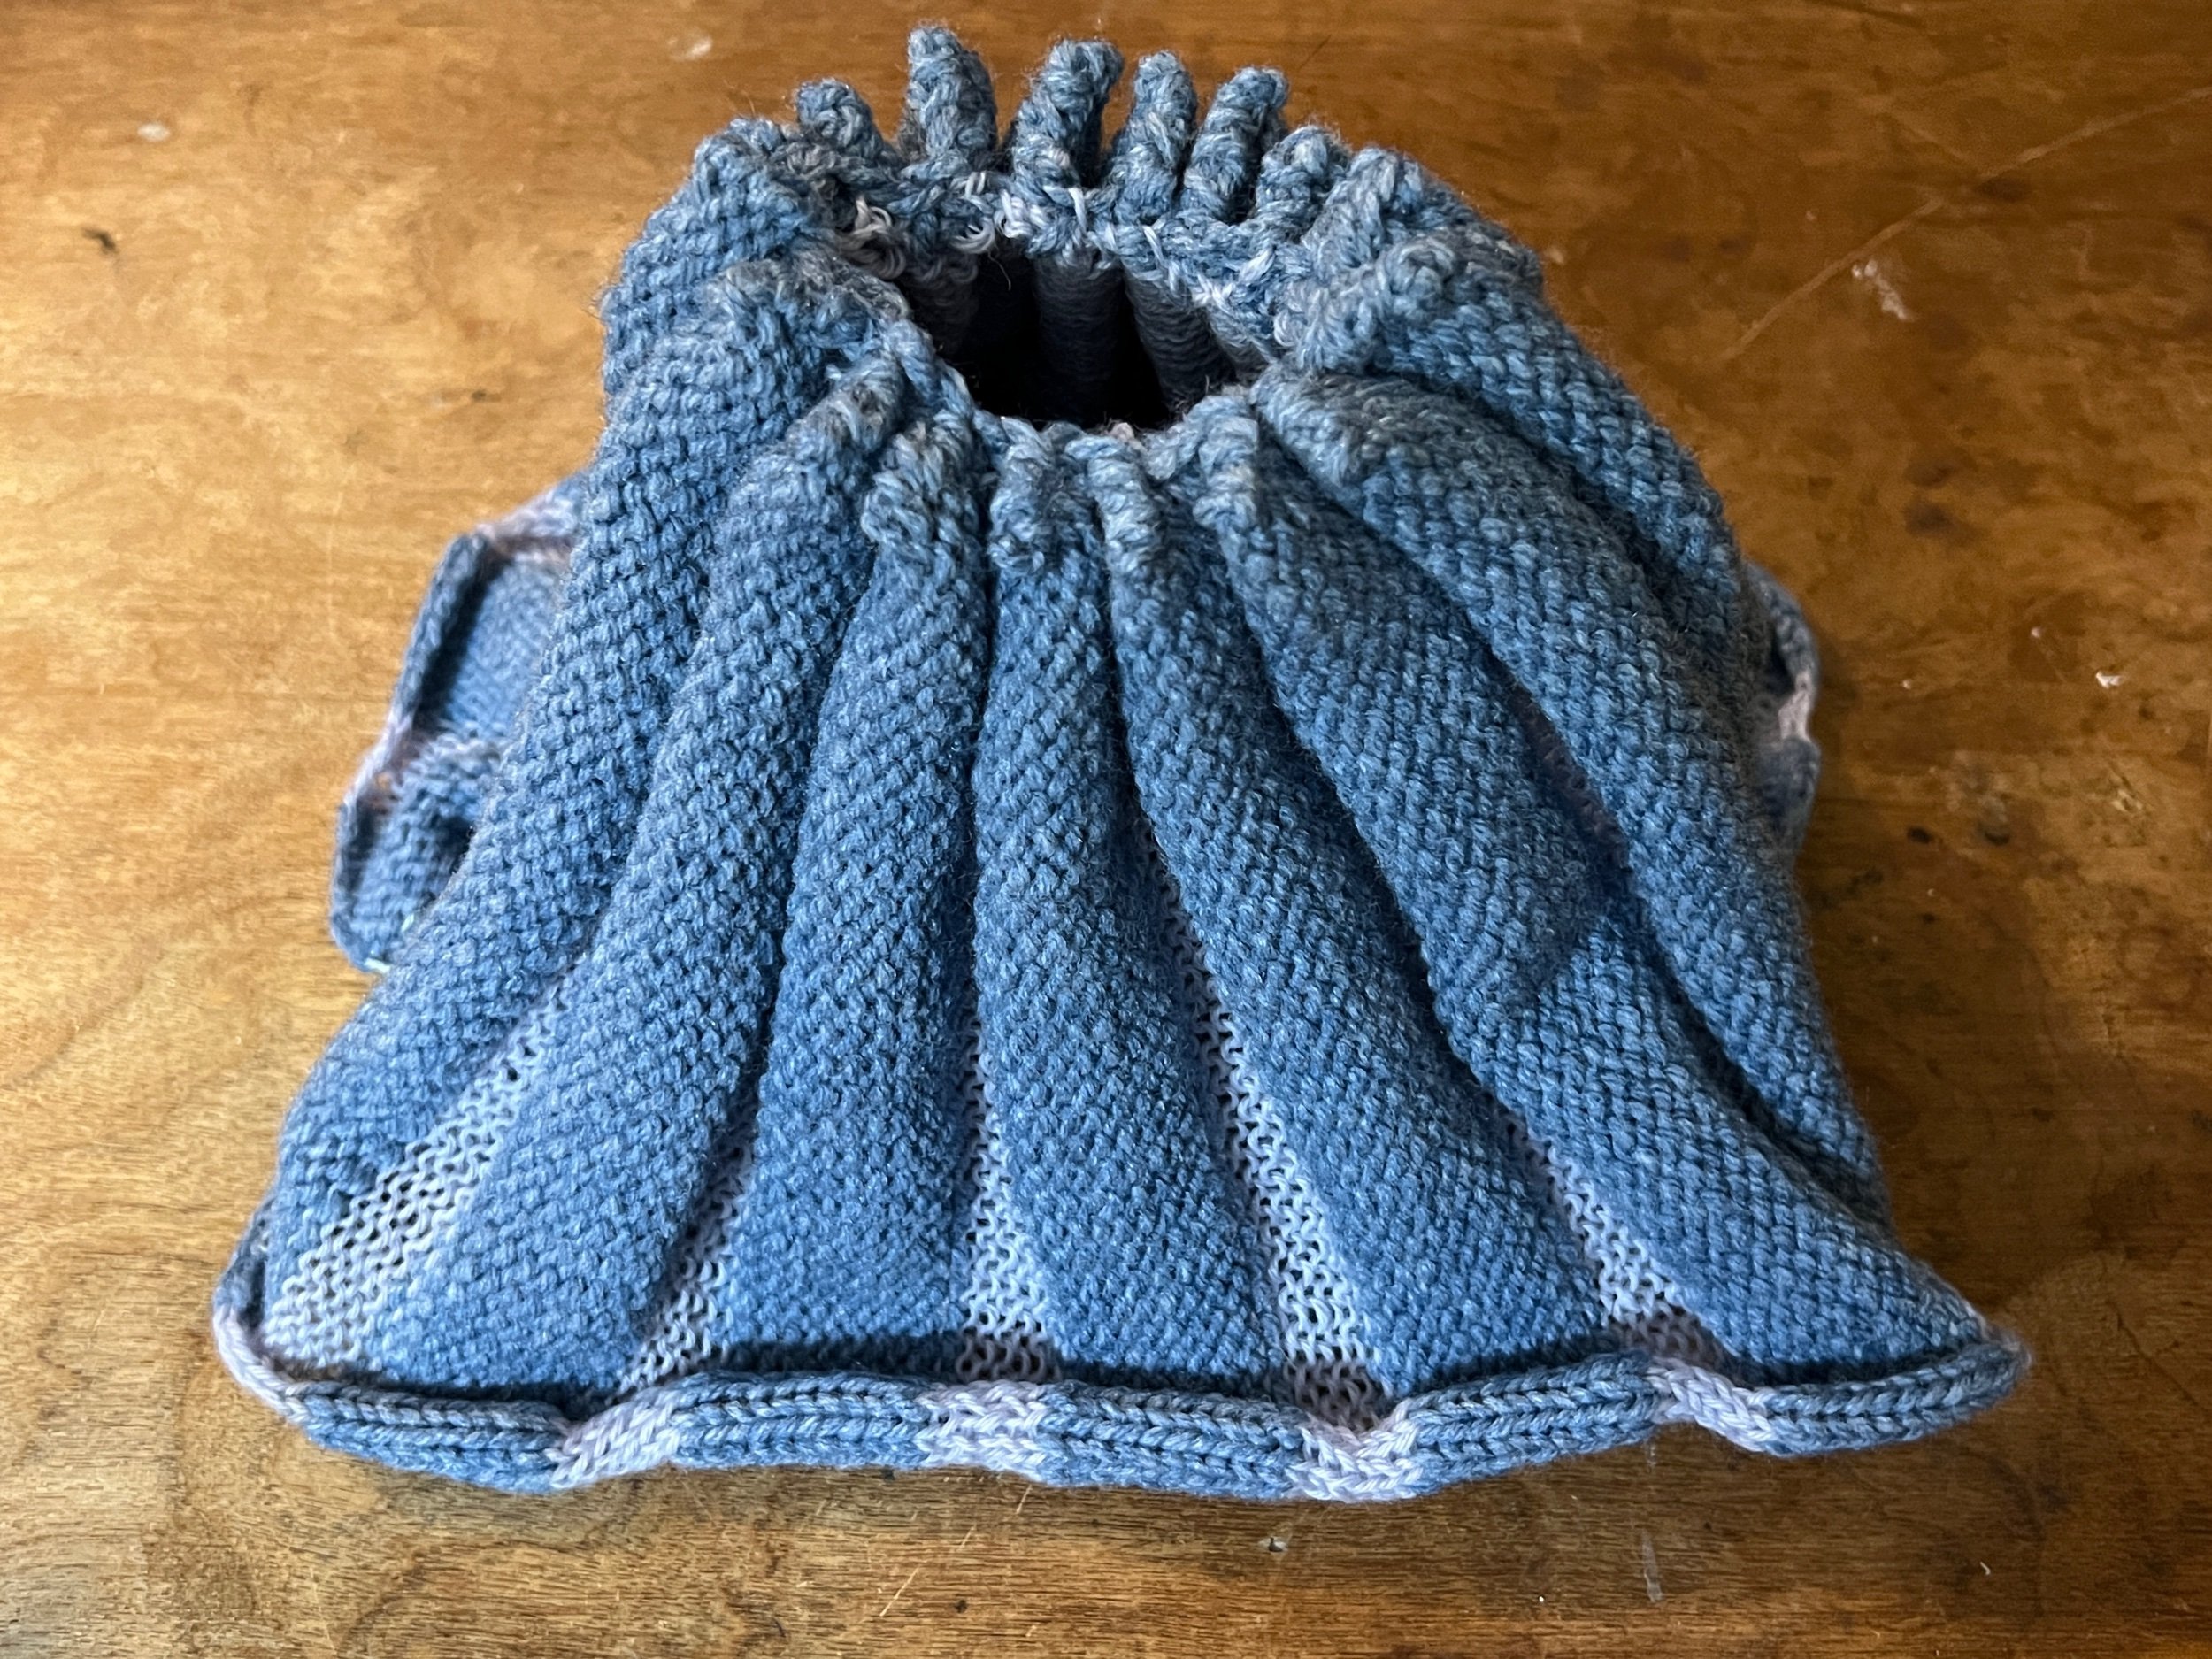
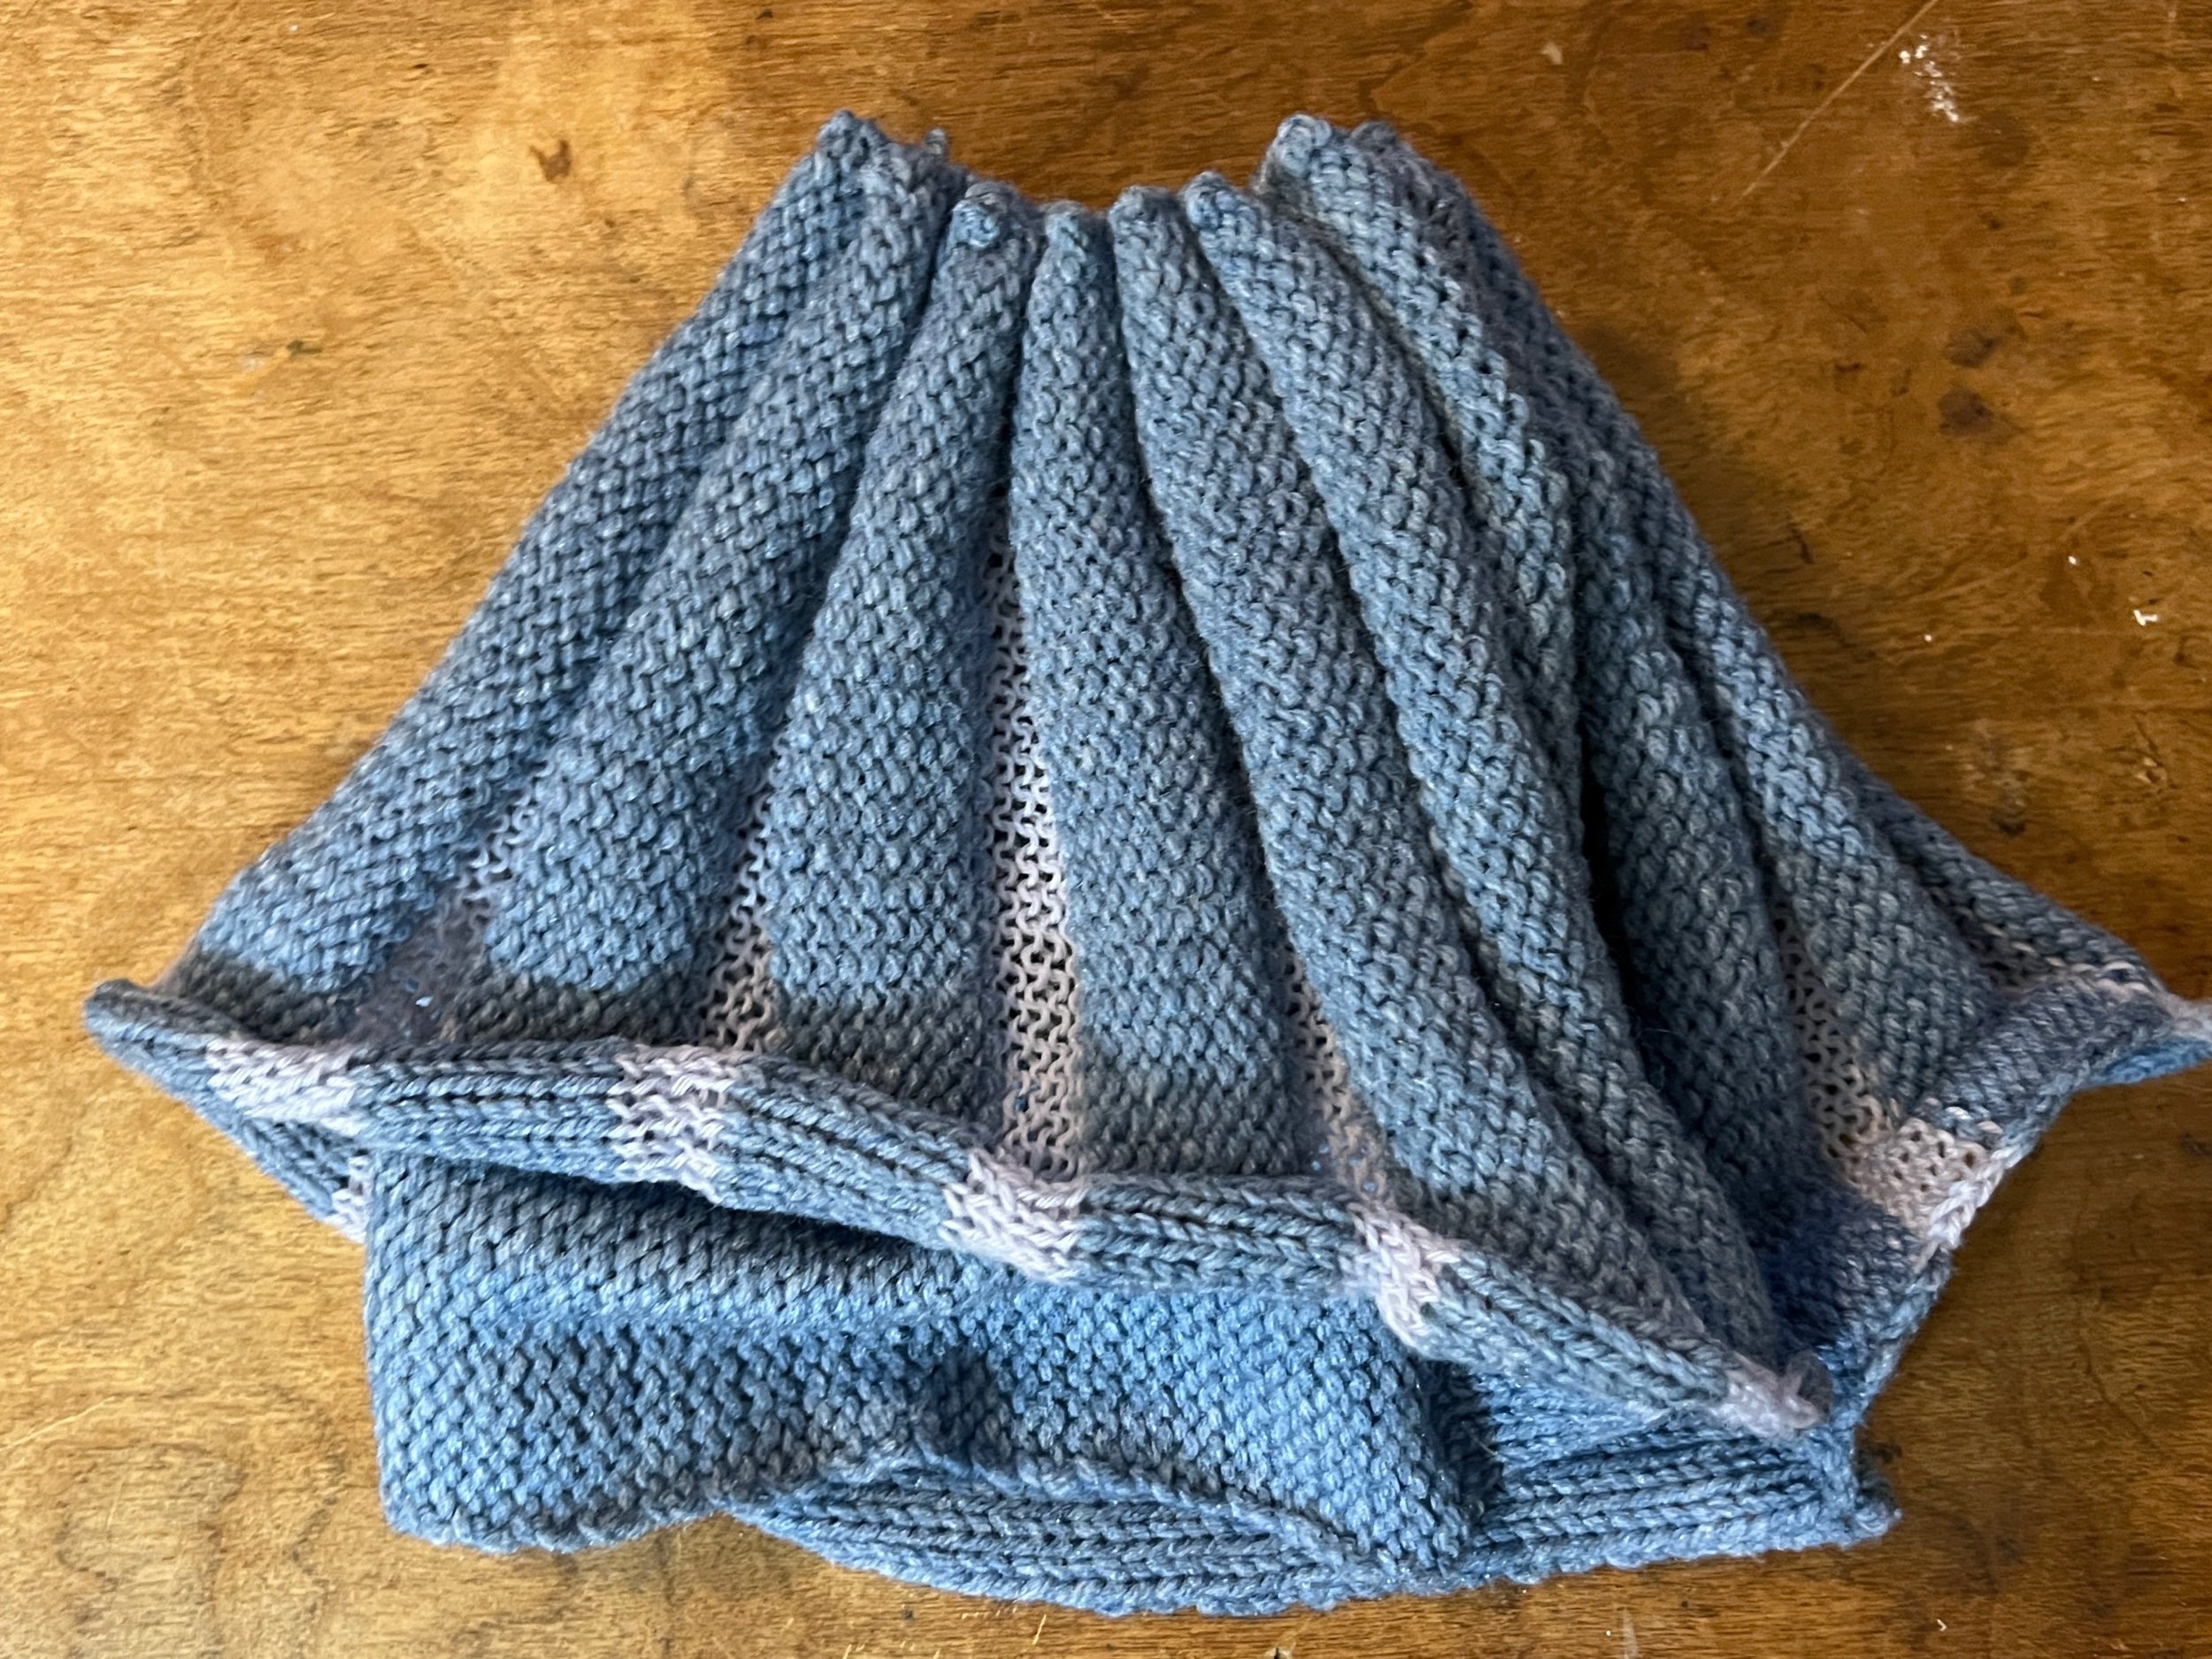
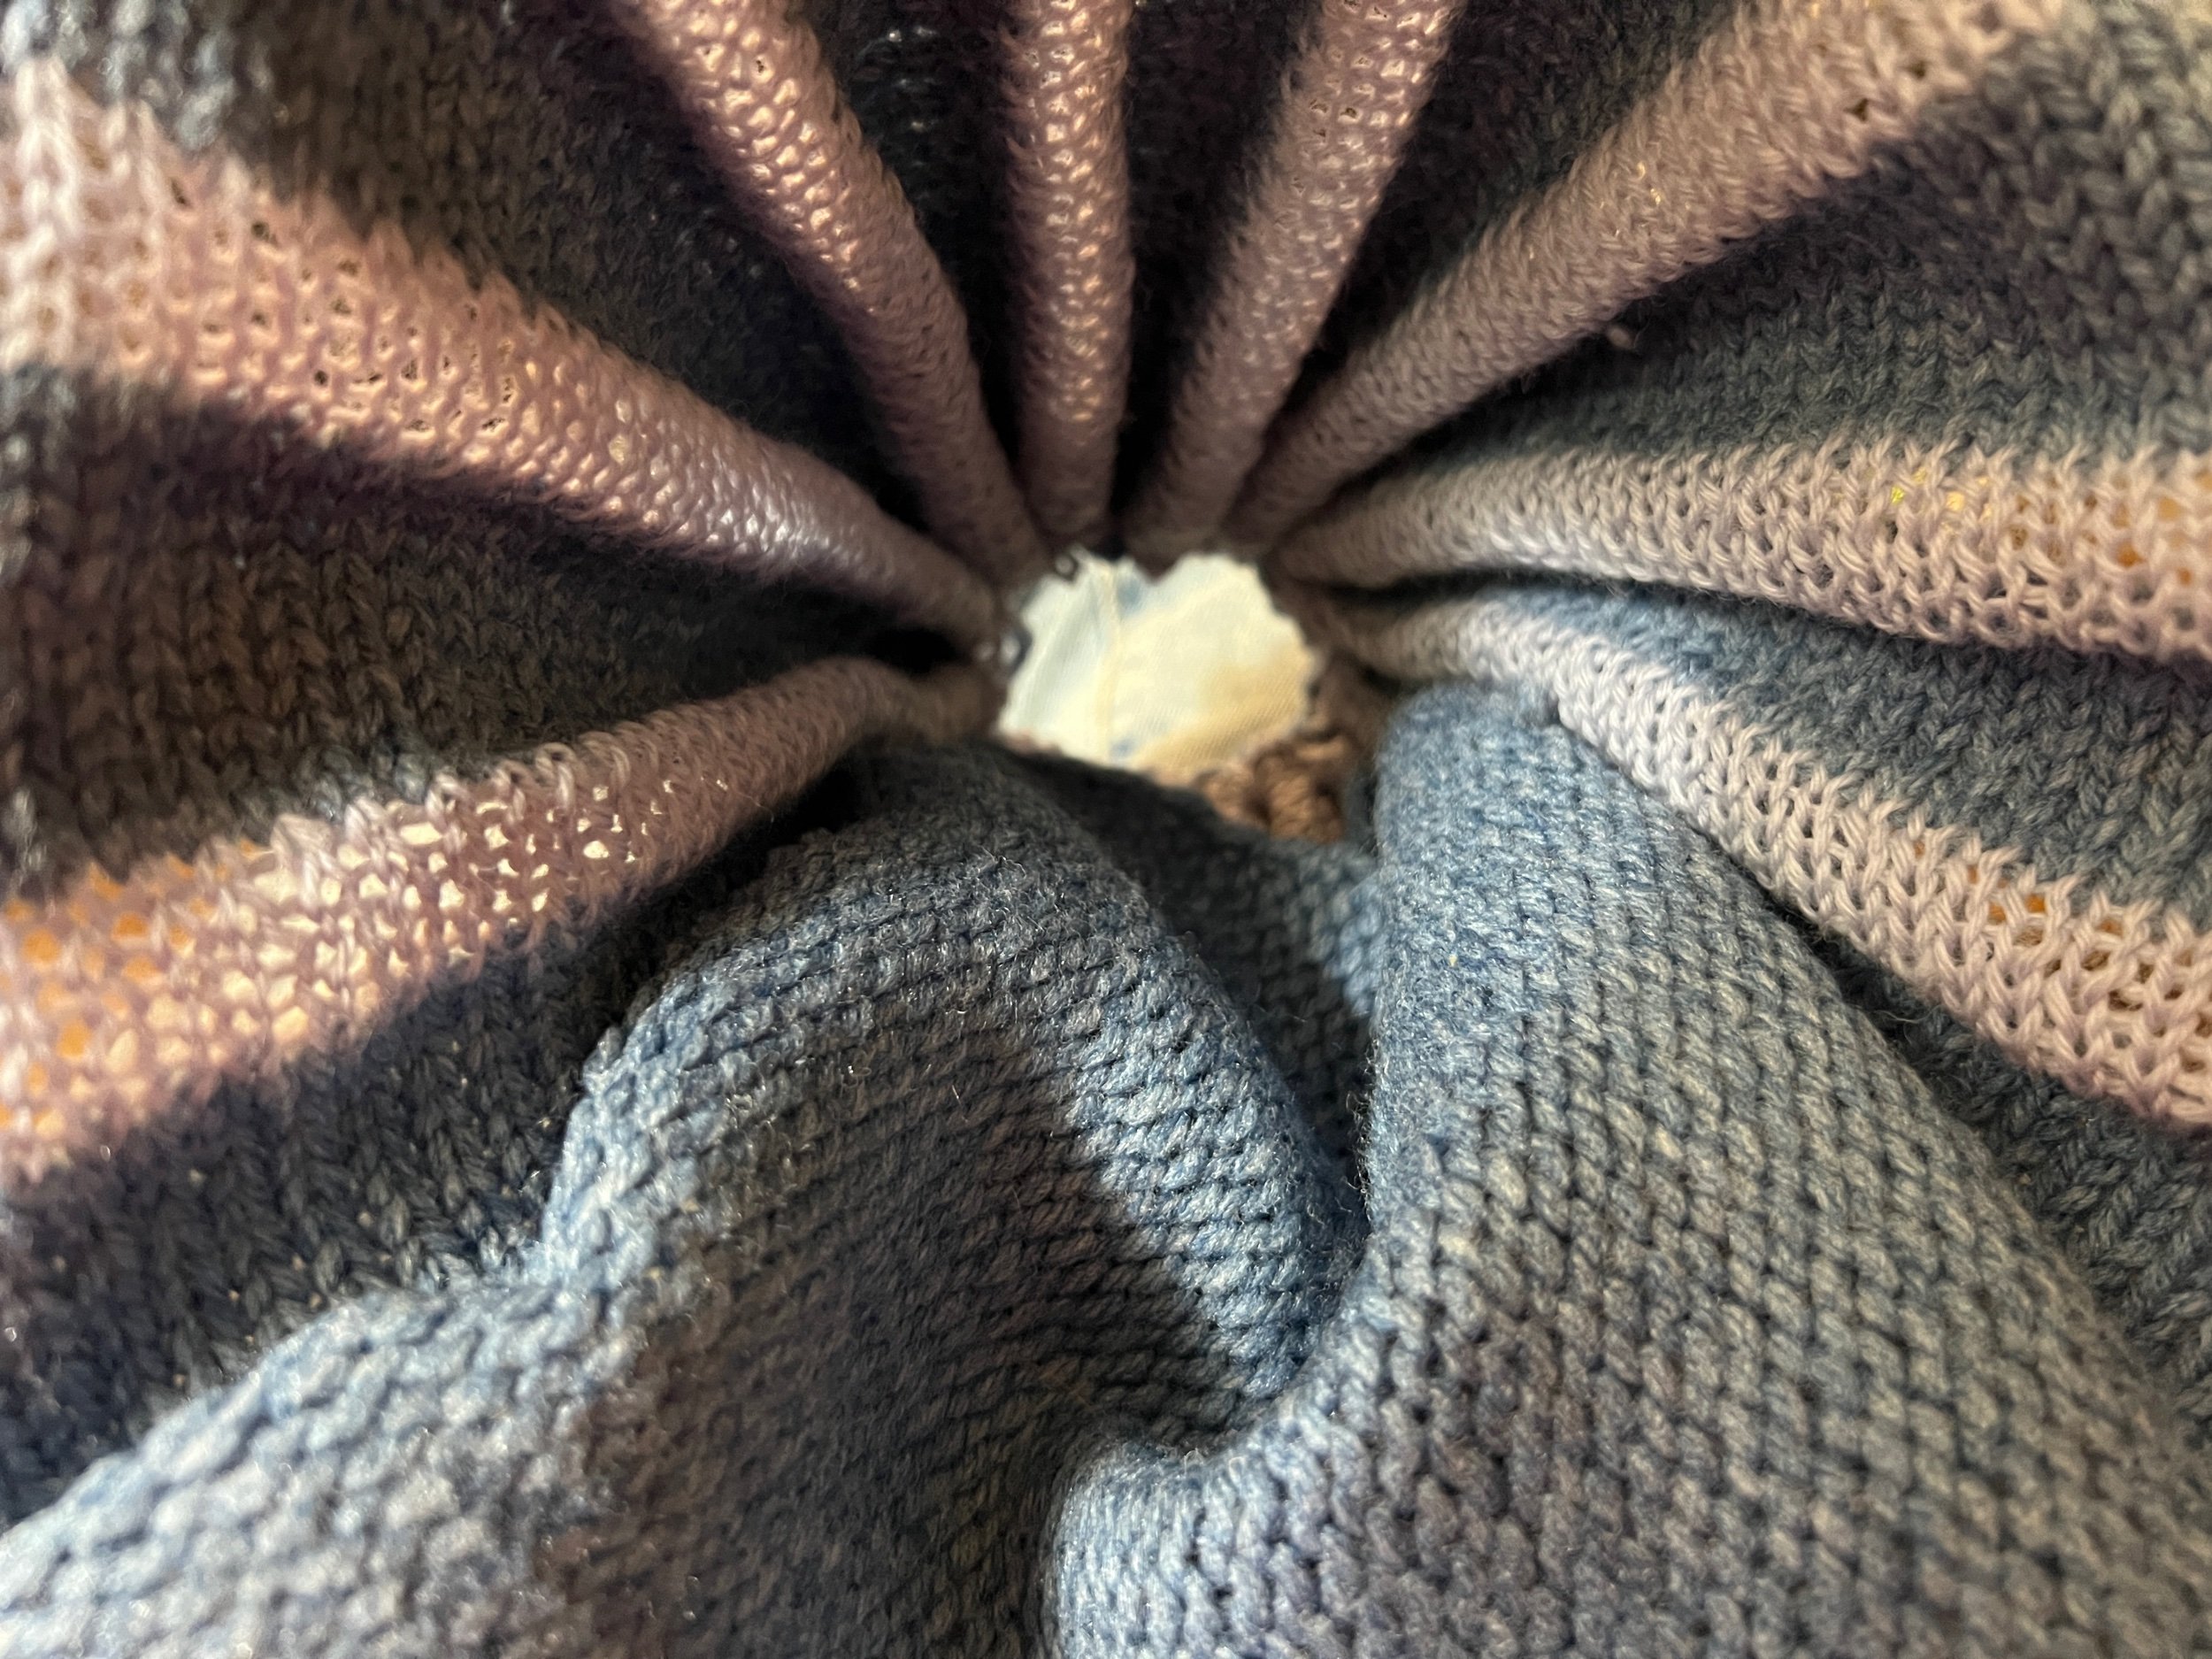
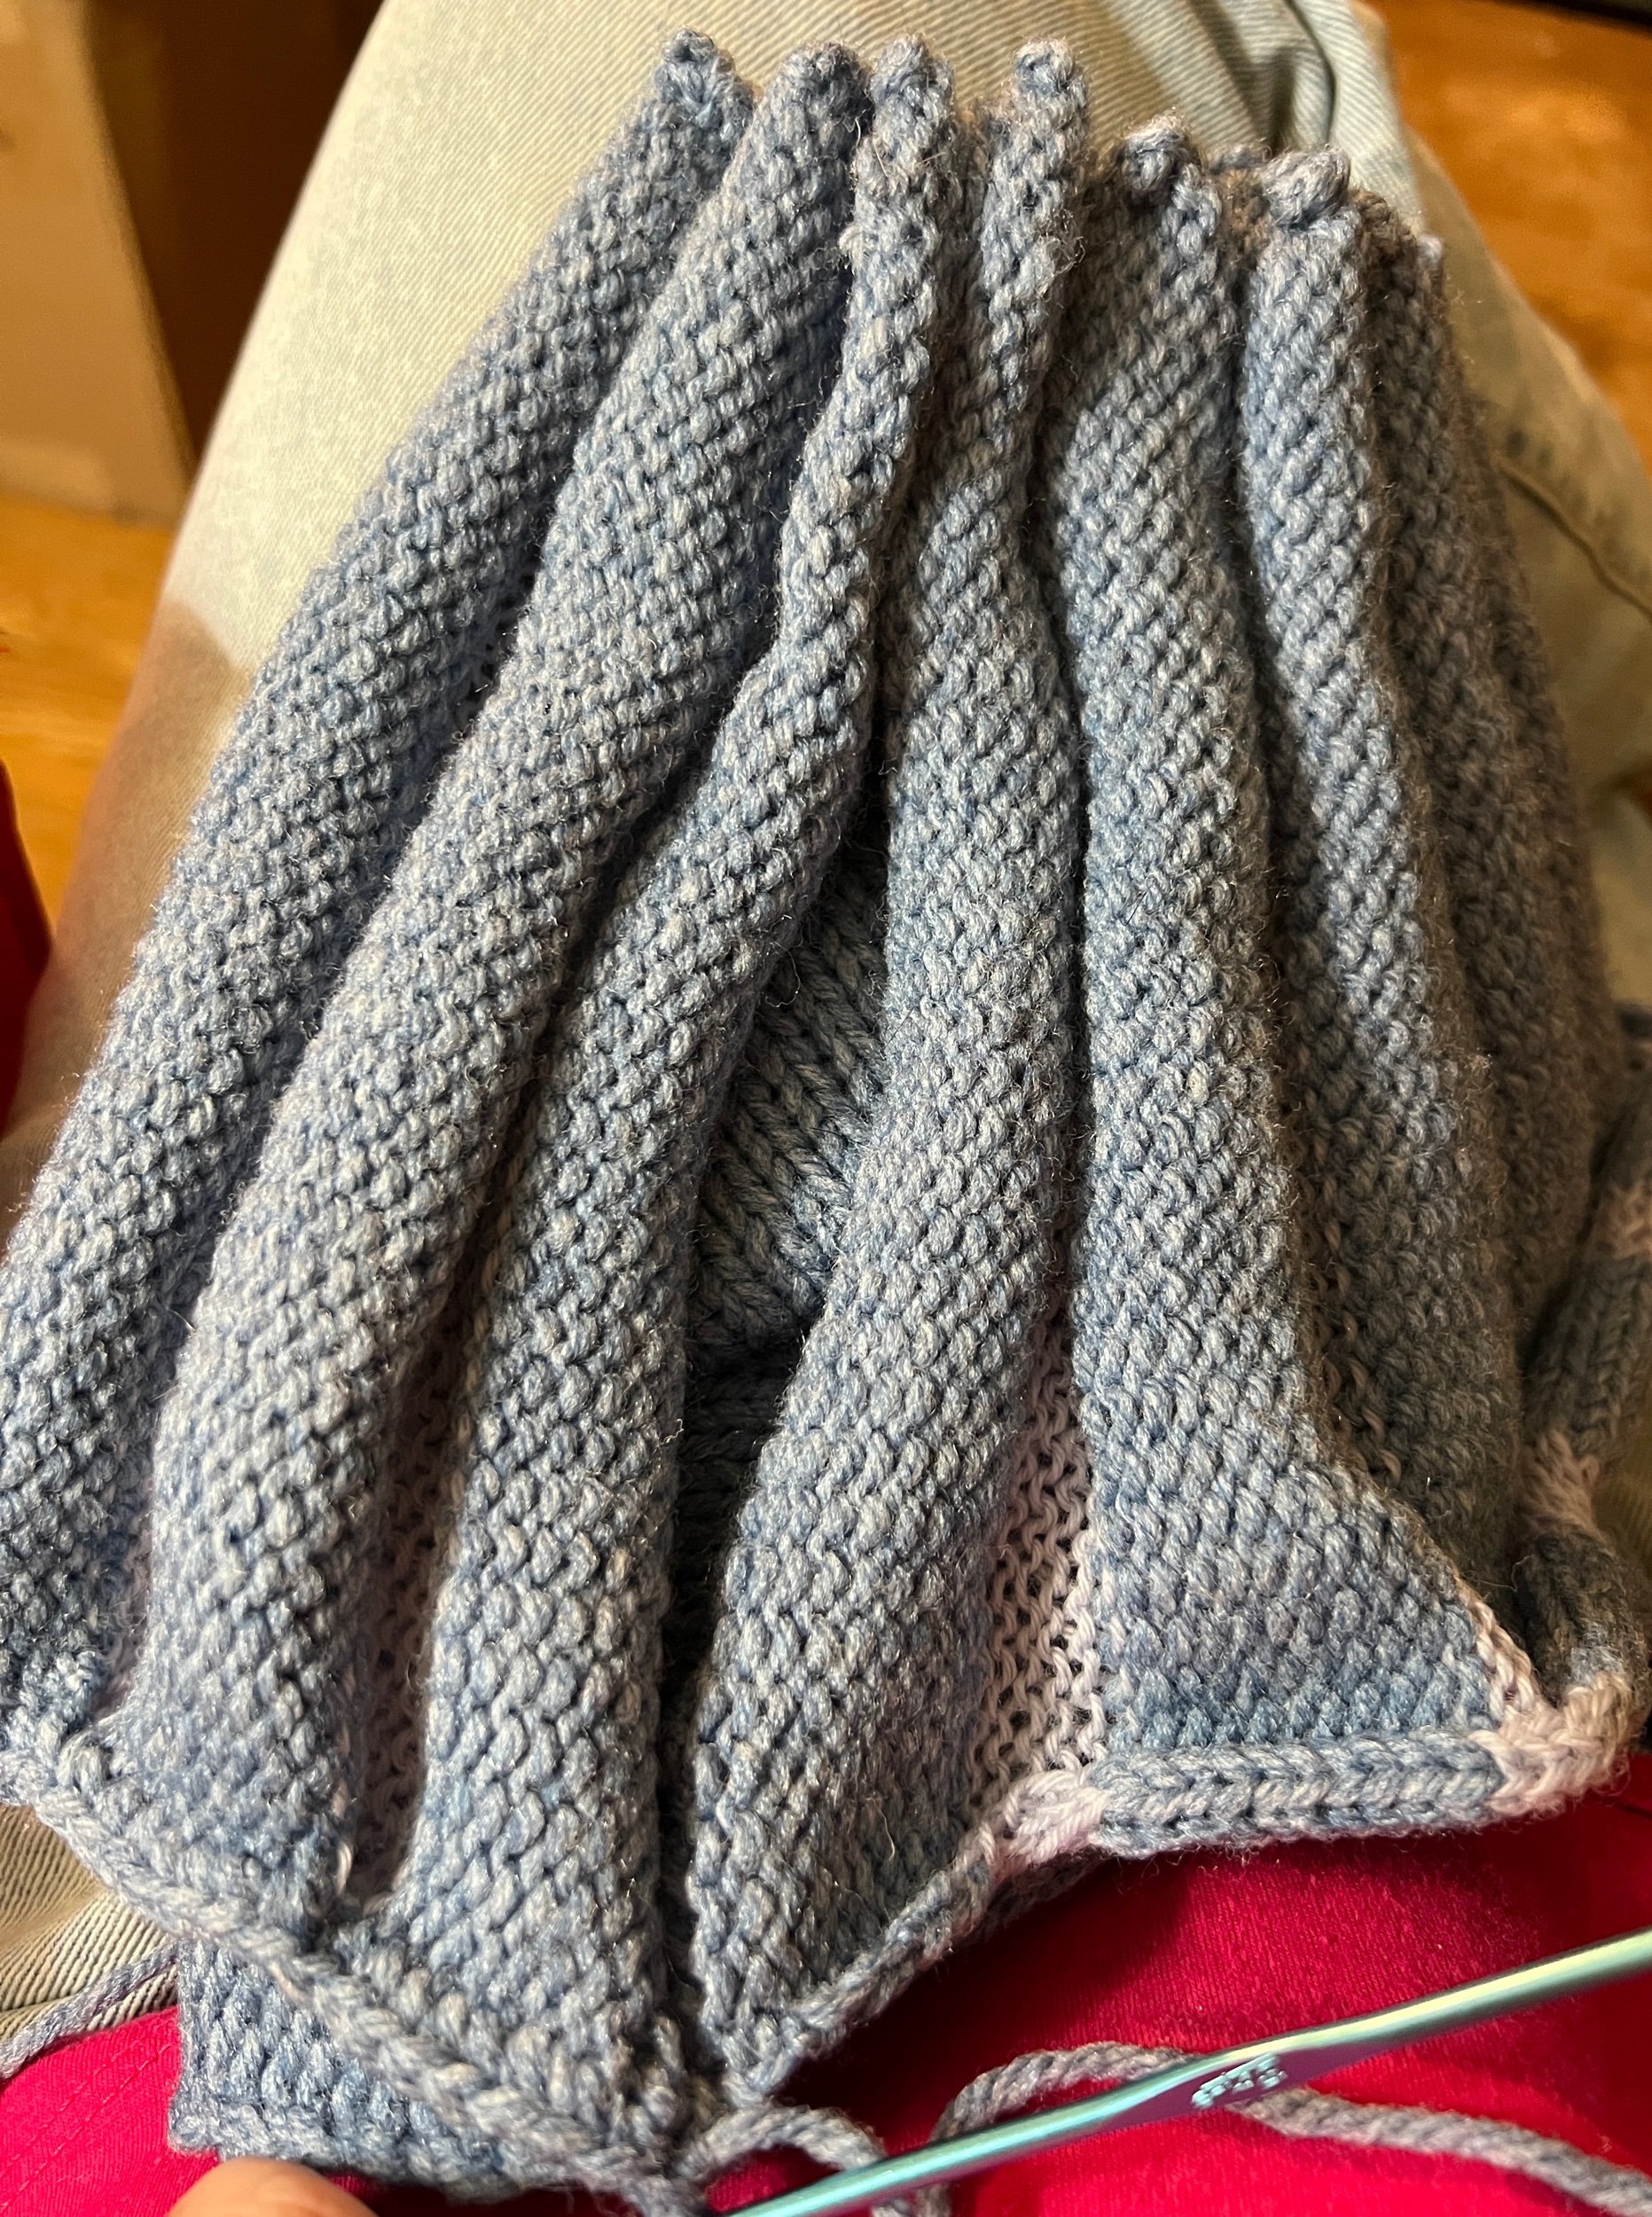
The final rectangle had enough length after adding enough crochet rows that the total piece could be folded into 6 triangles of identical size (this is the secret to this bag design). If you’re making it now it doesn’t matter my rectangle size as it depends on your worked gauge and fibre.

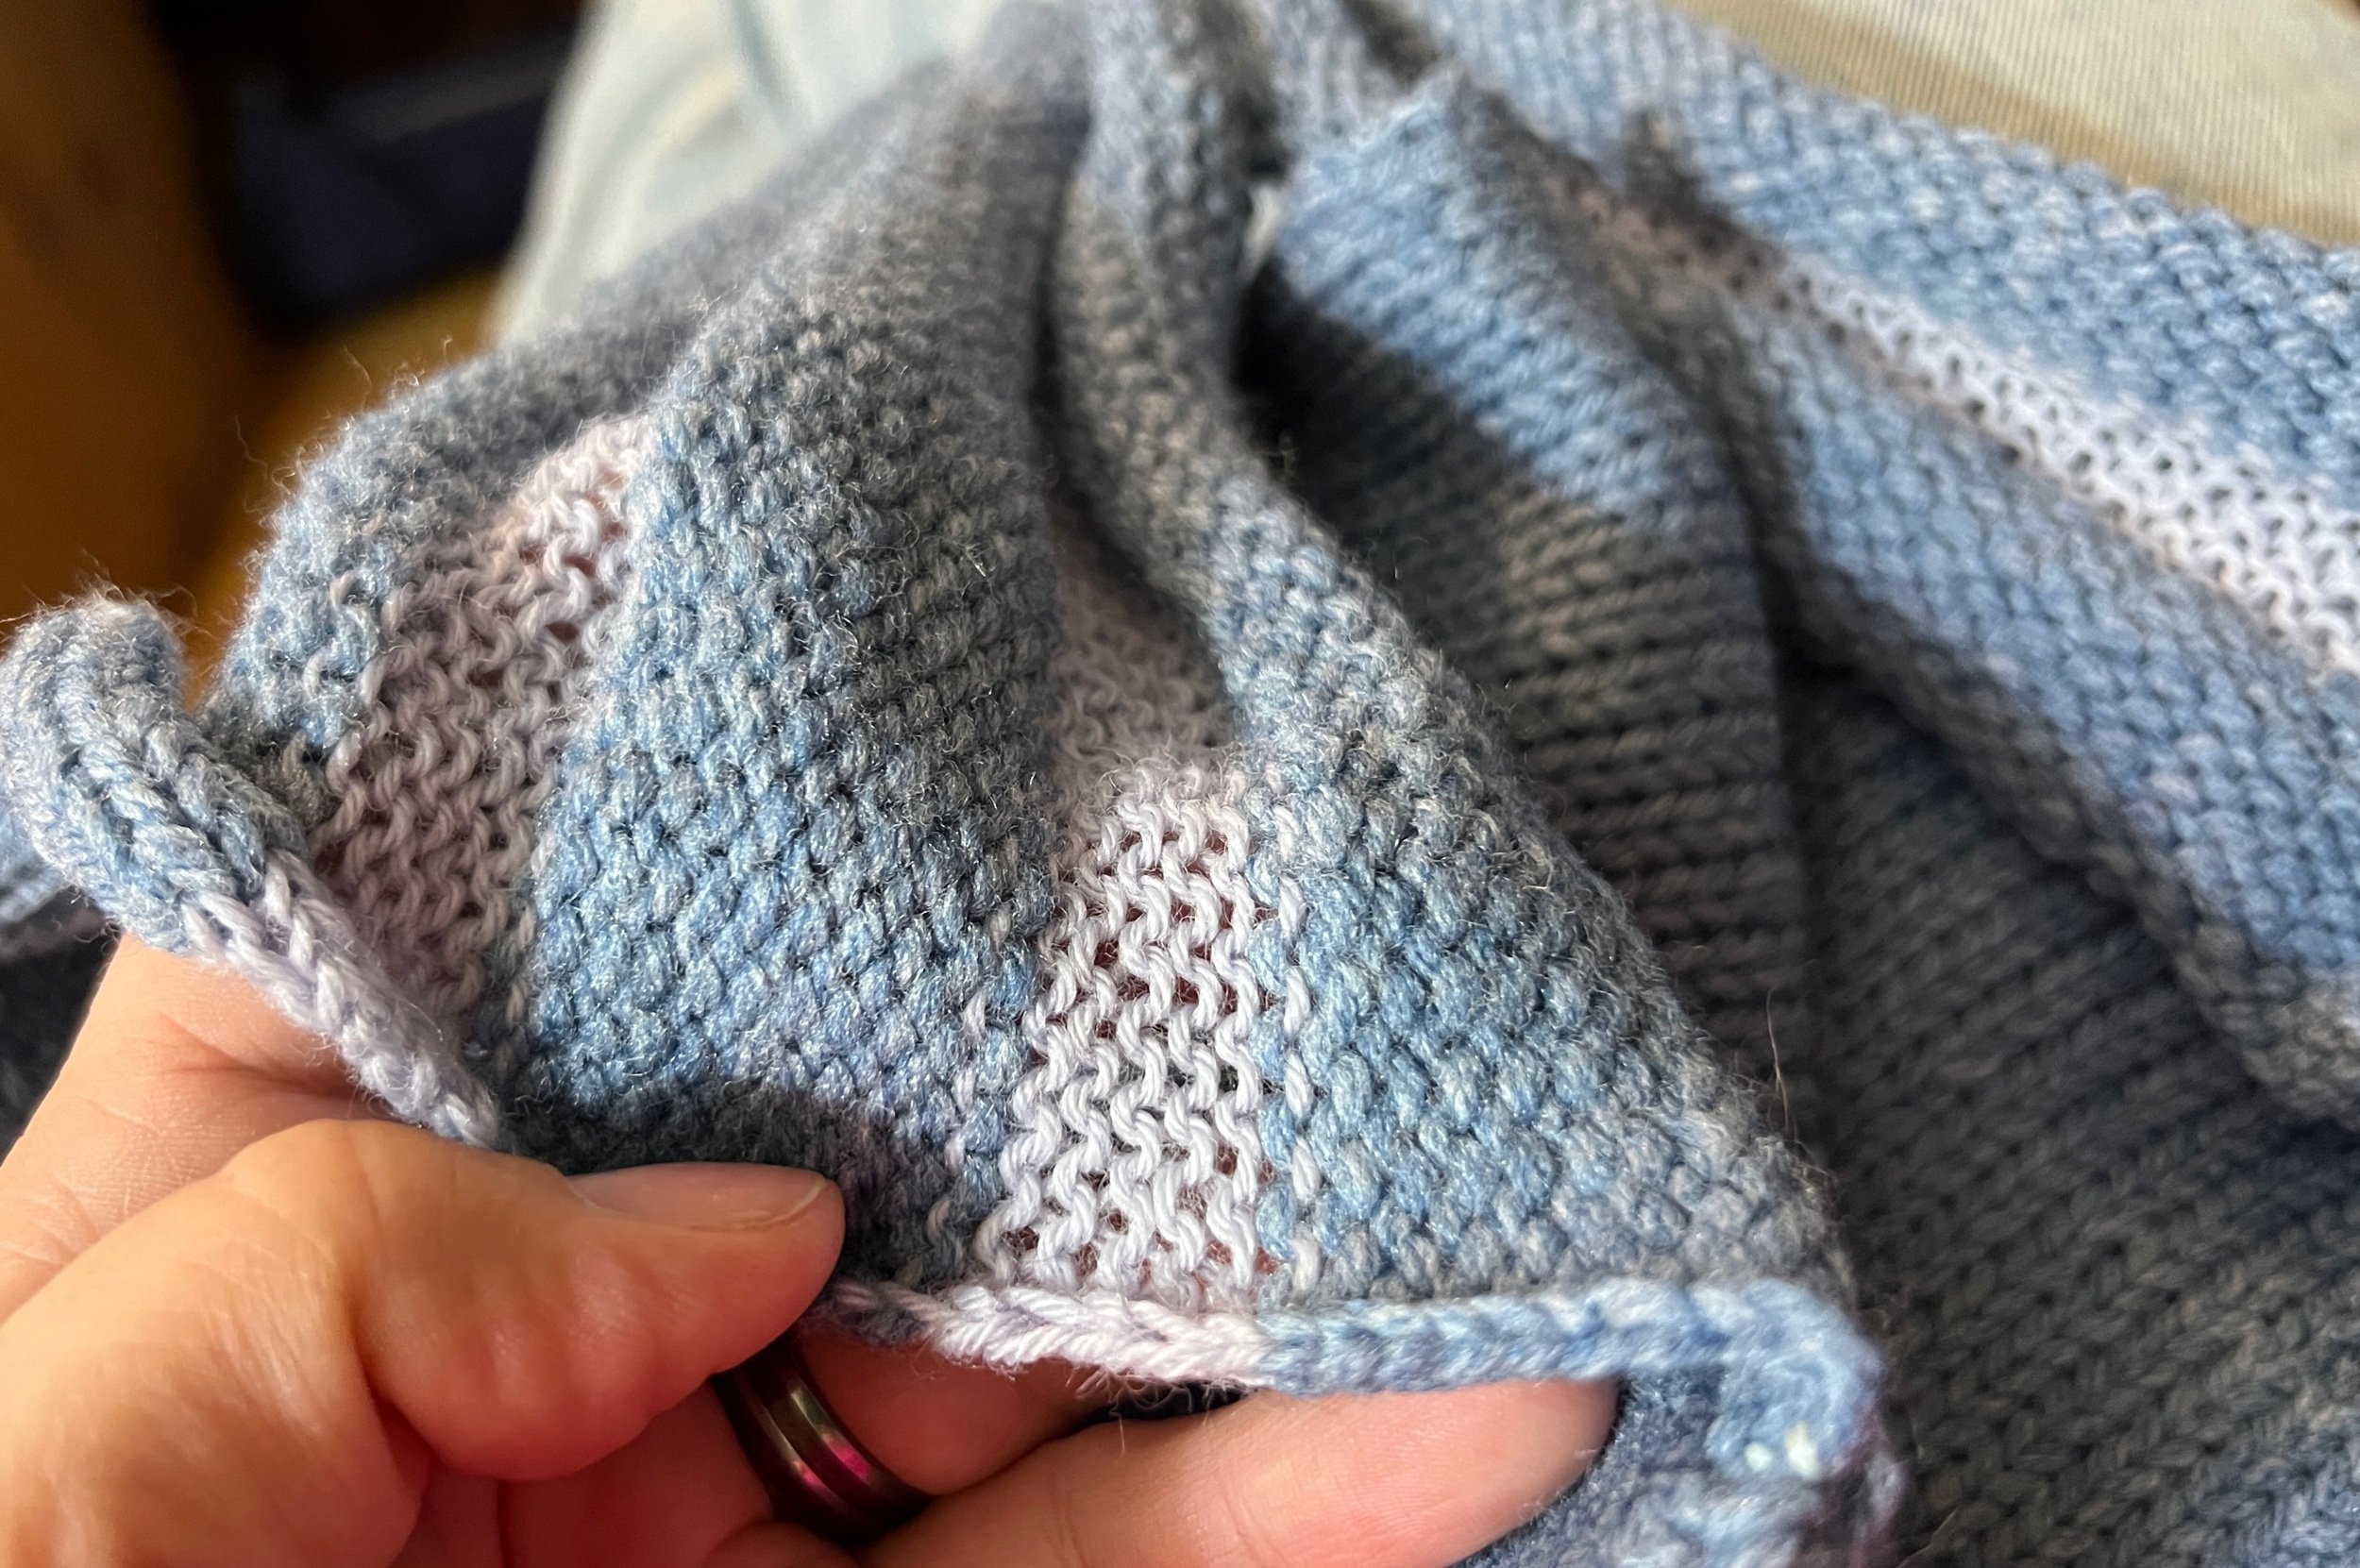
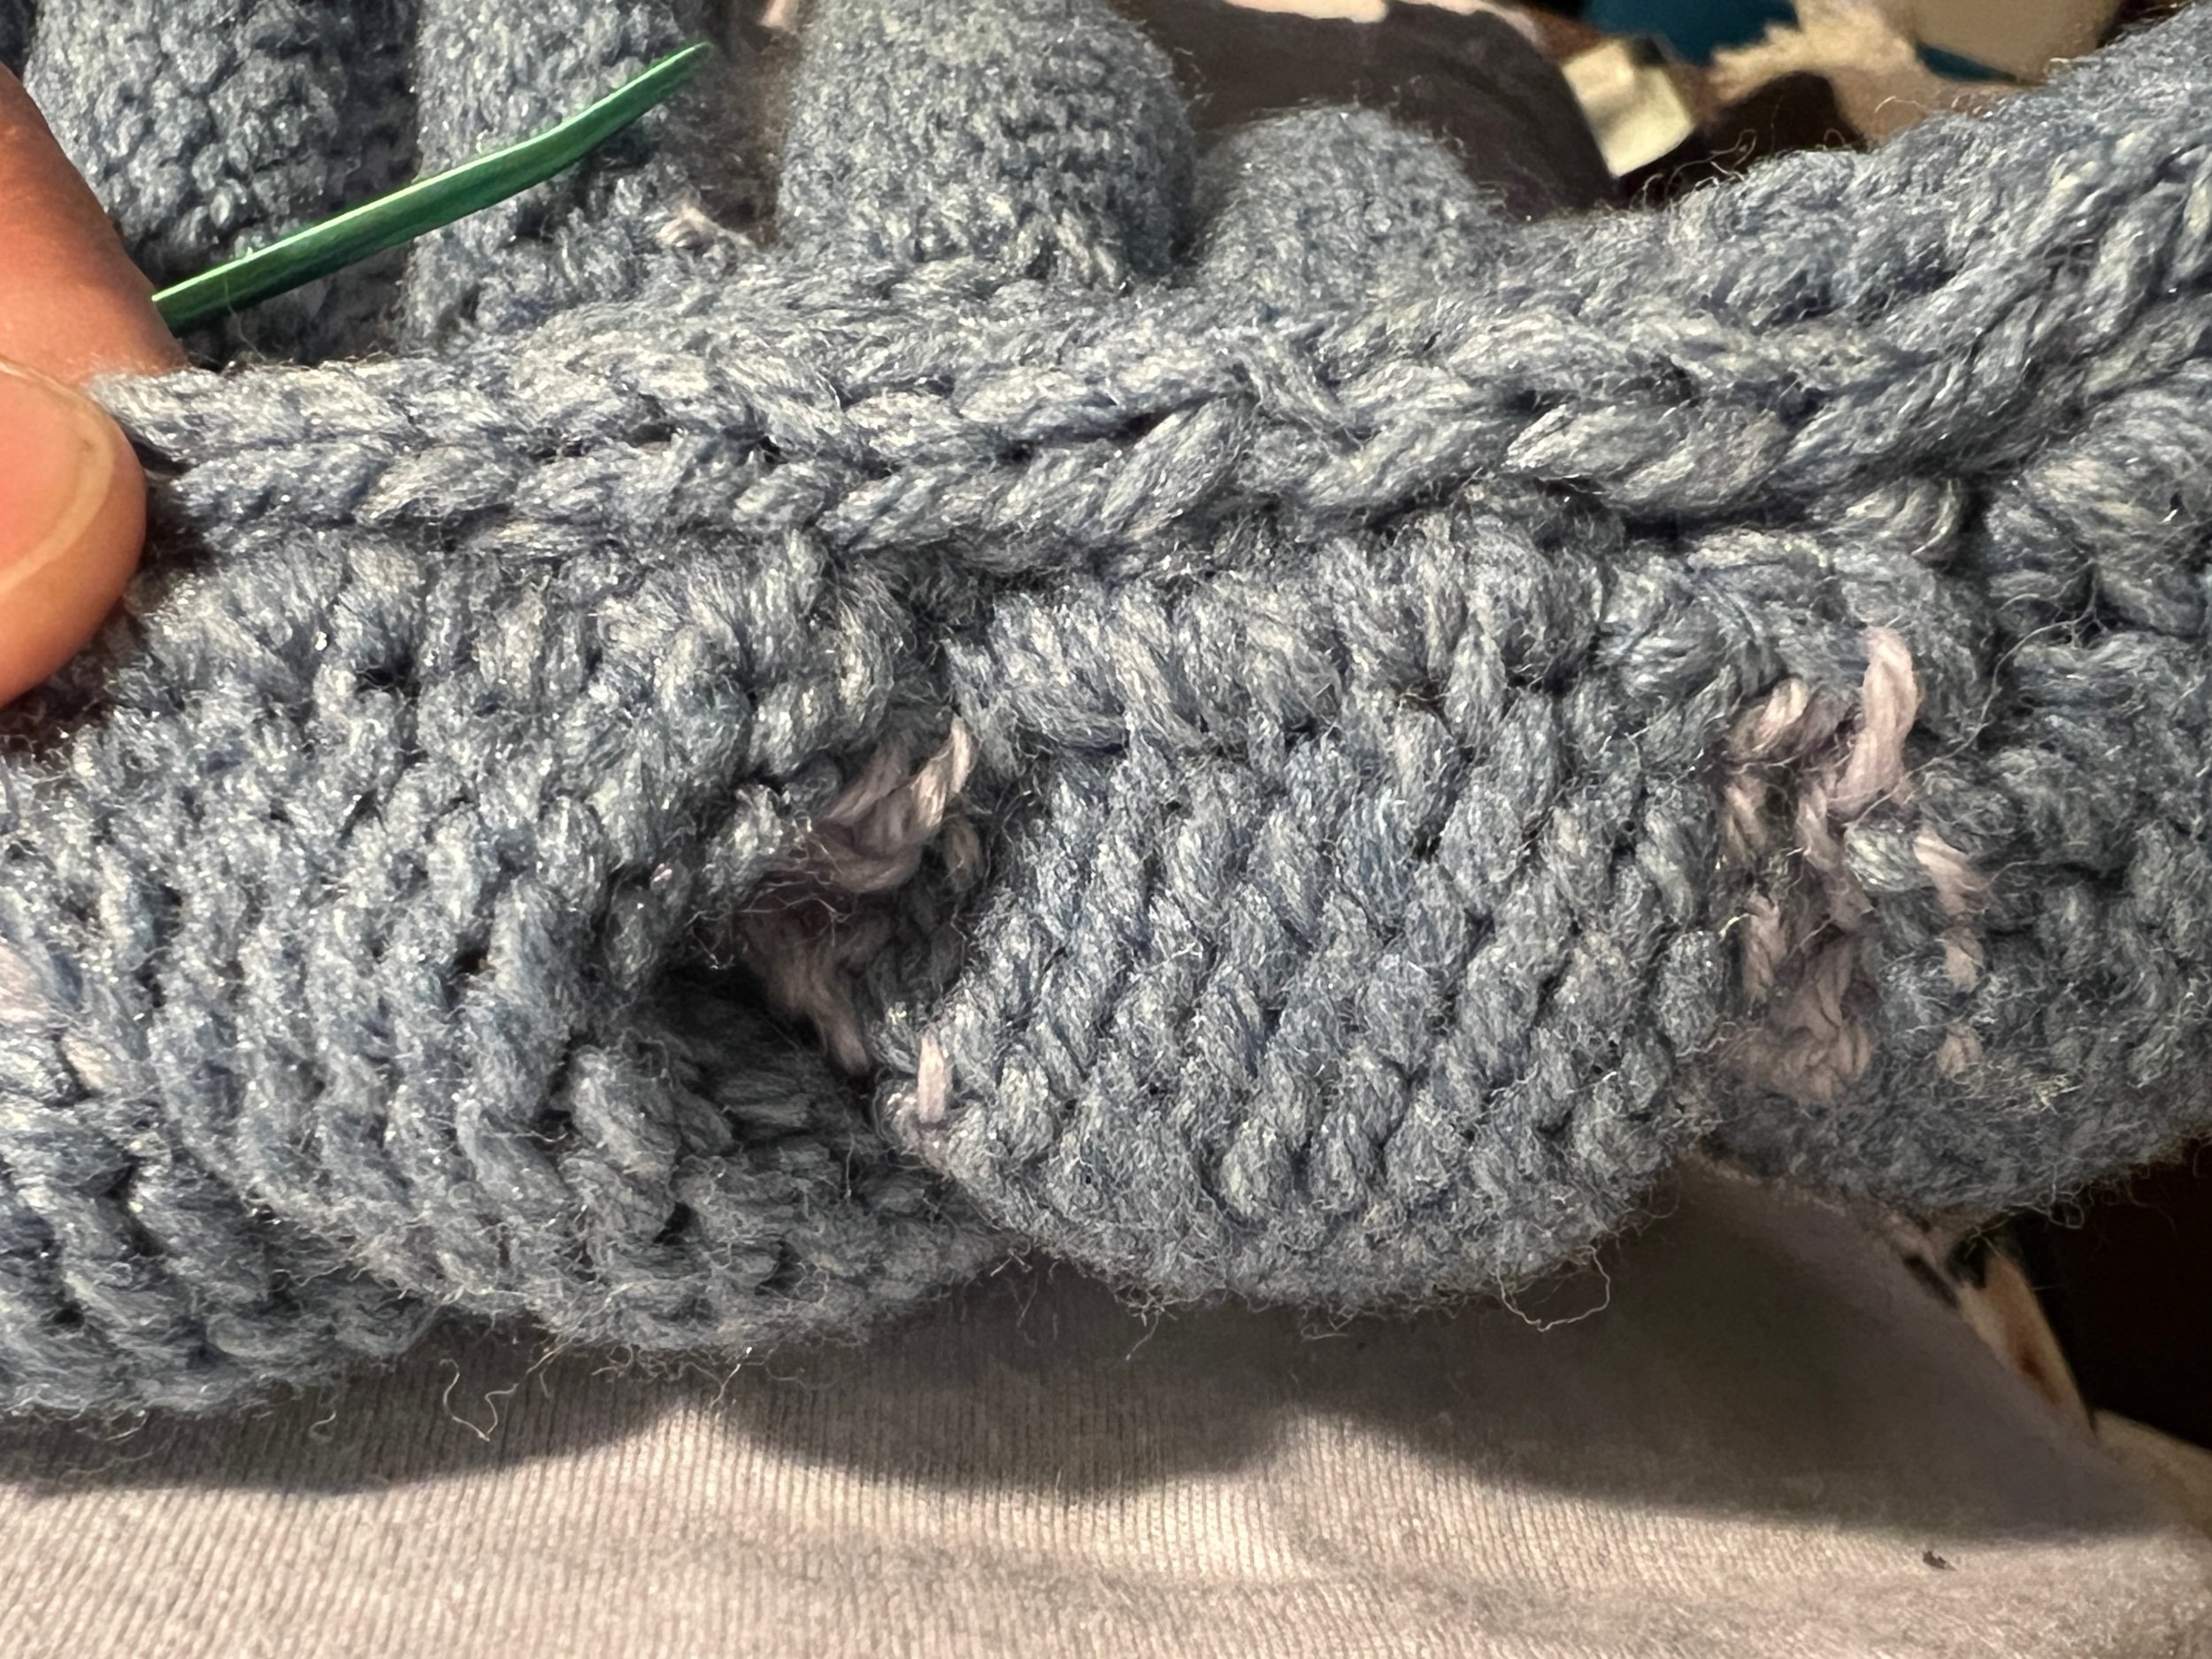
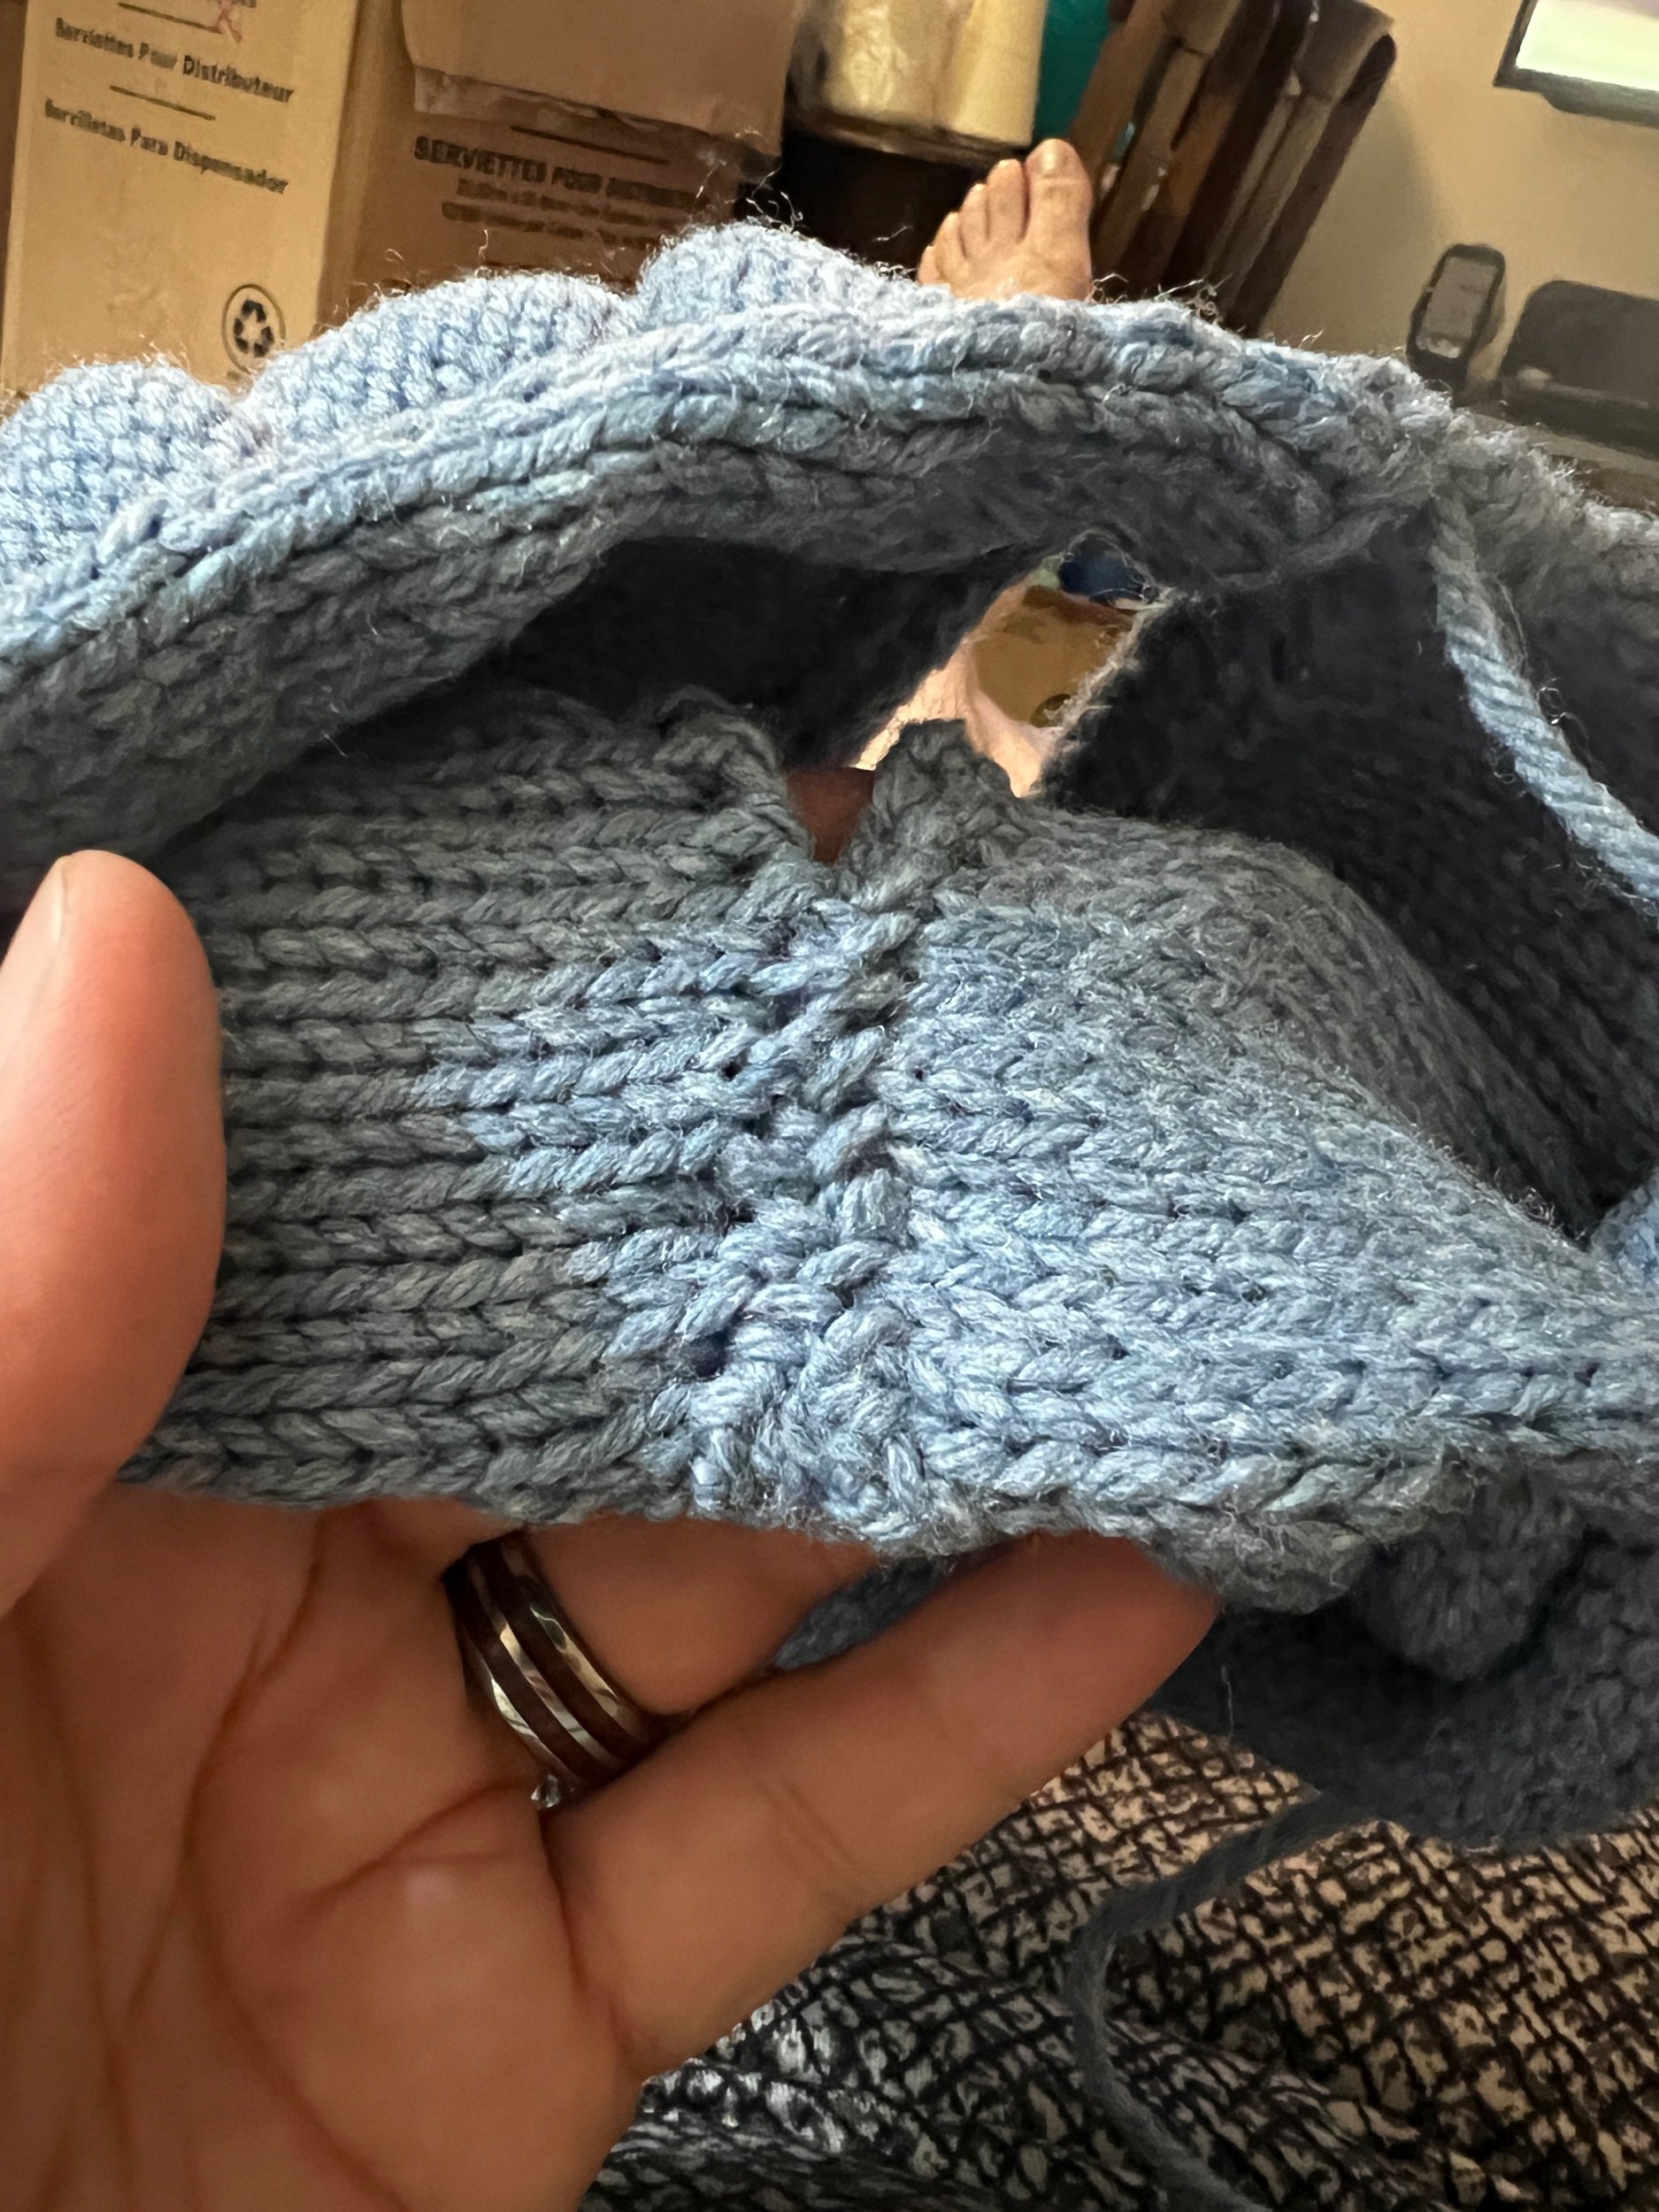
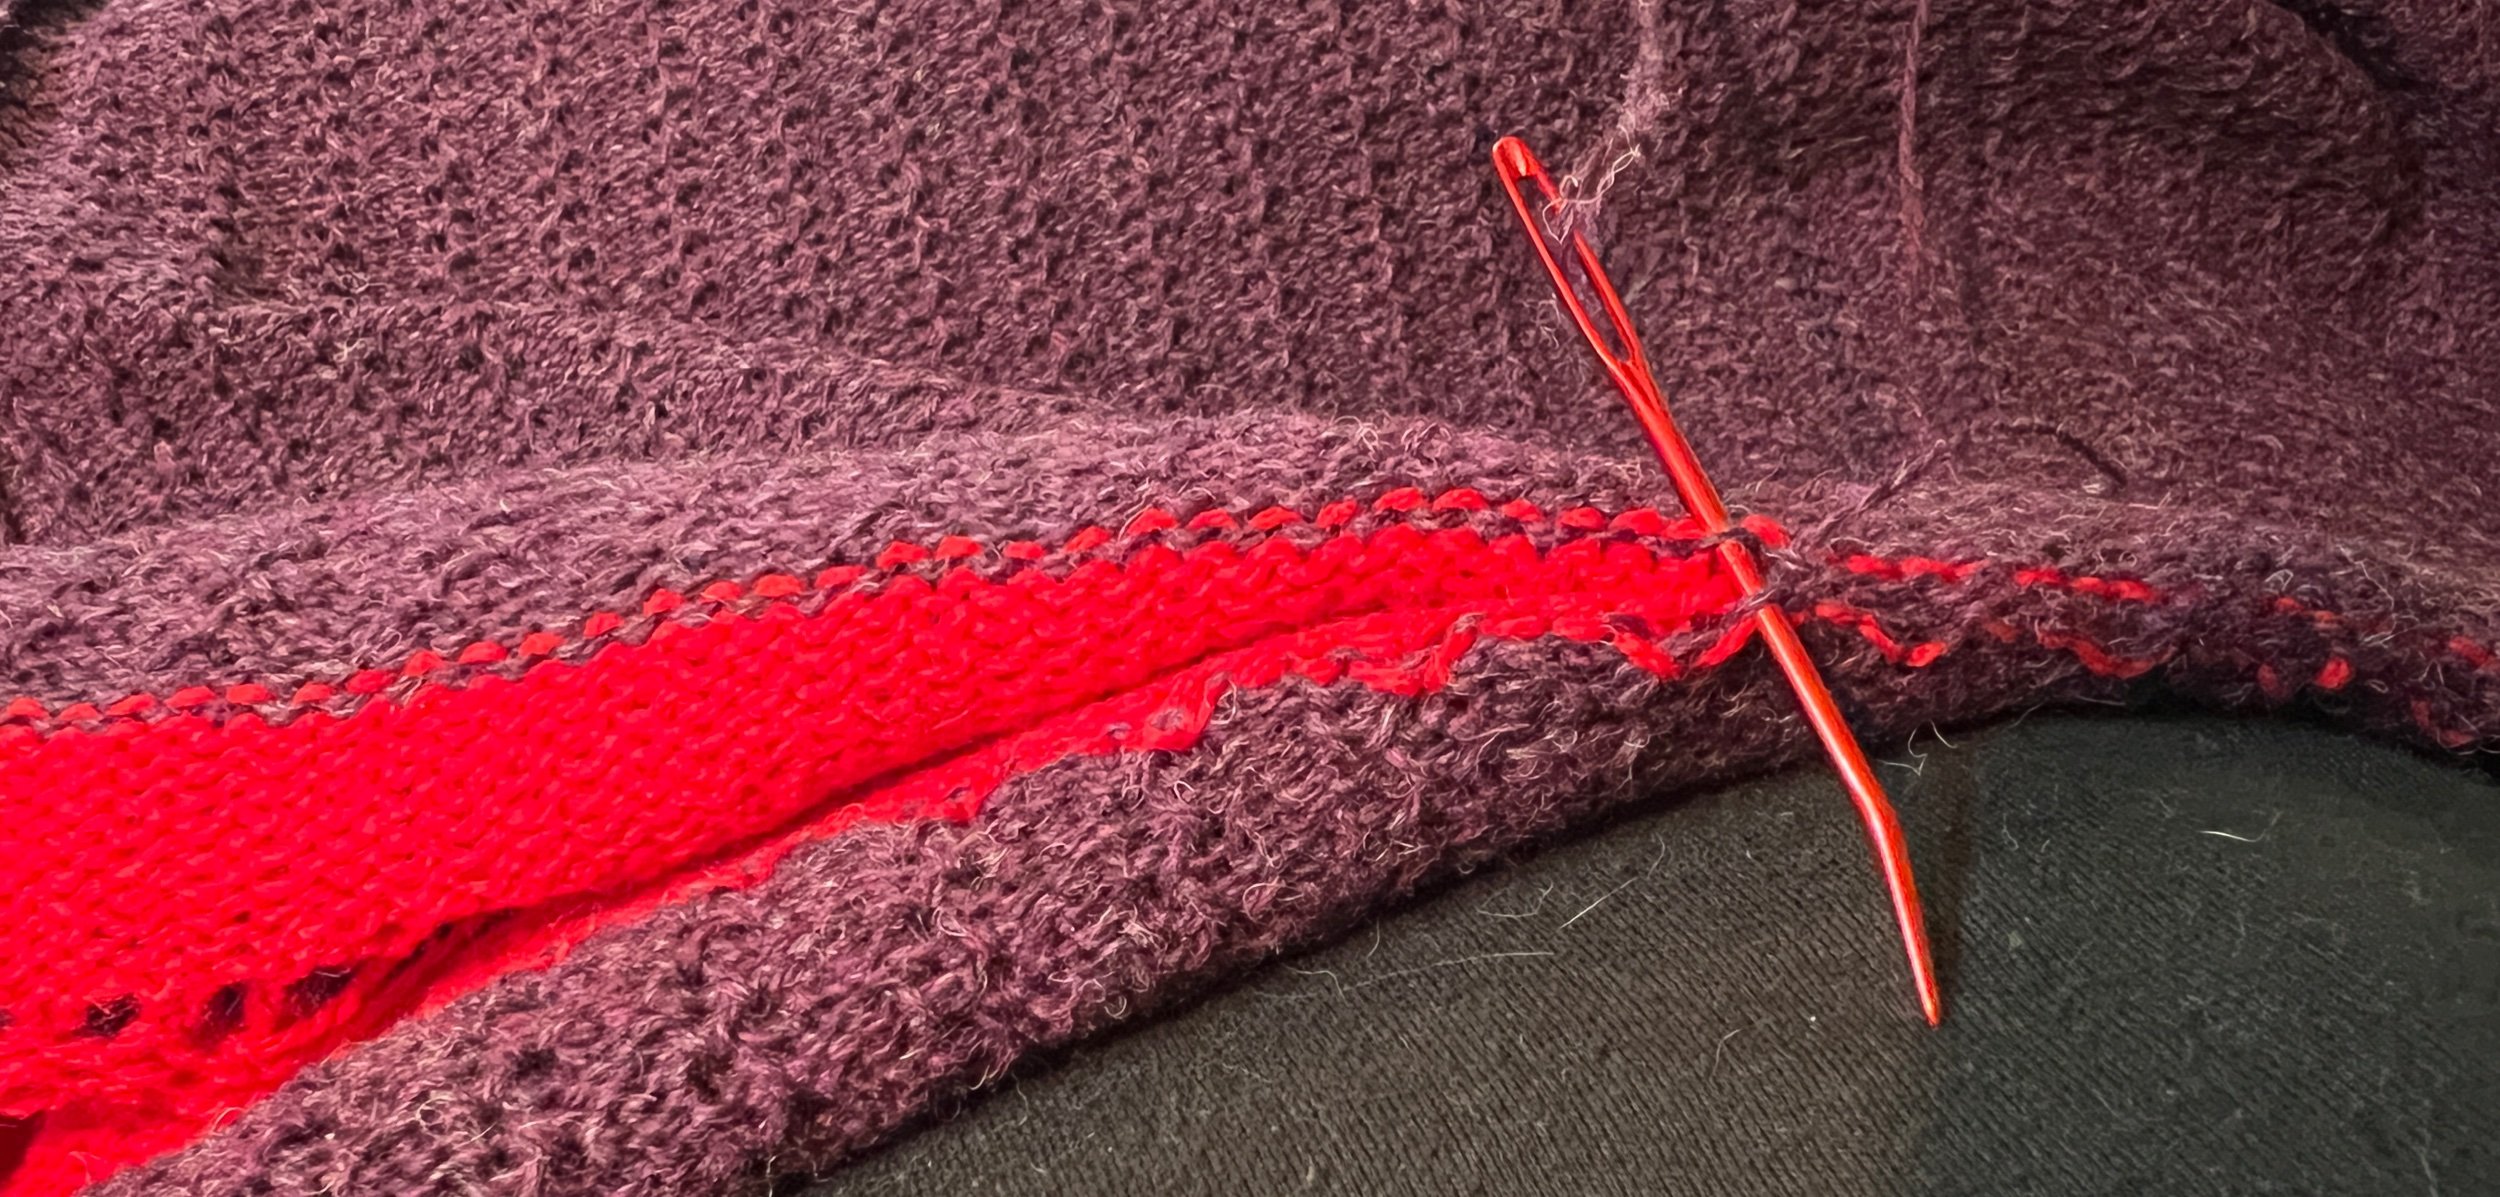
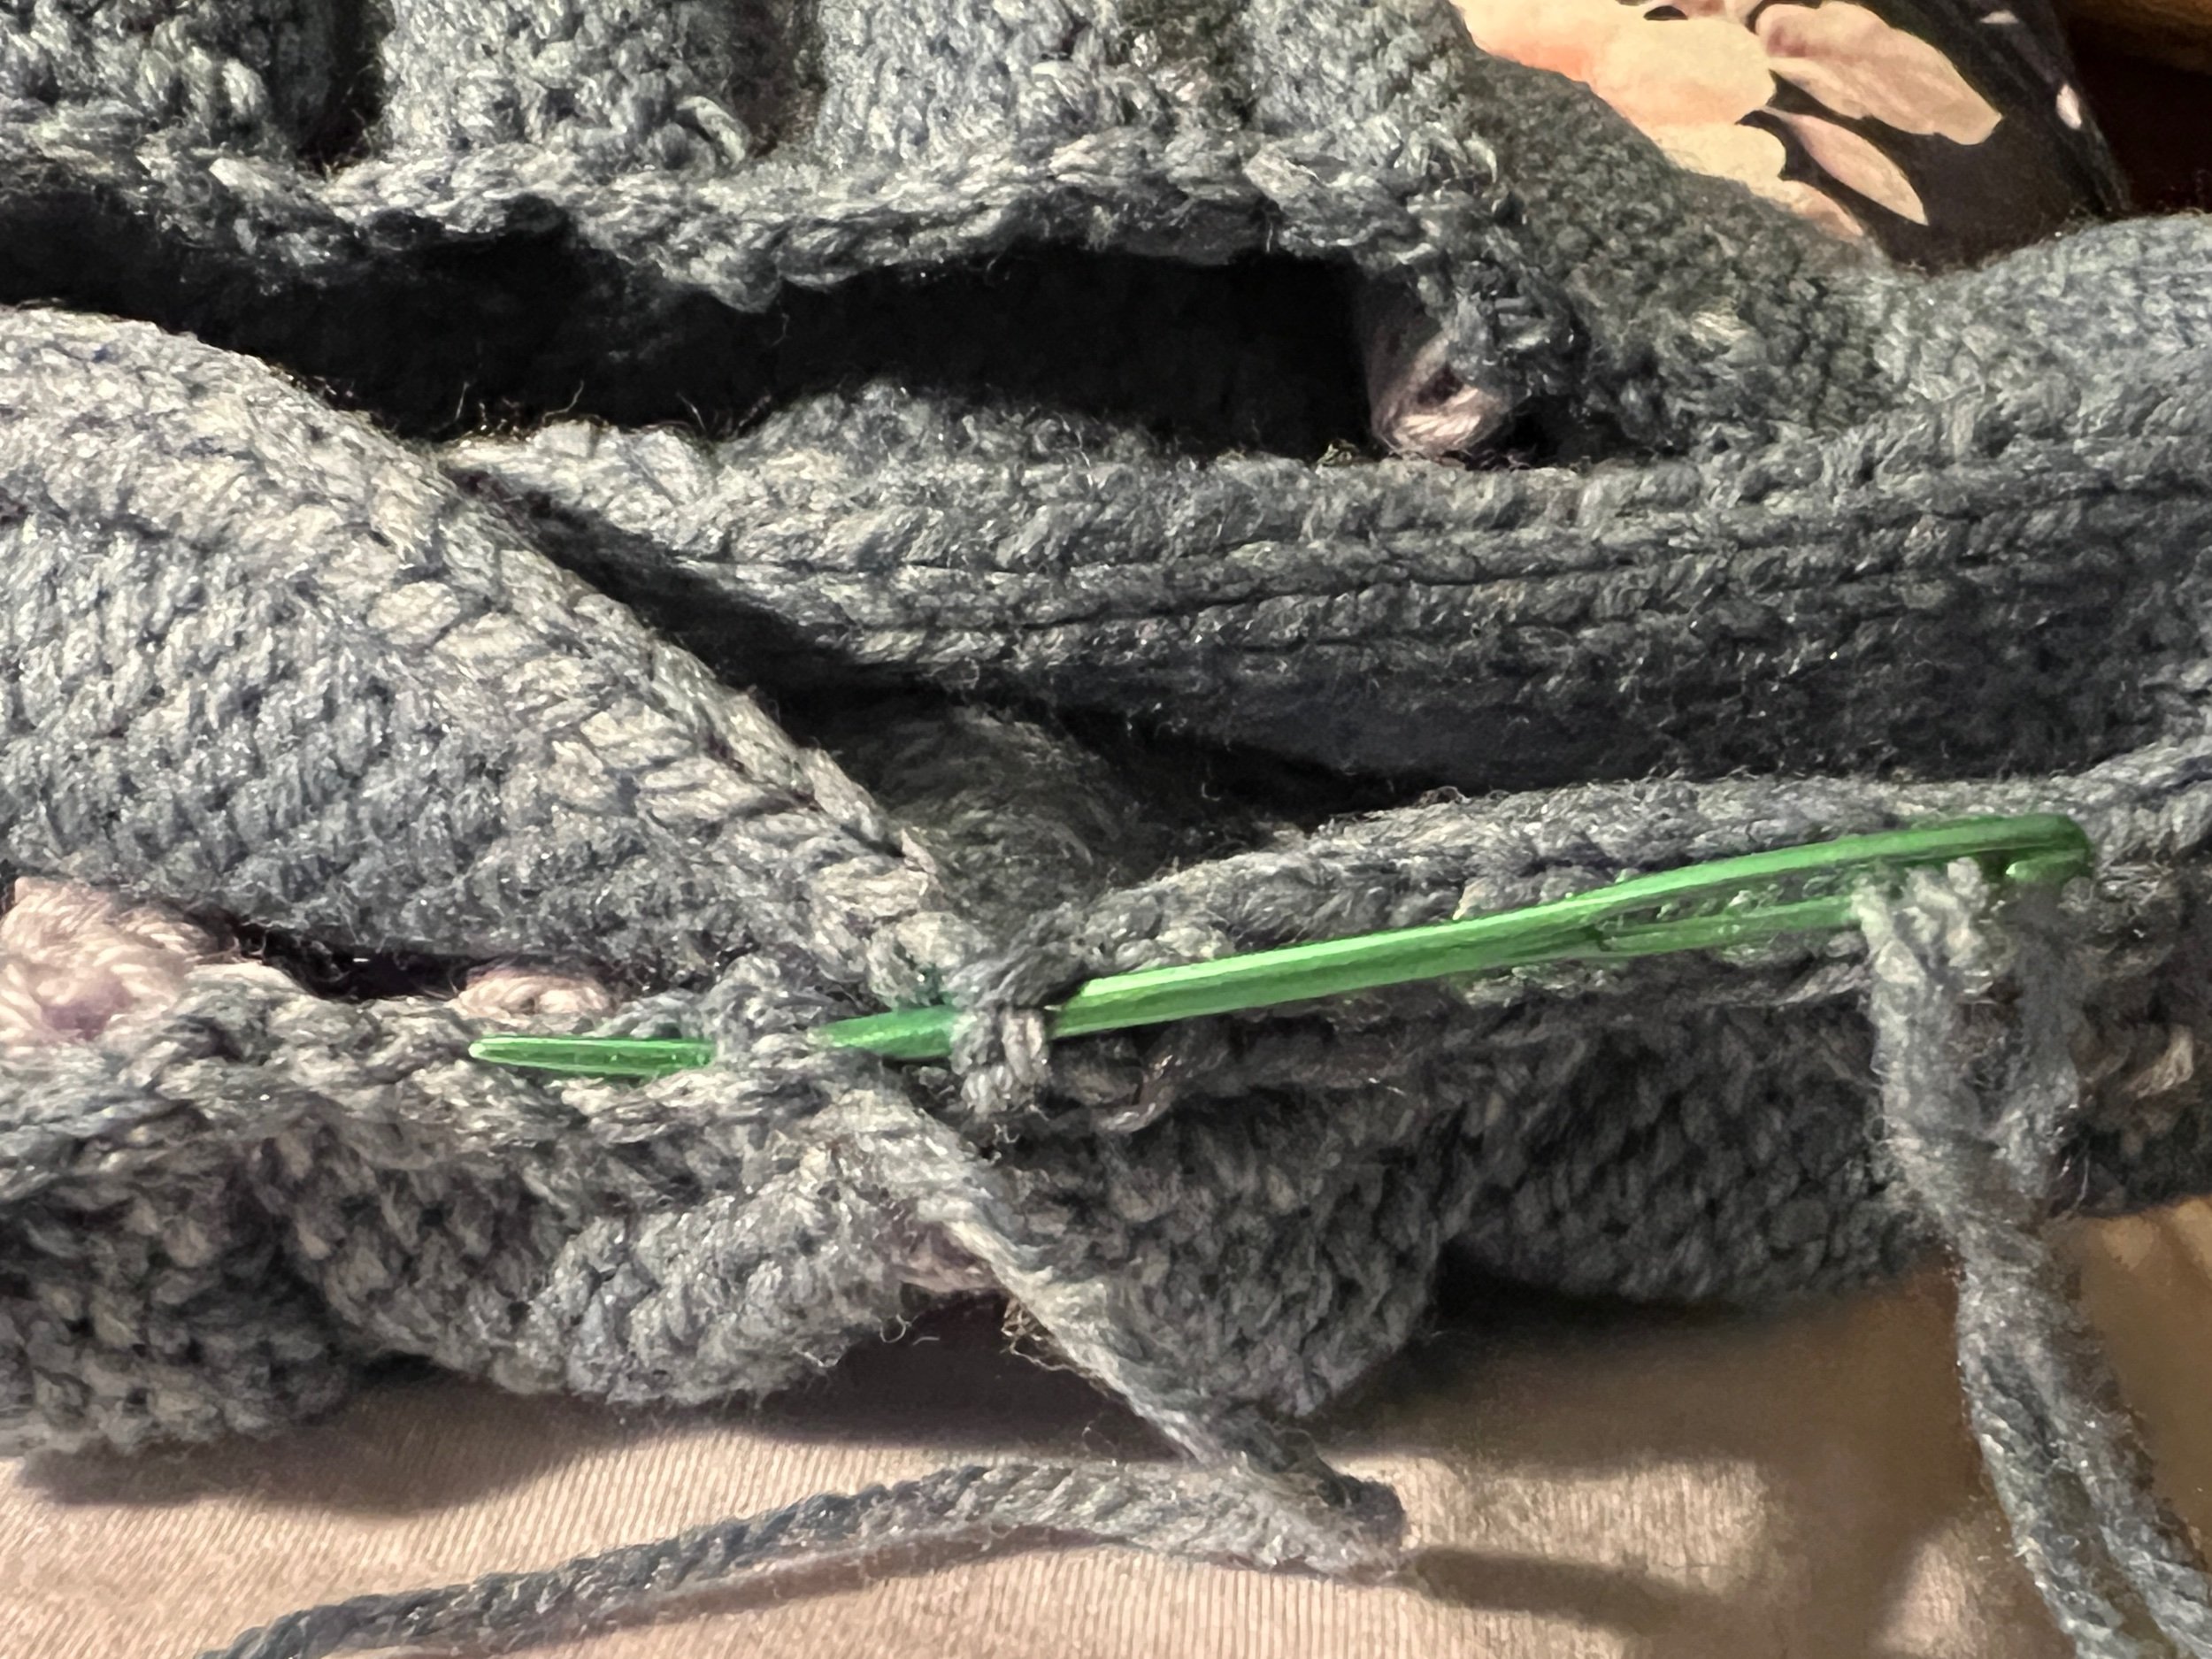
I reinforced all edges with single crochet then finished the main bag by seaming after steaming the fabric. I started again with two strands and 16 stitches for the strap and reinforced the join with a smaller triangle overlap of the bag to strap. A final steam it looks great!

Instagram posts: Page 1 |


See all Blog Entries on the BLOG INDEX page

2023 Jun 15 - Cast On Rag Upgrade - The Flat Bed Love Cast On Bonnet

I began my machine learning journey with an Addi Plastic circular machine some time ago. Eventually I discovered circular sock machines which (while working full time) - I dove full into CSMS in 2018.

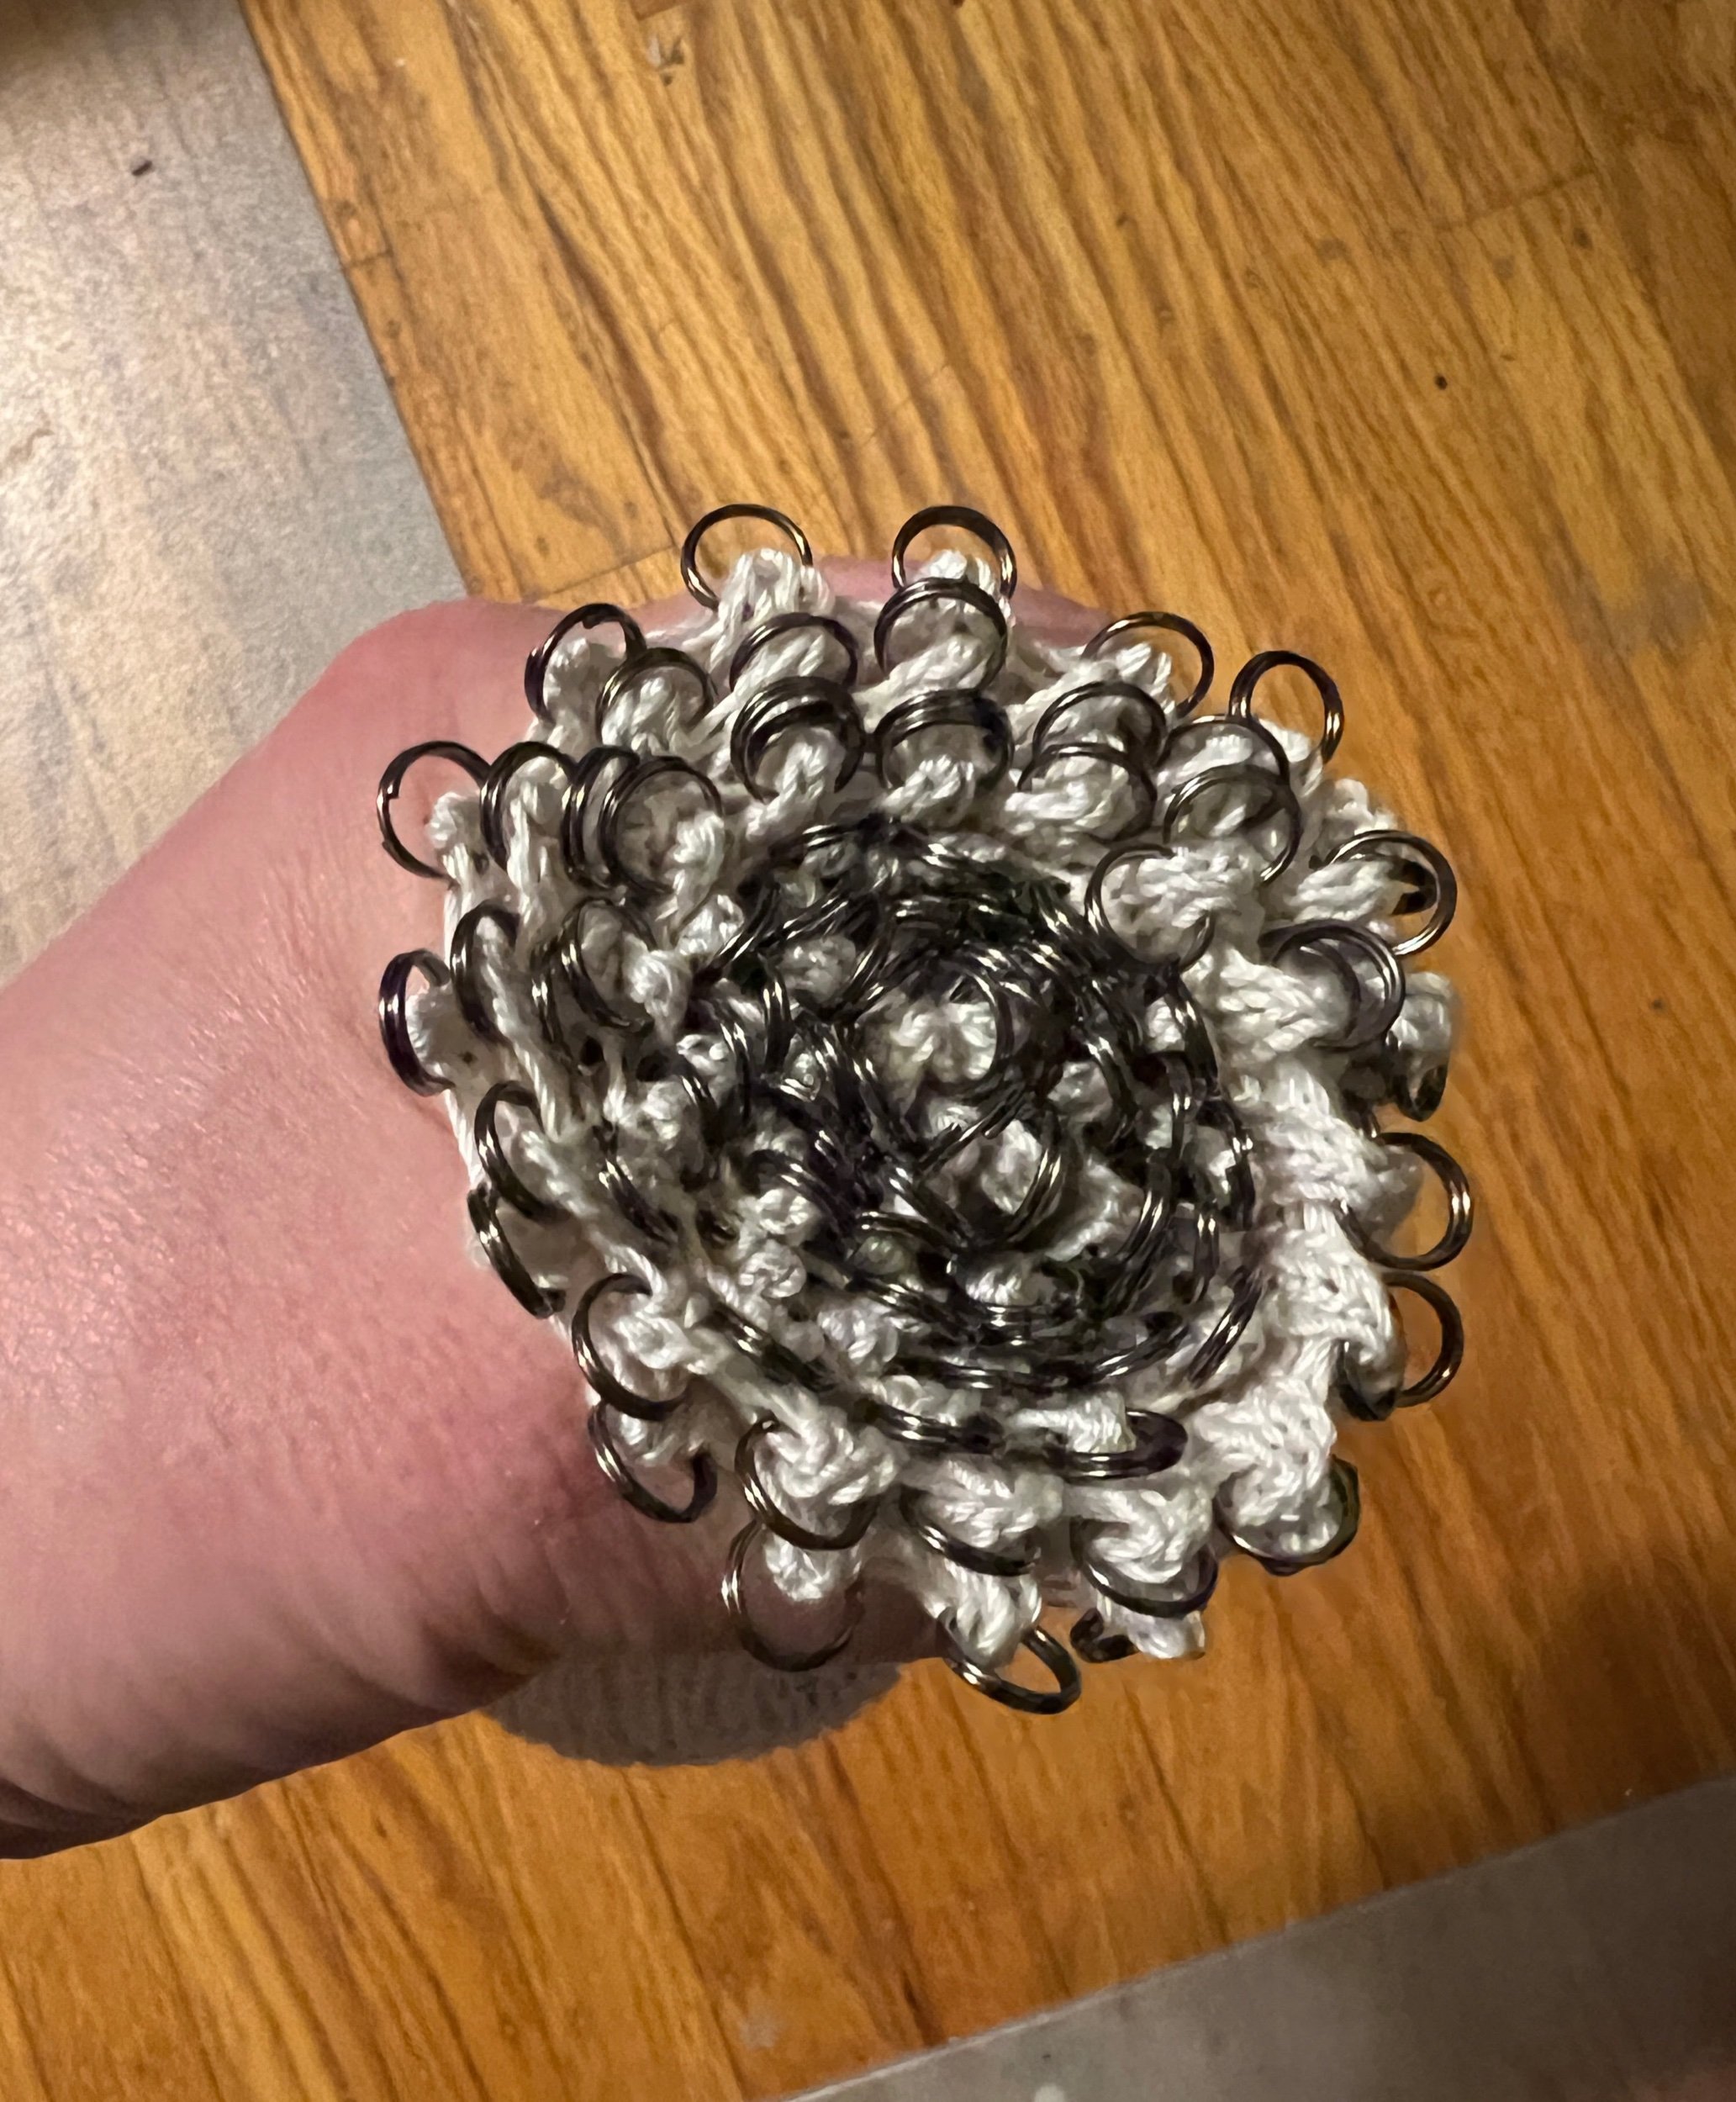
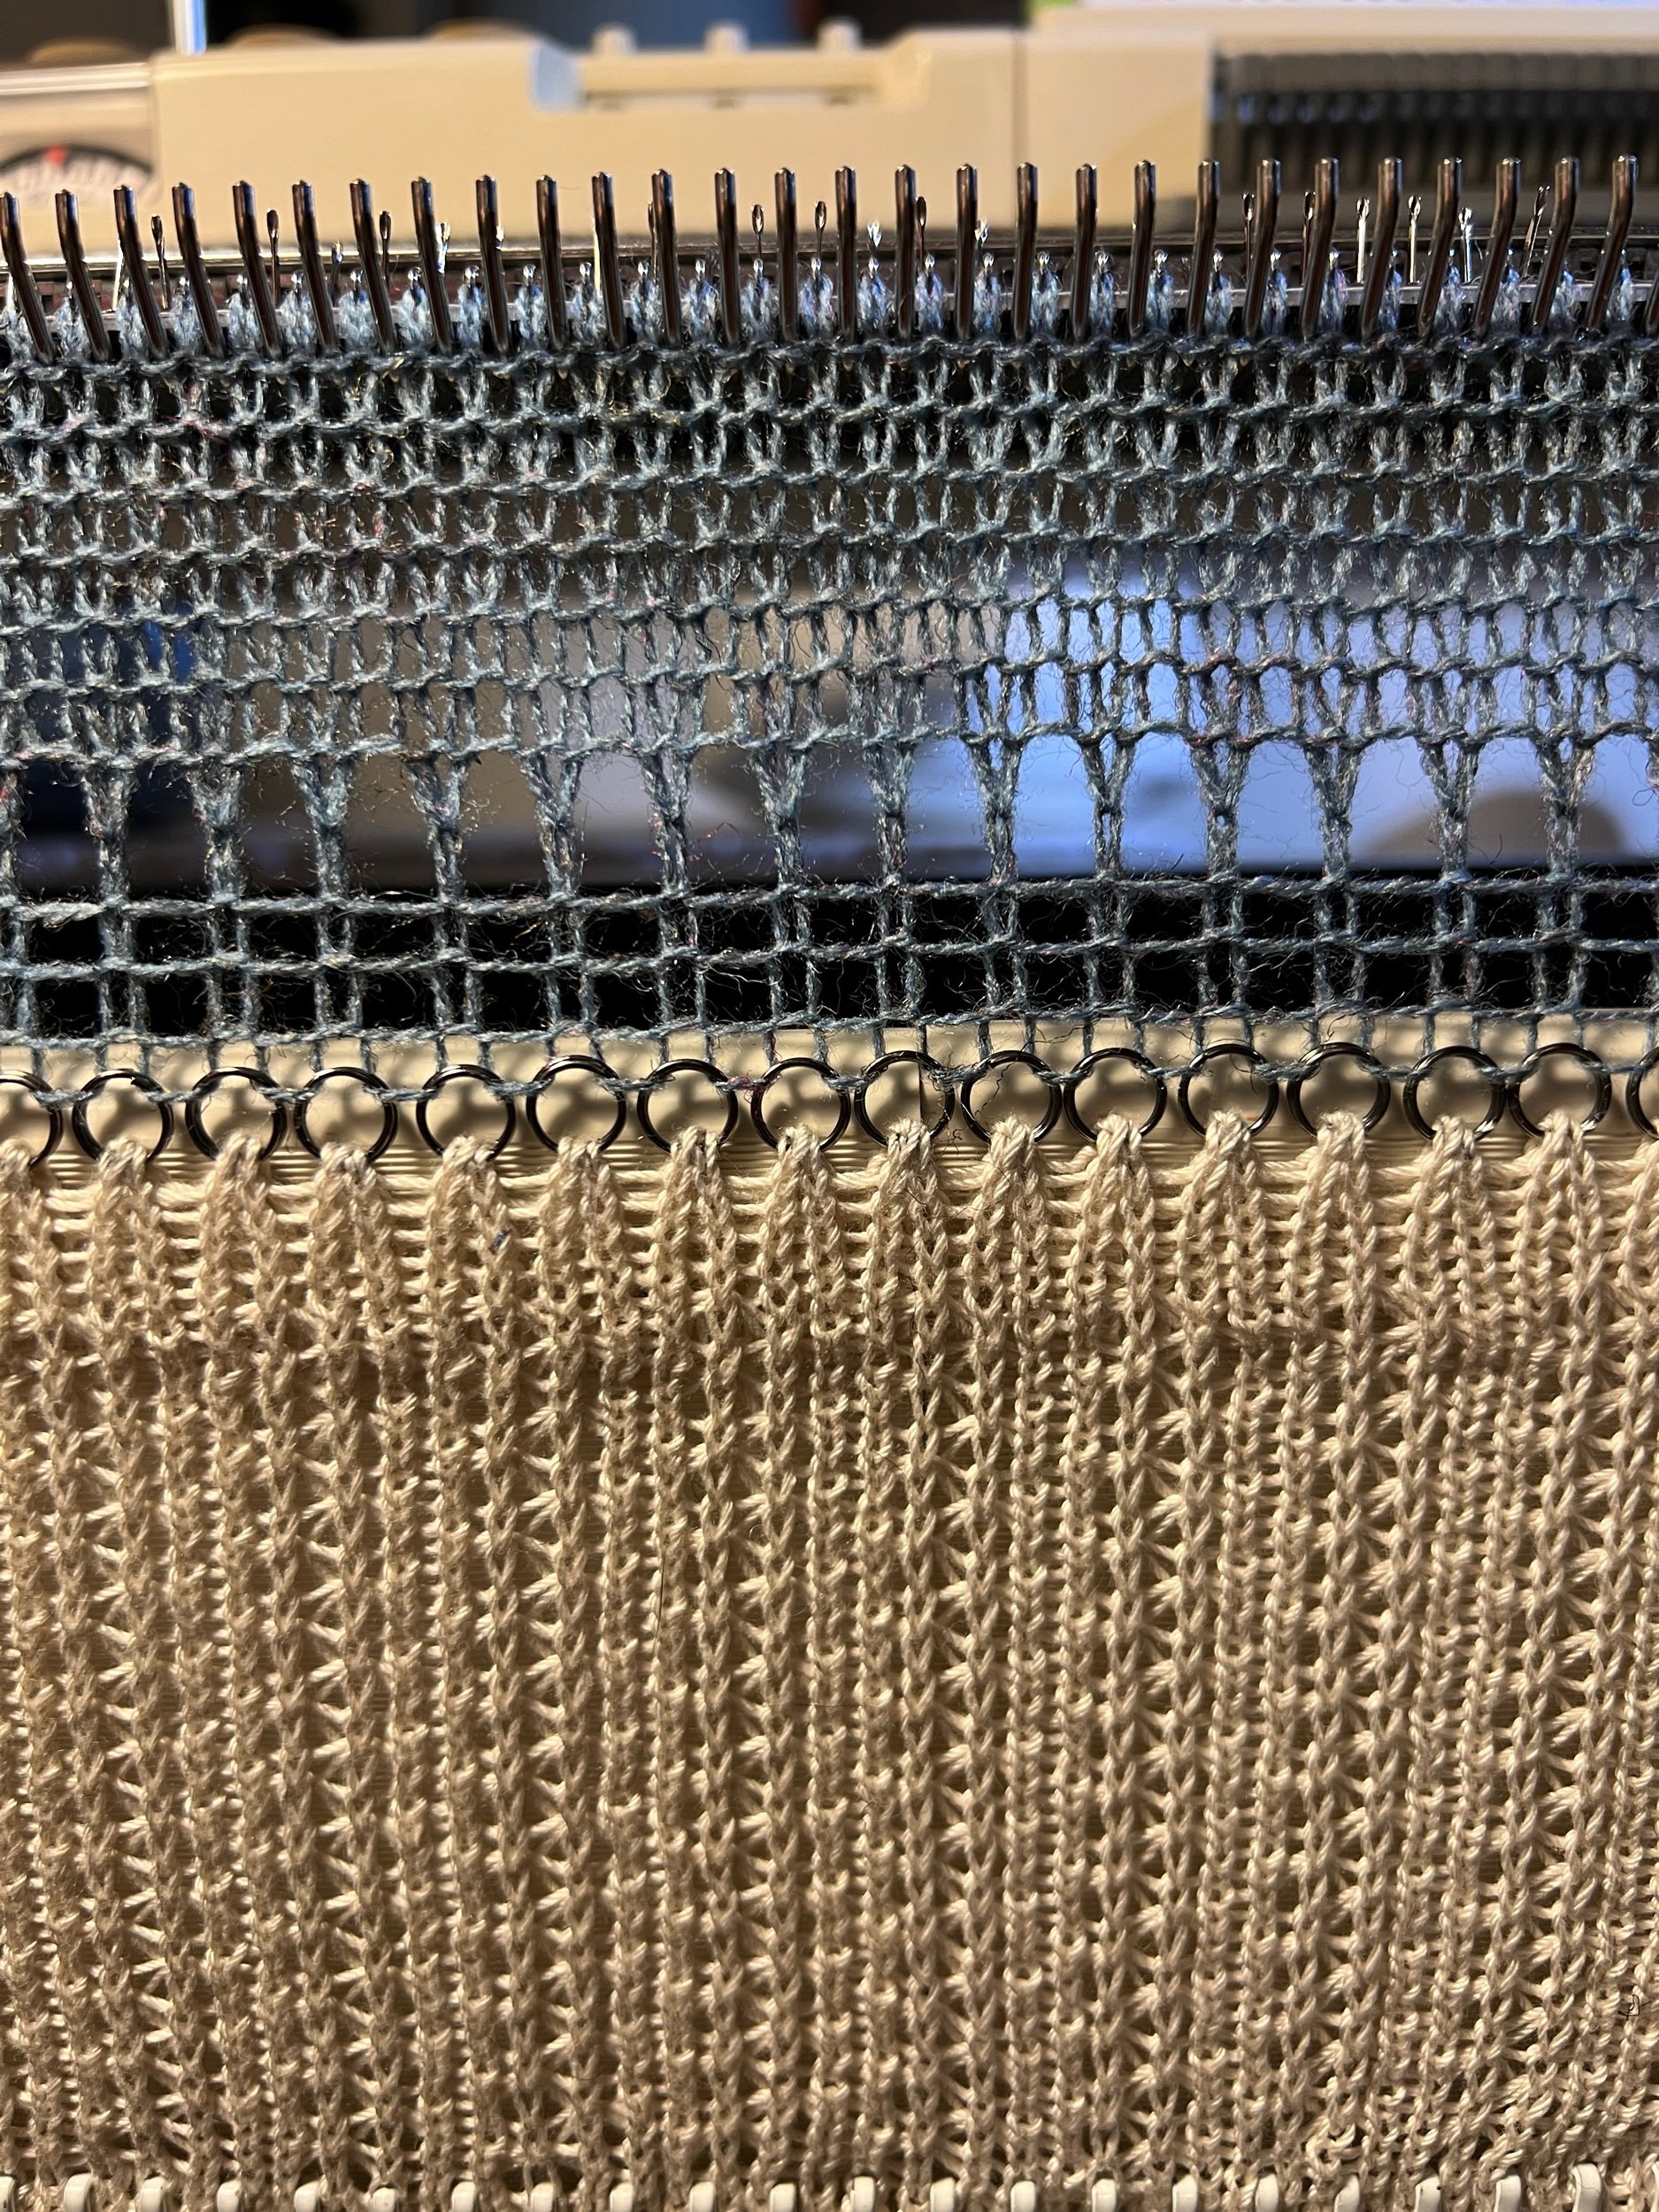
While working on the CSM I started adding split rings in late 2018 and then in early 2019 came up with a flat circular sock machine knitted cast on item utilizing 6mm split rings - I call these “Universal Cast On Bonnets”. I create them on a 96 needle slot CSM therefore they can be universally used on any CSM using 96 needle slots or less. More on CSM CAST ON.

When I started my Flat Bed self adventure, I didn’t like what was available to cast on. I later learned of something called a “Cast On Rag” which could be used with the transfer tool to load the knitted stitched edge so that each flat bed needle would have tension and therefore be ready to work. Needing to use a transfer tool to cast on seems like a of work.

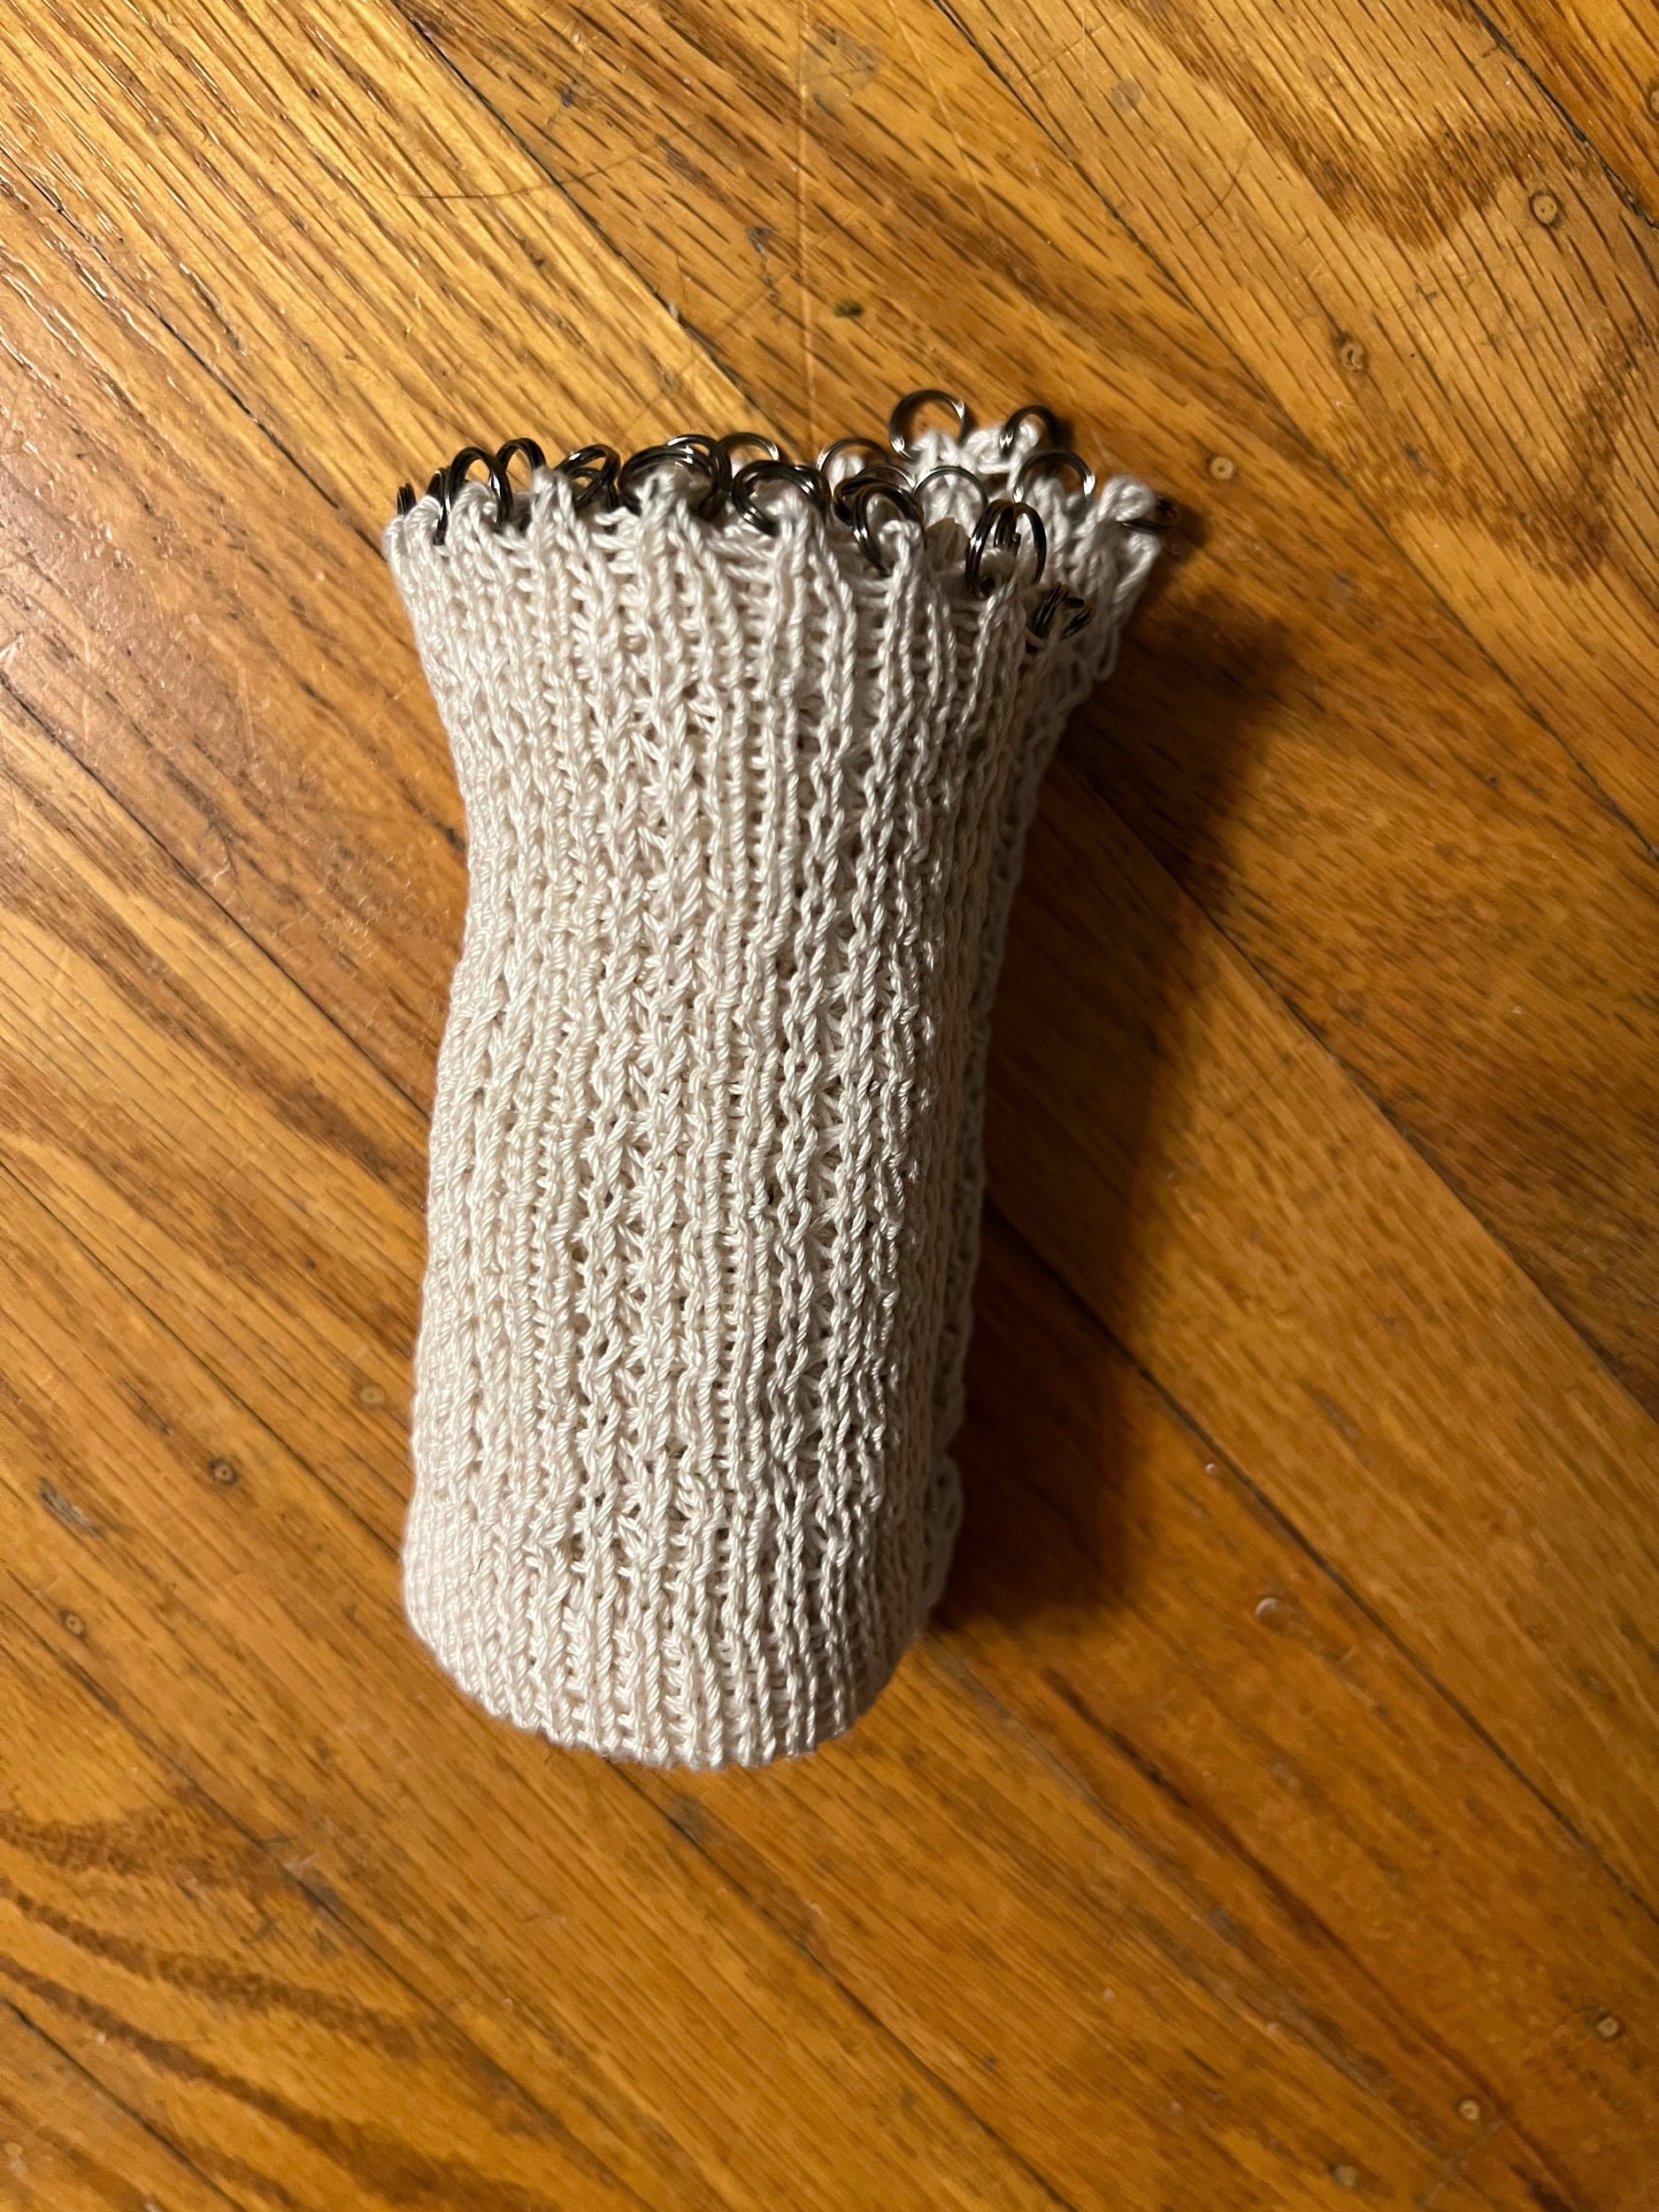
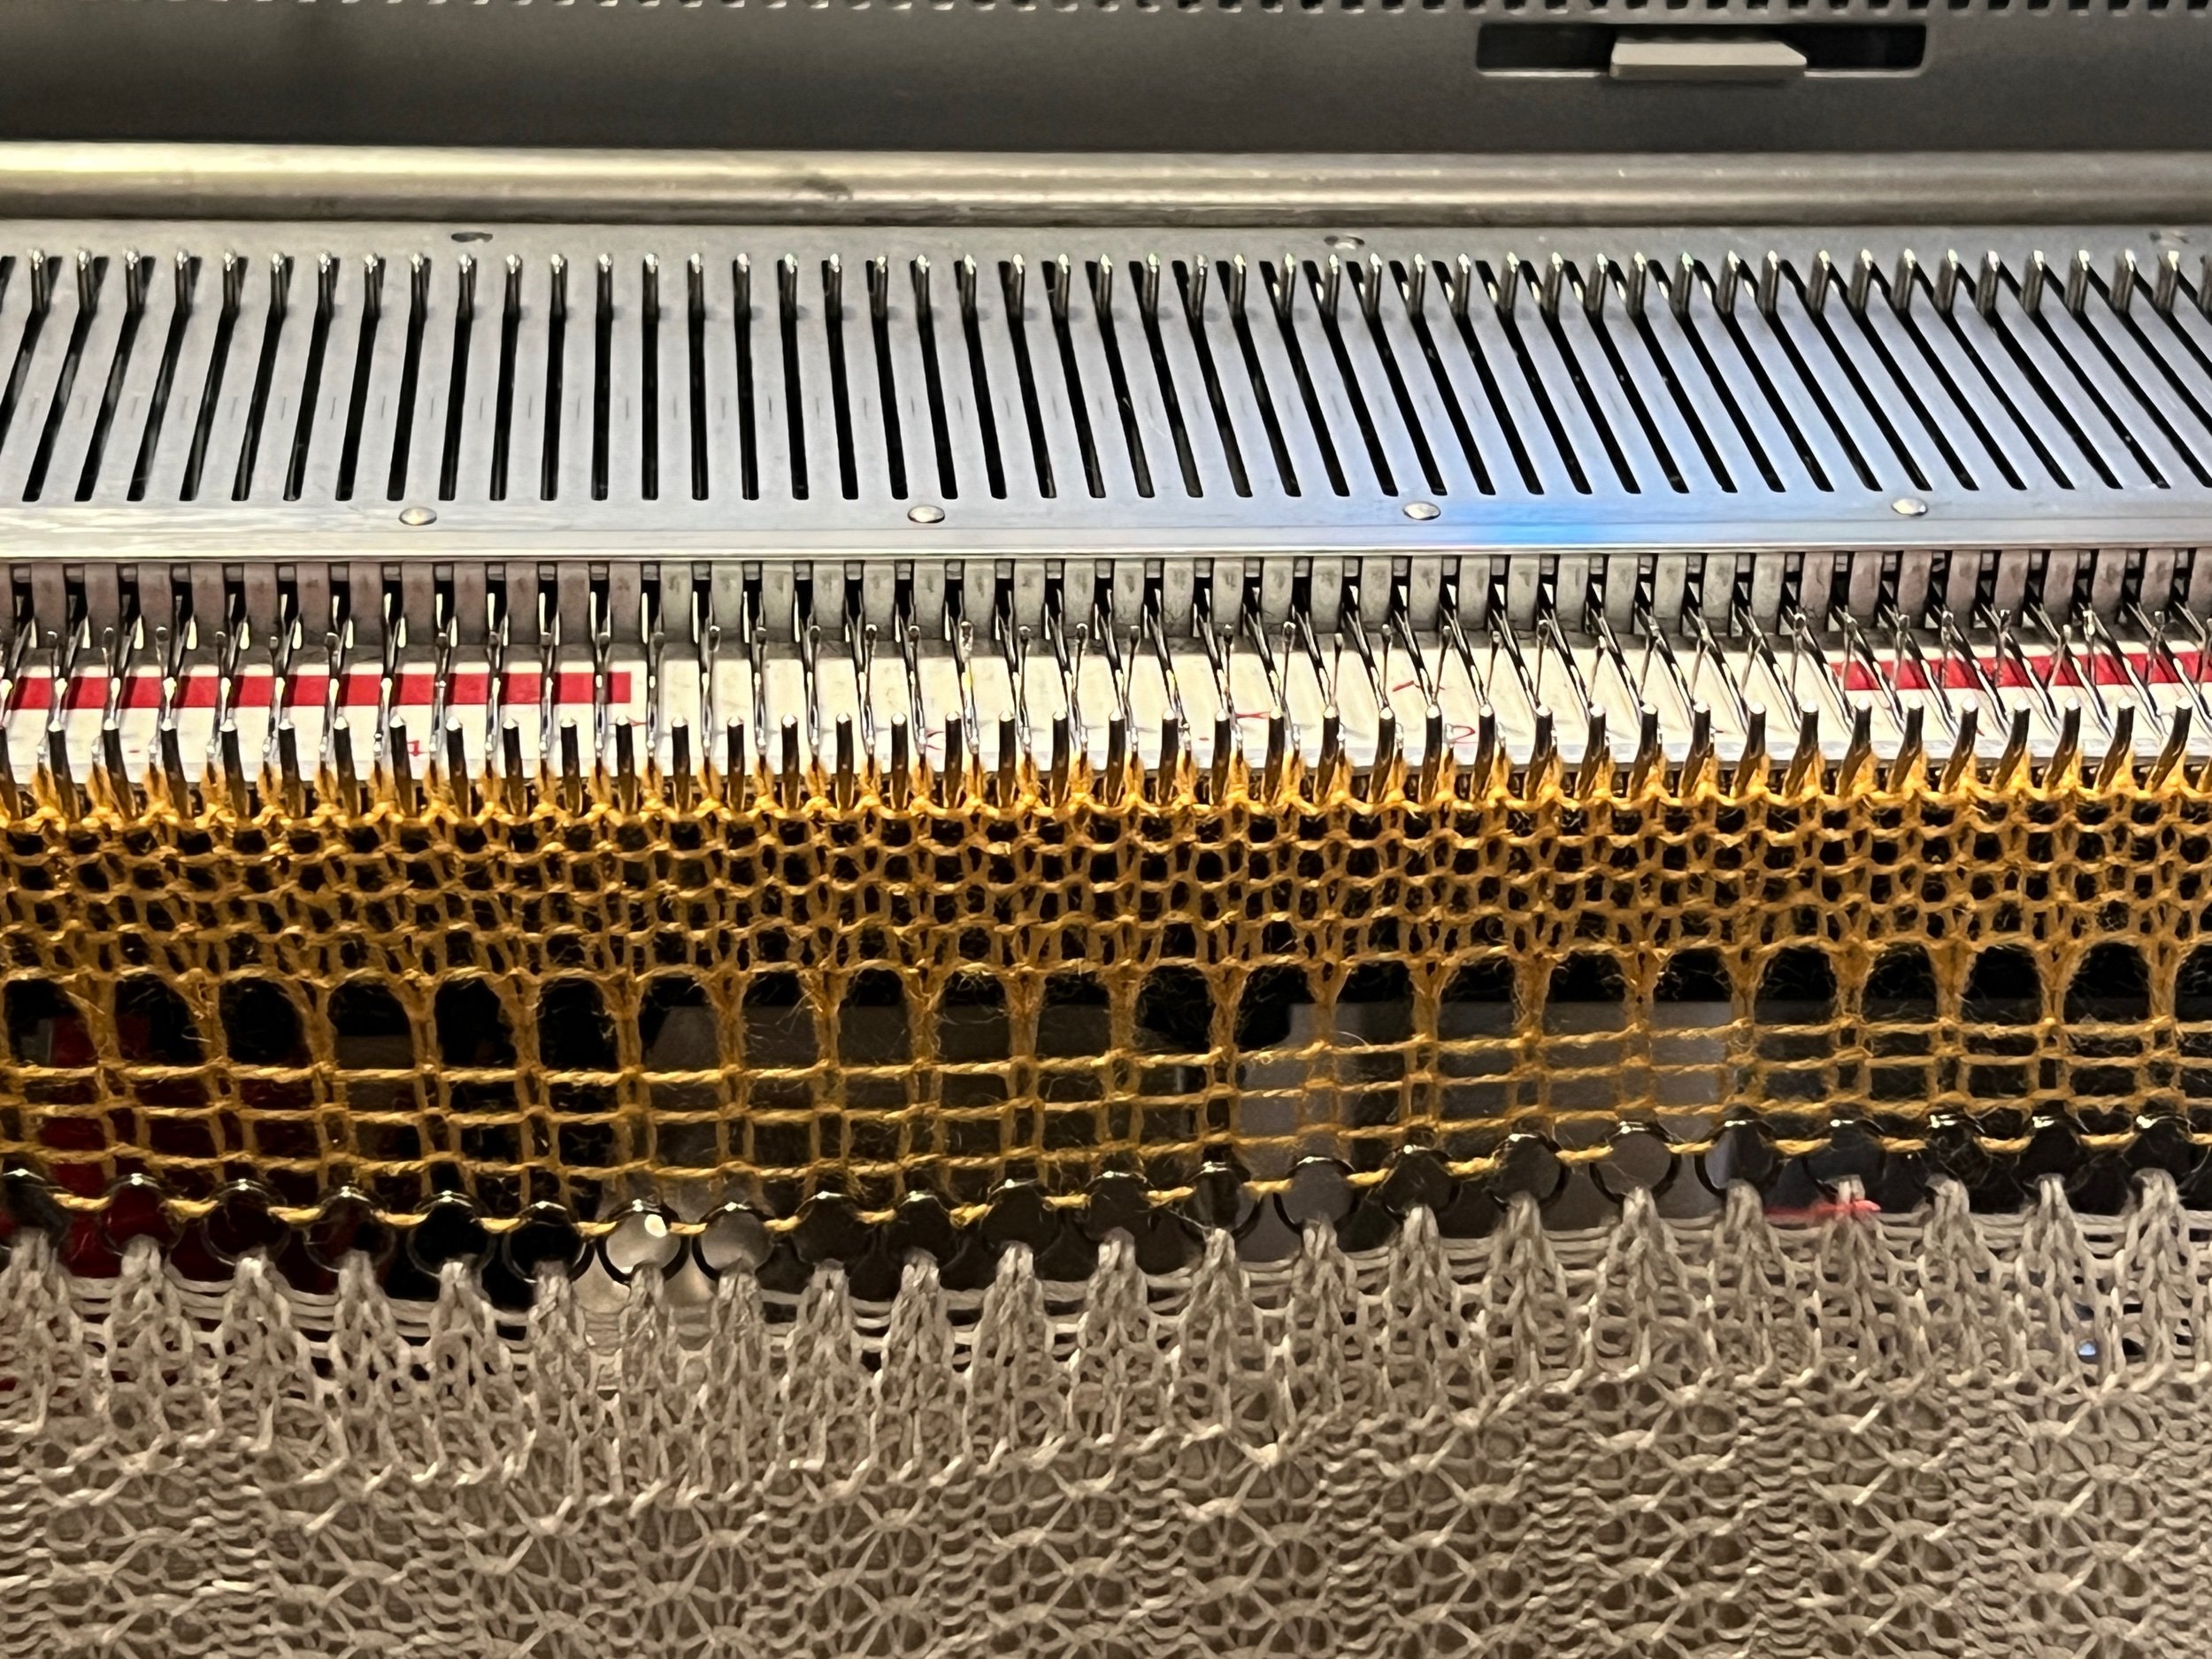
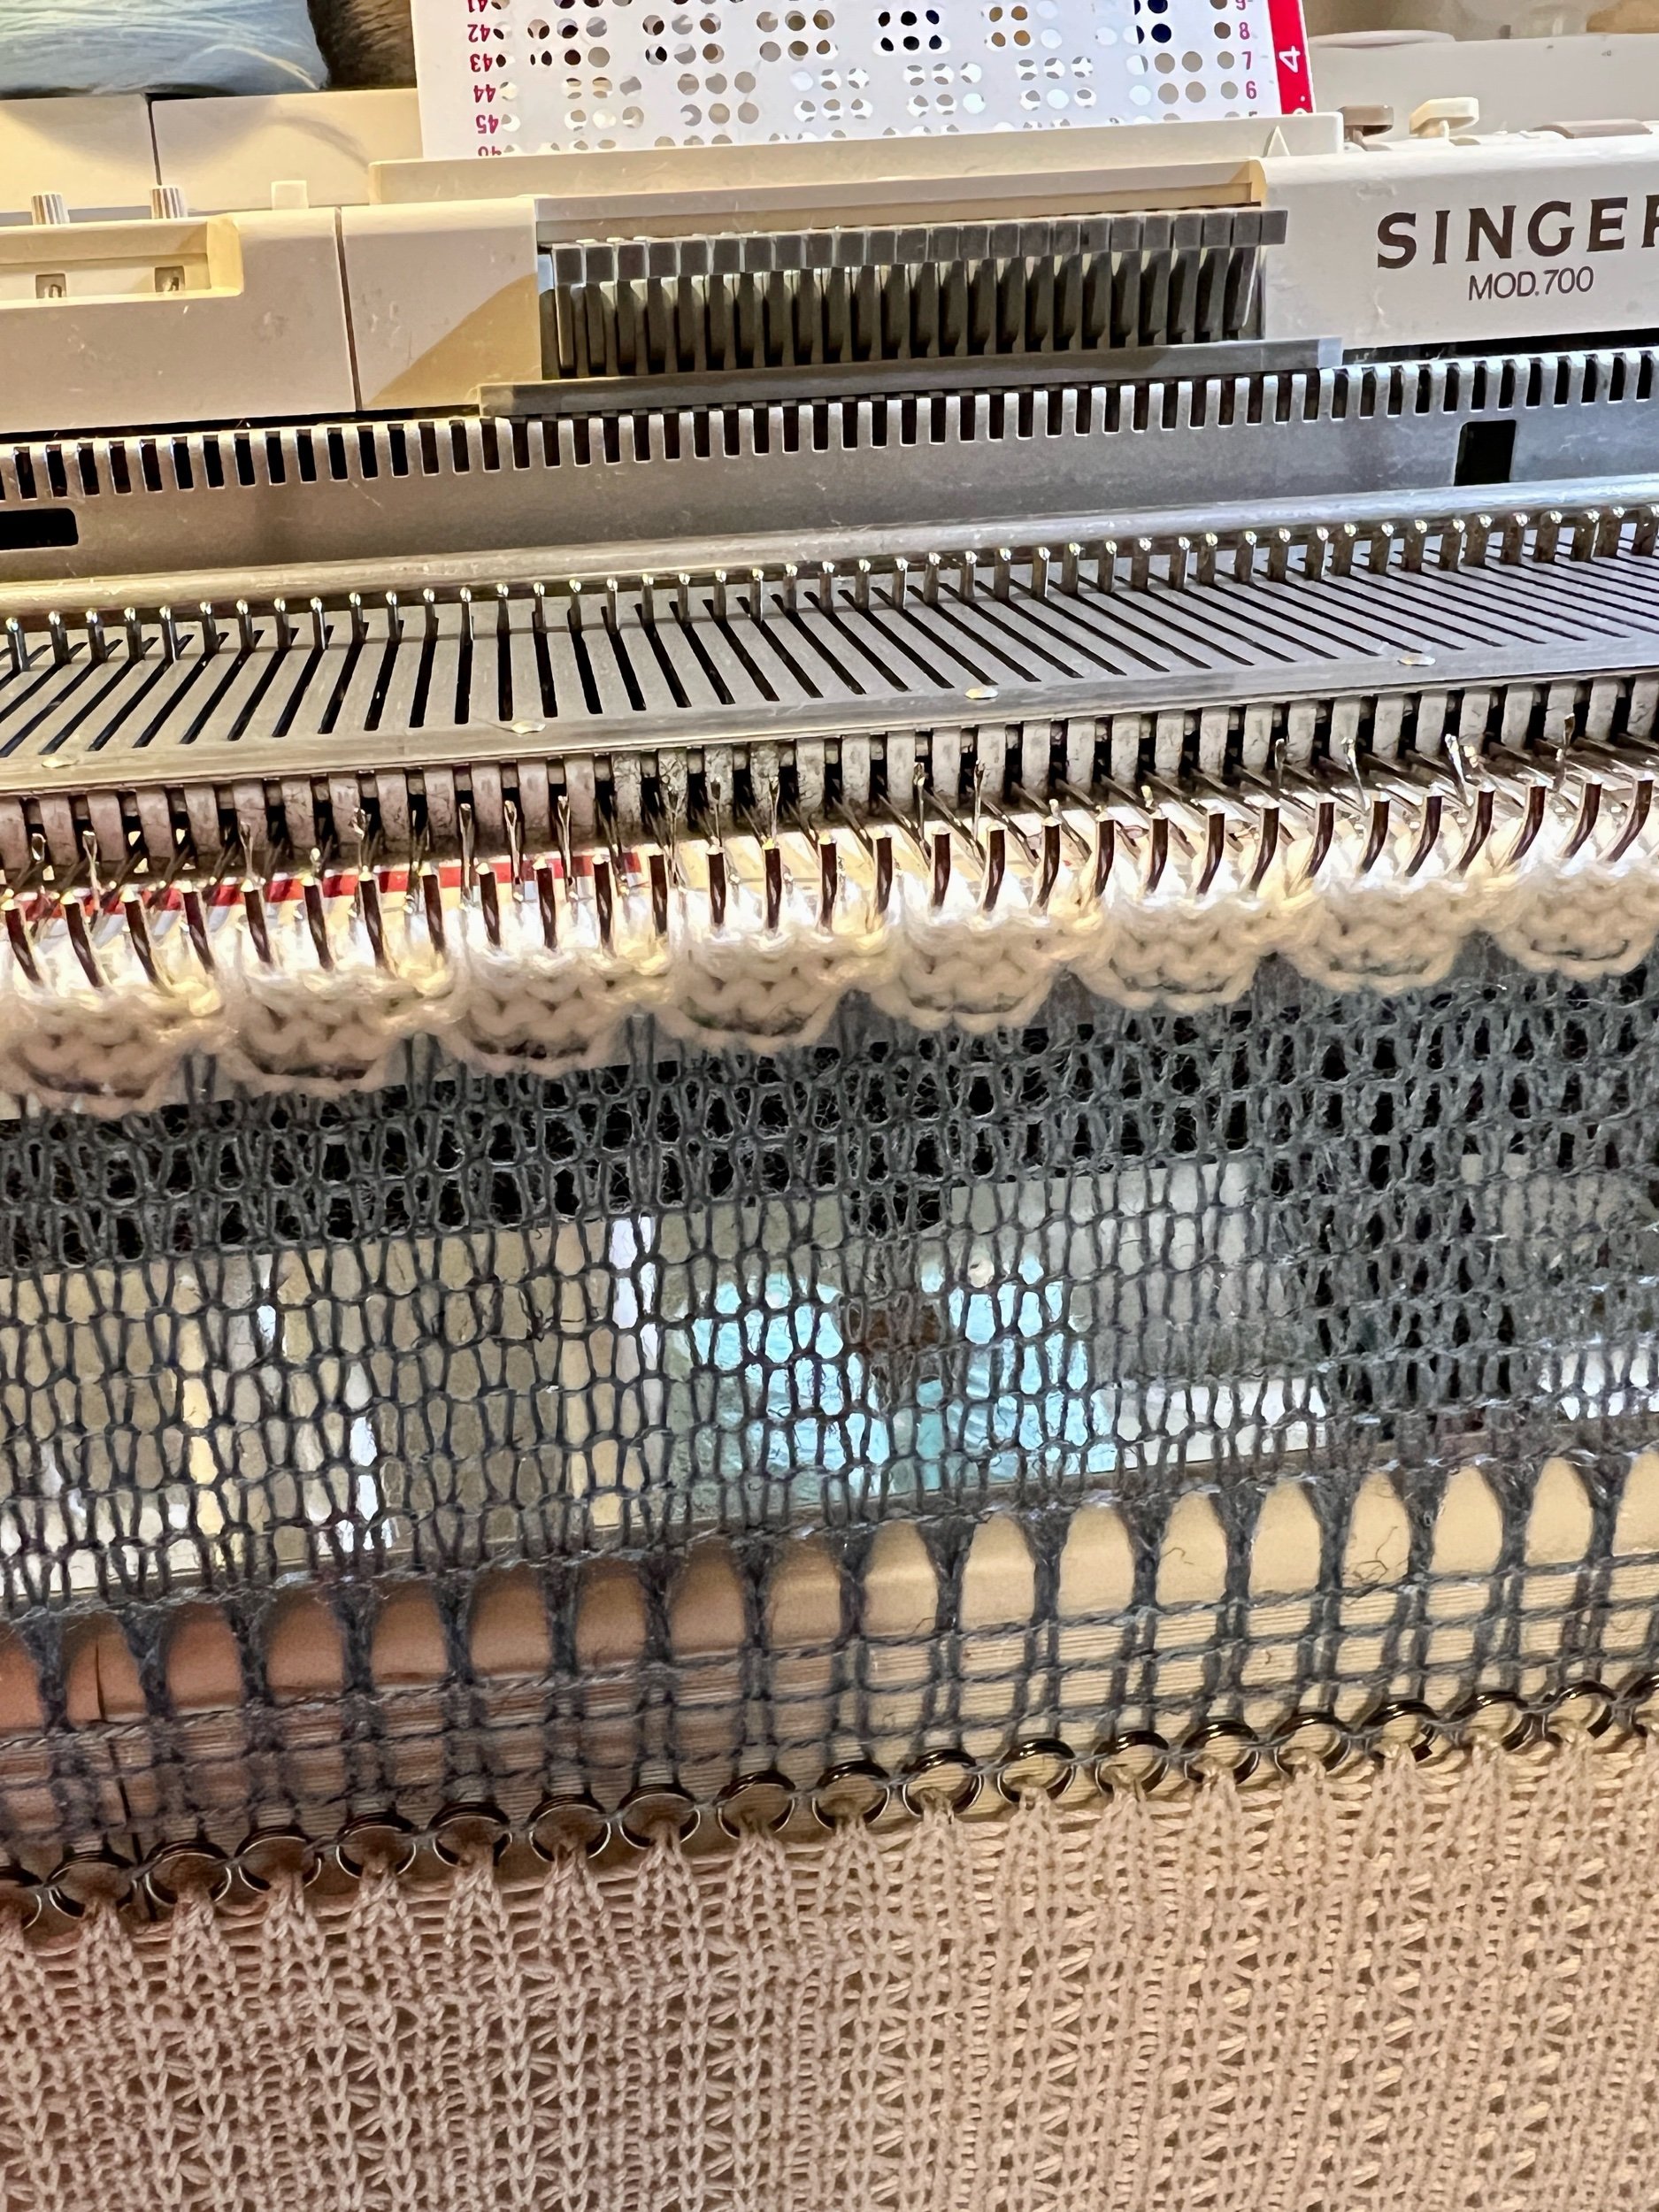
SINCE 2019 I’ve come up with a flat bed equivalent to my circular sock machine universal cast on bonnet - I prefer to call it the “Flat Bed Love Cast On Bonnet” (mostly because rag seems to demote it). Therefore I consider it a Cast On Rag Update as one surface can be used as it always has (with the transfer tool to place a stitch on each needle) OR instead the split ring edge can be used where a split ring can be placed onto every in work flat bed needle.

My initial work on this idea is outlined in the Dec 19, 2022 BLOG POST

Therefore - taaaa daaaaaa!

I would like to introduce this item I created on my standard 4.5mm standard flat bed knitting machine.

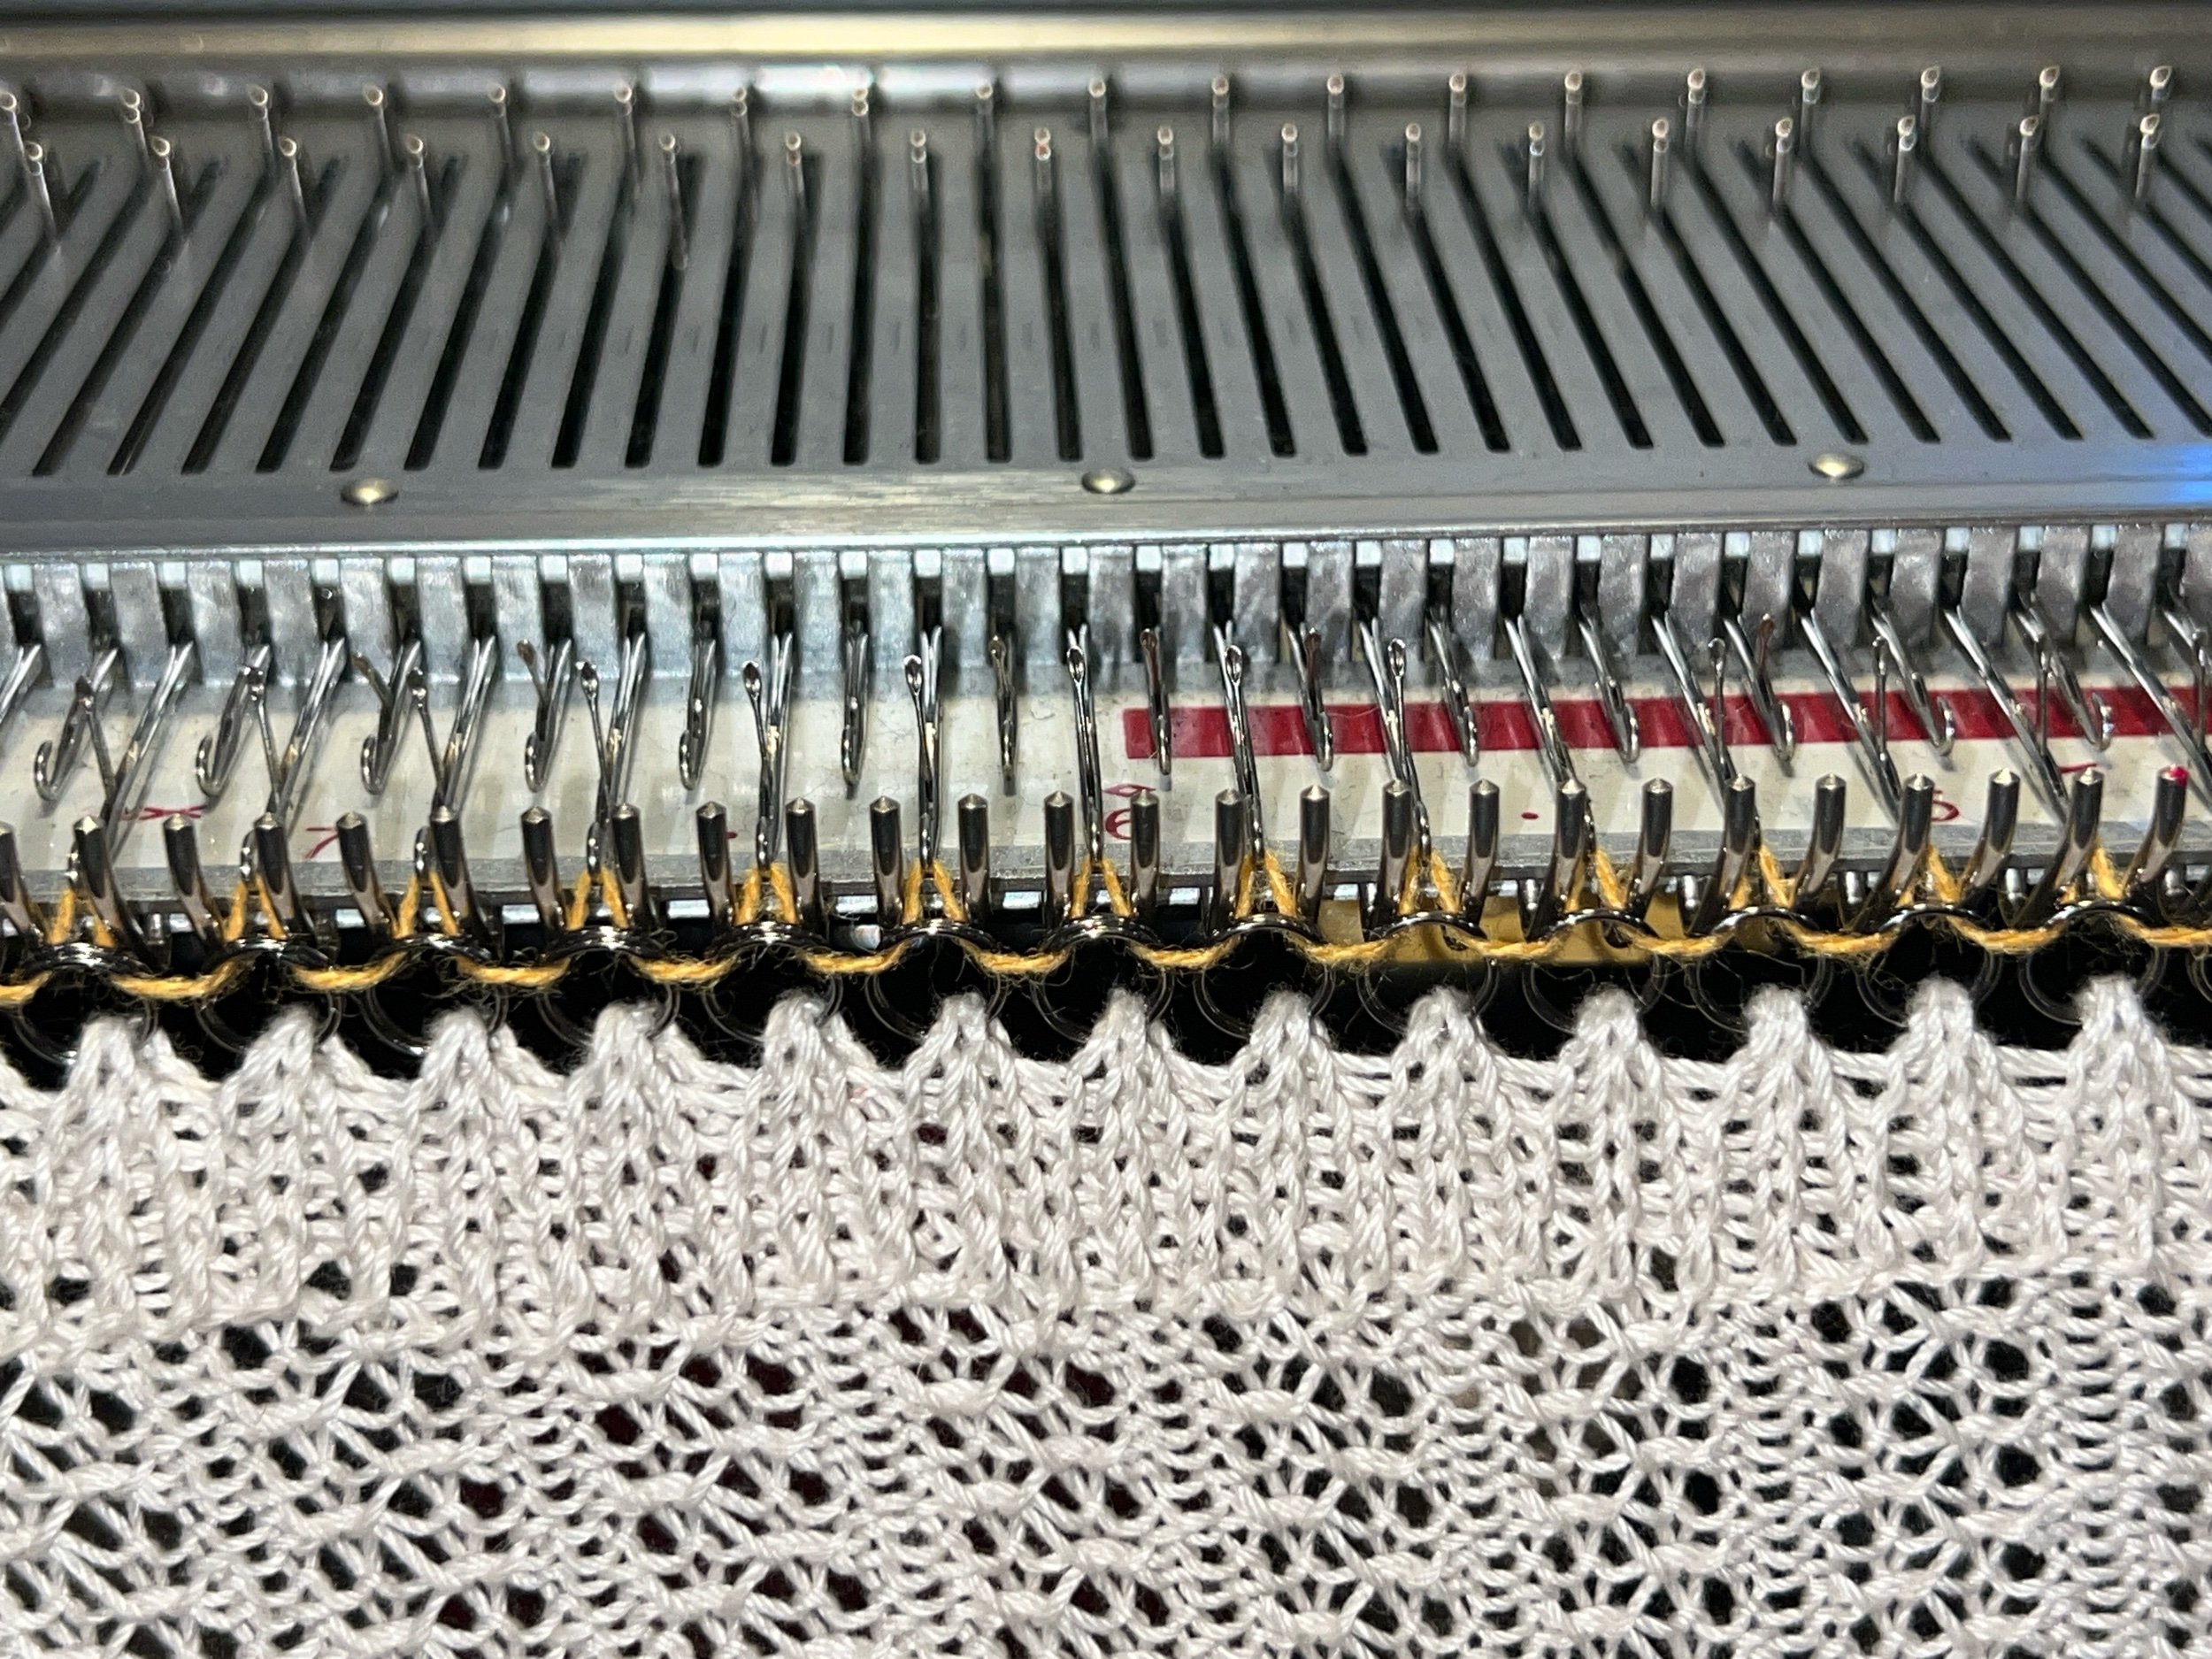
To USE this to cast onto a standard gauge 4.5mm flat bed machine: hang a split ring onto every in work machine needle, thread the machine as you would with your scrap yarn (or Ravel Cord), and pushing the cast on item back to the bed against the gate pegs, bring the machine carriage across slowly with all the regular cast on settings you’d normally use. I tend to prefer to use every second needle when casting on for a quicker start.

The benefits of having the split ring edge is the easy ability to load a needle without a transfer tool. The opposite edge is still available as a cast on rag transfer tool cast on.

MAKING ONE YOURSELF:

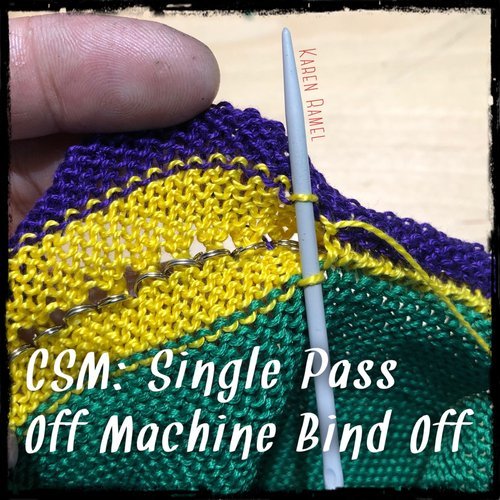
On the standard 4.5mm gauge machine simply cast on with scrap yarn using your preferred method. With all needles in work create a hung hem/turned hem then work 30-50 rows depending on gauge in your desired pattern. After the pattern switch to plain knitting and work 8 rows. Transfer every second stitch on the whole bed and once done, open the latches and then transfer split rings to each needle that was holding two stitches. For clarity the needle holding two stitches has those stitches picked up with the transfer tool where a split ring is then placed on that needle and then the two stitches are placed back onto that same needle. All the needles not with stitches are brought back into working position and for this row we go slower while working the carriage across. Now work 7 rows of plain knitting then change to scrap and off the machine and hand finish the live stitches with a darning needle and extra long yarn tail.

One way to finish the live stitches is to use what I call the Single Pass Off Machine Bind Off - see my VIDEO.

How to add a split ring on a flat bed VIDEO.

I have tested this extensively on my specific 4.5mm standard gauge flat bed machine and through trial and error recommend using the 8mm split rings as they play nice with the gate pegs. I have had no issues or damage to my machine using metal split rings.


INTRO VIDEO

https://tinyurl.com/intro-castonrag-upgrad

COMING SOON YouTube VIDEOS:

How to Make this on a Flat Bed | How to use this on a Standard 4.5mm Gauge Flat Bed


INSTAGRAM: One | two | three


See all Blog Entries on the BLOG INDEX page

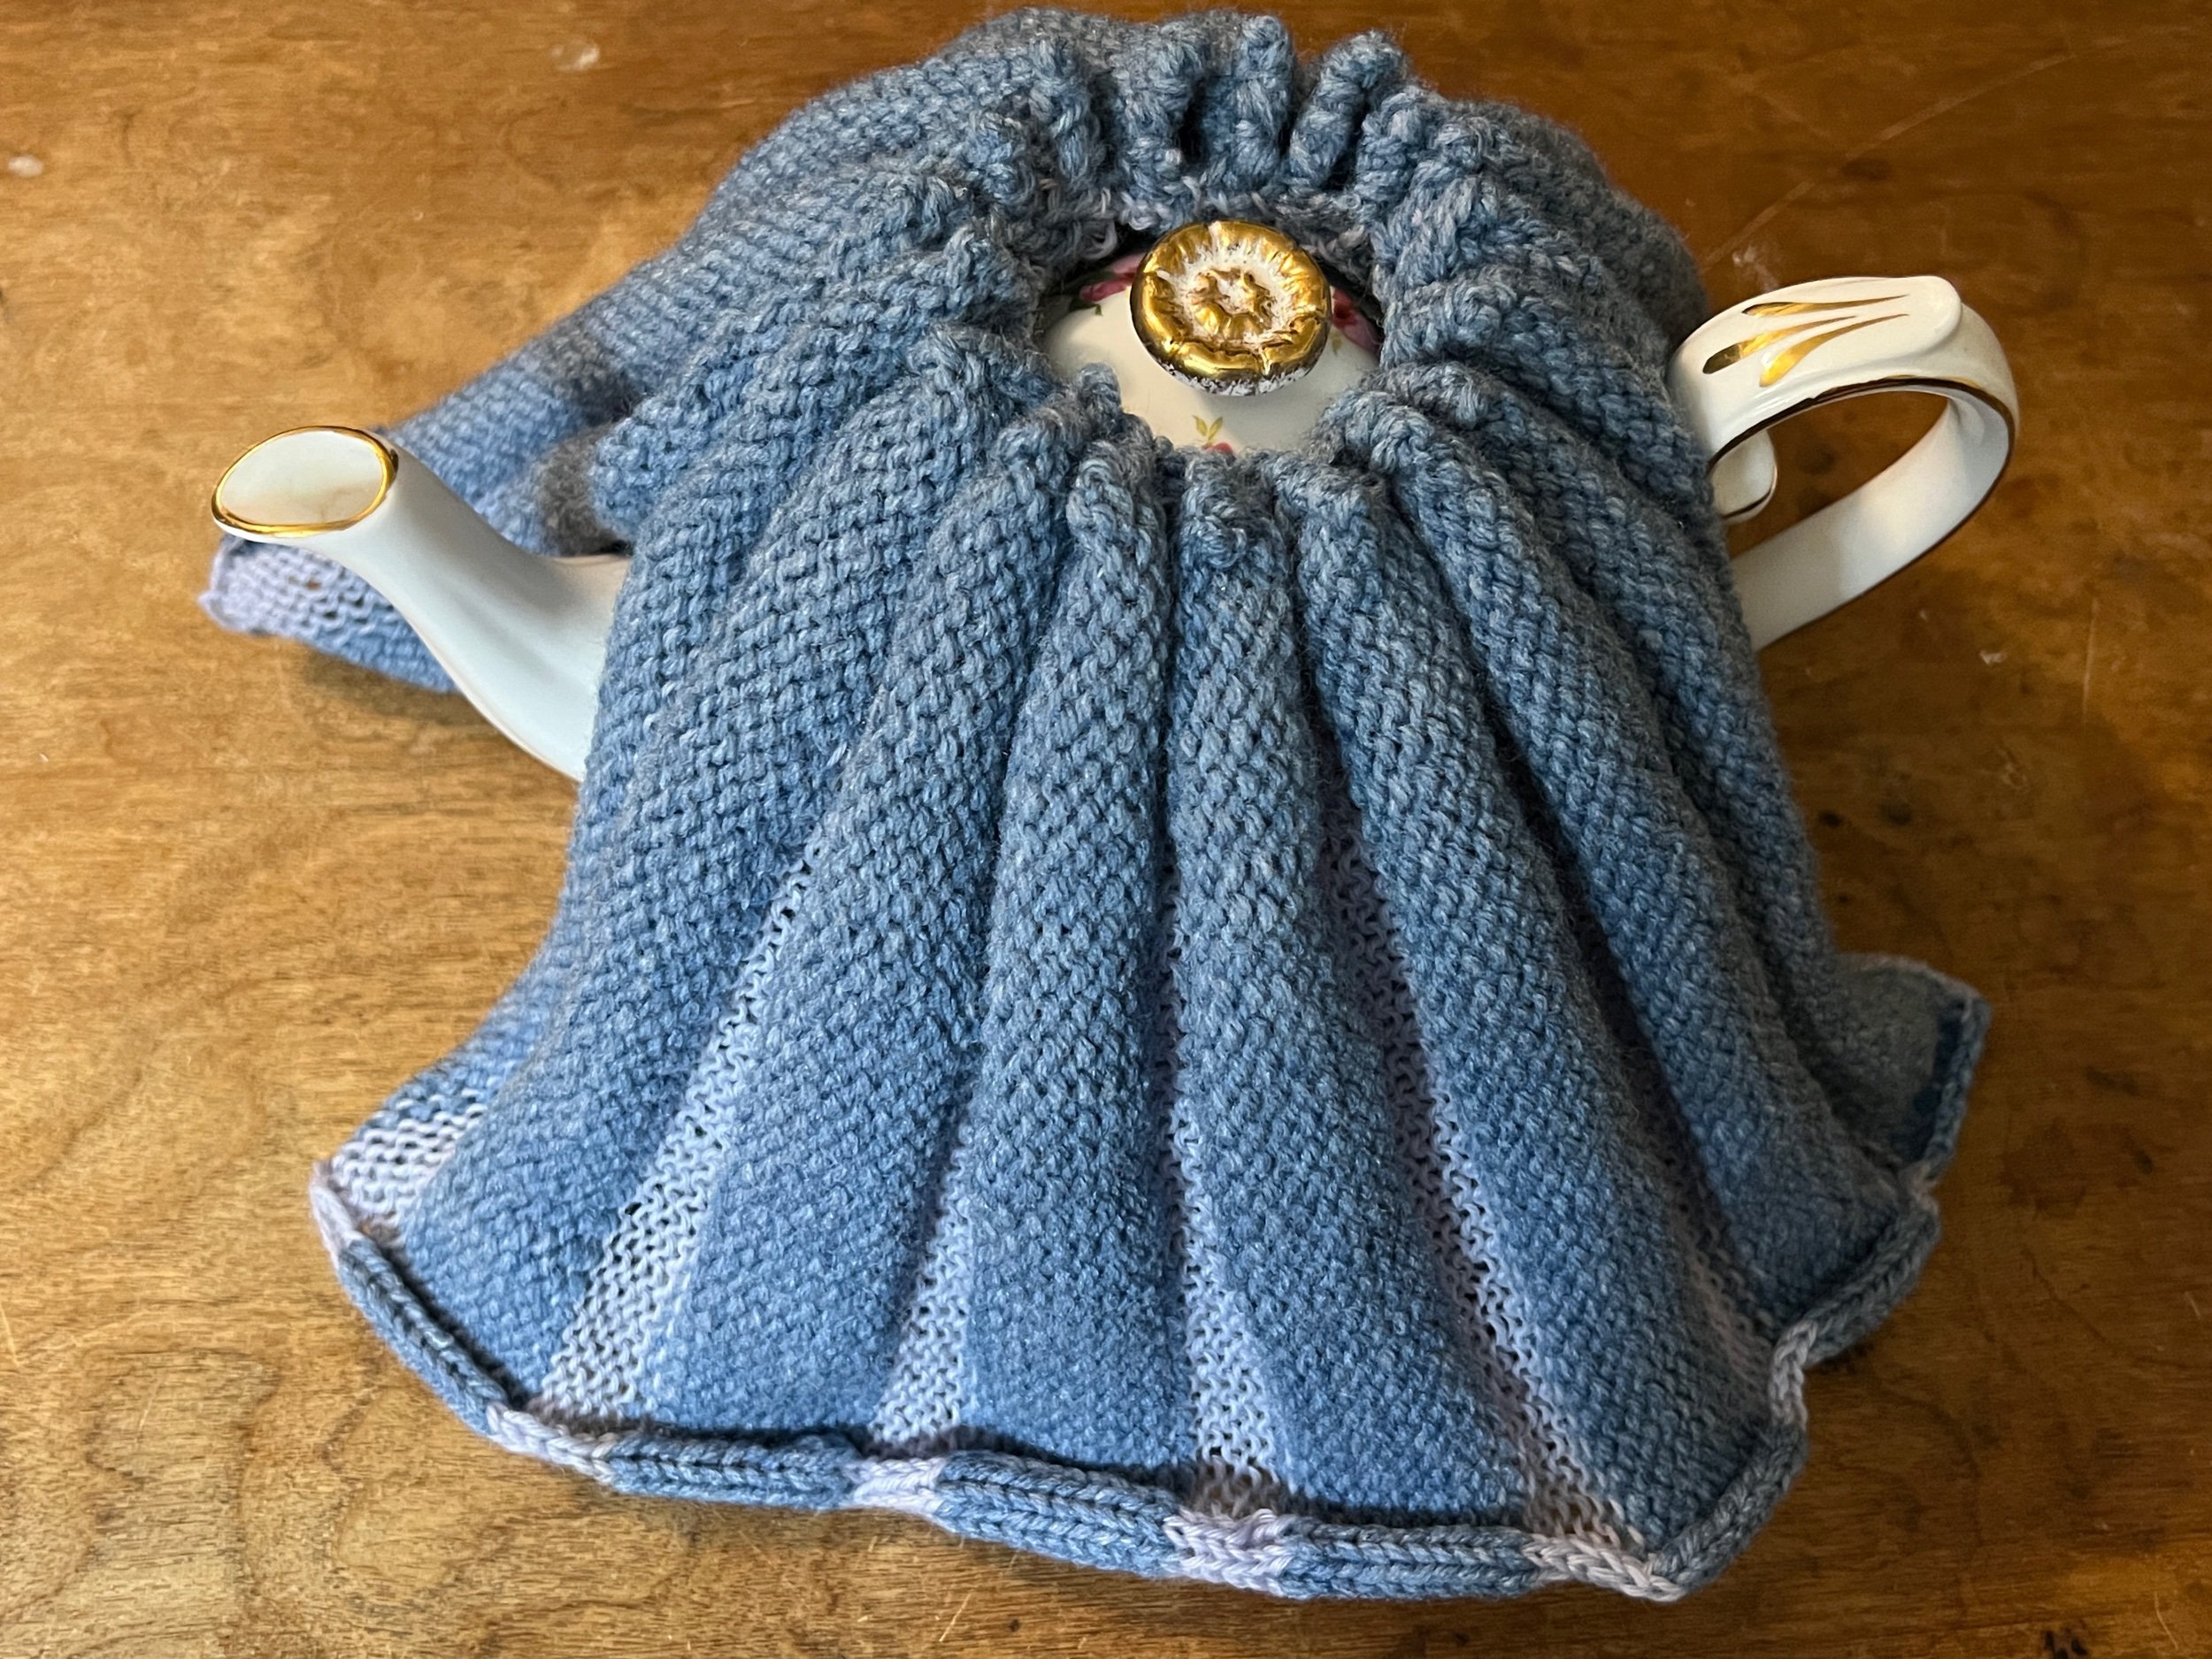
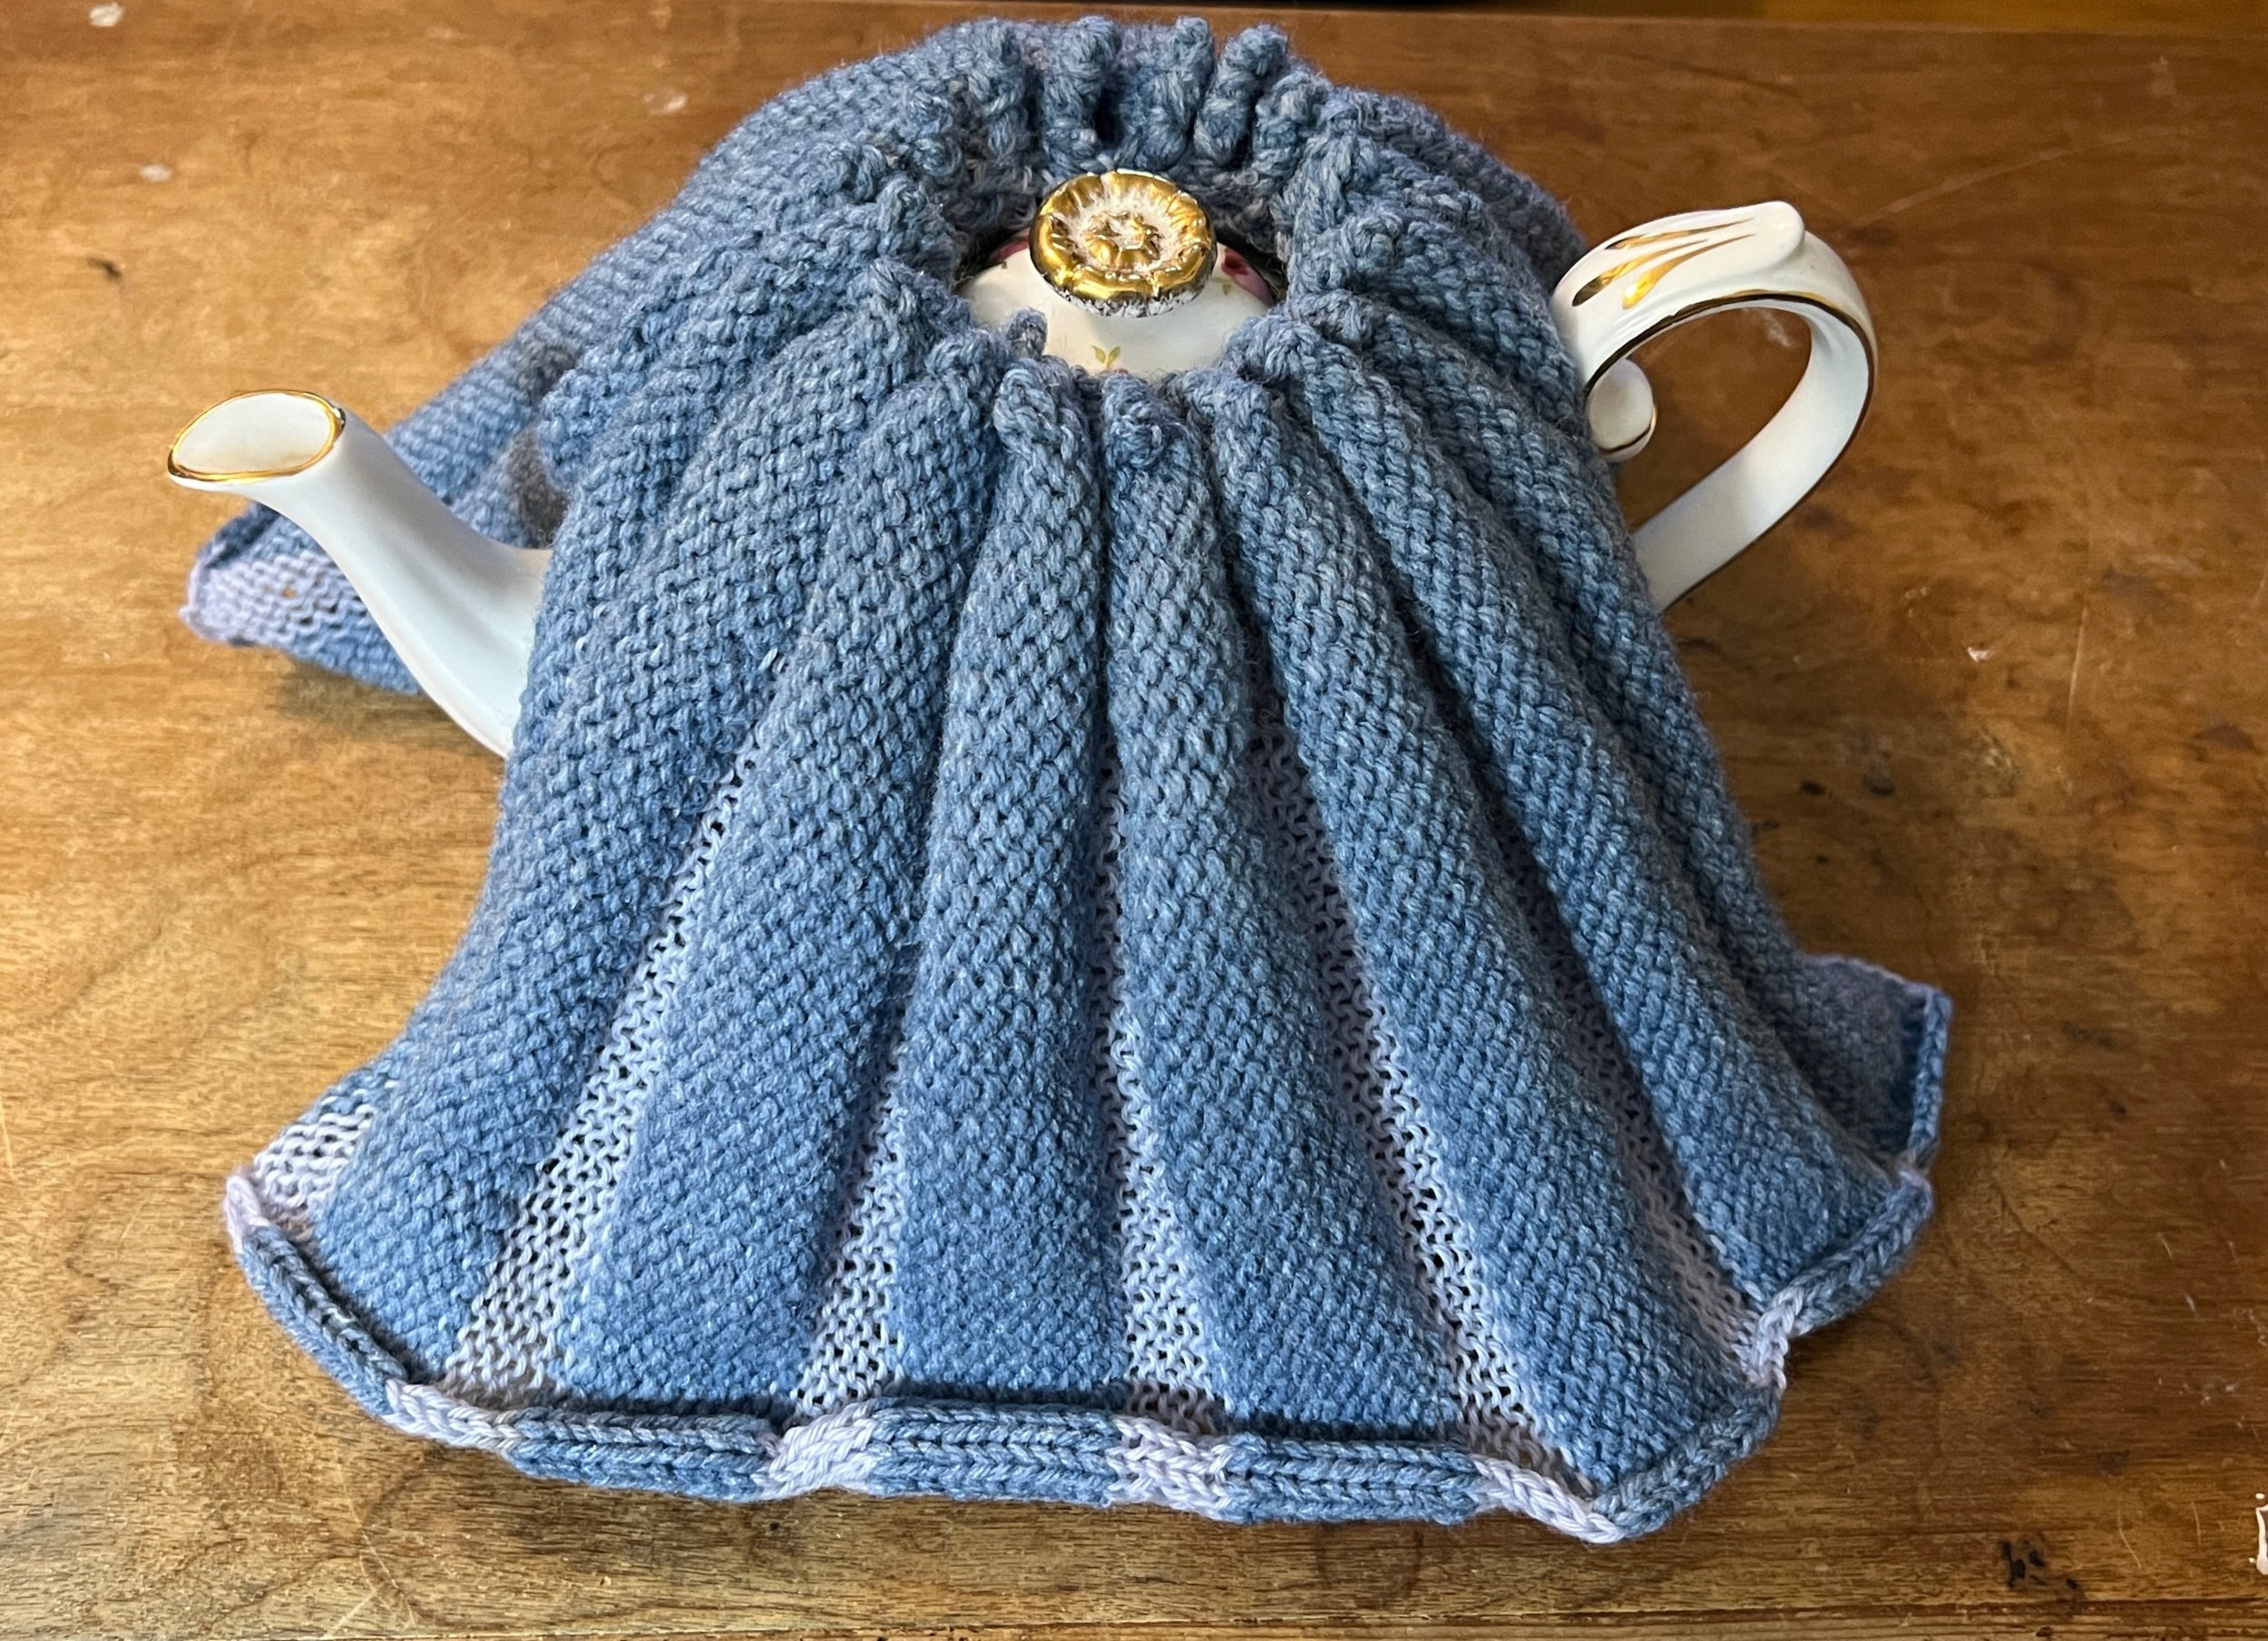
2023 May 30 - Classic Teapot Cozy

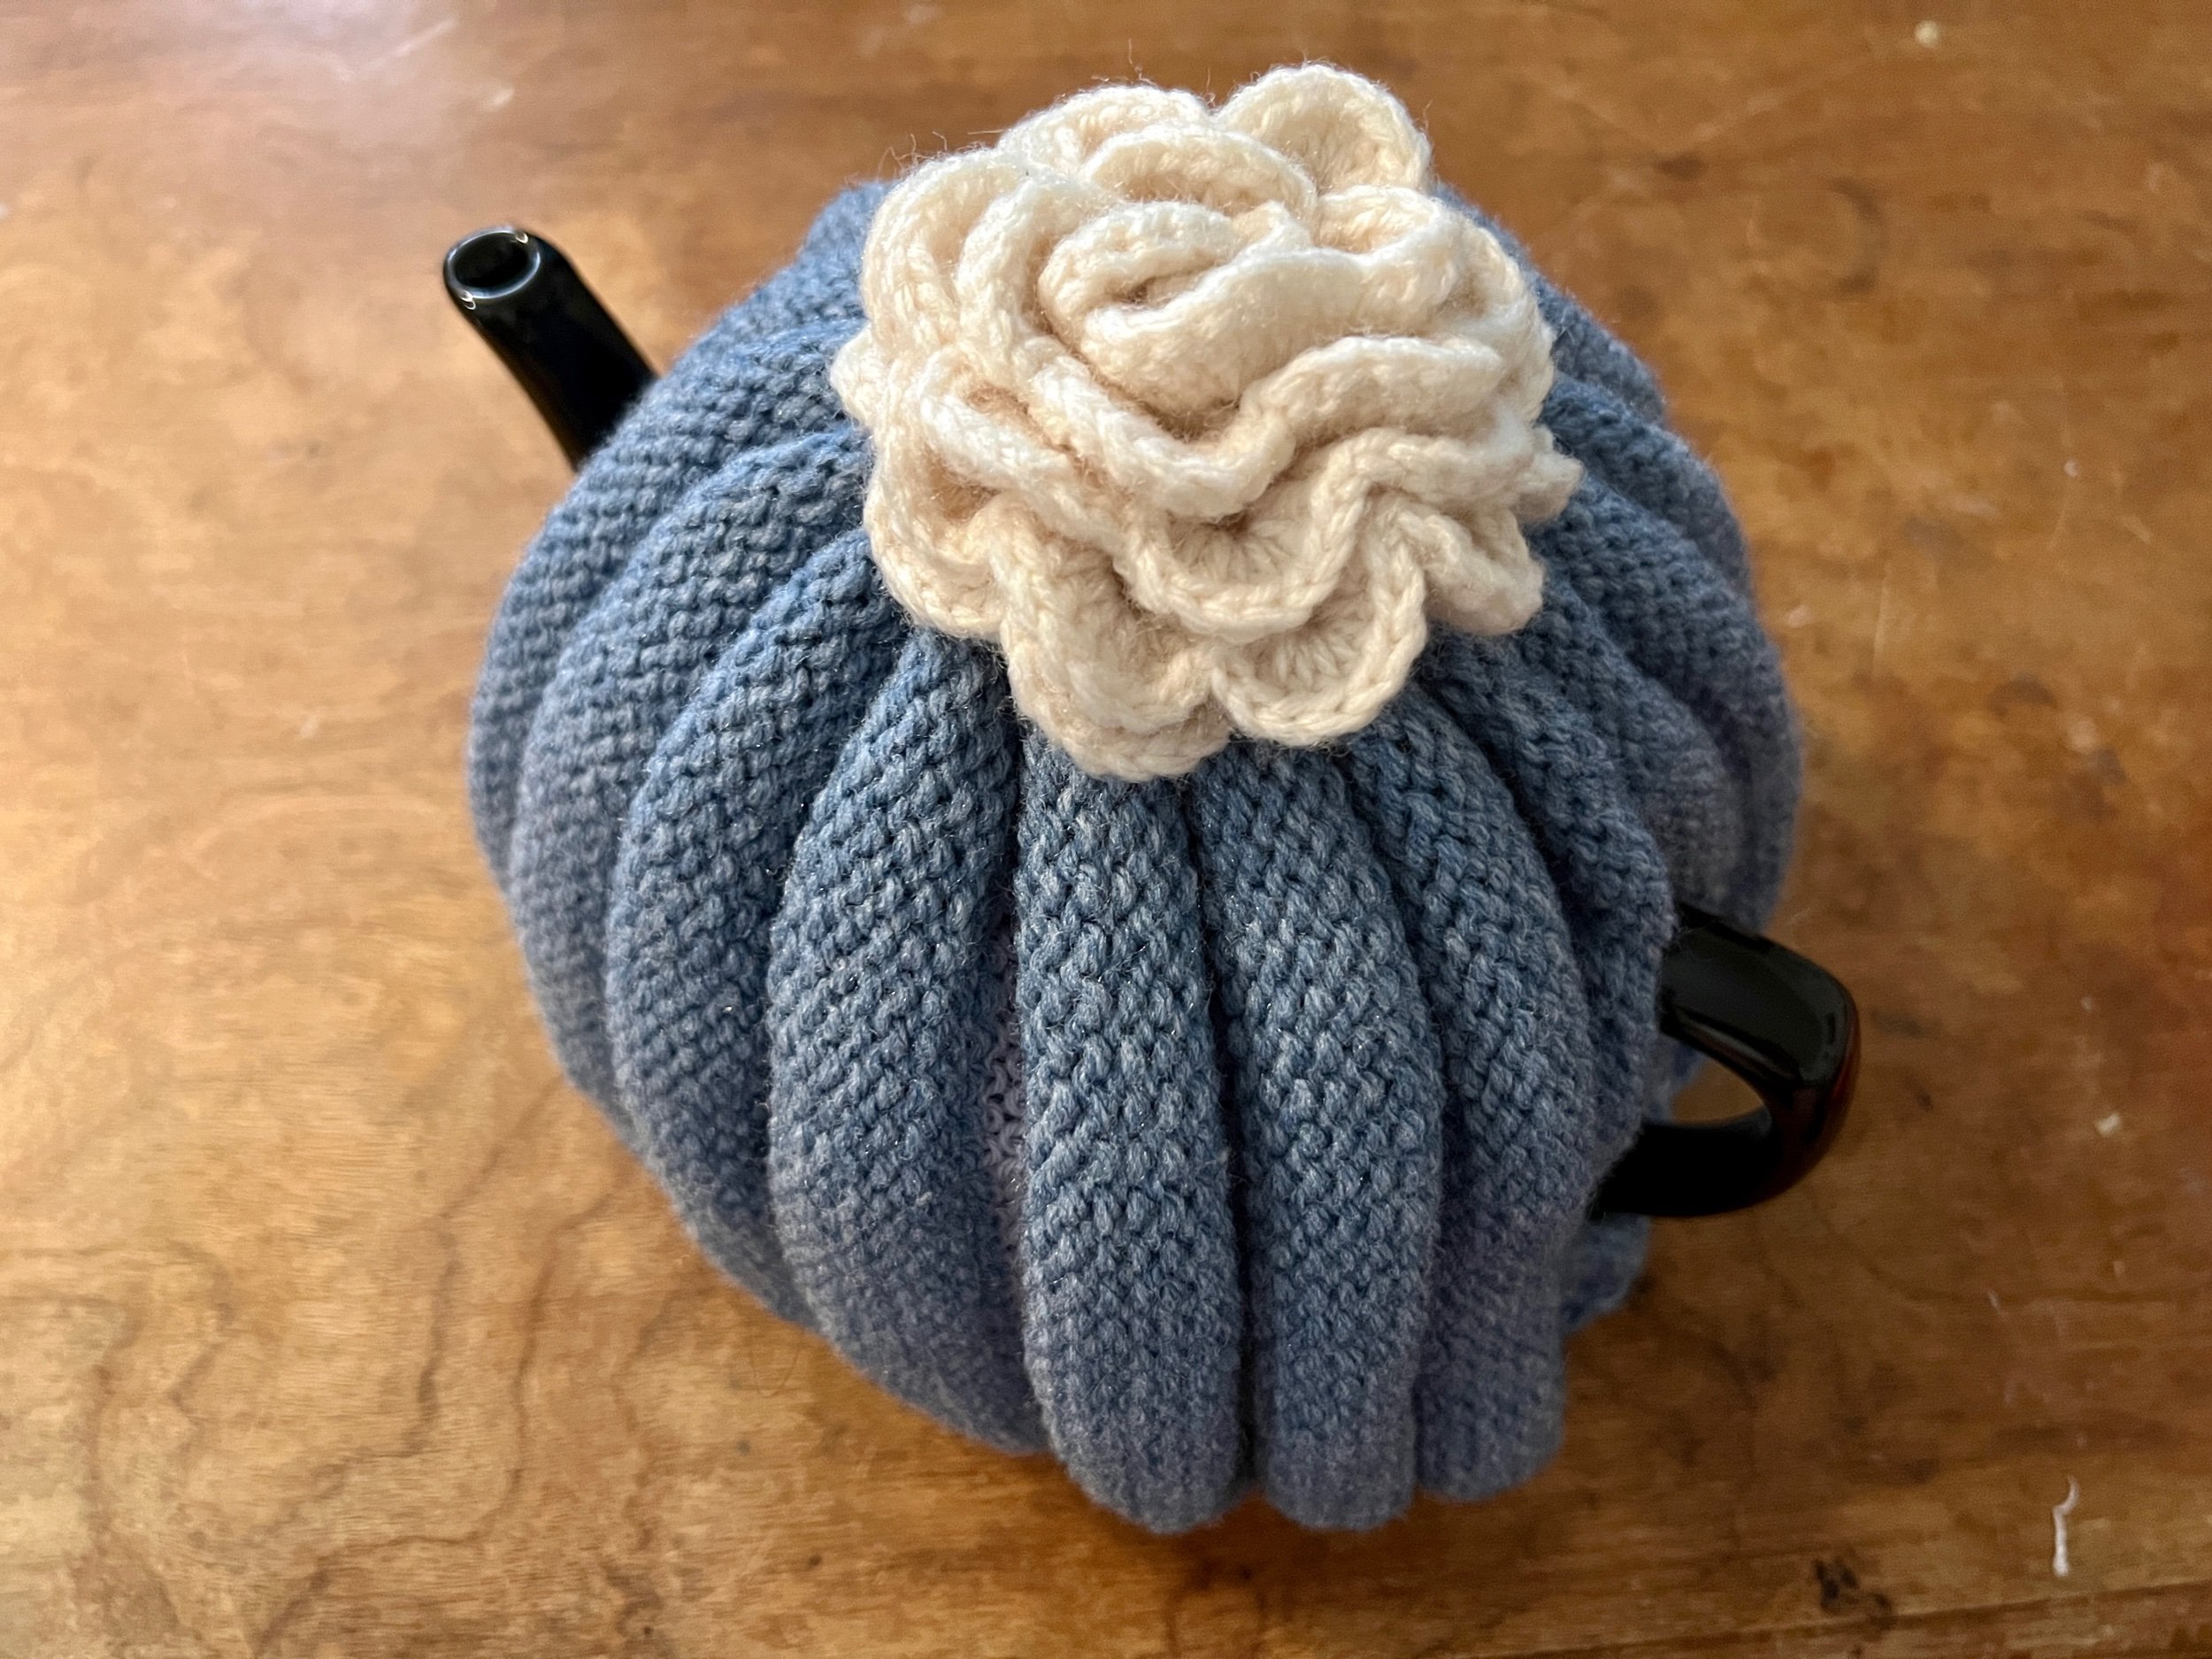
Inspired by a classic vertical pleat style tea cozy I did some online research for ideas.

One partial pattern recommended creating two exterior pleated panels and two interior plain knit panels that were an additional inch taller. The exterior and interior panels were side seamed together first then having two panels - they were only side seamed an inch from the top and two inches from the bottom side seams (leaving spout and handle access). I then came across Roni’s chunky gauge free Raverly pattern.

MEASUREMENTS:
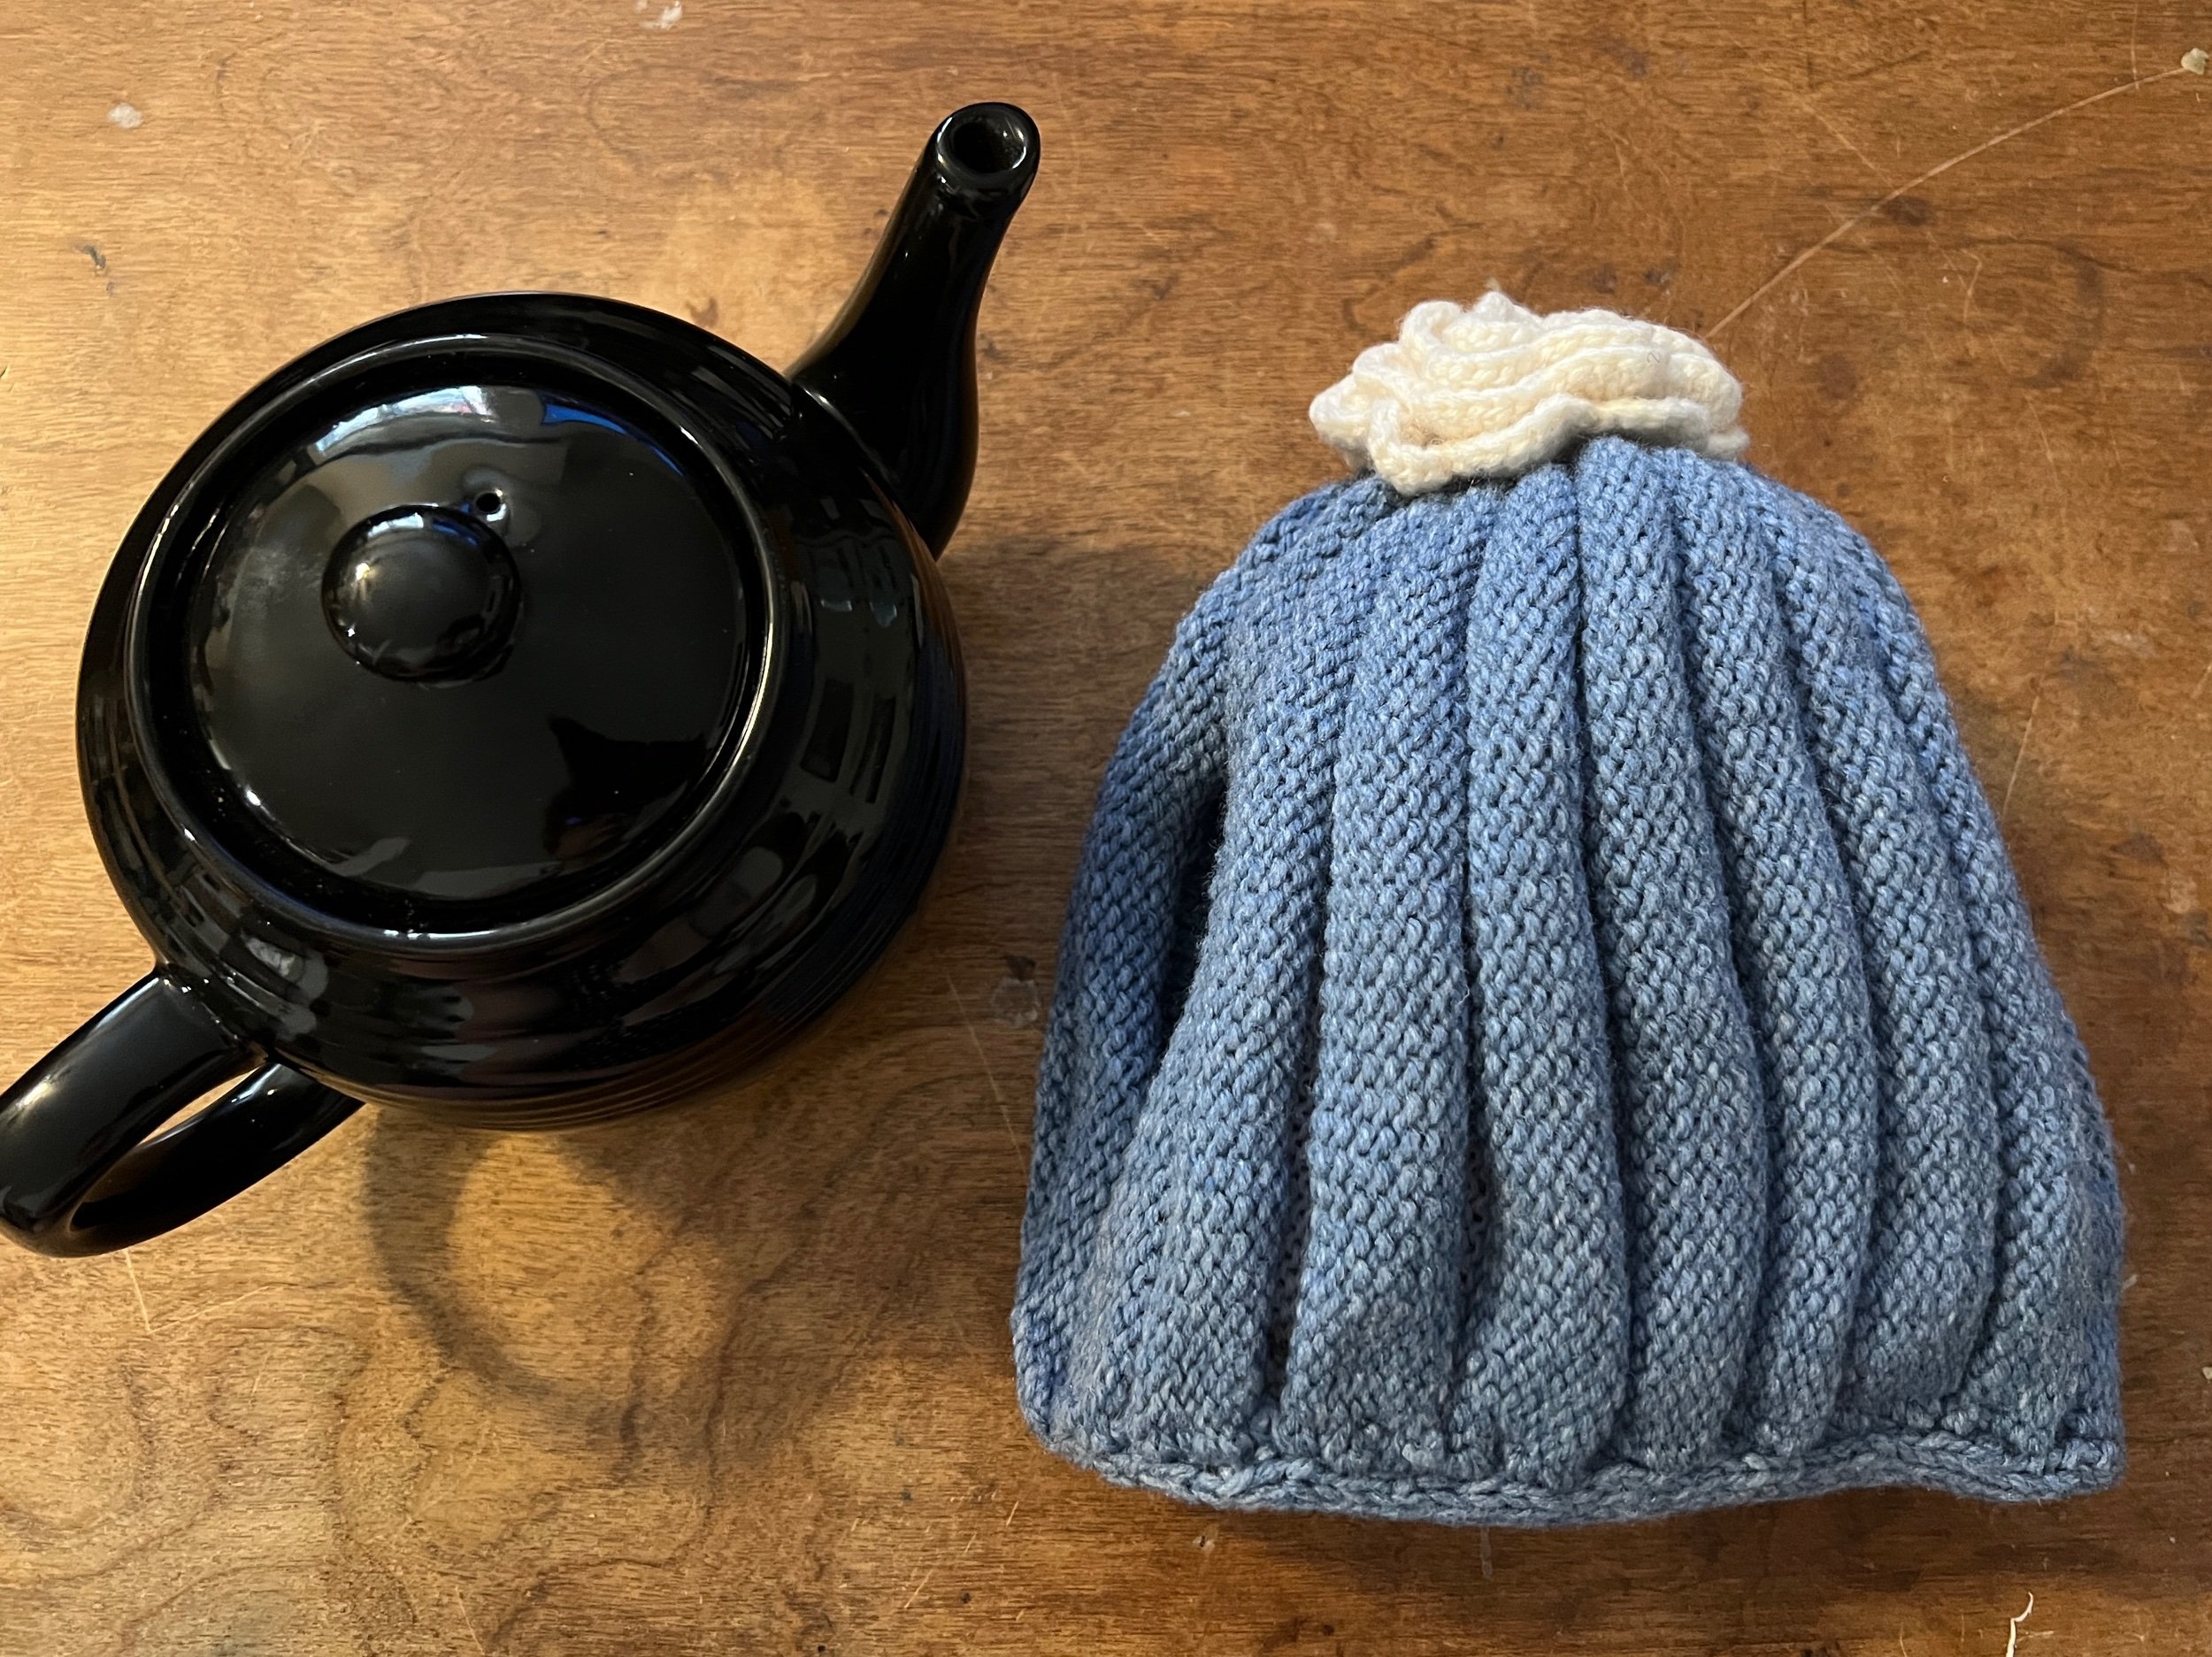
One side of the teapot from spout to handle: 21cm
Height with slight clearance 18cm


BUILDING THE PROJECT ON THE FLAT BED
Using Mast Tension 1, Cam Lever (Carriage) 10 tension for the thicker fiber and 8 for the thinner.

SUMMARY : The outer two panels I created had 10 rows of thicker fiber and 6 of the thinner with 9 blocks of the thicker fiber. I open cast on using scrap (every 2nd needle up to the 76 needle mark - 38 actual needles). I will then create two dense panels for the liner. This will allow for pleats from the purl side.

  • USING right side of 0 pull out every 2nd needle to 76 (38 needles). Open Cast On with scrap then switch to dark blue. Work 10 rows with assist on tension to ensure all edge stitches are even.

  • Switch to lighter color blue and work 6 rows.

    Repeat until 9 thicker blocks have been created. Switch to scrap yarn, work a few rows and take the project off the machine..

NEXT CREATE A PARTIAL LINER:

  • Cast on again using every second needle (using the 60 needle mark on the right side of zero - 30 actual needles). Scrap cast on then e-wrap the thicker yarn.

  • Work 50 rows. Make a long project tail, add many rows of scrap and then start again with the ewrap on the project yarn for the second panel (liner). Cast off with project yarn.

Assembling

Once all the pieces are off the machine: two flat regular knitted liber pieces and two pieces which each have 9 thicker yarn (10 worked rows) stripes and 8? Thinner yarn (6 row stripes).

The striped pieces were made this way as they will sit nicer on the Purl side to work as pleats.

I fully steam ironed the non-striped pieces and carefully only partially steamed one side end edge of each striped piece (to ensure it doesn’t flattern completely and loose it’s natural pleating effect)

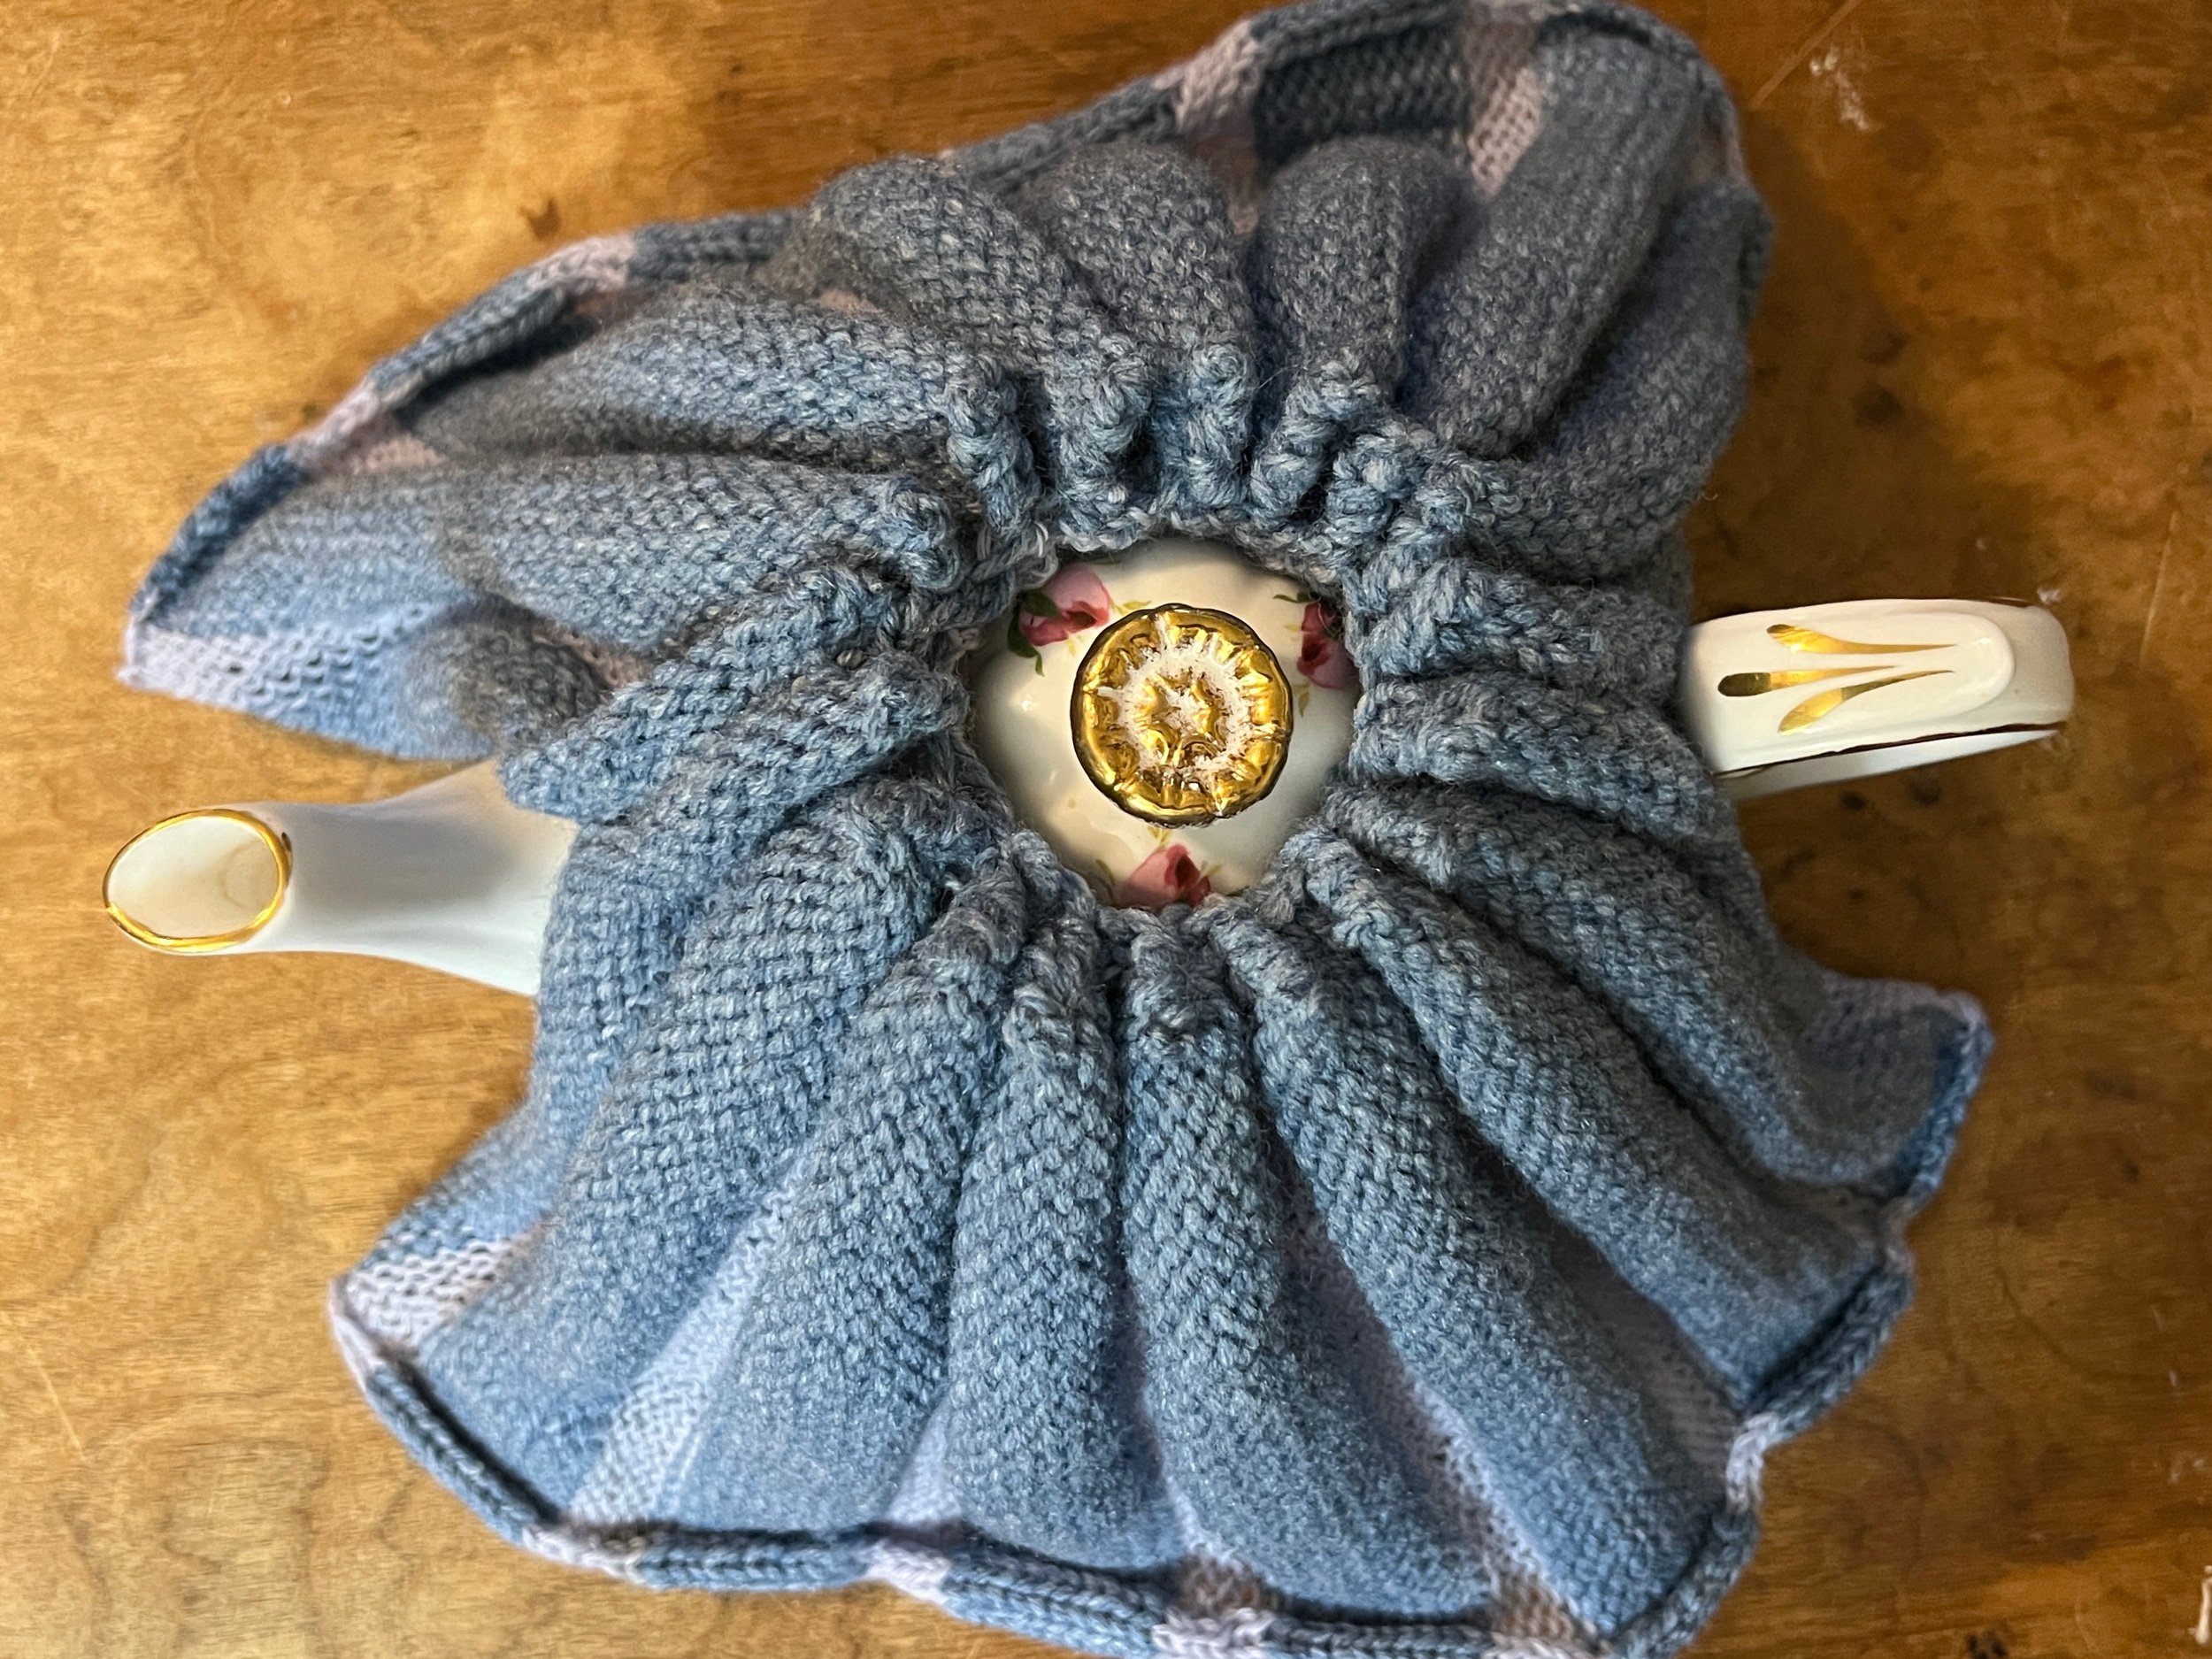
I then sewed the left and right edges of the liner to the stripped piece (stripes going vertically with the liner knit side out. The liner is about 1.5” shorter heightwise to reduce fabric area at the top of the project. I then accordion style sewed only the dark thicker striped ends (skipping the thin yarn sections) to fully gather the top of the project. I did this again with the other pieces.

now I have two lined accordion top pieces. I seamed their sides near the top and not where there wasn’t any liner.

It sits now like a dress on the teapot

next to I will join the bottom edges of the thicker fibre stripes without making an accordion so that that edge will go more snug against the bottom or side of the tea pot. I used crochet to bring the thicker segments together on the bottom of this project and to join the two panels on the sides.

Now with the bottom edge of the outer panels reinforced with a row of crochet it’s time to consider how to connect the liner on the bottom to the flared outer work. I chose a slip stitch reduction row: slip Stich the first stitch then for the second, skip a stitch and slip. Repeat. This brought the edge of the outer work closer to the same size as the edge of the liner there.

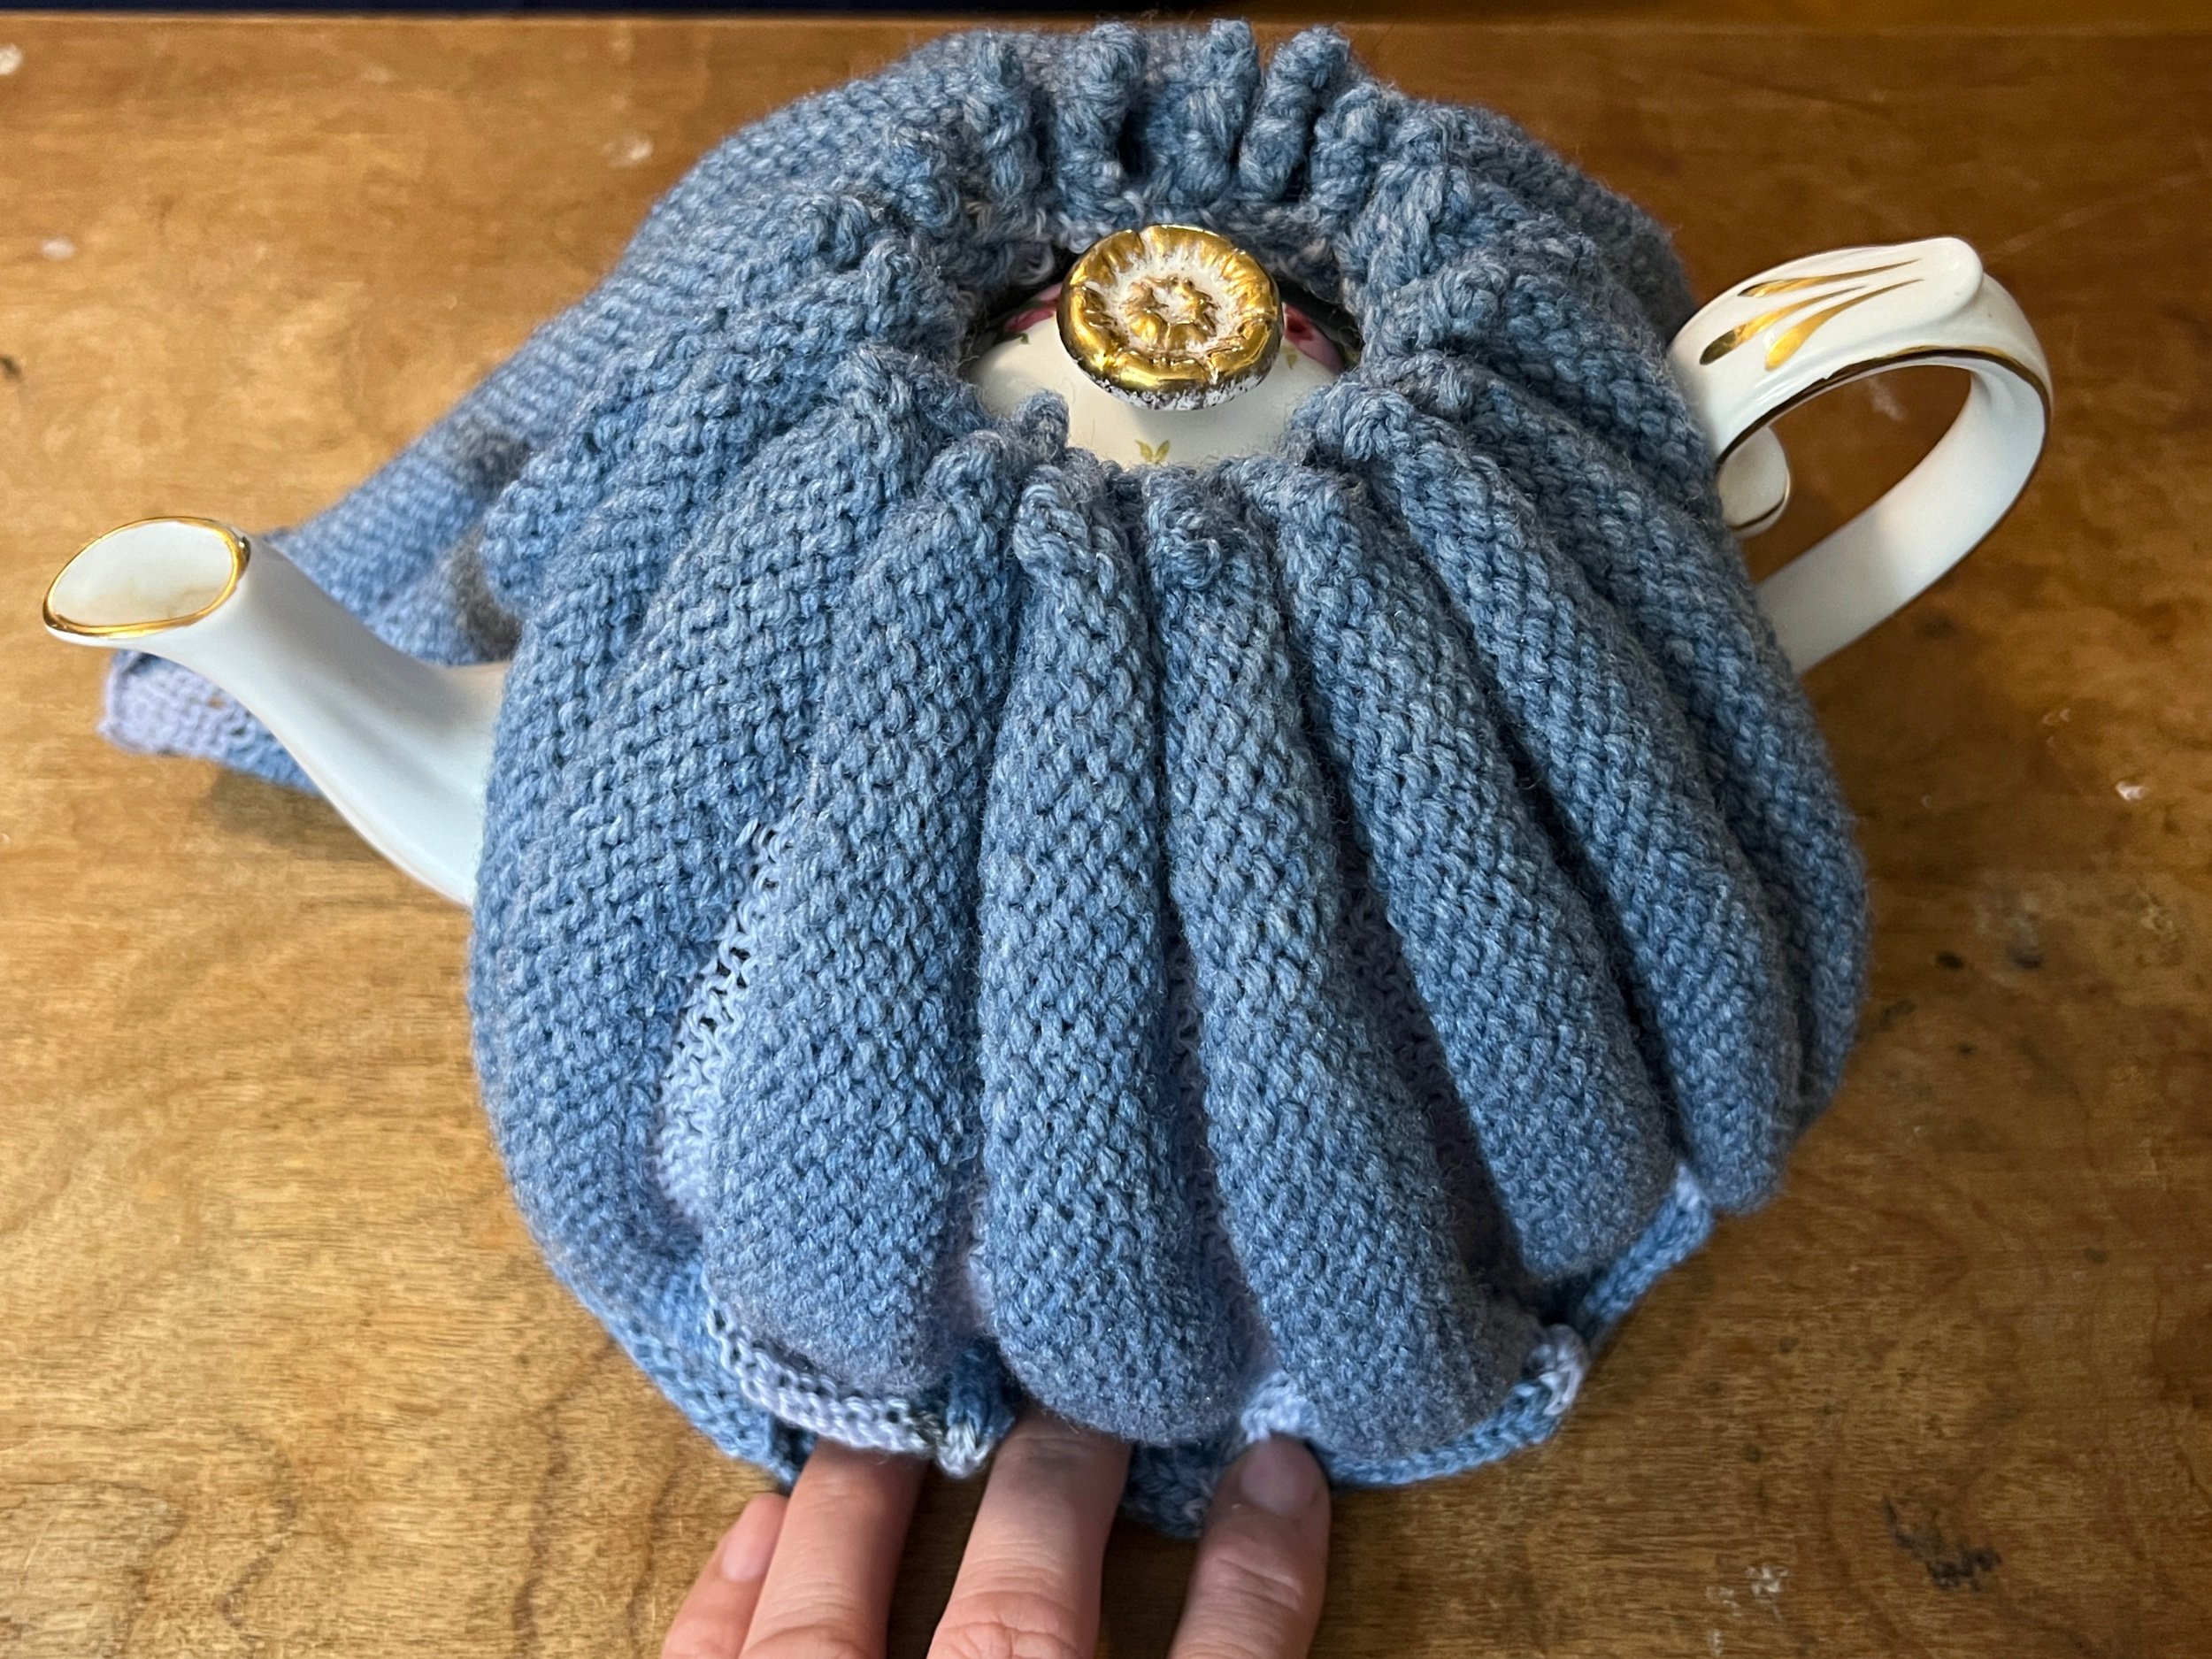
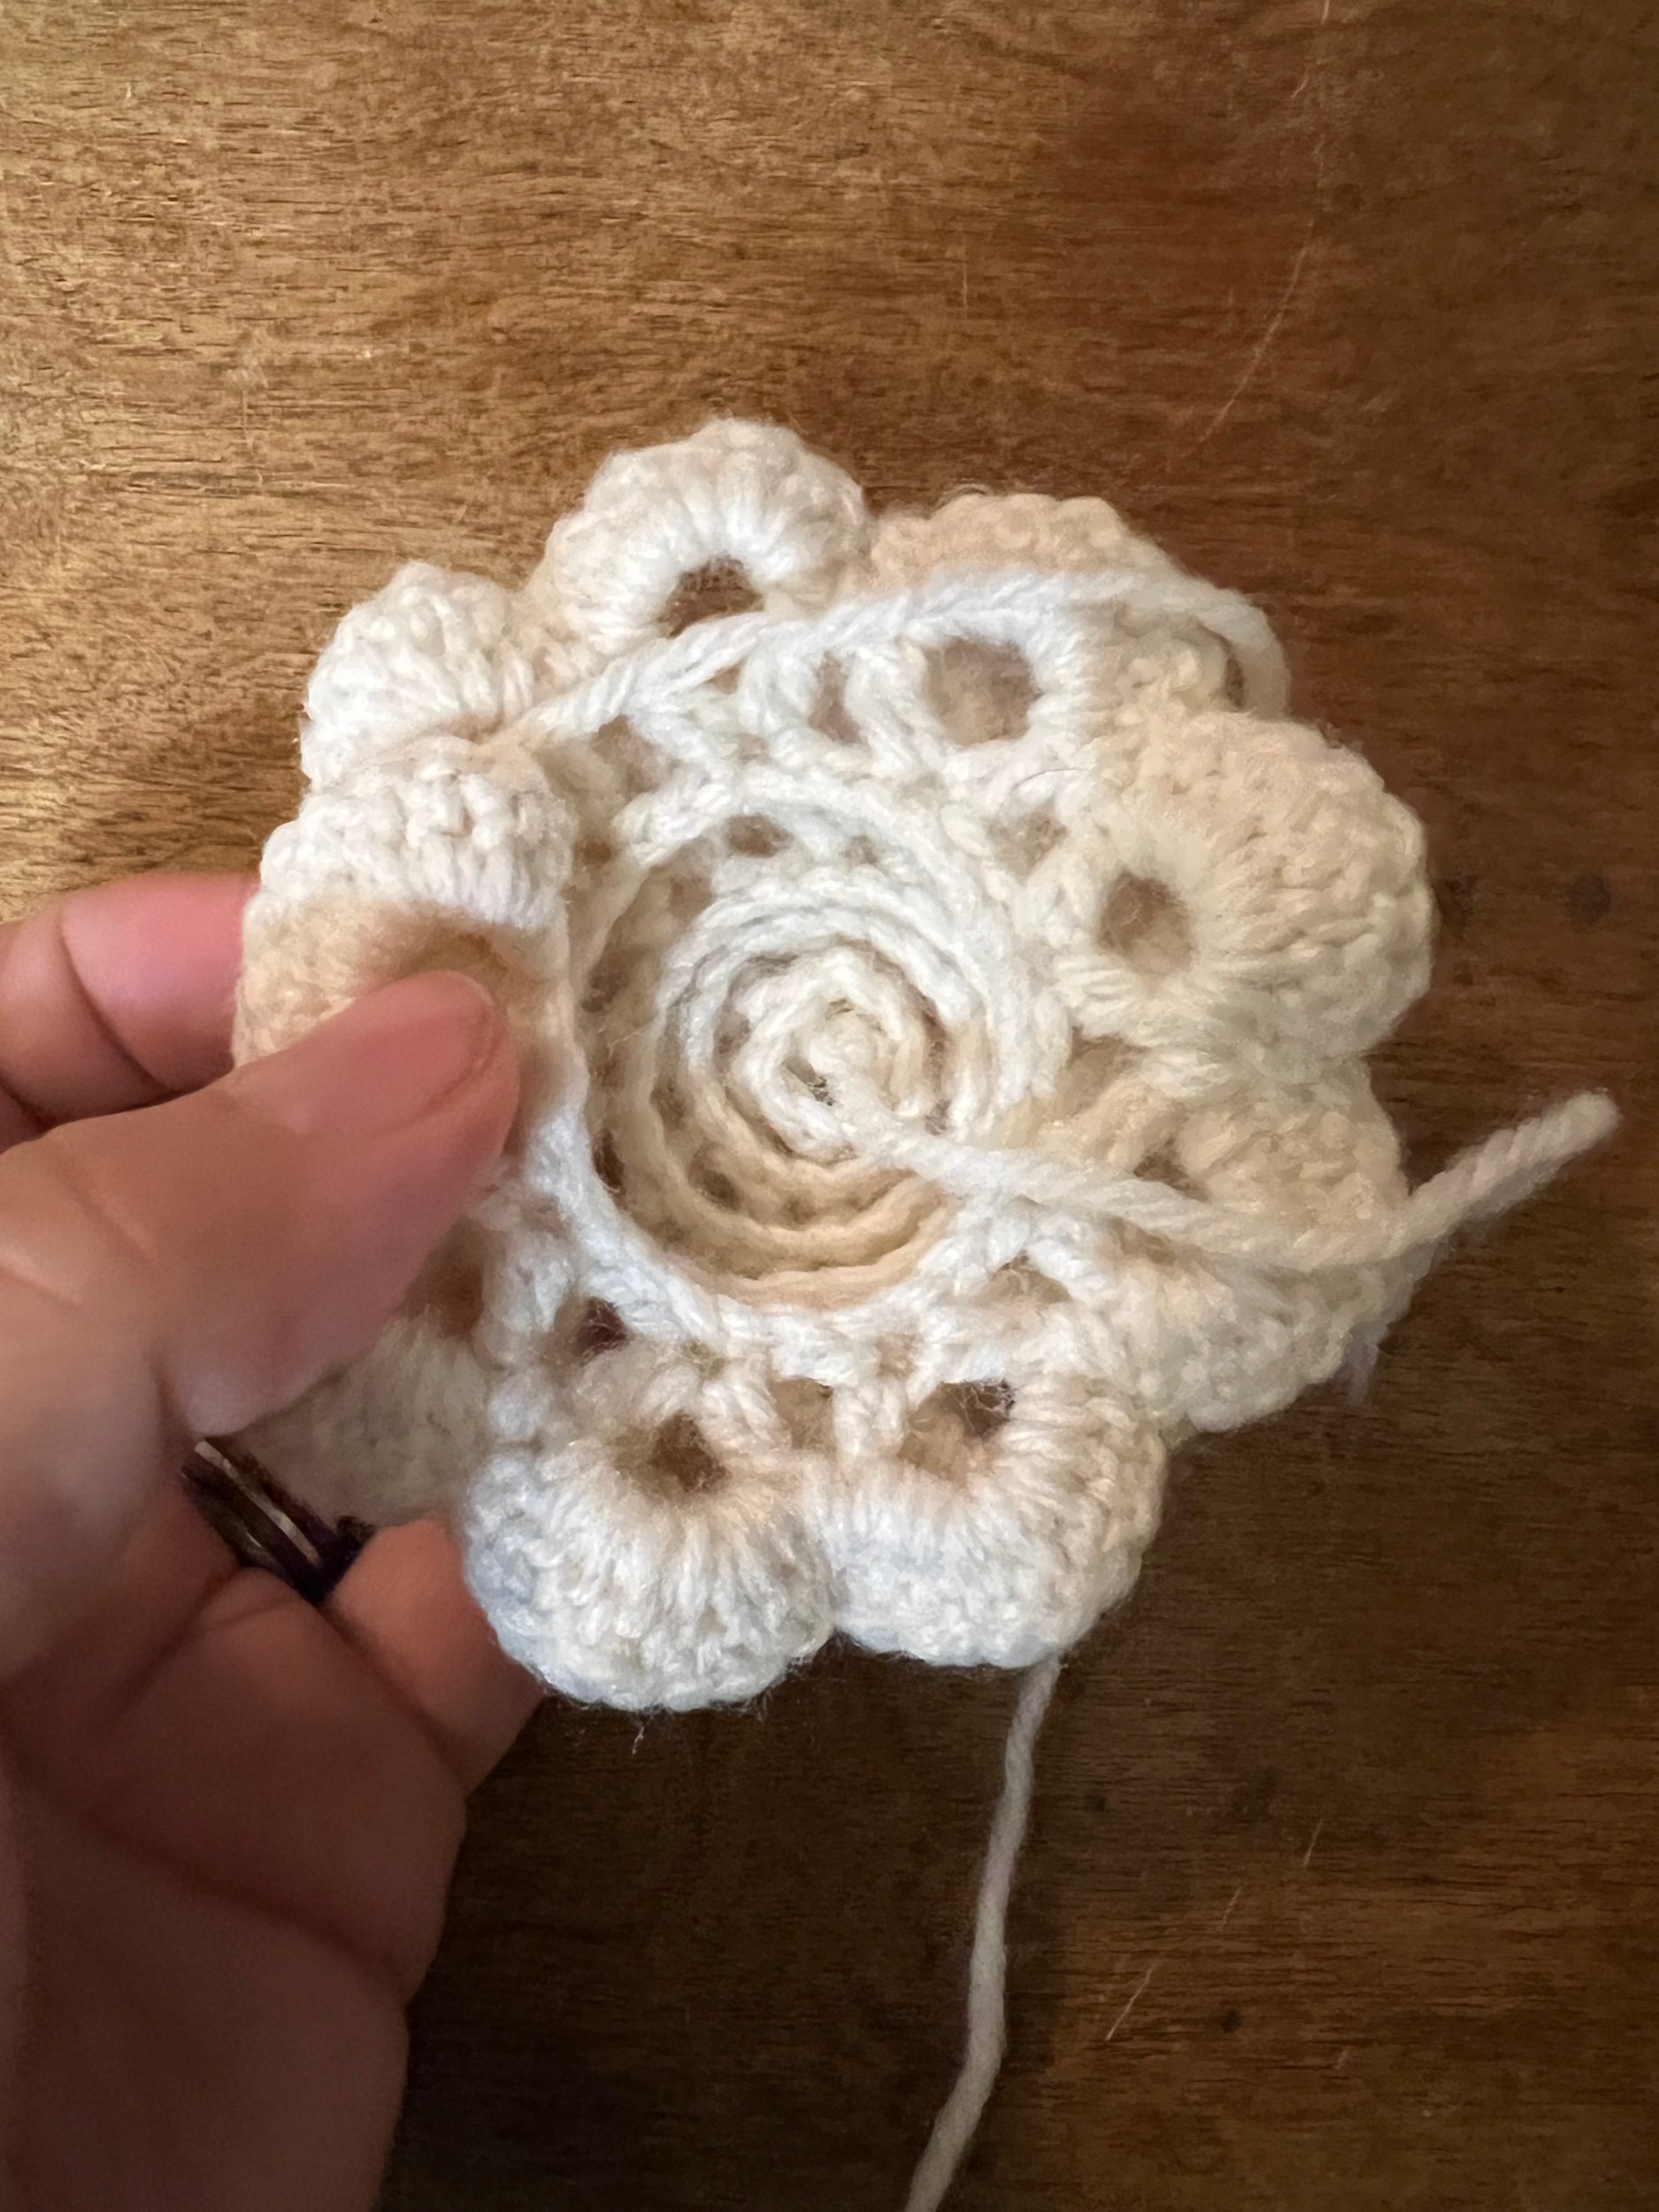
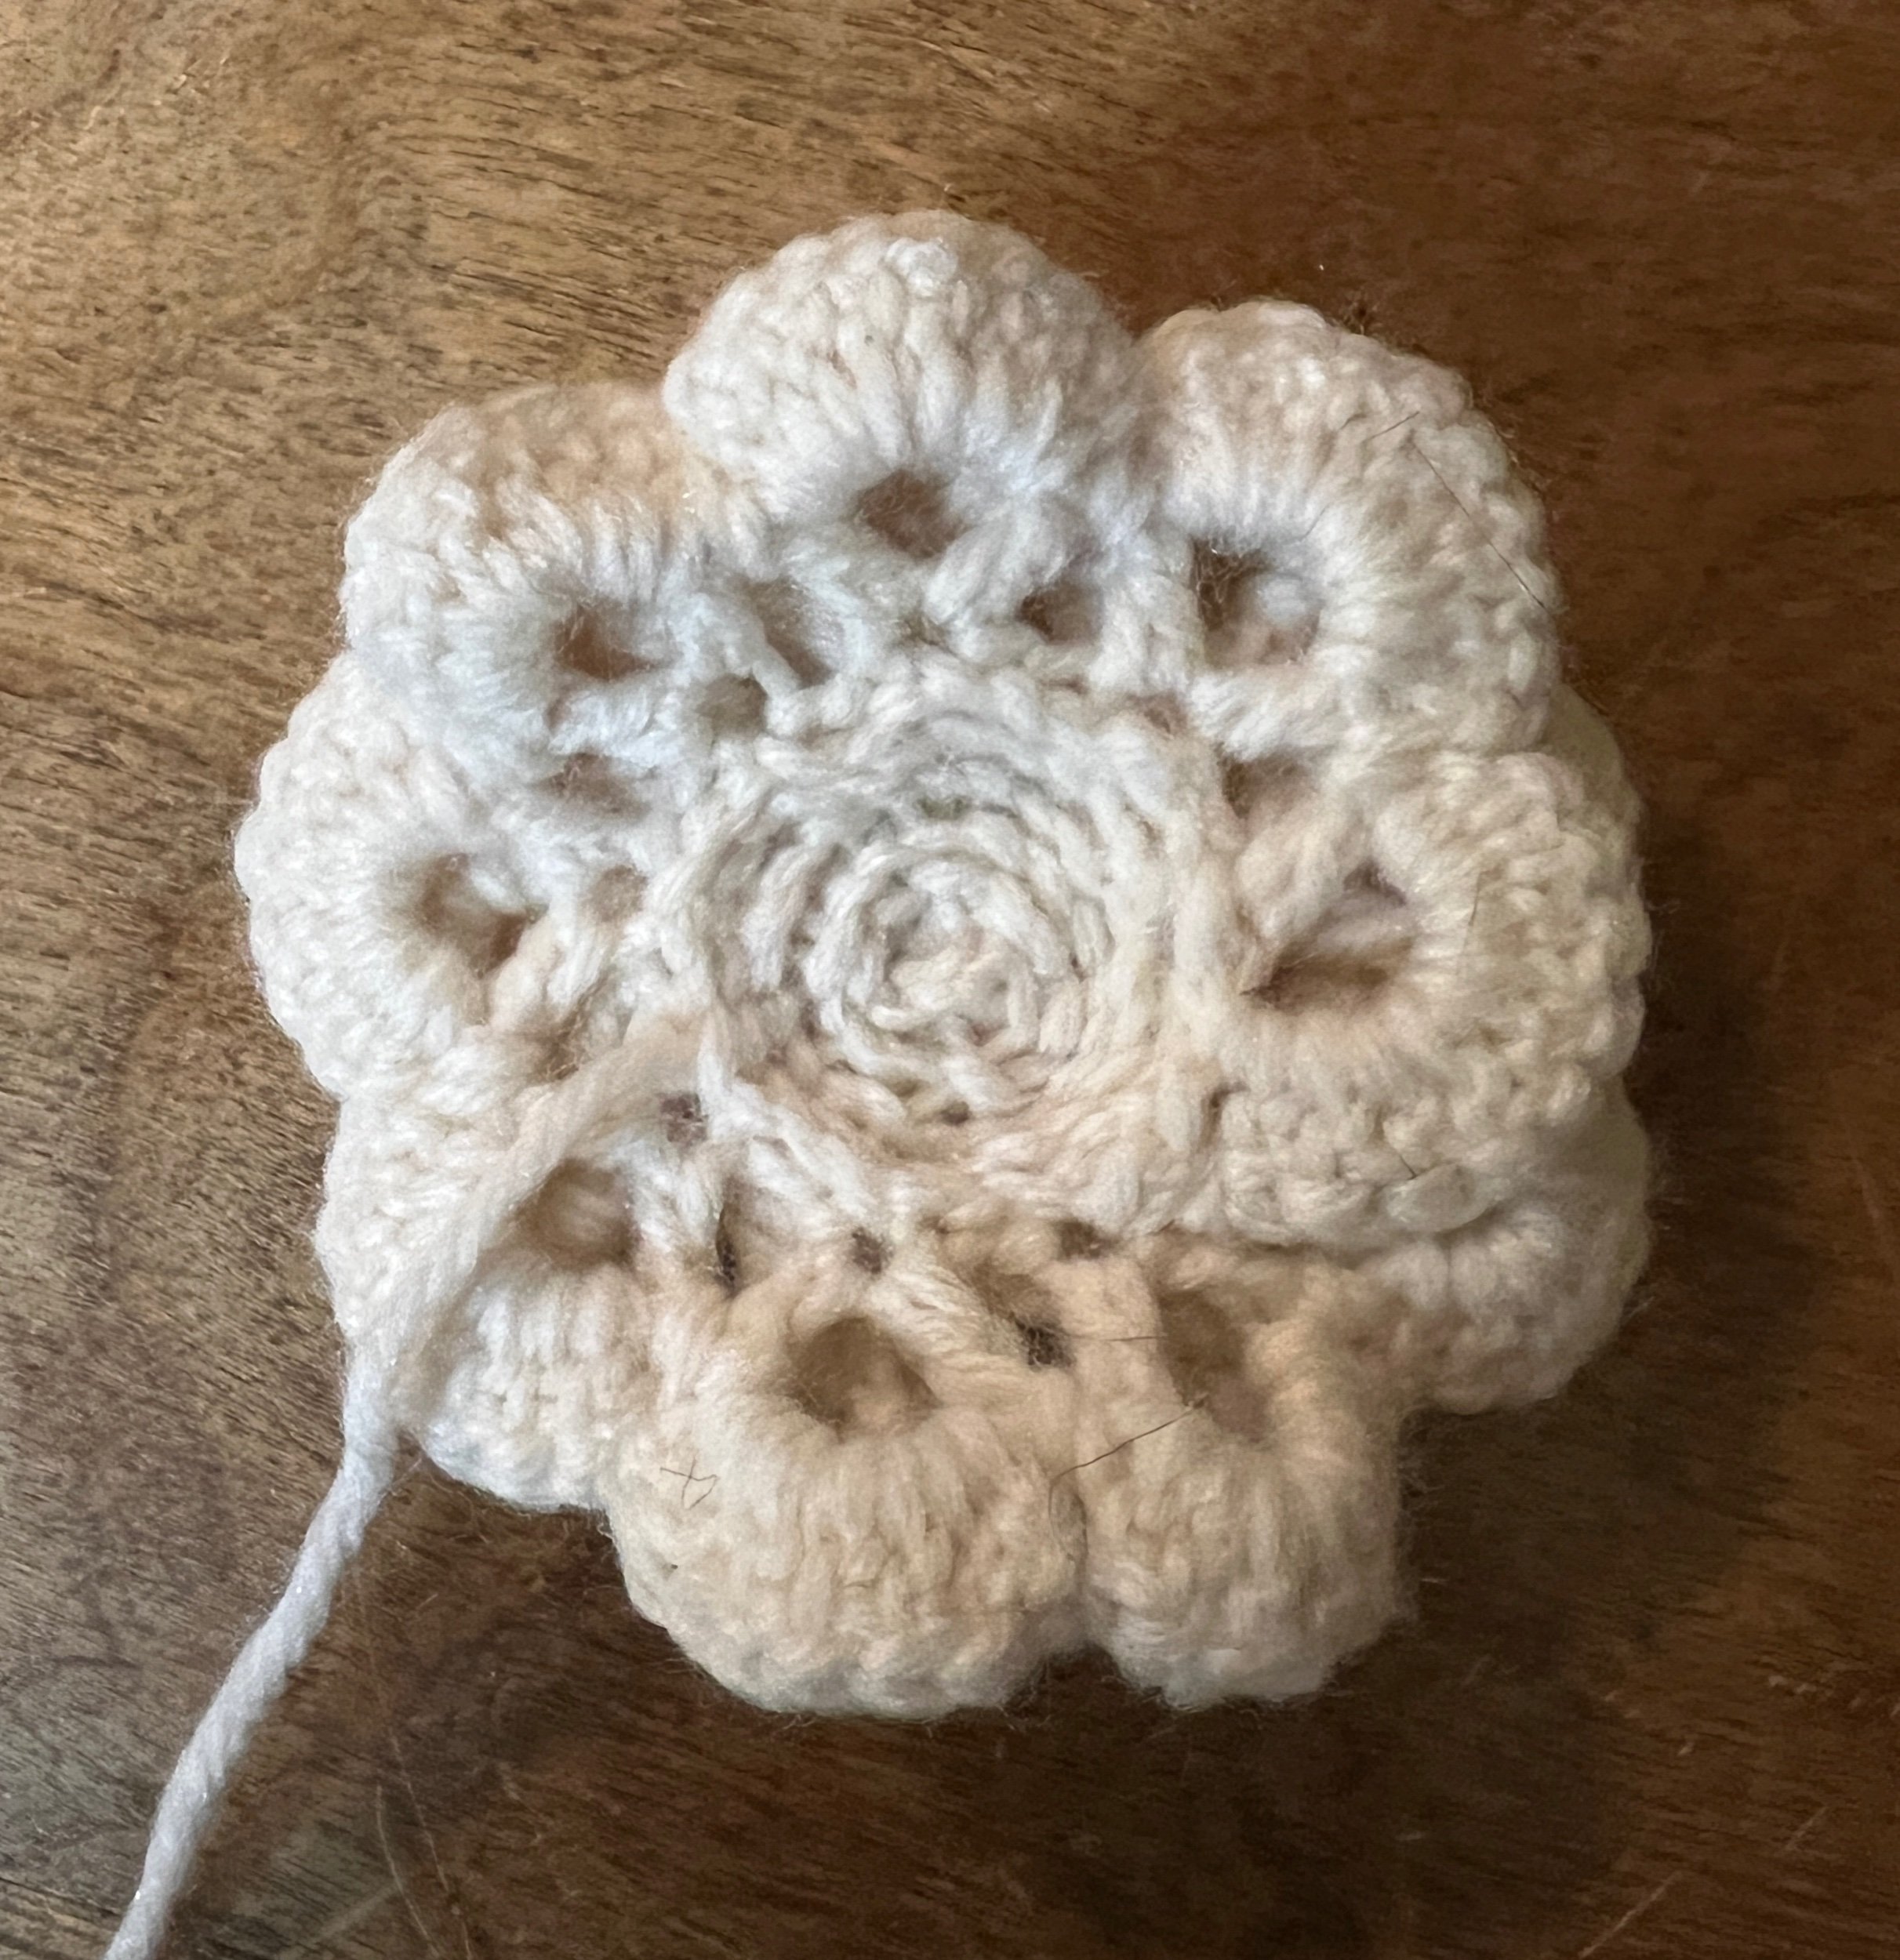
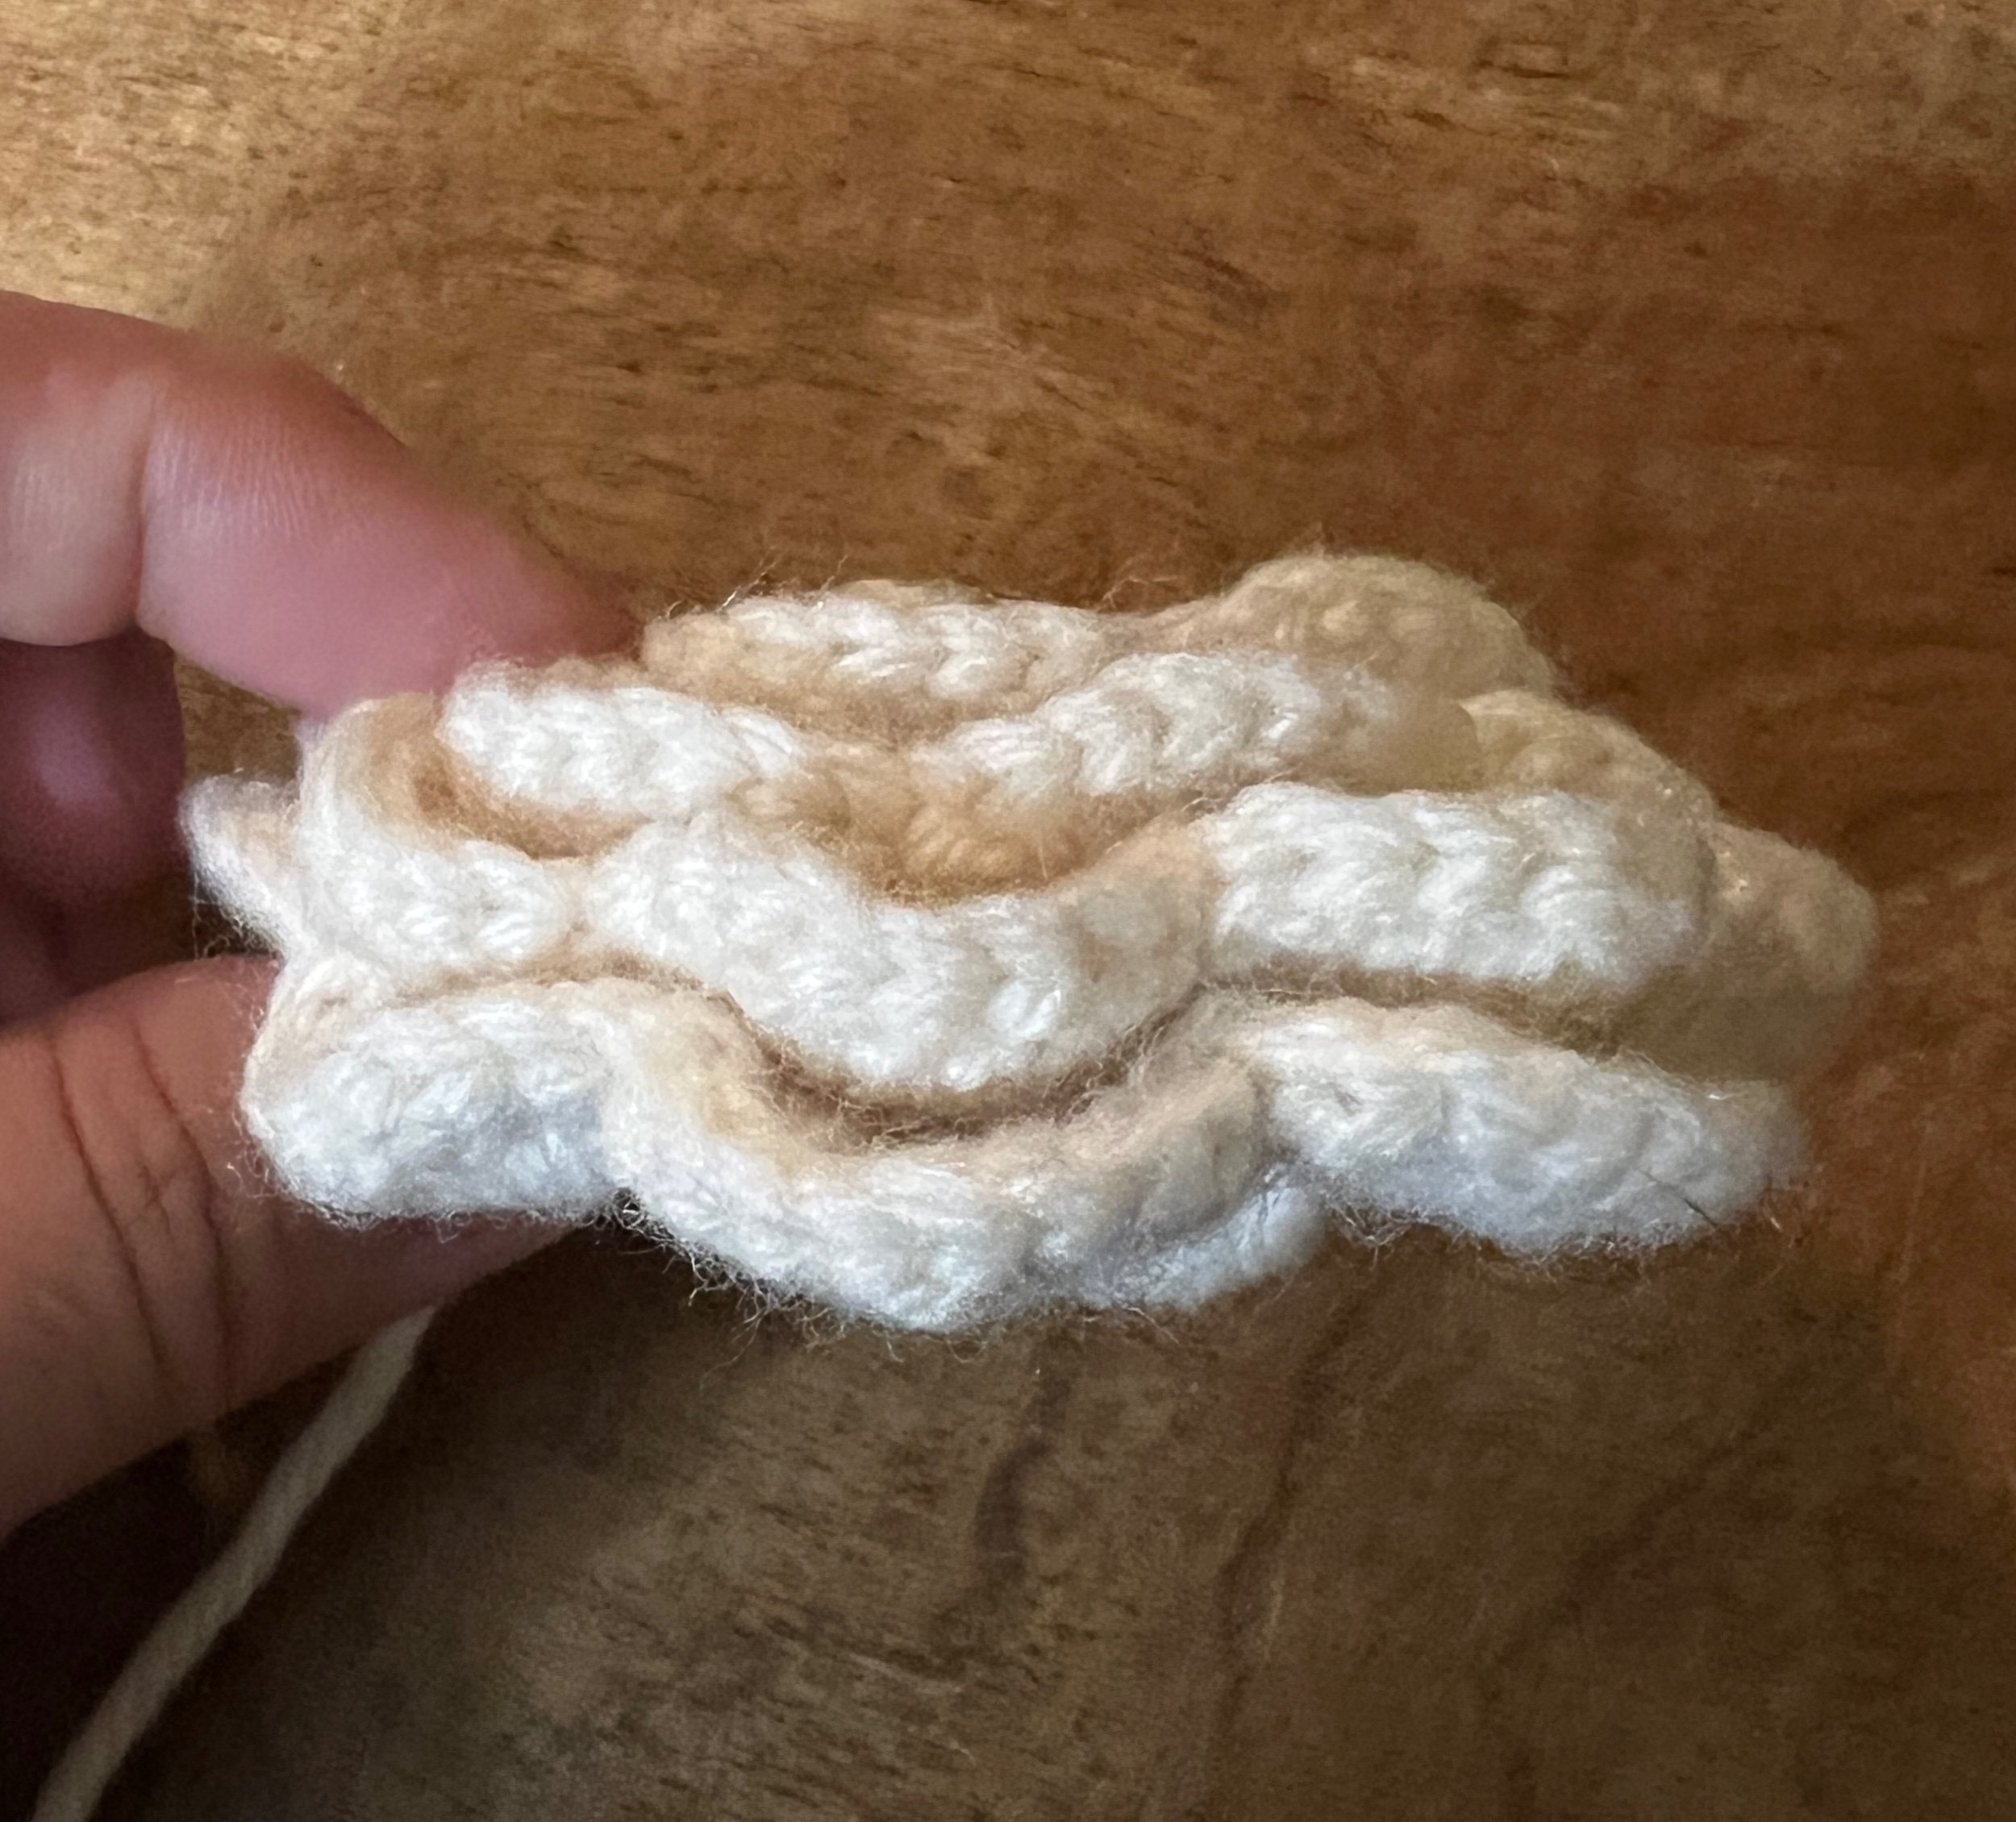
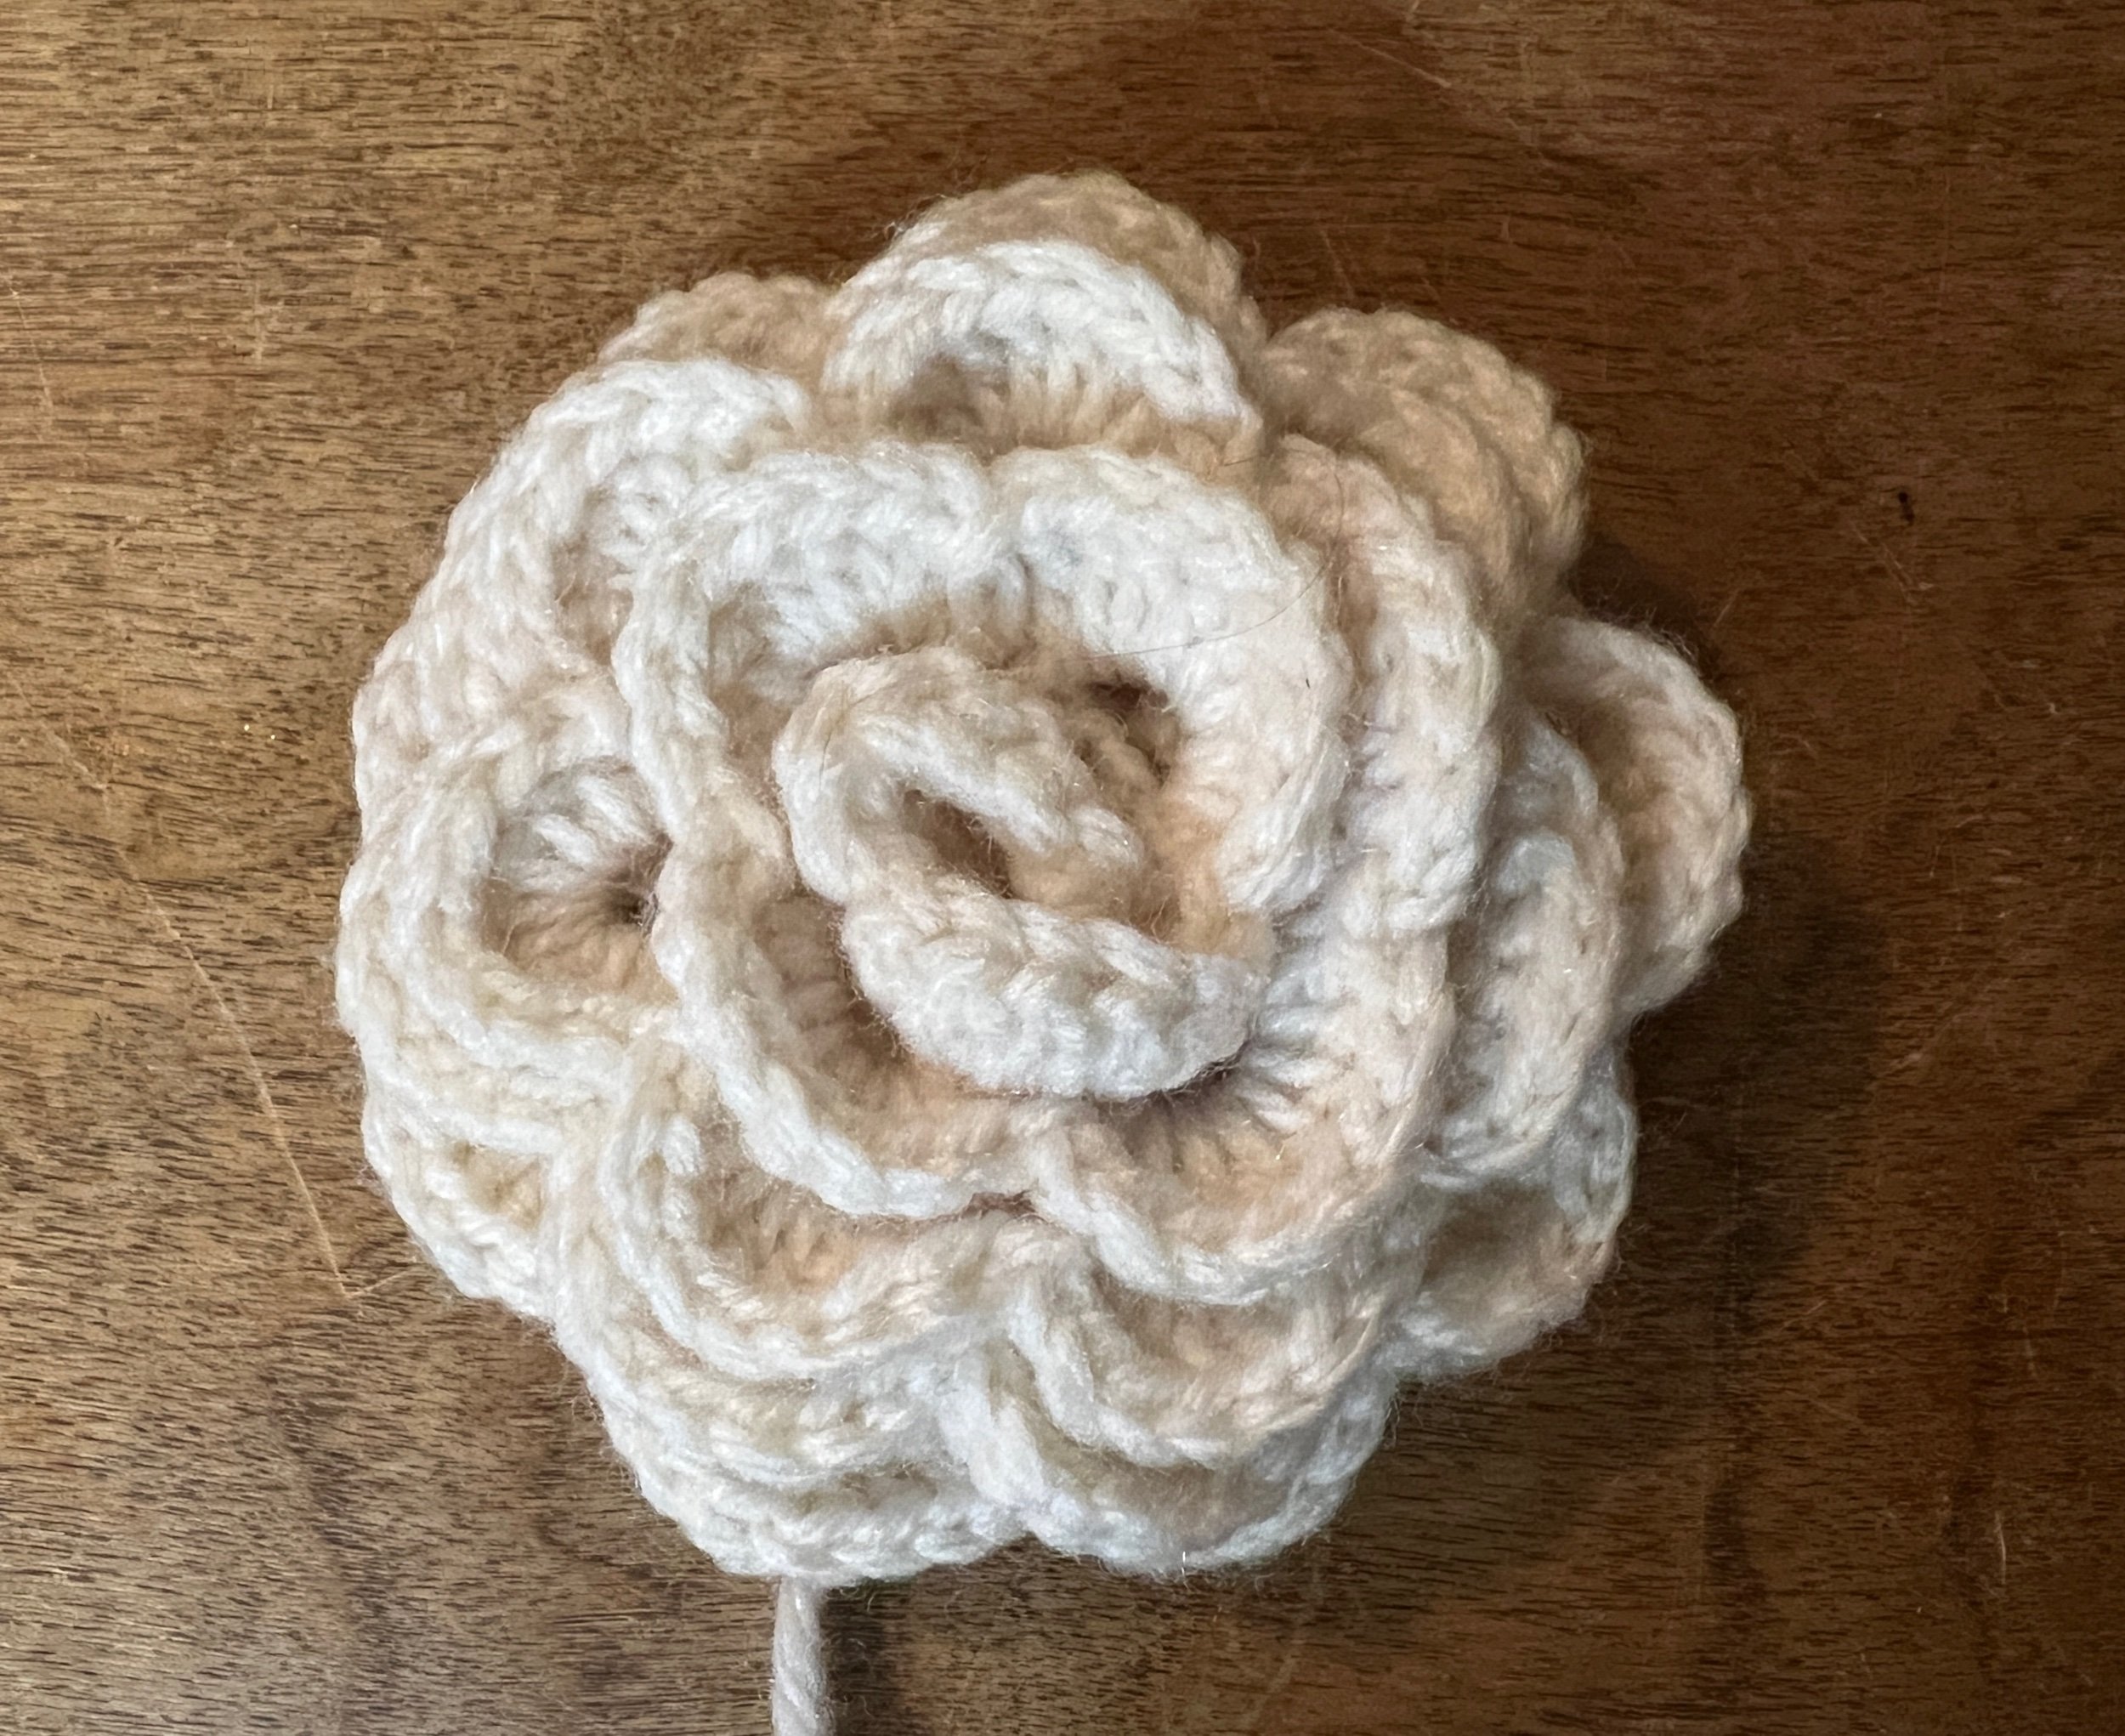
I then seamed the inside edge of the liner to the edge of the outer work and joined the lower openings at the handle and spout to about three fingers high from the bottom edge of the project. I further reinforced the inside top and outside top area, created a crocheted flower and attached it.

The crocheted flower was created using https://youtu.be/_VkHJUT73y0


Instagram posts: one | two | three | four | five | six |


See all Blog Entries on the BLOG INDEX page

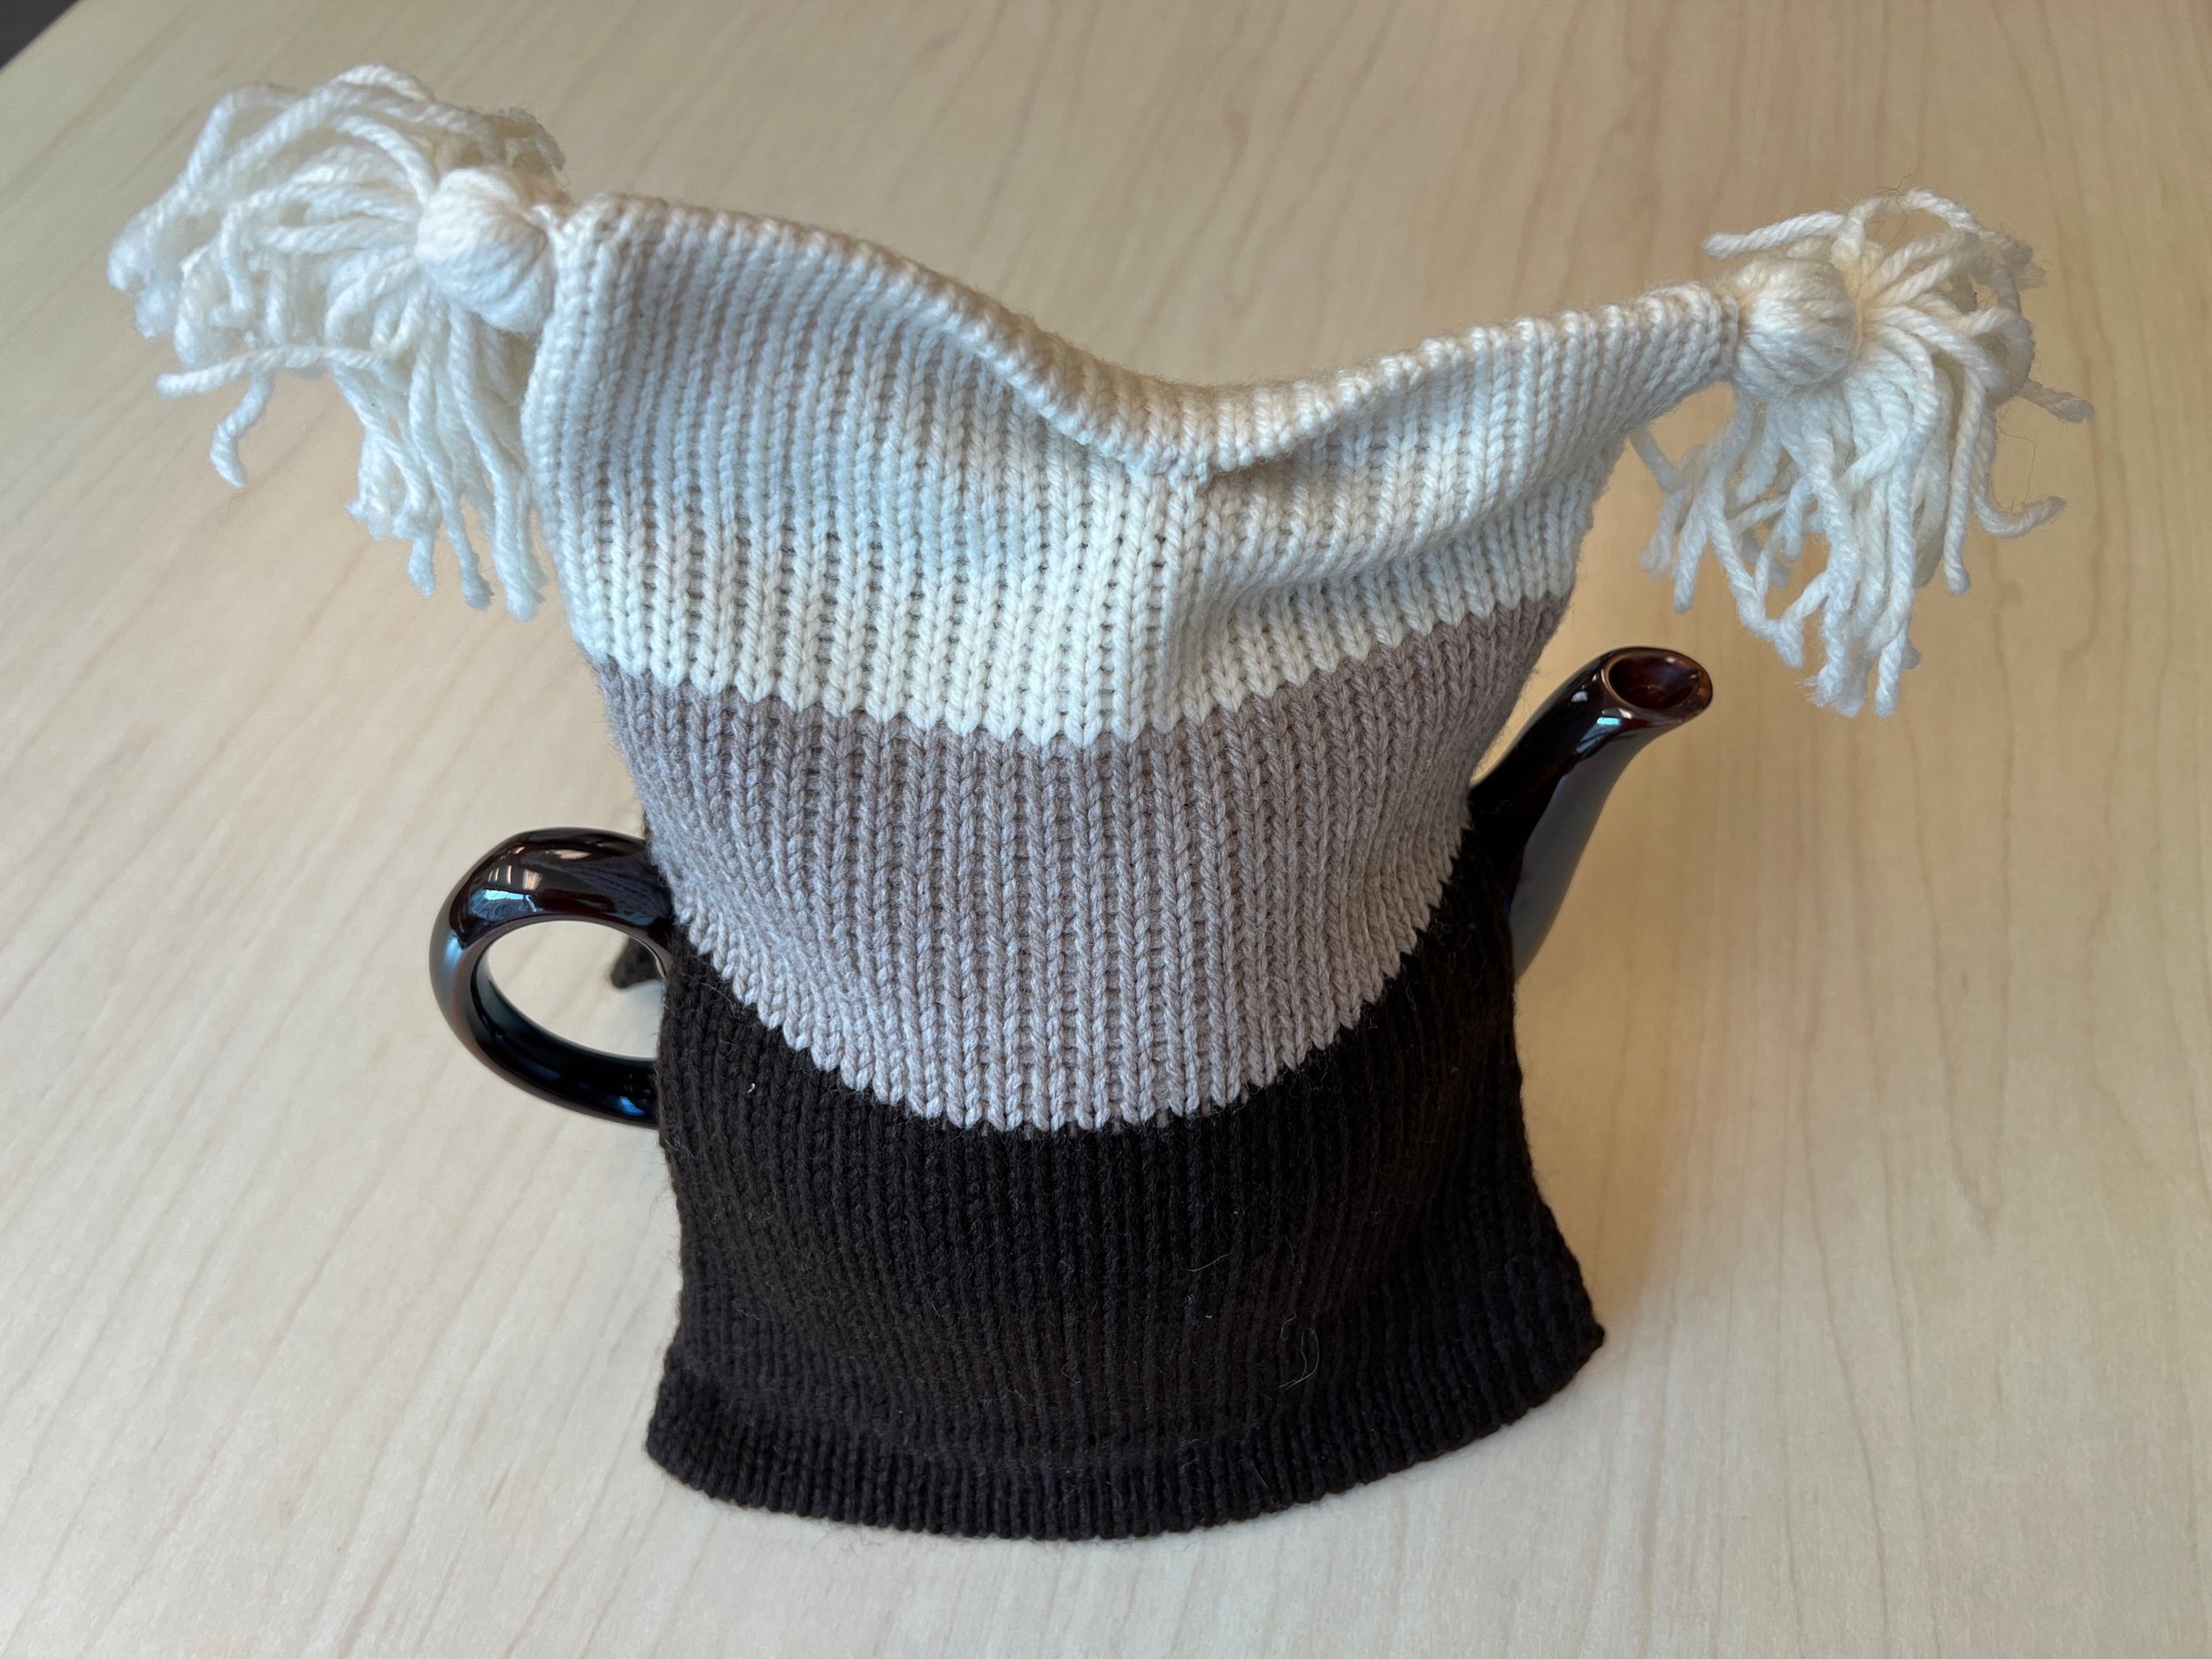
2023 May 28 - Owl Teapot Cozy

Today it was asked if I could make a new Teapot Cozy.

Not owning an actual Teapot I borrowed one. :) Then I surfed the internet for ideas - WOW!

Digging through some recently donated yarn I then spent too much time winding balls into cones so that the knitting machine would be happy and the yarn tension/stitches even.

I am looking for a cover that will span 21 inches. I am using unlabeled maybe worsted weight acrylic so I approximated the width via needles and after open casting with scrap yarn using every second needle, I then switched to white project yarn, continuing with the every second needle - ensuring not to make a fabric too dense. Lets see what that does.


BUILDING THE PROJECT ON THE FLAT BED
Using Mast Tension 2, Cam Lever (Carriage) 10 tension.

SUMMARY: Create two rectangles (every 2nd needle) using needle marks total for EACH rectangle of 60 rows THEN join/work both rectangles.

  • USING right side of 0 pull out every 2nd needle to 66 (33 needles). Open Cast On with scrap then switch to dark brown. Work 50 rows with assist on tension to ensure all edge stitches are even.

  • Switch to lighter color (beige). Work 20 rows.

  • Switch to white. Work 20 rows. (Total rows are now 100)

  • NOW to do what do did above but in reverse.

  • Work 20 rows white. (Total rows are now 120)

  • Switch to beige. Work 20 rows. (140 total rows)

  • Switch to dark brown and work 50 rows. (190 total rows). Cast Off with the project yarn.

NEXT CREATE A PARTIAL LINER:

  • Cast on again using every second needle (but cast on with one less than above so its slightly narrower than the outer piece is) - 32 needle scrap cast on then e-wrap beige yarn cast on.

  • Work the number of rows used in the dark brown and beige (2x50, 2x20=140). Cast off with project yarn.

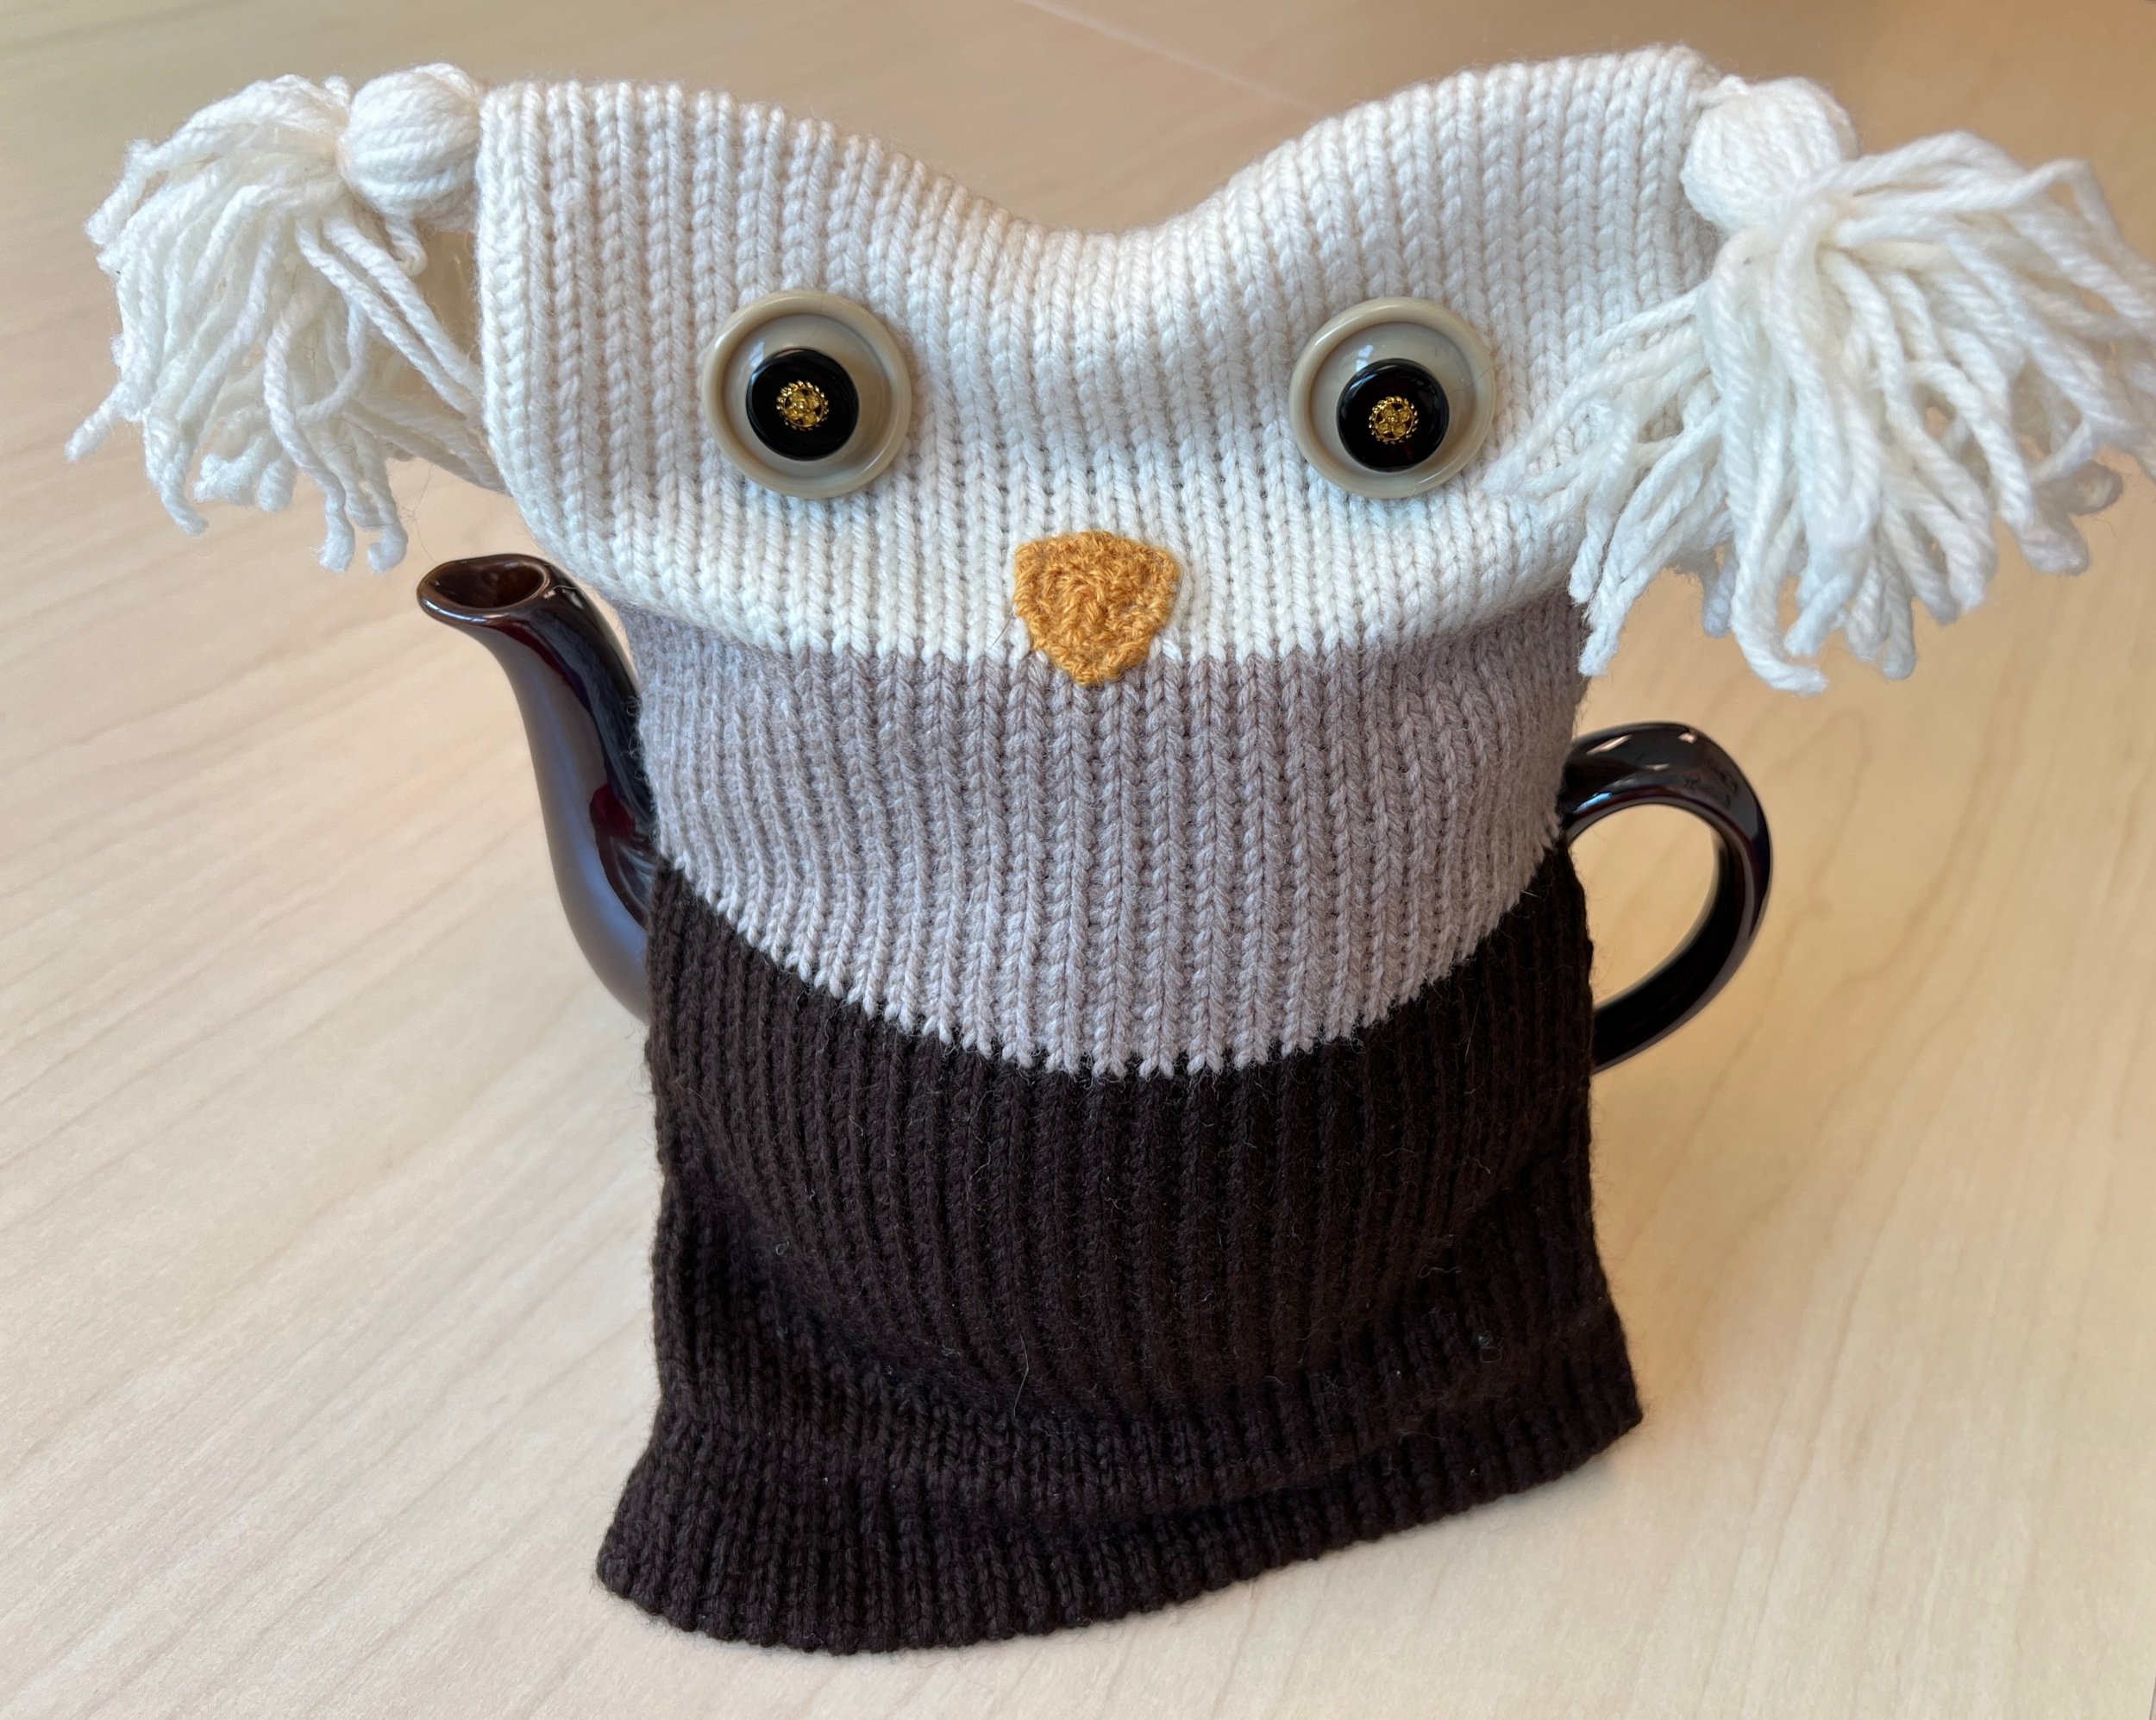
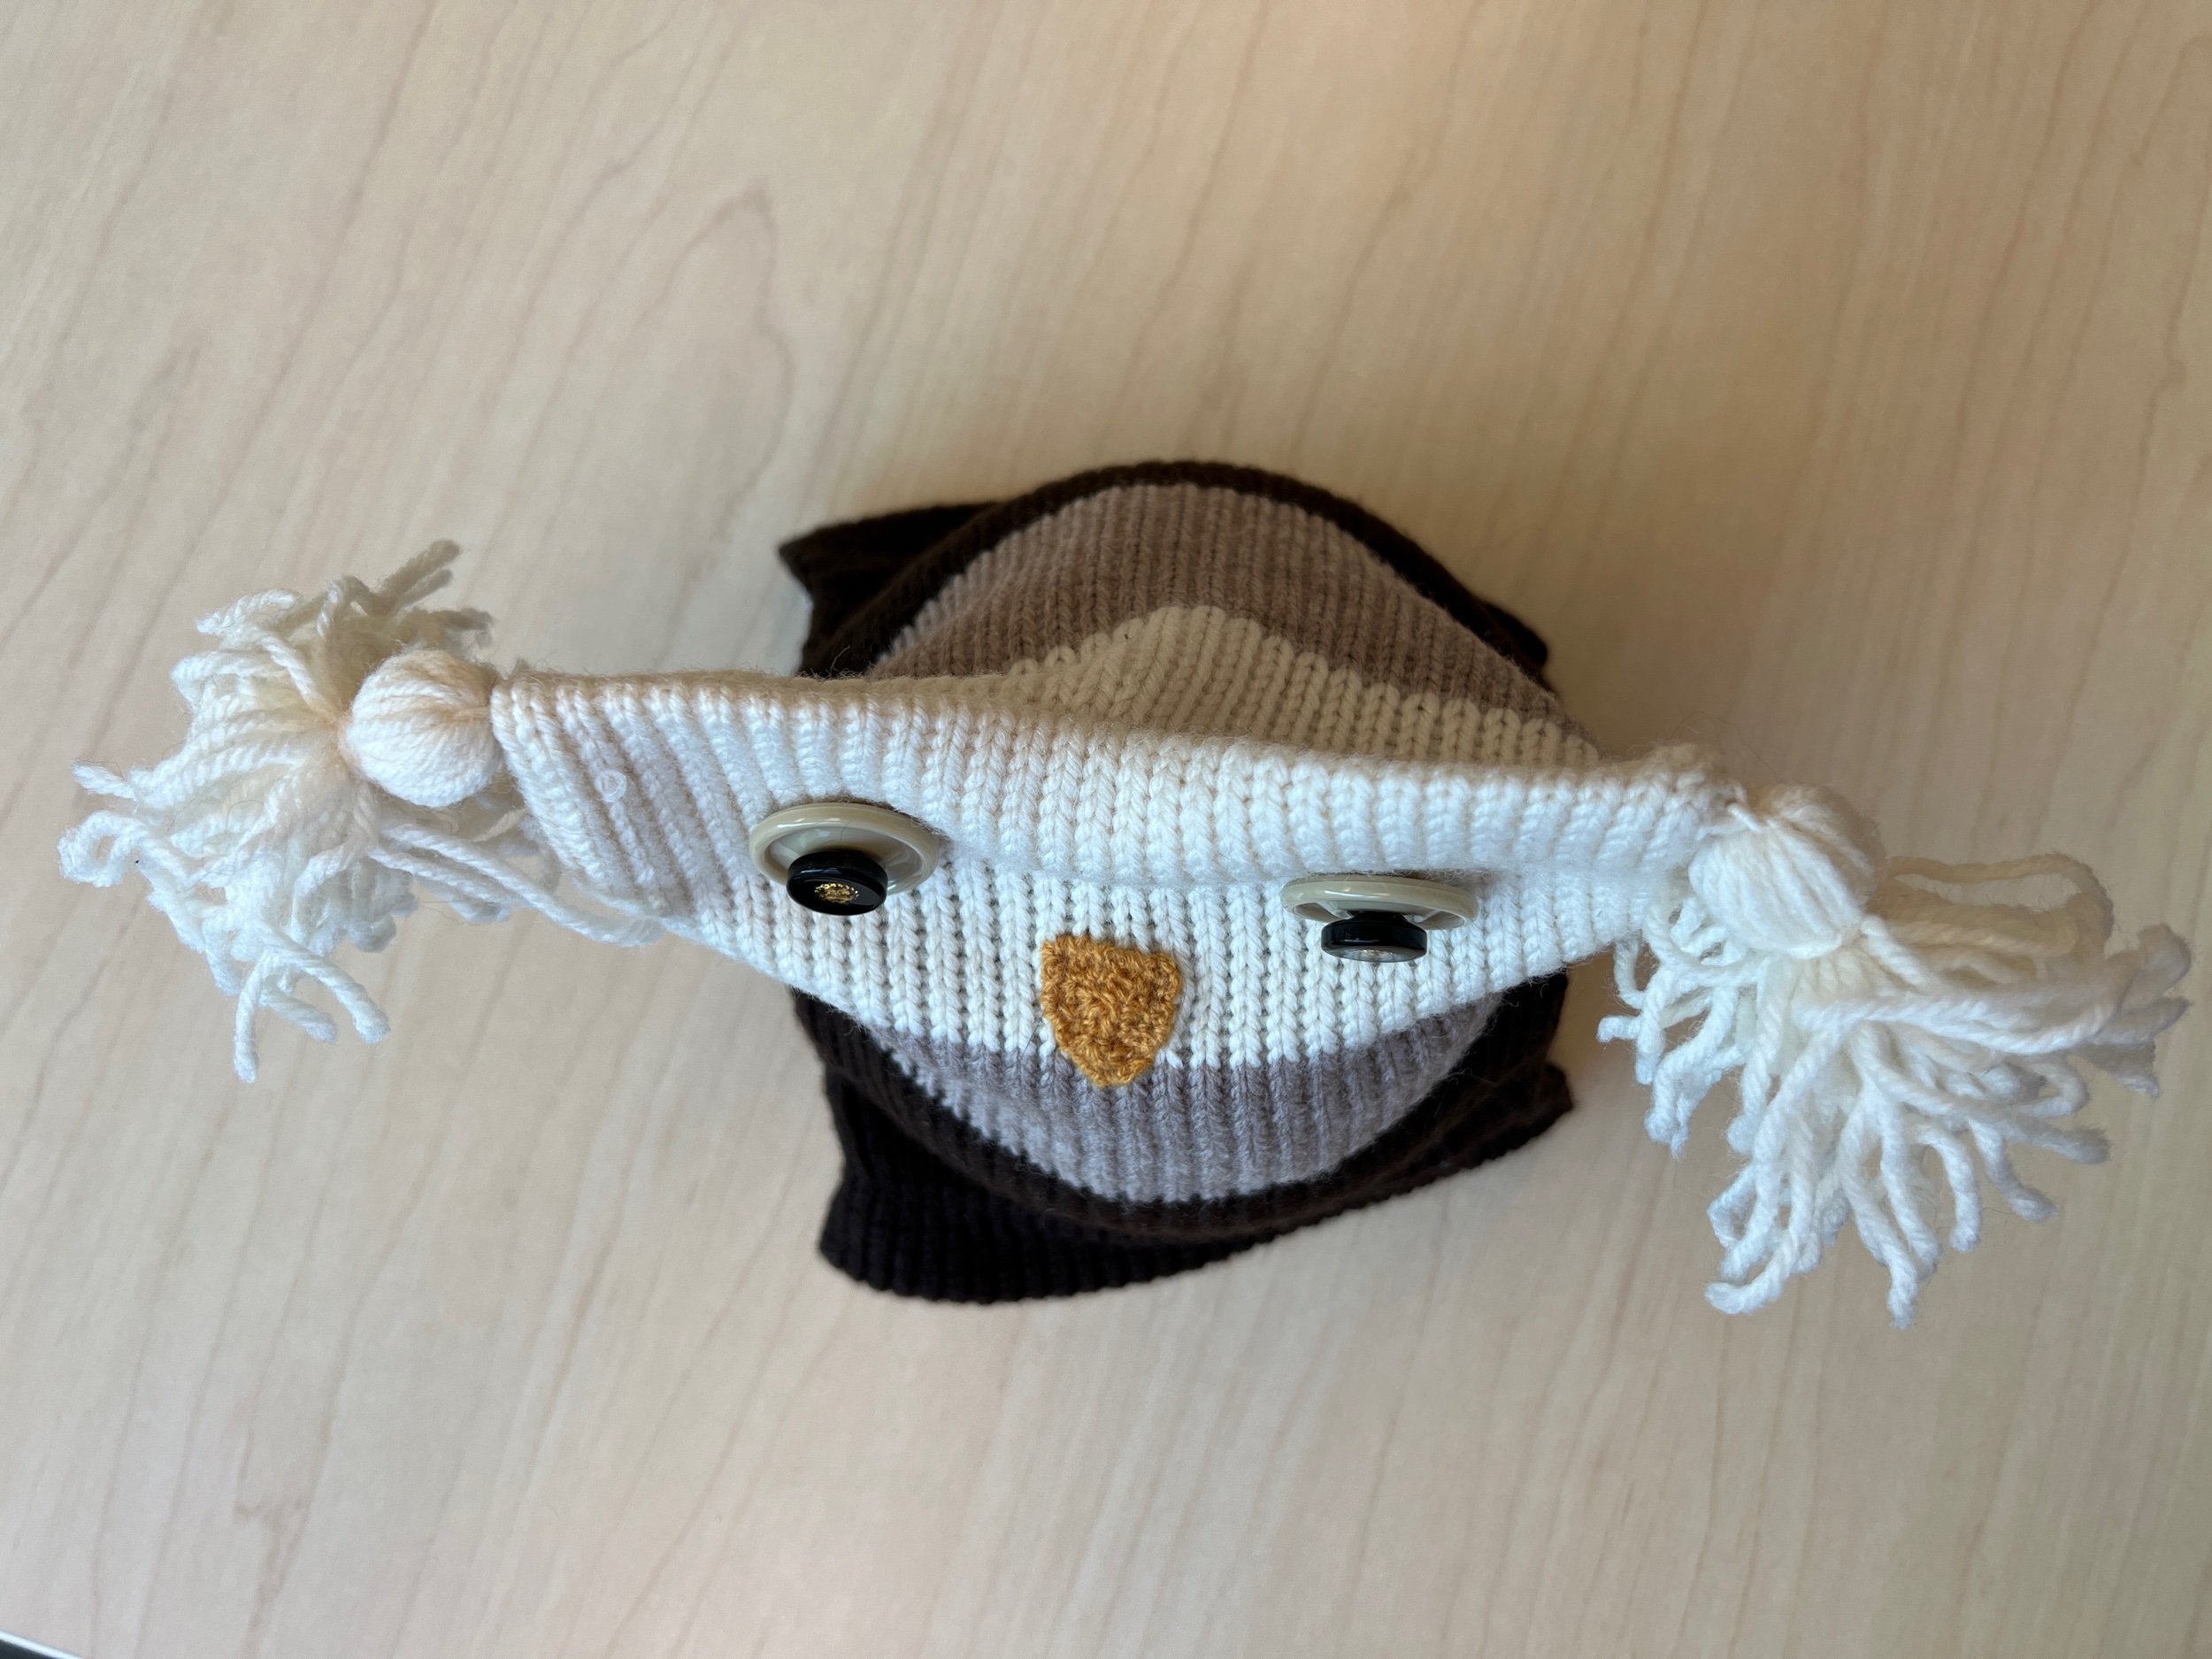
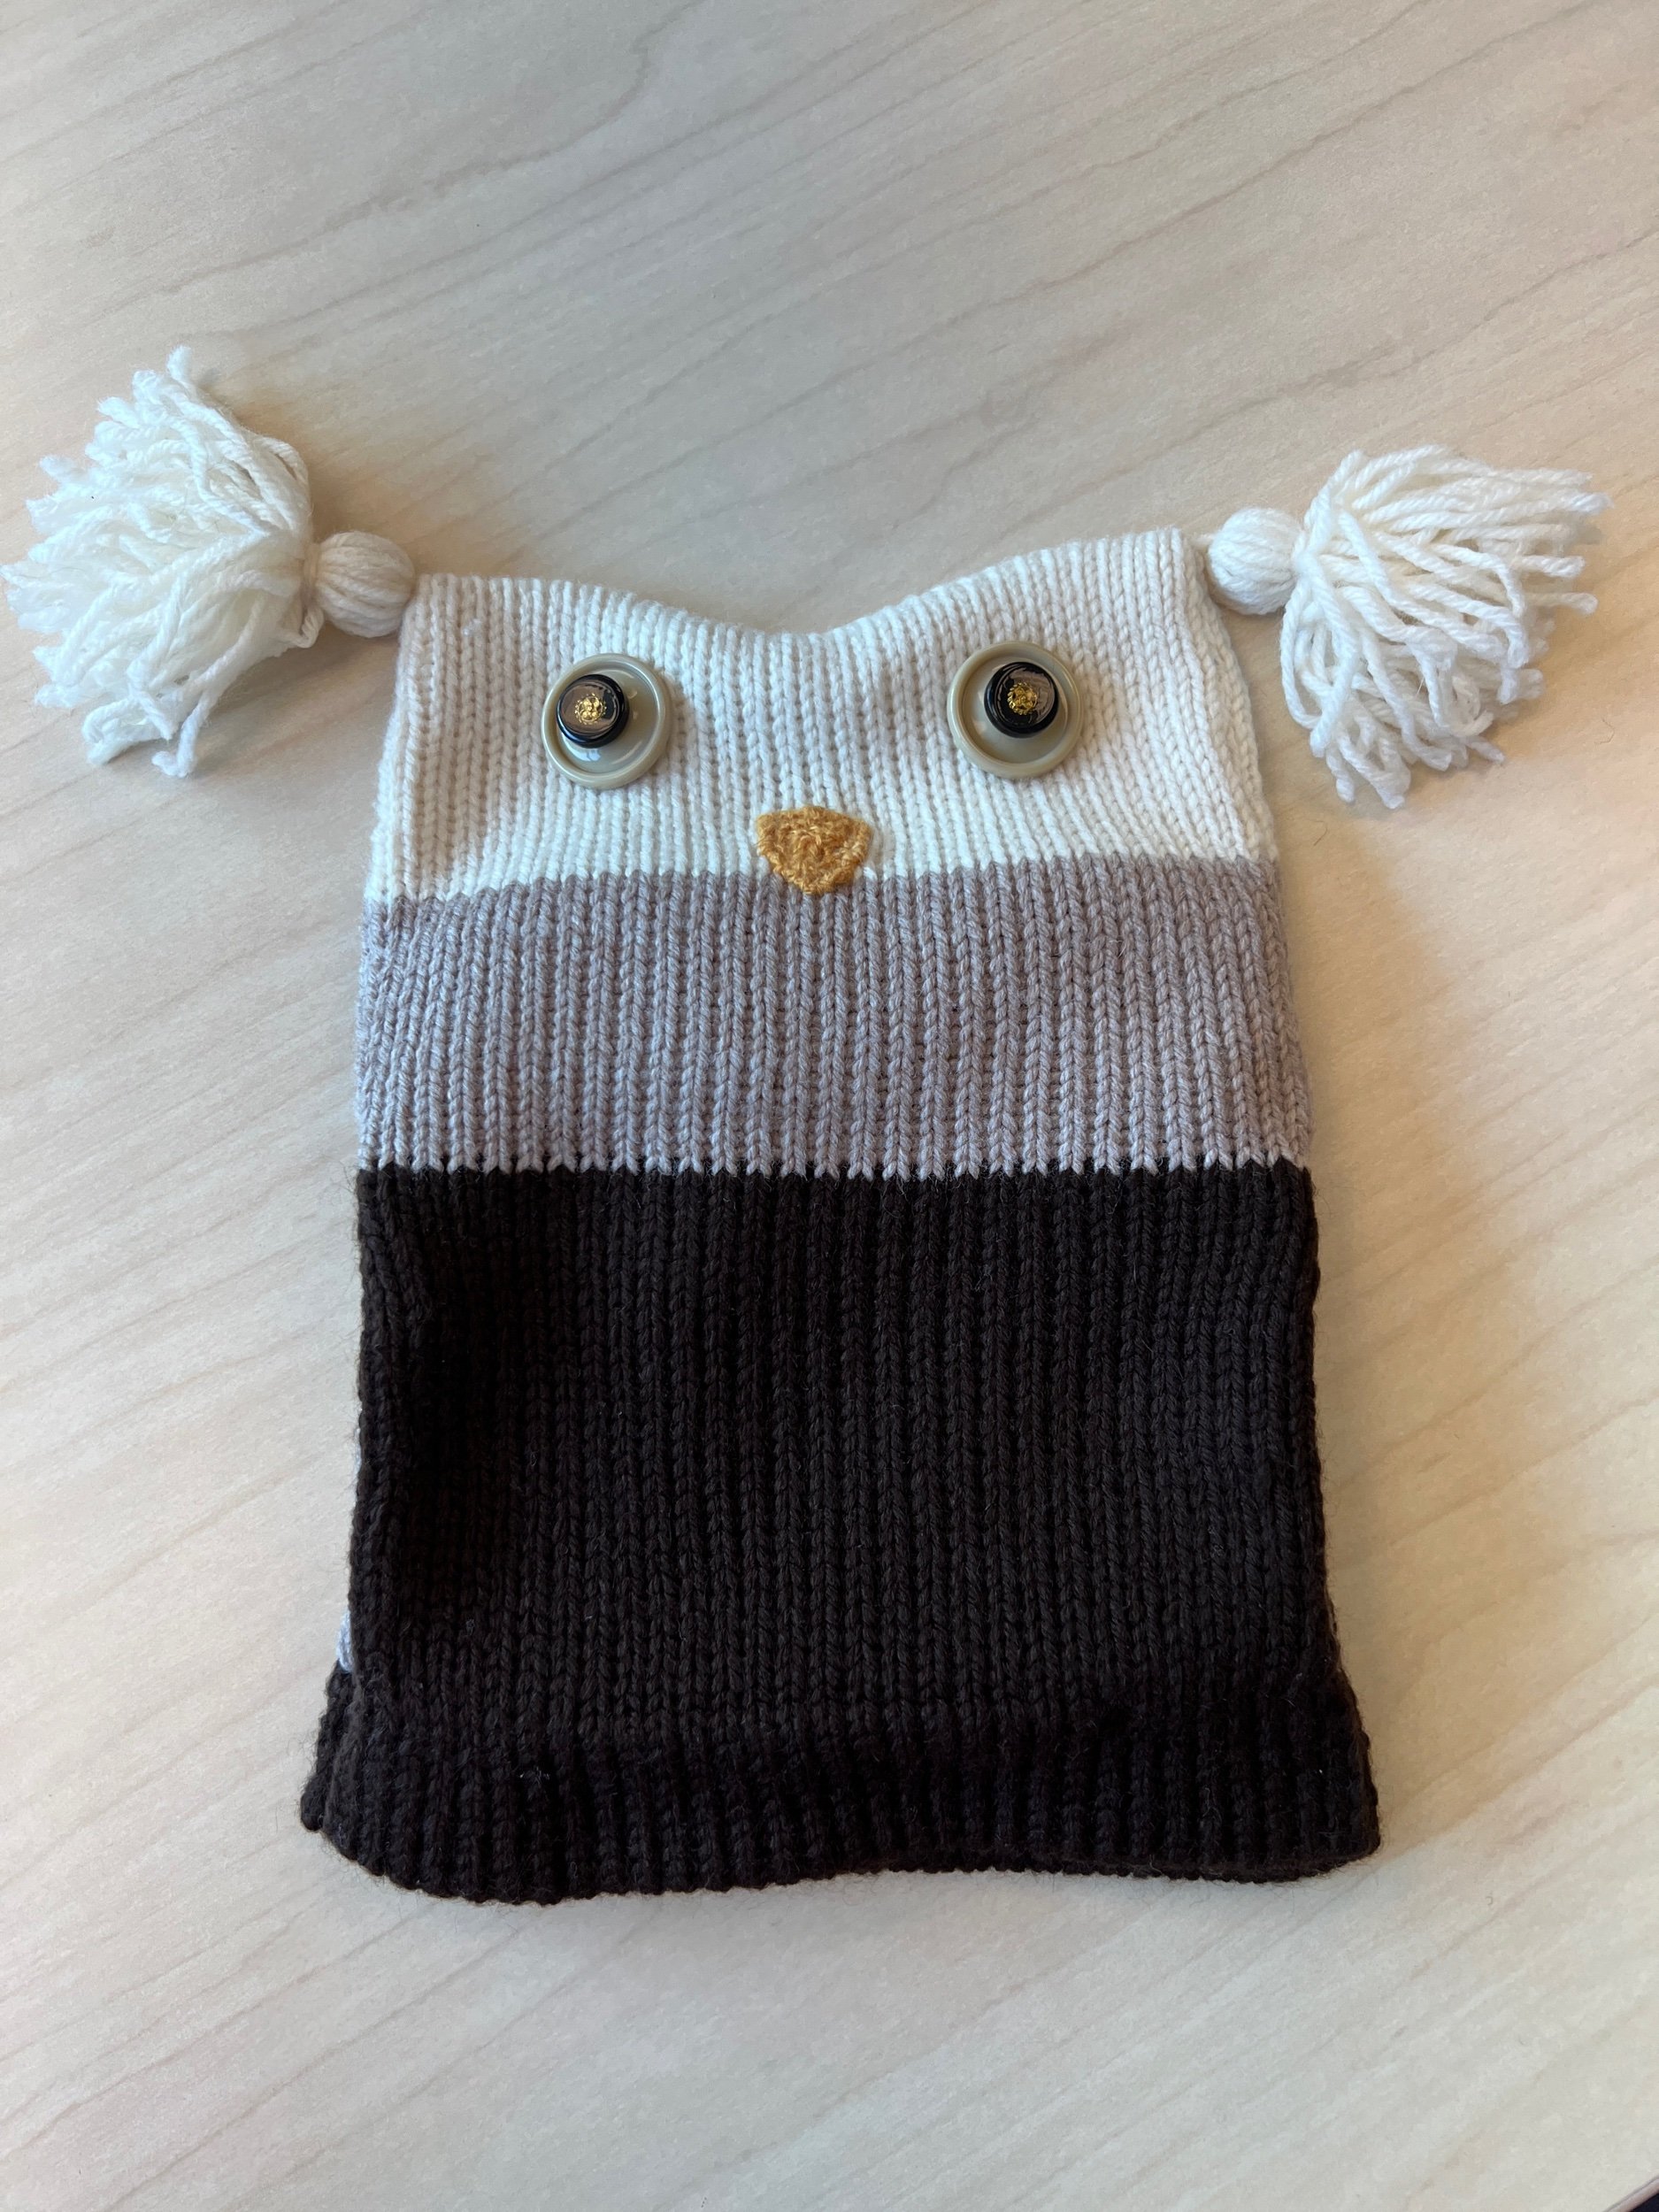
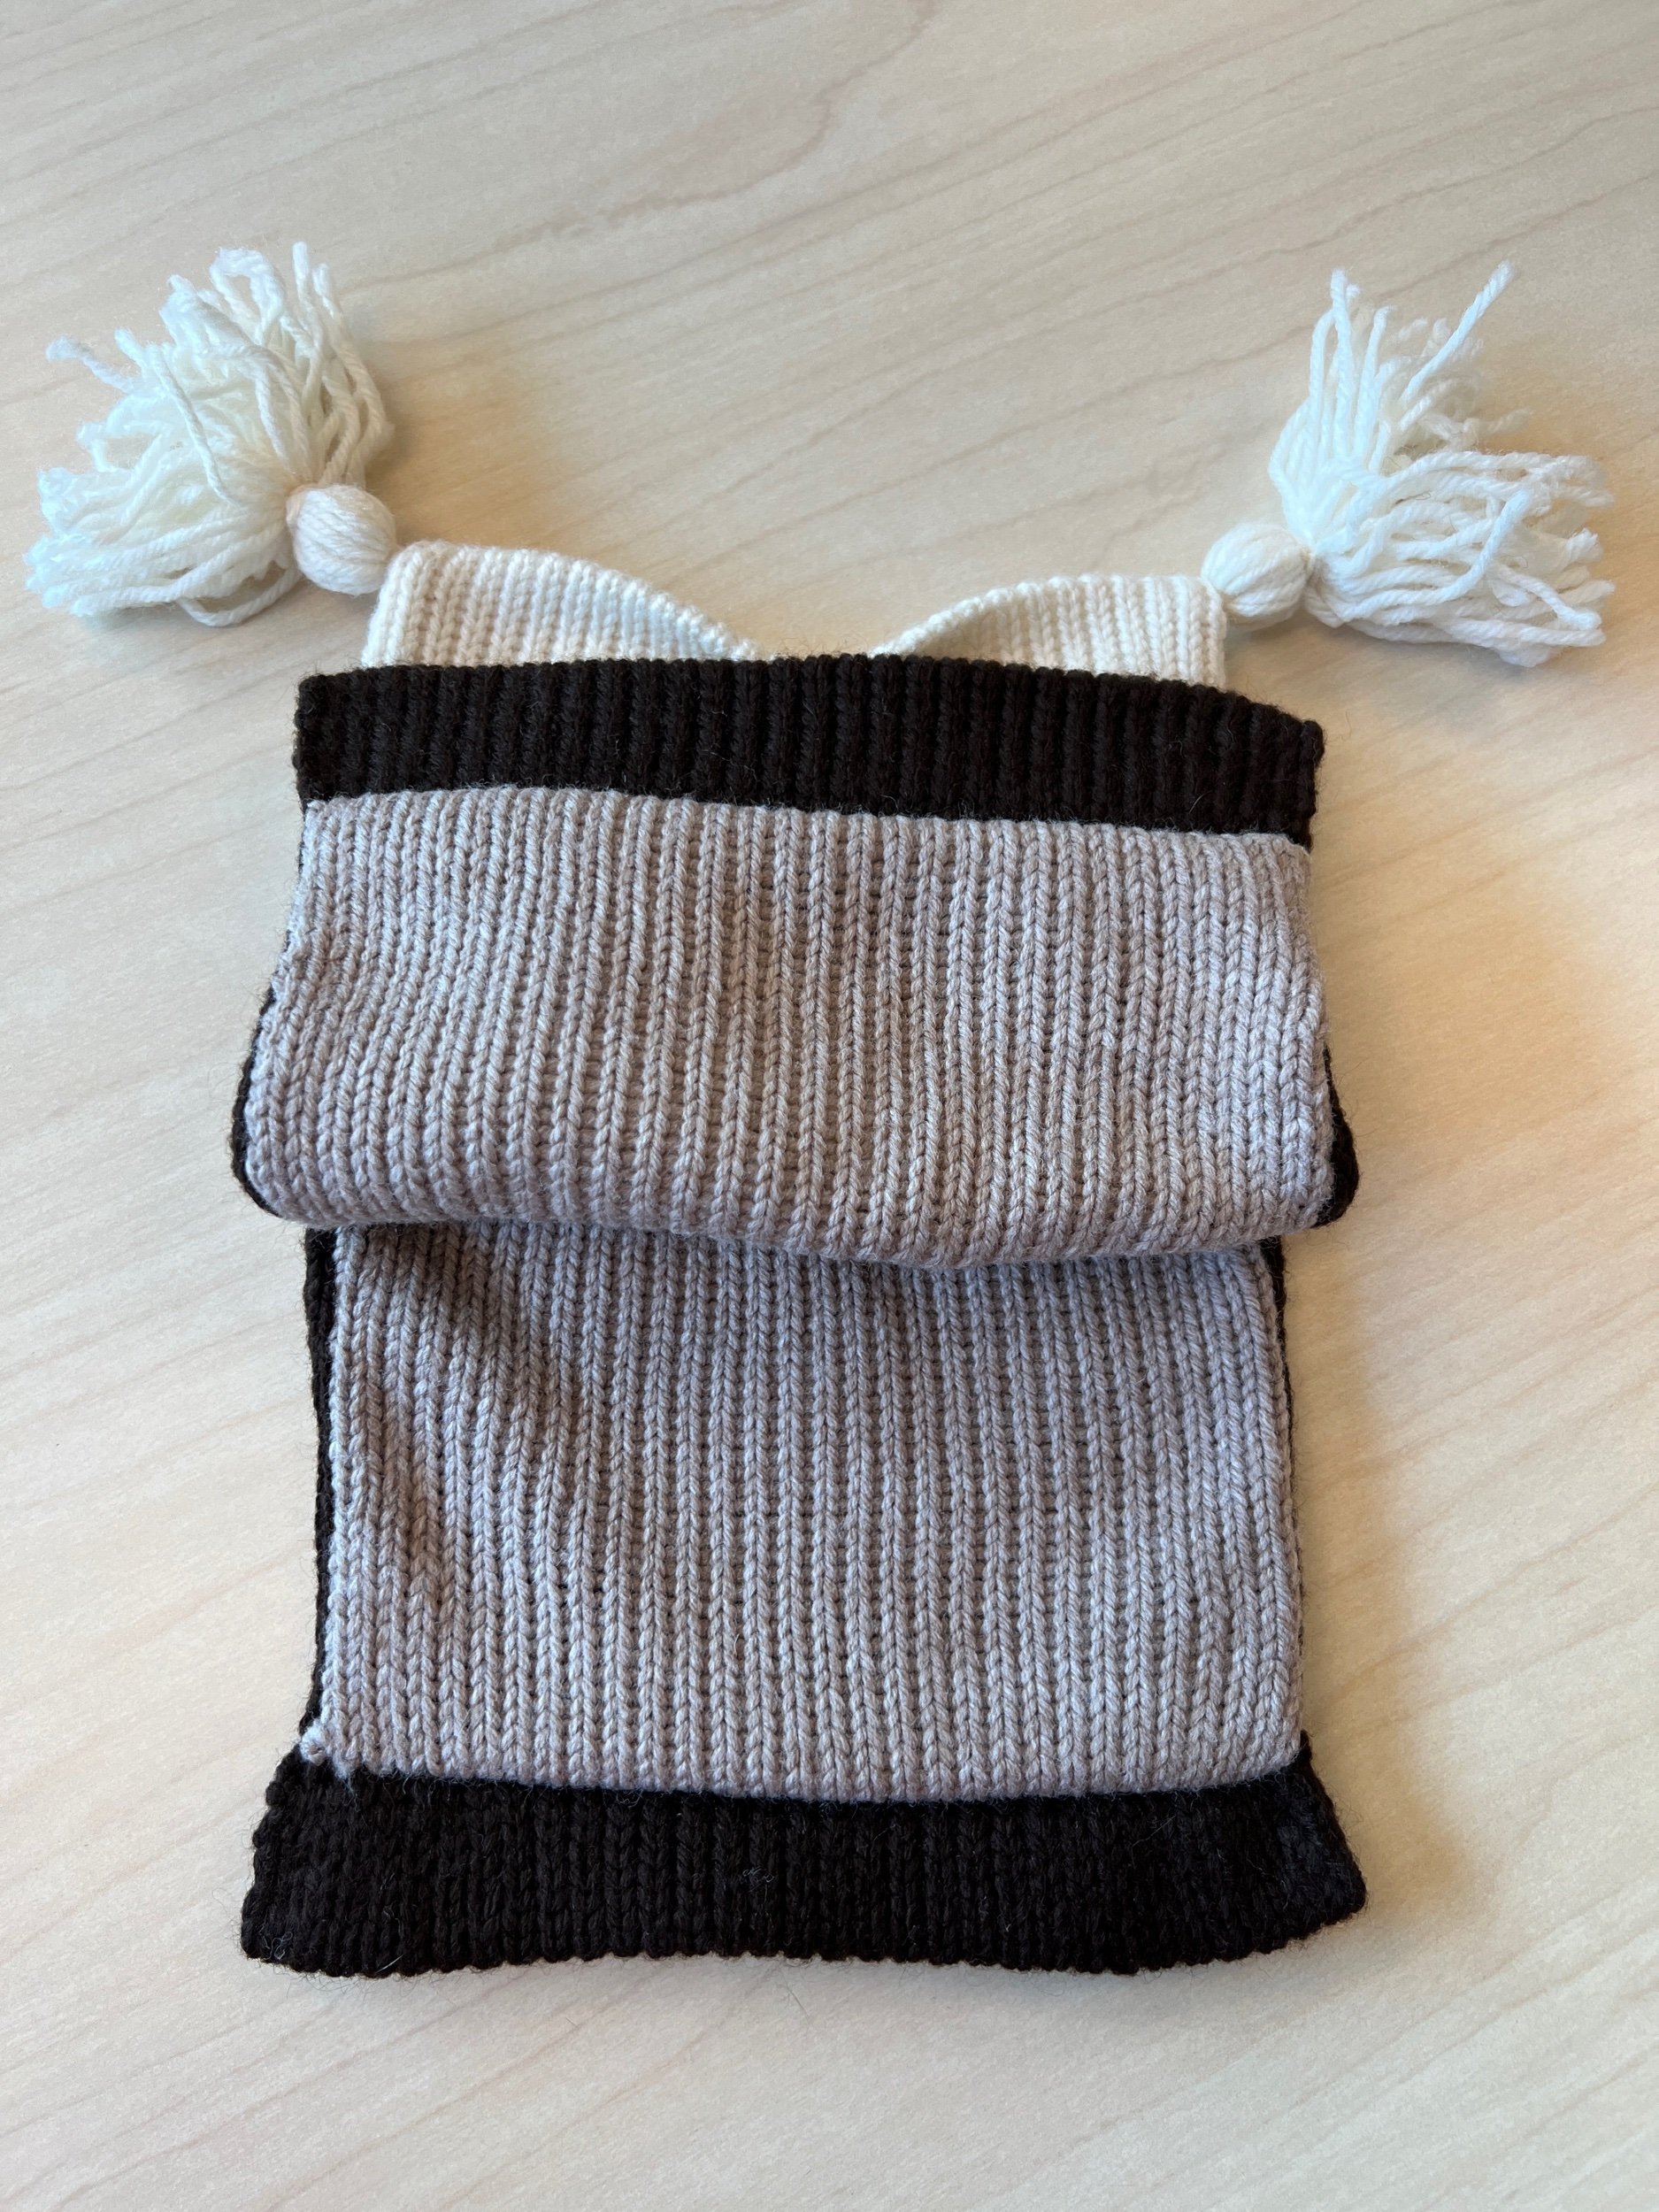
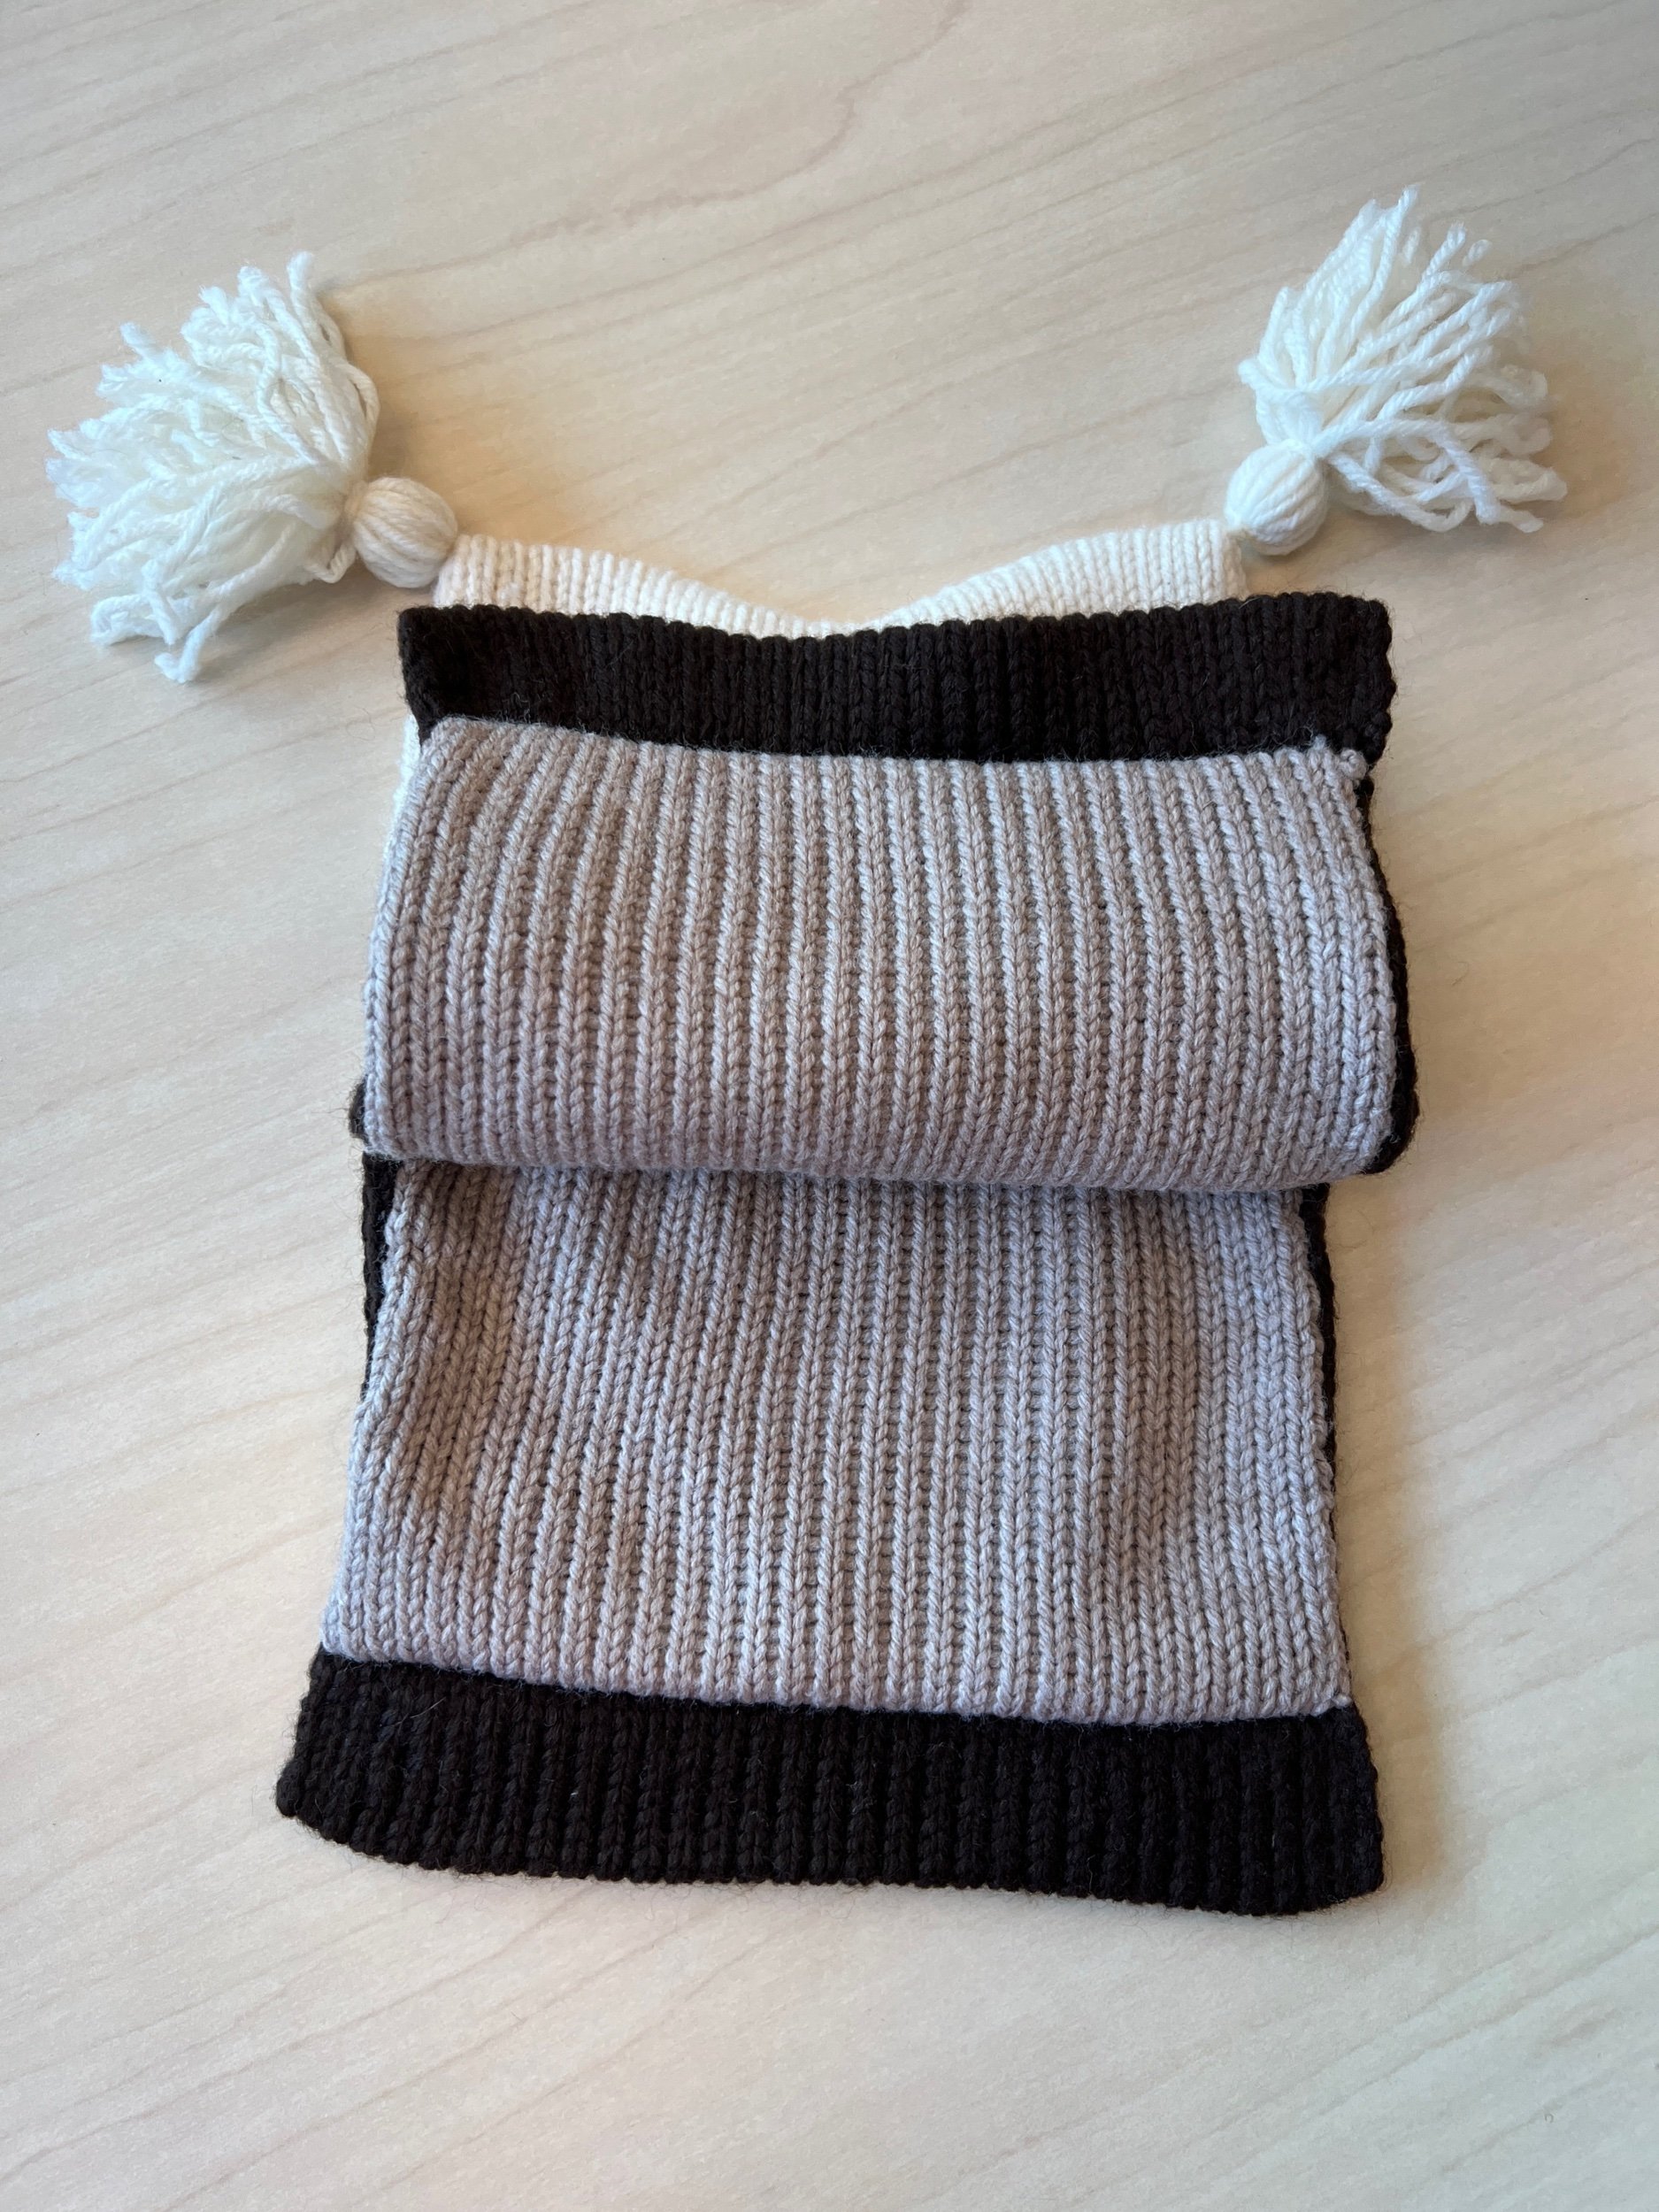
Seam both sides of the white and lighter beige - leaving the dark brown edges unseamed. Now finish both short edges of the dark brown ends by folding up inside the piece and secure the edge of live stitches with a darning needle - like a hung hem. Now attach the liner from the inside to the edge of the dark brown seam - repeat on the other side. The liner has the knit side viewable with a planned excess liner we will seam to allow a kind of pocket inside the owl head that we will first finish the face features before closing the interior. I asked persons on instagram and my facebook what eyes they preferred - almost everyone chose the THIRD (which are just two styles of buttons that I later sewed on). The nose is a crocheted piece I created then attached. :)

I added tassels to the points on the ears and after completely seaming the inside liner, decided to help shape the top of the head by seaming it there a bit.


See all Blog Entries on the BLOG INDEX page

2023 May 22 - Teddy Bear using Knit Radar

Today I am tinkering with a teddy bear pattern with which to us the KR7 on my Singer 700 to create.

I dug into the yarn I recently received and found a lovely fuzzy teal but when I started working with it, it was damaged and weak (only good for scrap yarn). I switched begrudgingly to this other cone of yarn.

I made yet another swatch so I know how many stitches etc. Want to see how? See the Cat Hammock Blog Entry


SWATCH/STITCH GAUGE

Following the manual the standard green gauge (labelled as A below) says we have 20 stitches by 36 rows over a 4” measured gauge.


KNIT RADAR SETTINGS:

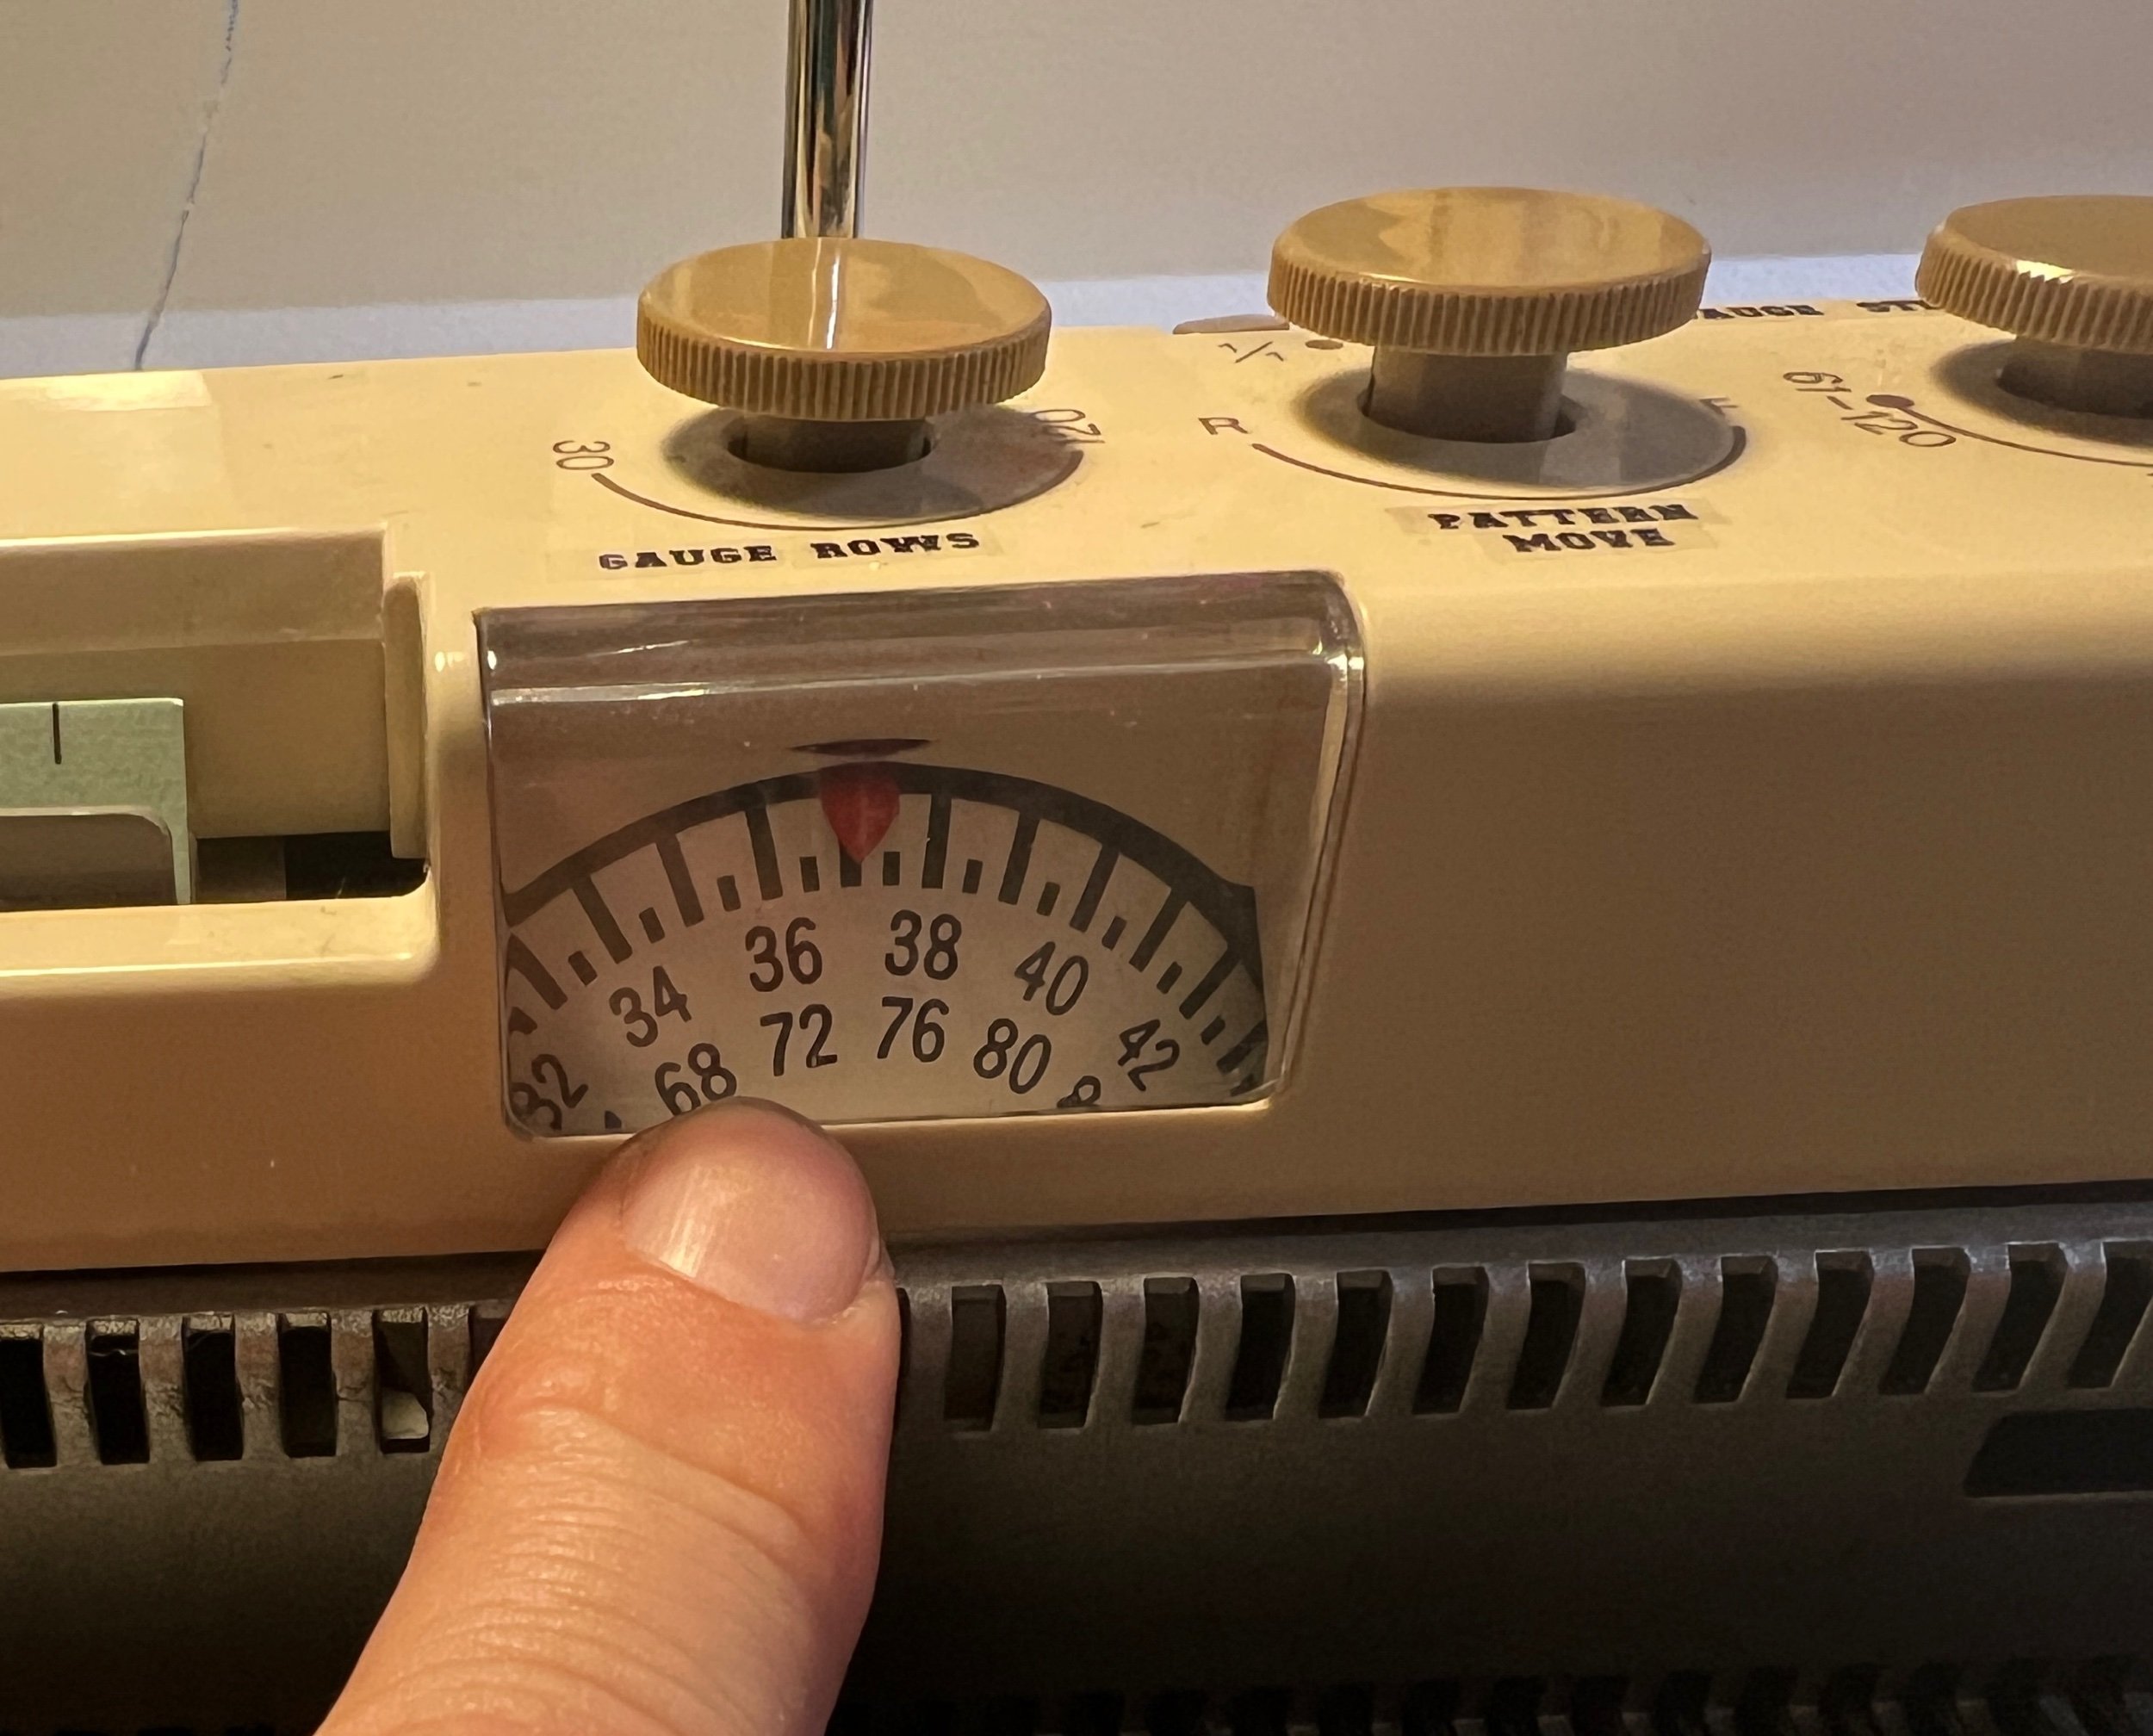
20 stitches means using the 1/1 rulers with that 20 stitches note in the KR7. The far left dial is adjusted to 36 with also adjustment of the far right dial into the 30-60 setting. Now to insert the paper pattern into the KR7 and work each knitted piece.

THE PAPER PATTERN - I searched online and found this Buddly Crafts bear pattern. I printed it out then photocopied it 125% larger in landscape mode which still fit the width restriction of the Knit Radar. Those pieces that required a reverse piece made I outlined the pattern of those pieces on the back of the printed paper and then noted which pieces needed what done.

The full size (1/1) gauge rulers I have, have the zero at the far left (not mid ruler).

Now to cast on and build each piece.

Technically the right and left pieces are worked in reverse (working the right from the purl side will be the left from the knit side if the knit side will be facing out).

The pieces have now all been knitted (with E-wrap starts and cast off ends). Now to steam iron all the pieces and set about identifying the parts to assemble.

I’m wishing I hadn’t used acrylic for a more controlled final piece not containing plastic. The pieces are not fully what I hoped I’d knitted.


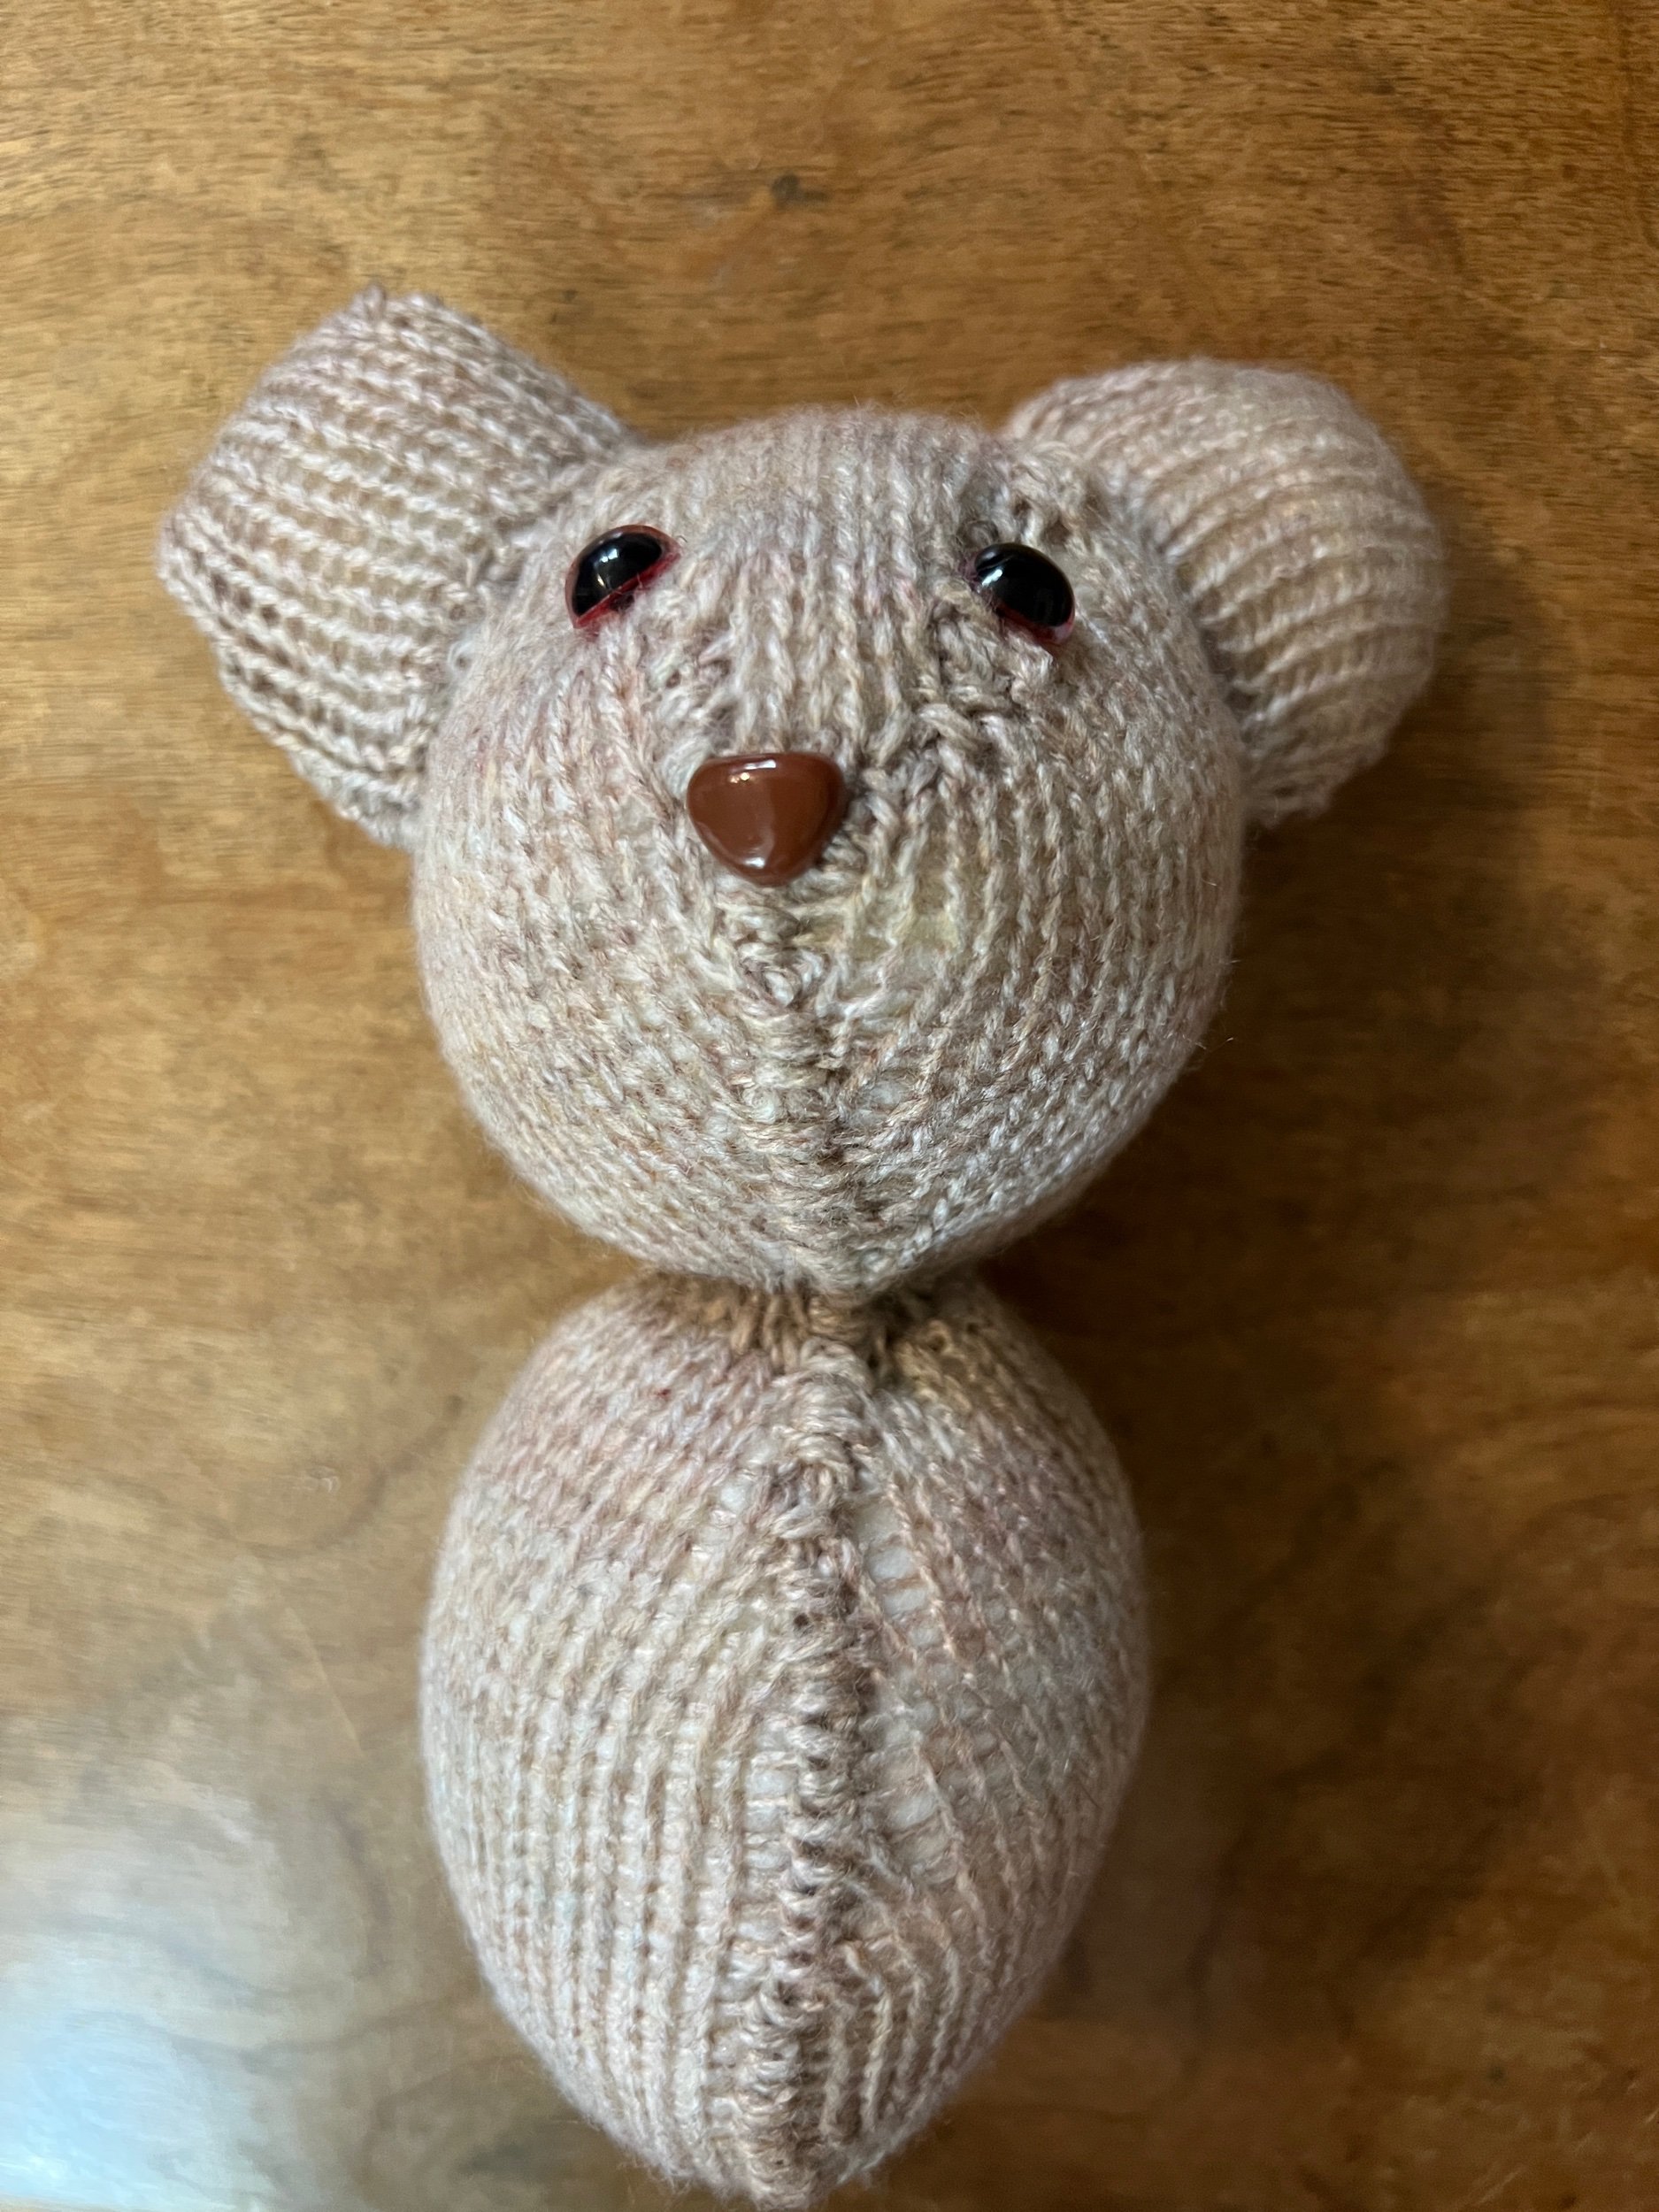
The Teddy Bear is done!

I’m gonna call him frank (for Frankenstein due to how prominent the seams are).

This project is the result of a successful challenge to myself to make something from a very basic sewing pattern online using my singer 700 flat bed knitting machine and the knit radar feature it has (which allows for visual pattern following). The very basic pattern was printed and made slightly bigger using a photocopier. Each piece was knitted/built as needed (over creating fabric that was cut). Yarn: Bramwell 4 ply 100% acrylic.


Instagram post: one | two | three | four | five | six |


See all Blog Entries on the BLOG INDEX page

2023 May 20 - The Ruler Strip

As a new flat bed knitting machine user, even though I HAVE read the manual a ton of times, the ruler strip continues to mystify me. Today I noted things which might help you!

This is my standard 4.5mm gauge flat bed knitting machine - a singer 700.

INSTAGRAM POST: one | two |


See all Blog Entries on the BLOG INDEX page

2023 May 14 - Cat Hammock Covers with Knit Radar

We have a DIY cat post (cat tree) in our small apartment which features TWO cat hammocks (one for each of our kitties. Over time the fabric has loosened and worn out. This blog post is my attempt today at making two covers which can be later removed for laundering as needed.

I want to try to use the KNIT RADAR on my Singer 700 (I haven’t yet) so my first approach after choosing a fiber cone is to create a swatch. The cone of yarn I chose was chosen for its durability and shade and appears to be sort of like a braided strand. The markings in the cone are blank (no label).

SWATCH/STITCH GAUGE (this is for a 10cm/4” stitch gauge test):
Cast on with 70 needles (scrap). Switch to project yarn. Note mast and dial settings.
Mast 2. Dial 8.
Knit 10 rows project yarn.
Knit 2 contrast stockinet rows
Knit 30 rows project yarn
Push both 21st needles from zero and place contrast yarn on those hooks. Push those needles back into B position by hand
Knit 30 rows project yarn
Knit 2 contrast stockinet rows
Knit 10 rows project yarn.
Scrap yarn

That done I shared a photo of the swatch directly off the machine and then the front (knit) and back (Purl) sides after a quick steam iron. Following the manual the standard green gauge (labelled as A below) says we have 21 stitches by 37 rows over a 4” measured gauge.

KNIT RADAR:
Now to locate the correct ruler etc to use the KR7

A - 4.5mm standard gauge ruler (also works for 3.6 fine gauge) 40 sts/60 rows

Knit Radar:

B - 13.5” yellow E (E1-E14) 1/2 scale rulers. Zero on the left. (gauges 9-30)

C - are 13.5” beige H (H8-H14) 1/2 scale rulers. Zero in center. (gauges 24-50)

D - are 13.5” aqua F (F2-F15) Full scale rulers. Zero on the left. (gauges 9-54)

Details verified by a kind person who shared https://mkmanuals.com/downloadable/download/sample/sample_id/432/

B-D are the STITCHES RULERS - not row rulers.


The area (Knit Radar) that you feed the paper pattern in is only 33.5cm wide and the circle I want to create (the paper circle outline I created) is bigger than that so I folded the paper pattern in half and will use the HALF SCALE rulers.

But the more I think about it the more doubt I have that it’s the correct way to do this. Argh.

Whatever SCALE RULER I use needs the 21 stitches scale ruler. (Outlined in video). I fed the folded circle paper pattern into the KR7. Then I inserted the FULL SCALE ruler (Green with the 0 on the left) with that 21 stitch count. It’s saying I need to cast on 43 stitches for the half circle.

SCIENCING THOUGHTS: AHA? I want a full circle with the 43 cast on perhaps I can create the full circle by simply mimicking the right actions on the right = full circle. Cast on would be 43 stitches on both sides of 0 (=86)

NOW to set the settings according to the gauge swatch numbers. 37 Rows, 21 stitches.

I switched the setting to FULL SCALE (from 1/2), hypothesized the 21 stitches on the 31-60 dial needed to be on the right (below 31) and set the gauge row of 37.**

*In the instance where the paper pattern is at HALF SCALE - selecting that will have the machine knit a FULL SIZED item.

**In “theanswerladyknits” Using the Knit Radar VIDEO - she noted the far right dial is for ROW count settings not stitch. So my row is 37 so maybe I should be setting that dial to 31-60 (not to the stitch count noted by the other video quoted). Confirmed correct now. (Disregard WRONG label on that dial).

I THEN added to the pattern below and above the circle to make it easier to start/end.

SIDE NOTE - KNIT RADAR PATTERN REQUIREMENTS:

Vertical line 3/16” from the left edge of a blank regular sheet of paper turned on its side. Helps align with the pattern ruler. Then measure up from the bottom 3.5” of the sheet for the space needed for the roller to feed the pattern in. Measure another inch from there can be the bottom line of the pattern. Make and angle arrow facing downward. HALF a PATTERN using the left margin for the HALF SCALE.

Overnight it occurred to me to open cast on from the midpoint of the circle and simply decrease to create the half circle.

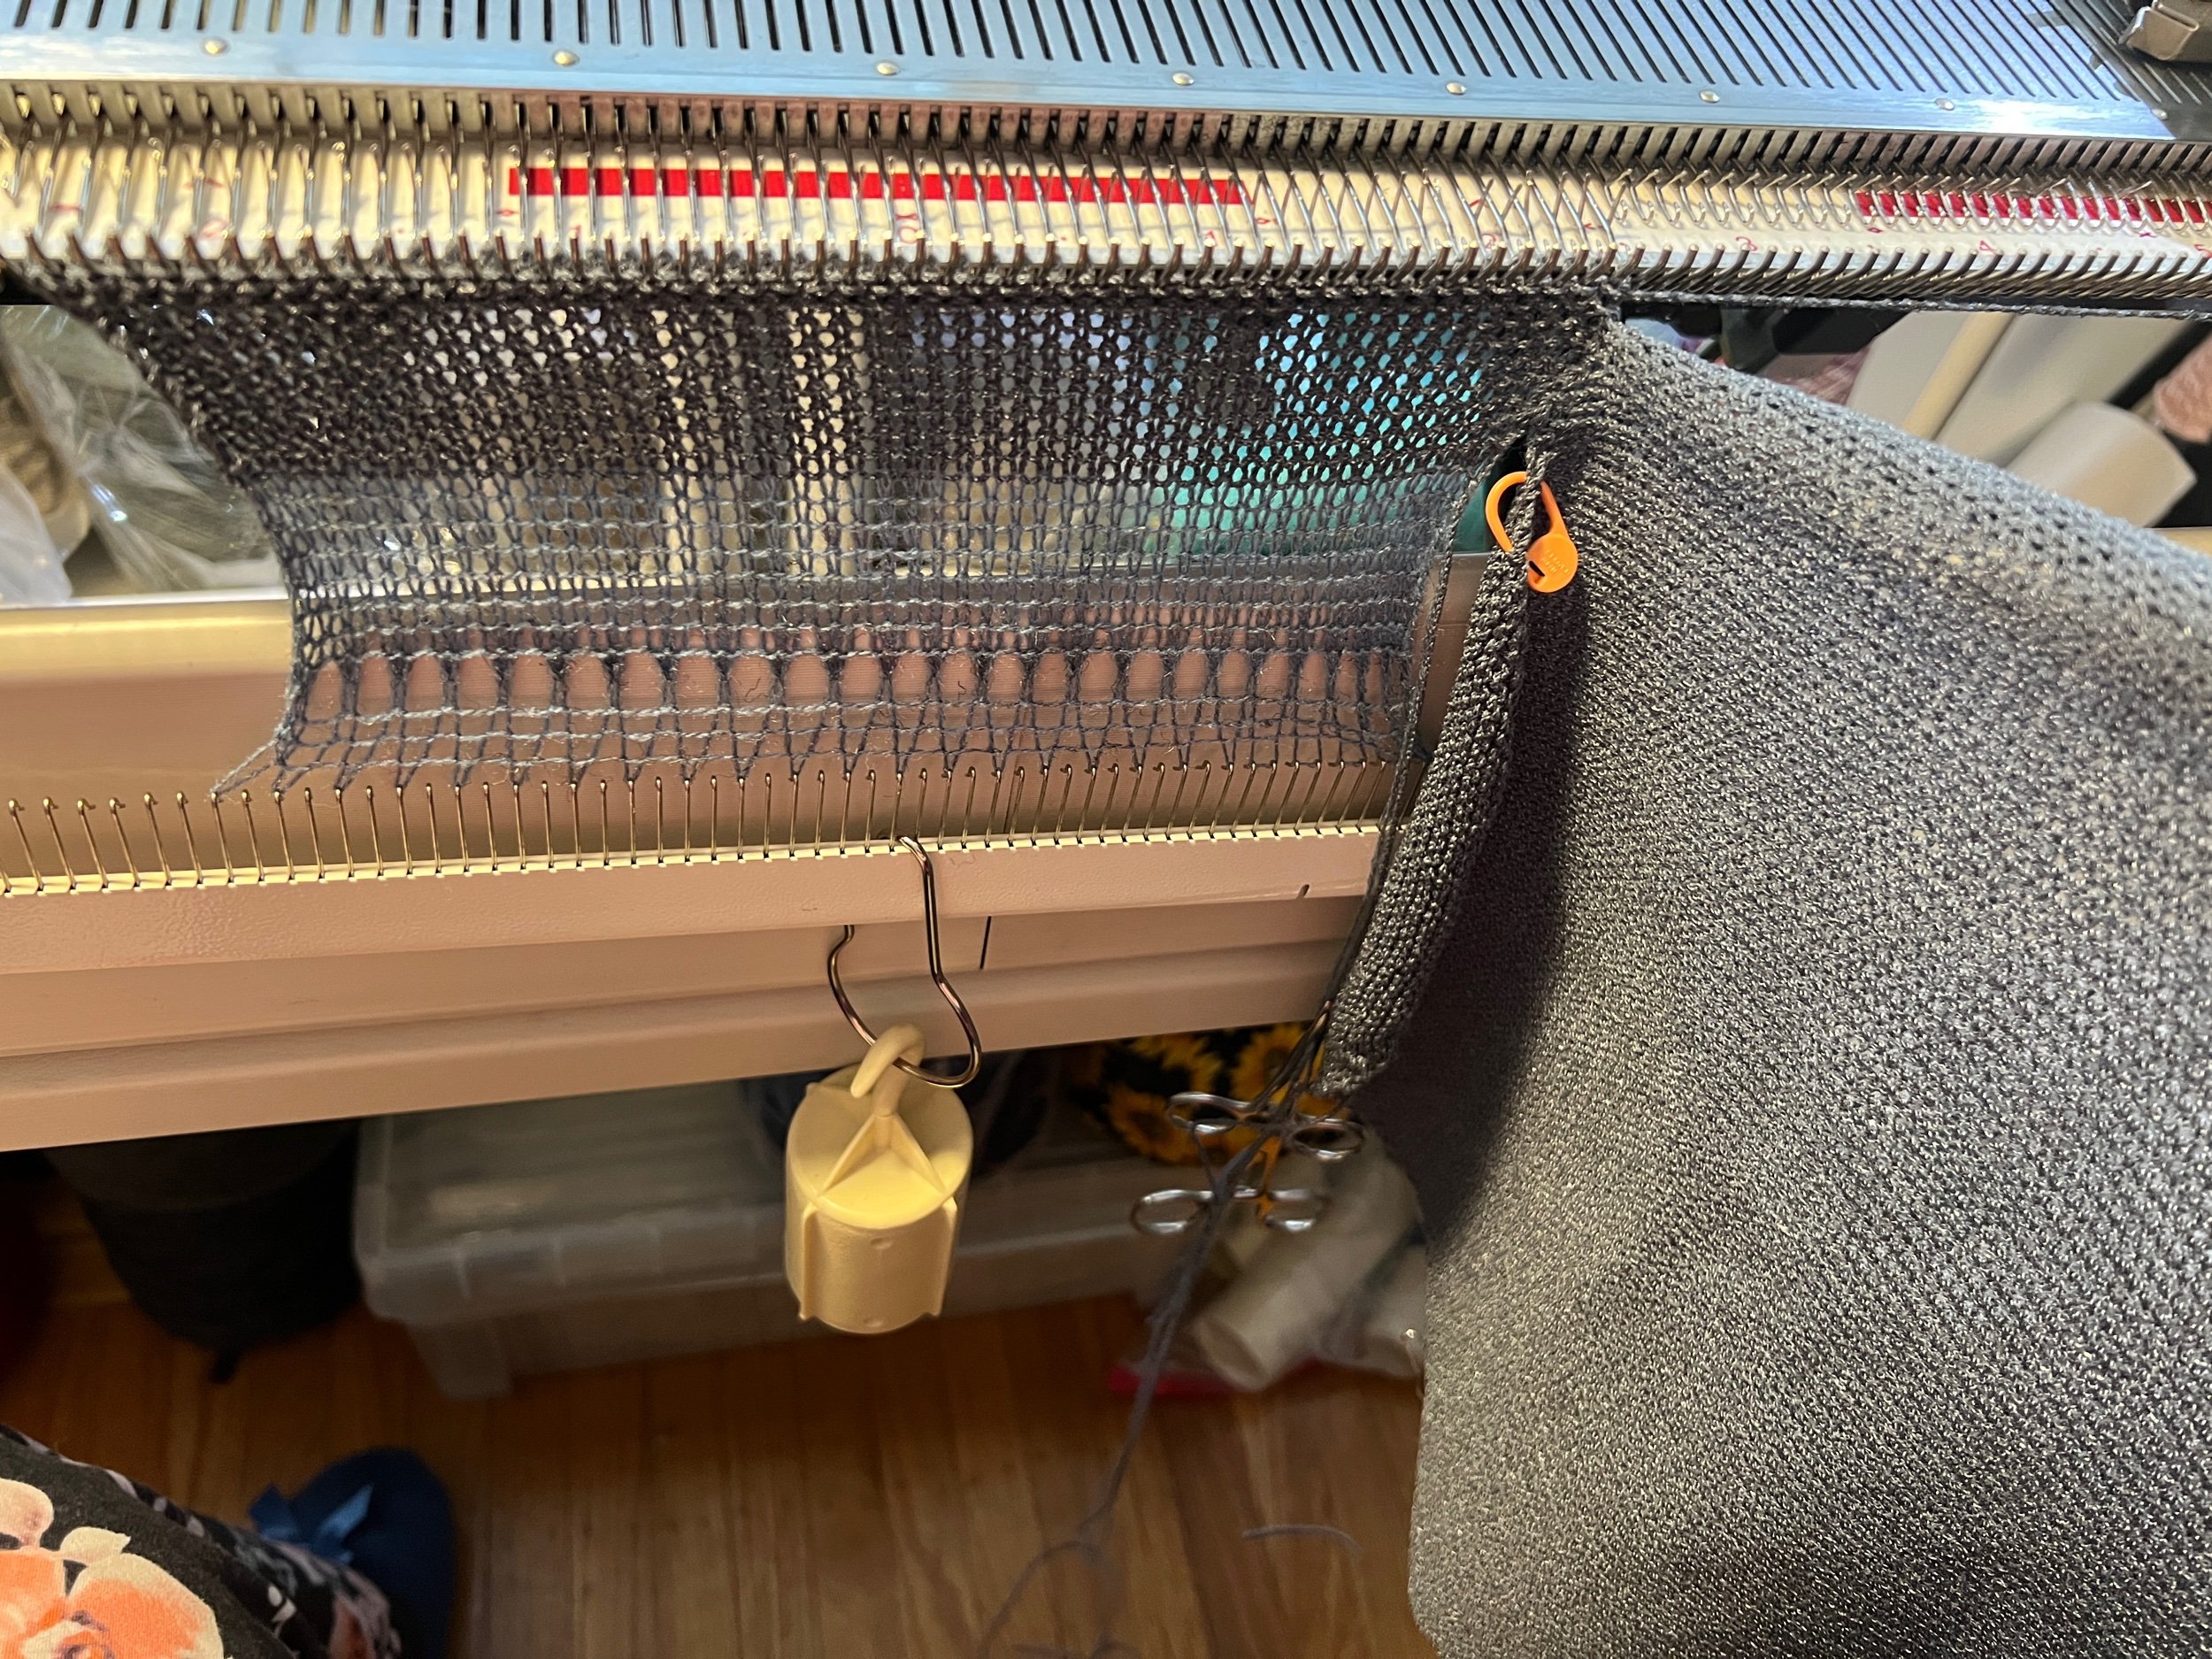
The knit contour circle pattern I drew was advanced to show the midpoint of the circle which indicated 44 stitches on both sides of zero (a total cast on of 88 stitches). I used scrap yarn and after counting out 88 needles ensured every second was all the way out (and the others out of work - on the side where the needle would be out of work on the edge I ensured to leave it all the way extended. I applied a split ring on my cast on my cast on bonnet to every extended needle. My split ring cast on bonnet (flat bed users refer to a regular fiber cast on item as a cast on rag - I’ve added split rings like on my circular sock machine - but with different sized rings - LOVE IT). On the cast on bonnet I added two weighted hanger weights and then worked maybe 10 rows. With the carriage on the right (not essential) I switched to project yarn and proceeded to work the half circle, watching the edge of the pattern to know when to decrease on both sides of the edges (regardless to what side the carriage was on). All decreases were done on the very edge using my transfer tool. Most decreases were single decreased however towards the end of the circle often two stitch decreases were needed. It went well!.

Now I’ve worked down to the final 14 needles (77 rows of knitting) and I’m now at the very edge of the circle. I switched to scrap yarn and worked another 10 rows, then taking all off the machine. Now I will rehang the first row I worked of the half circle and do the same. :) This will produce a full circle which I will then make a second. SUCCESS!!!!

Now I need to make three more circles and a rectangle to accommodate the two hammock covers I’m looking to make. :)

Next I will make the other pieces I need.

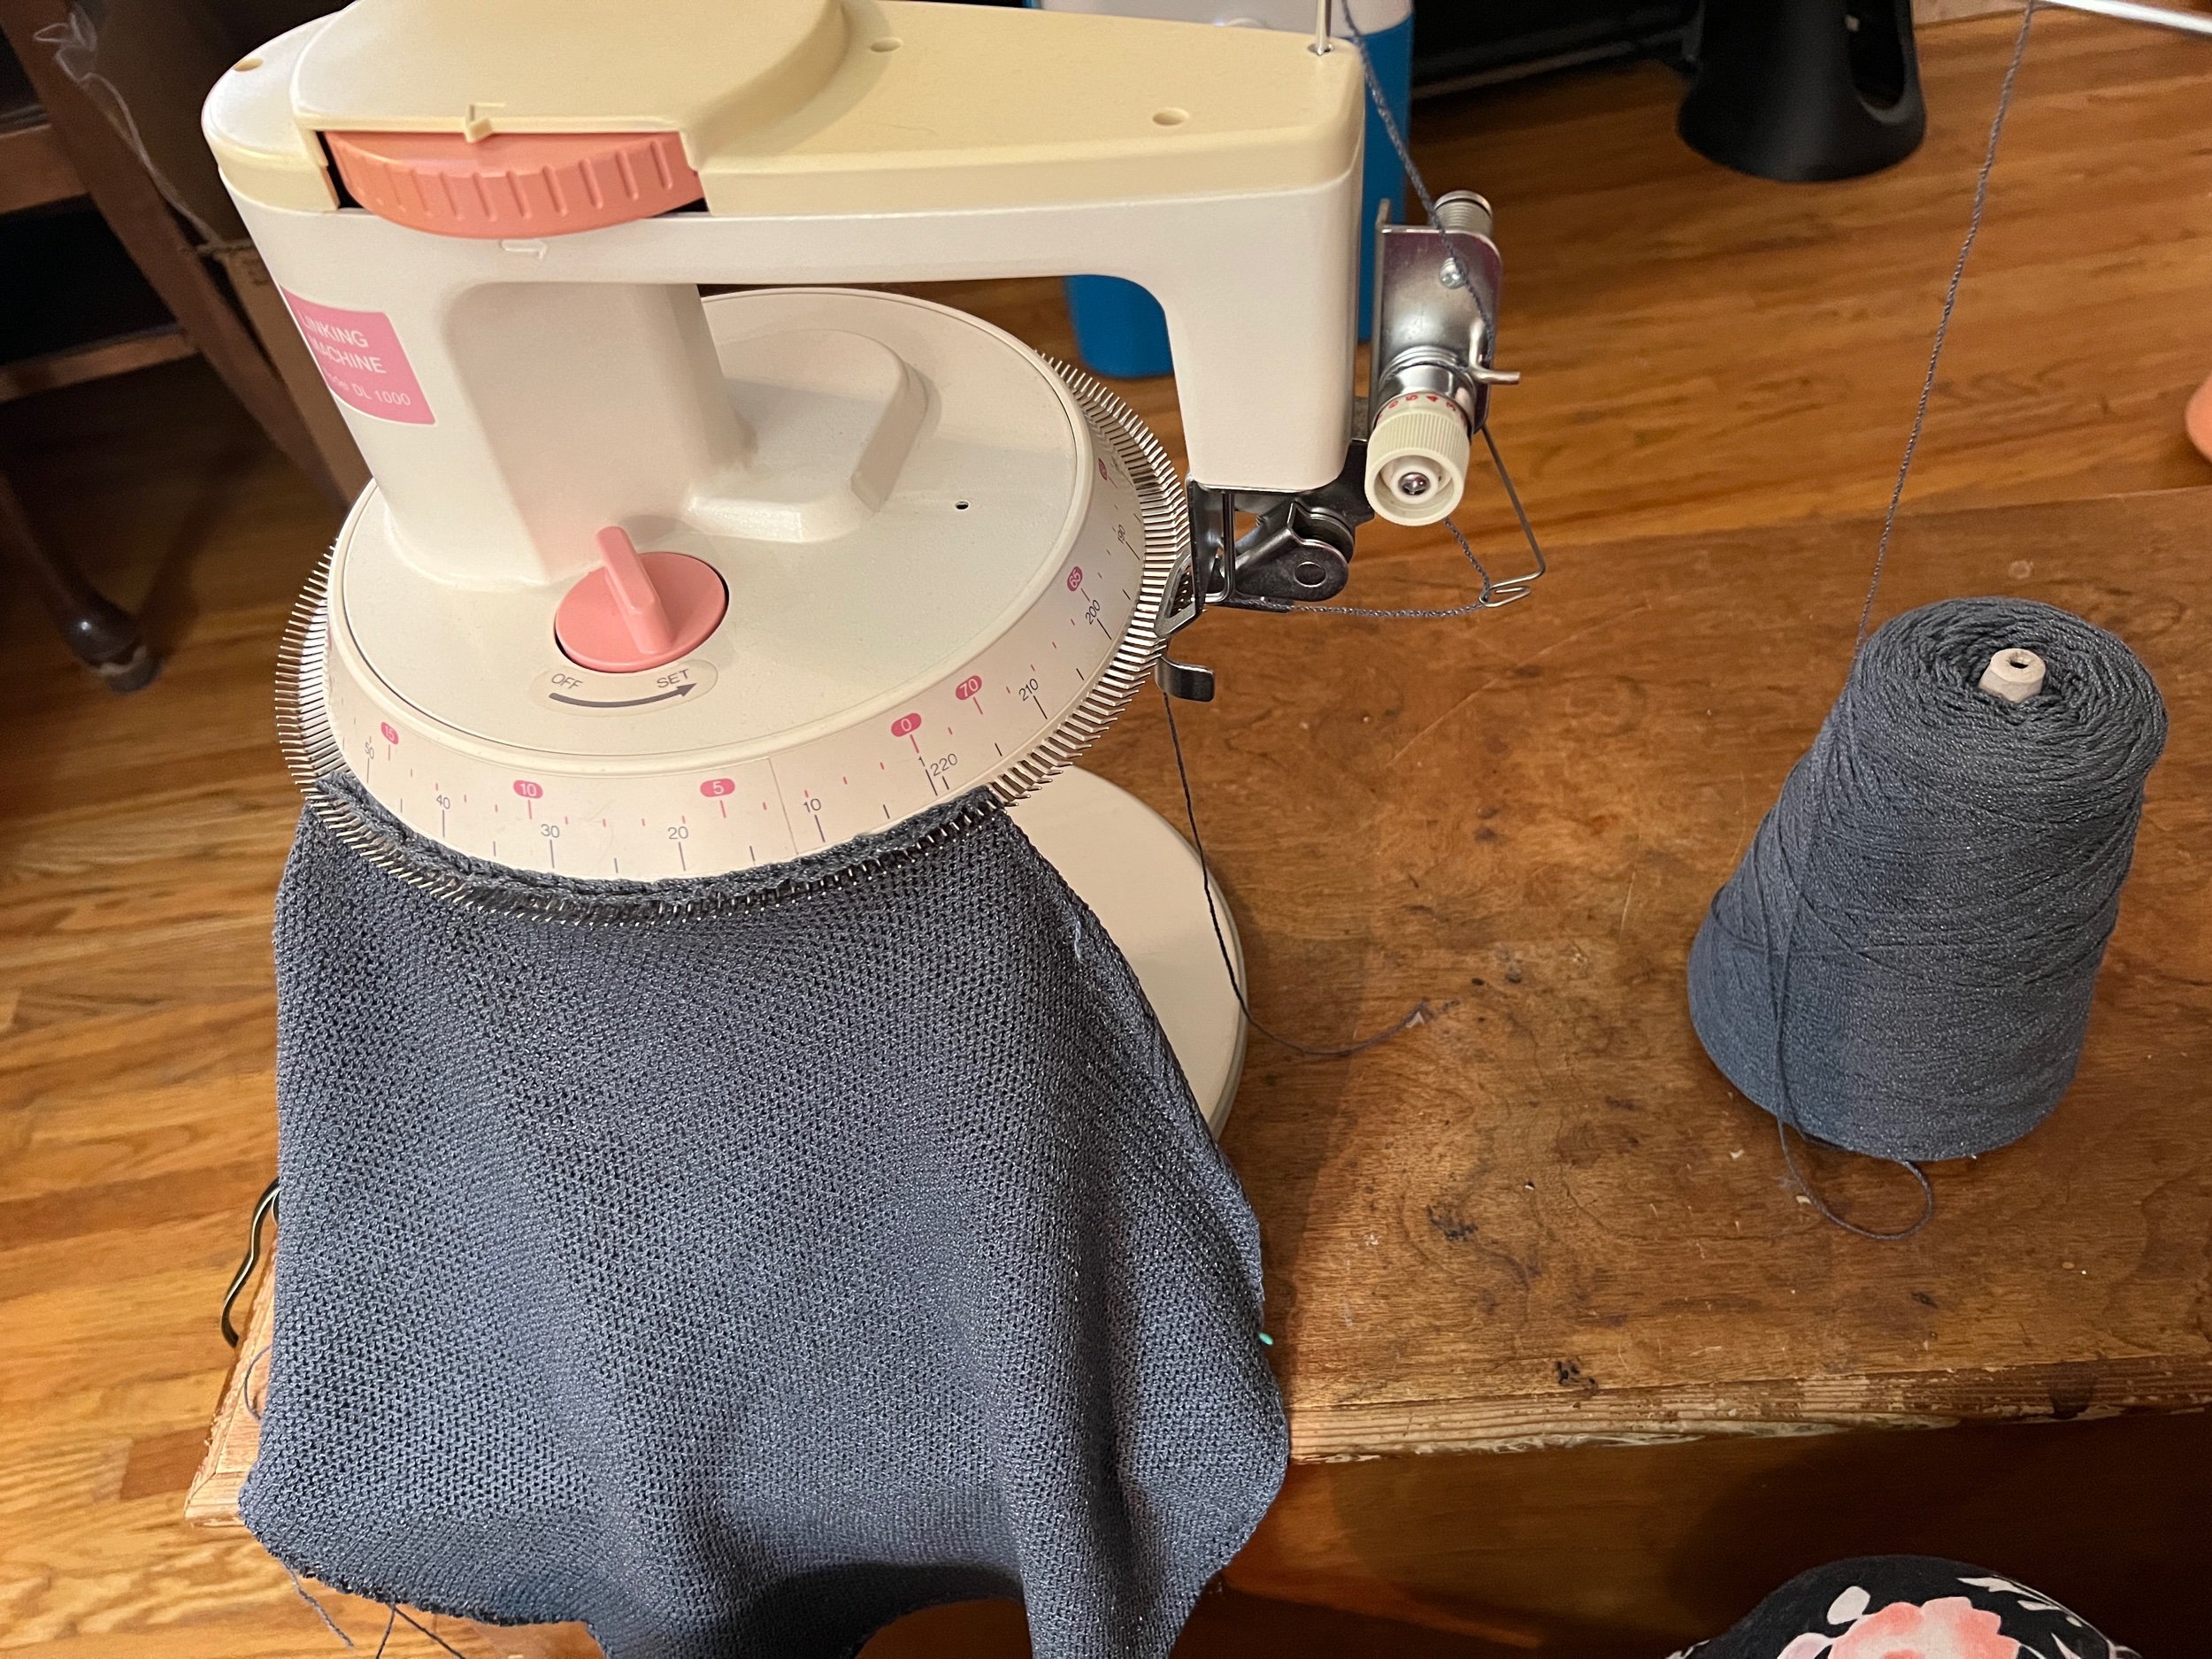
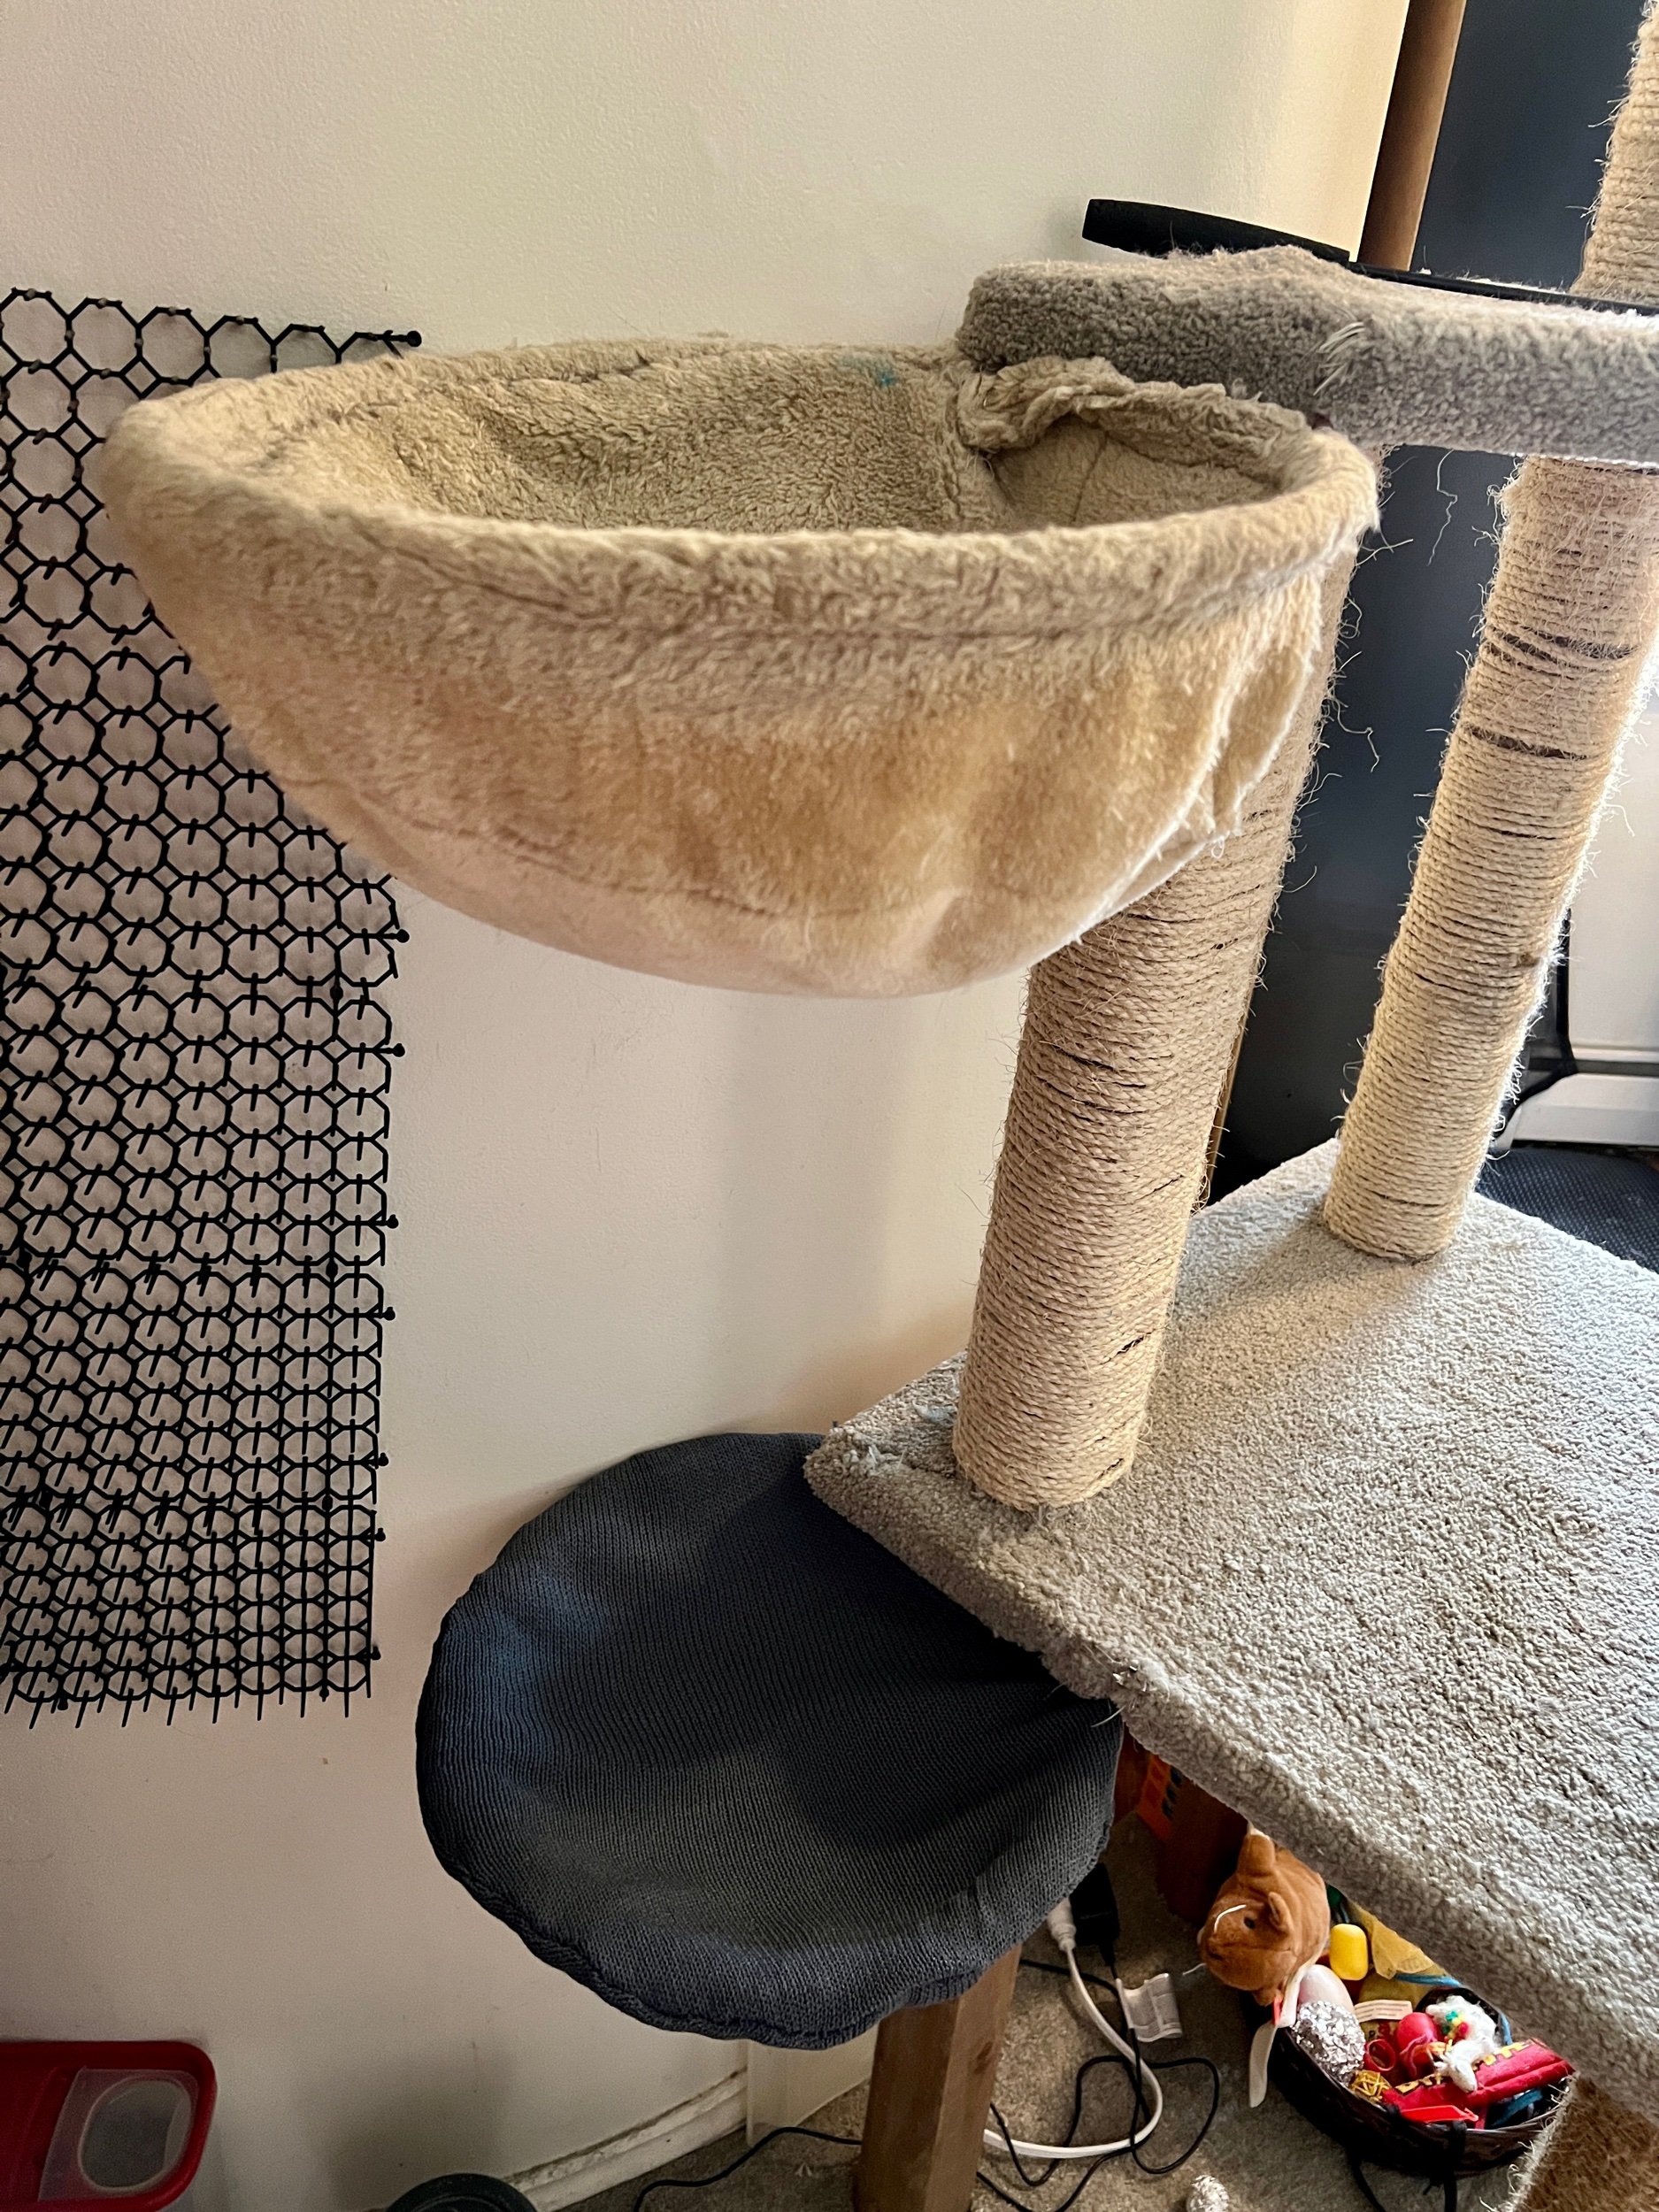
I’ve created the four circles and using my linker, seamed together two circles for the smaller cat hammock. The bigger kitty Java approves.

Now to create a rectangle to join the edges of one circle for the bigger hammock. I worked a rectangle piece while simultaneously joining the edge of one circle piece to accommodate the larger cat hammock. I did this intentionally slightly flaring the rectangle from the circle which meant tucks were needed to join the final circle to the other side of the rectangle (like a round ice cream sandwich). The large hammock features a deeper hammock and a space between the wire hoop attachment. I chose to add plastic snap buttons (which I Color coded to make it easier to use) to close up the side of the cover and attach it firmly to the hammock. I haven’t done a final steam iron on the last seam so it looks more flared and rippled than it is (but I don’t care). It’s finished!

INSTAGRAM POSTS: one | two | three | four |


See all Blog Entries on the BLOG INDEX page

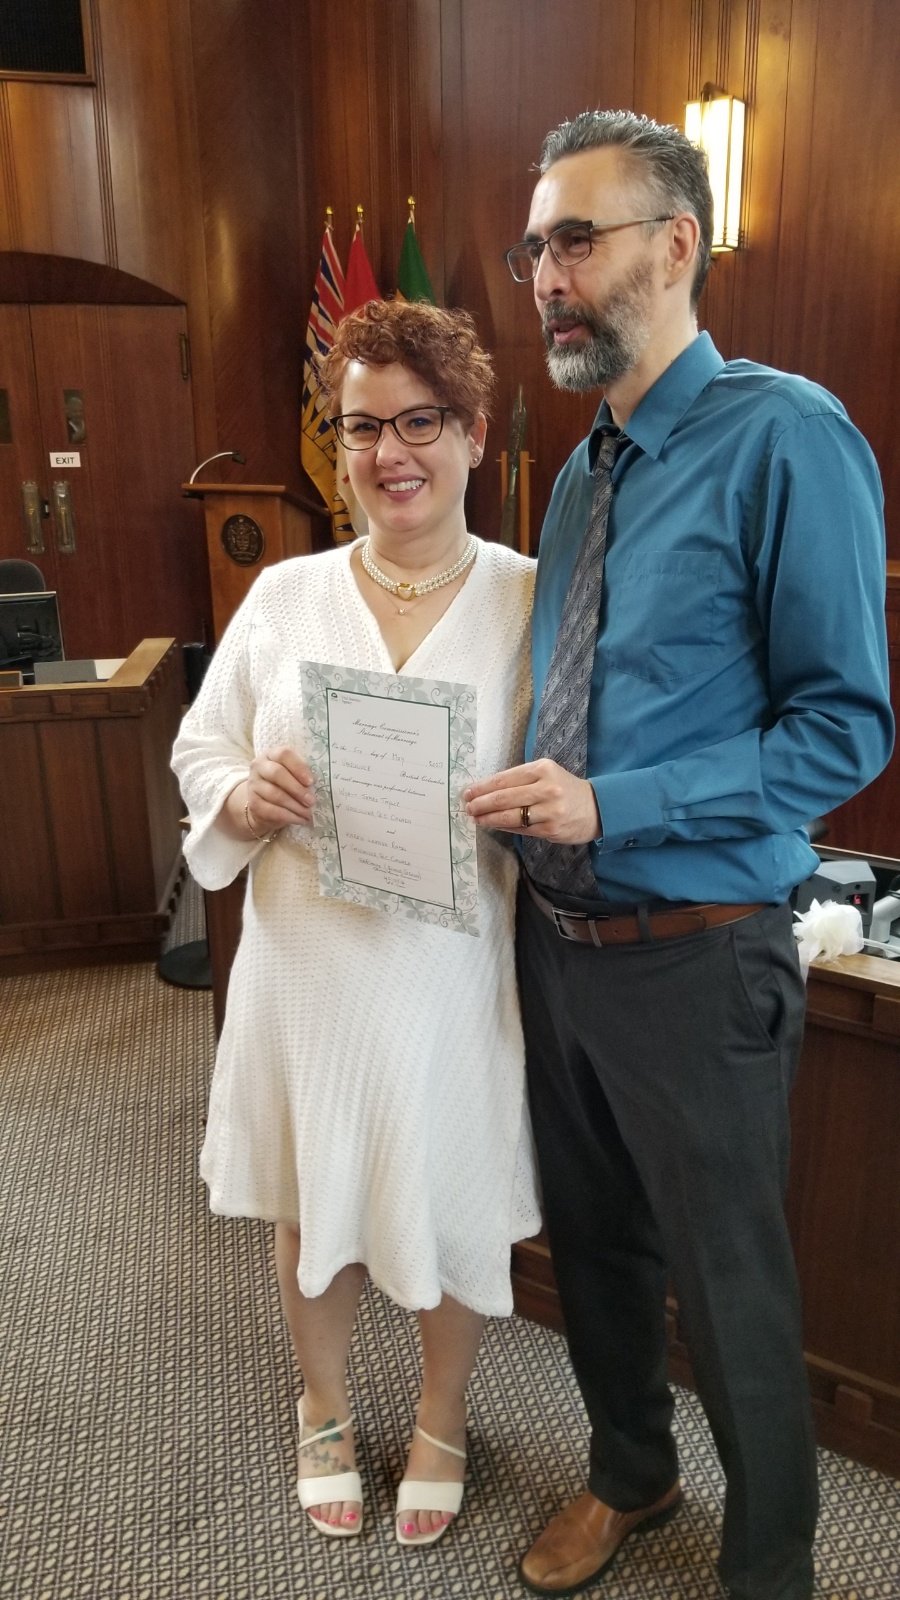
2023 May 5 - Wedding Dress

Ravelry project - https://ravel.me/csmlove/fwd

Ok I am probably insane for thinking I can make a dress on my flat bed (having not done so yet) especially since the date for our wedding is May 5 (2023) but here’s my resources as I go.

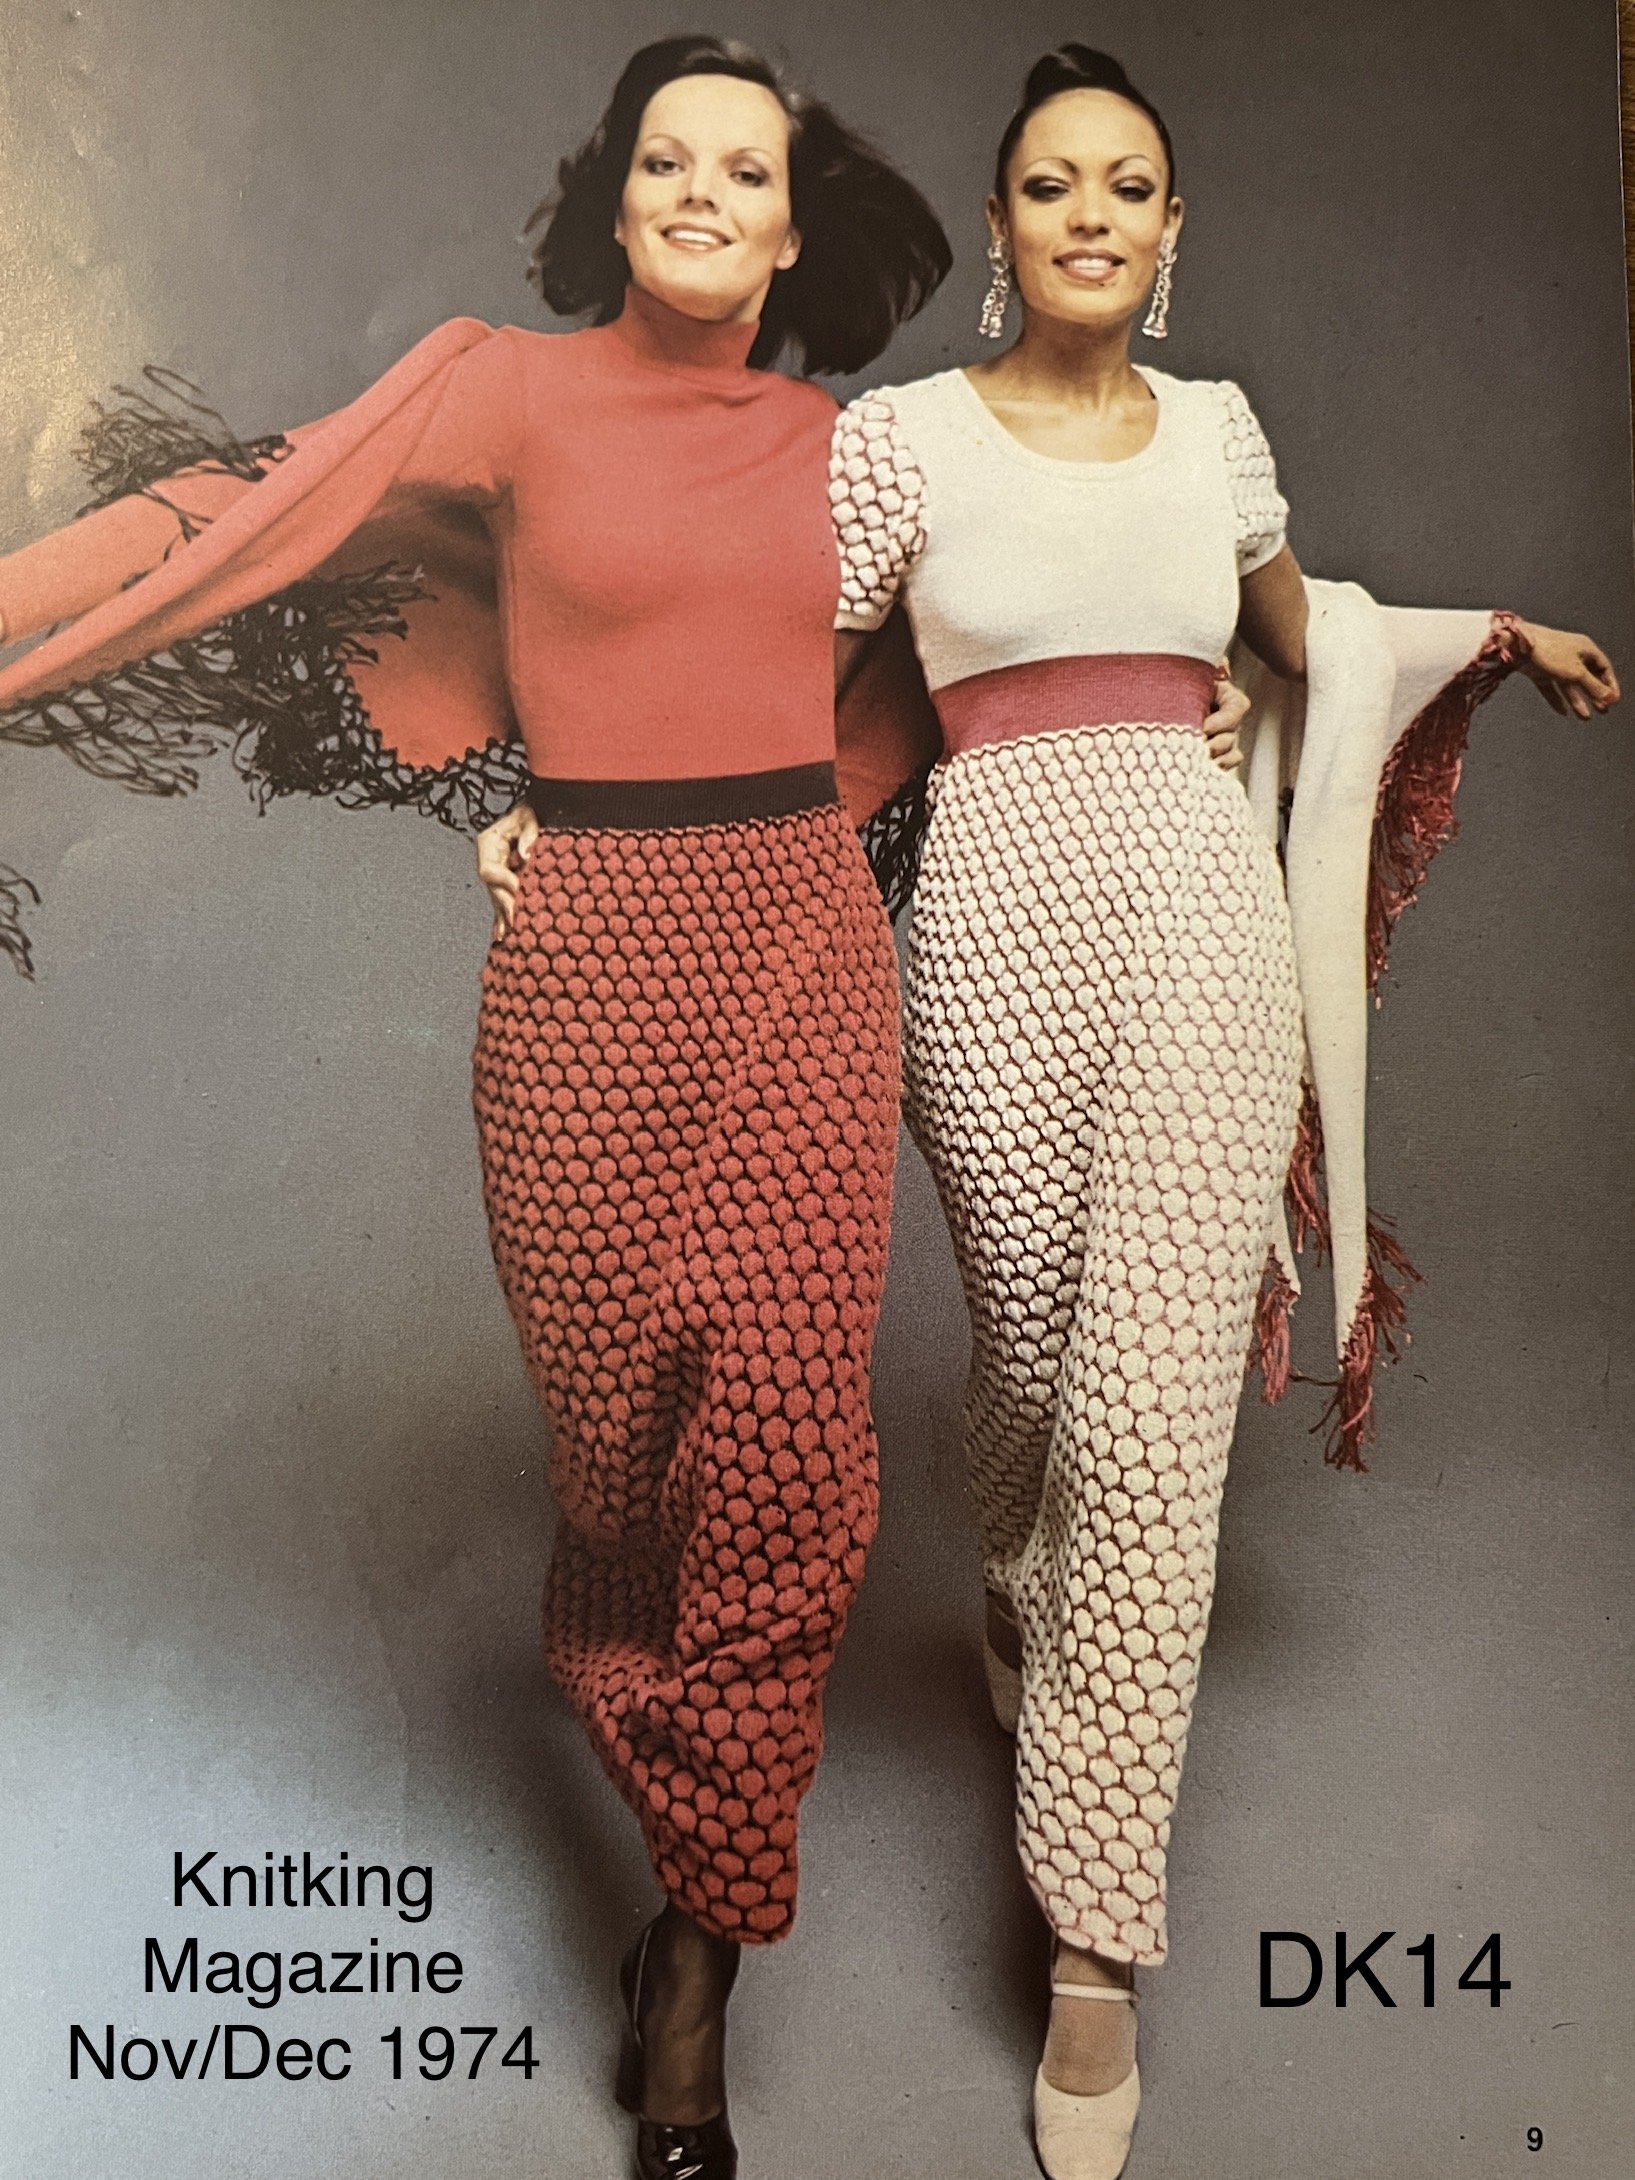
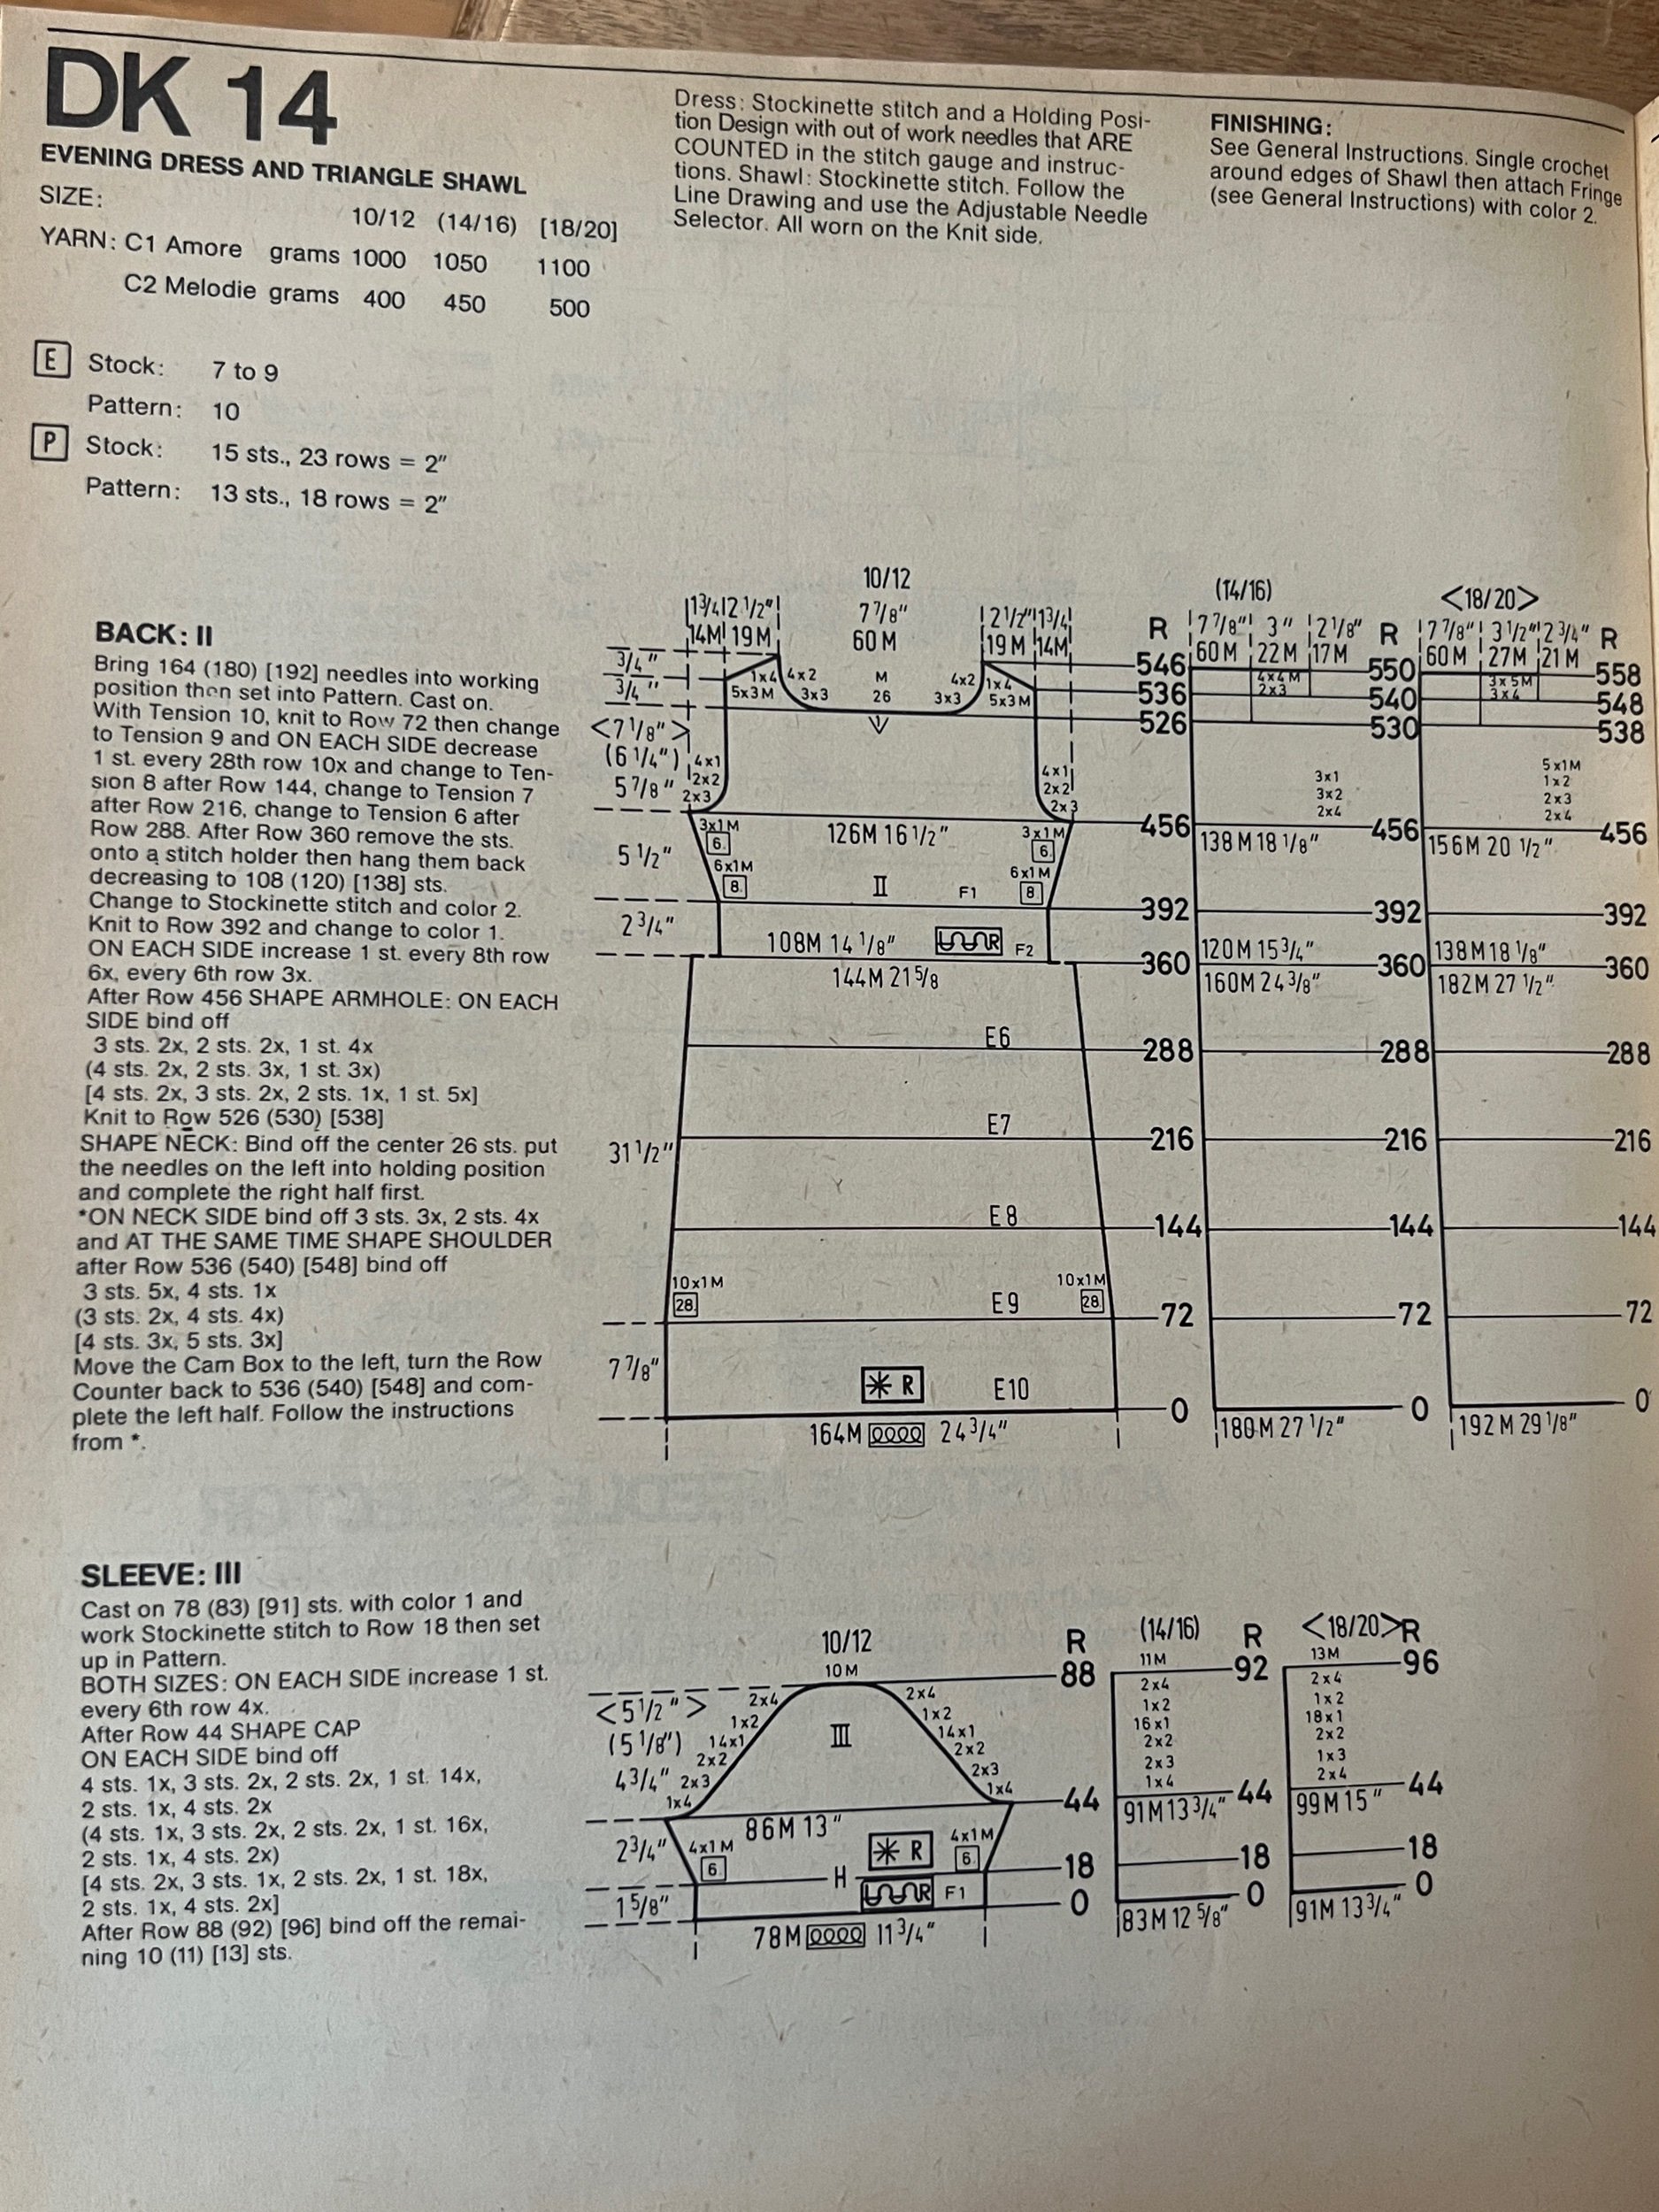
Inspiration found by going rhythm many donated vintage machine knitting magazines.

I like the idea of lace stitch sleeves and skirt. Perhaps a two piece (top and skirt?)


The day is getting ever closer and I’ve been procrastinating! Time to get on it!

I’ve been dreaming of this light pink fibre I’ve had for a couple years (I have two huge cones of it).

This sample literally just came off the machine and probably should be steamed and measured before considering anything…

In my minds eye I see lacy elbow length sleeves with a square neckline on a less lacy (not see through) bodice. The sample gauge tension swatch in a basic knit stitch was still fairly see through. I’m considering perhaps using the Purl side of this sample to show a lacy sleeve and perhaps the same knit patterning for the rest of the top. The skirt can mix the two wile offering a flowing swishy skirt. Let’s see!

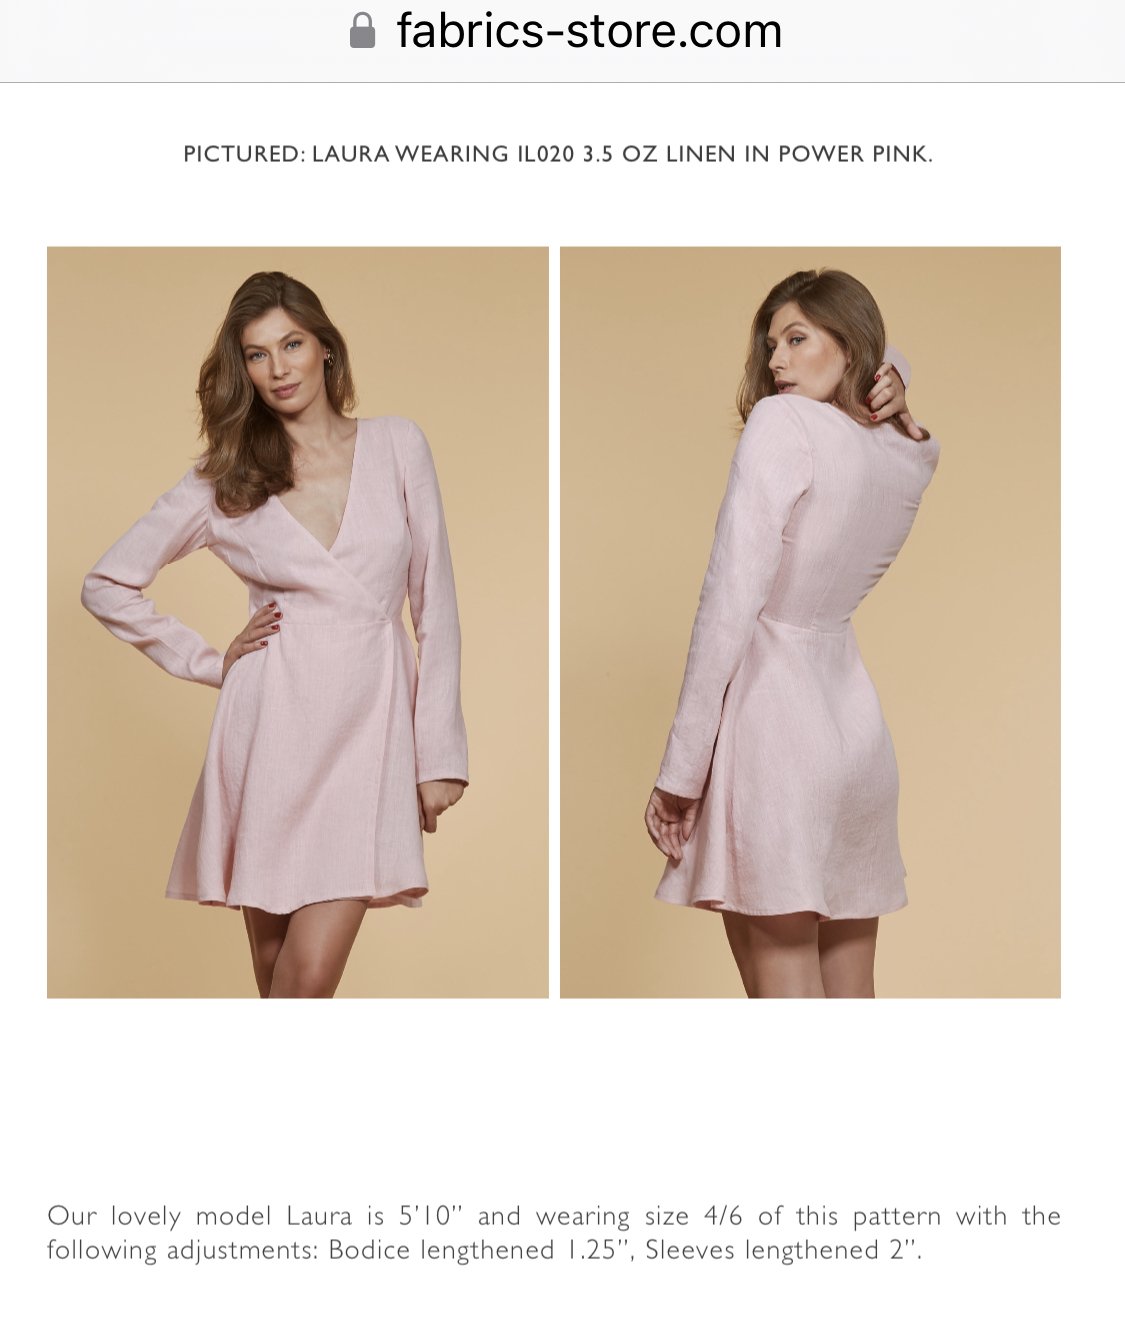
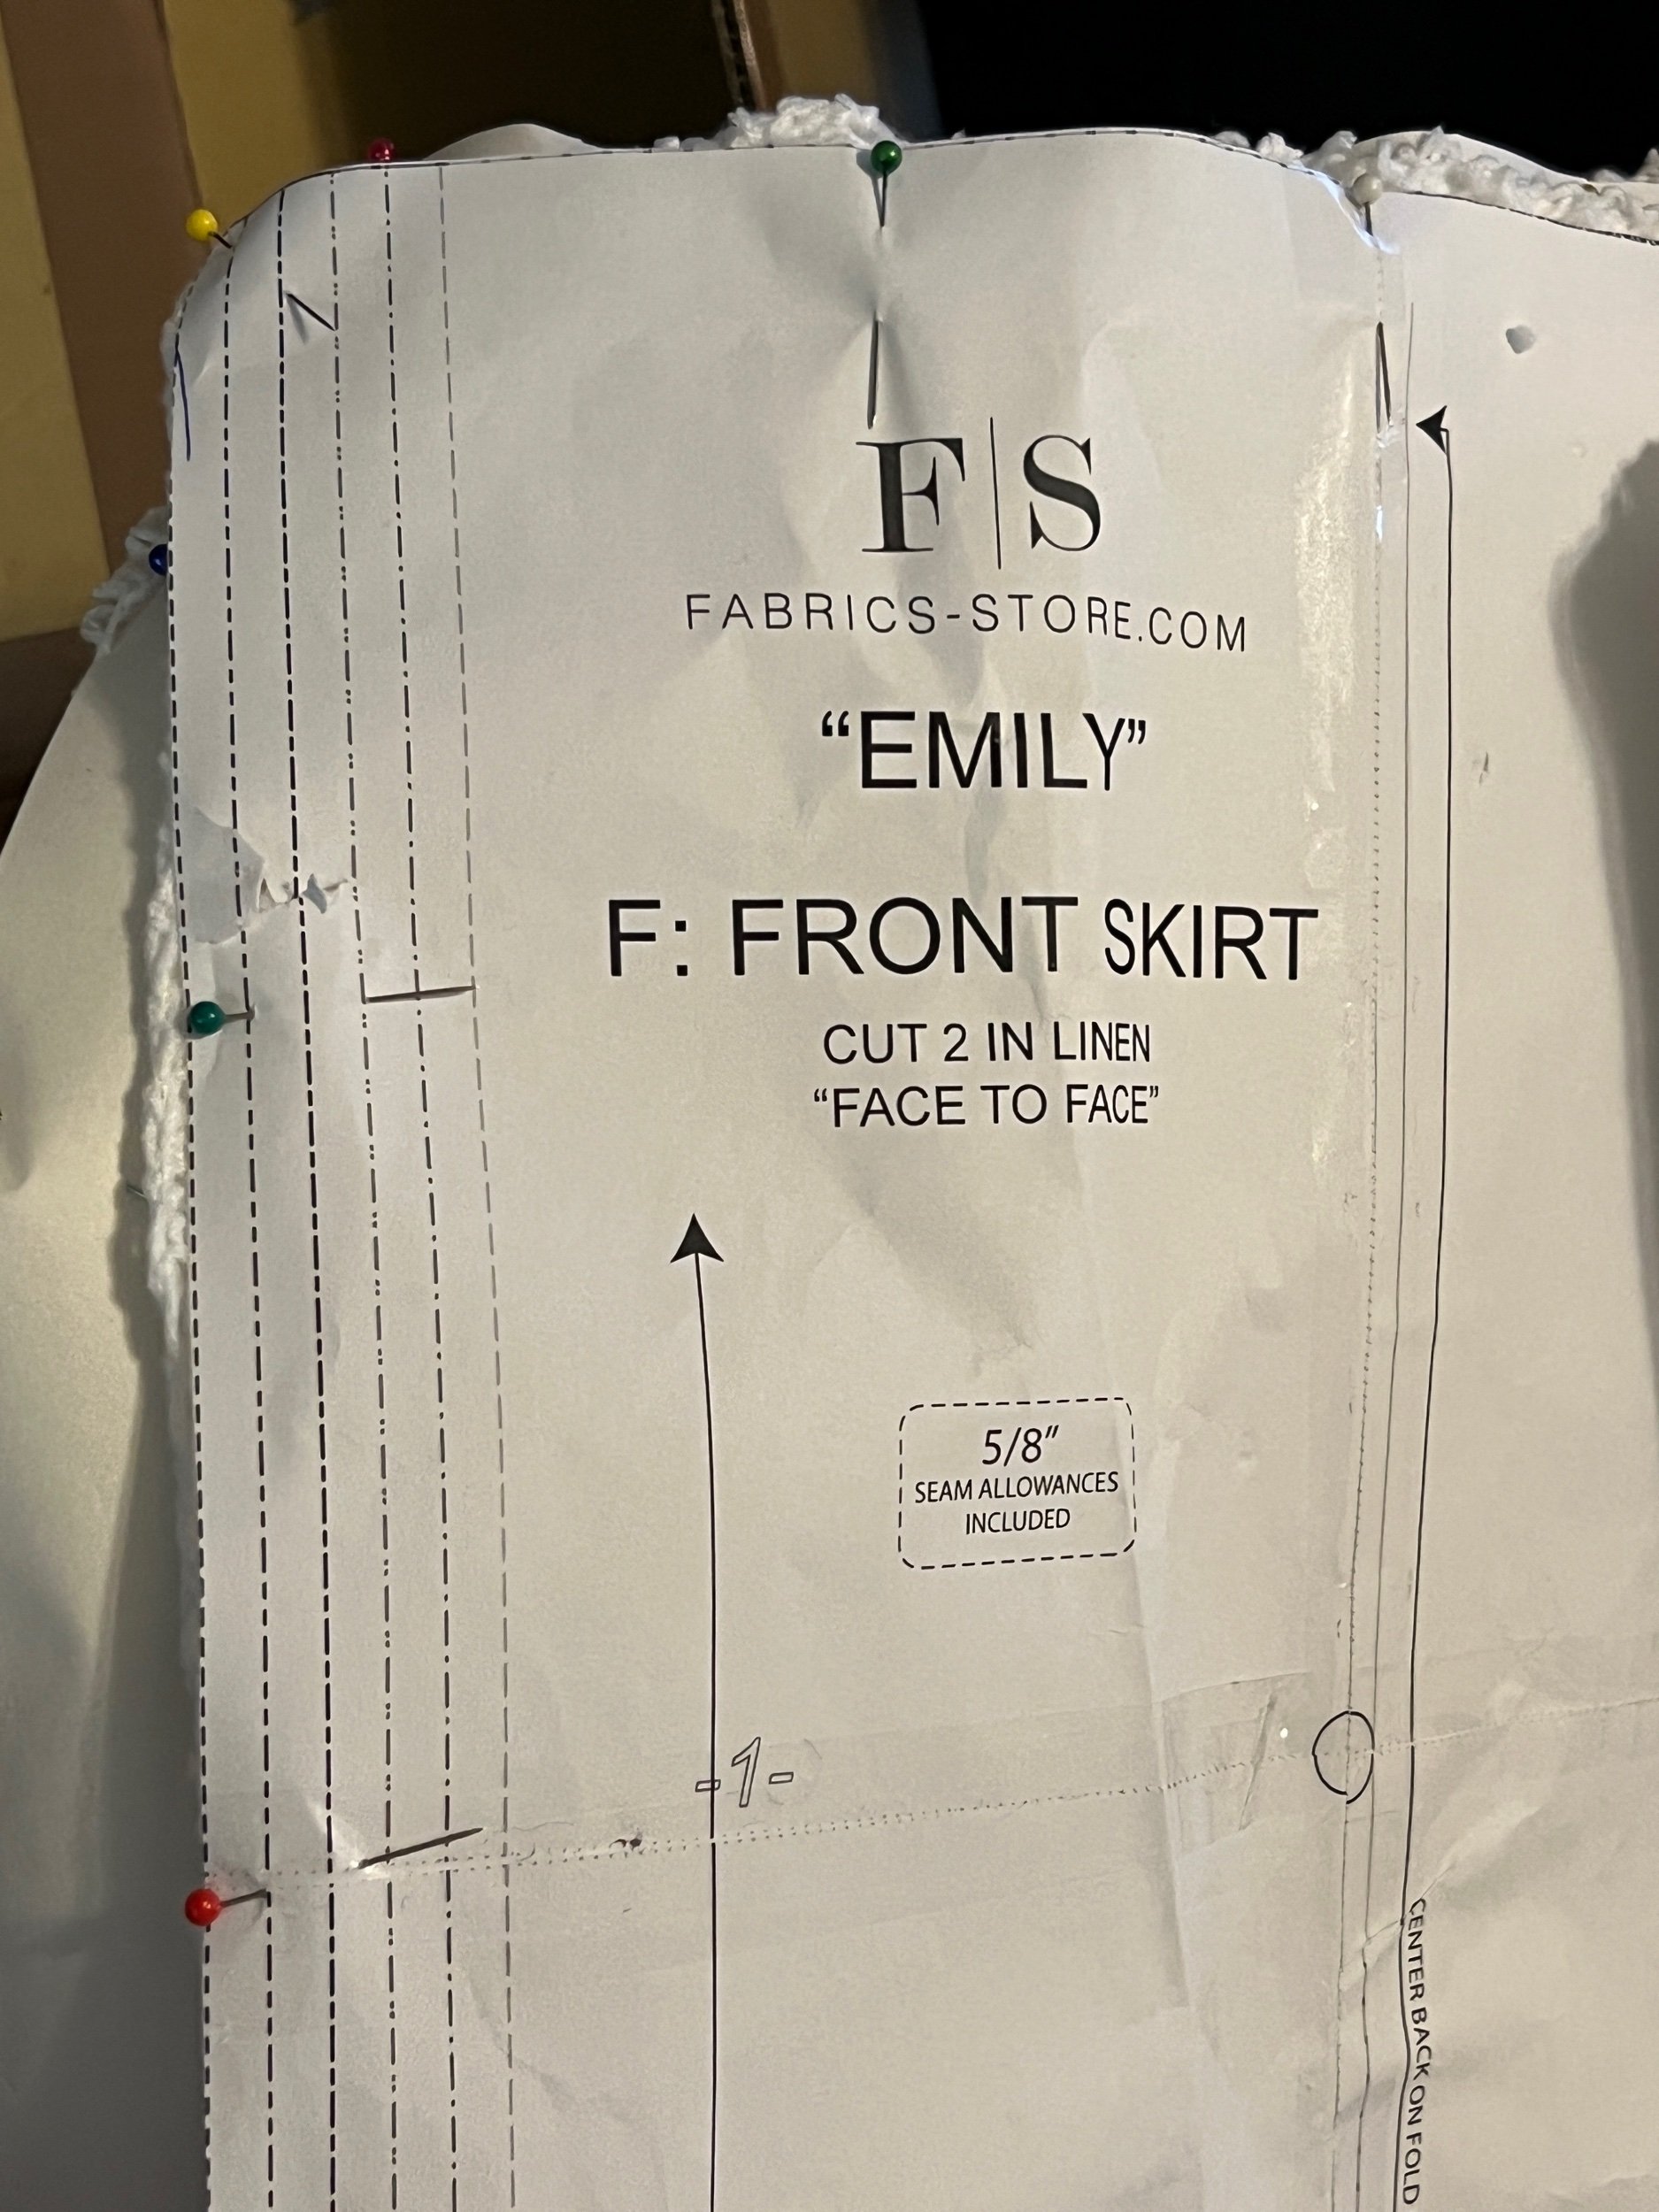
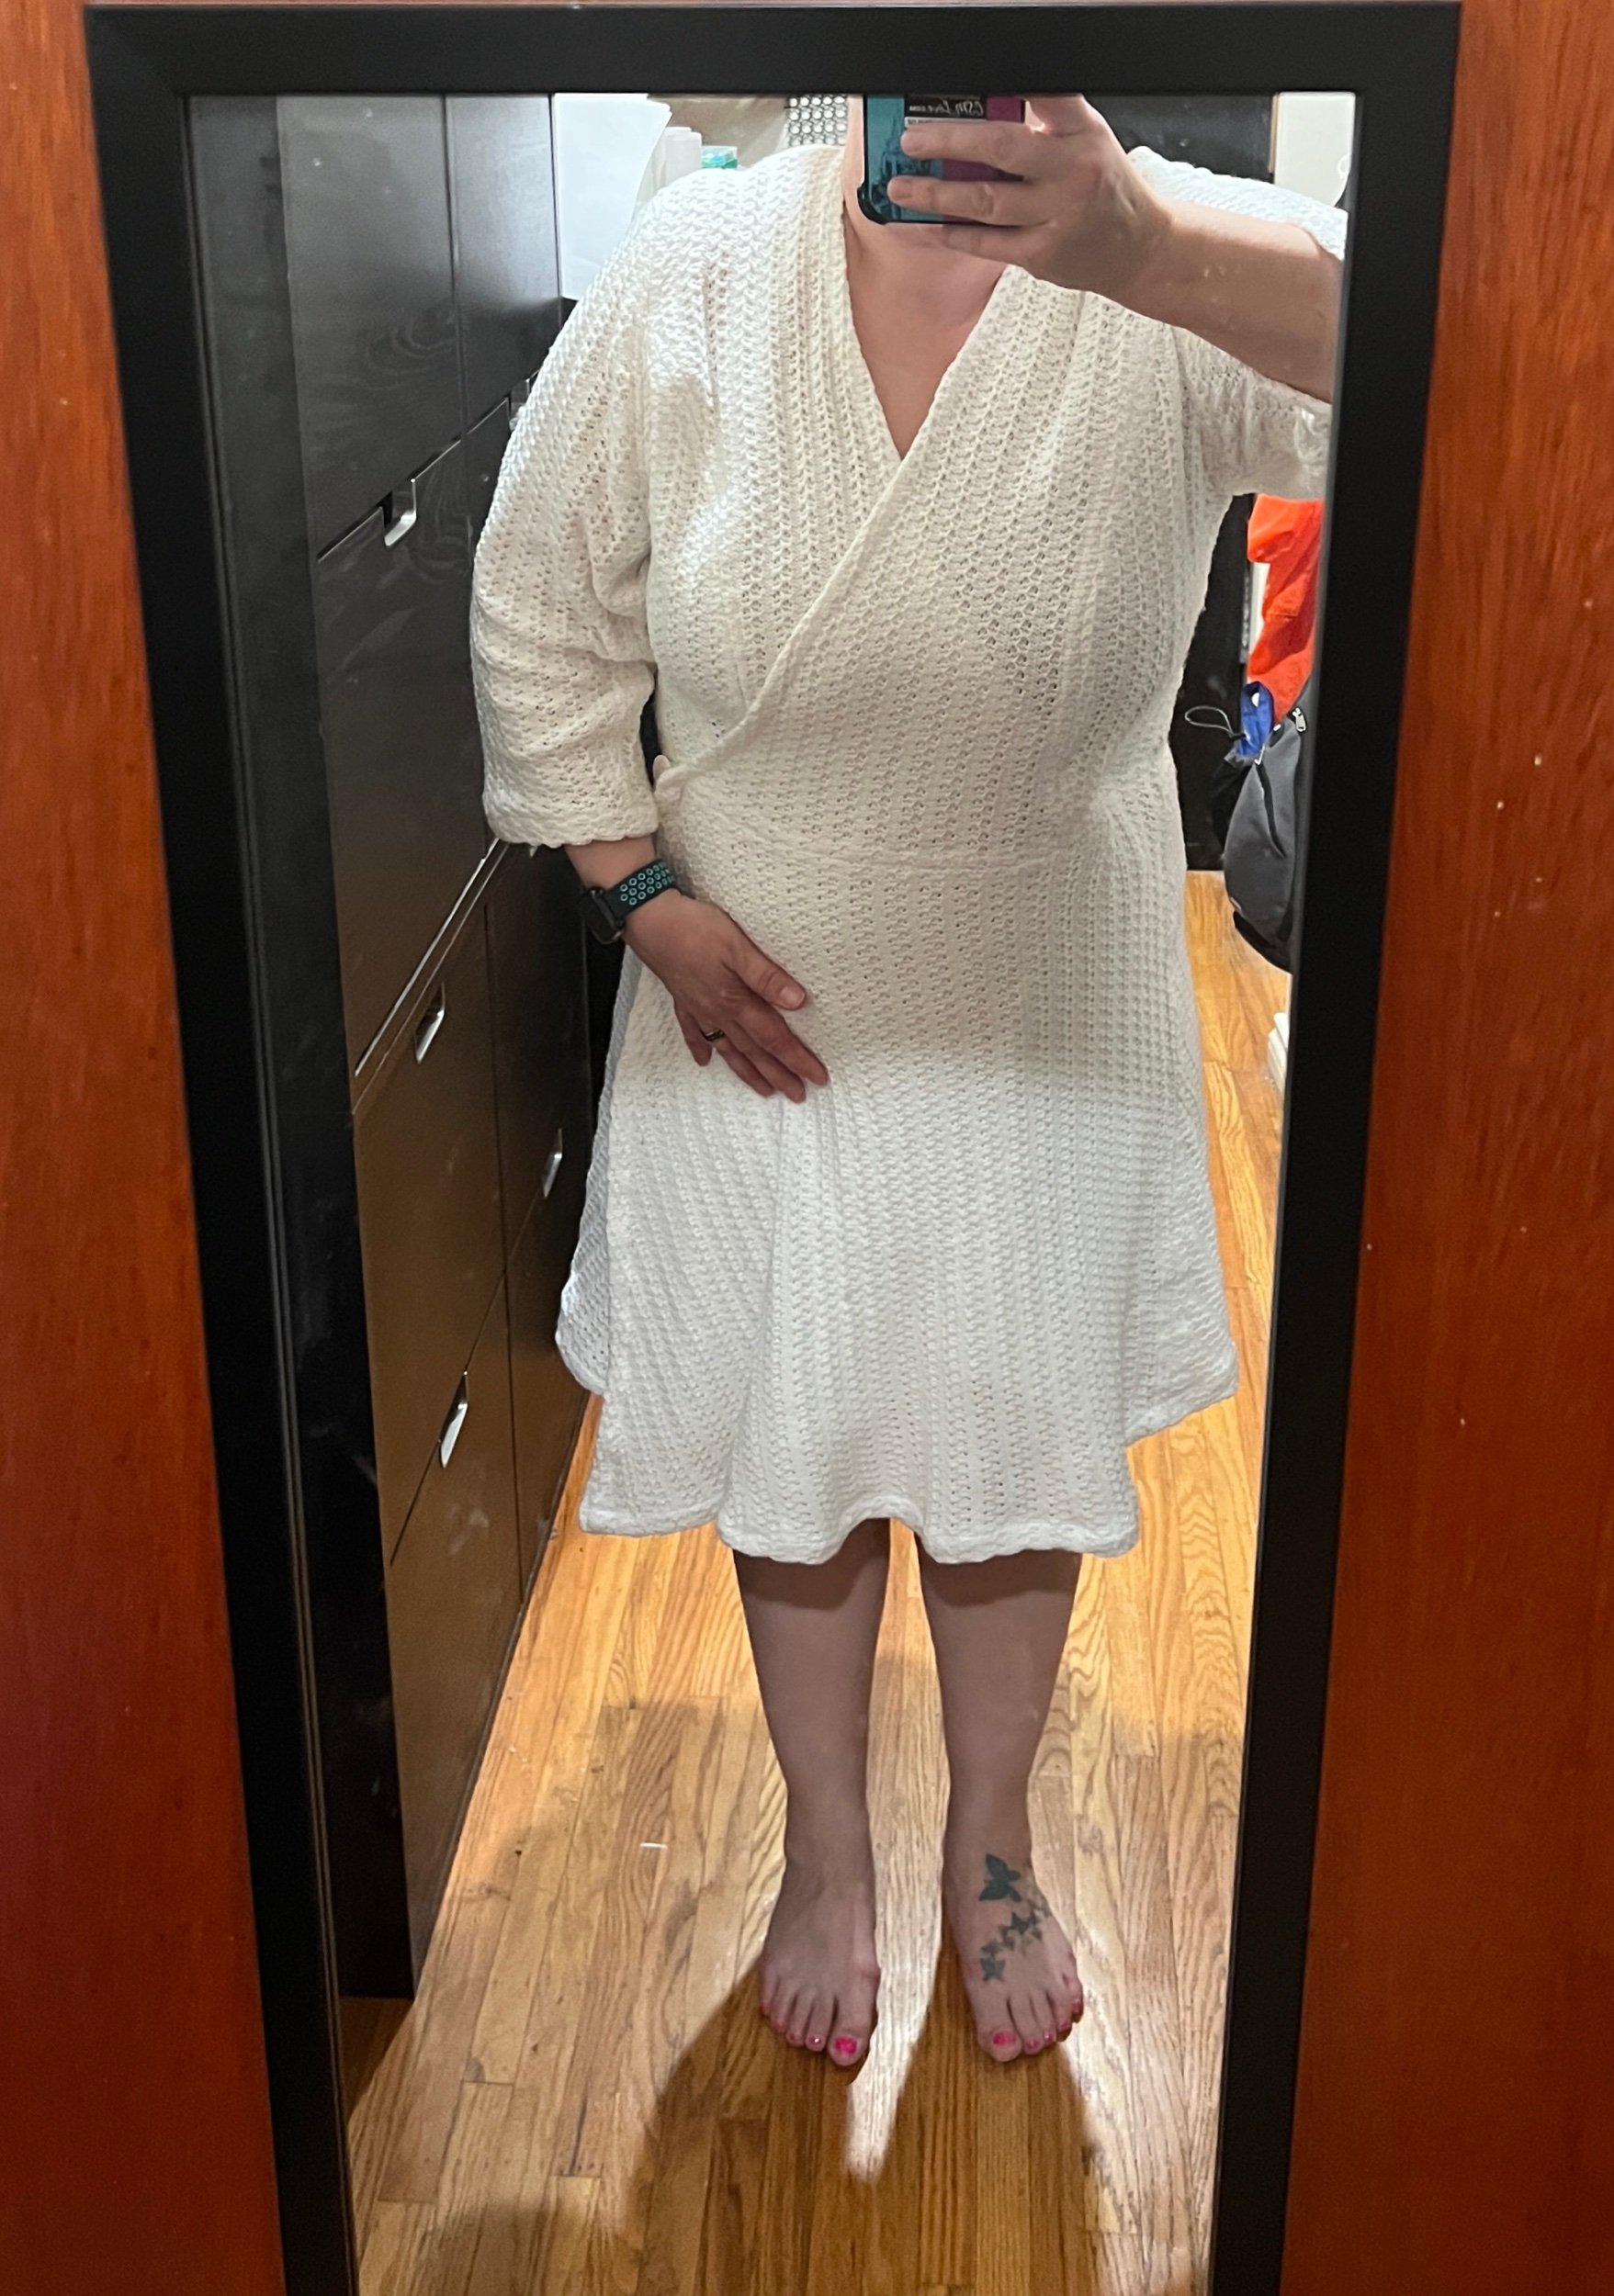
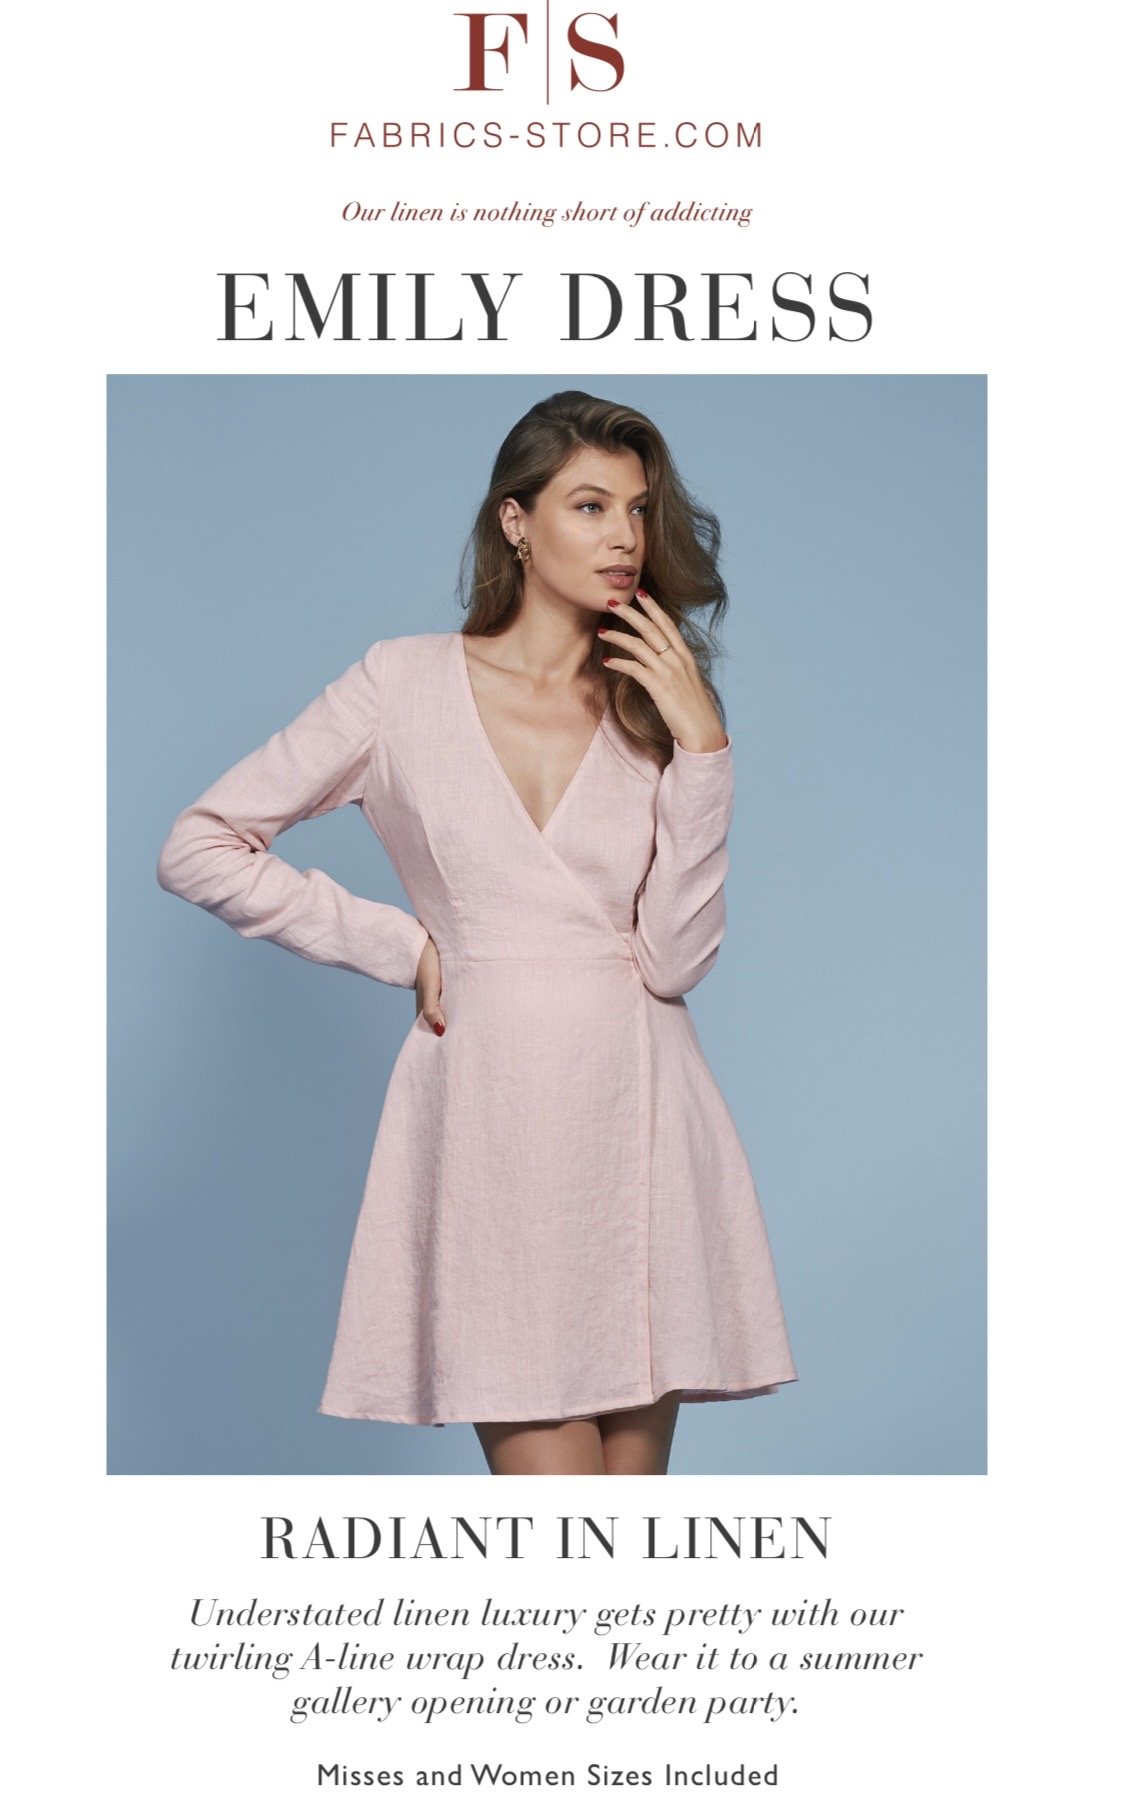
Looking for more direction I found the Emily linen dress - https://fabrics-store.com/uploads/sew-pattern-pdf/Fabrics-store-Emily_—_Linen_Dress_Pattern-1.pdf

Perhaps creating the fabric and working it cut and sew might offer best control?

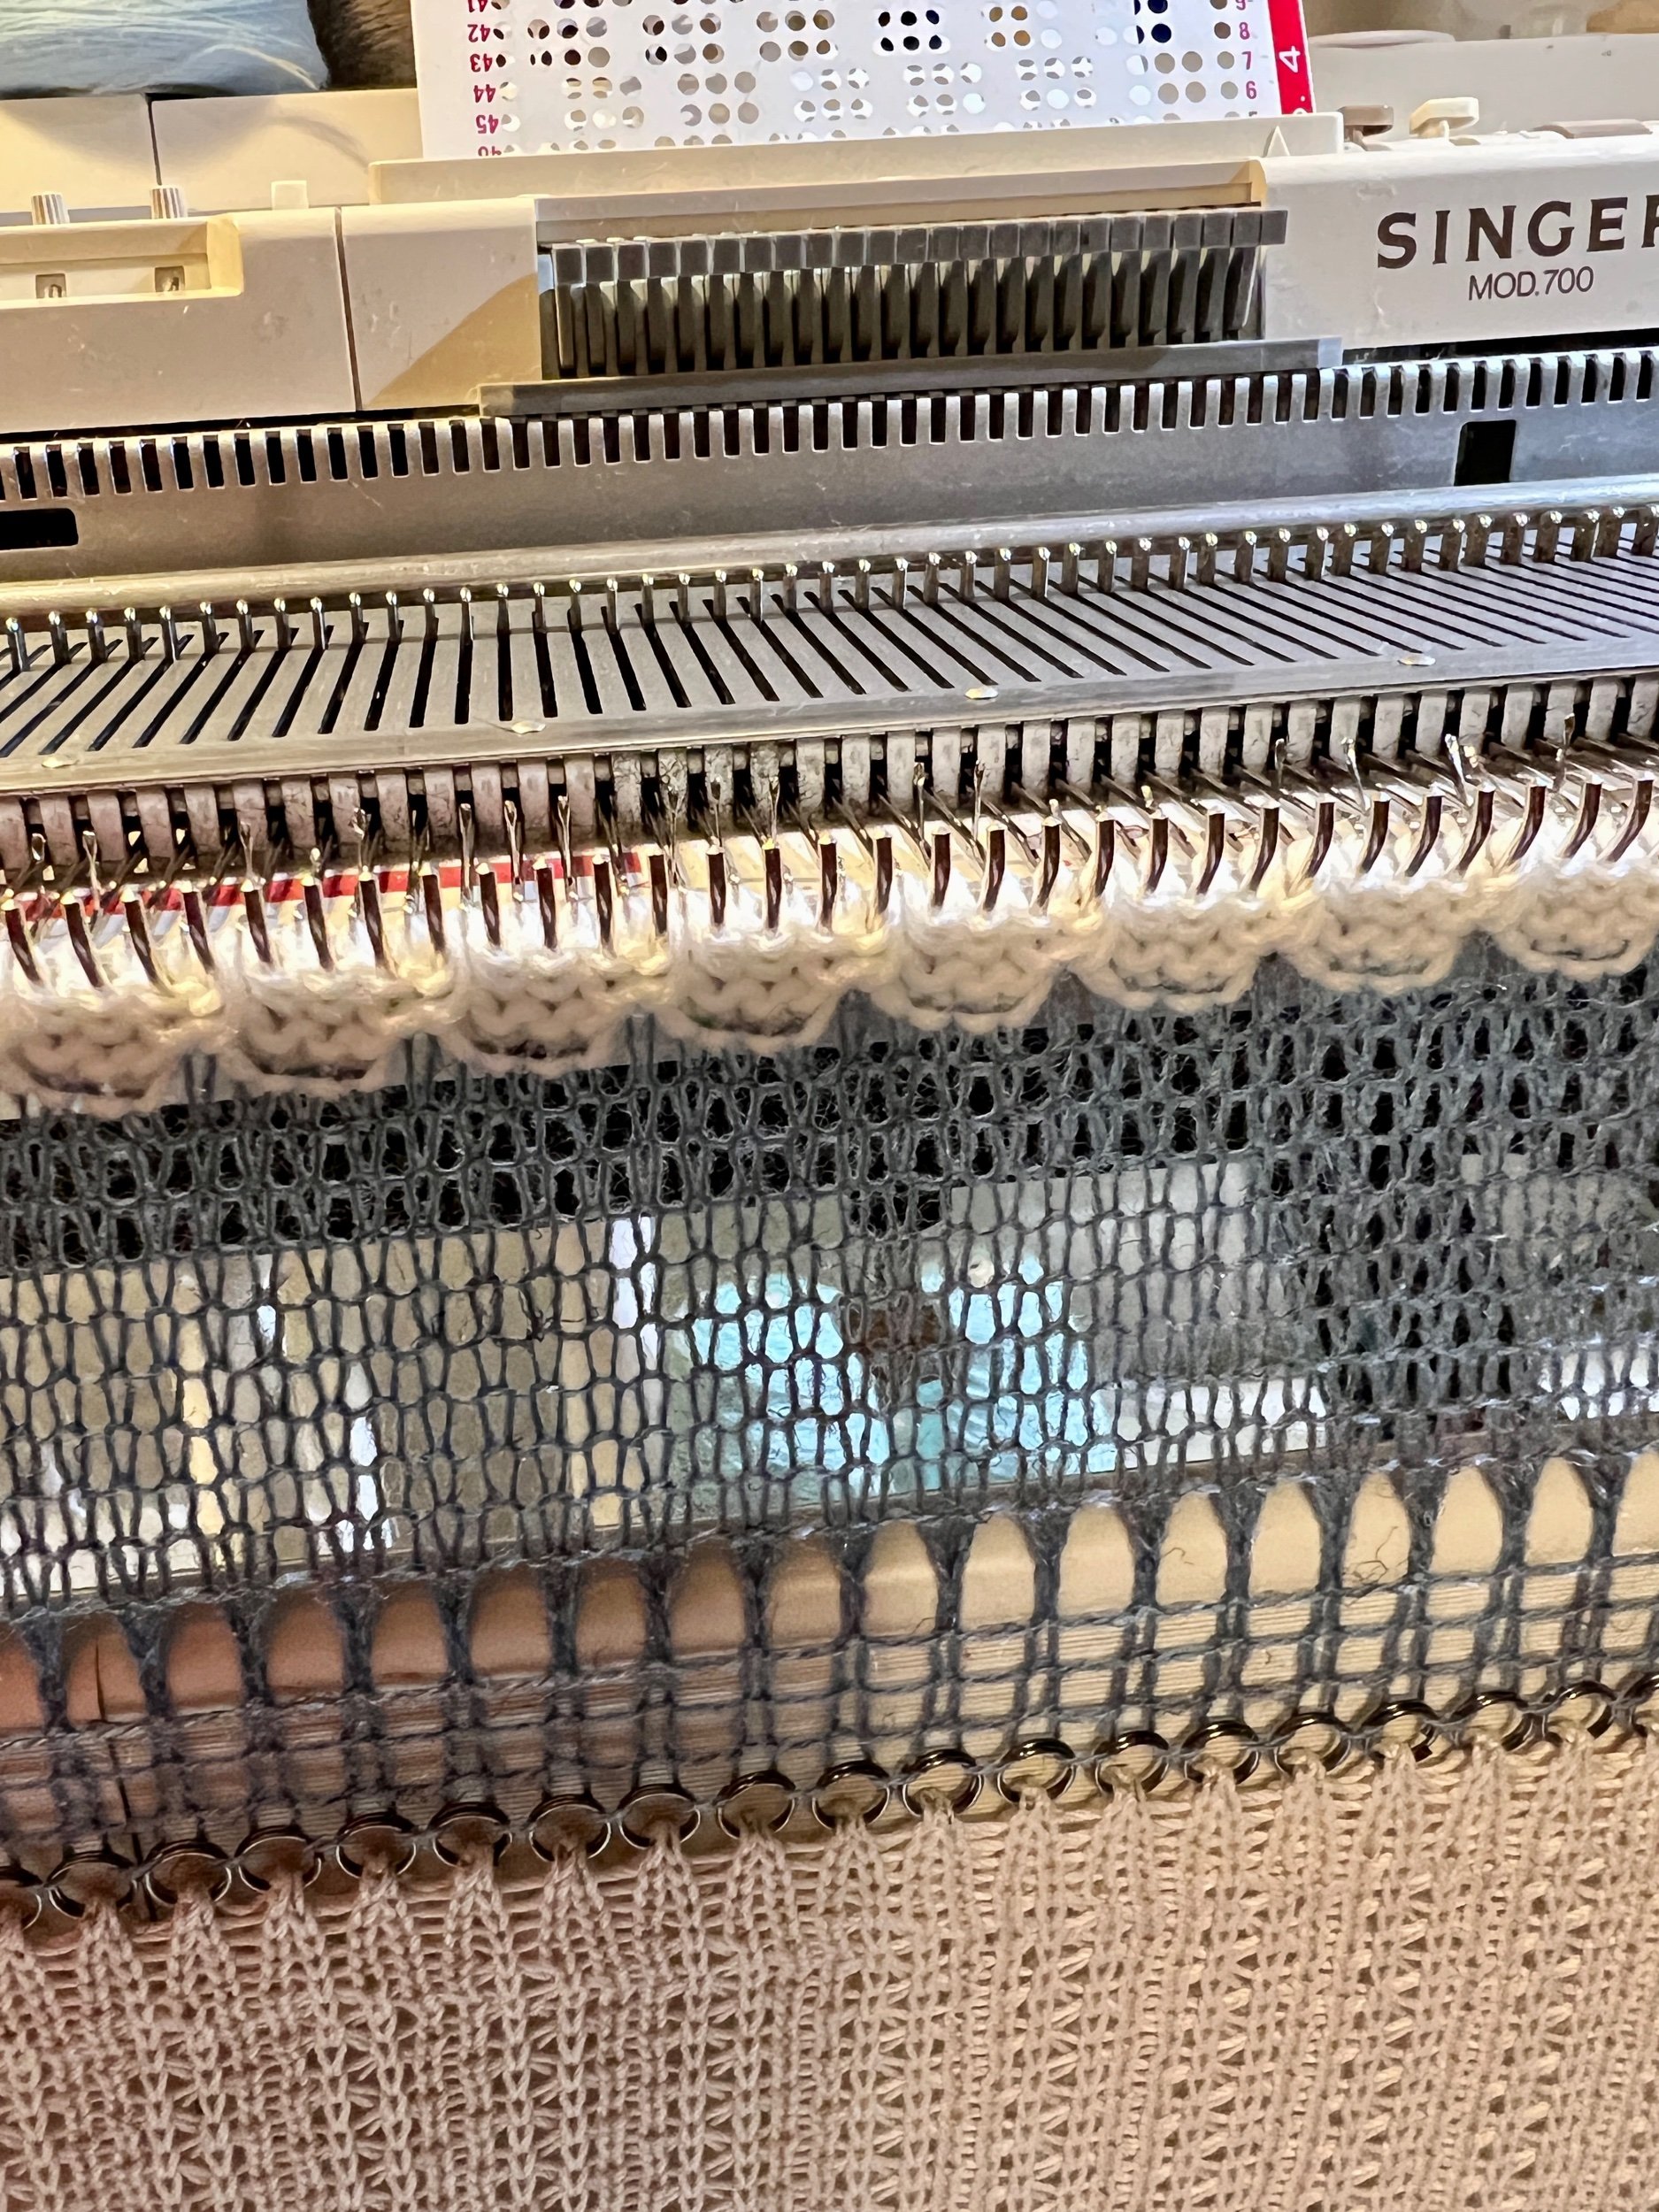
Having decided to do a cut and sew dress (create knitted panels and then treat as fabric as a sewing patter).

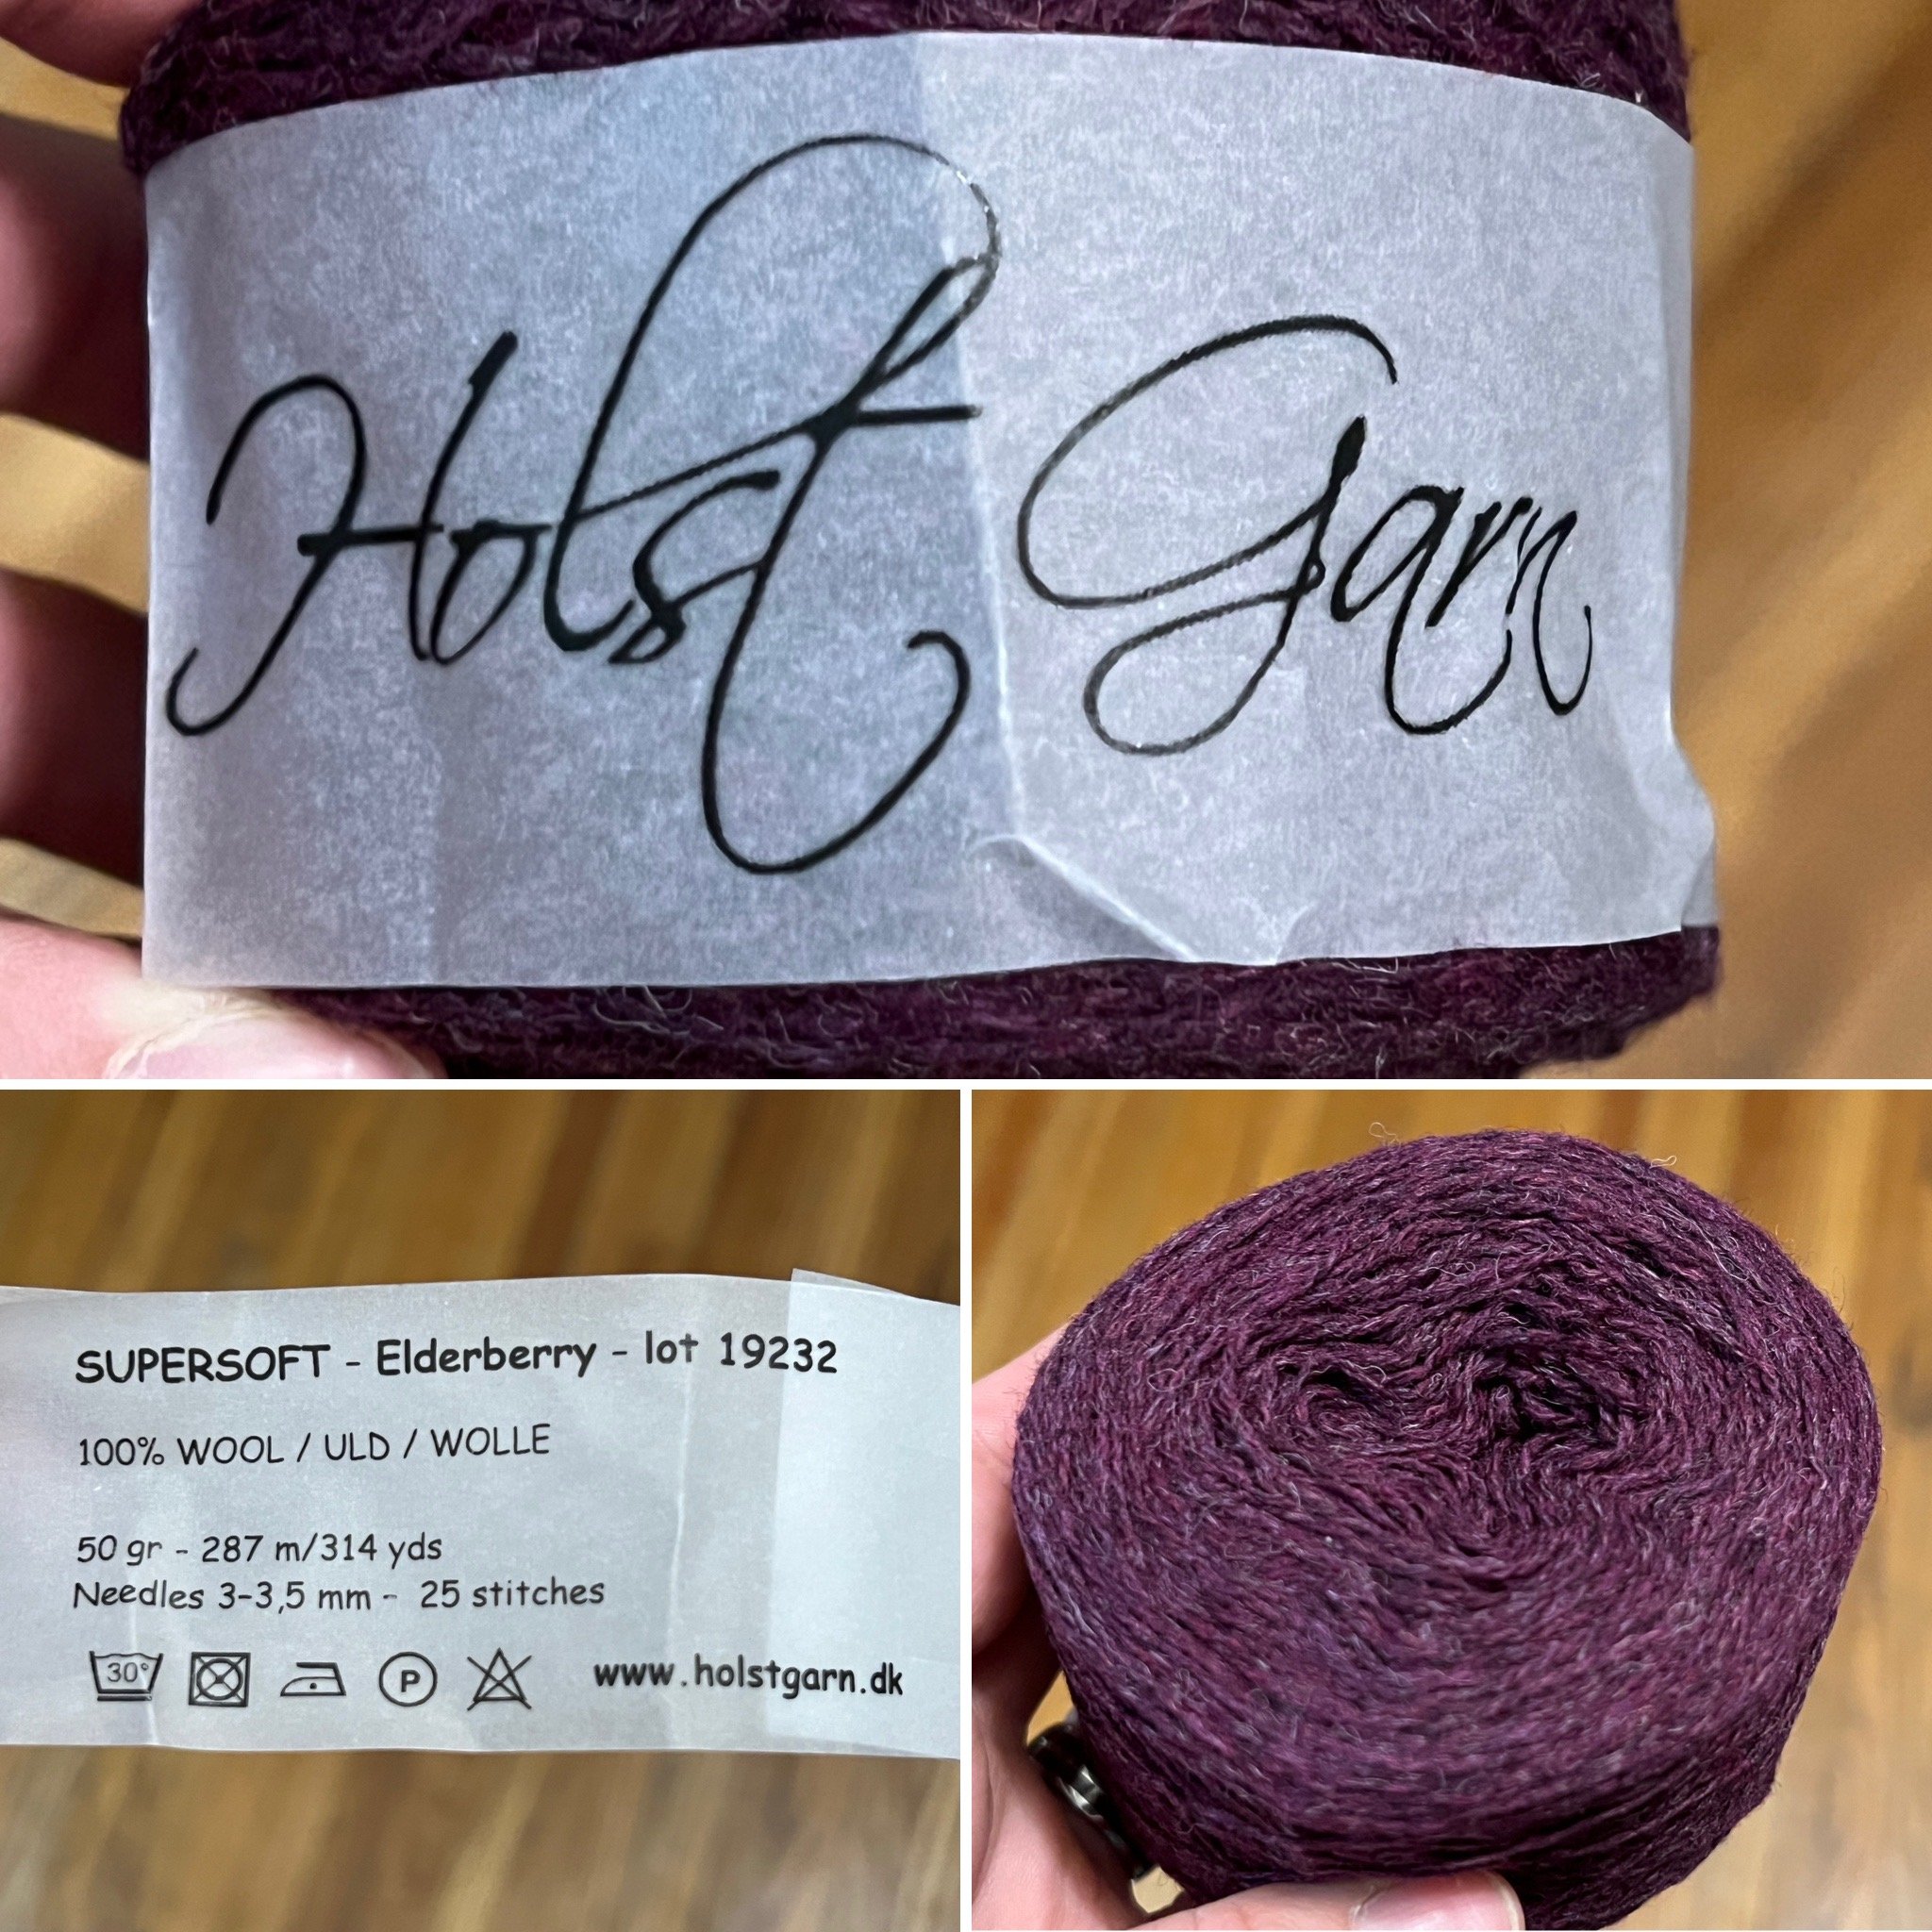
Yarn used: Micro Tamm yarn, 100% Acrylic. It has a look of cotton but the soft feel of suede. DK weight size 3.

Tonight I’m assembling the @fabricsstorecom free dress pattern.

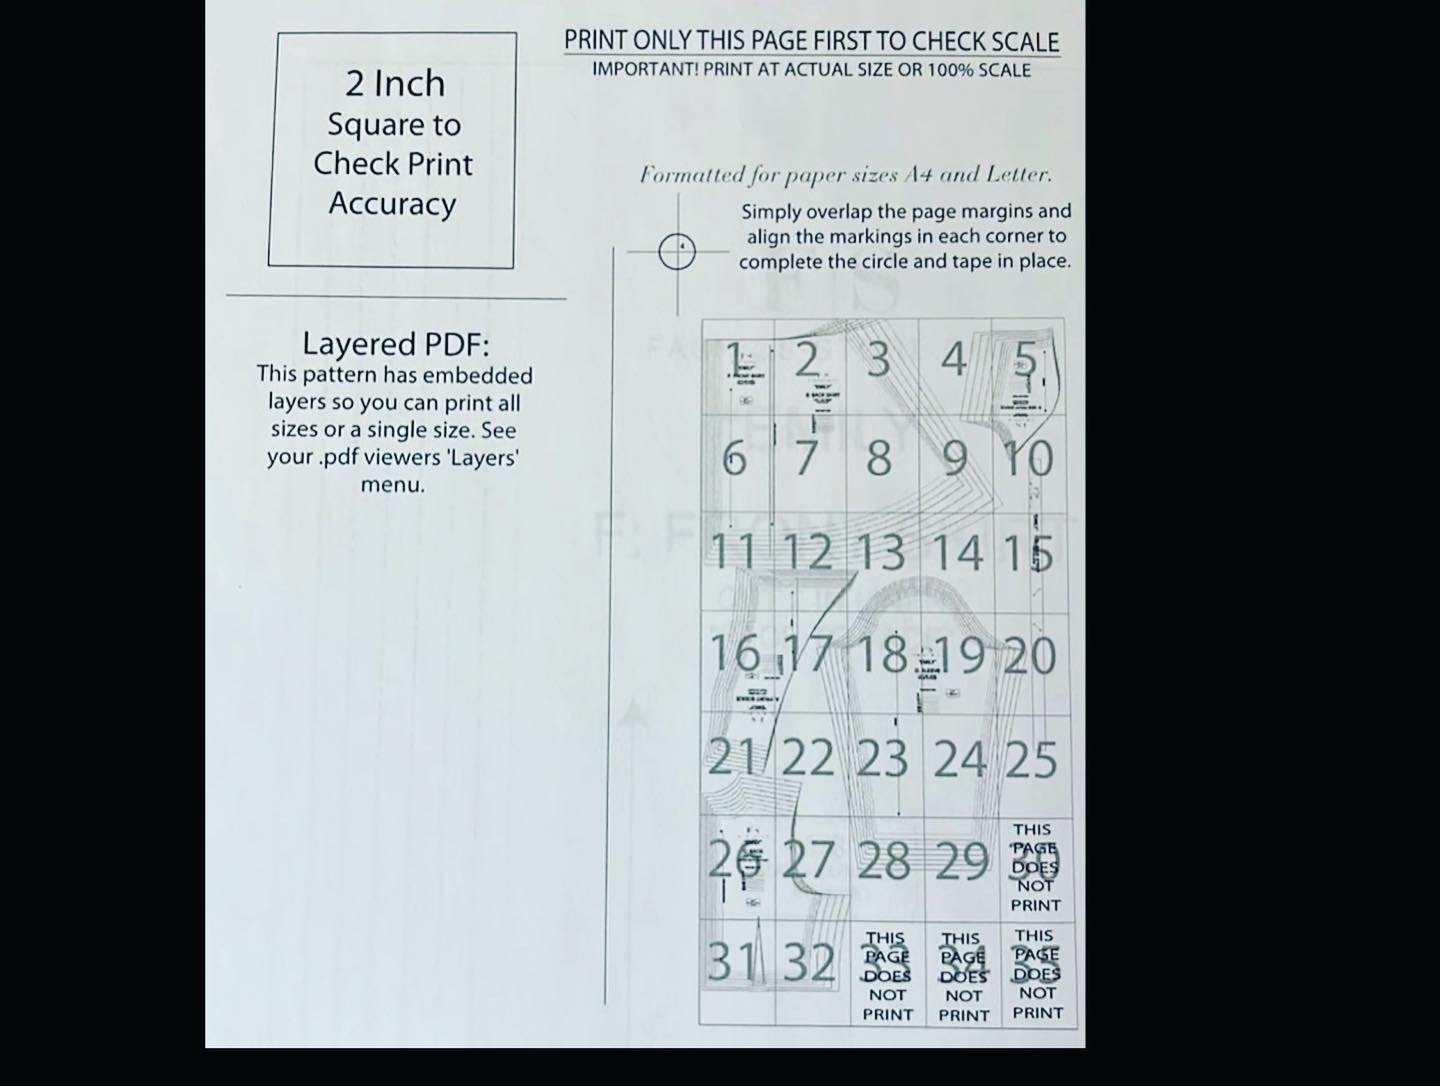
Just how big is the free size 0-30 full dress paper pattern from @fabricsstorecom ? Almost the size of our queen size bed!

April 25 - last night I cut out the paper pattern size that I think I will need and studied the construction. Tonight I will create the fabric on the knitting machine.

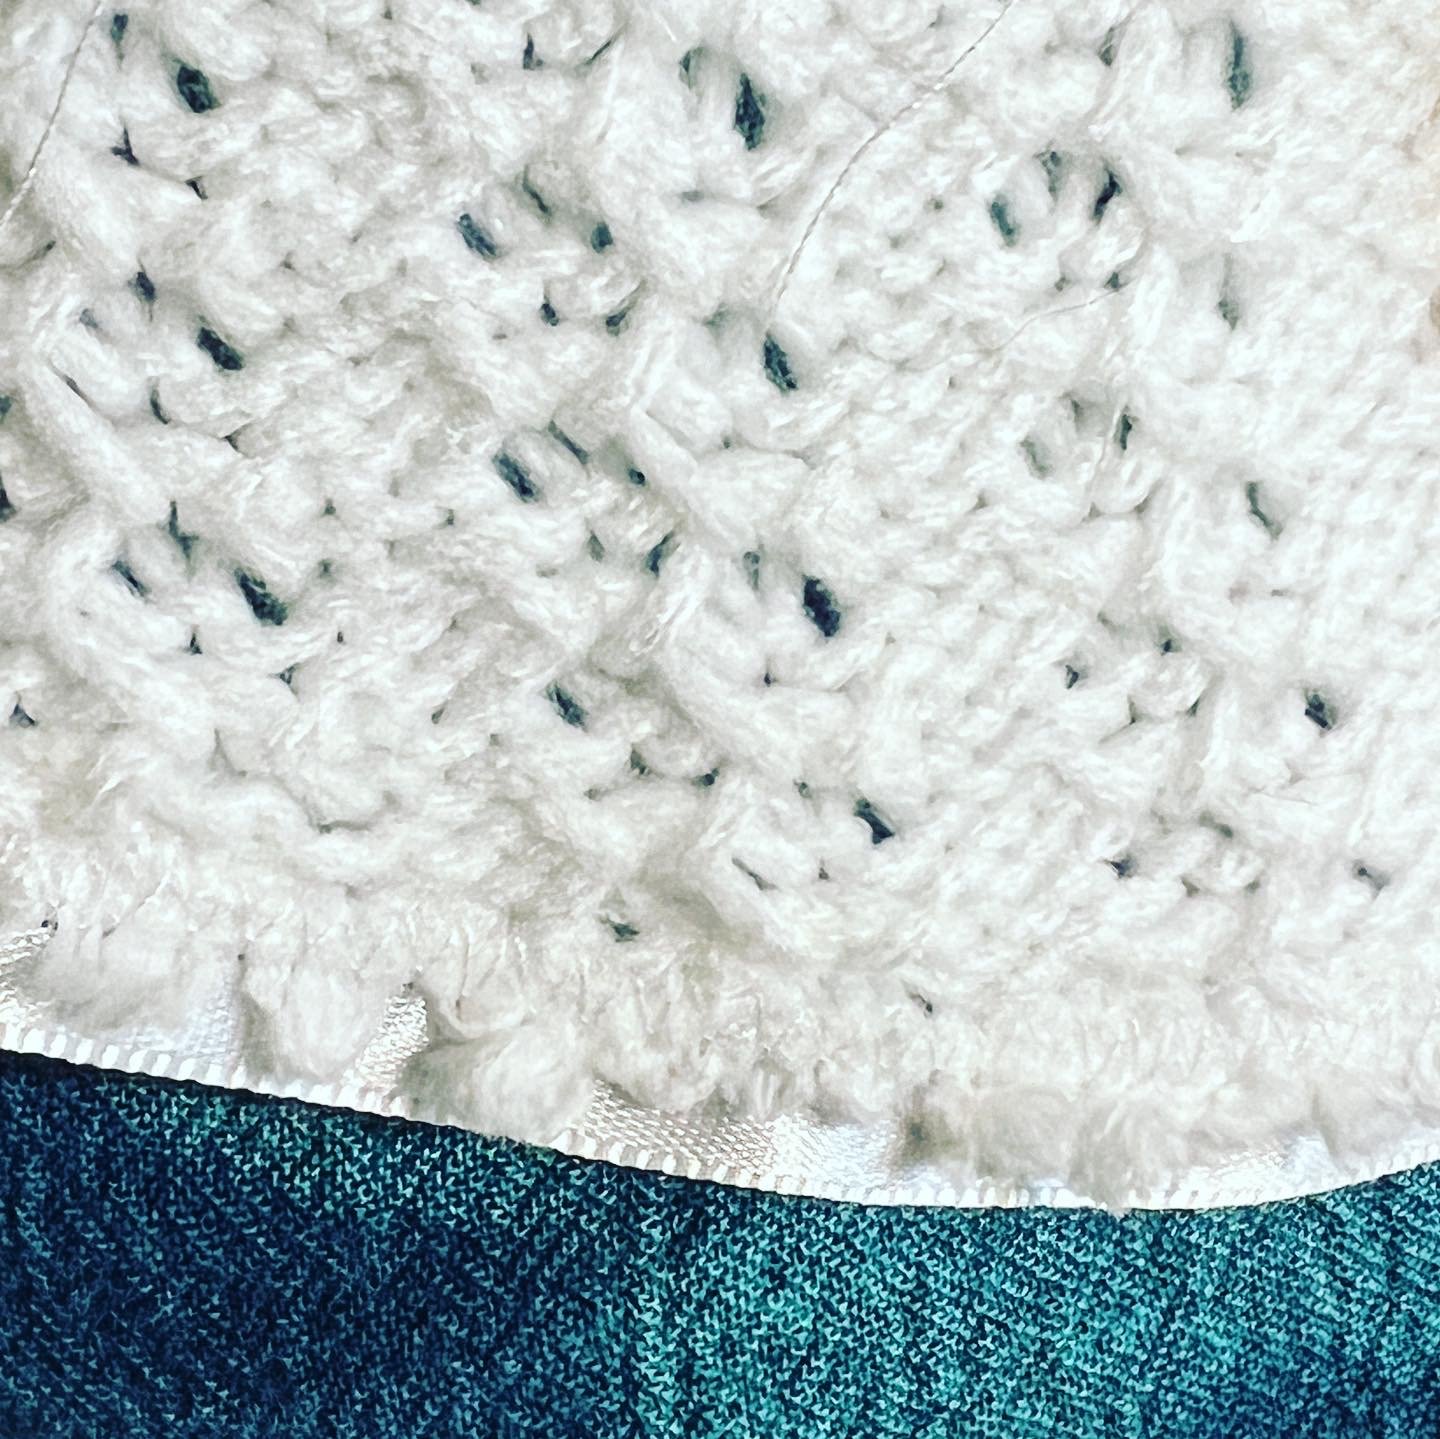
The Amazon ordered 3/8 satin fabric ribbon arrived yesterday at work - I am going to use it to help the edges not unravel or distort when locking in the raw cut knit stitches.

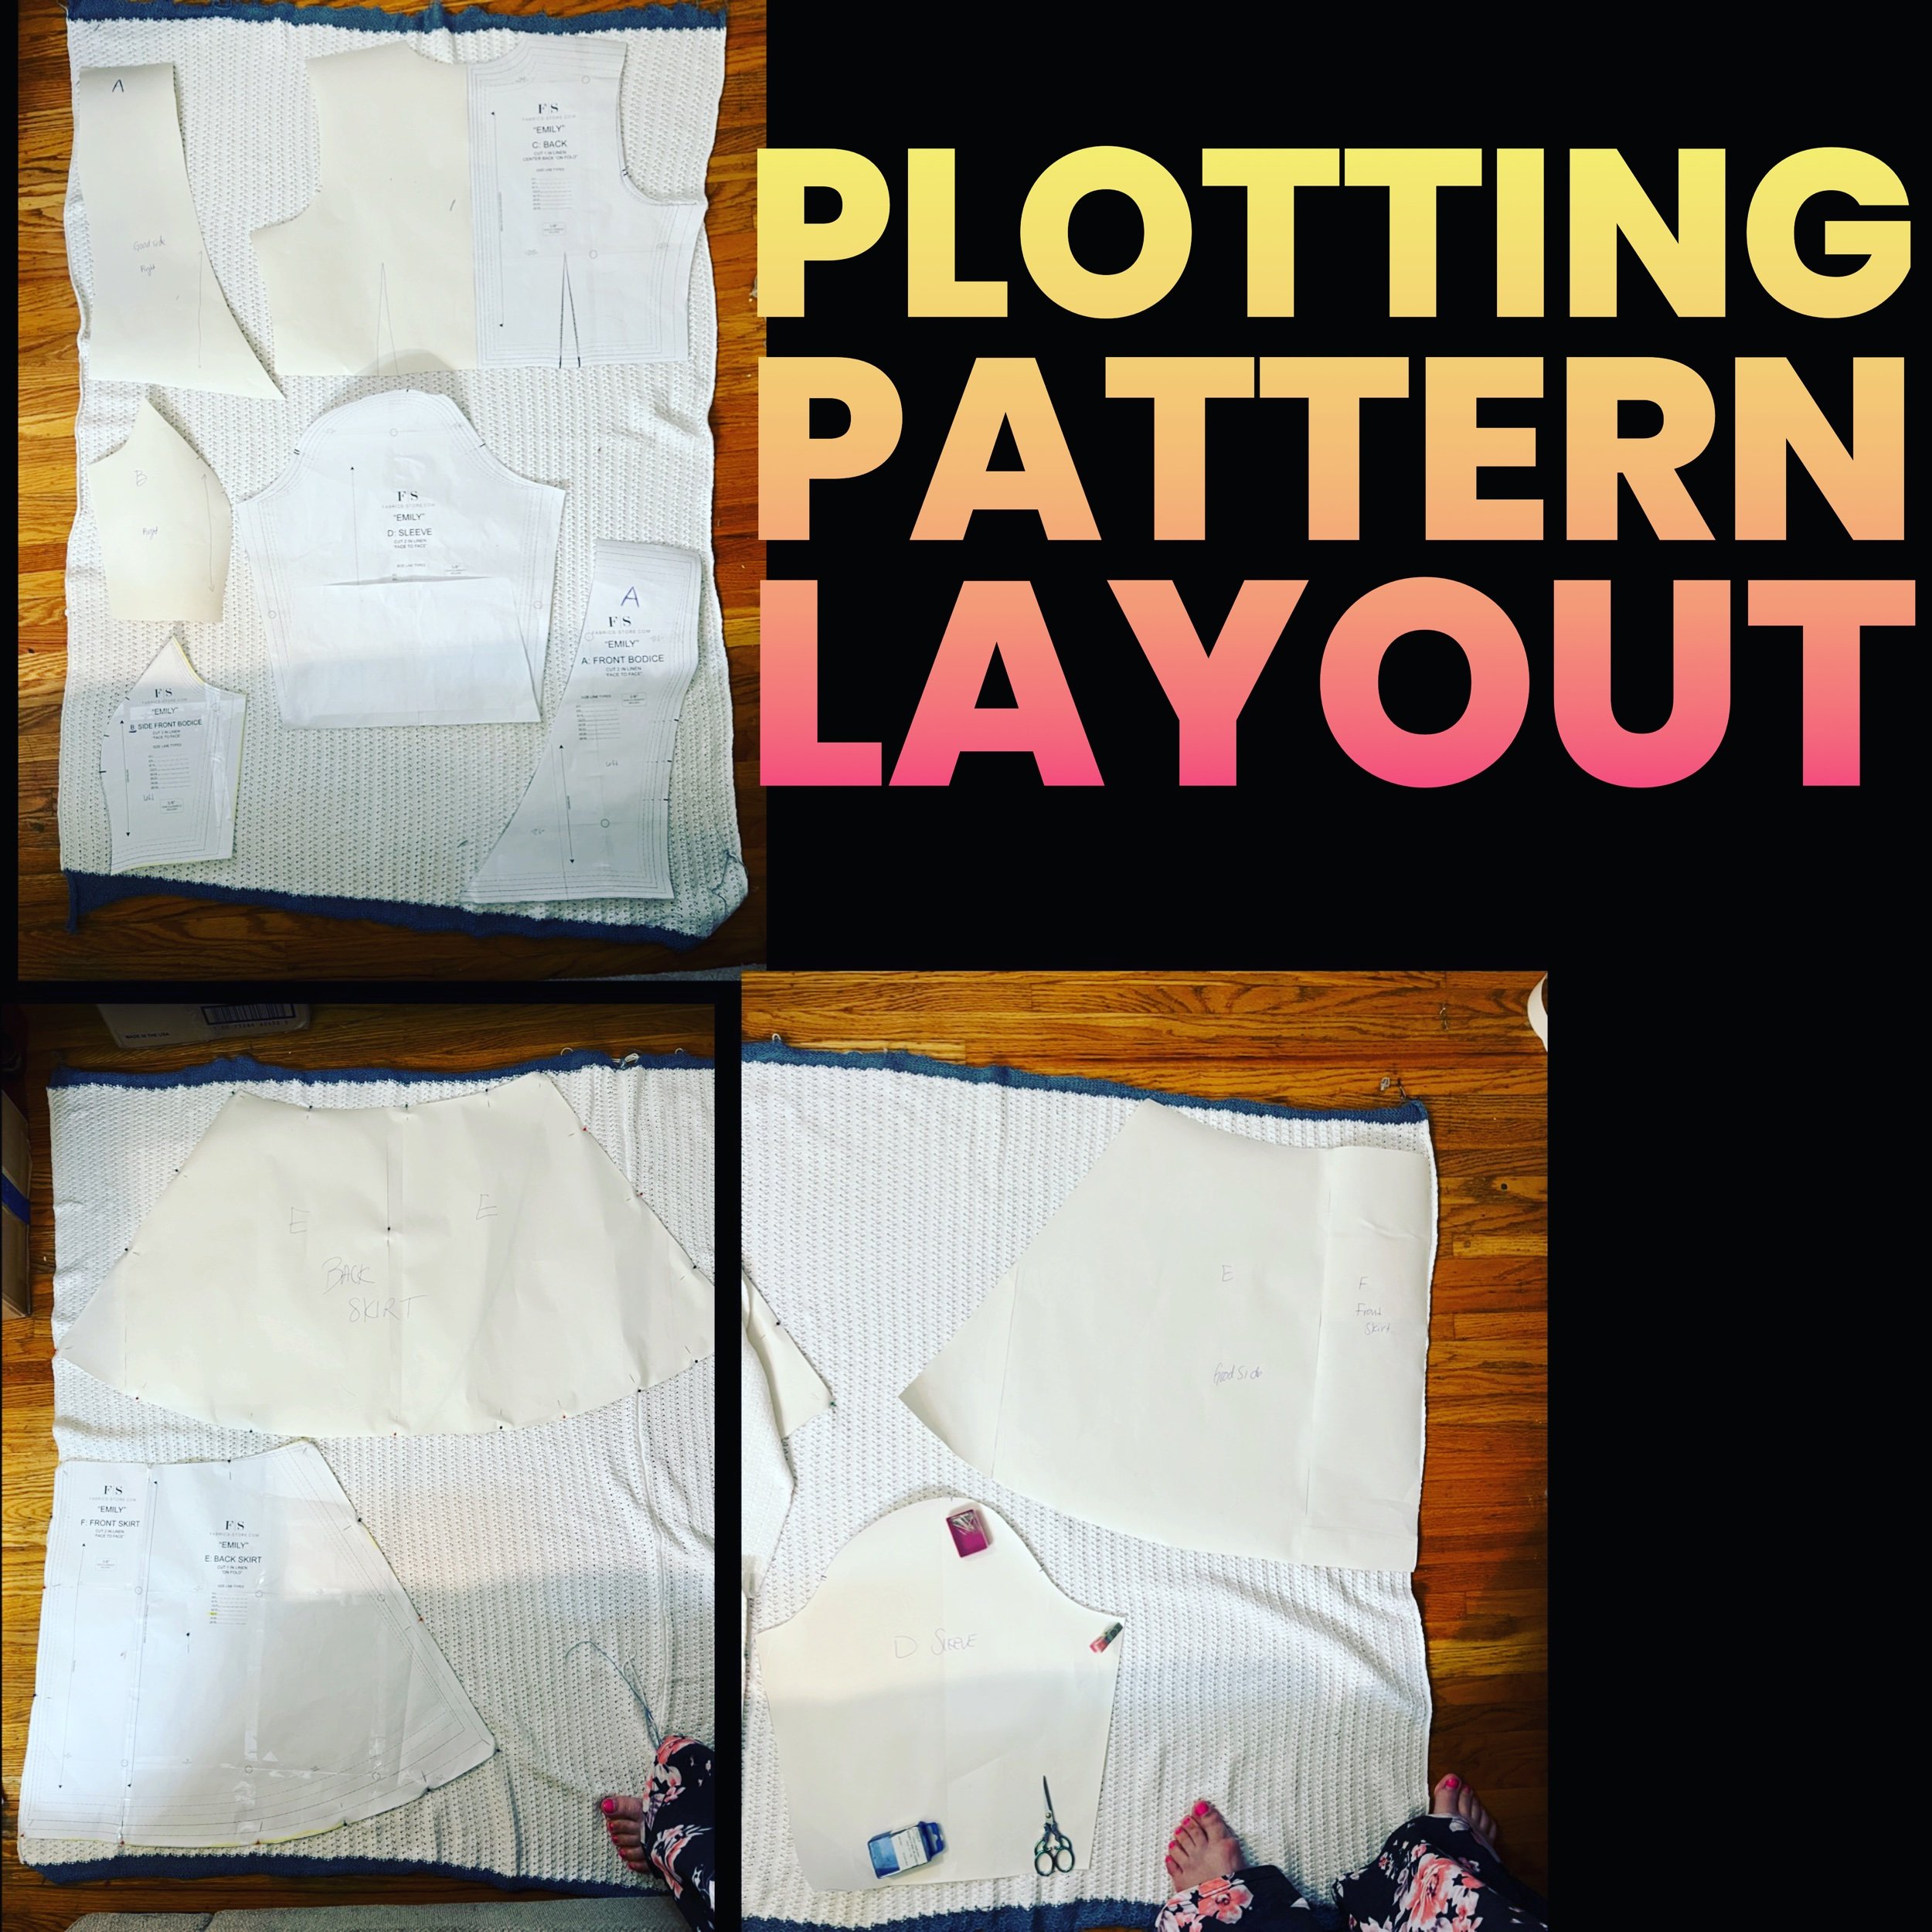
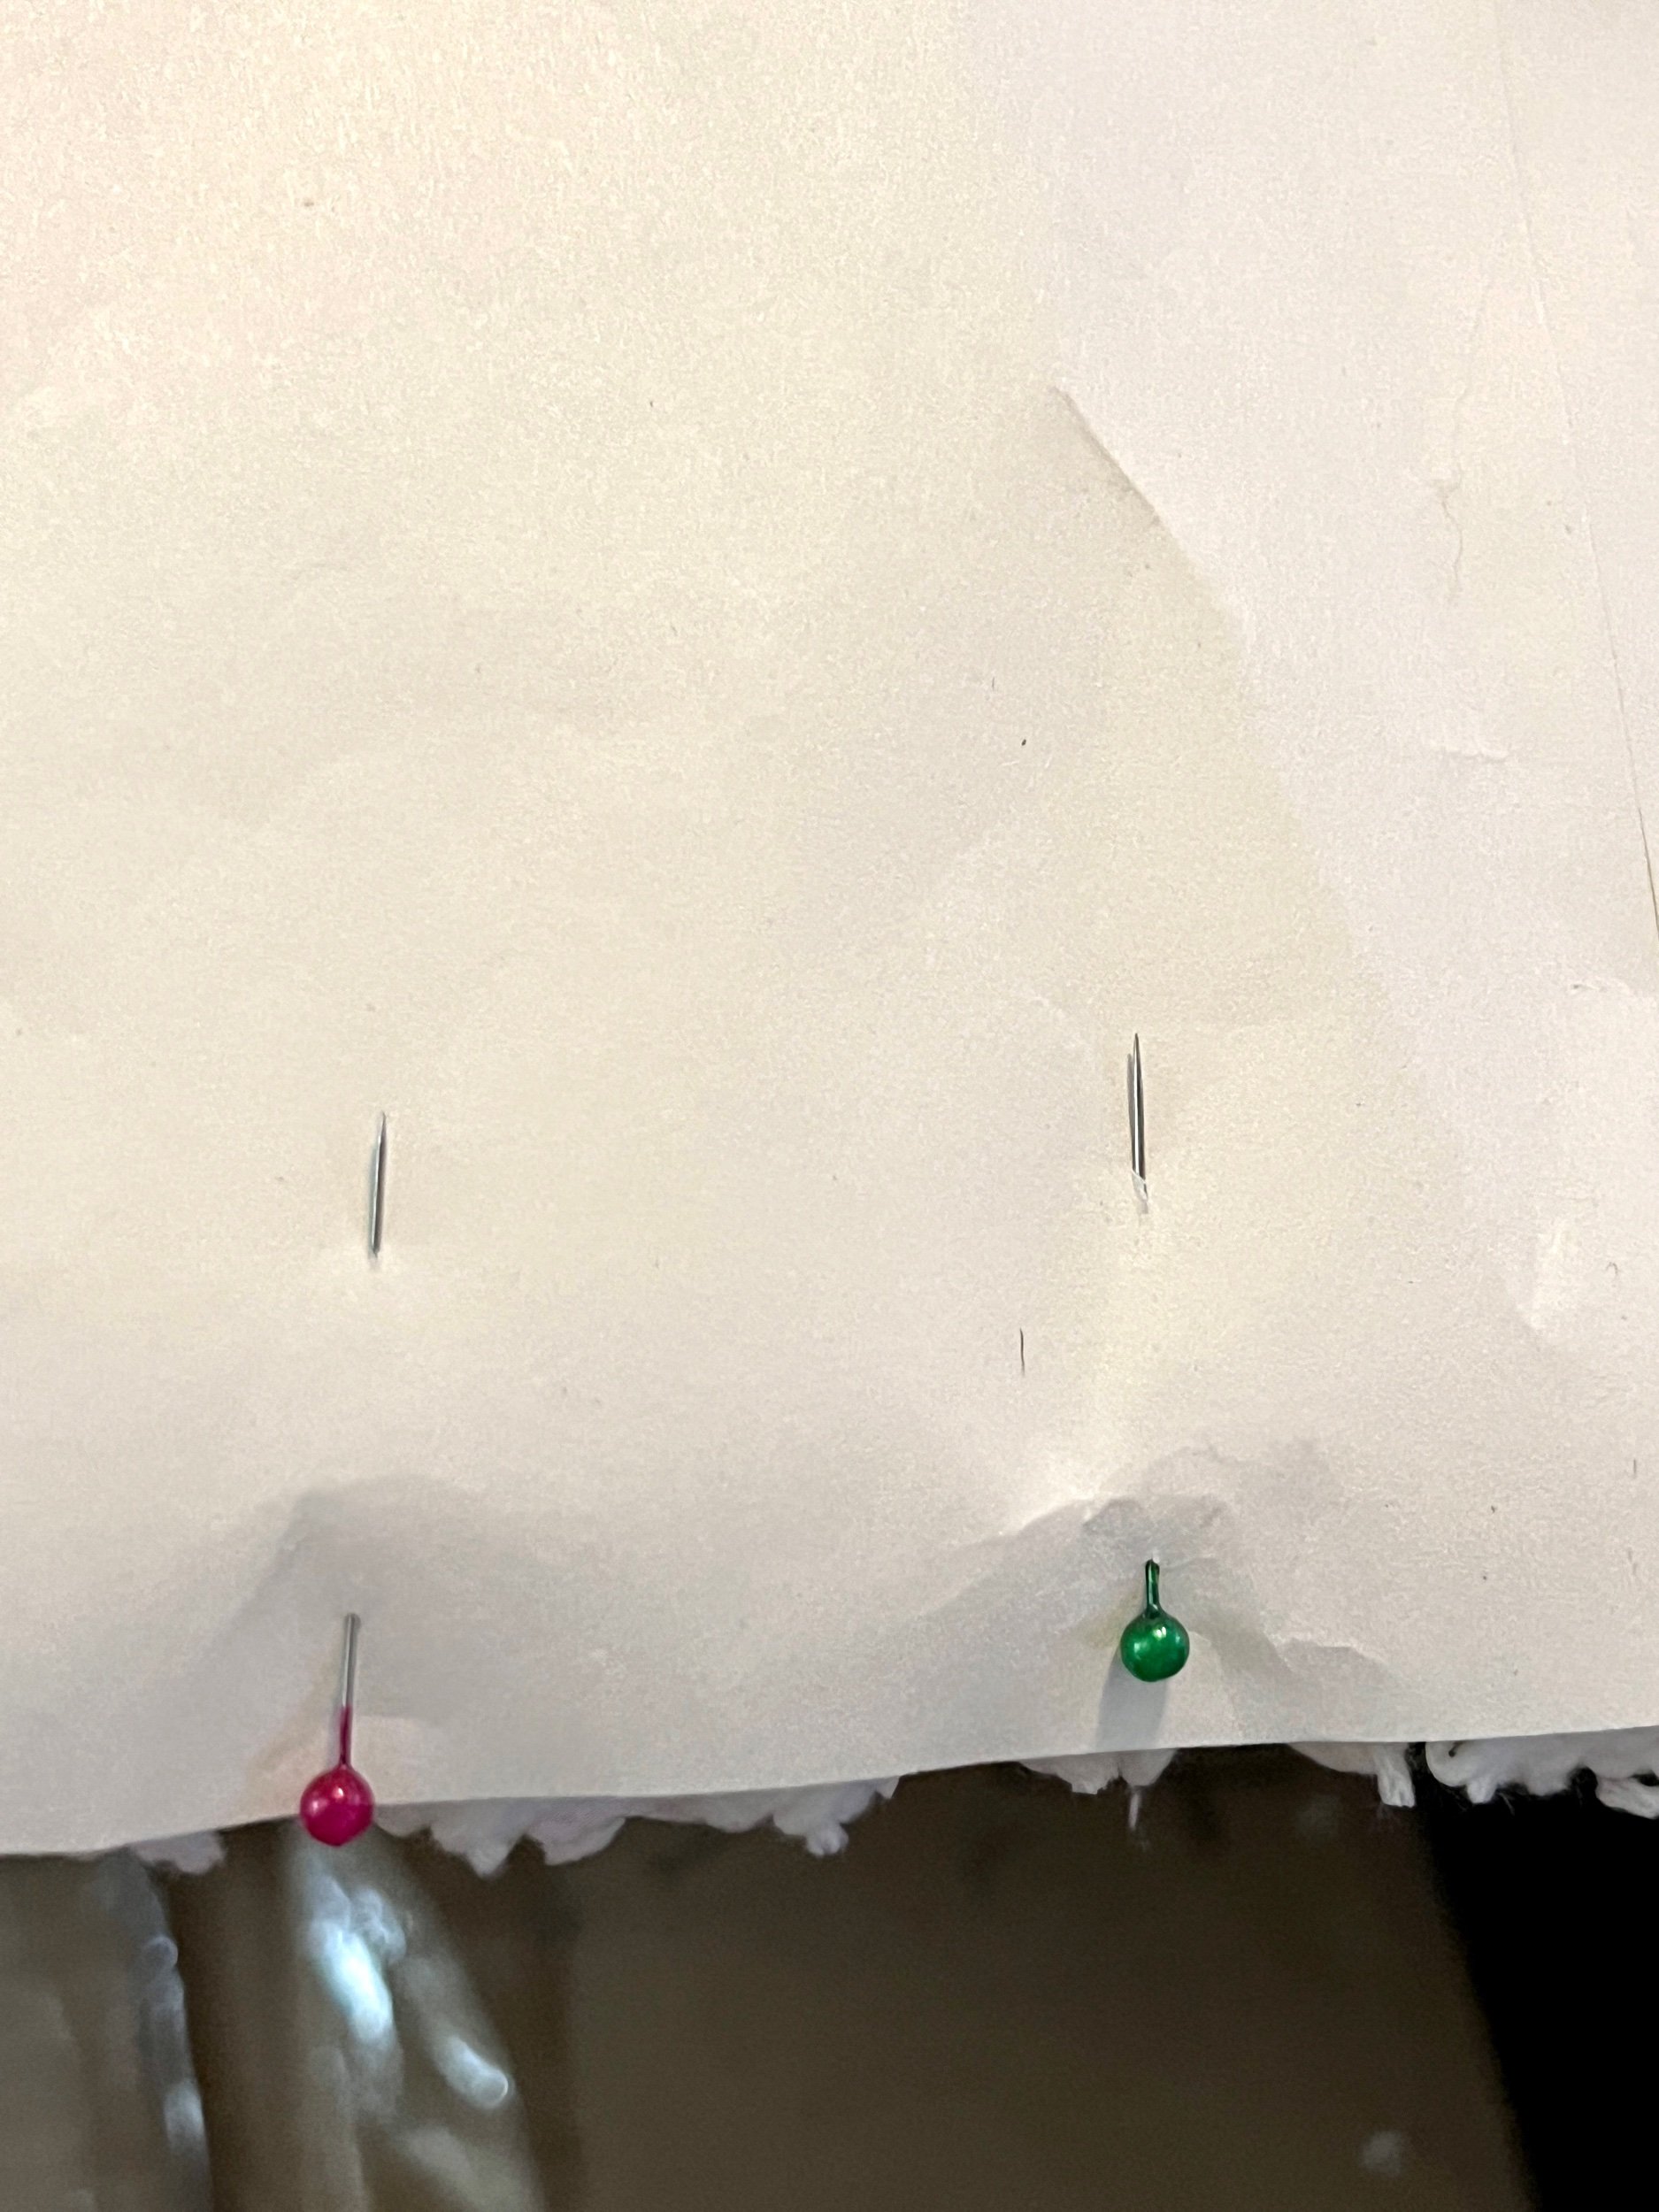
It occurred to me that the pattern utilizes a fold of “fabric” with the paper pattern to create the fabric pieces - I will make extra manual paper pattern pieces today to make paper pattern on knit fabric layout and cut easier.

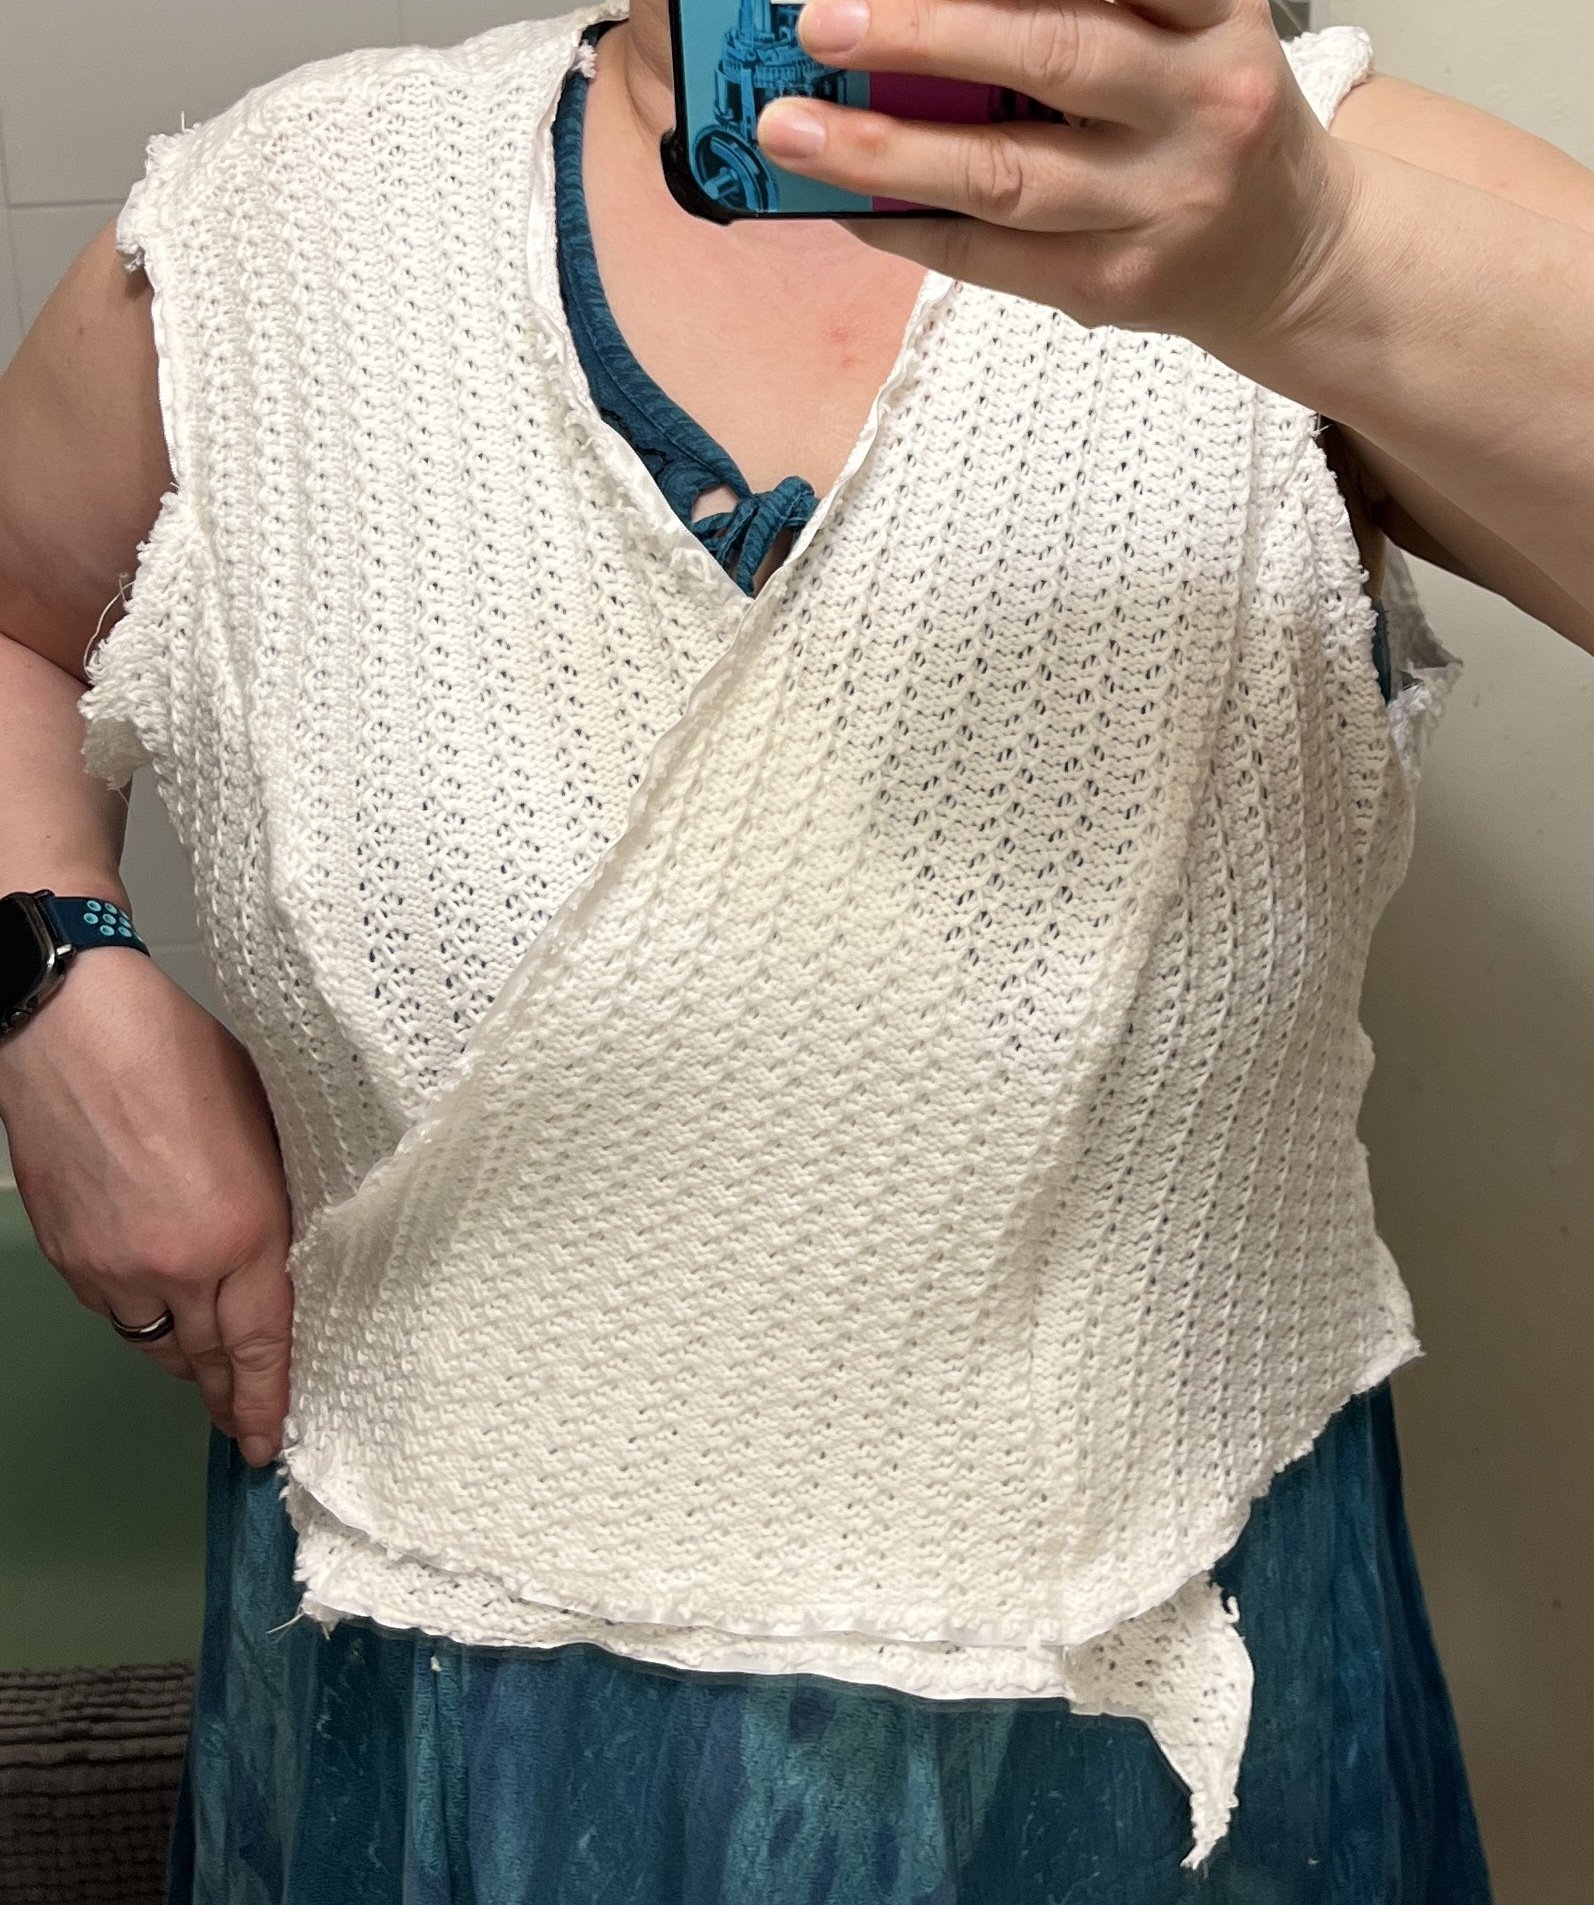
I’m planning to also mock up the paper pattern pieces to see how they generally fit before committing to fabric cutting.

Wedding dress progress…

Perhaps you can’t tell but I’ve not sewn clothing since highschool home economics in the late 1980’s so creating a dress is a bit of a challenge. ;) (but who isn’t up for a challenge?)

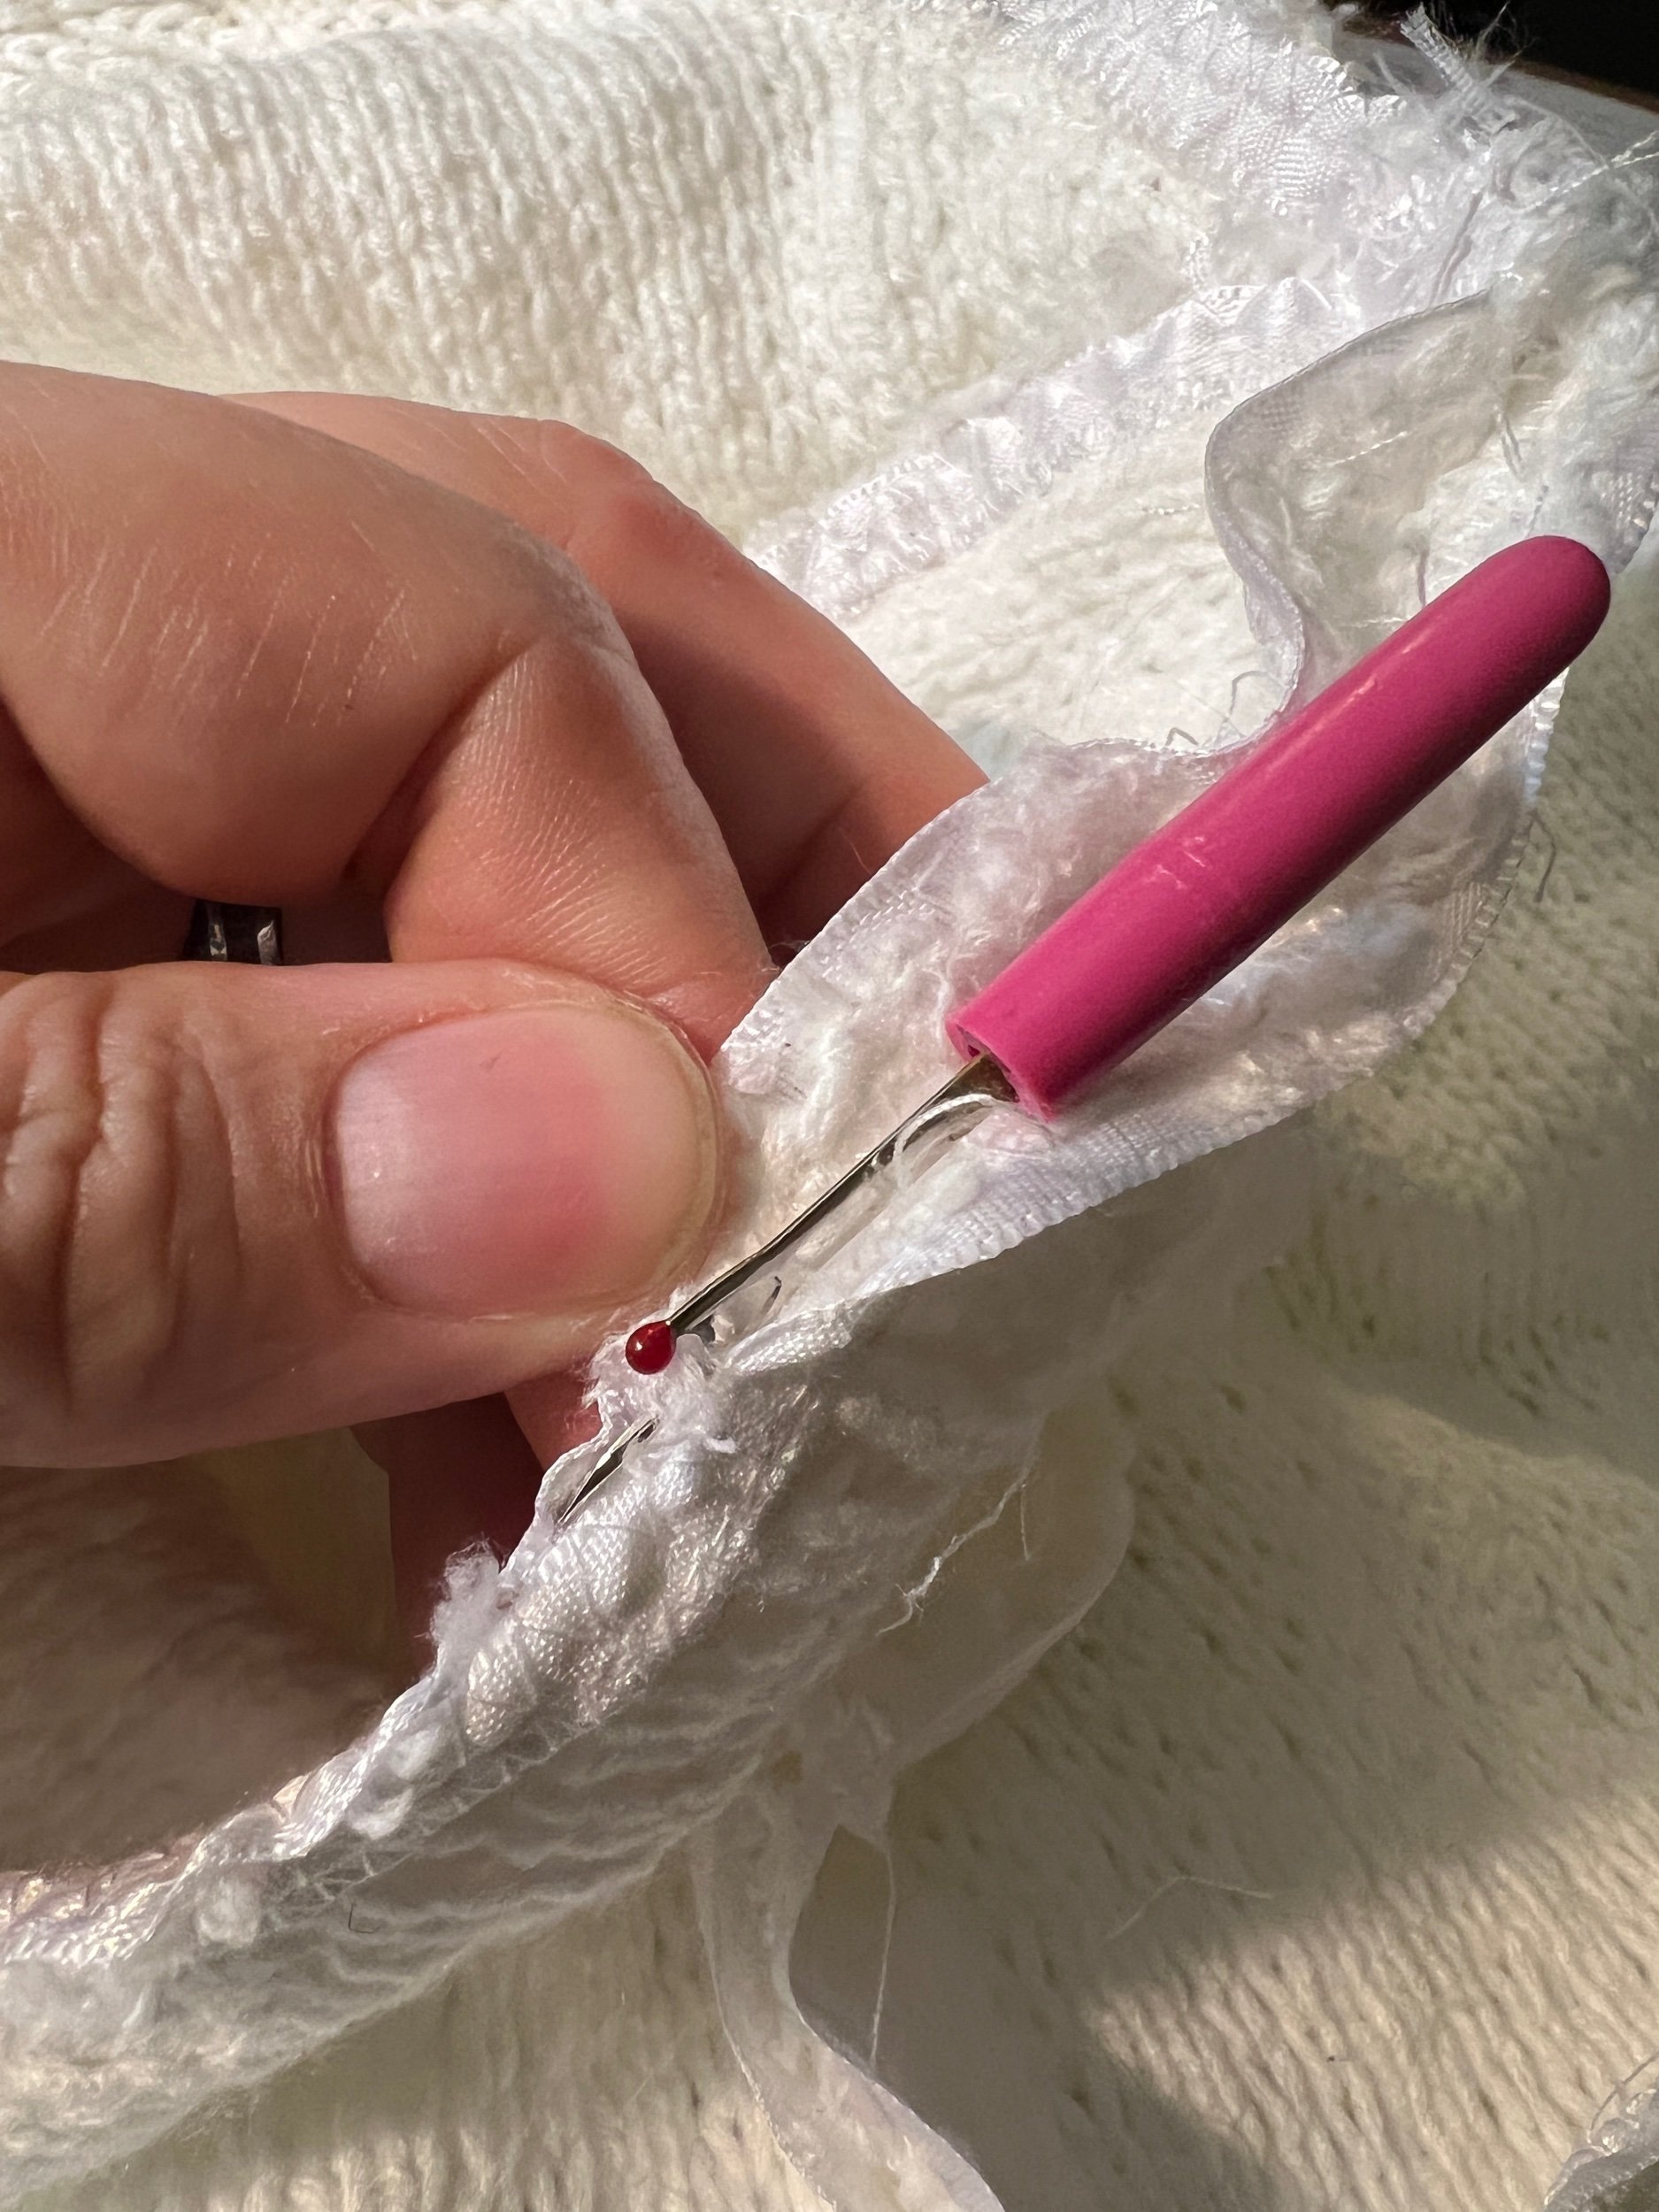
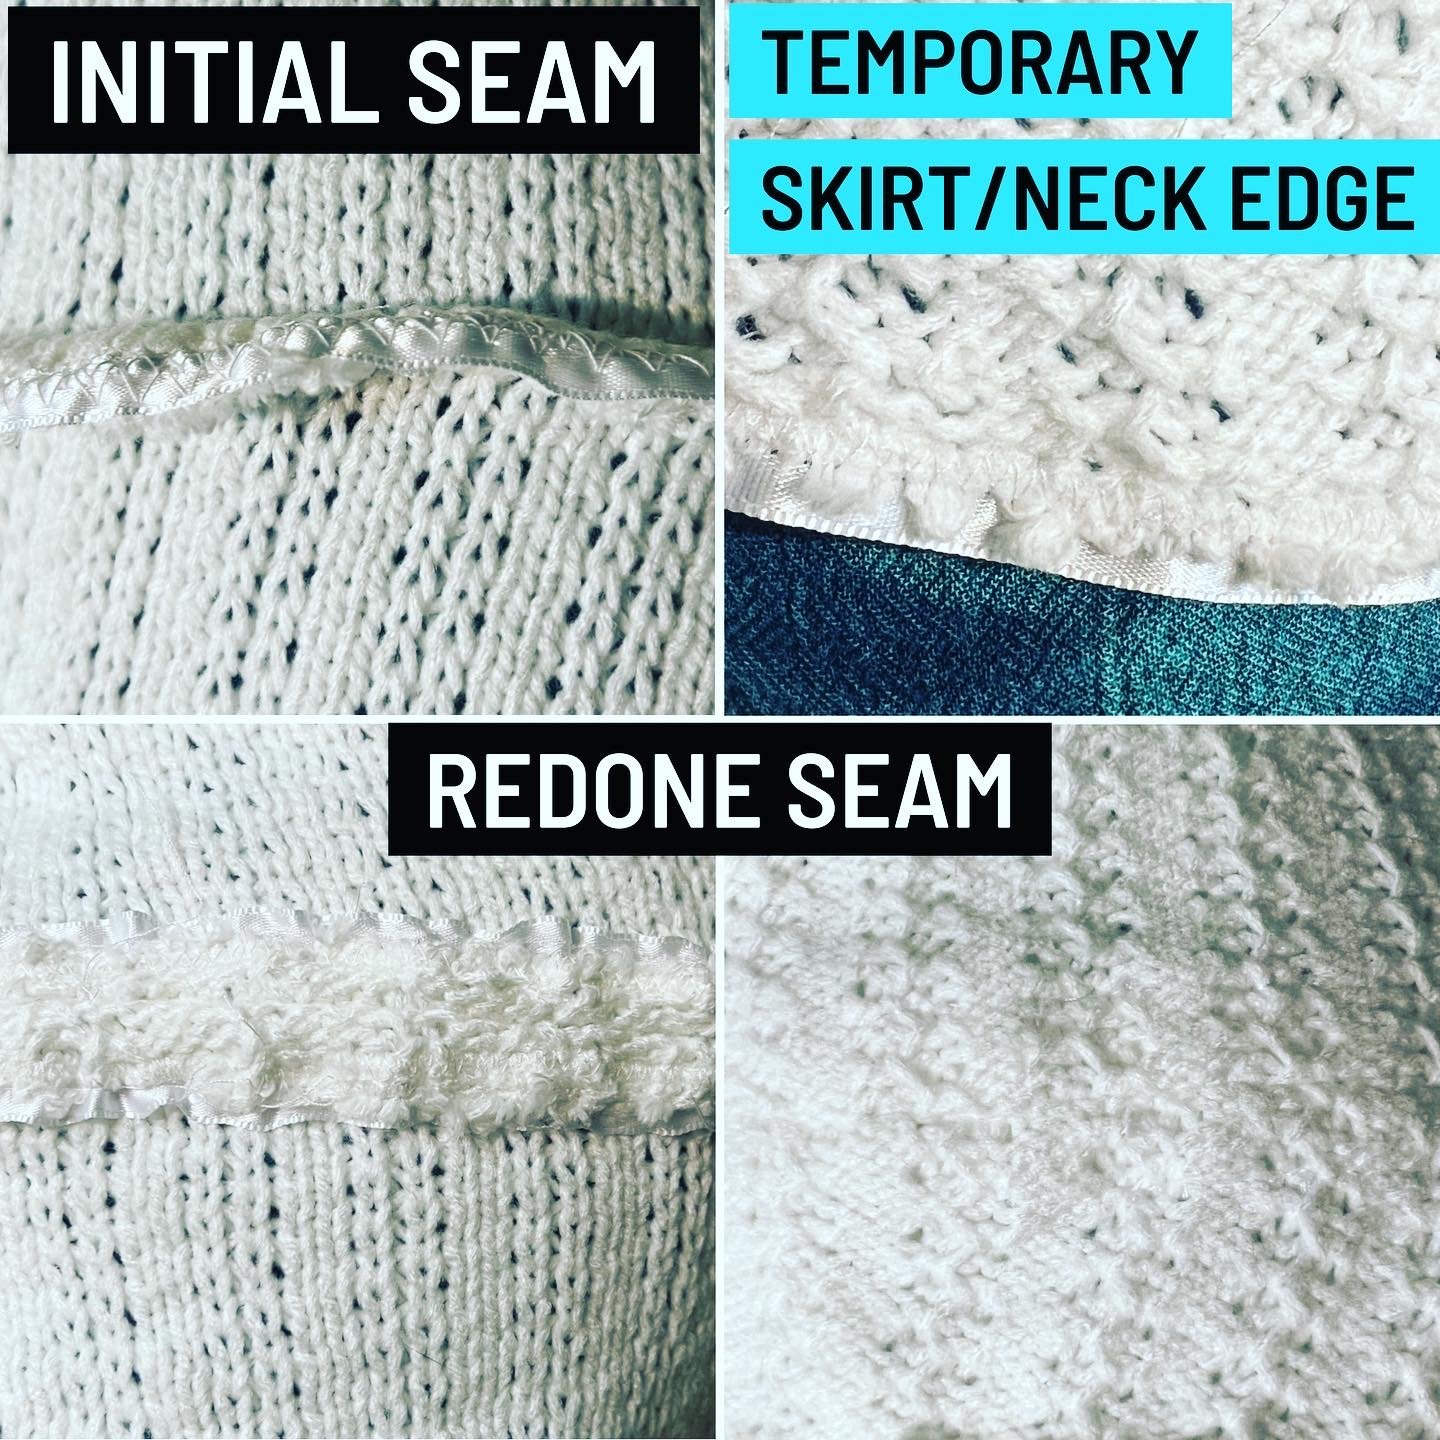
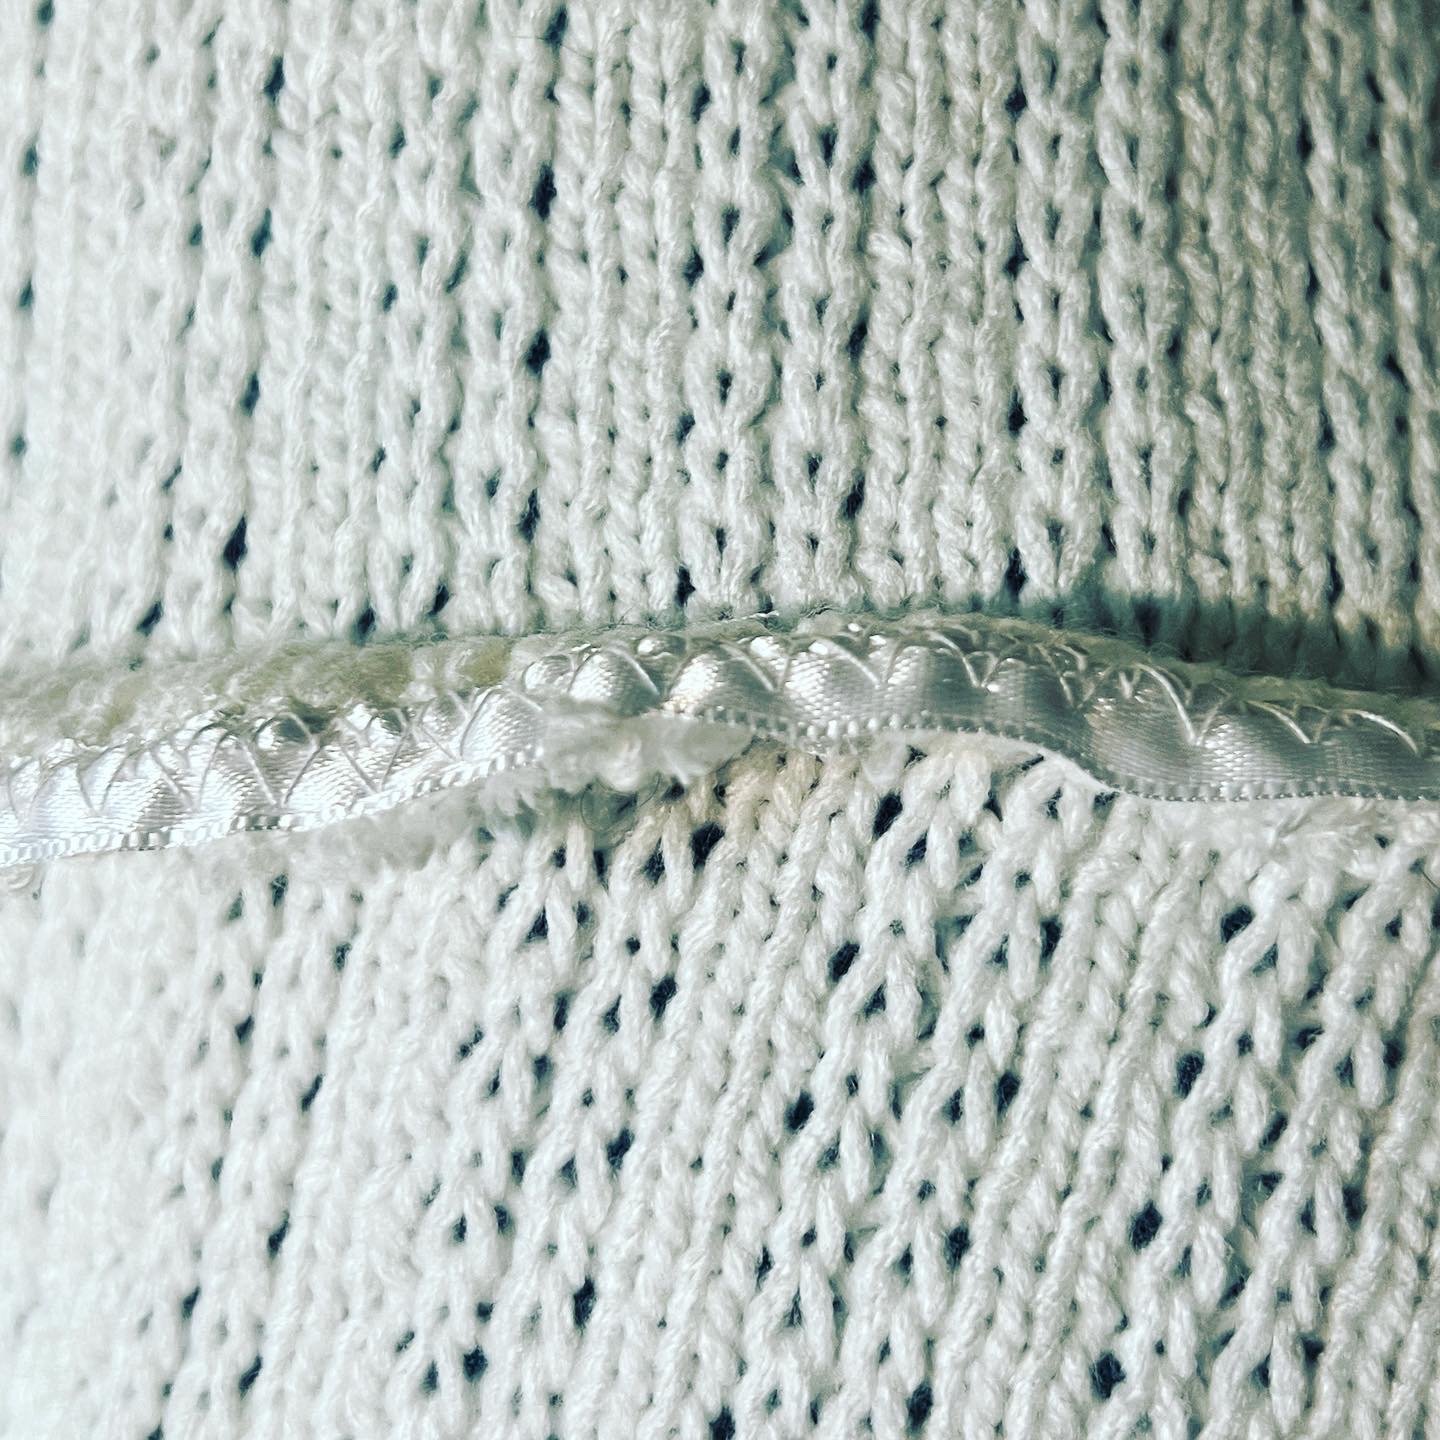
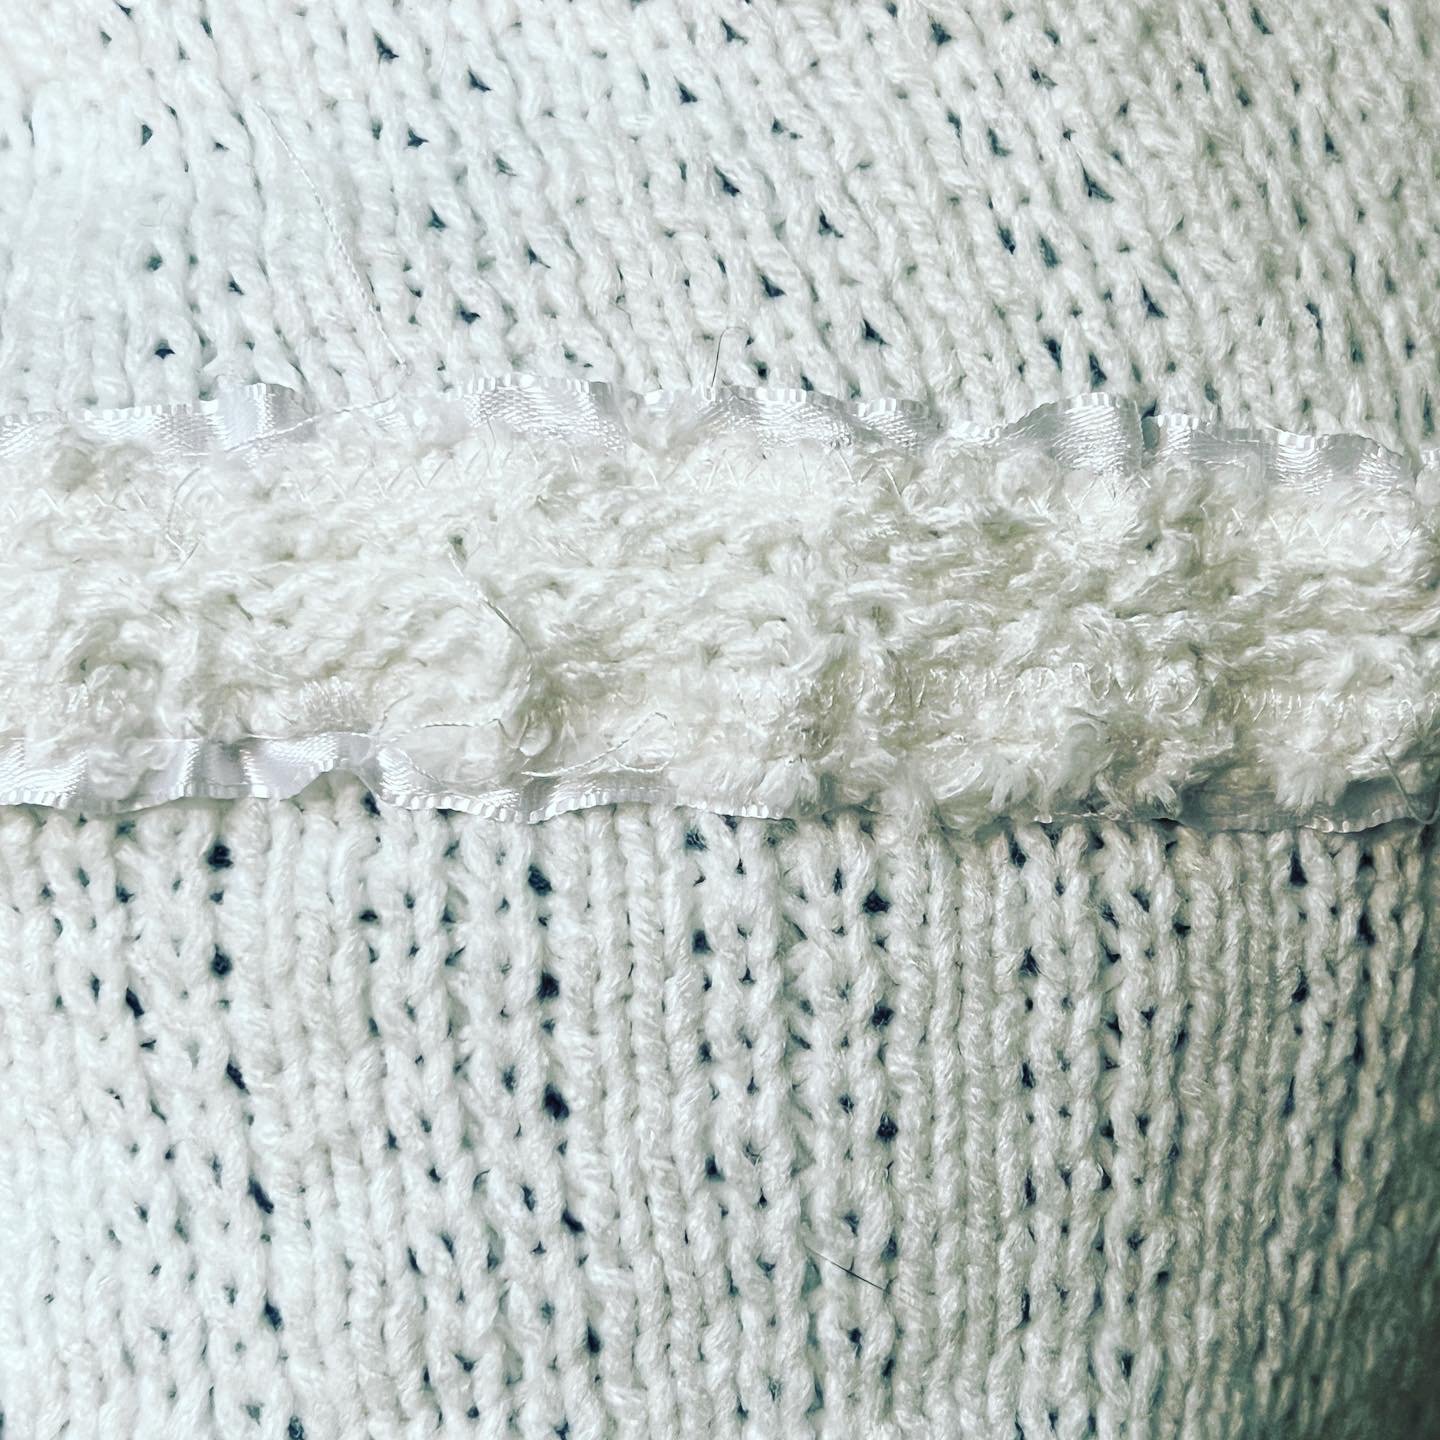
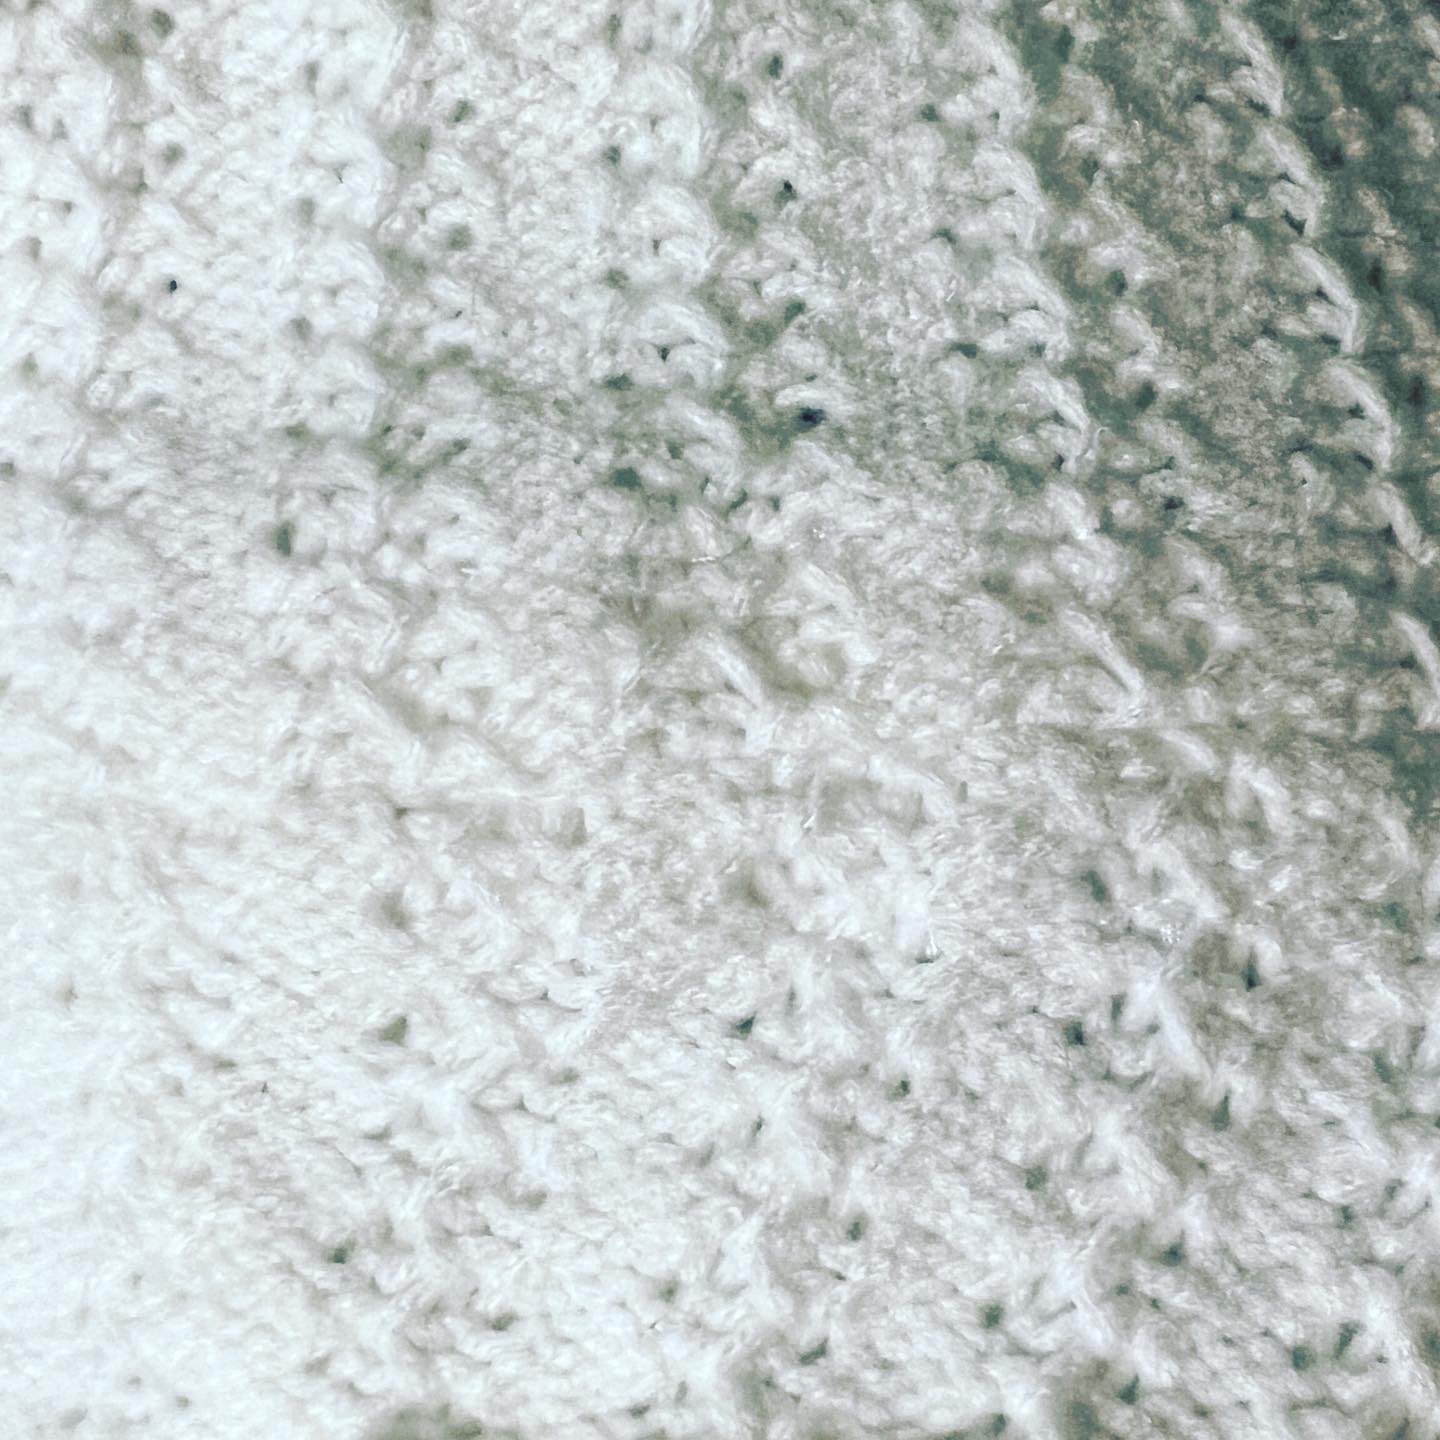
The dress is assembled but the initial seams were lumpy and not gonna work sooooo (not knowing what they’re called) I opened the edge I zig zag stitches and instead started redoing each seam using straight stitching each edge down. Sooooo much work. Working on that now.

A friend sent me a url on seams.

It looks like I intuitively created a version of the bound seam which I feel reduced seam bulk for a more appealing seam entrapment of the bumpy knit fiber. Awesome. The main seams are now complete and wonderful.

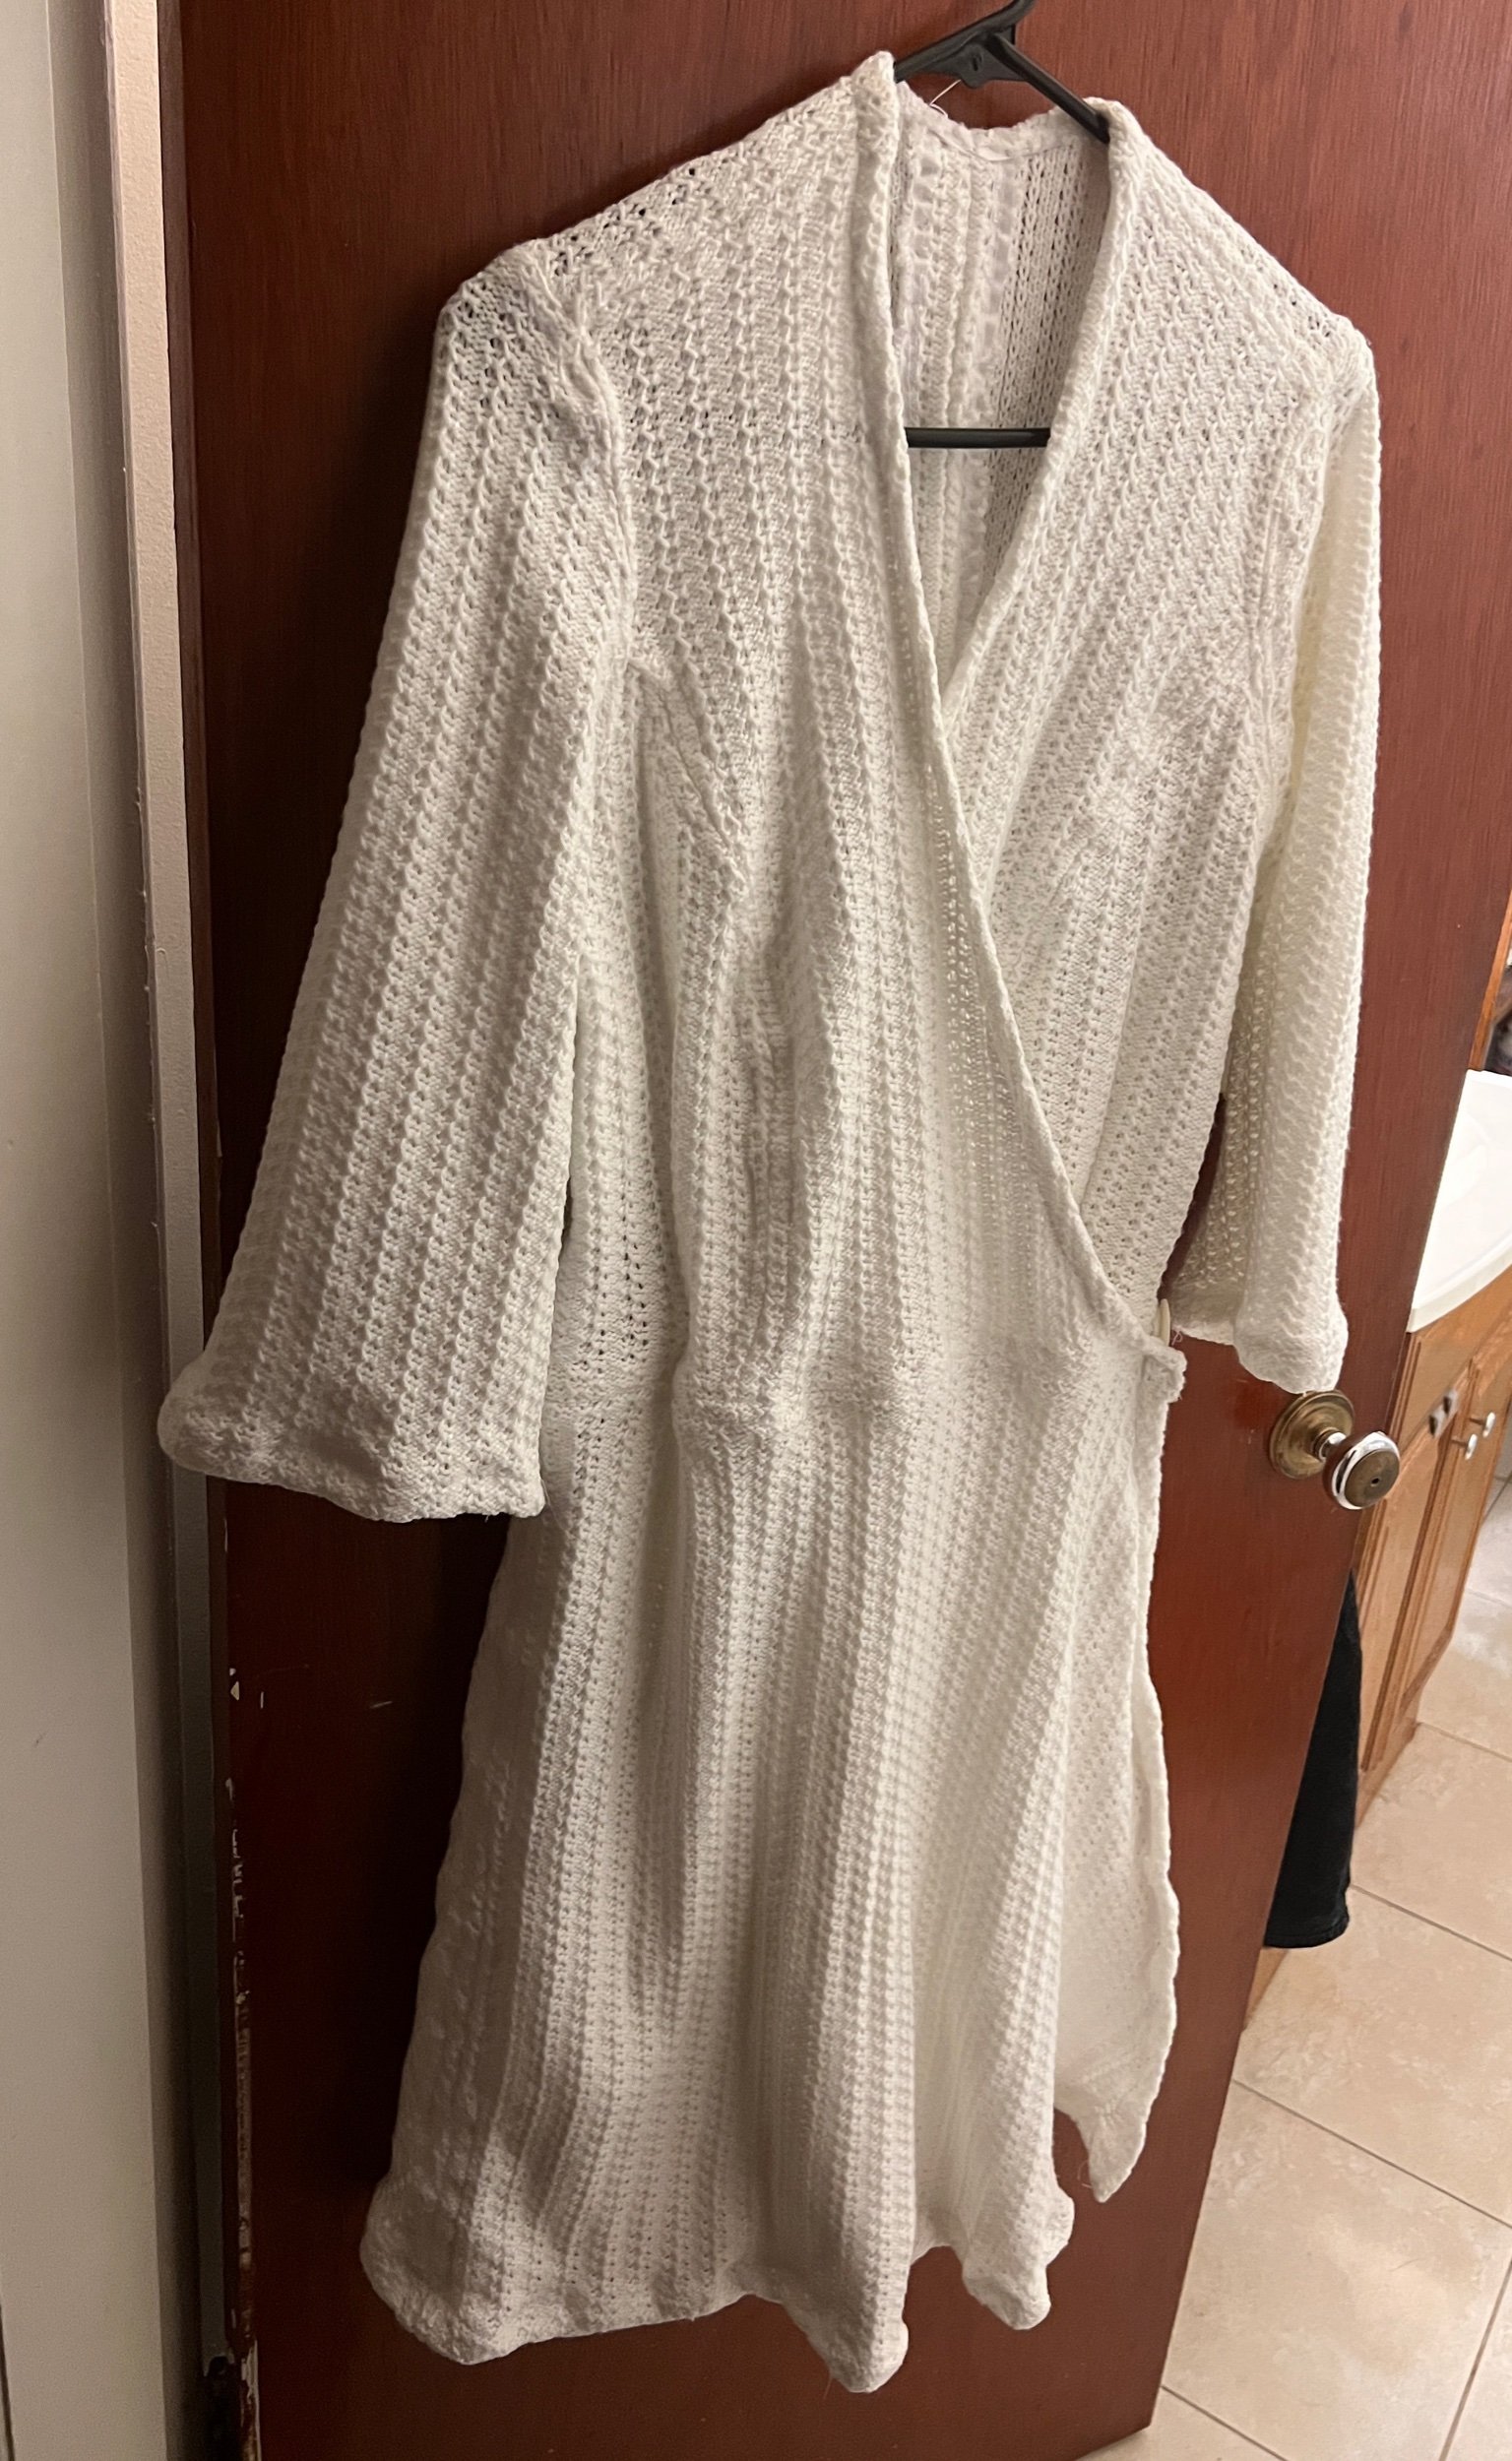
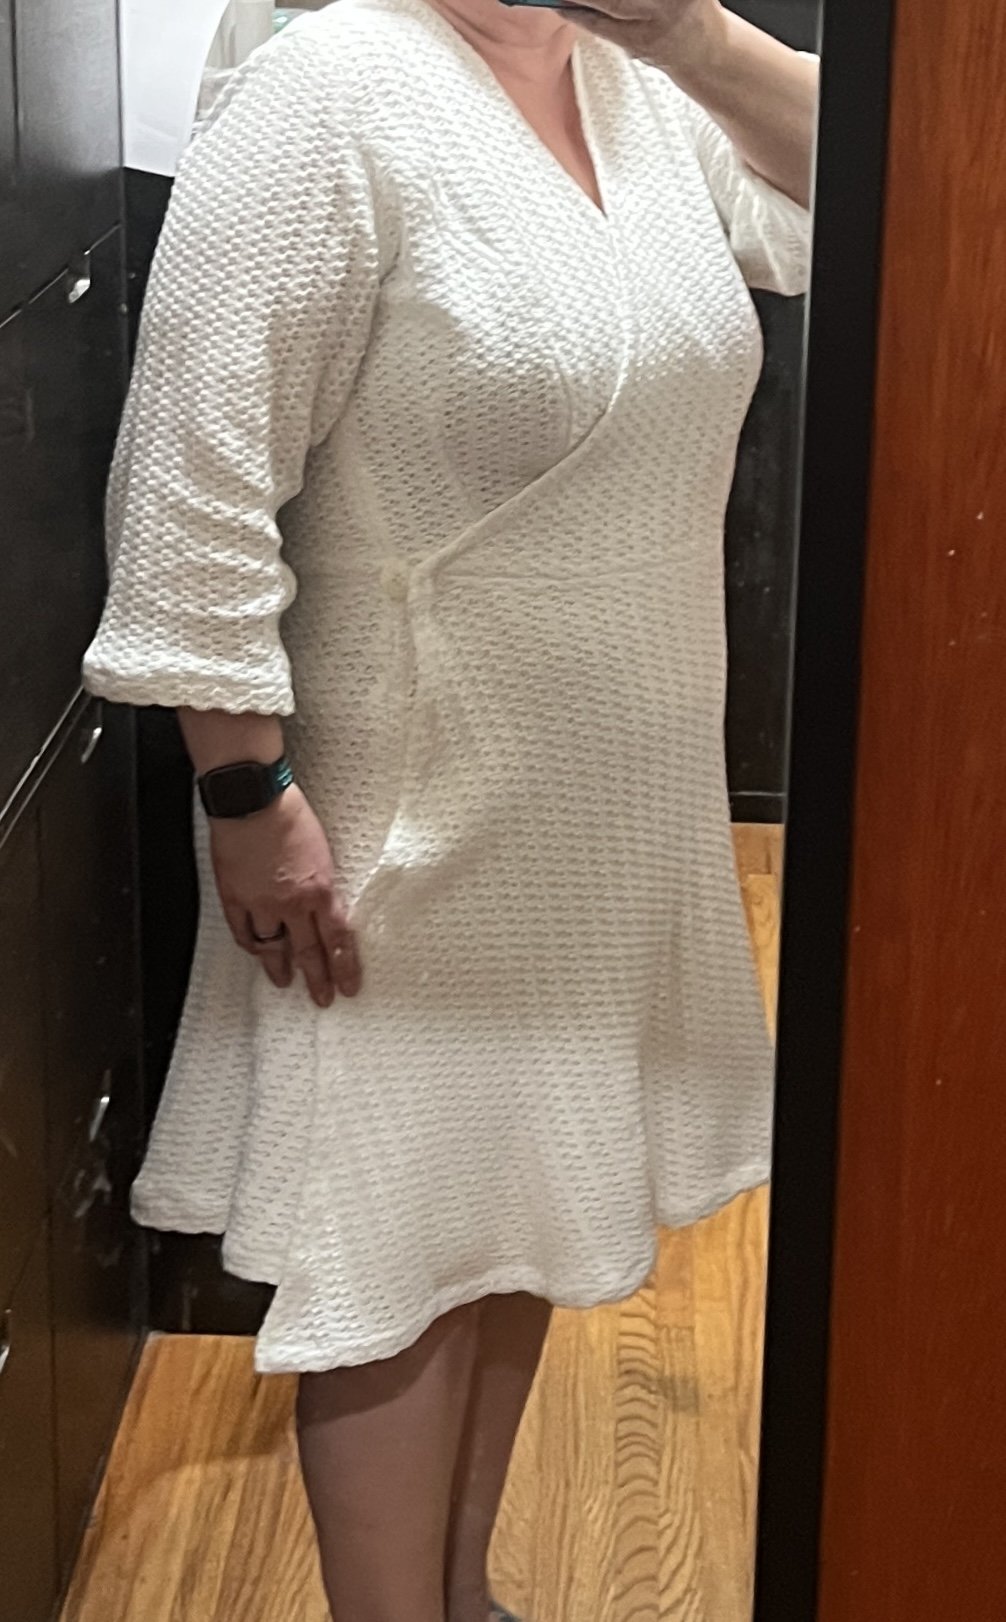
In terms of attractive fit: Now I need to slightly reduce the dress as it was too wide at the shoulders and not having any shape at the waist. I need a dress not a robe.

I vertically reduced the back neck to waist last night by two inches and that helped (after first pinning to see what is possible).

I’m going to add a slight short vertical reduction also between my side and bust on both sides.

I’m considering making a wide sash for the waist to enhance that area while adding functionality in the wrap dress.

Once I’m happier with fit the final approach will be the neckline and hem.

A hanger doesn’t do the dress justice.

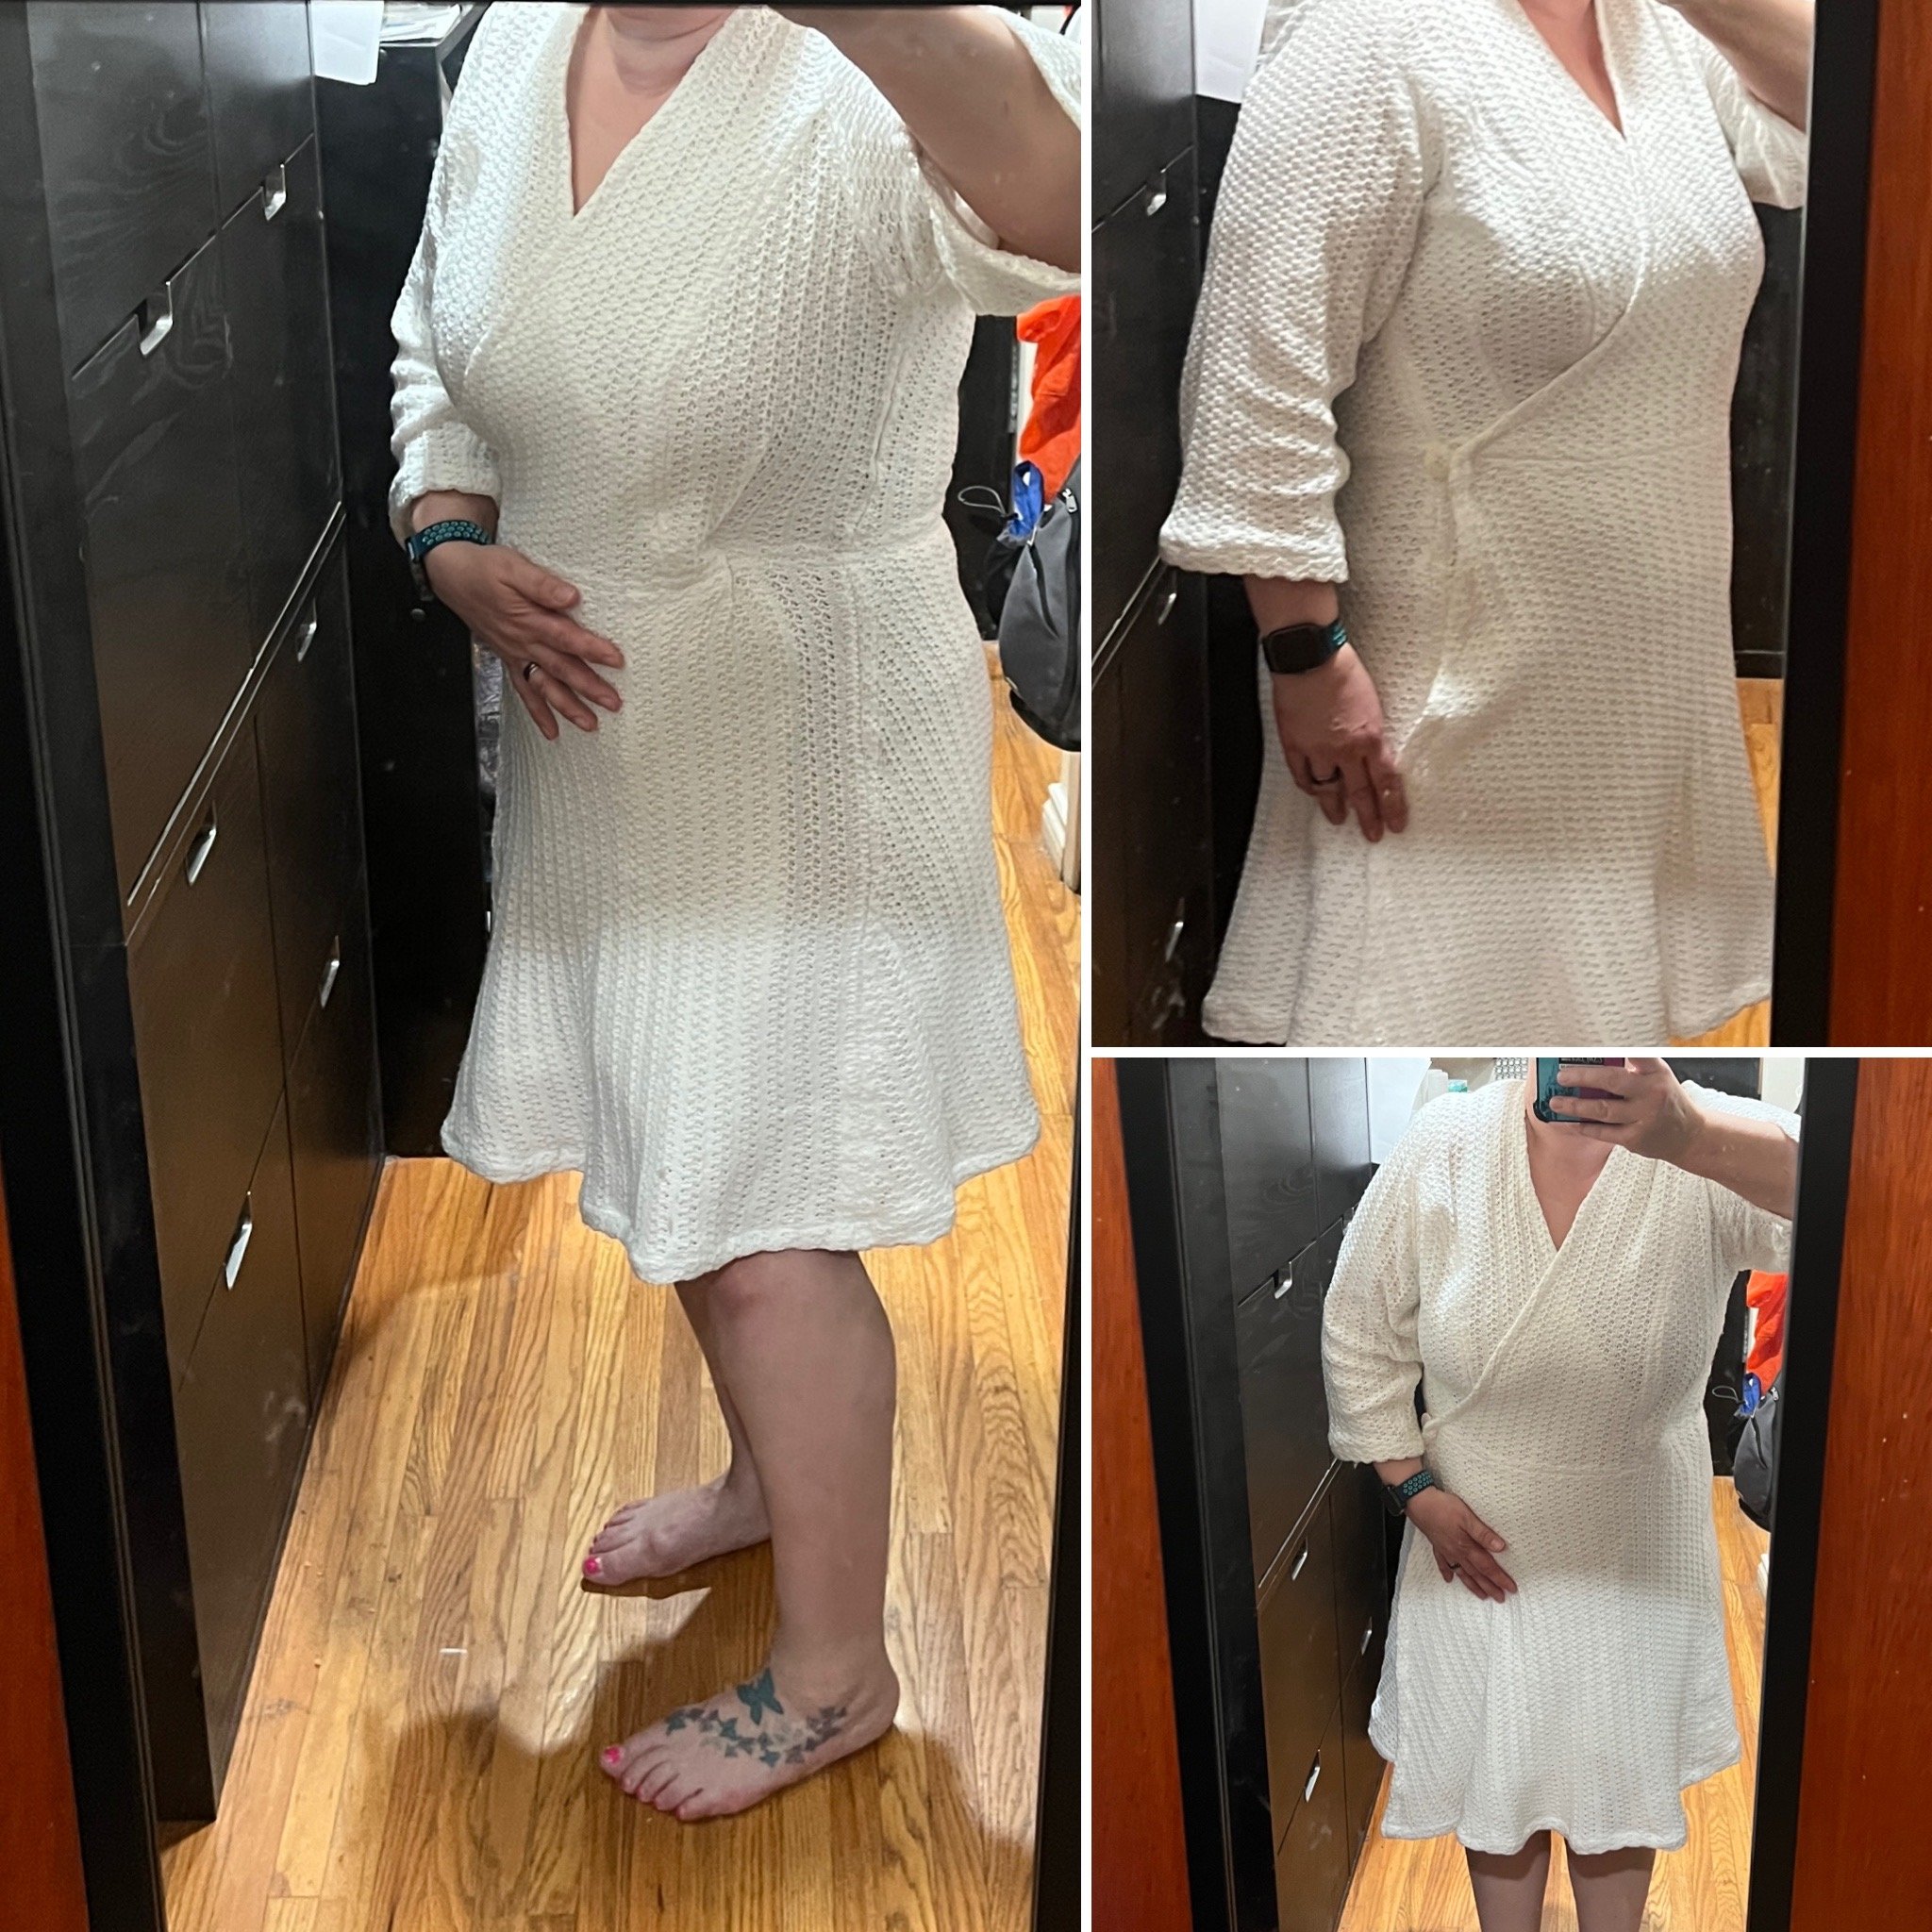
Changes to the dress included a vertical reduction in the middle of the back, under the bust vertically between the side and bust and dress hem to ensure the under layer edge stayed under the outer layer edge.

Only a couple more small things left to do on the dress: further steam press on new hems, cuffs, neckline and running a ribbon on the full hem from neck to skirt. I created two electric loops with button closure on the inside right attachment and the outside left attachment.

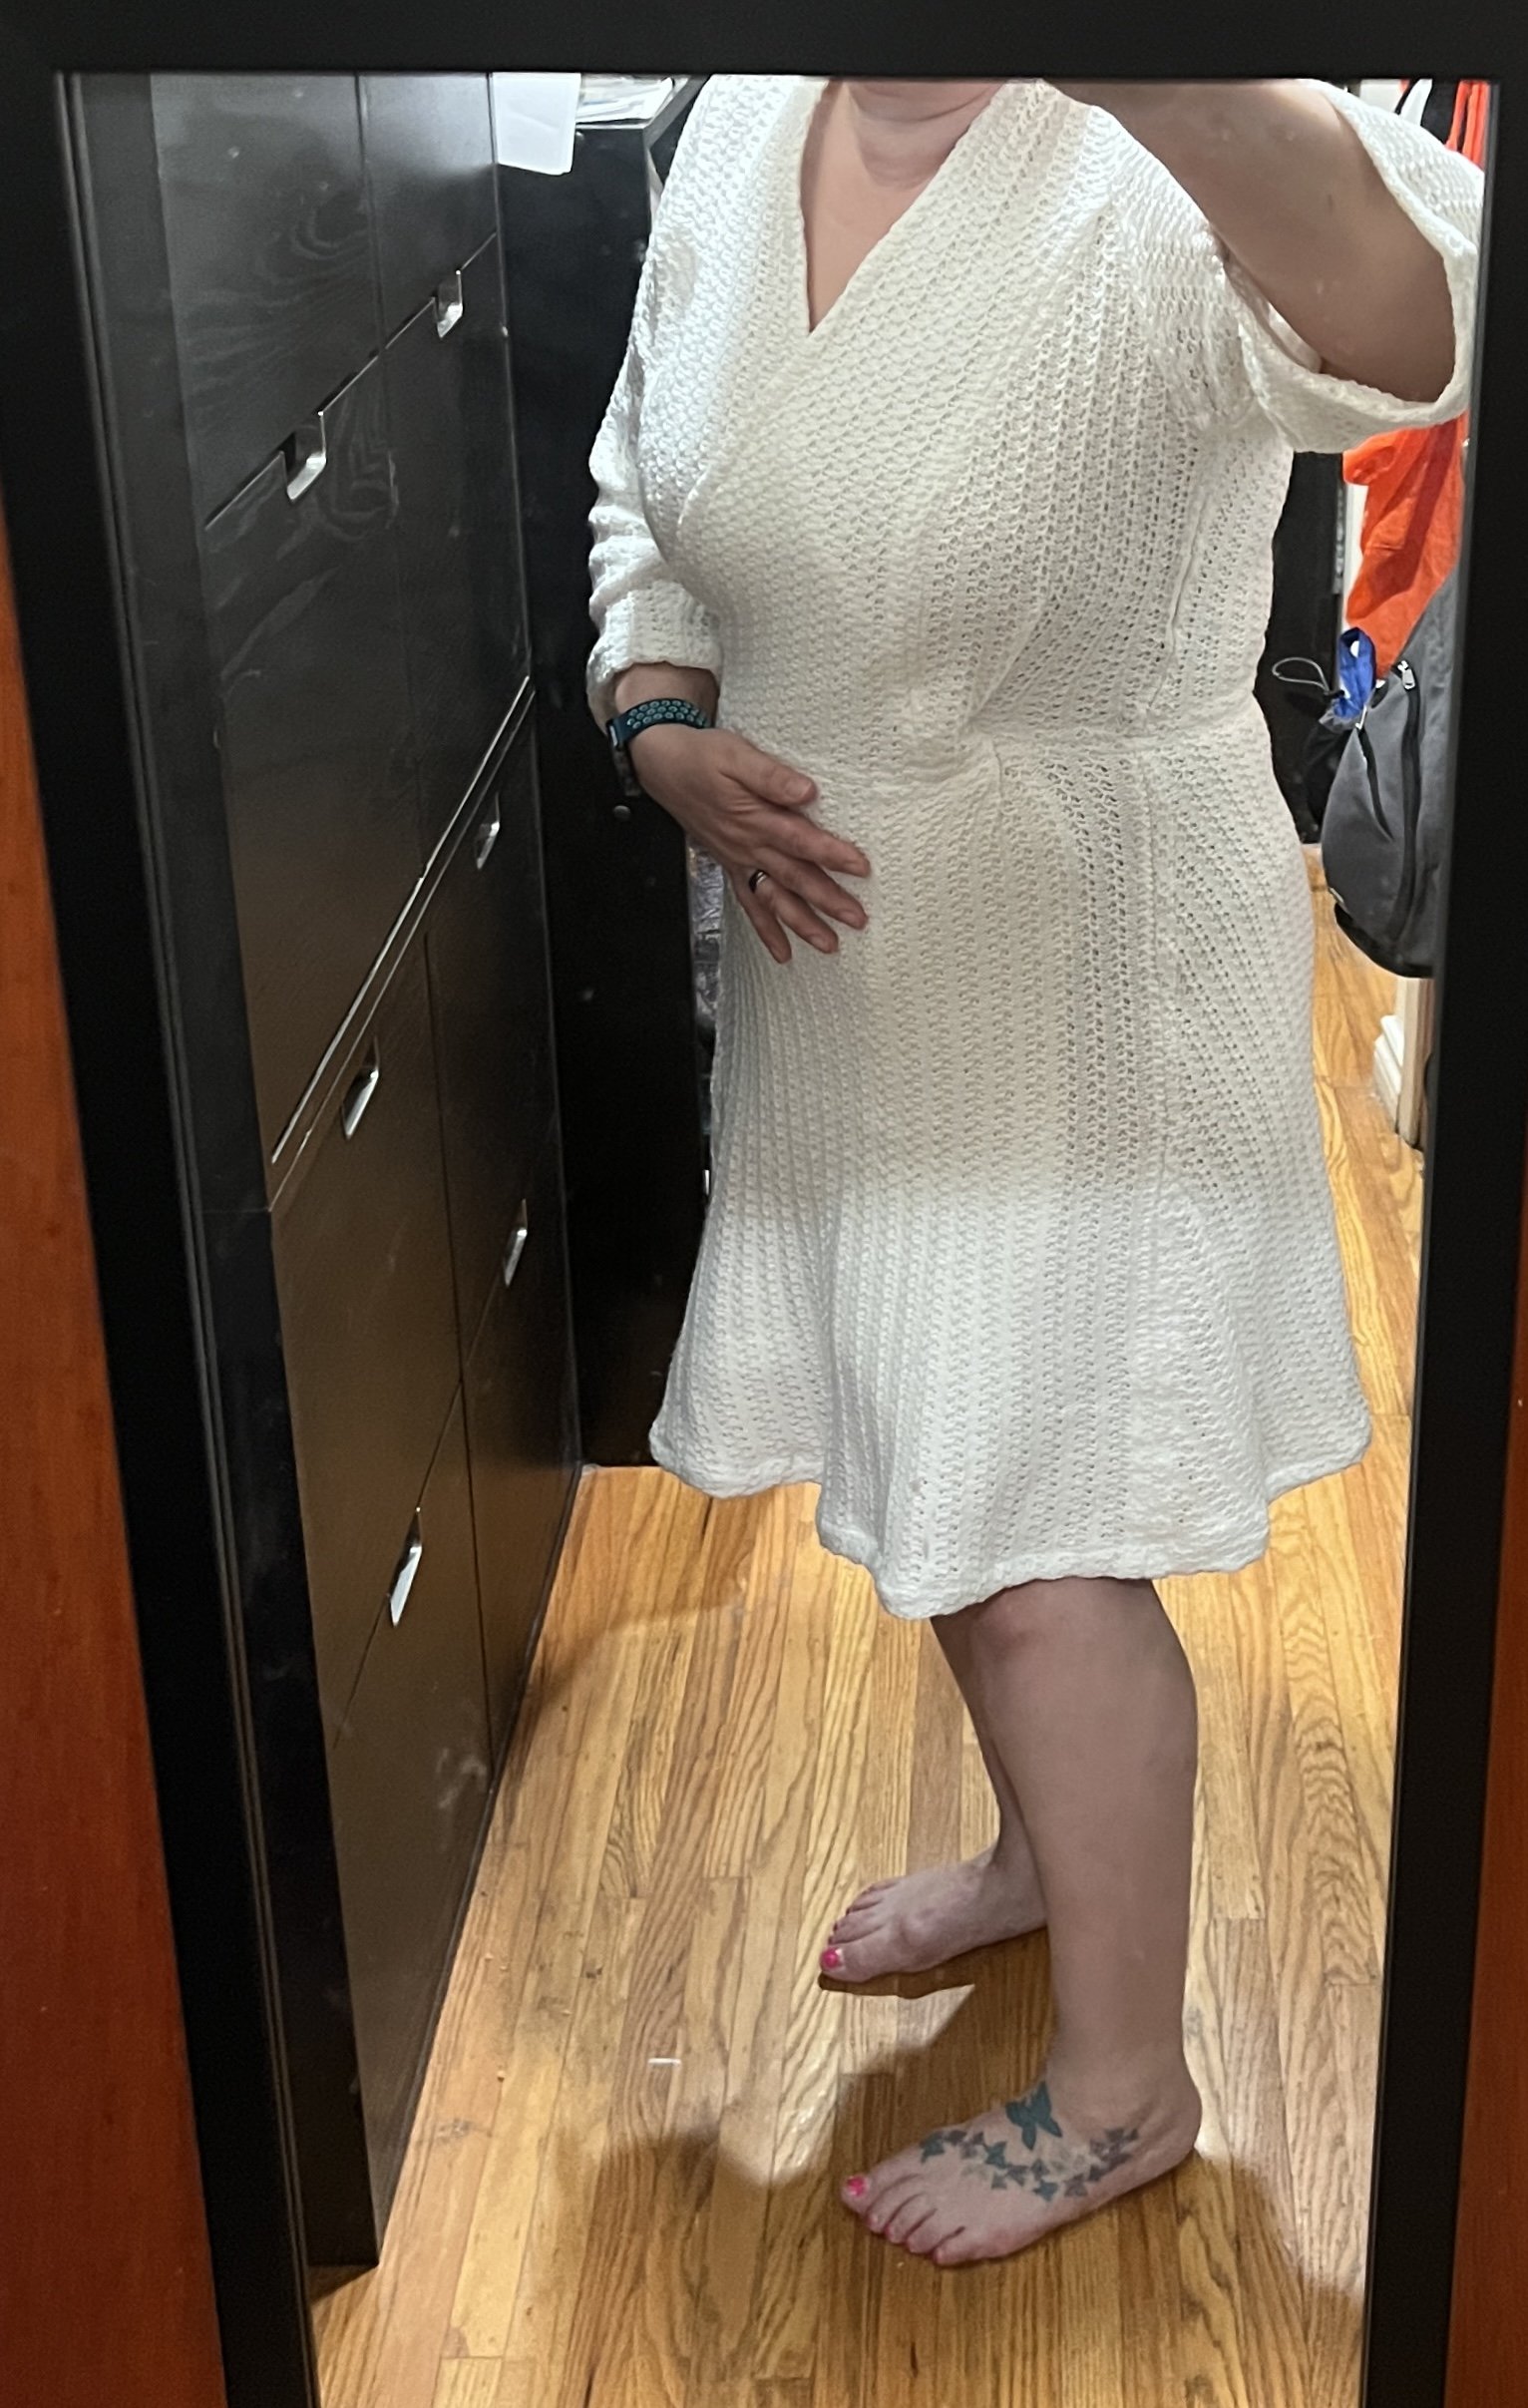
Not fully pleased with the results but it fits.

Tues May 2 - I did a final steam press on the dress and am pleased with how much it helped some of the more bulky seams to sit flatter. I realize I wrongly switched the left and right front dress pieces - the dress edges are vertical in the dress pattern whereas it looks as though mine are diagonal - not a big deal but the left skirt piece has an odd angle (that should have been the seamed edge)

Instagram posts | Apr 25 | Apr 21 | Apr 21 | Apr 17 |
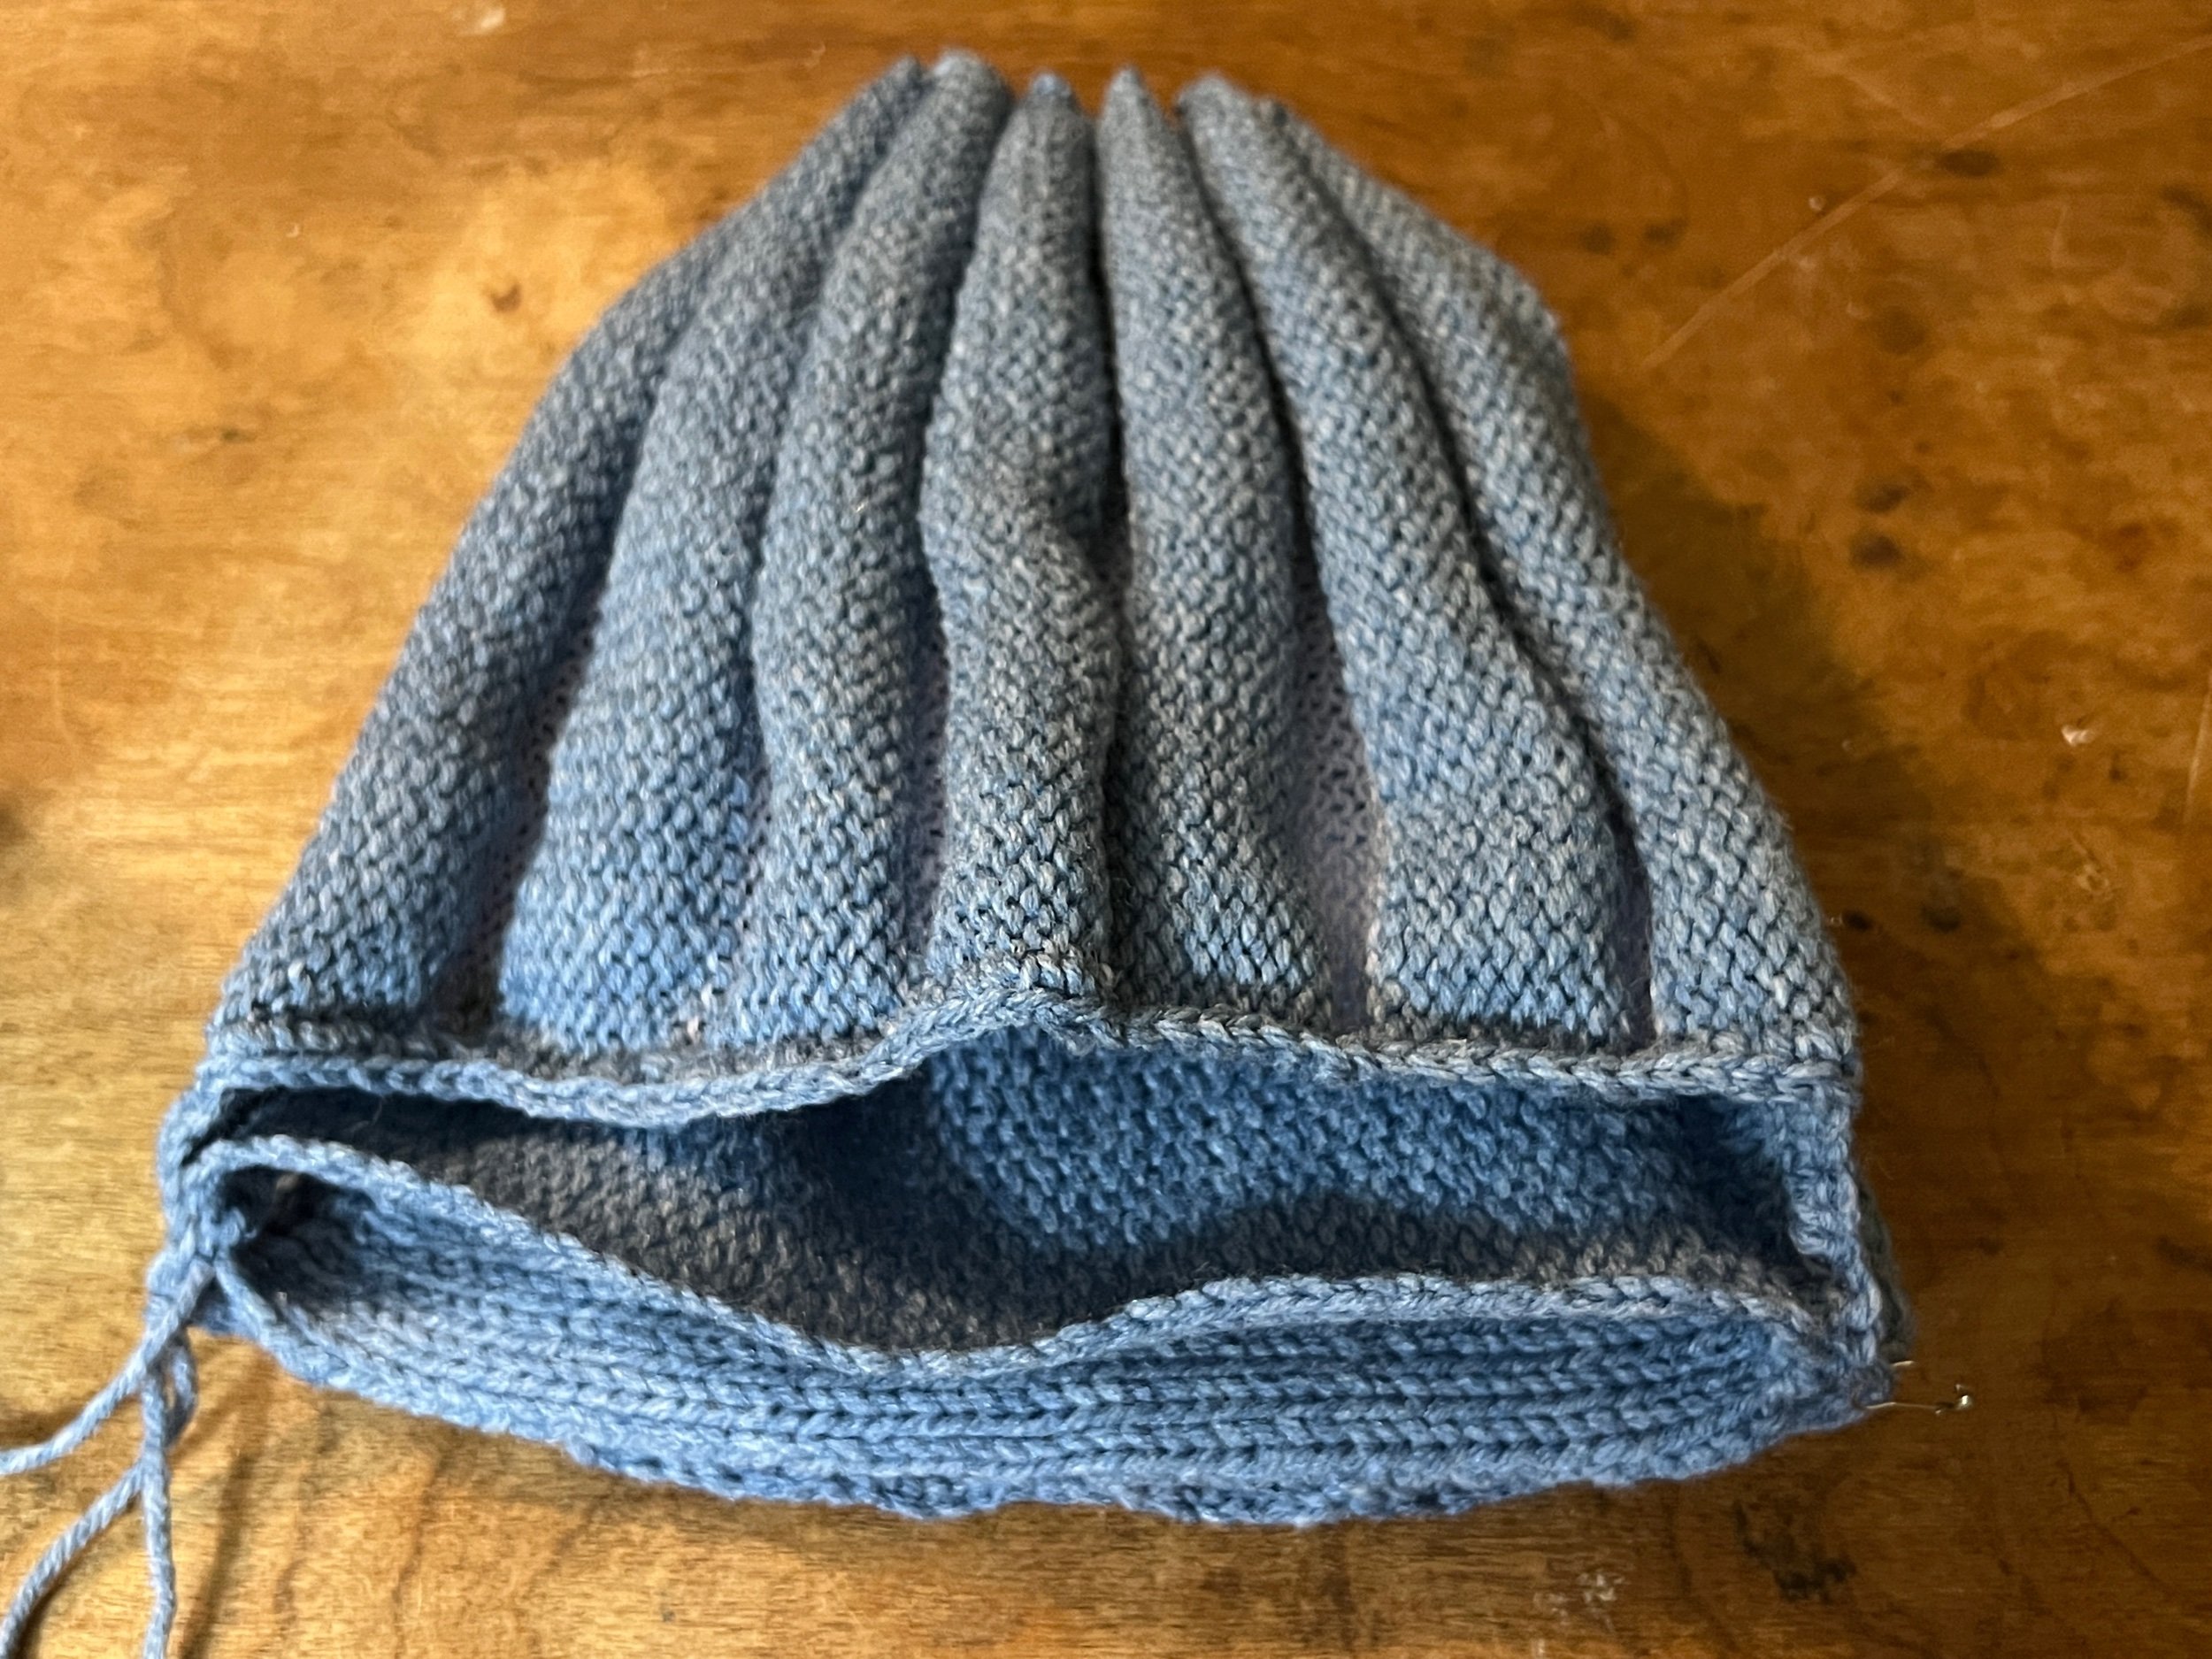

See all Blog Entries on the BLOG INDEX page

2023 Apr 9 - Shrug (or Hug) using Punch Card 4

I went to a second hand clothing event in February and picked up a knitted shrug.

What caught my eye was the simple design which I just knew I had to try myself.

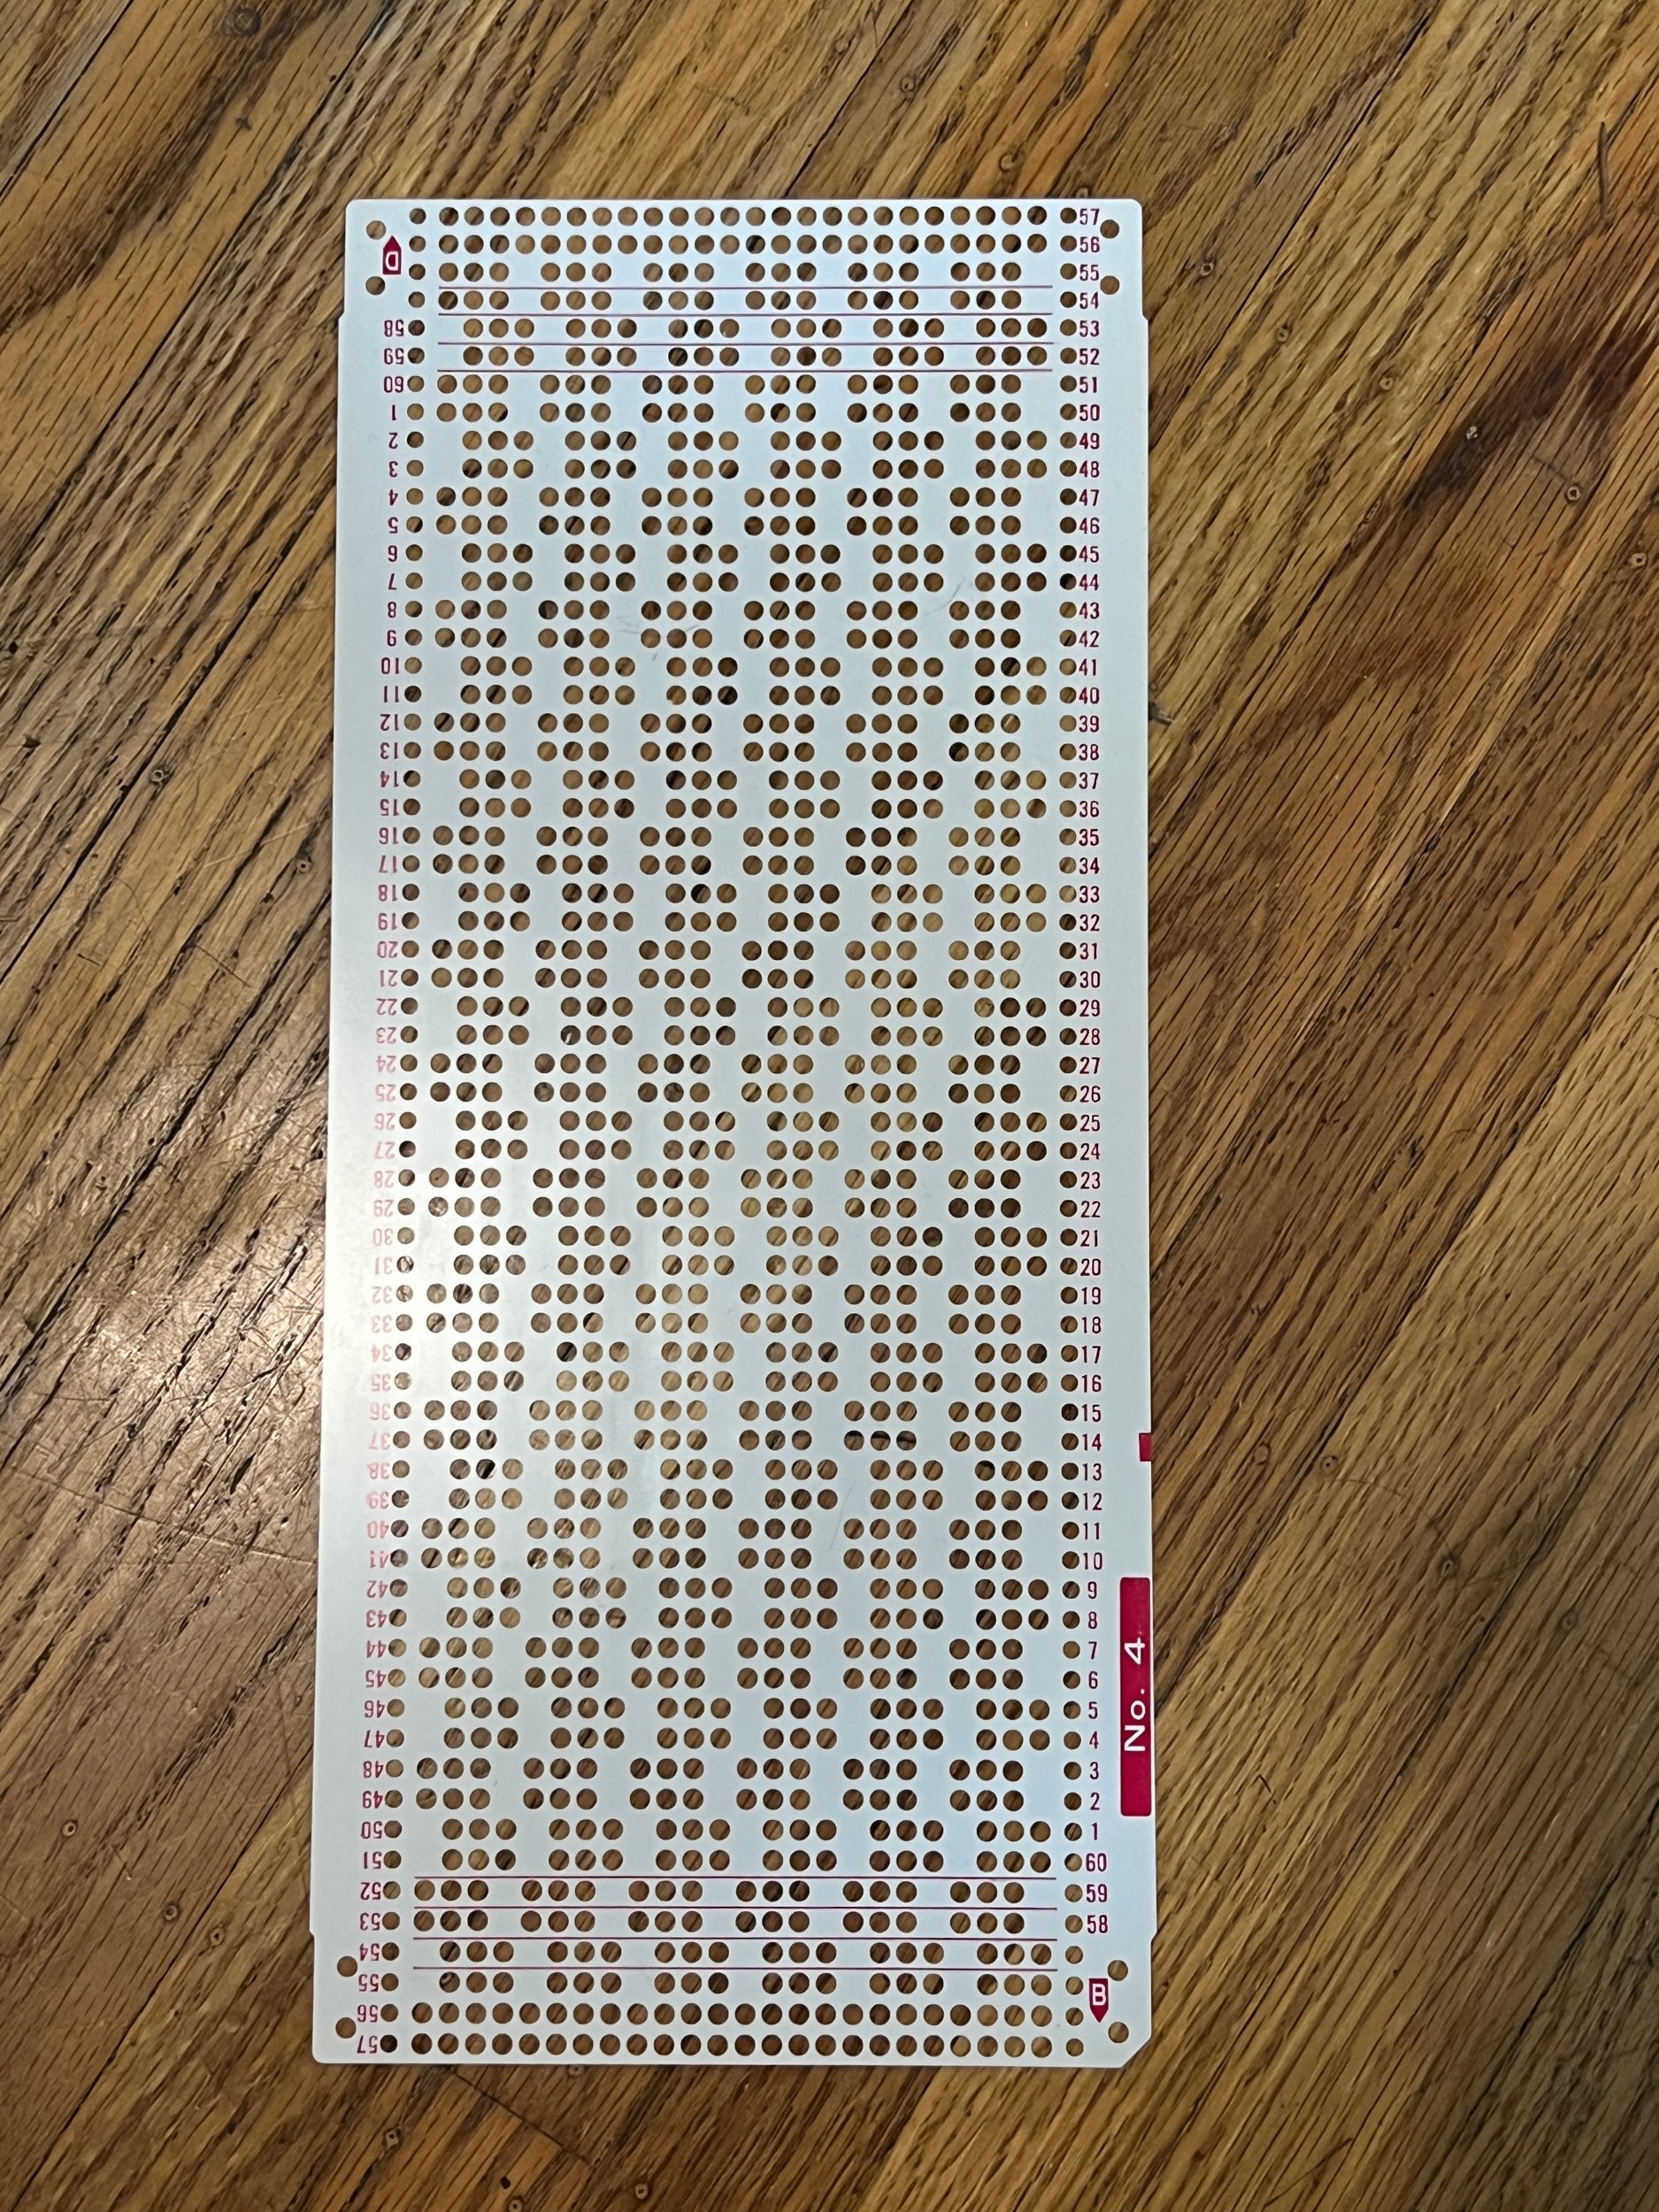
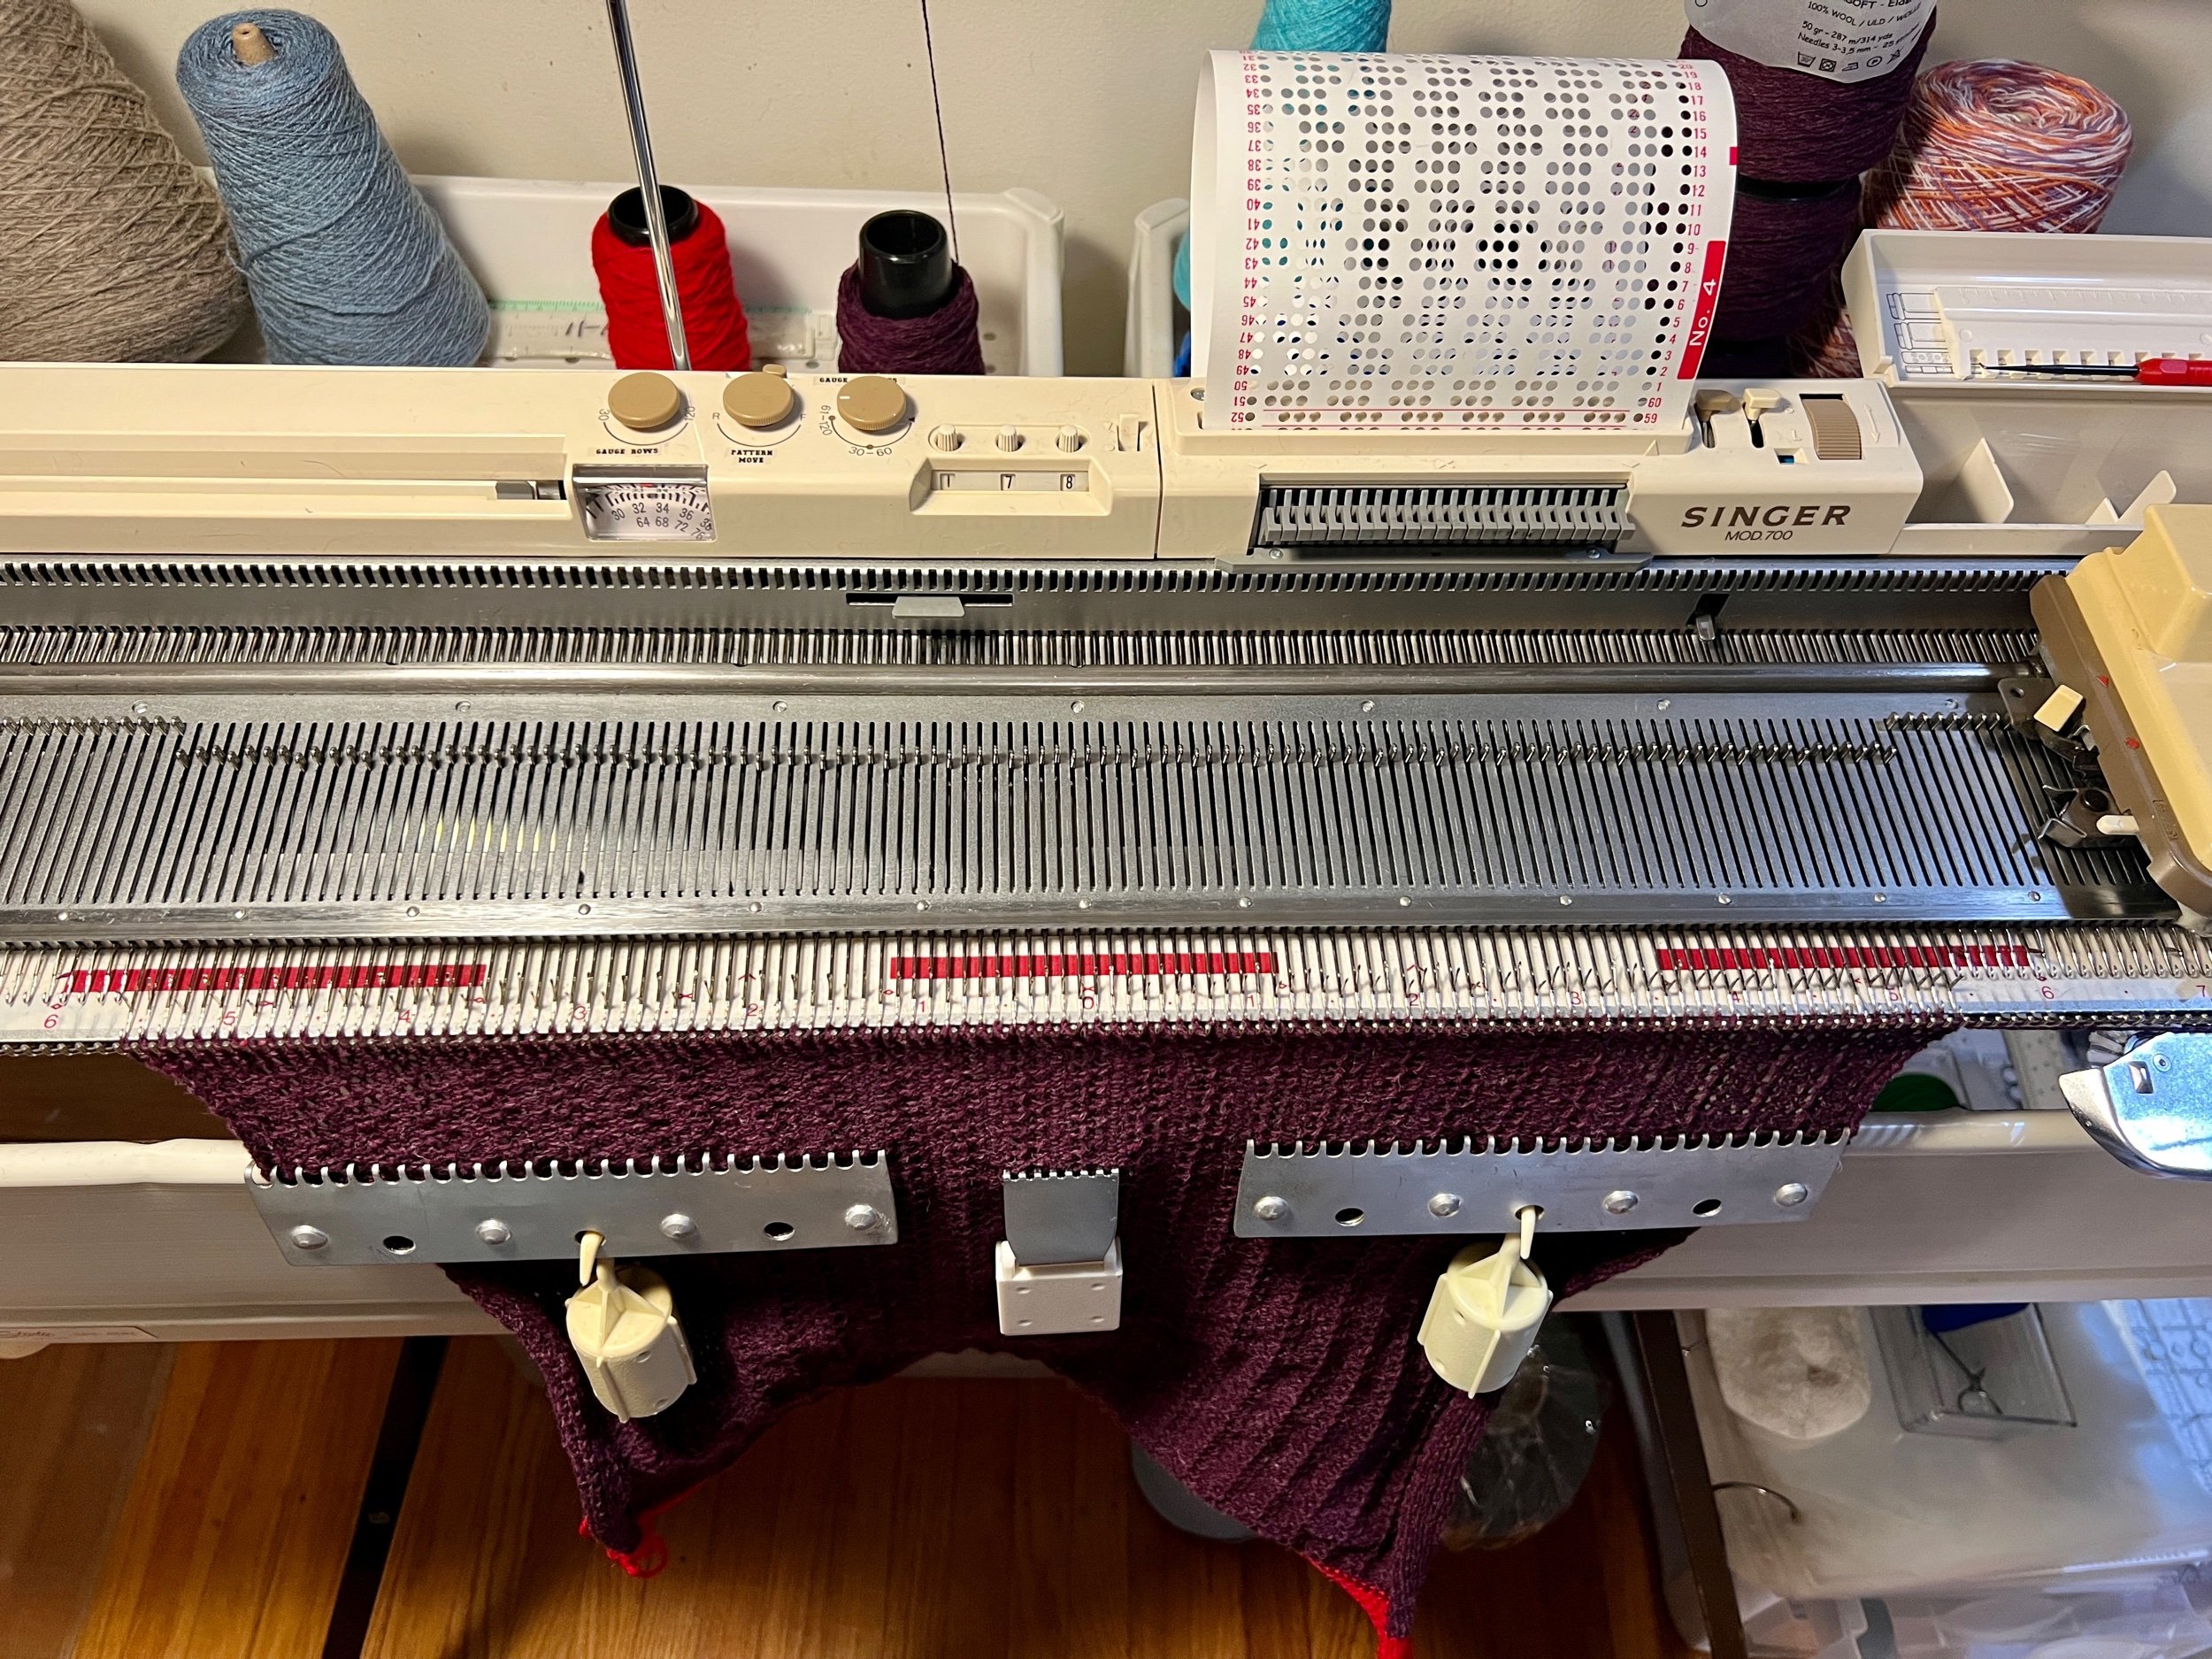
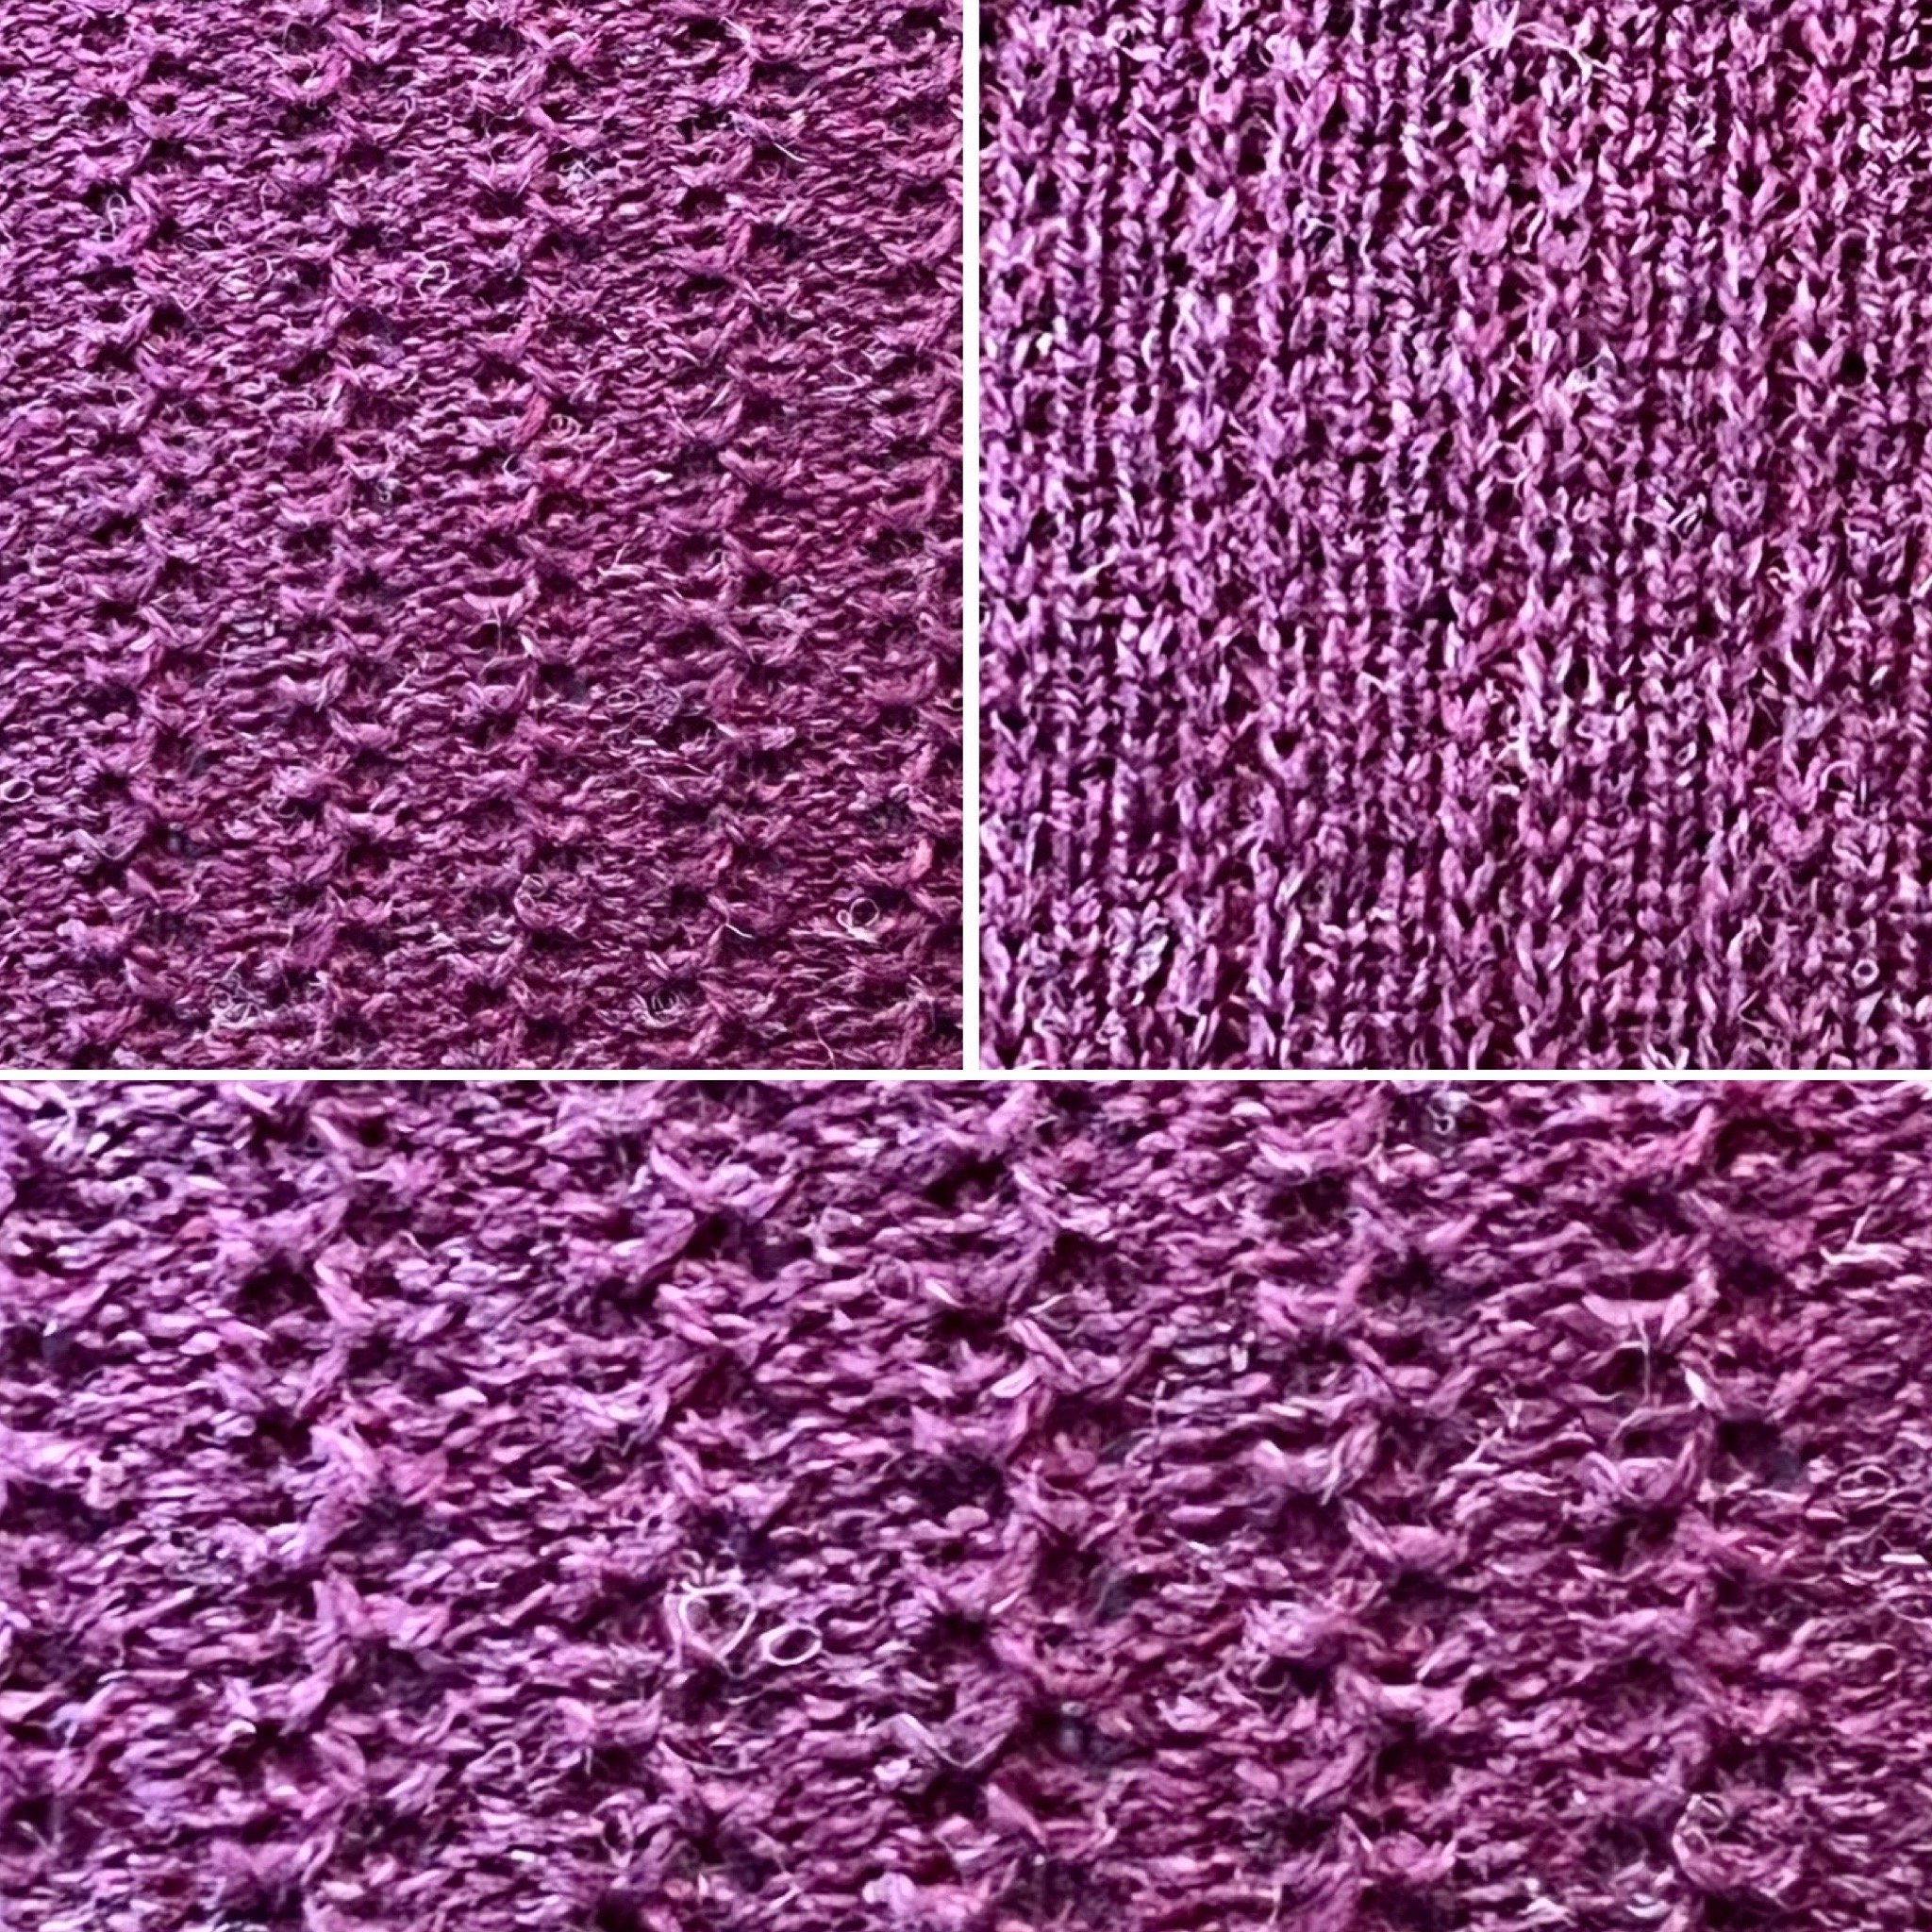
Tonight I chose this Singer Punch Card No. 4 in a tuck setting using some lovely wool yarn that I was generously gifted Christmas 2022. PROJECT is finished. Ravelry link.

This project spoke to me and I felt impelled to create and gift it. I hope she likes it (she did).

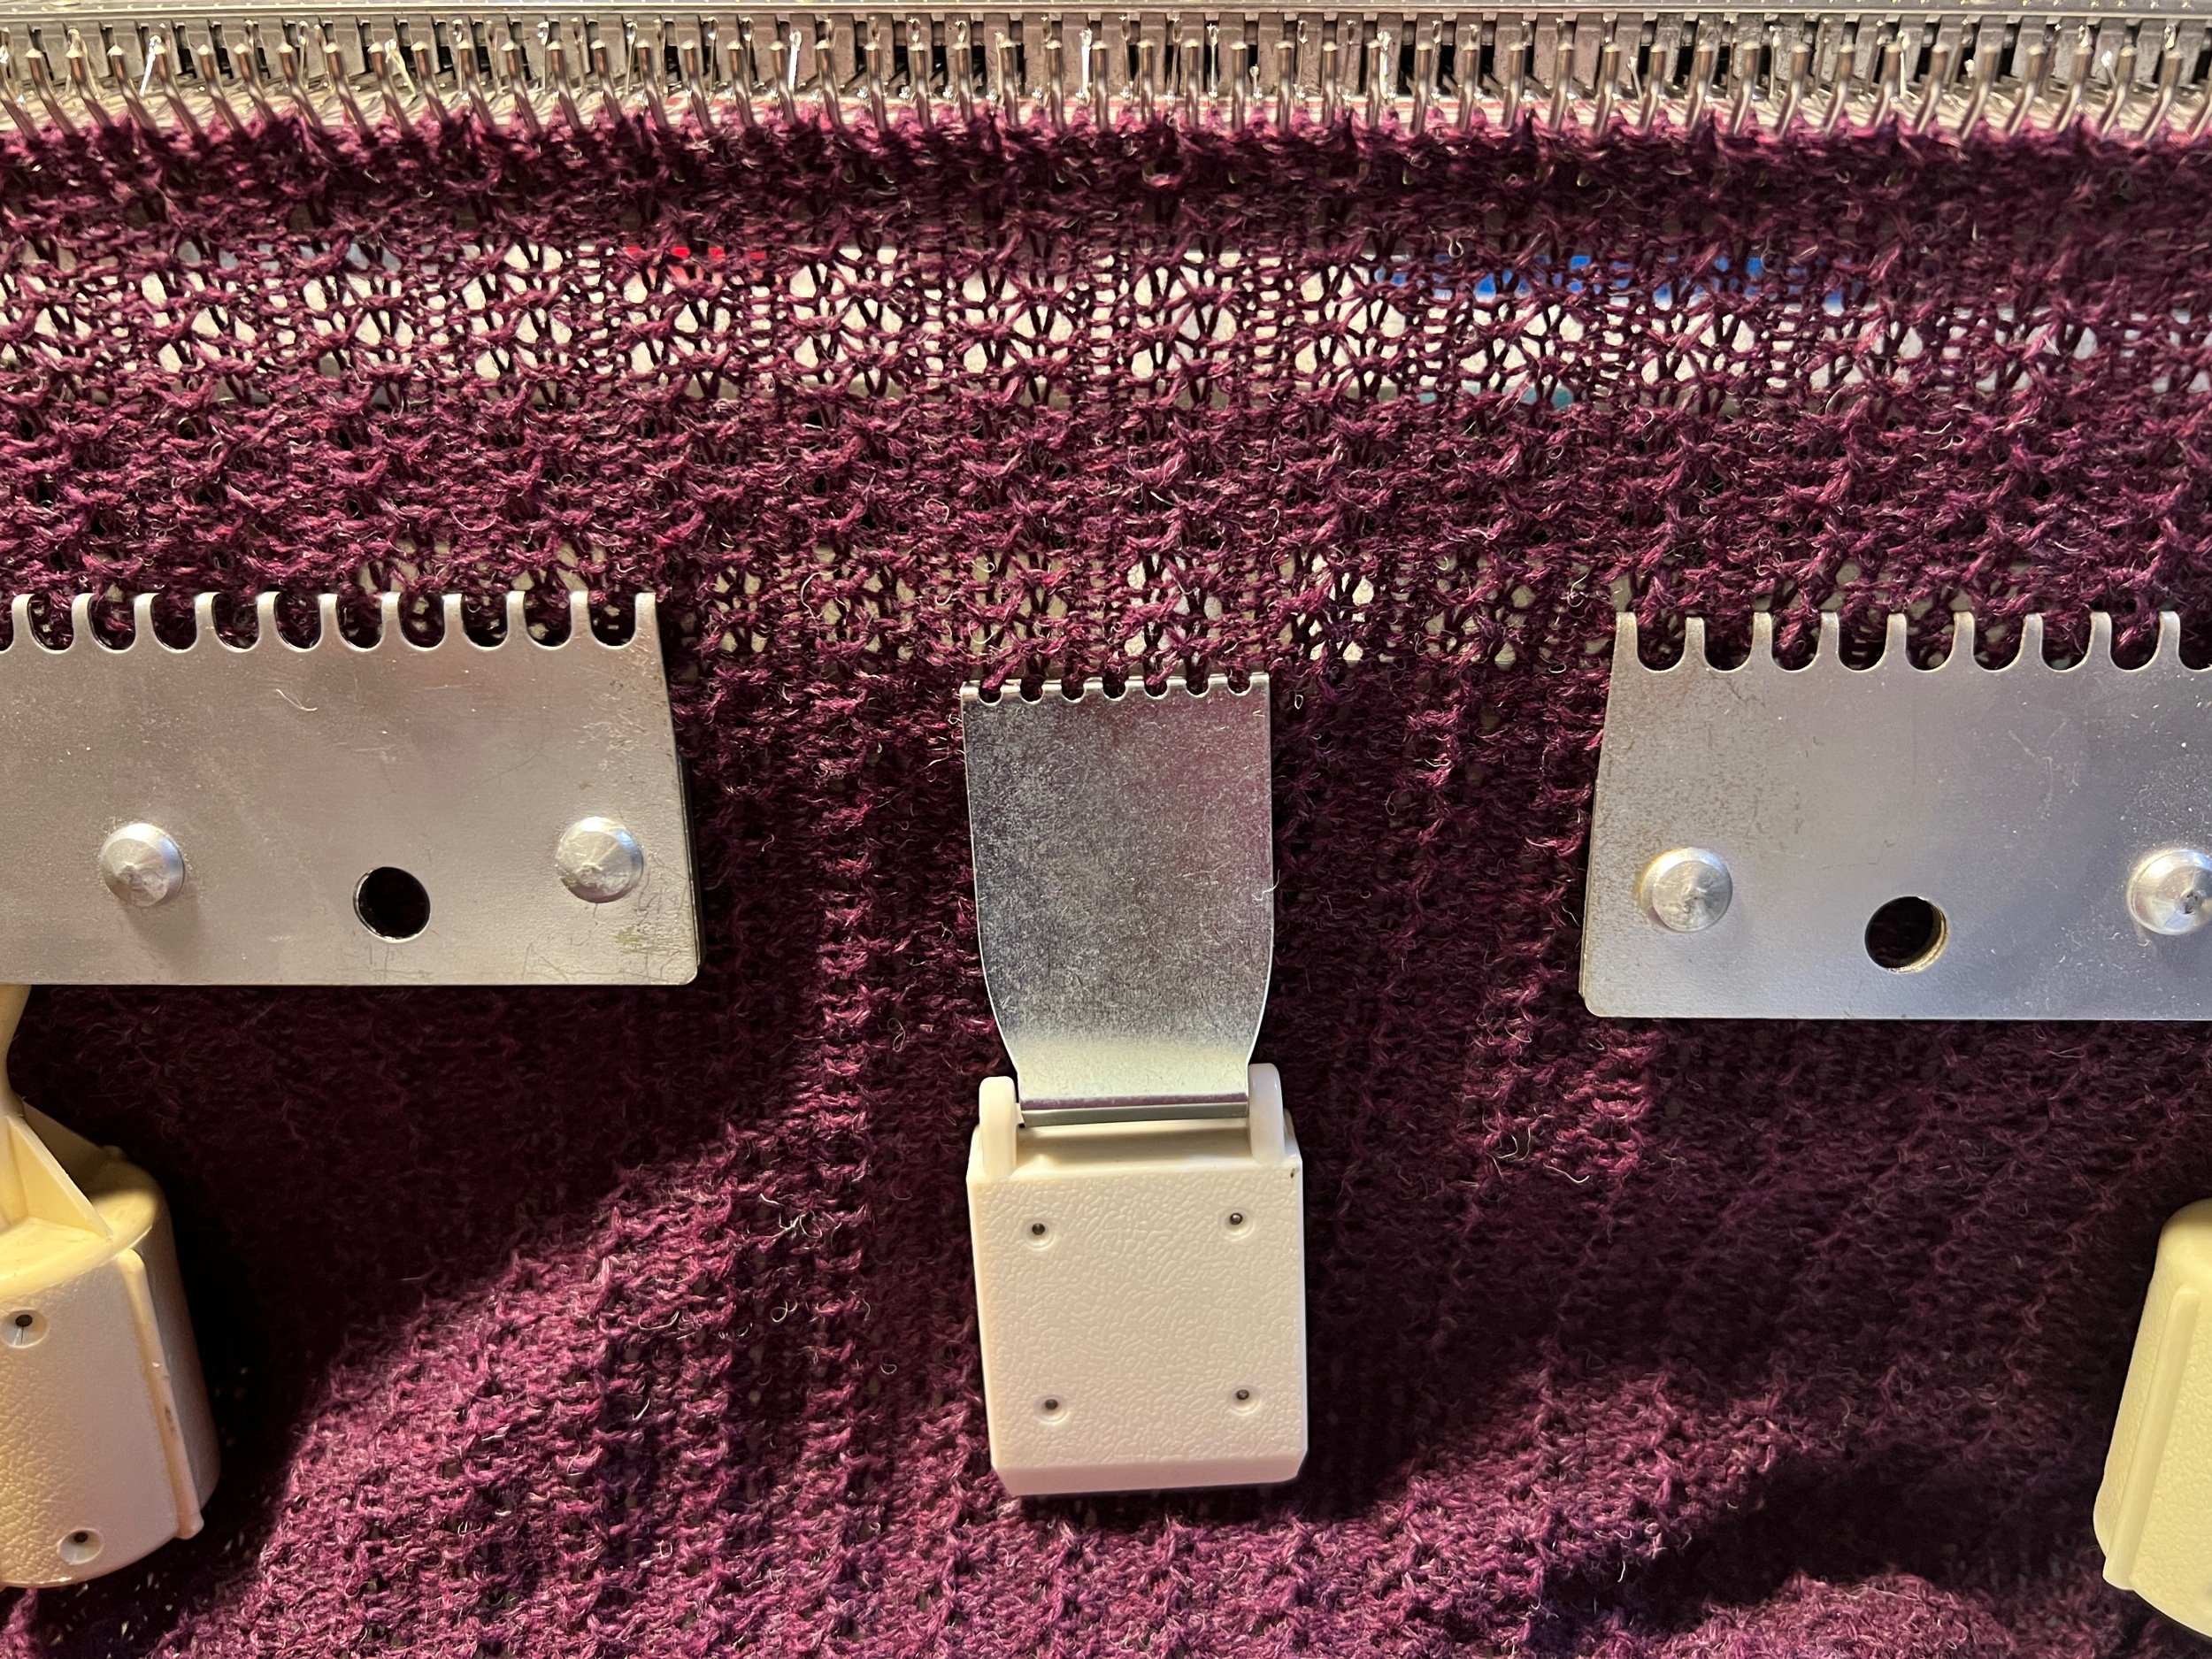
I first open cast on with 110 stitches using scrap yarn then setup the punch card No. 4 with the mast tension at 3 and the carriage tension dial at 4. I worked 1120 rows and added scrap to then take the project off the machine. I then joined the two ends using kitchener from the Purl side (I find that easier) see my video on doing that. Once done the end joining I laid it flat and partially joined with crochet, the edge seam (allowing for an open I joined edge on both ends - about 6 inches for arm clearance).

I hand washed and salad spun (then towel squished) this project and the next day it was ready for gifting.

This item is a long rectangle folded in half so that the joins are mid project. One long side is joined with space open for human arms. The garment is approximately 38cm wide (x 2) and 88cm long (x 2).


INSTAGRAM POST: one | two | three | four |


See all Blog Entries on the BLOG INDEX page

2023 Jan 27 - Lace Bedspread with Punchcard 2

This is my now three time restart first blanket project on my Singer 700 flat bed knitting machine using the second lace carriage punch card (and the lace carriage).

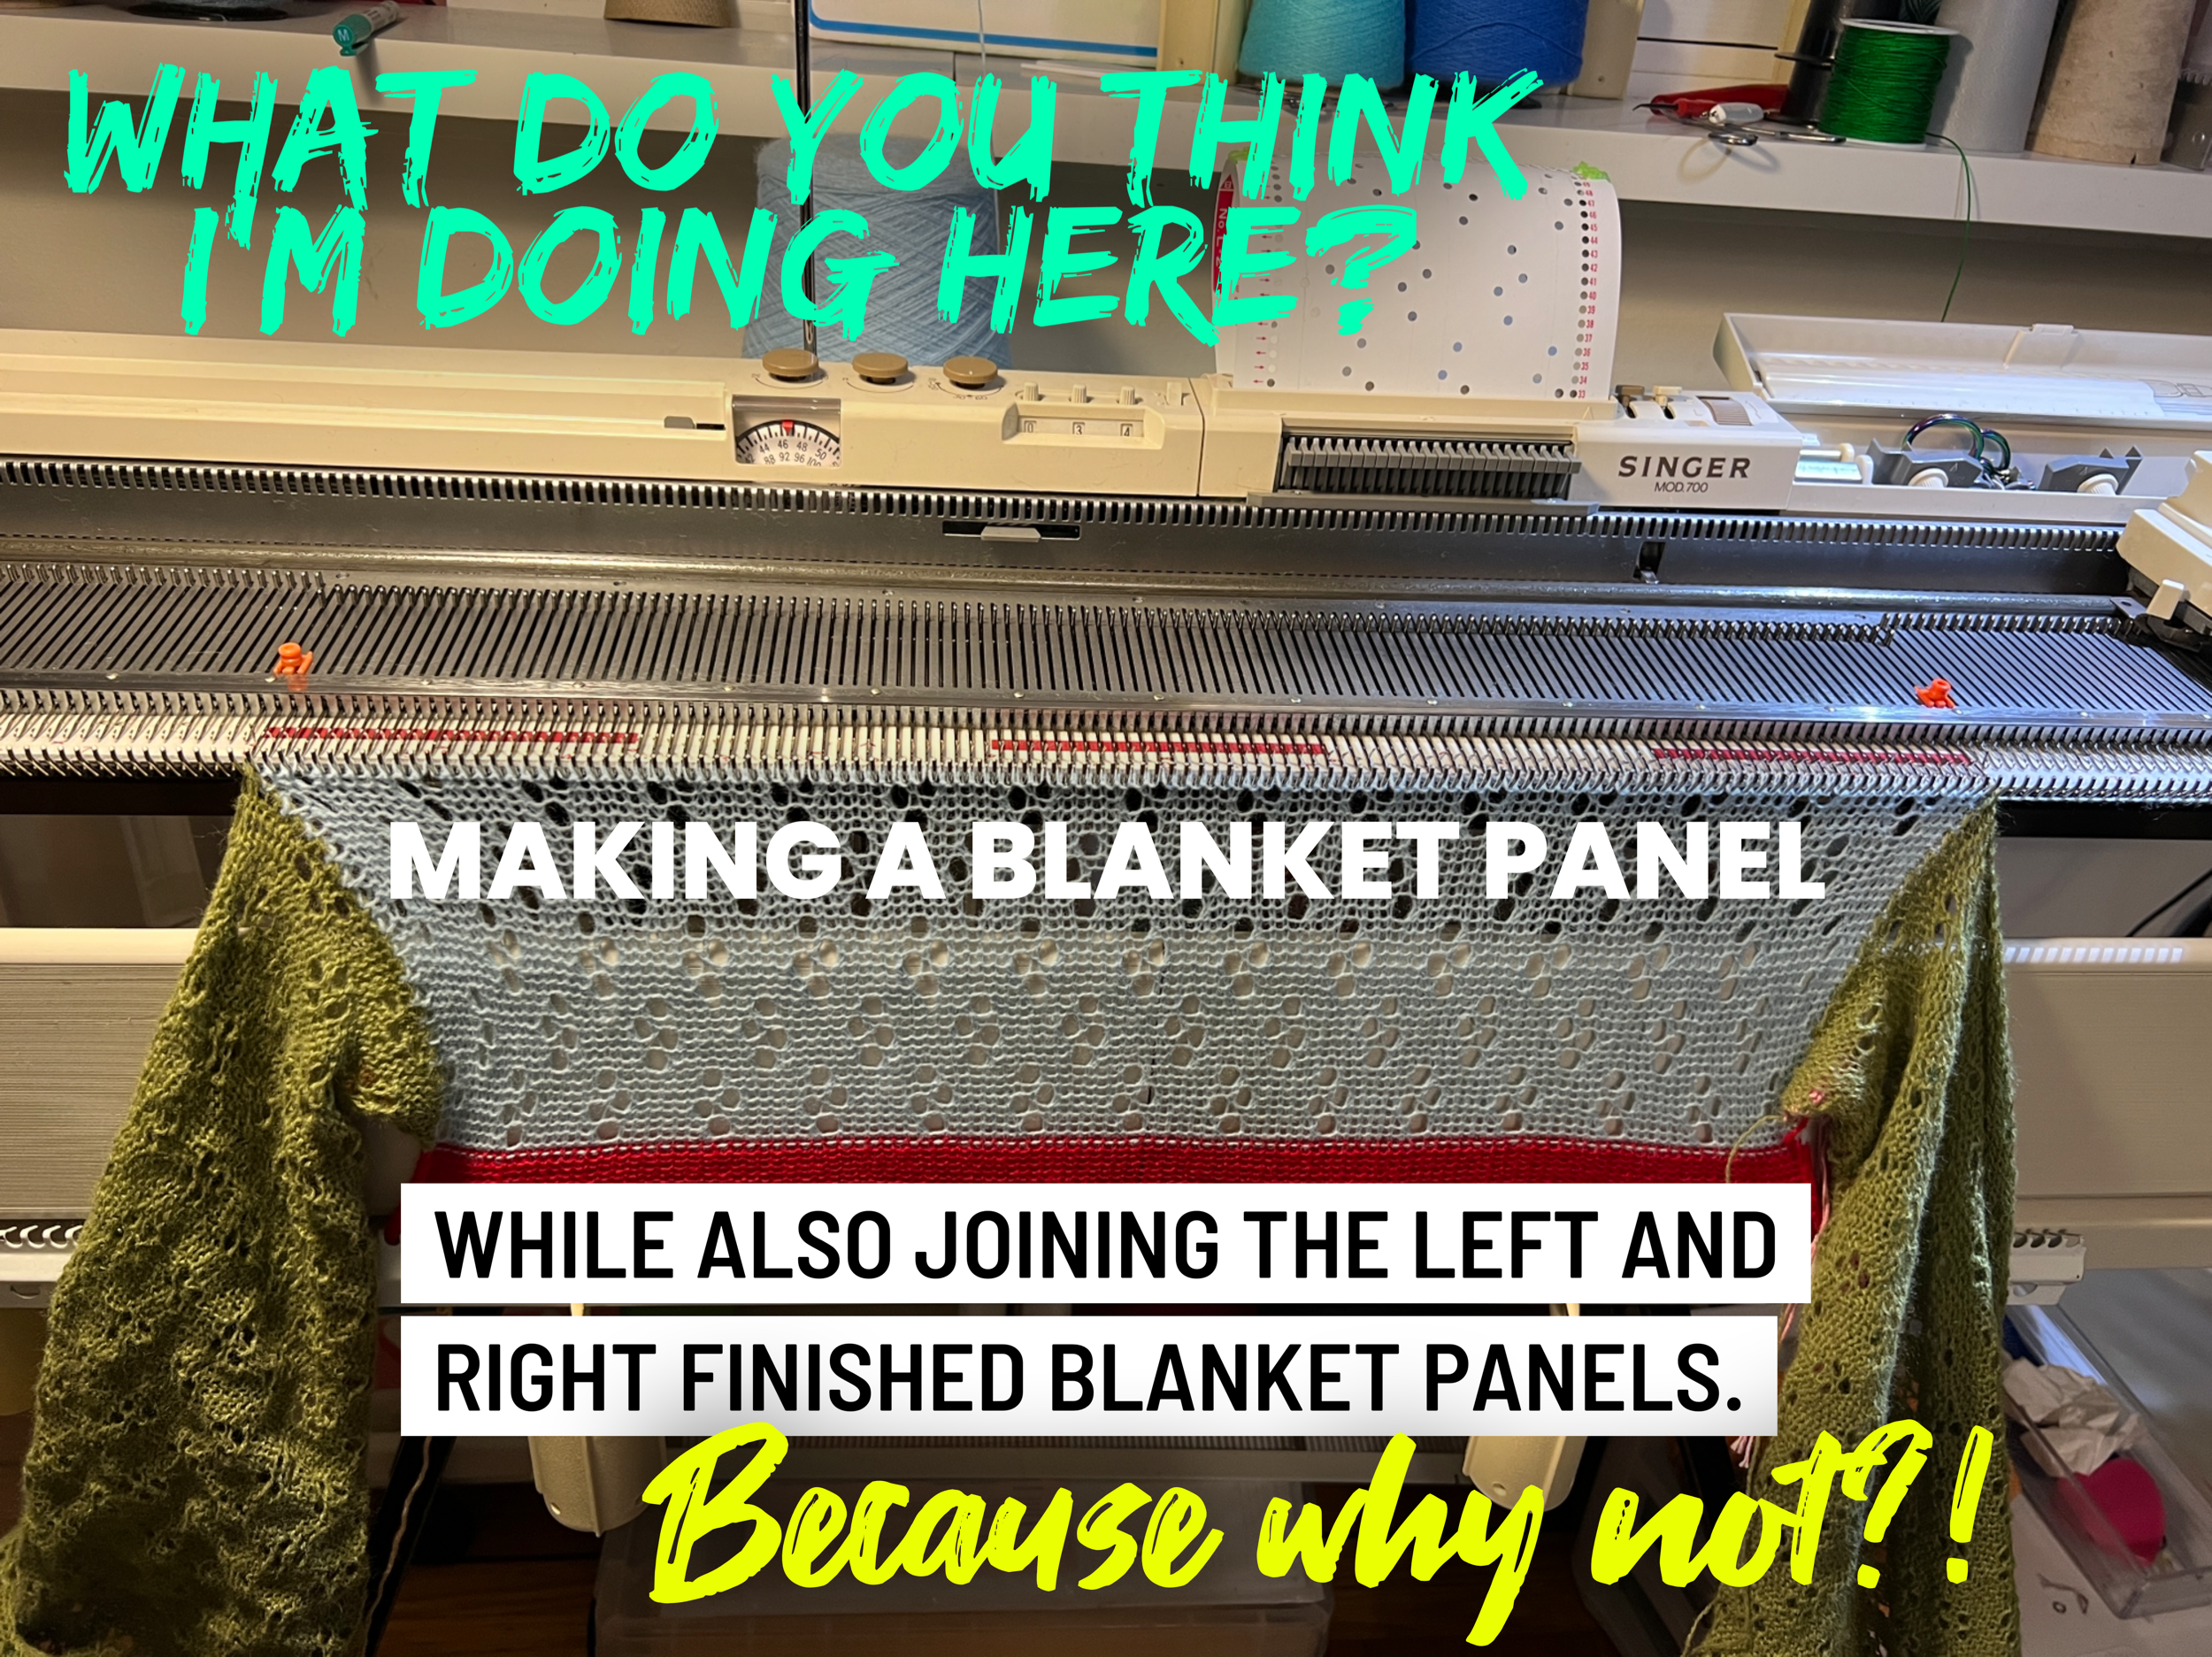
Below is the third and final restart. After unknitting my errors I chose to make each panel separate (it’s certainly faster than trying the join as you go).

Now with all panels made it’s time to steam prep each panel.

Yes they say to gauge and test. The seven panel planned blanket is too wide on the bed. Each panel is finished at 55cm wide. The blanket is redesigned to be four panels wide. HEY two blankets? Hah

I’m still positive. Have I shared how not fun steam ironing is (and how slow!?)

All the panels are now steam ironed (it took forever). Now to consider the bed spread pieces for assembling.

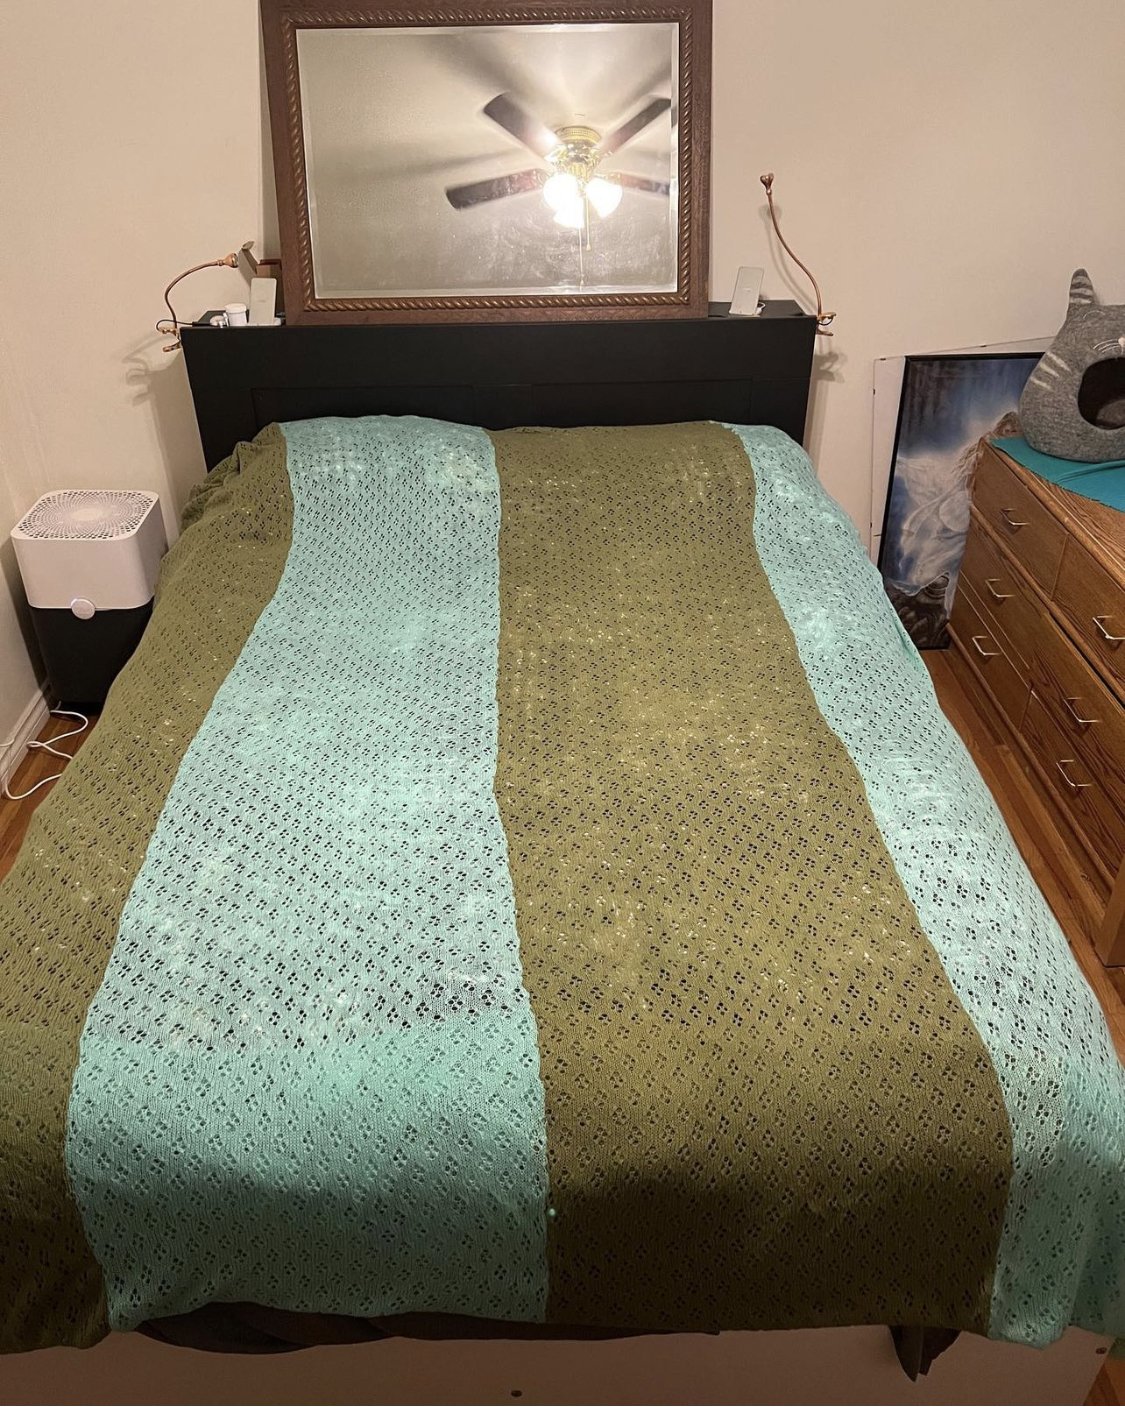
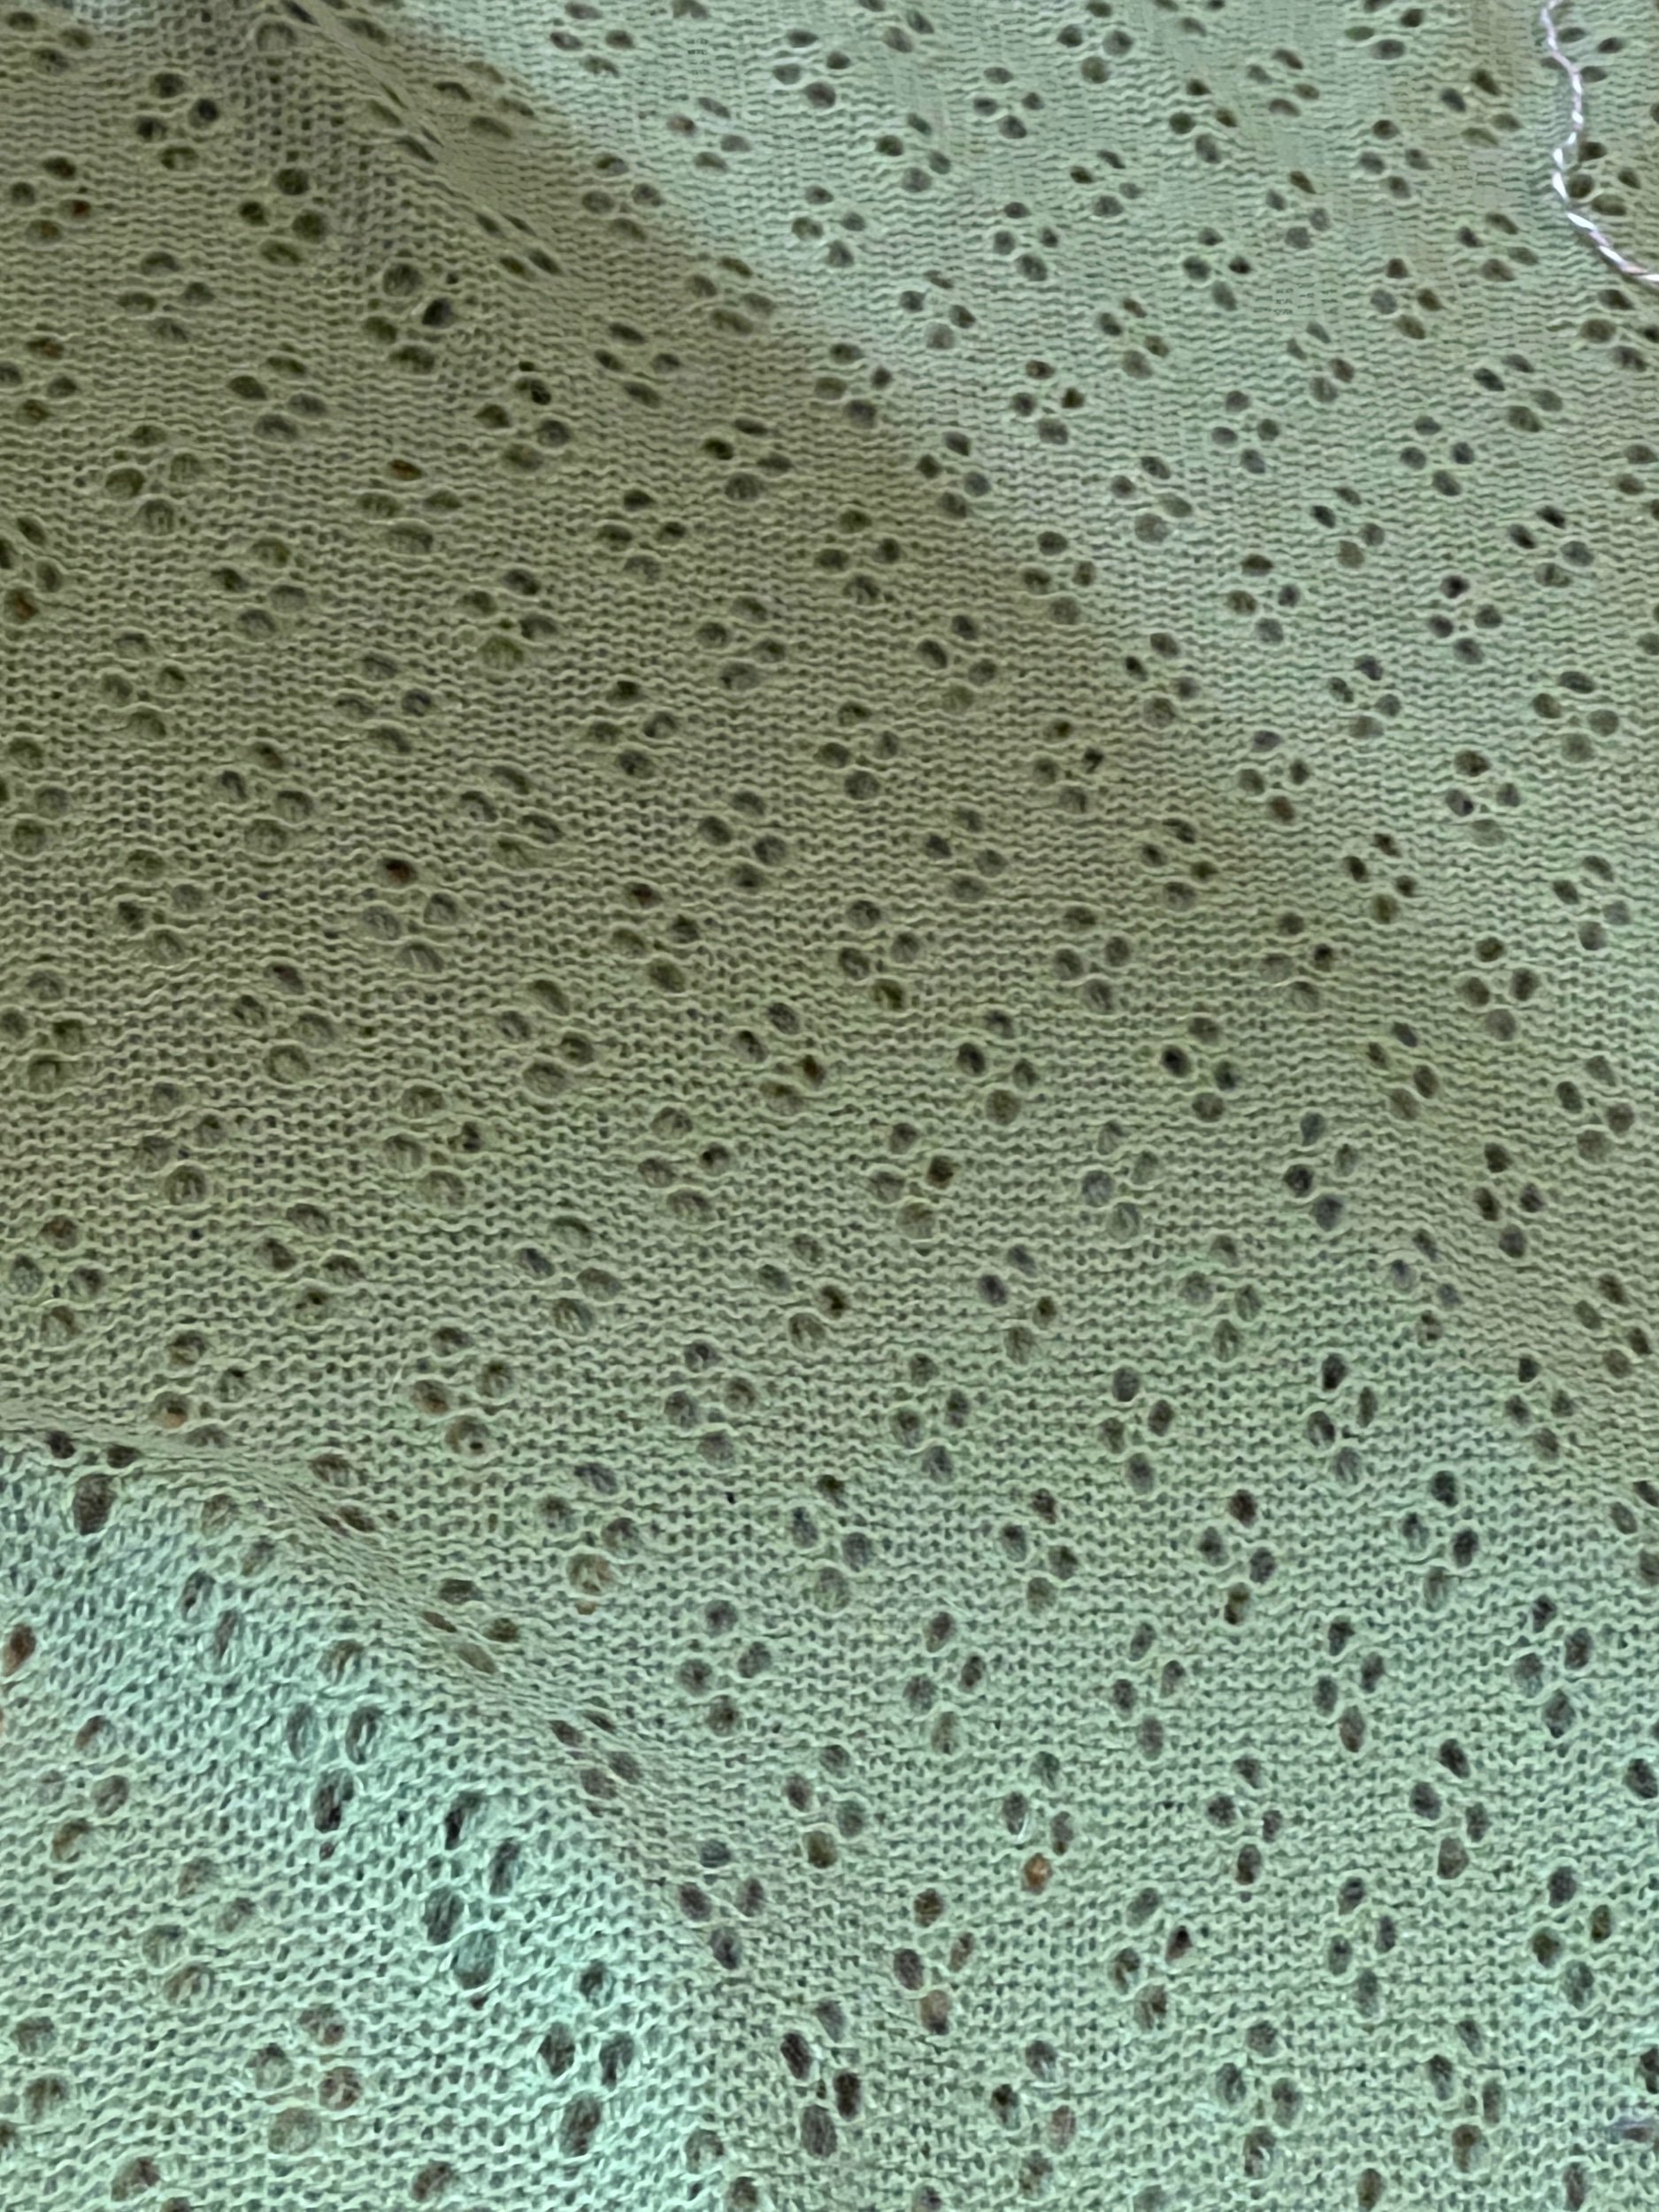
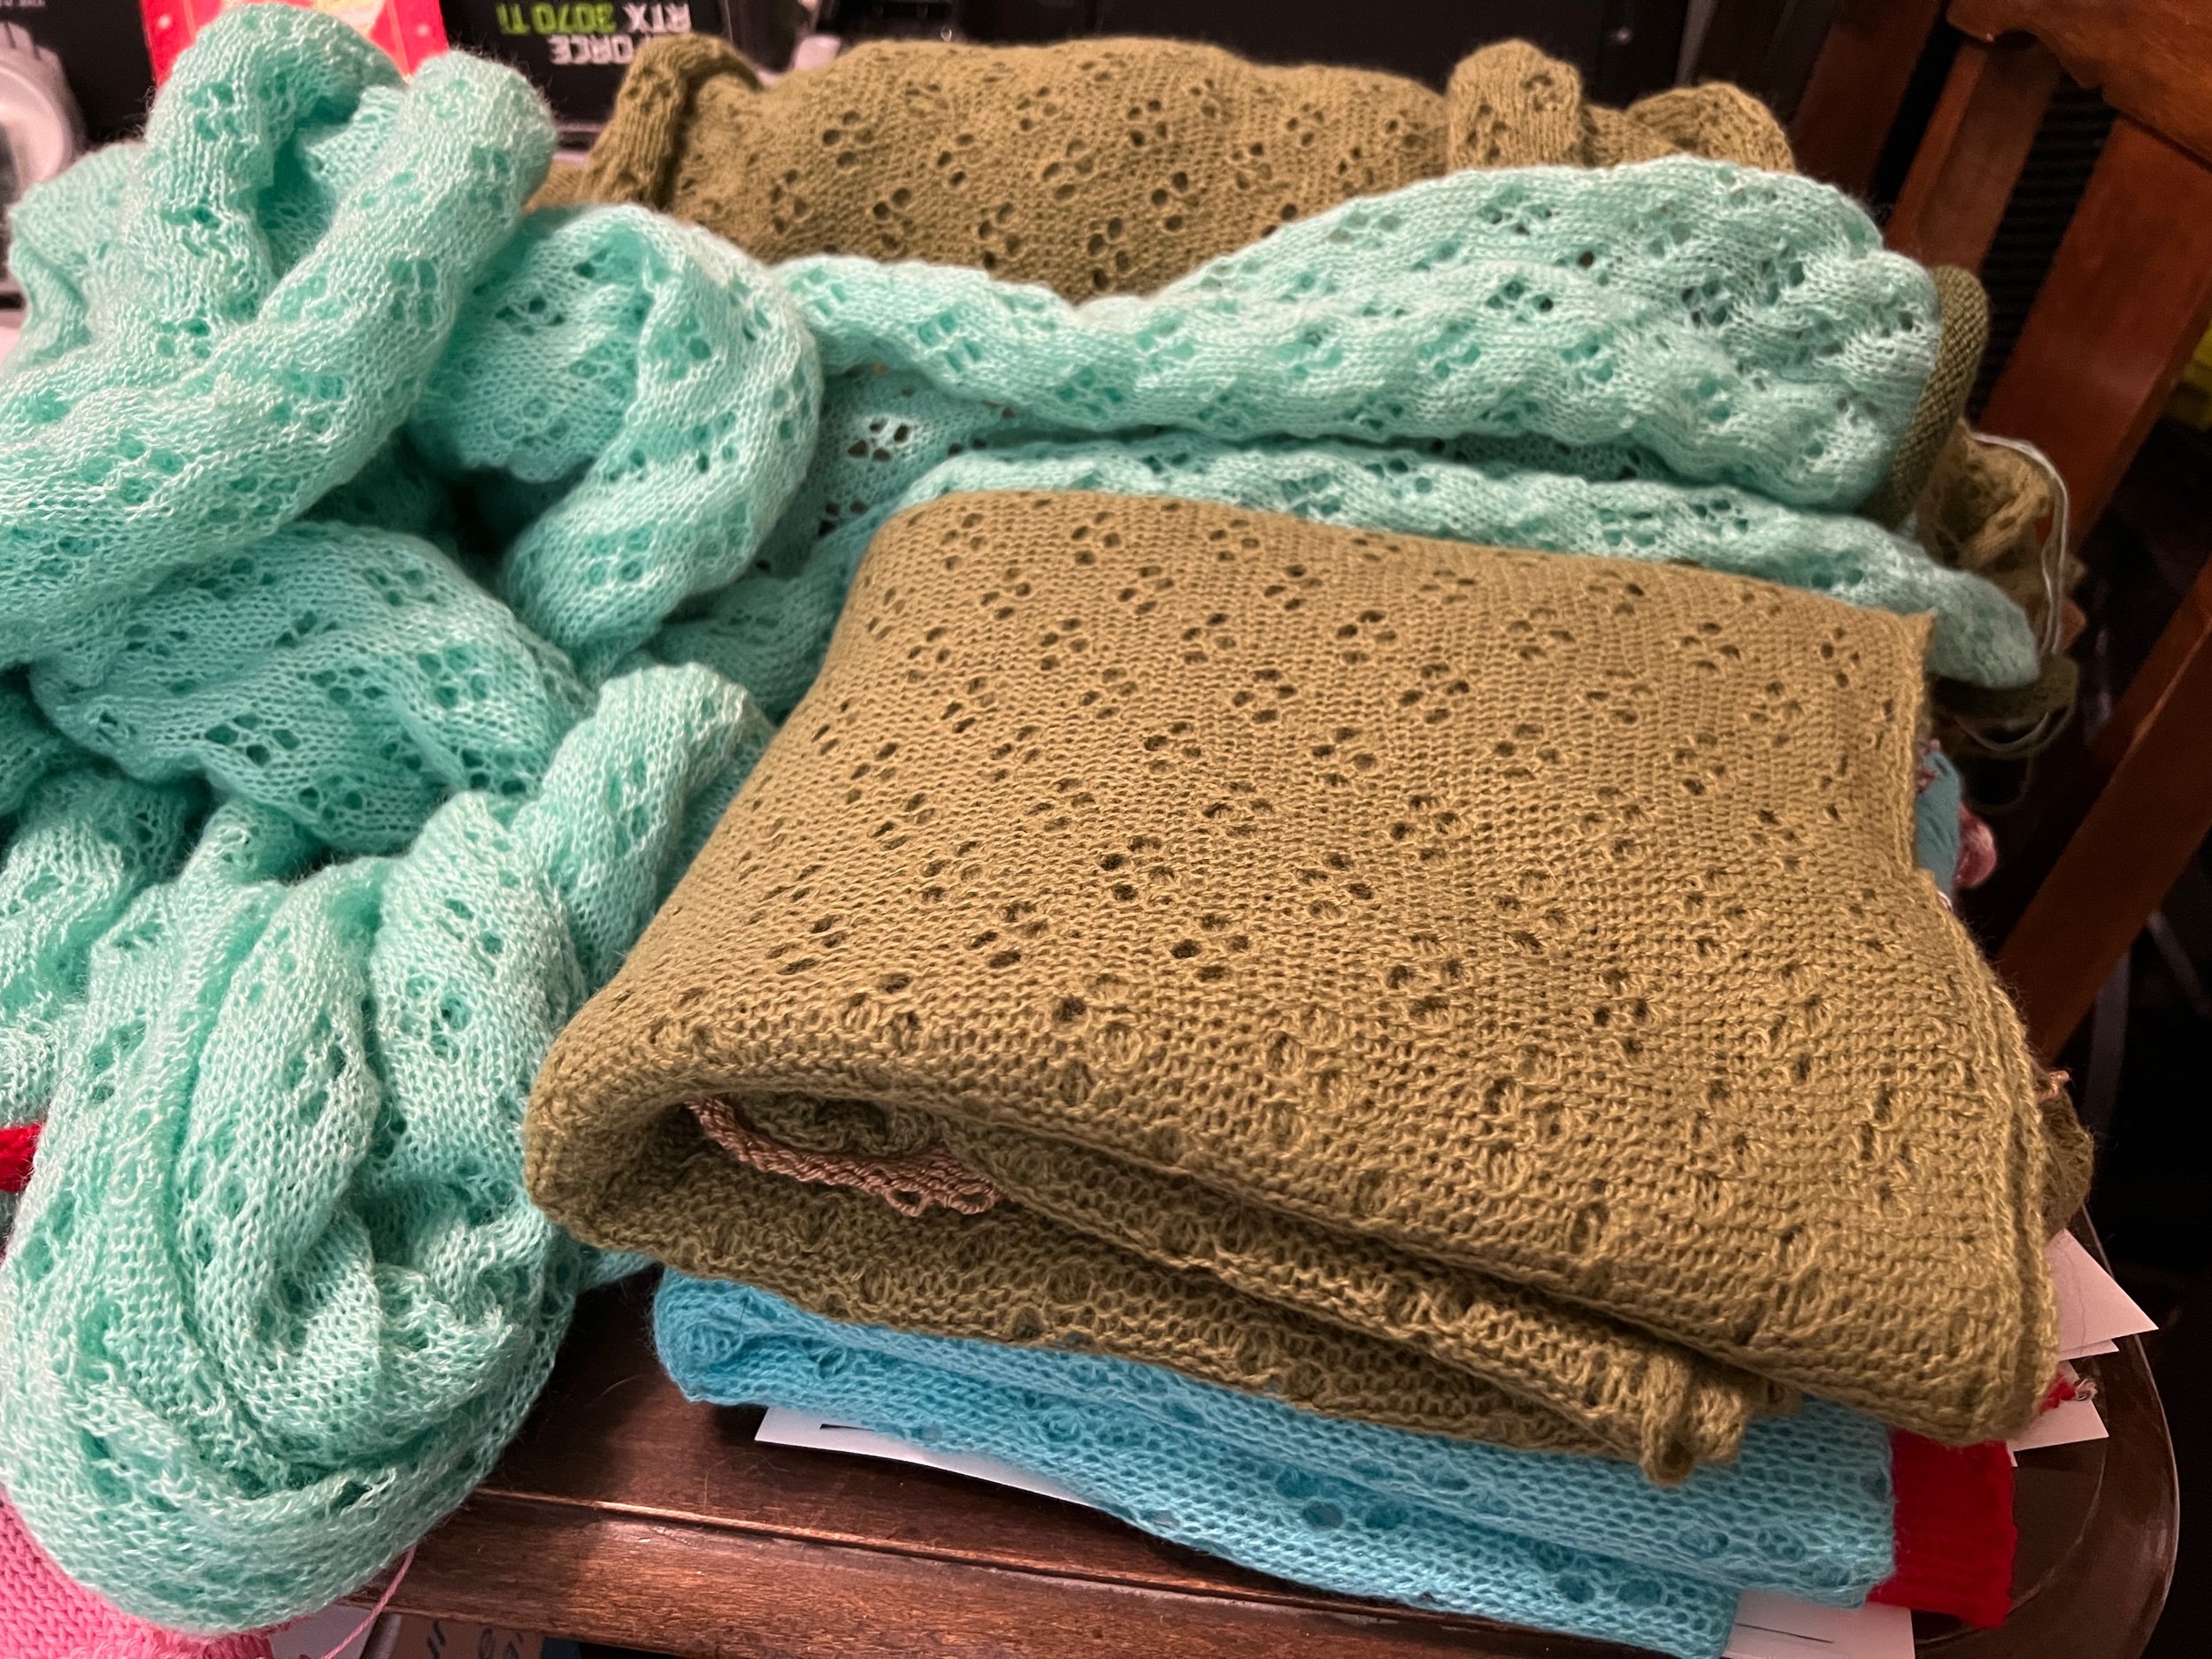
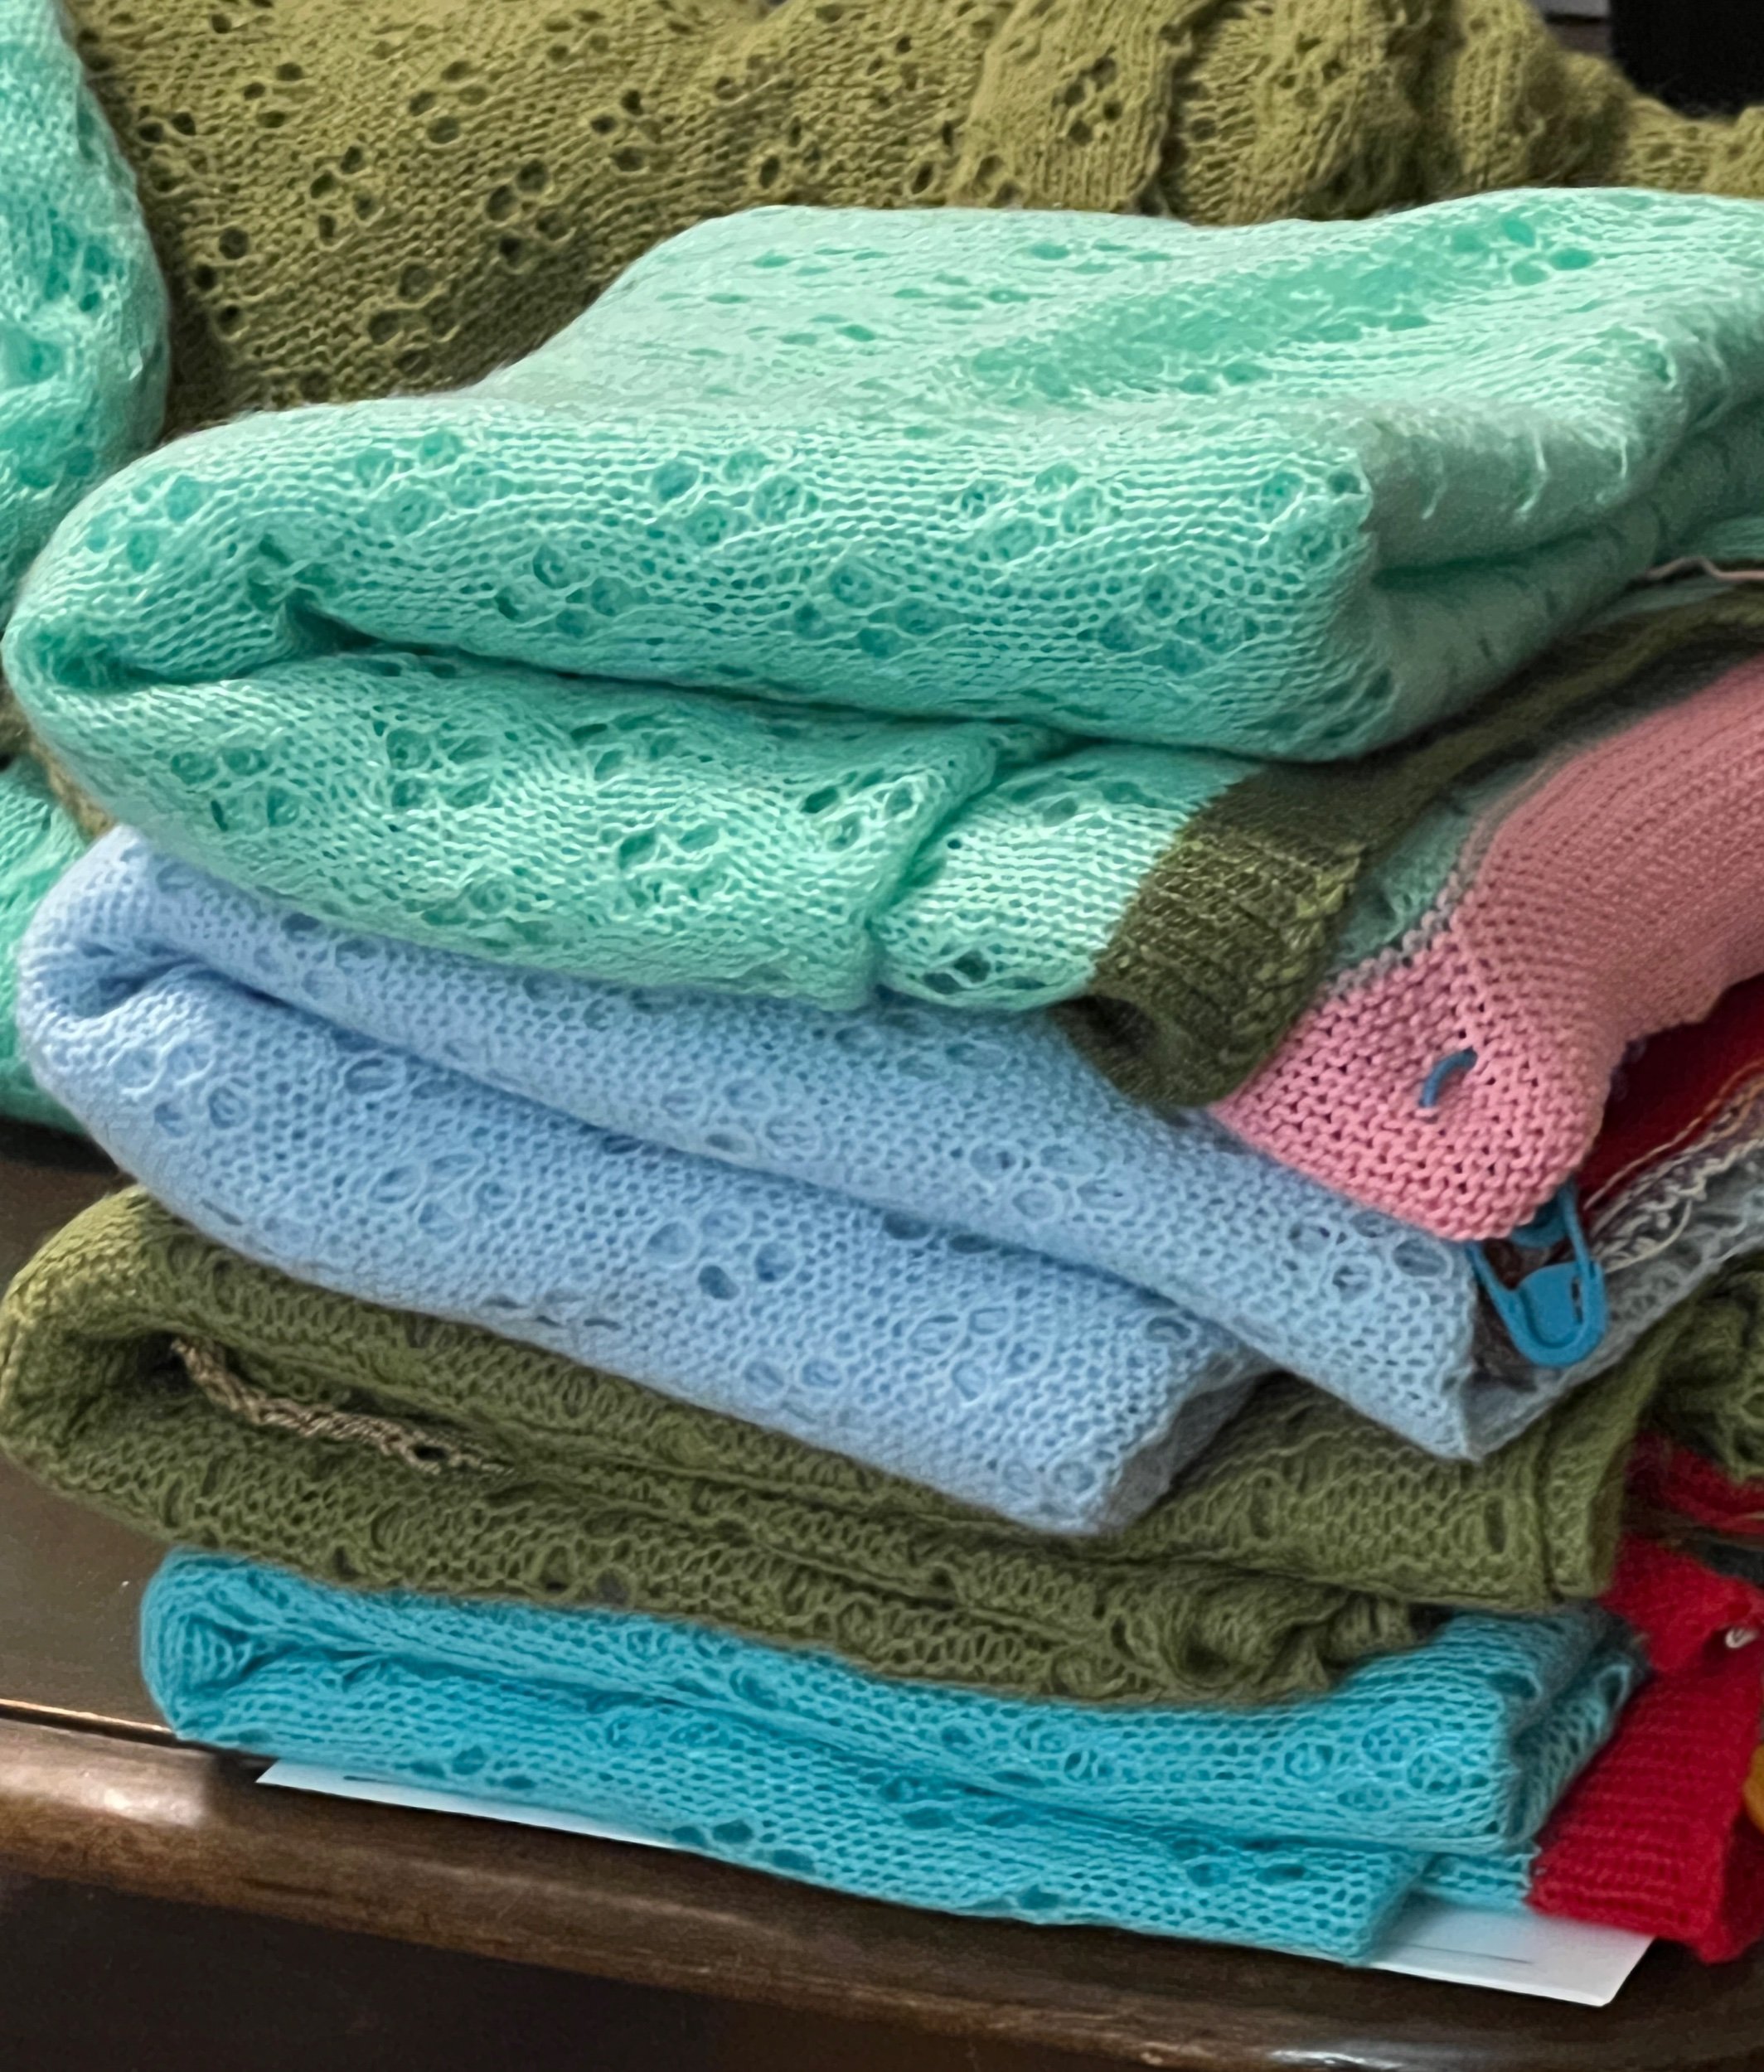
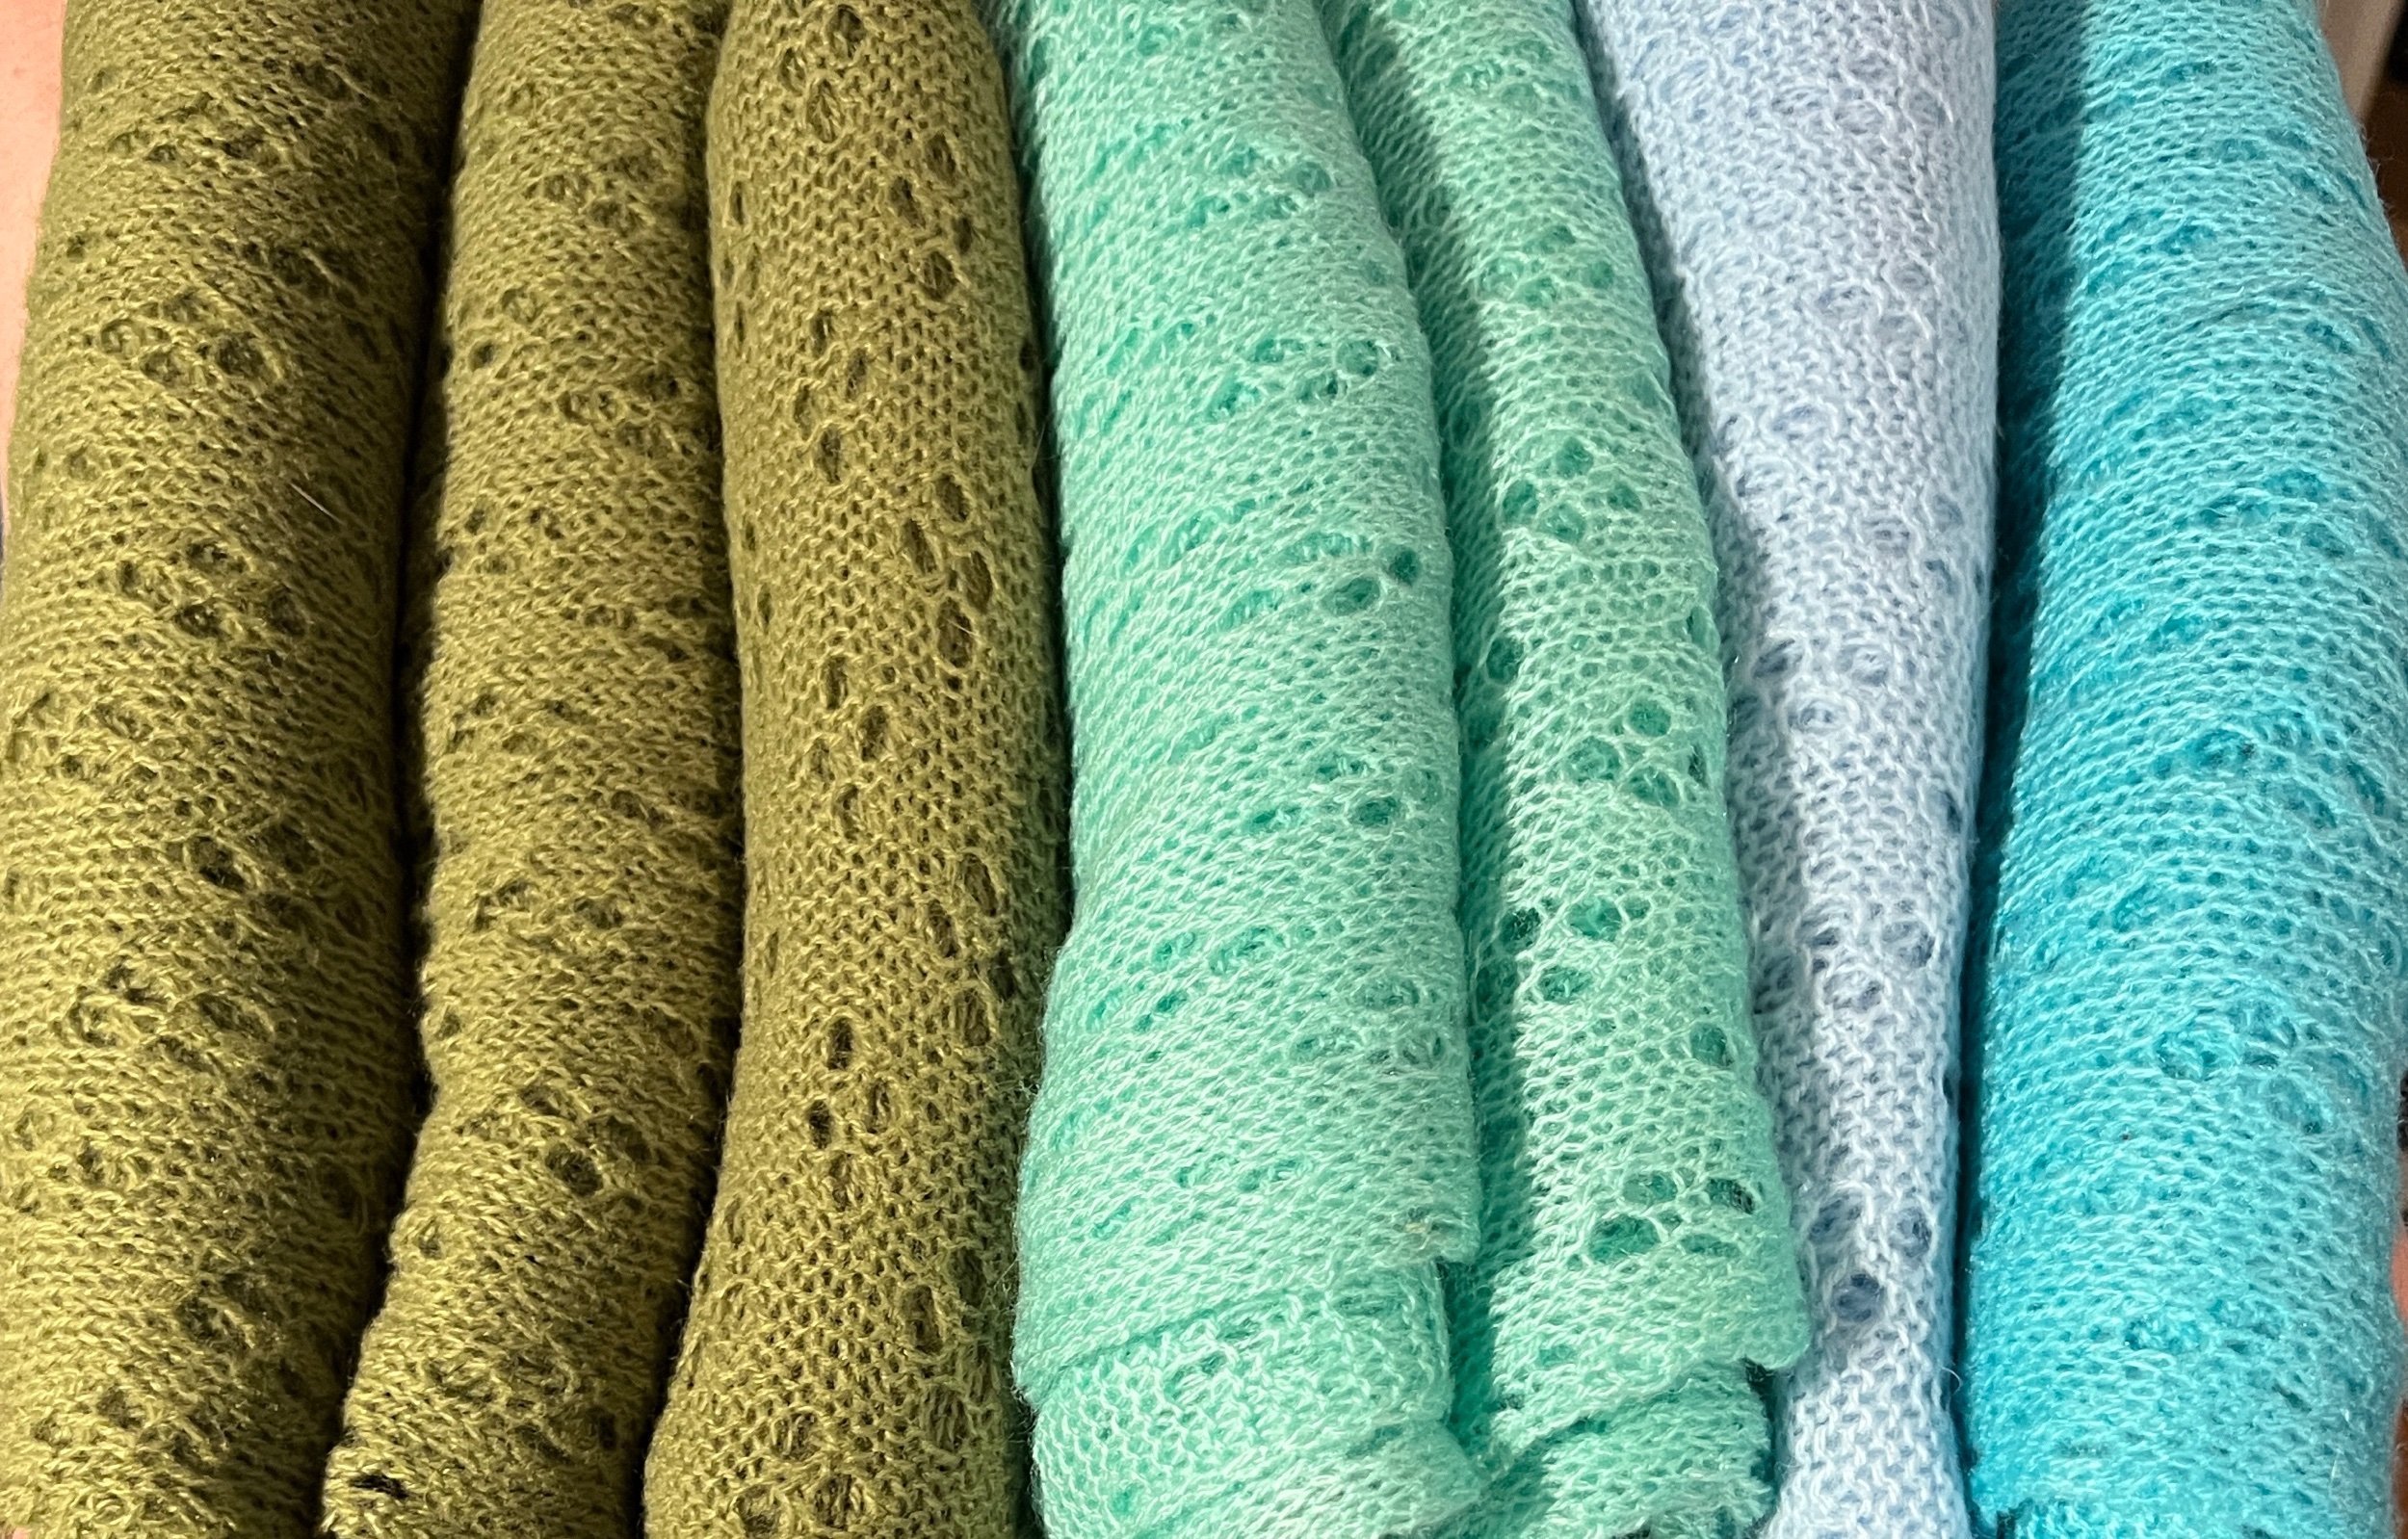
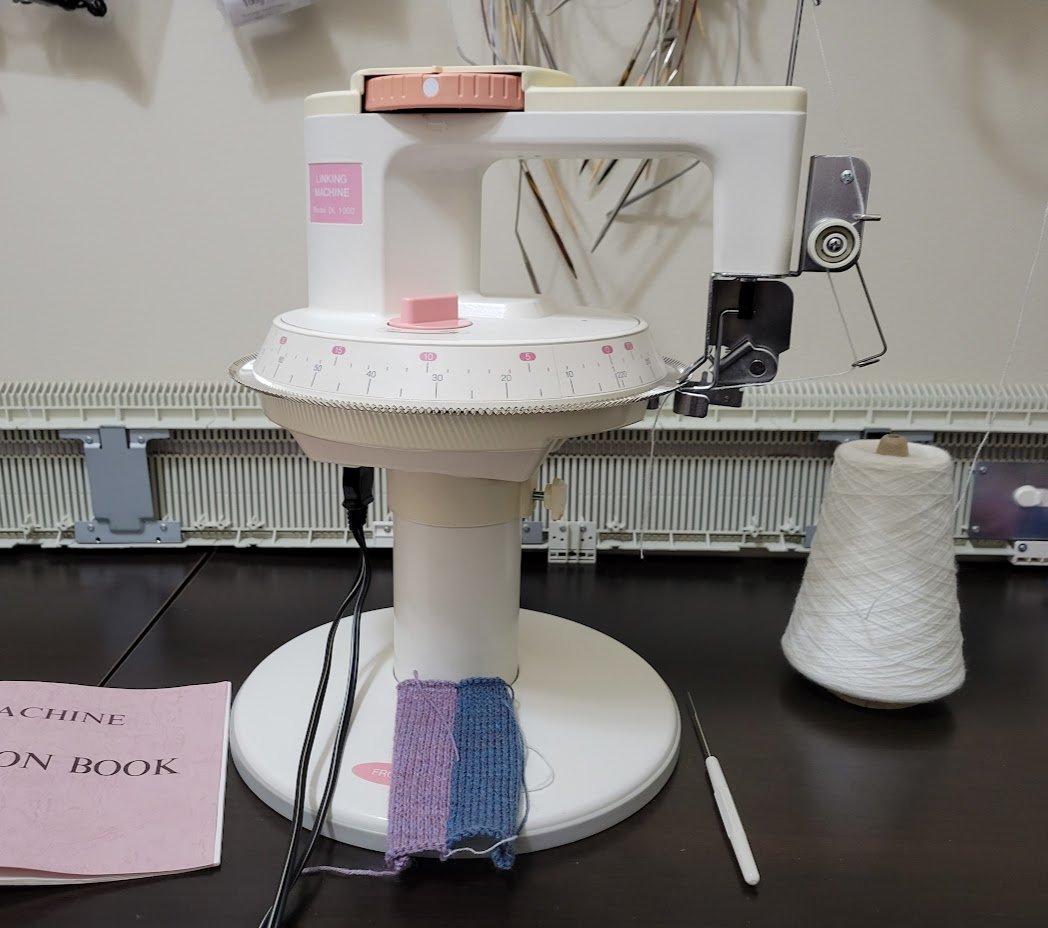
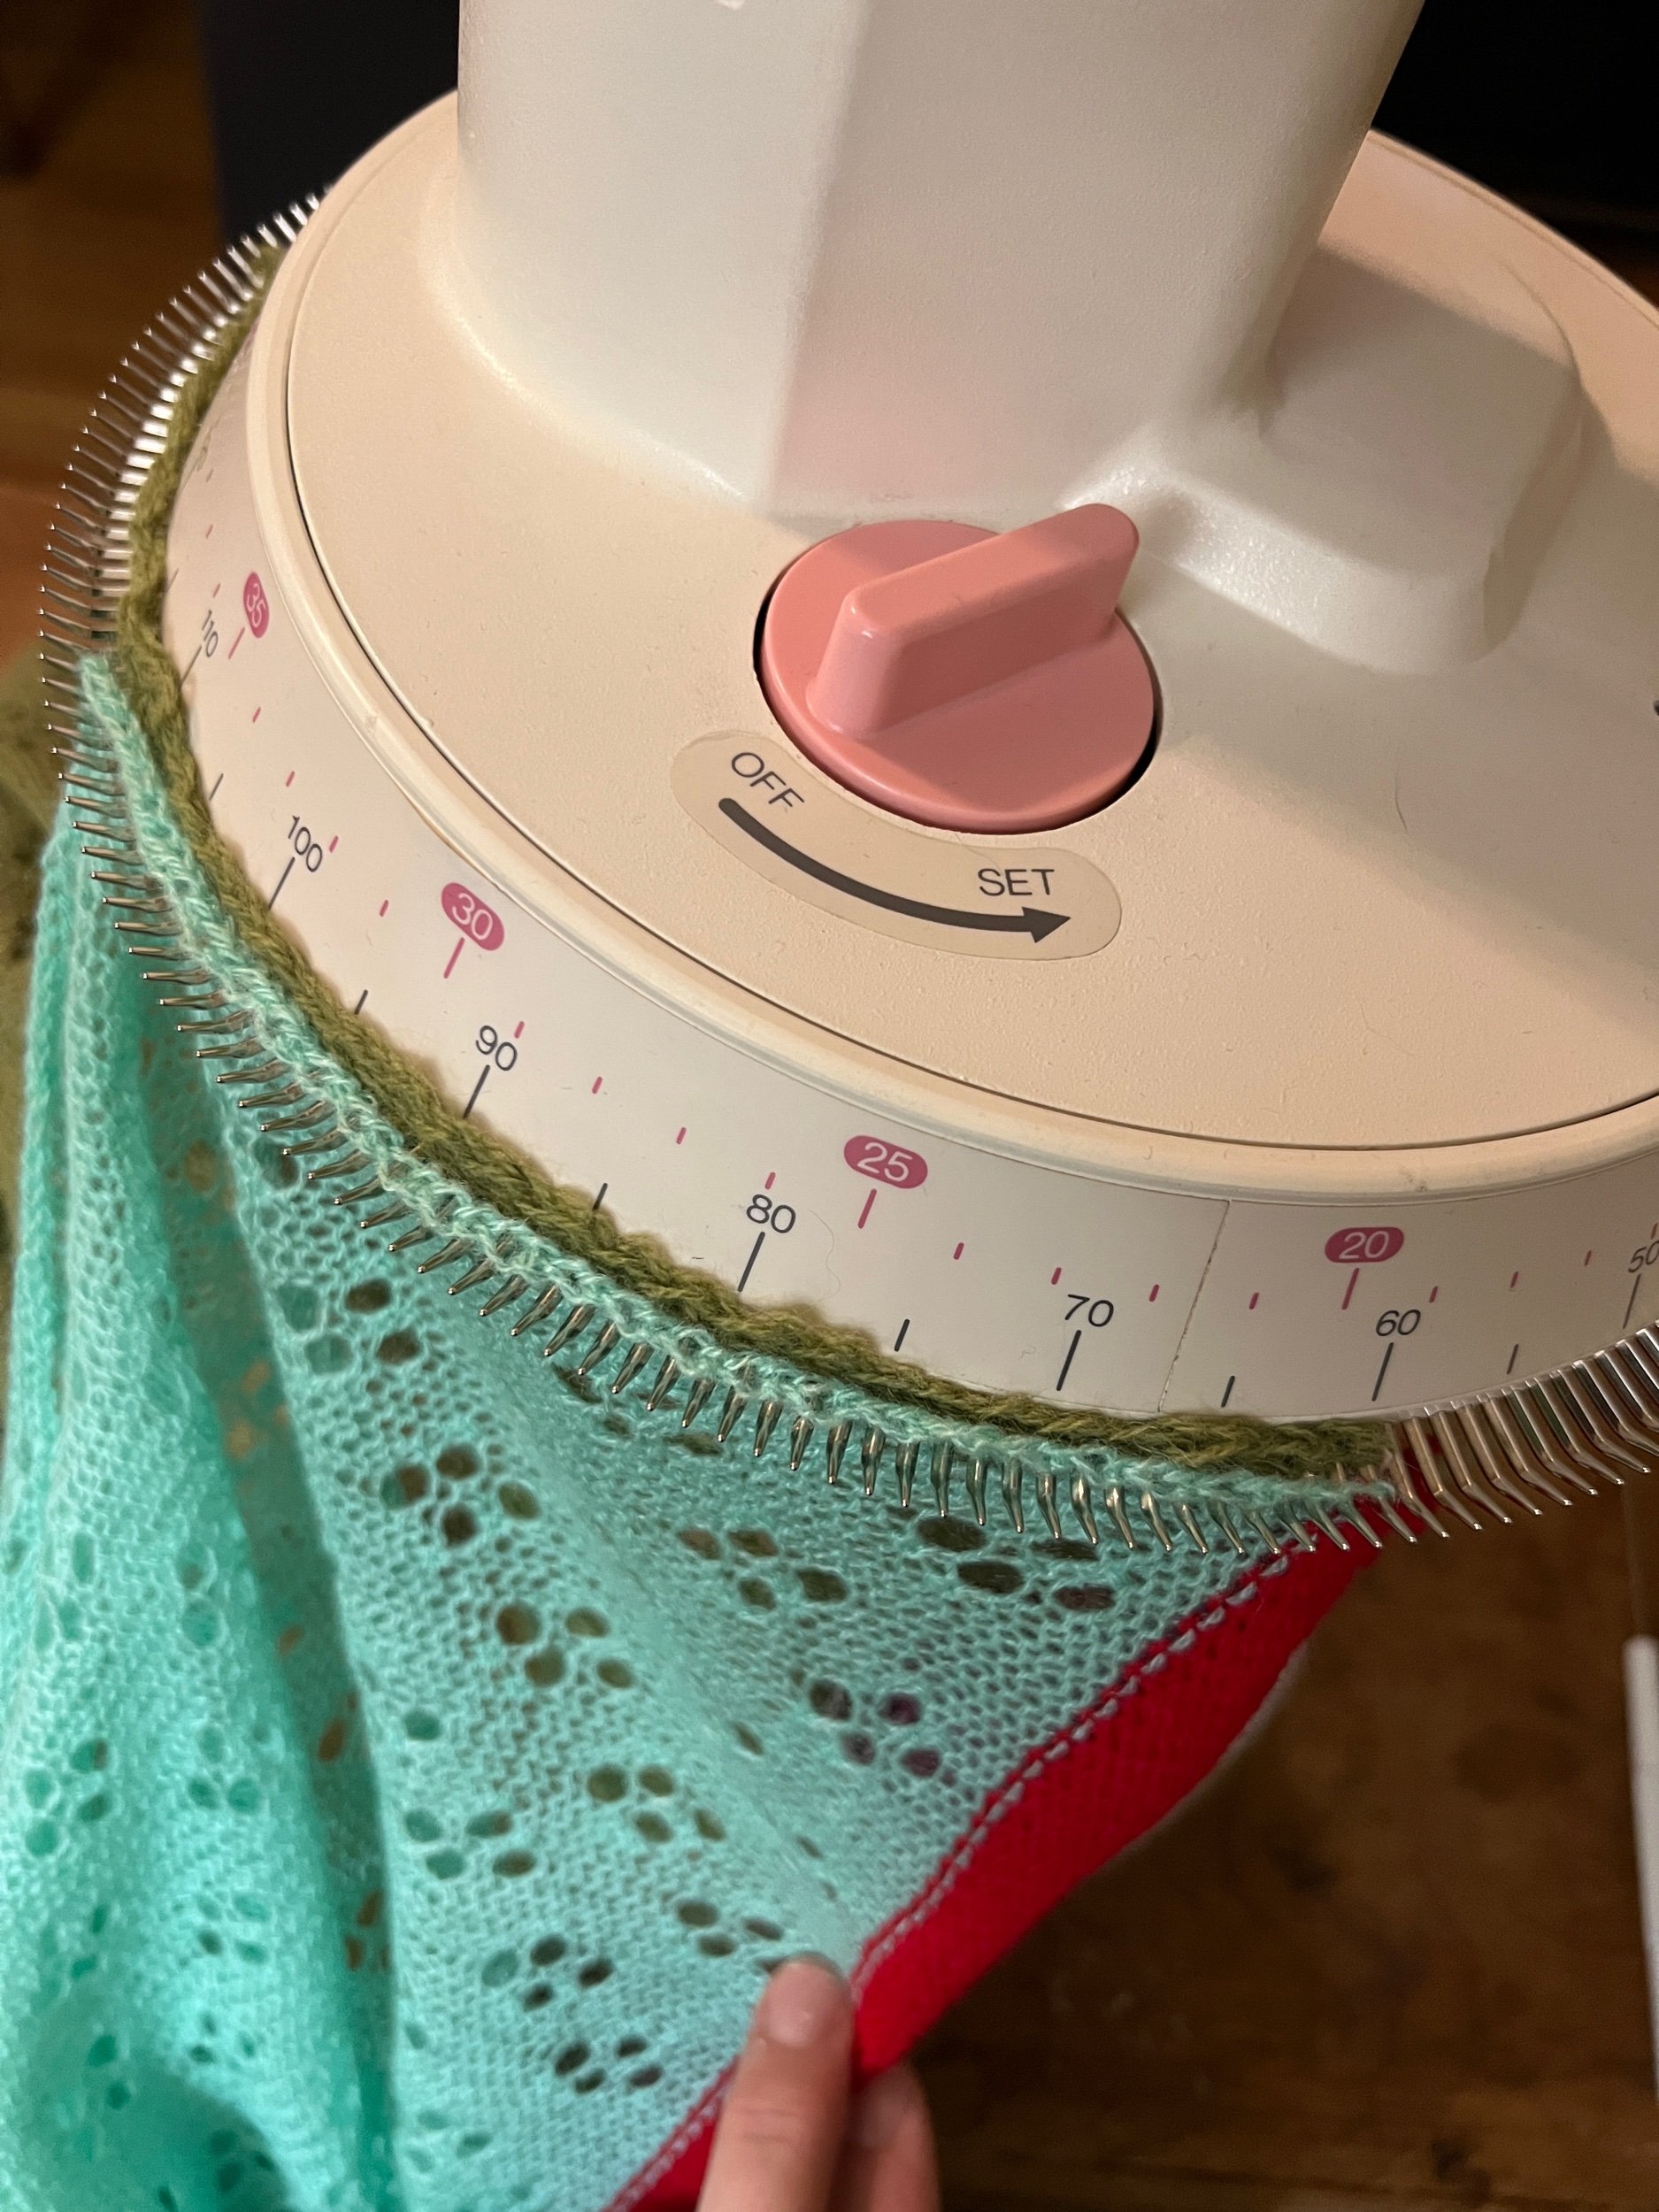
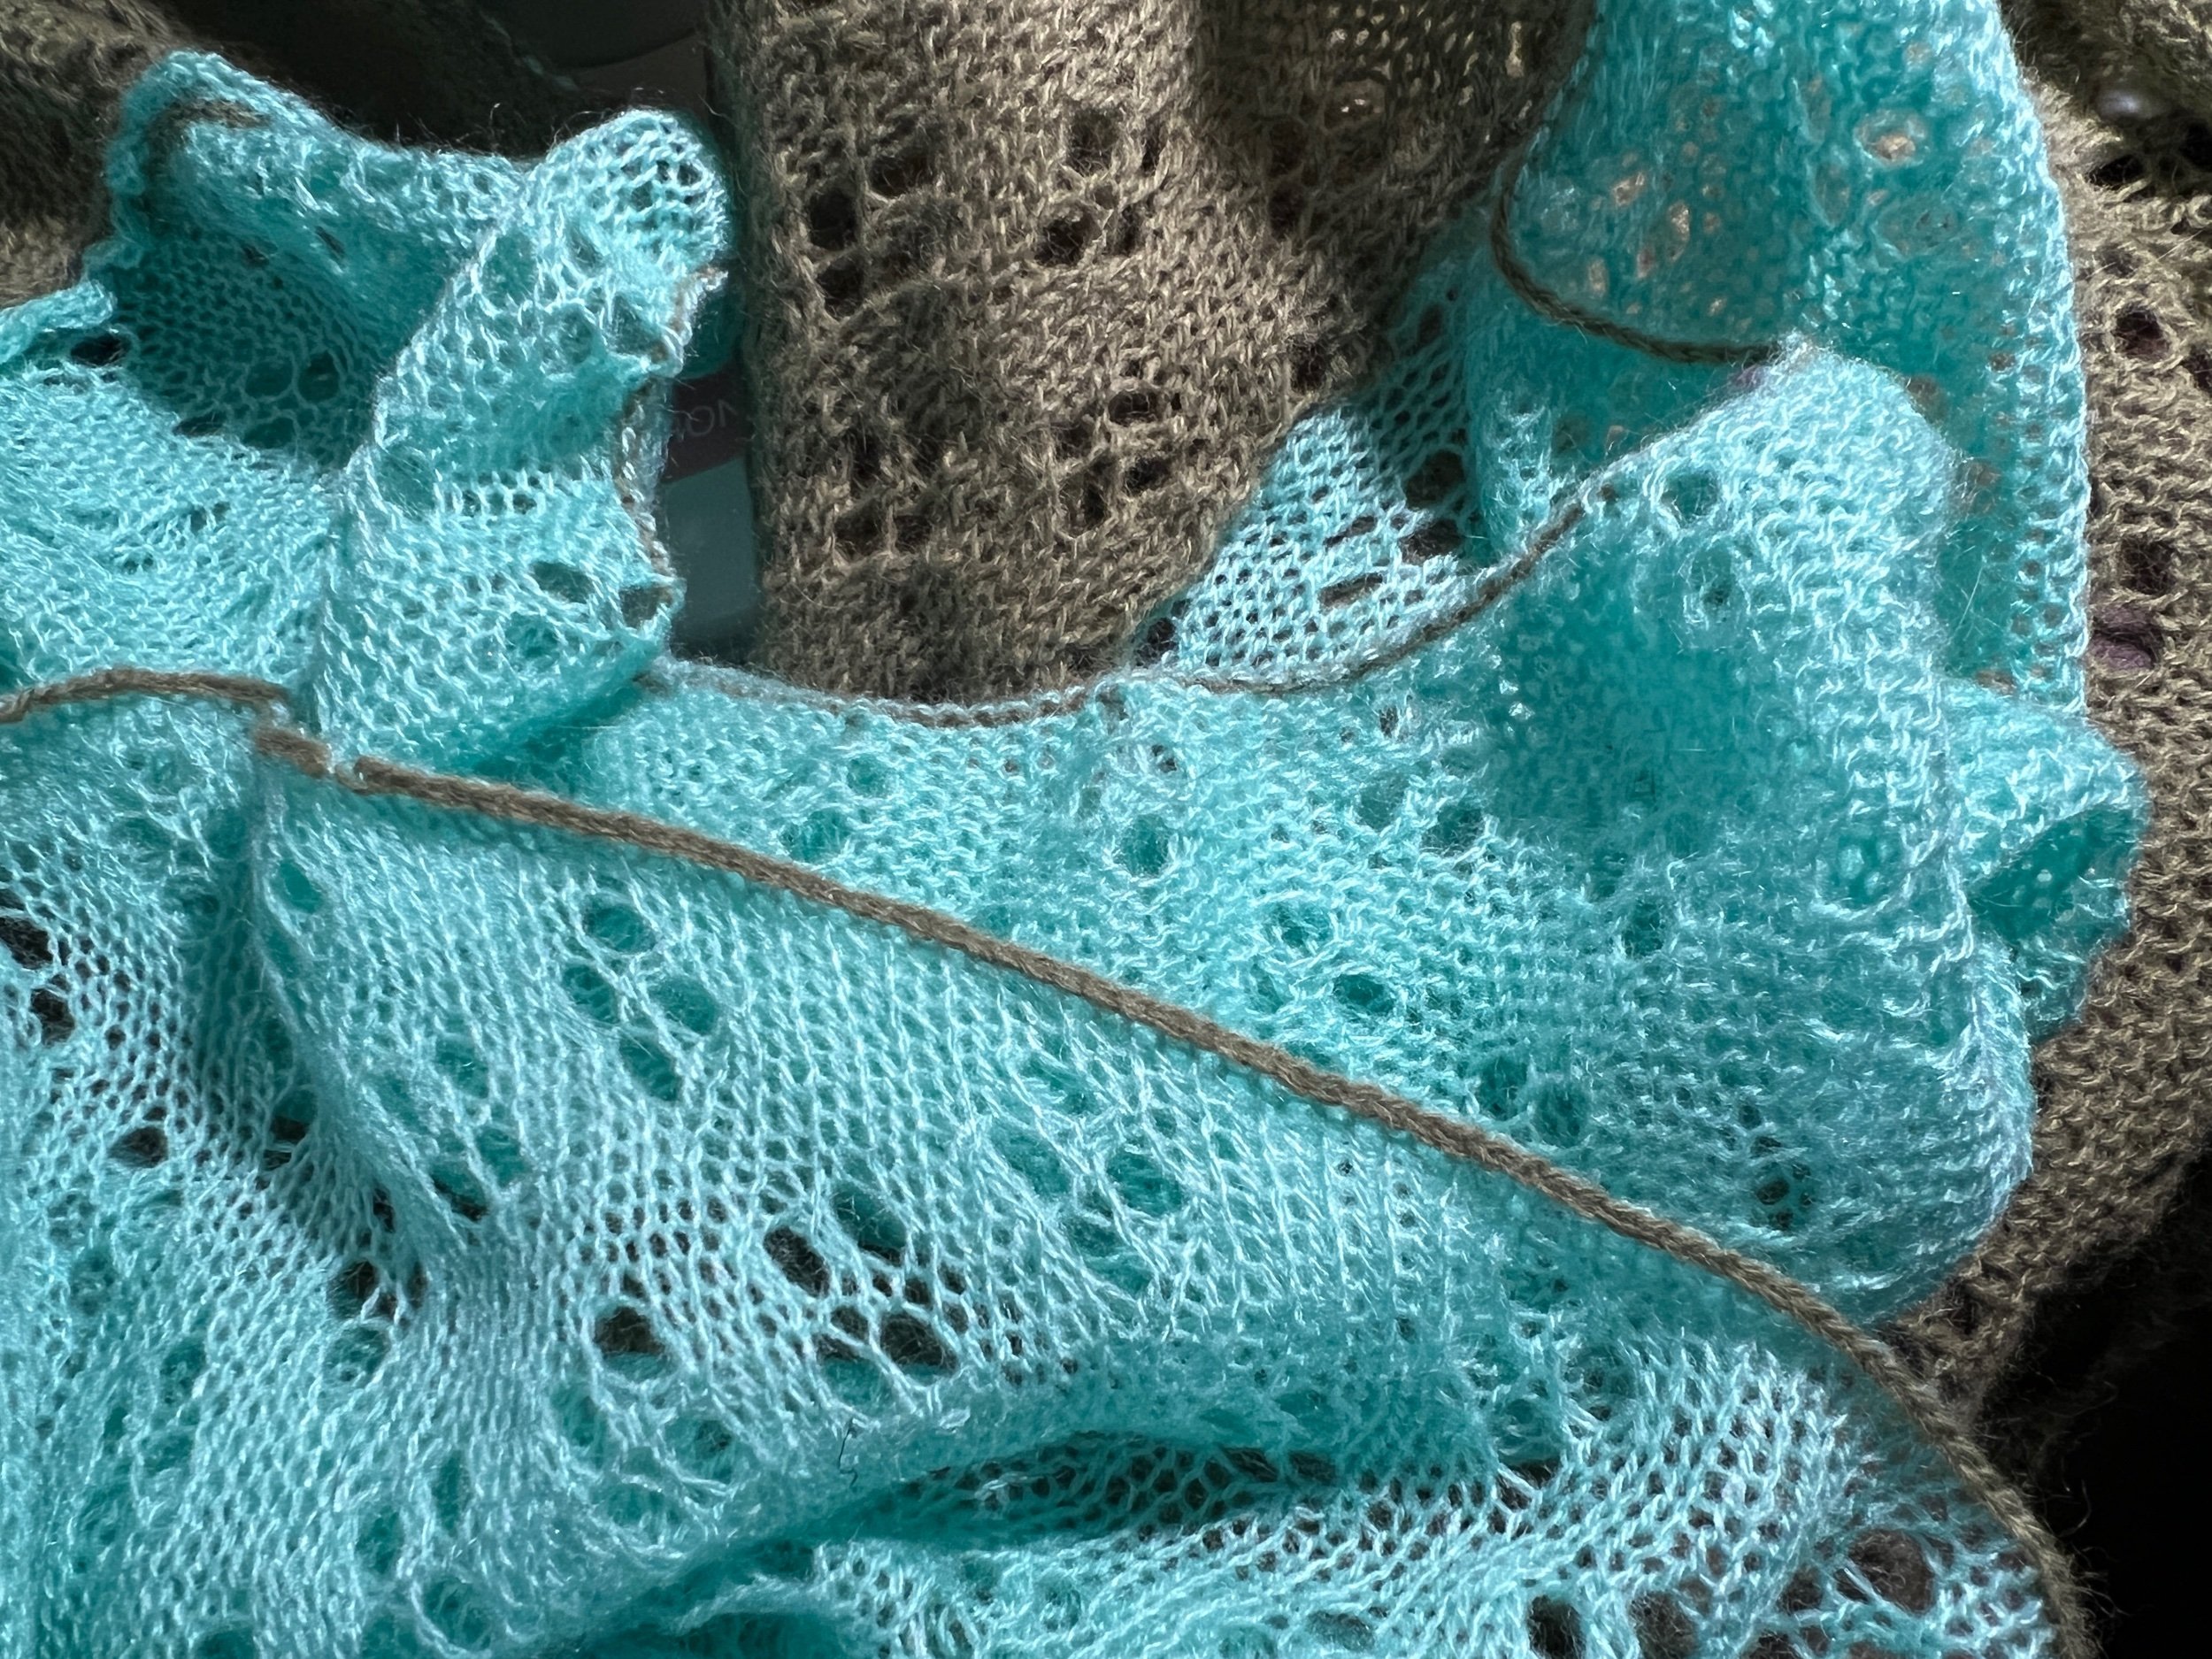
Awesome! I’ve done a final assembling of the blanket - four panels - olive green - mint green - olive green - mint green. Using the linker the panels were assembled on the Purl side. I then ran the linker on the top and bottom edges to create a chain stitch - ensuring to place one project stitch on every second Linker point to produce a fabric that wouldn’t bunch or be too tight.

I made a short demo video to help others do the same. Instagram post.

After that I removed the scrap yarns. Now I’m working single crochet all around the blanket edges.


OLDER VERSIONS OF THE SAME BLANKET:
Below is the second try which involved joining as you go - one and two panel attempts. Without having thought to mark any of the panels it was too easy to make mistakes which resulted in joining errors and segments too short. (A great received tip after the fact: Next time use markers regularly). All was undone except the two olive green lace panels. Restart.


Instagram post: one | two | three | four | five | Six | seven | eight | nine | ten |


See all Blog Entries on the BLOG INDEX page

2023 Jan 8 - Tuck Bedspread with Card 7

Using all needles I OPEN cast on with the Ravel Cord then hung the comb/weights.

I worked 10 rows of scrap and then with the carriage on the left I switched to my project yarn.

I worked 6 rows and with the carriage on the left, then put the side russell levers up and set the punch card left lever to read the card on the left to right next row. (Left lever down). Work the left to right row.

Now with the carriage on the right I set the carriage to TUCK and moved the punch card left lever UP. I moved the punch card to L (which makes the pattern LONGER). Reset row counter.***** I made a mistake and worked two knitting more rows then switched to TUCK.

I am aiming for a minimum 88” long blanket (edge of bed to top of pillow). The pillow area is 20” long.

THE LEFT PANEL IS DONE (but the segment partway under the pillow isn’t yet knitted - it will be done separately) The left panel used 500 grams of acrylic. The total row count of all (7 start basic knitting then to pattern then 7 rows of basic knitting) is 1946 (shows as 946 as it only shows three digits). The left panel is approximately 100” long with maybe a three inch length over the end of the mattress.

NOW FOR THE RIGHT PANEL - I only have 145grams of yarn. So thinking on the fly.

EDIT: Jan 26/23 after finishing three long panels and linking (joining them on a linker) I decided to start over Instagram post I will create a new blog entry.

Learning moments:

-ensure pattern is not worked to the edges (makes joining panels not fun)

-plan blanket Color’s for a nicer look

-joining as you go is slow but a wonderful way for both knit and Purl sides to look presentable as a blanket. (Learned after the fact).


See all Blog Entries on the BLOG INDEX page

2023 Jan 8 - Kitty Fair-Isle Twisted Scarf

This is my first fairisle major project done on my Singer 700. I used all of the 200 needles and created a modified version of a kitty punch card I had seen online. Created using just under 600 grams of acrylic/nylon, this project is a Christmas 2022 gift for D.

This project came off the flat bed knitting machine as a long rectangle. I decided to swap some of the color blocks after knitting them - which I don’t recommend as I then had to manage the live stitches on each segment. I then Purl side kitchenered each length until the project was a long rectangle, then twisted one end one full 360 degree turn and kitchenered the ends to create a long circle. Having not worked fairisle before the beehive of yarn bars and floats on the Purl size was unnerving, with some dropped stitches and some inconsistencies in the knit side fabric. I then spent way too many hours running the latch hook up the Purl side, chain stitching a total of five vertical bars to help secure long yarn floats. To finish the project I mattress stitched the edges together then covered the project with a heat proof ironing mesh and steam/ironed the acrylic/nylon fabric (protected from direct heat) - which brought out the gorgeous final view. This project was started maybe a couple days before Christmas 2022 but not fully worked on due to too many things going on at that time

This finished project is 8.5” wide and approx 56” long and is basically a tube that was twisted and joined.

Here are some of the many ways to wear this scarf. Note some ways are very vest-like.


INSTAGRAM POSTS: one | two | three |


See all Blog Entries on the BLOG INDEX page

2022 Dec 19 - Cast On Rag Upgrade first attempt

I am learning pretty quickly that without the right tools, certain tasks are difficult or impossible.

Tonight I realized my brother cast on comb and its components are either too long or two short to attempt a cast on with them using all the needles - of course this was AFTER I had e-wrapped each and every D position extended needle etc. Argh.

I had been dreaming of a weighted cast on comb (not the ribber one) that would go the length of the bed for upcoming large panel projects but SILLY ME - why do I feel I need to BUY that? Why don’t I MAKE IT!!!

Thus this project and blog entry is born.

Using a SK700k I loaded scrap acrylic from a cone into the machine where the tension mast (over head tension setting) was a looser 3 (higher number=tighter tension) and CAM Lever was a bigger stitch 7 (higher numbers=bigger stitches). With the carriage on the right I threaded the machine, secured the yarn tail under the machine on a post and ensured the yarn was in the carriage.

SETTINGS: Side levers down (stockinet) | Russel Levers on 2 | CAM setting on stockinet |

CAST ON: With the carriage on the right still, once it was ready to knit I brought all the needles into the D position (furthest extended position. I neither too slow or fast - moved the carriage to the opposite side. Happiness! I then chose to do the Open Cast on with Ravel Cord where you now lay Ravel cord on the outside gate pegs of the needles in work and bring each end of the Ravel Cord together down and in front of the machine, effectively pulling down on the cord ends to keep scrap yarn down between needle and gate peg. I added my own trick by using clips (hemostats) and joined the Ravel Cord ends and added a weight (handsfree option). I then worked maybe 6 rows and removed the Ravel Cord. If done right none of the scrap will have snagged any of the pegs - if the downward pressure wasn’t enough, the scrap will raise at the wrong time and snag irrevocably on the gate pegs (and a restart would be needed). SUCCESS. Now there’s enough worked knitting to hang weights.

I do own many spiky weight combs so I placed 5 which spanned all the needles.

I will work maybe 10 more rows of scrap, add a row of Ravel Cord and then start my project yarn from the right.

This project edge will have a “turned hem” or a “Hung Hem” as its known in the circular sock machine world on this end of the project and a modified version on the opposite end that will have picot (knit 2 together) with a 6mm split ring in each picot. This will in the future allow me to use a ringed cast on bonnet with every second needle extended to cast on while allowing space to hang weights!


This is a cast on item I designed and continue to use to cast on with ANY circular sock machine using ANY cylinder (regardless to number of needle slots being used).

Today I reinforced the join off the machine of the off machine hung hem LOVING the finished project - can be used to hang weight/cast on for any number I’d stitches for any project - full bed or not.

Dec 21, 2022:

Tonight I used the cast on bonnet to cast on and oops forgot to bring the every second needle in A out of work - to the working position - prior to starting the project row. Thank goodness I fixed that huge error. Loving the bonnet. Perhaps bigger split rings?


See all Blog Entries on the BLOG INDEX page

2022 Nov 24 - Machine Maintenance

This post will be an ongoing updatable area for resources on this topic.


NEEDLE TESTING

Full needle test as posted on a flatbed group (sorry I forgot which group by whom):

The full needle test is as follows and hope this helps as most of the issues with a Garter carriage are the machine needles Remove the sponge bar and bring all the needles forward to the hold position and then pushing down at the latch end so the but of the needles lifts up run you finger across the who bed so every needle lifts up and returns down, any that don’t or look bent remove these are faulty.Then put all the remaining needles back and replace the sponge bar.Now you bring all the needles forward into hold position and look for any that are not straight any needles you see that are not return to out of work position ready to remove them when this testing is finished Then use a piece of paper to run across the machine and open every latch Place your finger on the open latches and run it across the whole needle bed applying slight pressure to force the latch open.Then using the paper close every latch, if a latch wont close or is stiff return in to the non working position ready to be removed.I then push all the remaining good needles back only as far as the sinker posts, so you can then bring the fauly needles to the hold position, you can now put the good needles all the way back to non working position and remove the sponge bar again and now replace the faulty needles.The two most important parts of any machine are the needles and the sponge bar, considering the cost of a needle why would you not replace faulty ones.

See all Blog Entries on the BLOG INDEX page

2022 Nov 20 - How I recreate a Punch Card

I’ve started a monumental journey - a Punch Card library! See my new PUNCH CARD page!

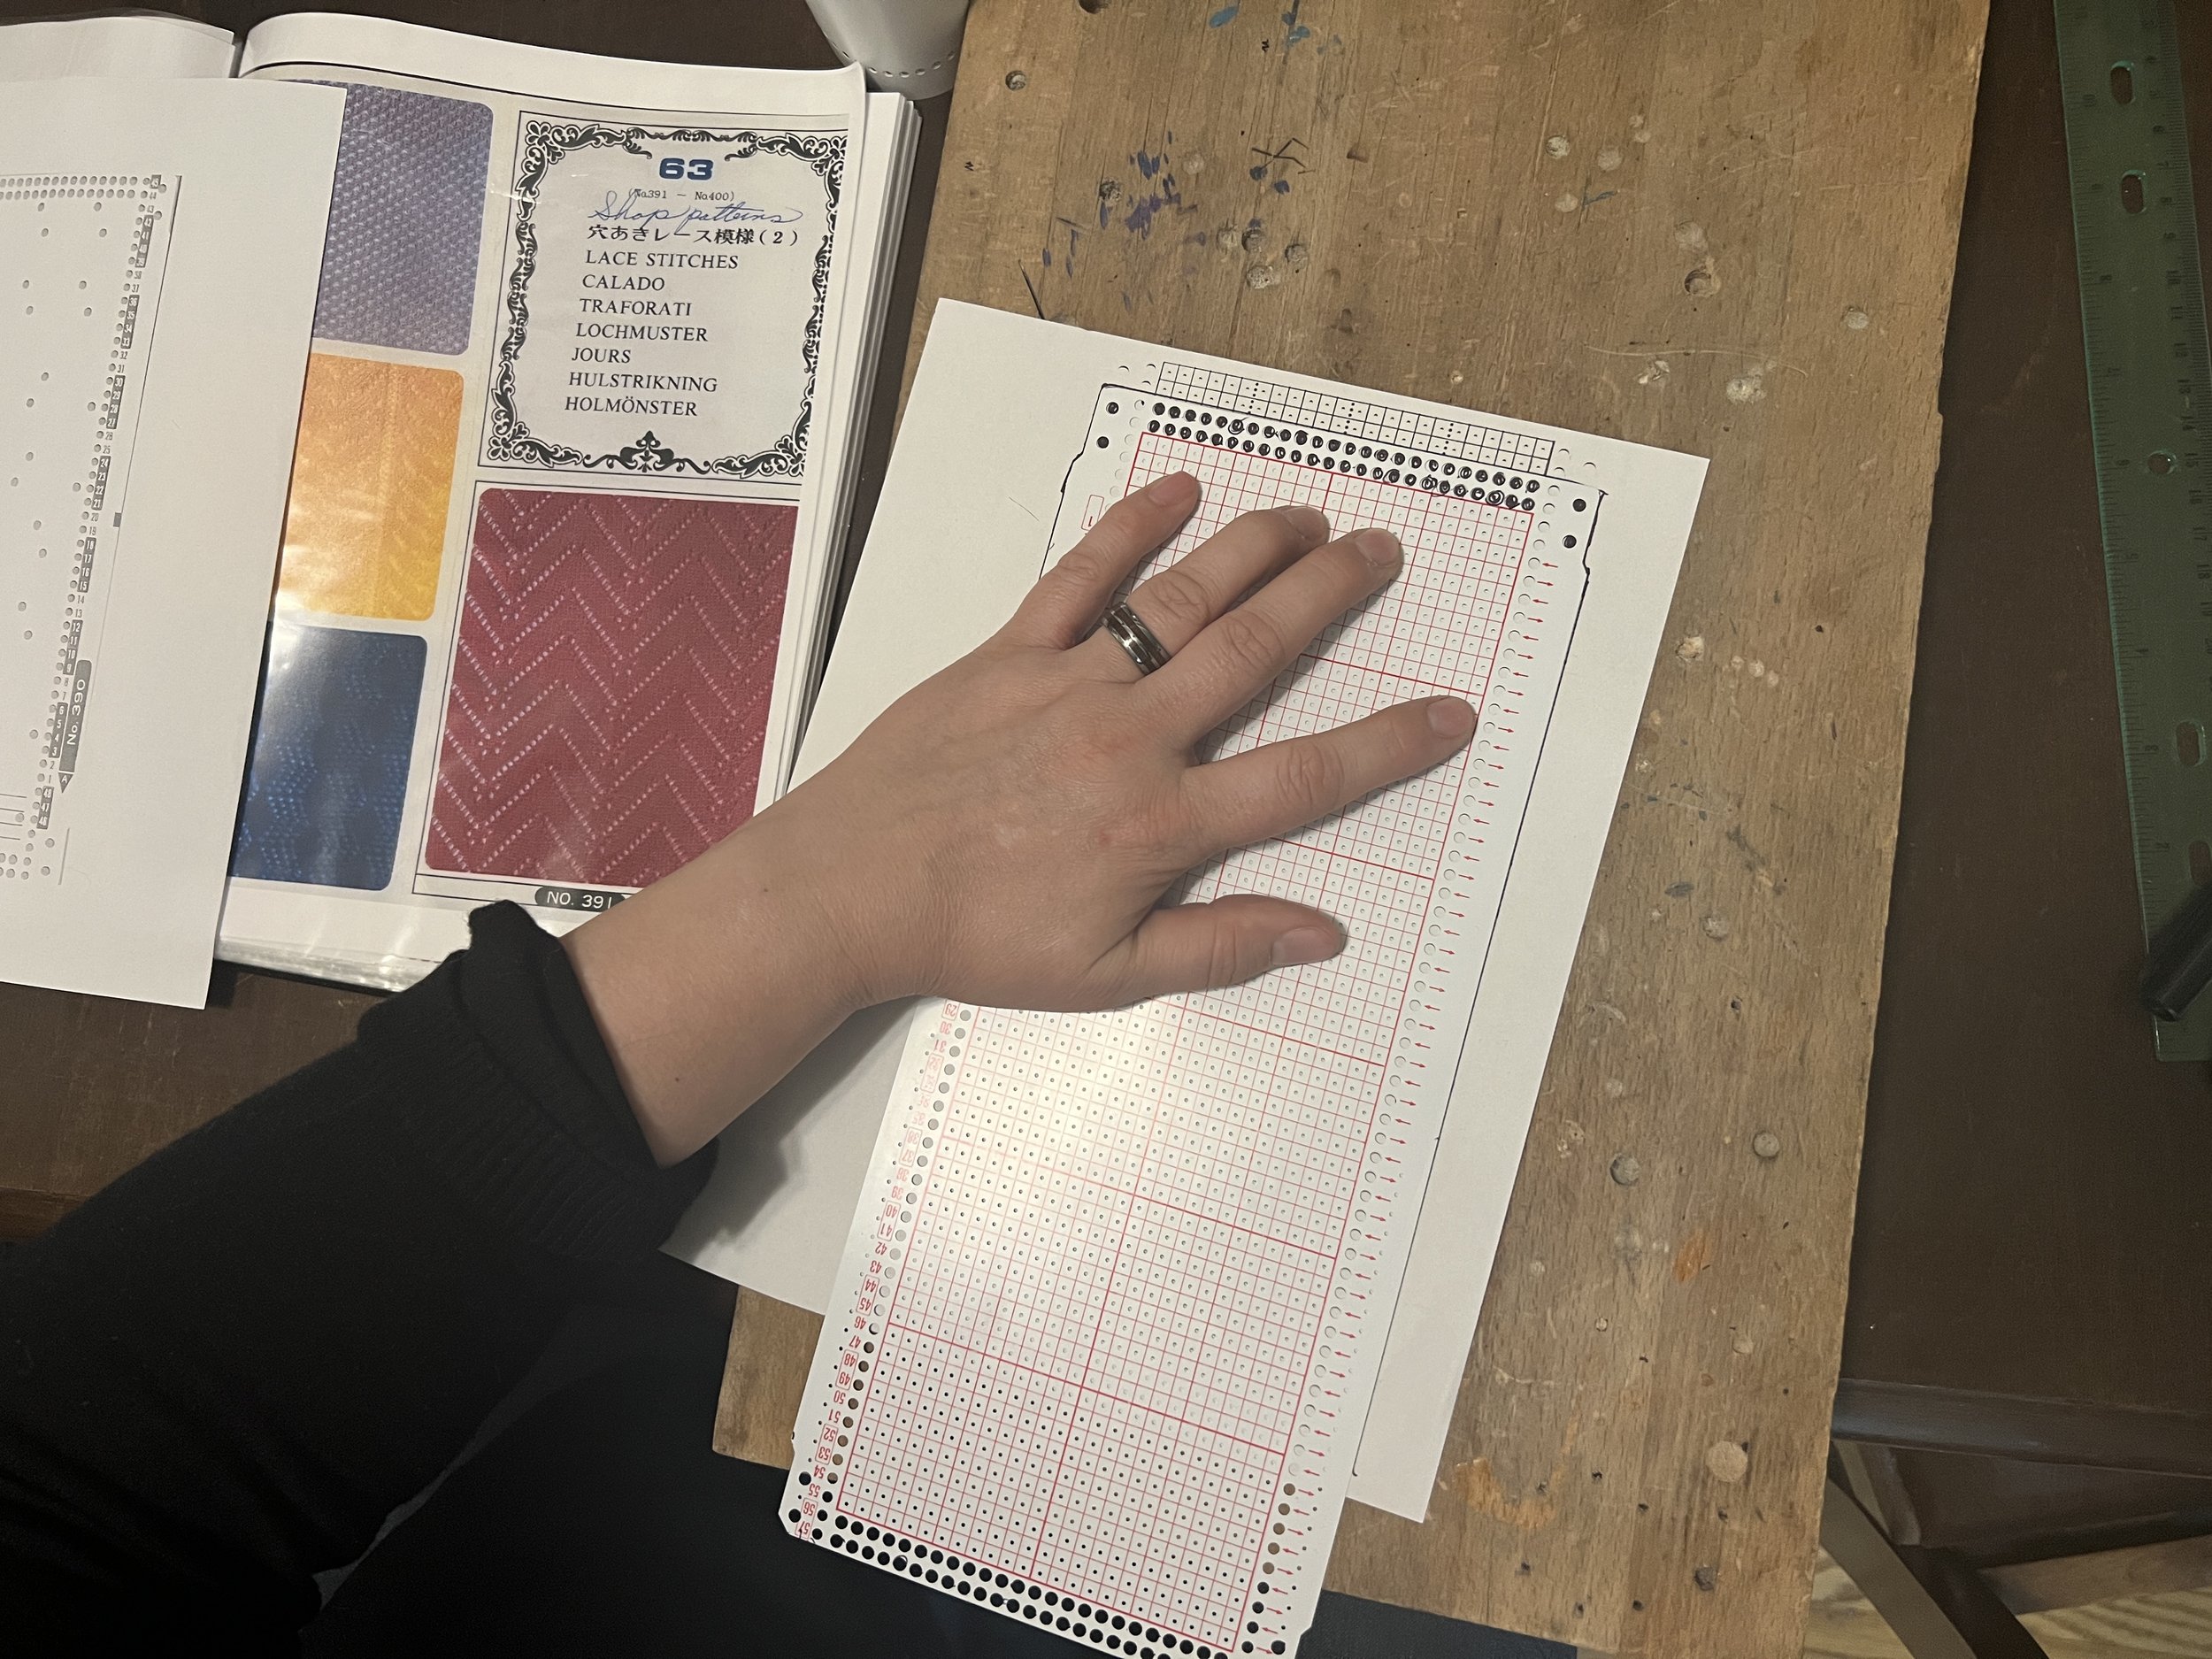
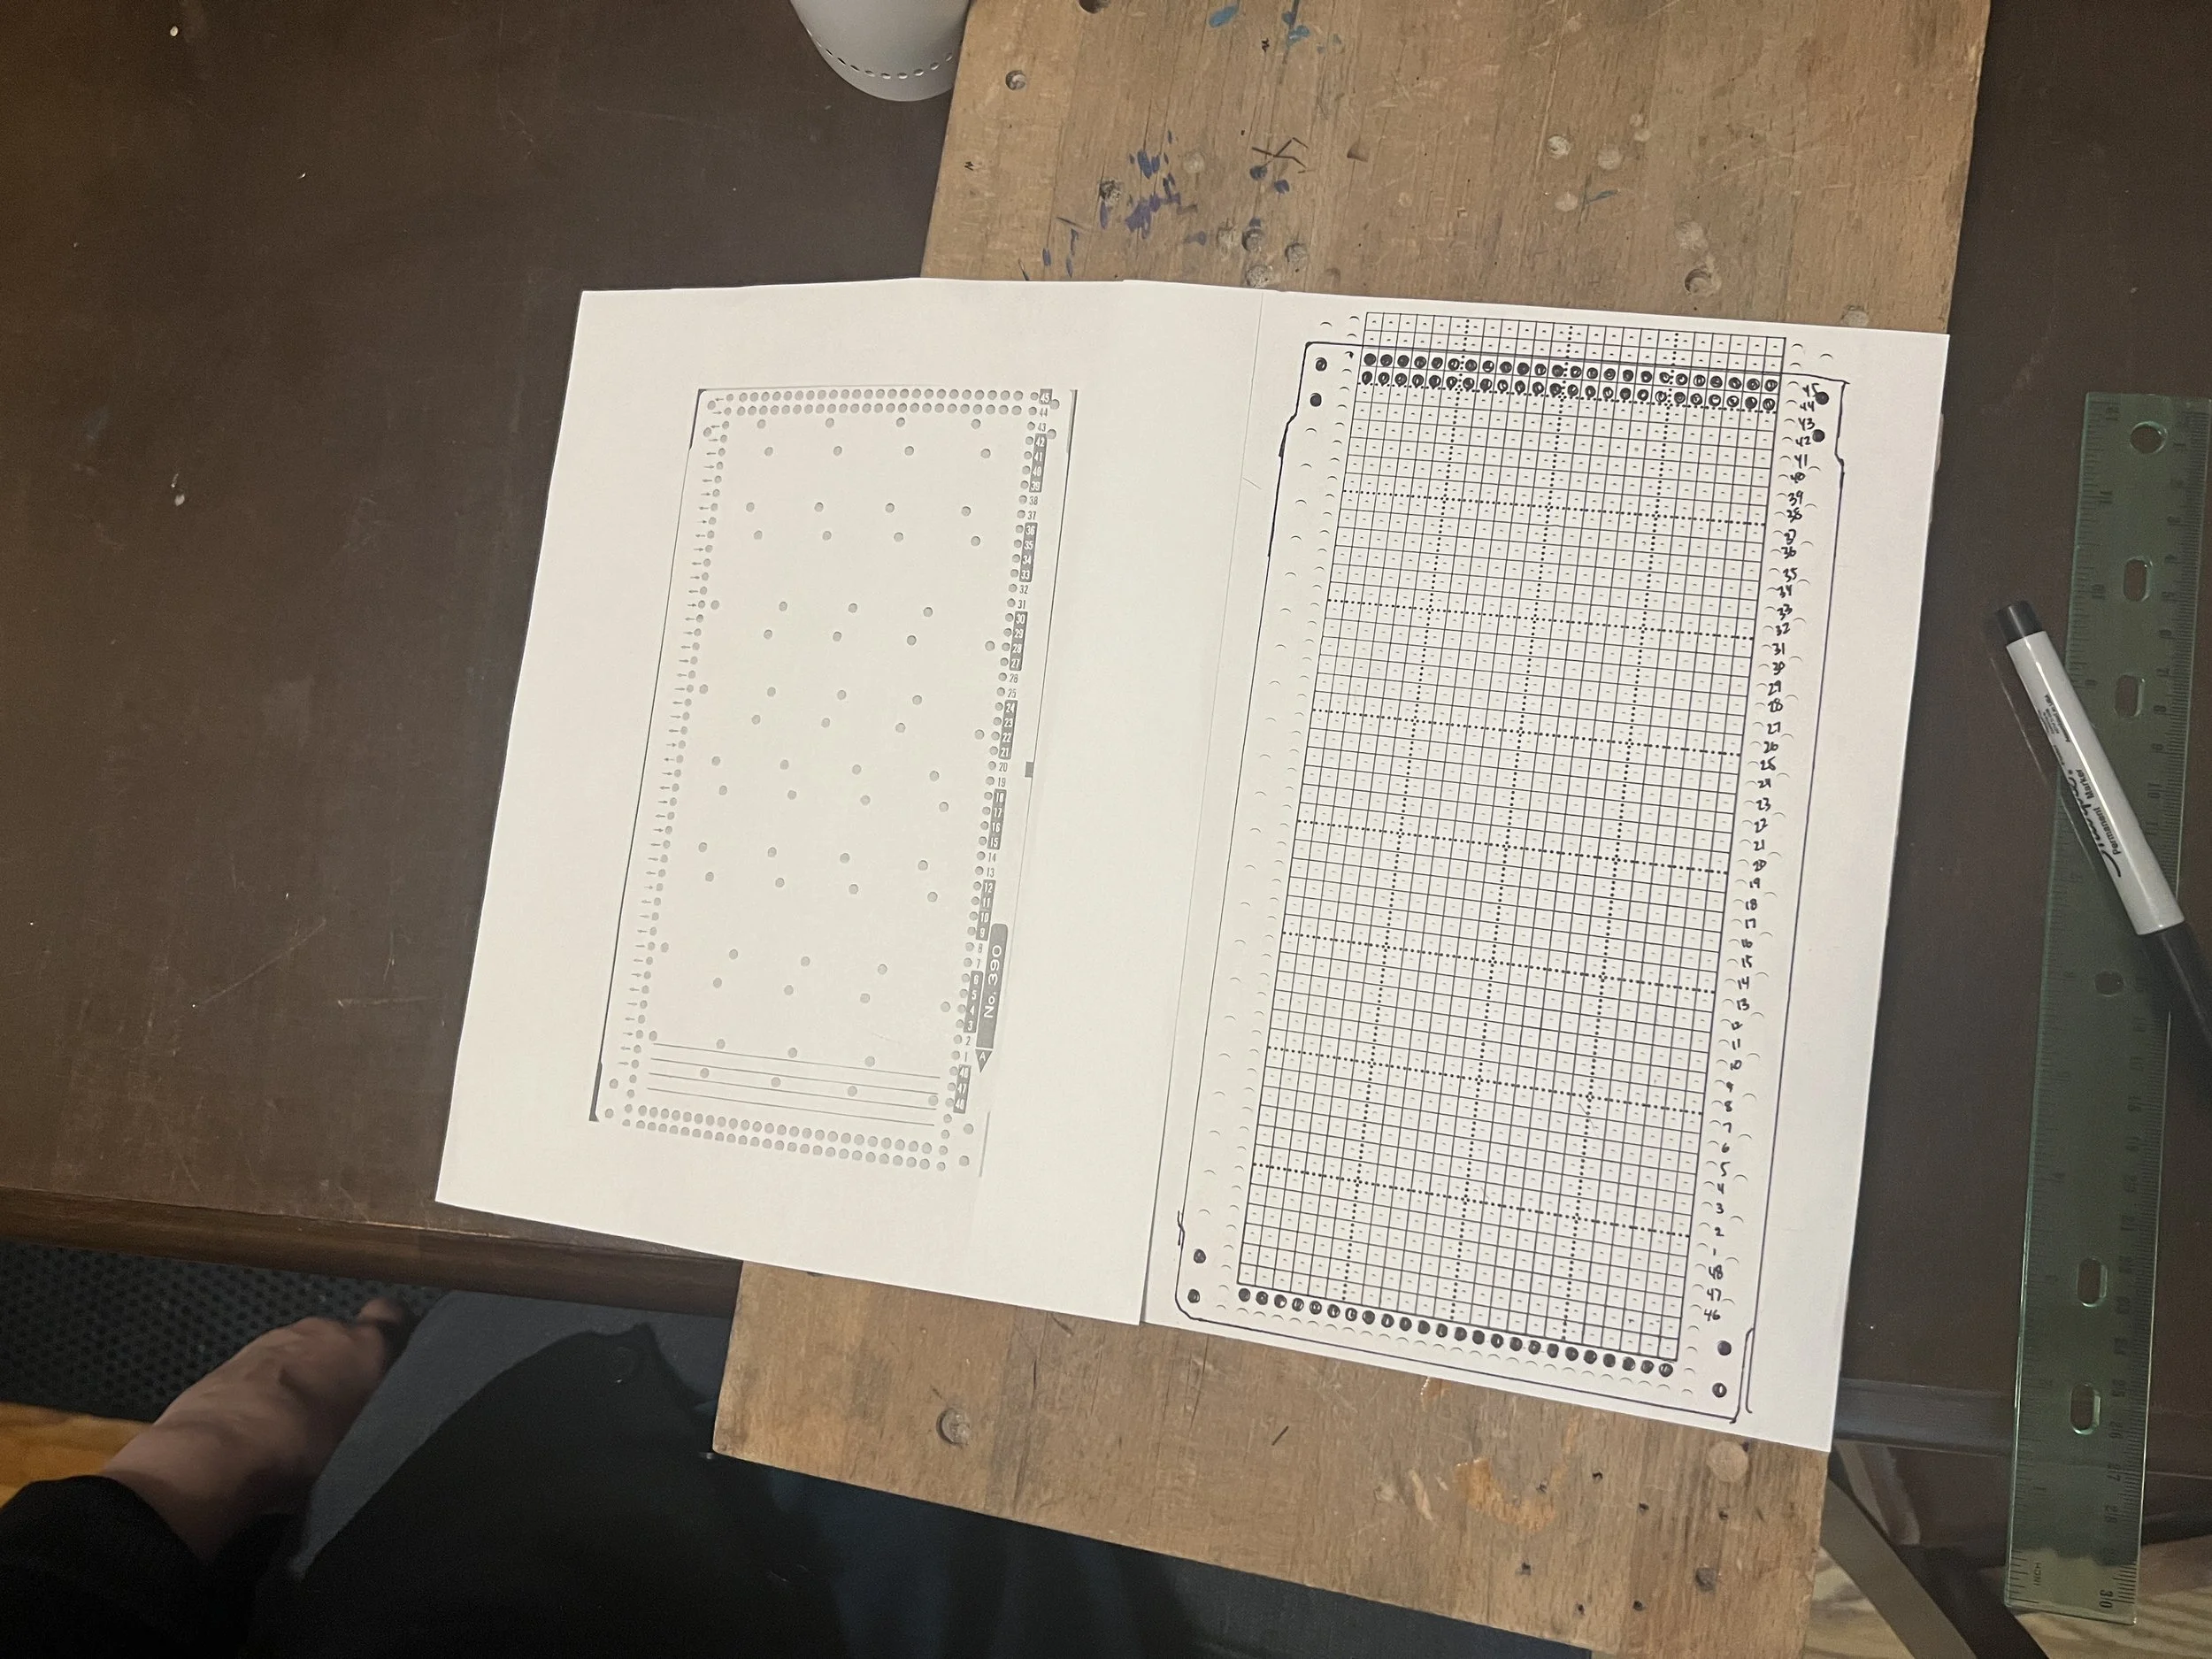
After watching Sally Butcher’s - Silver Reed Machine Knitting: How to use a LC2 Lace Carriage on YouTube where she introduced the “additional sets of Knit Master Cards” - Set 62, 63, 64, 65 - Imagine my happy surprise to see the manual’s themselves online for free (I would just need to punch the patterns in the electronic files themselves). Therefore I set about recreating the cards in these series. I finished Set 62 tonight.

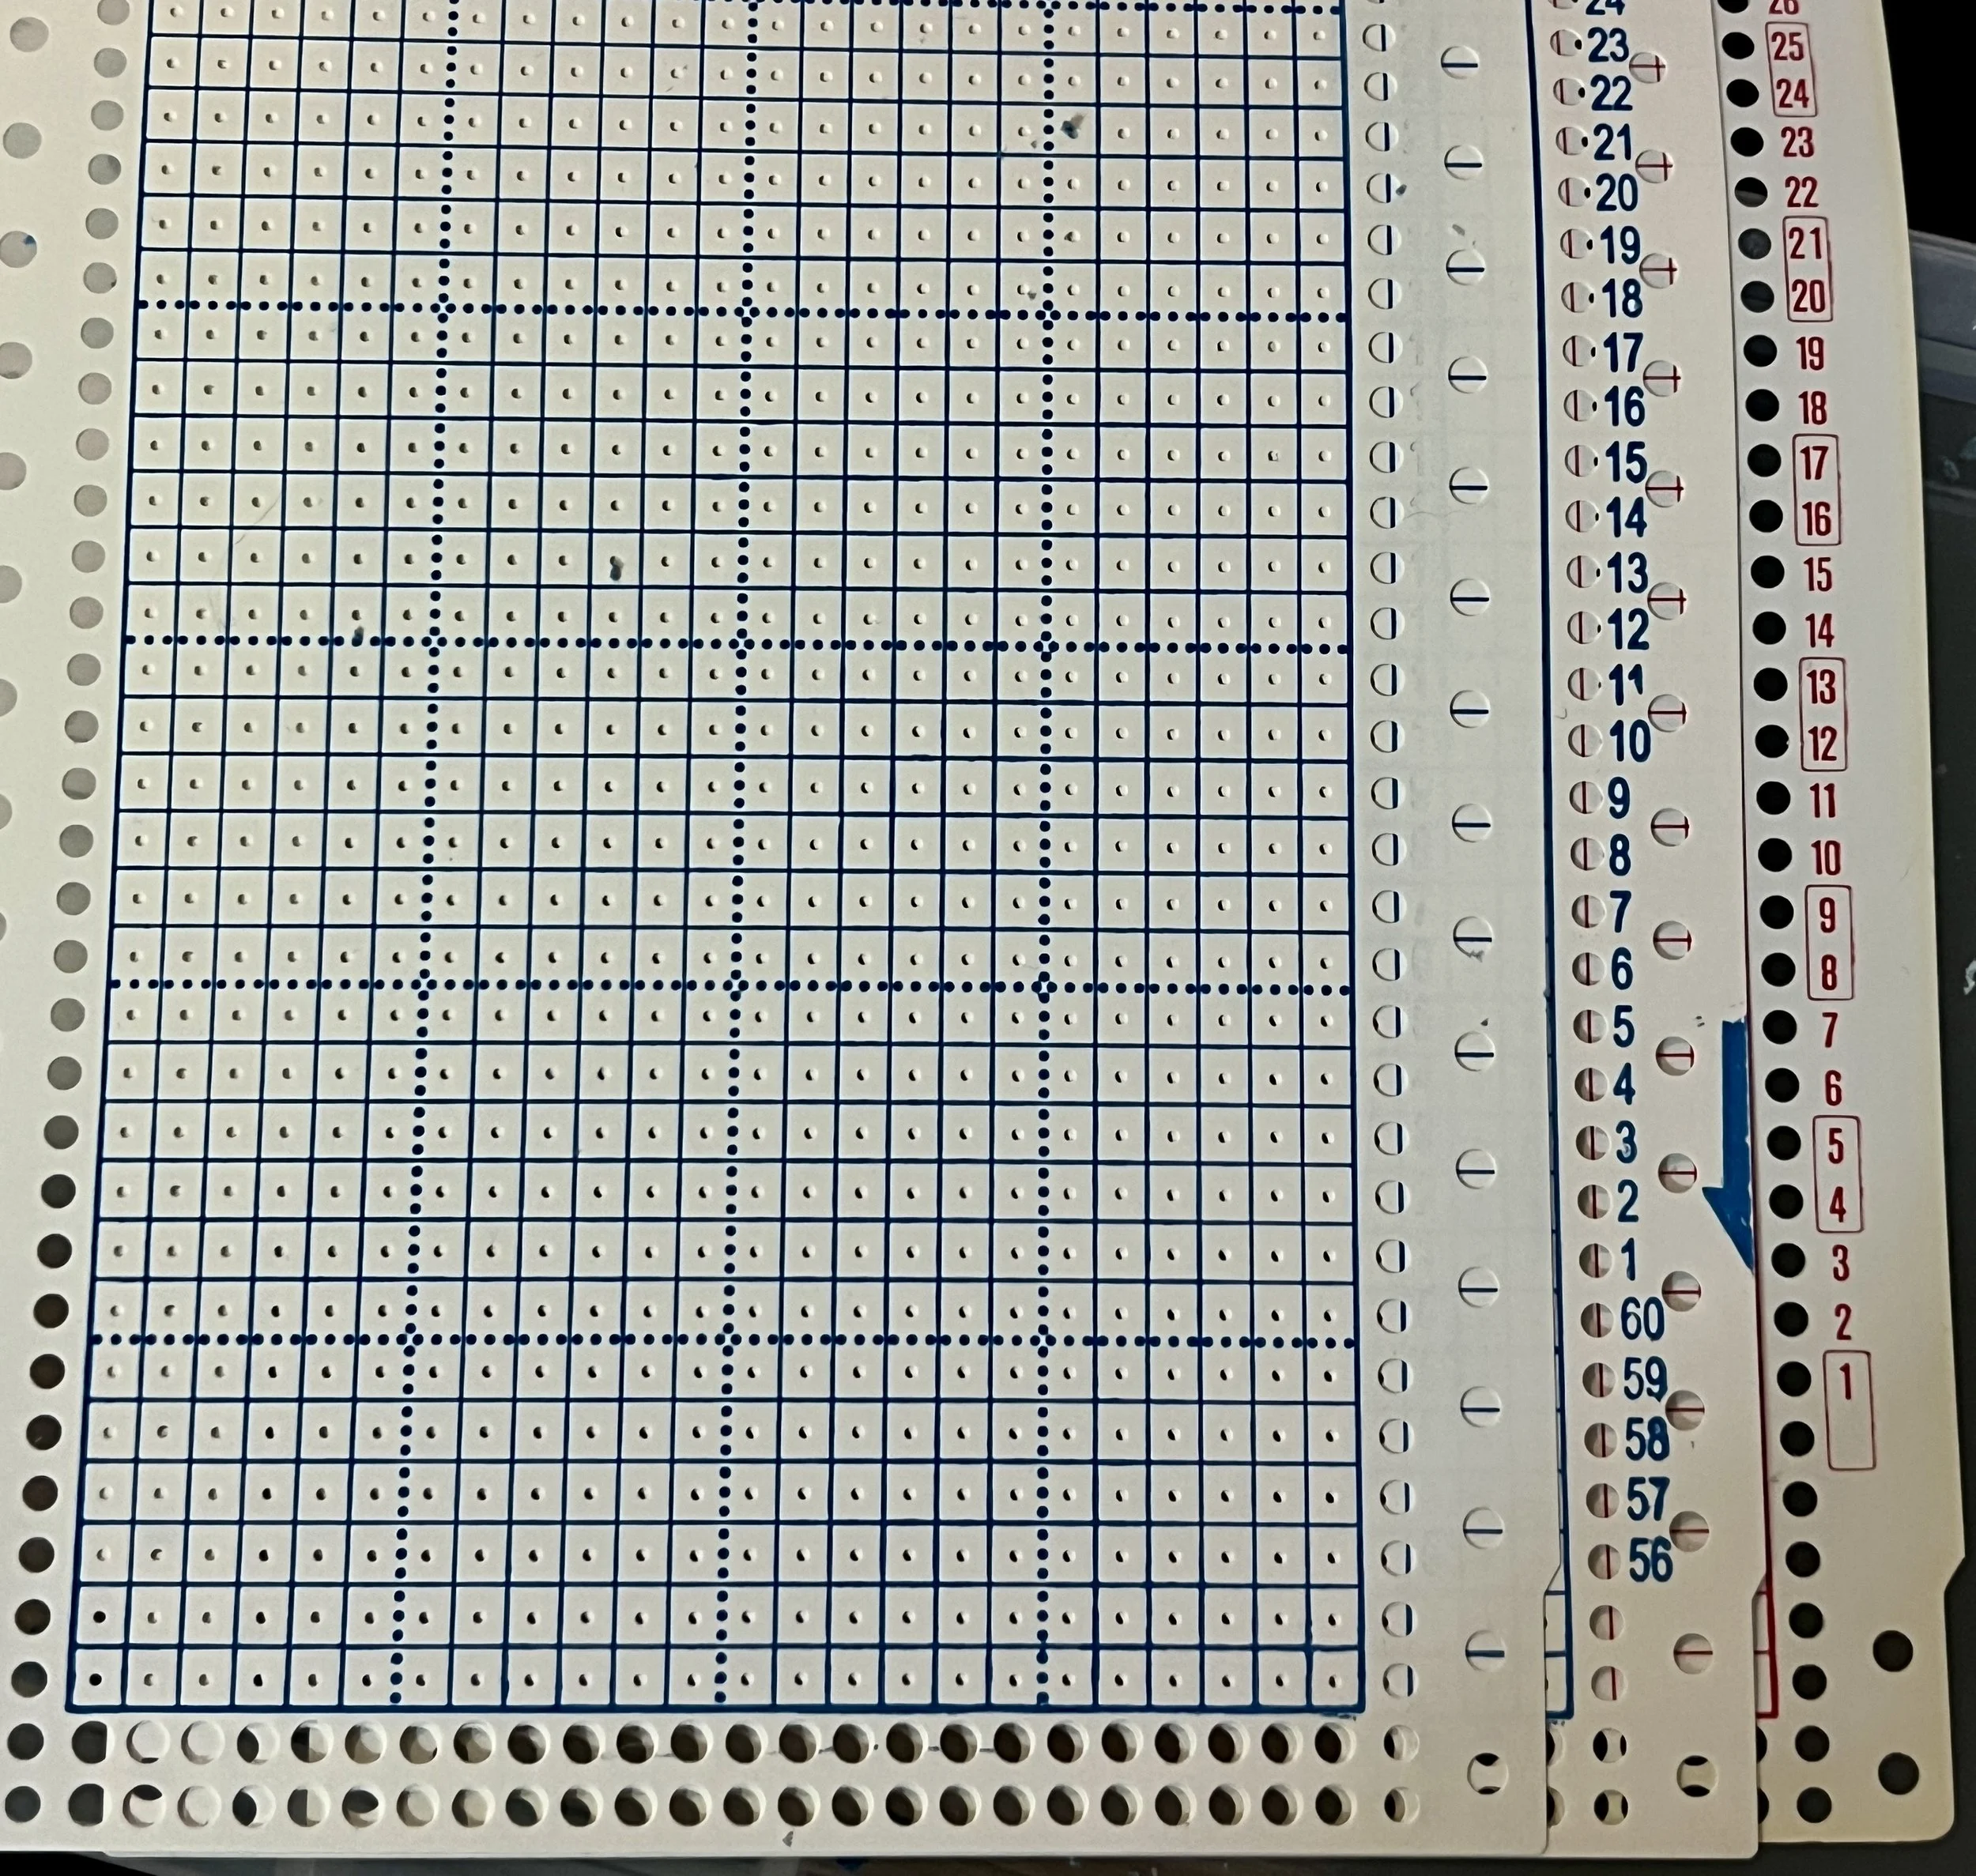
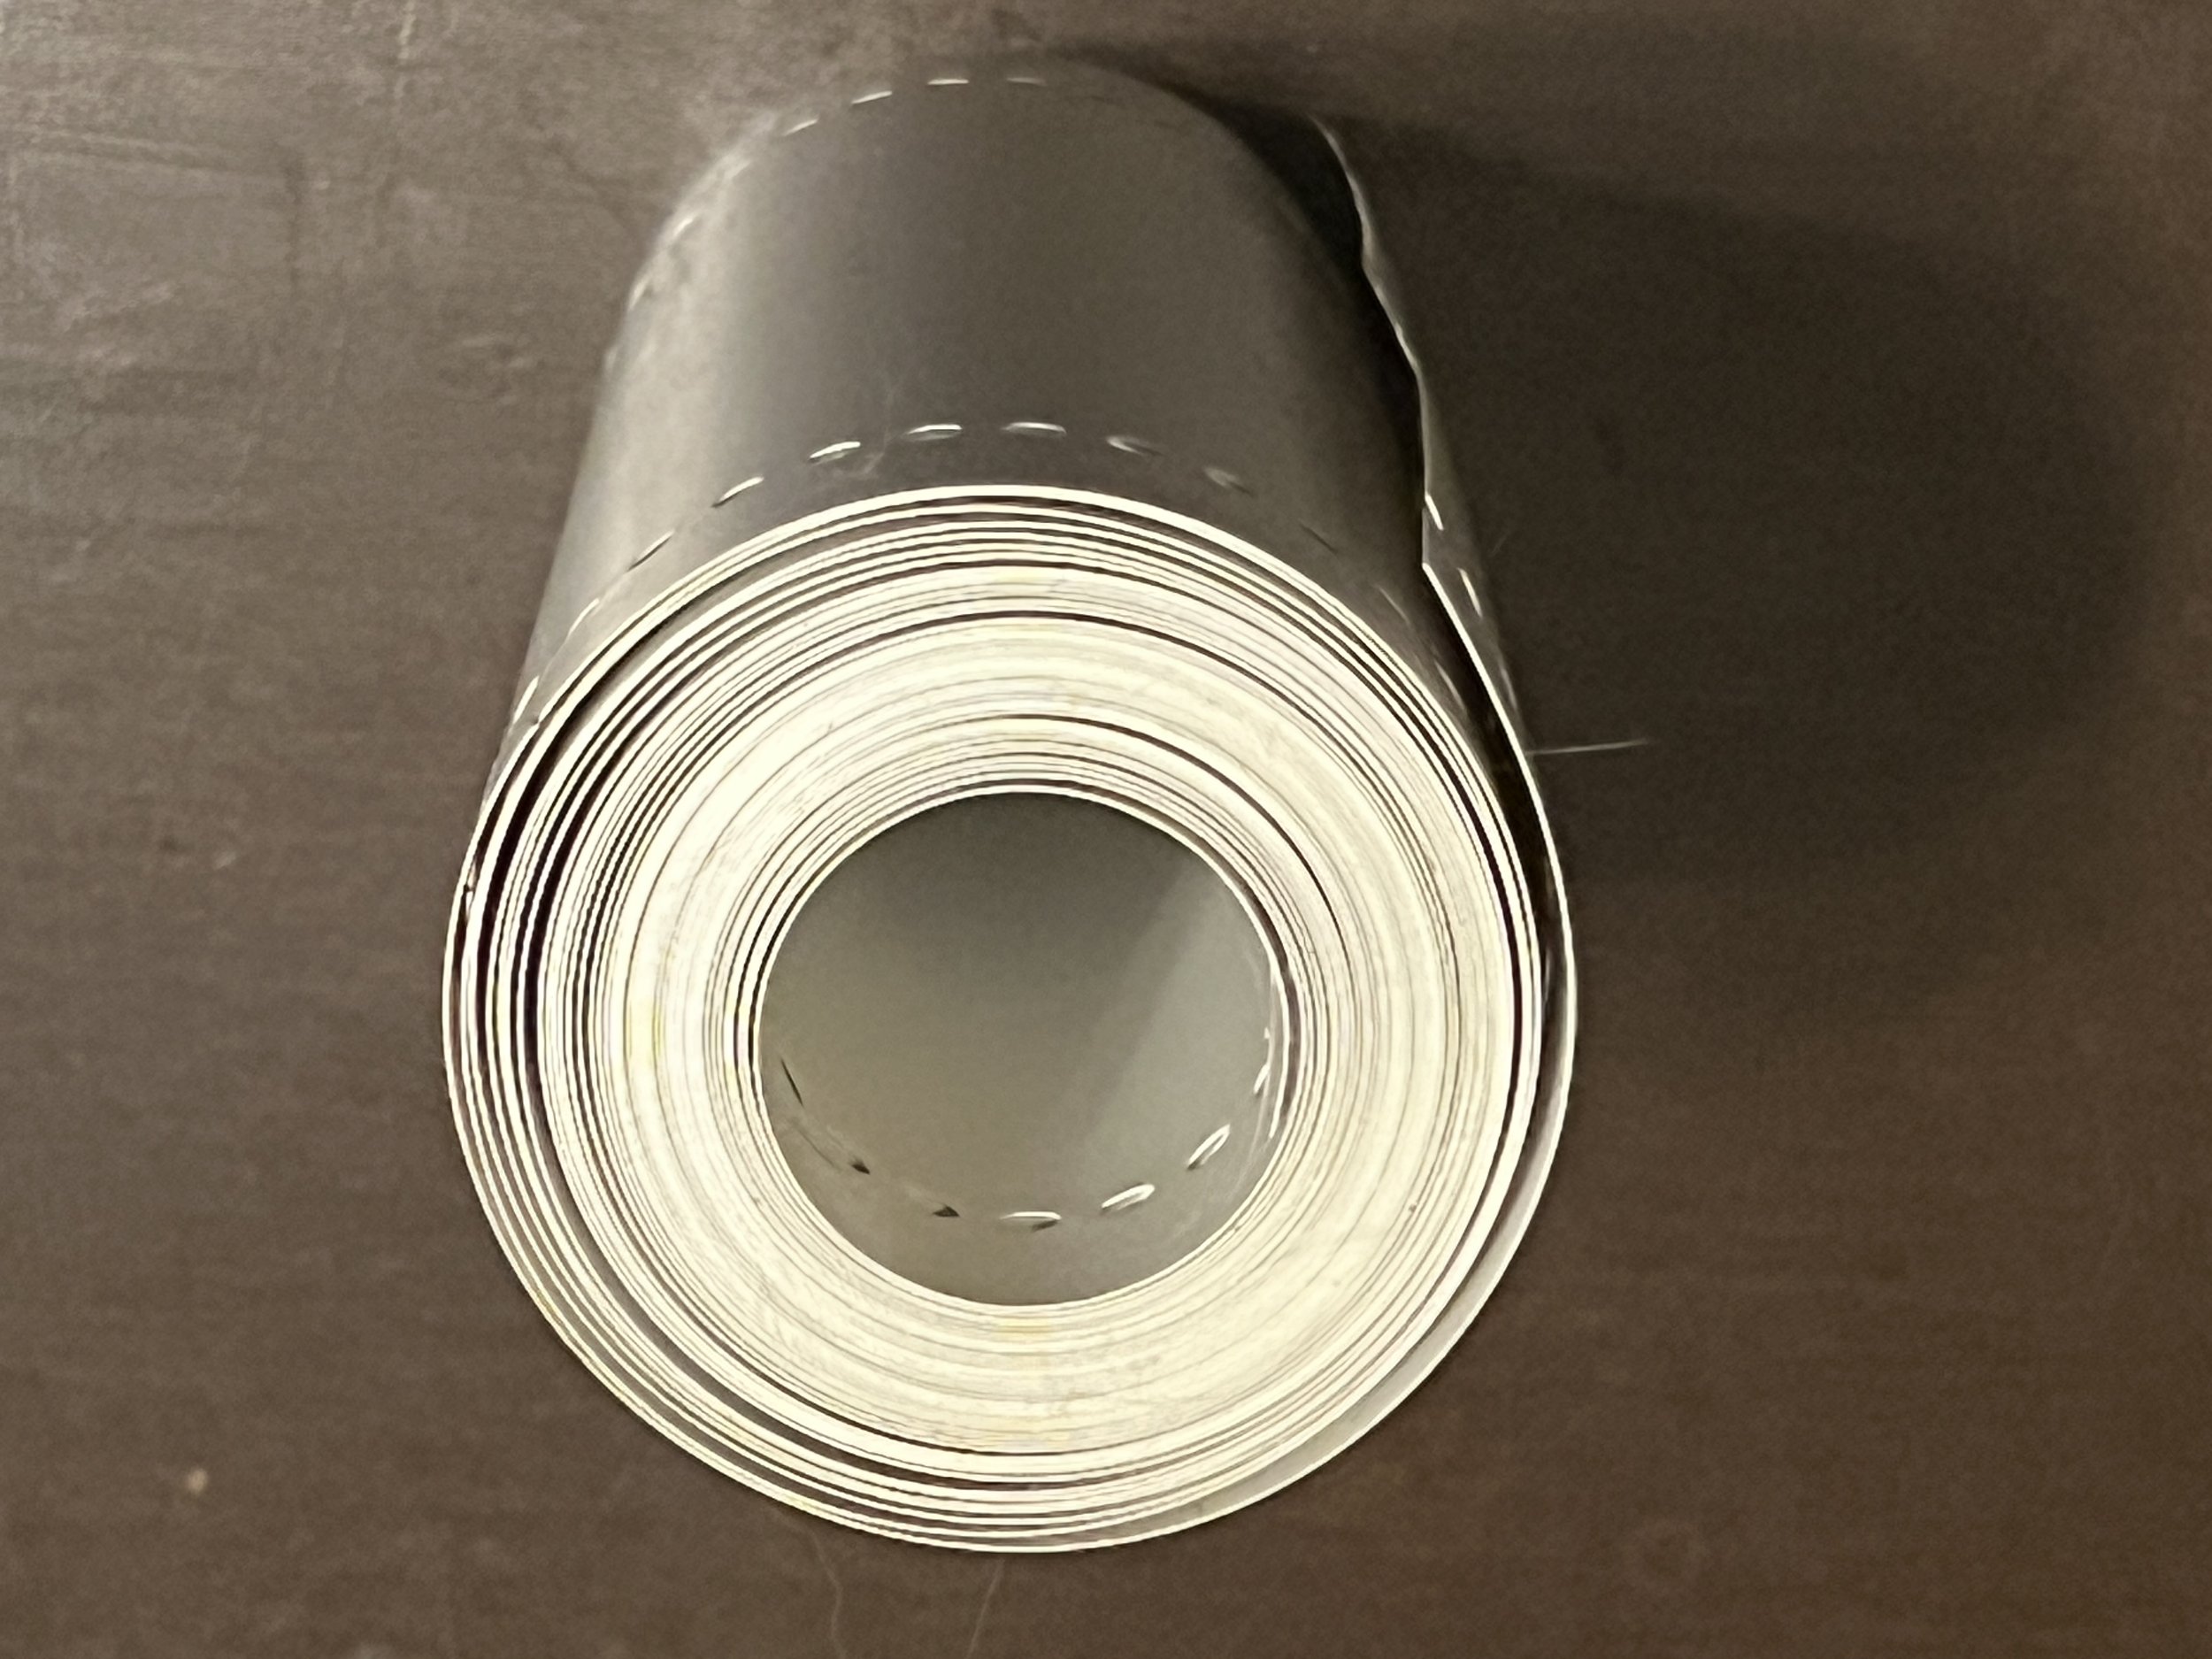
I have non-punched blue (Brother) and red (singer) 57 row cards as well as two blank rolls of unlined punch card material. All of that is a thin but flexible plastic.

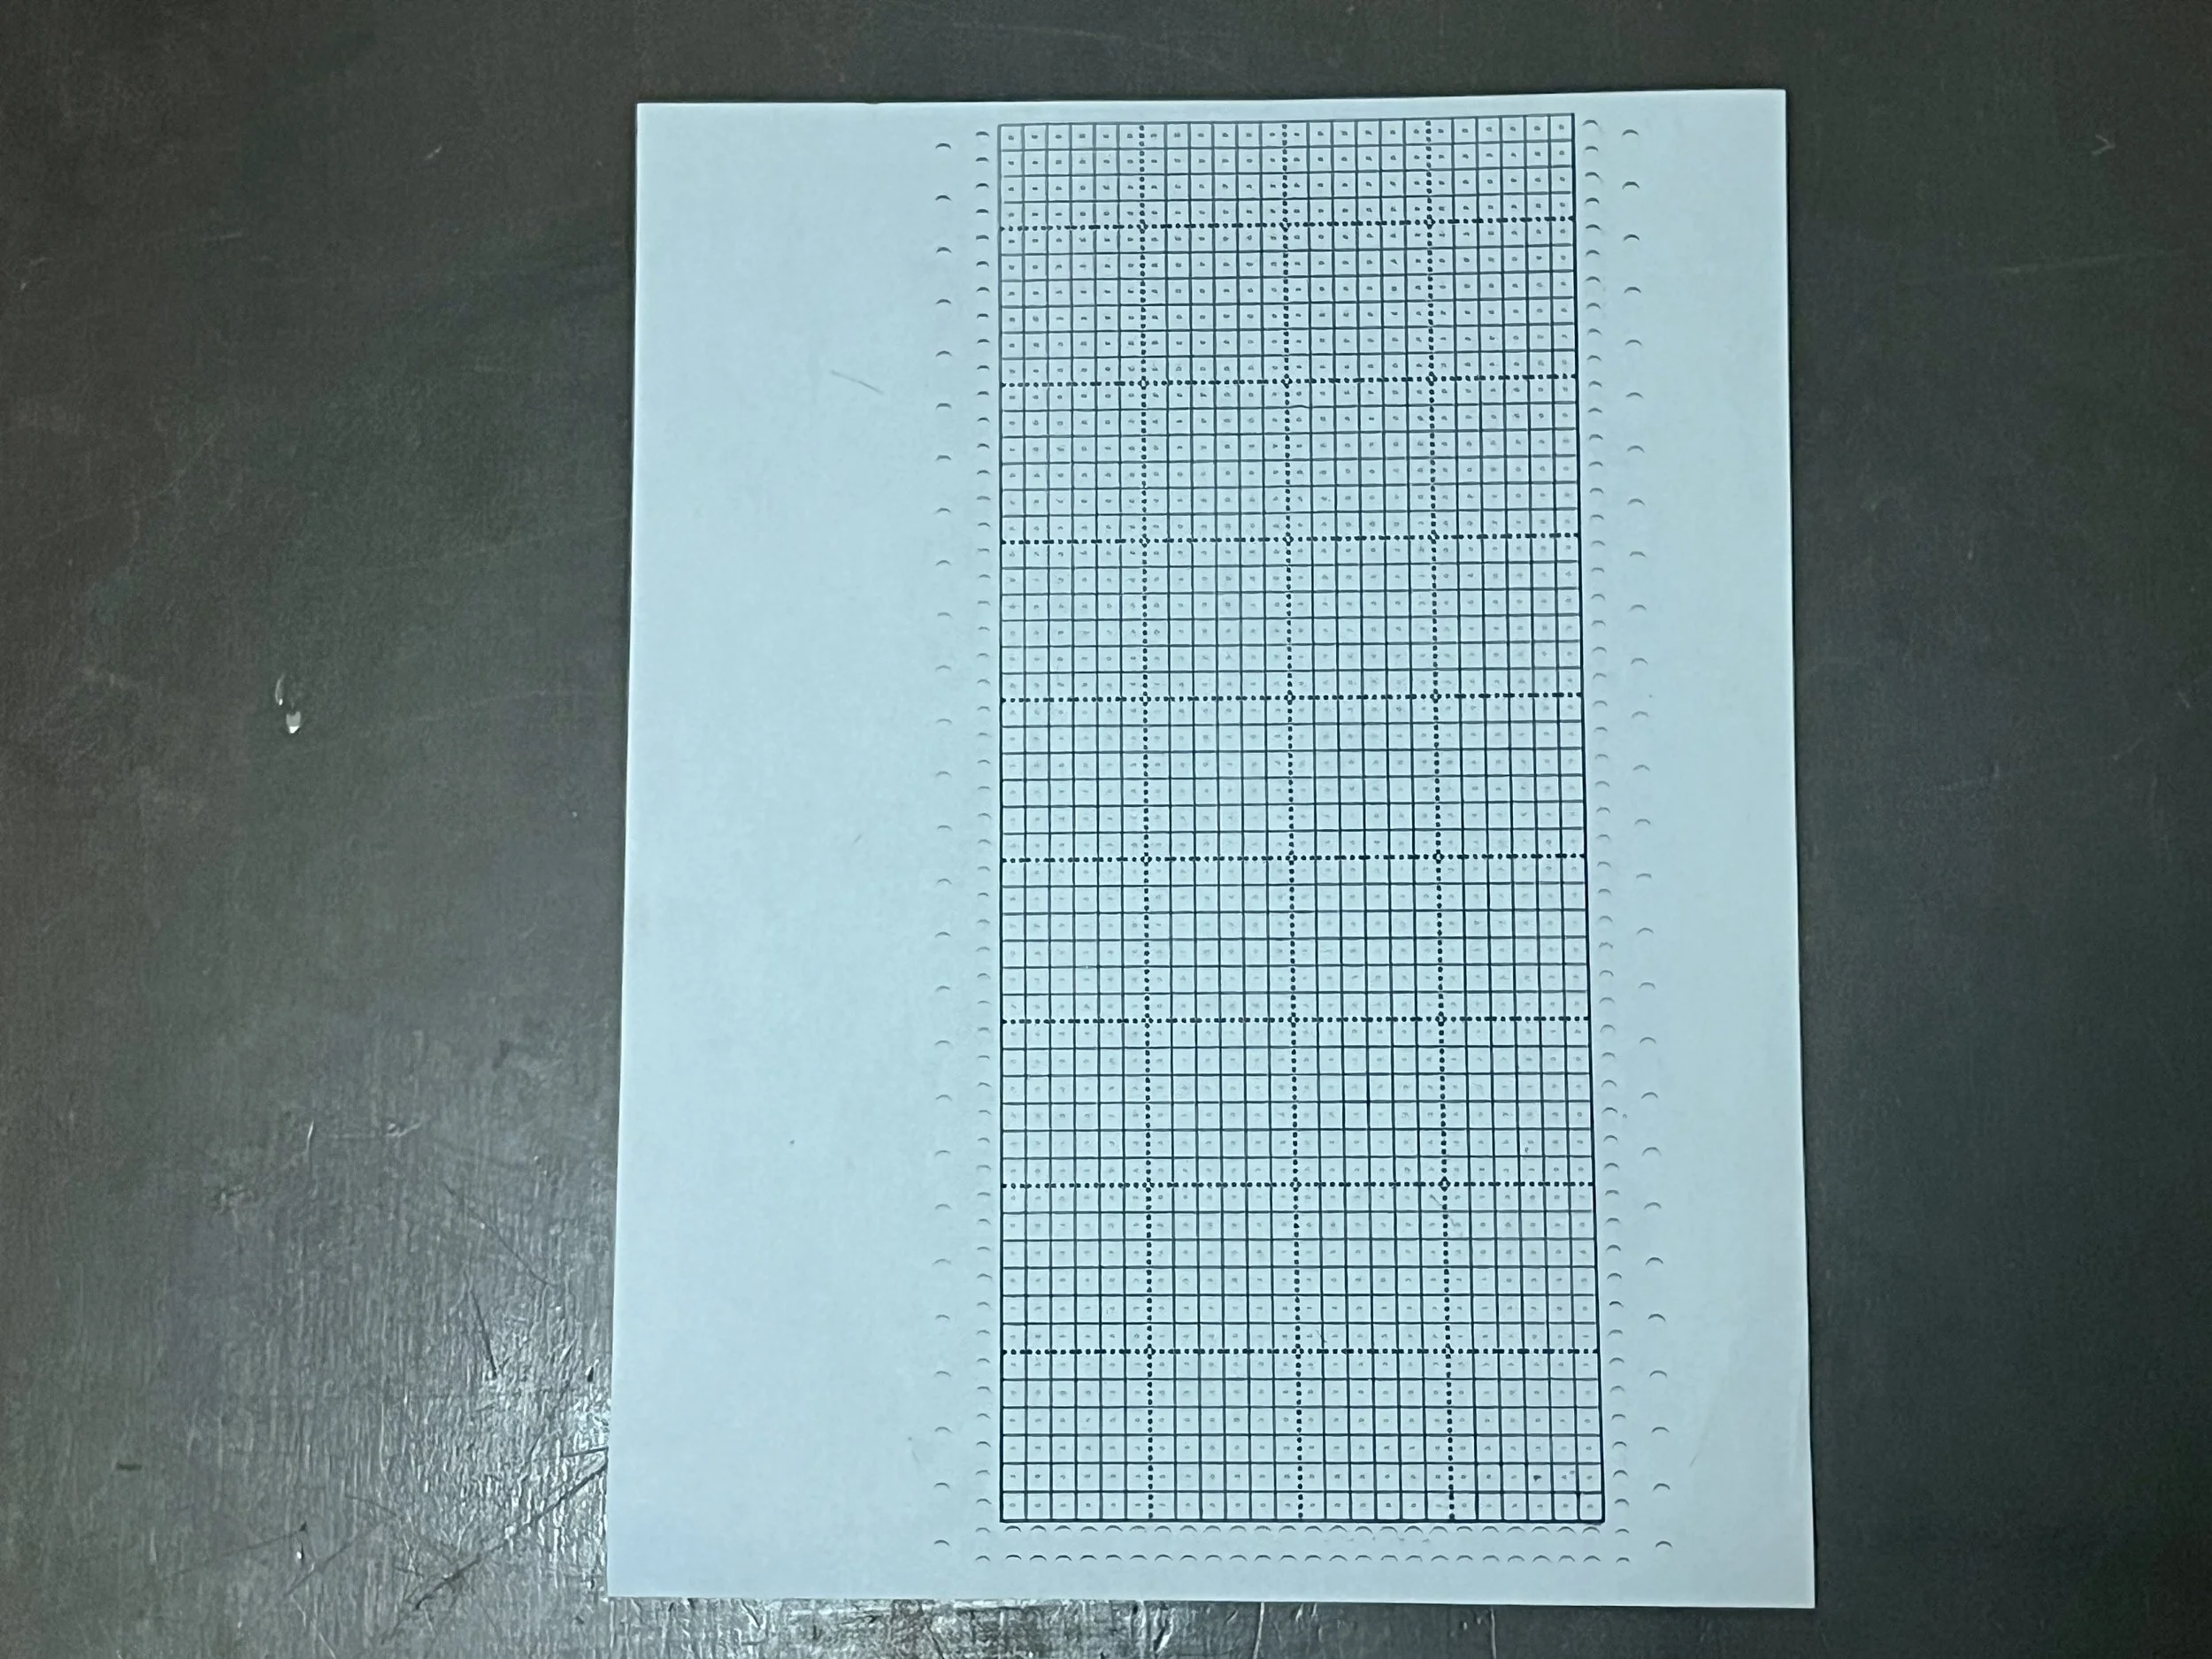
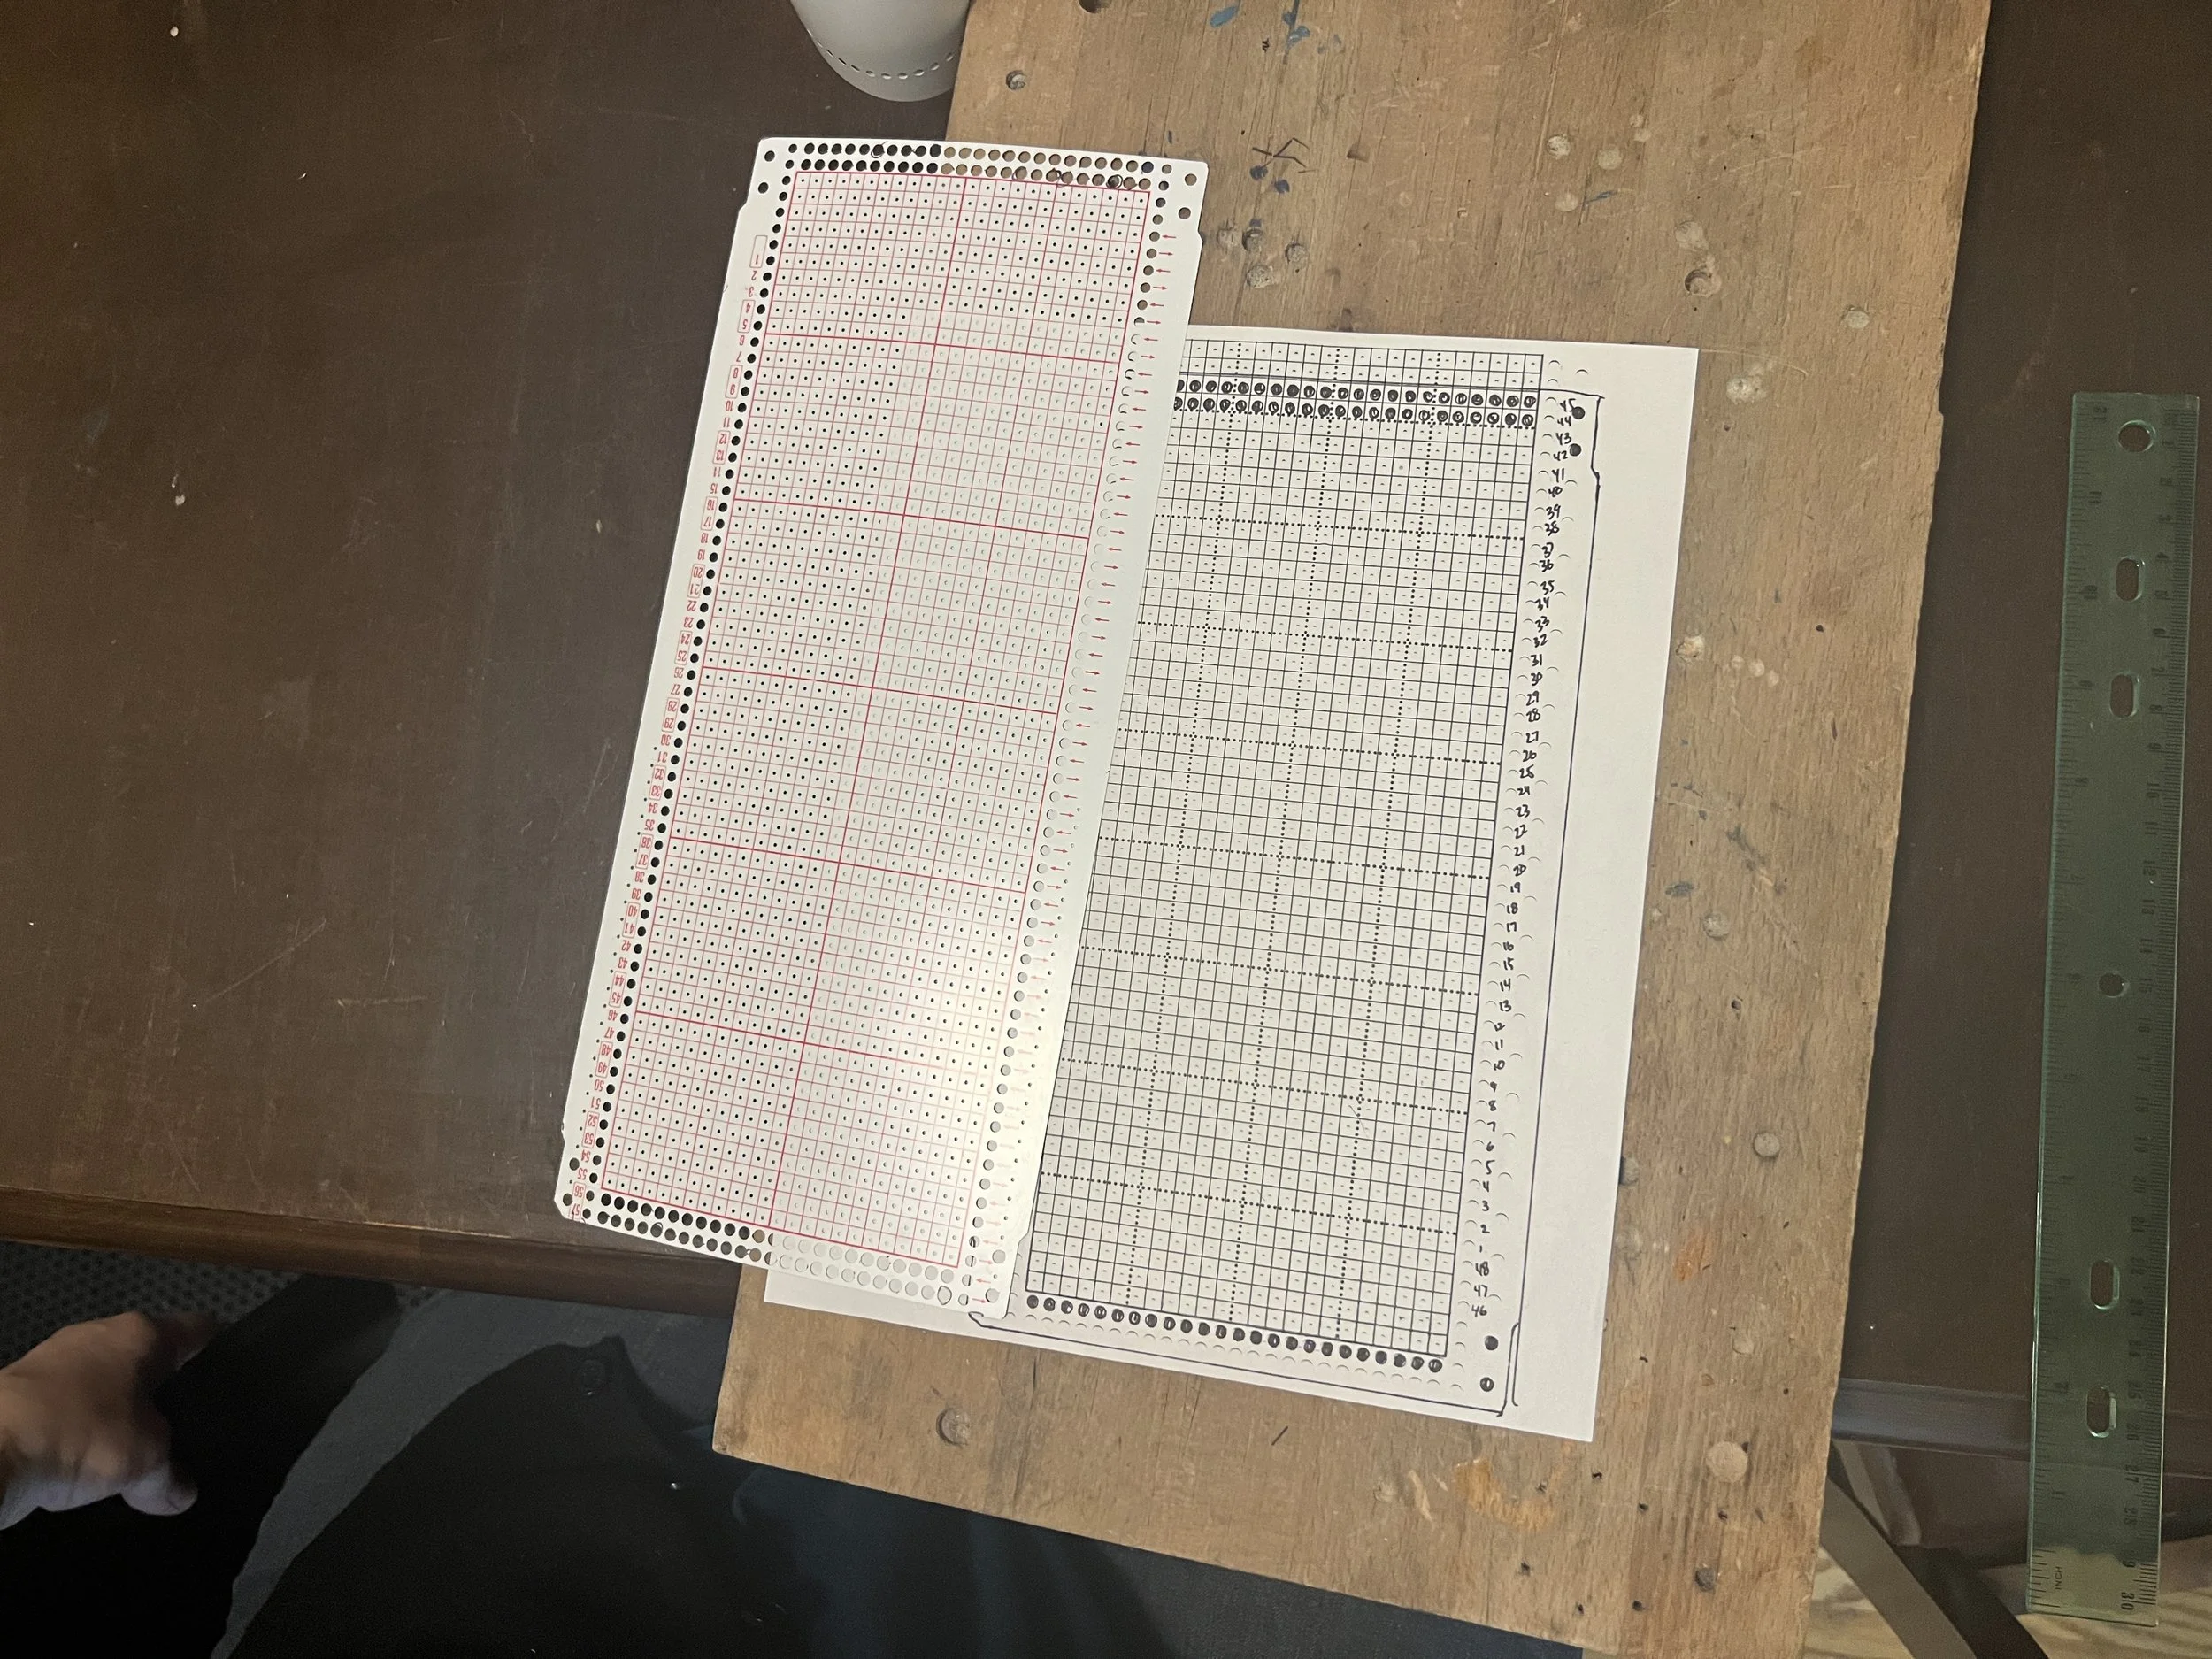
The aim on the print outs were to ensure ONLY one punch card pattern was displayed on one card - and in the case where the punch card took up two pages - I printed that punch card pattern so that two pages showed on one sheet. None of the printouts came out the exact dimensions of the actual punch card material so I knew I would have to make each one from the files.

I woke up this morning with the thought that I should make a video on the process I use - perhaps someone does something better? Perhaps my method helps someone else? I recorded footage today and will hopefully finalize it when I can (although I now have two video topics needing edit on my phone).

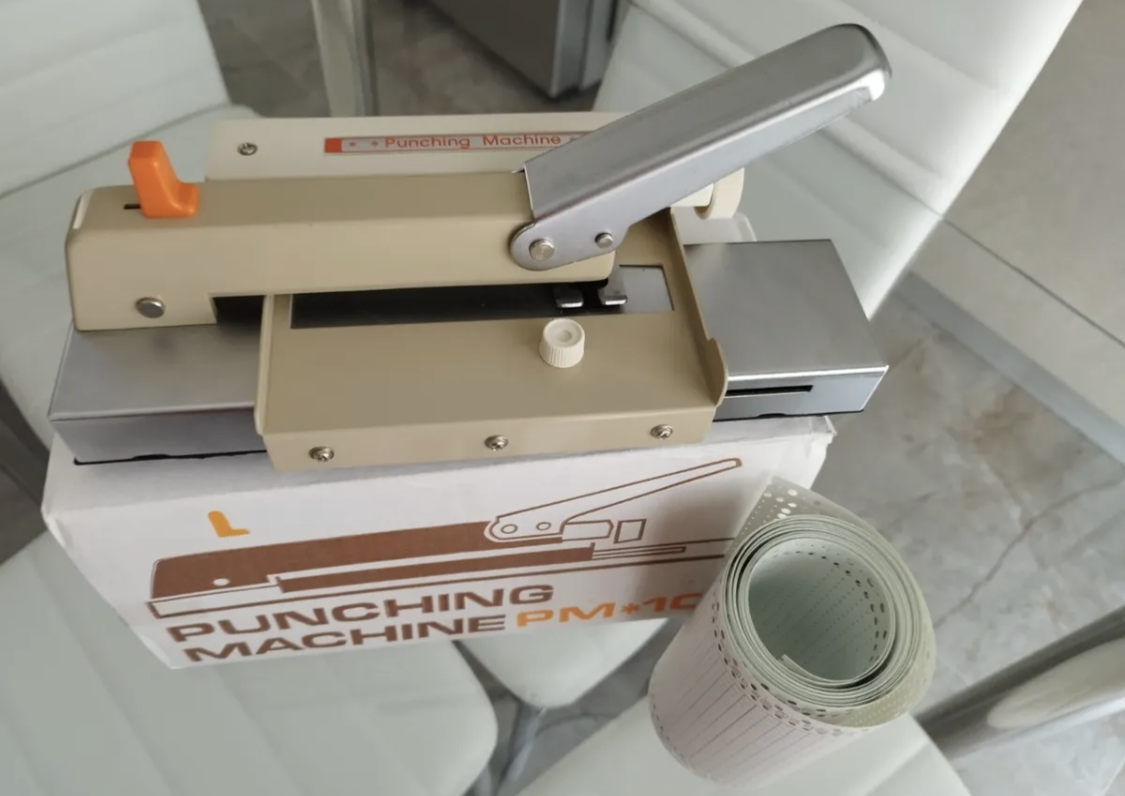
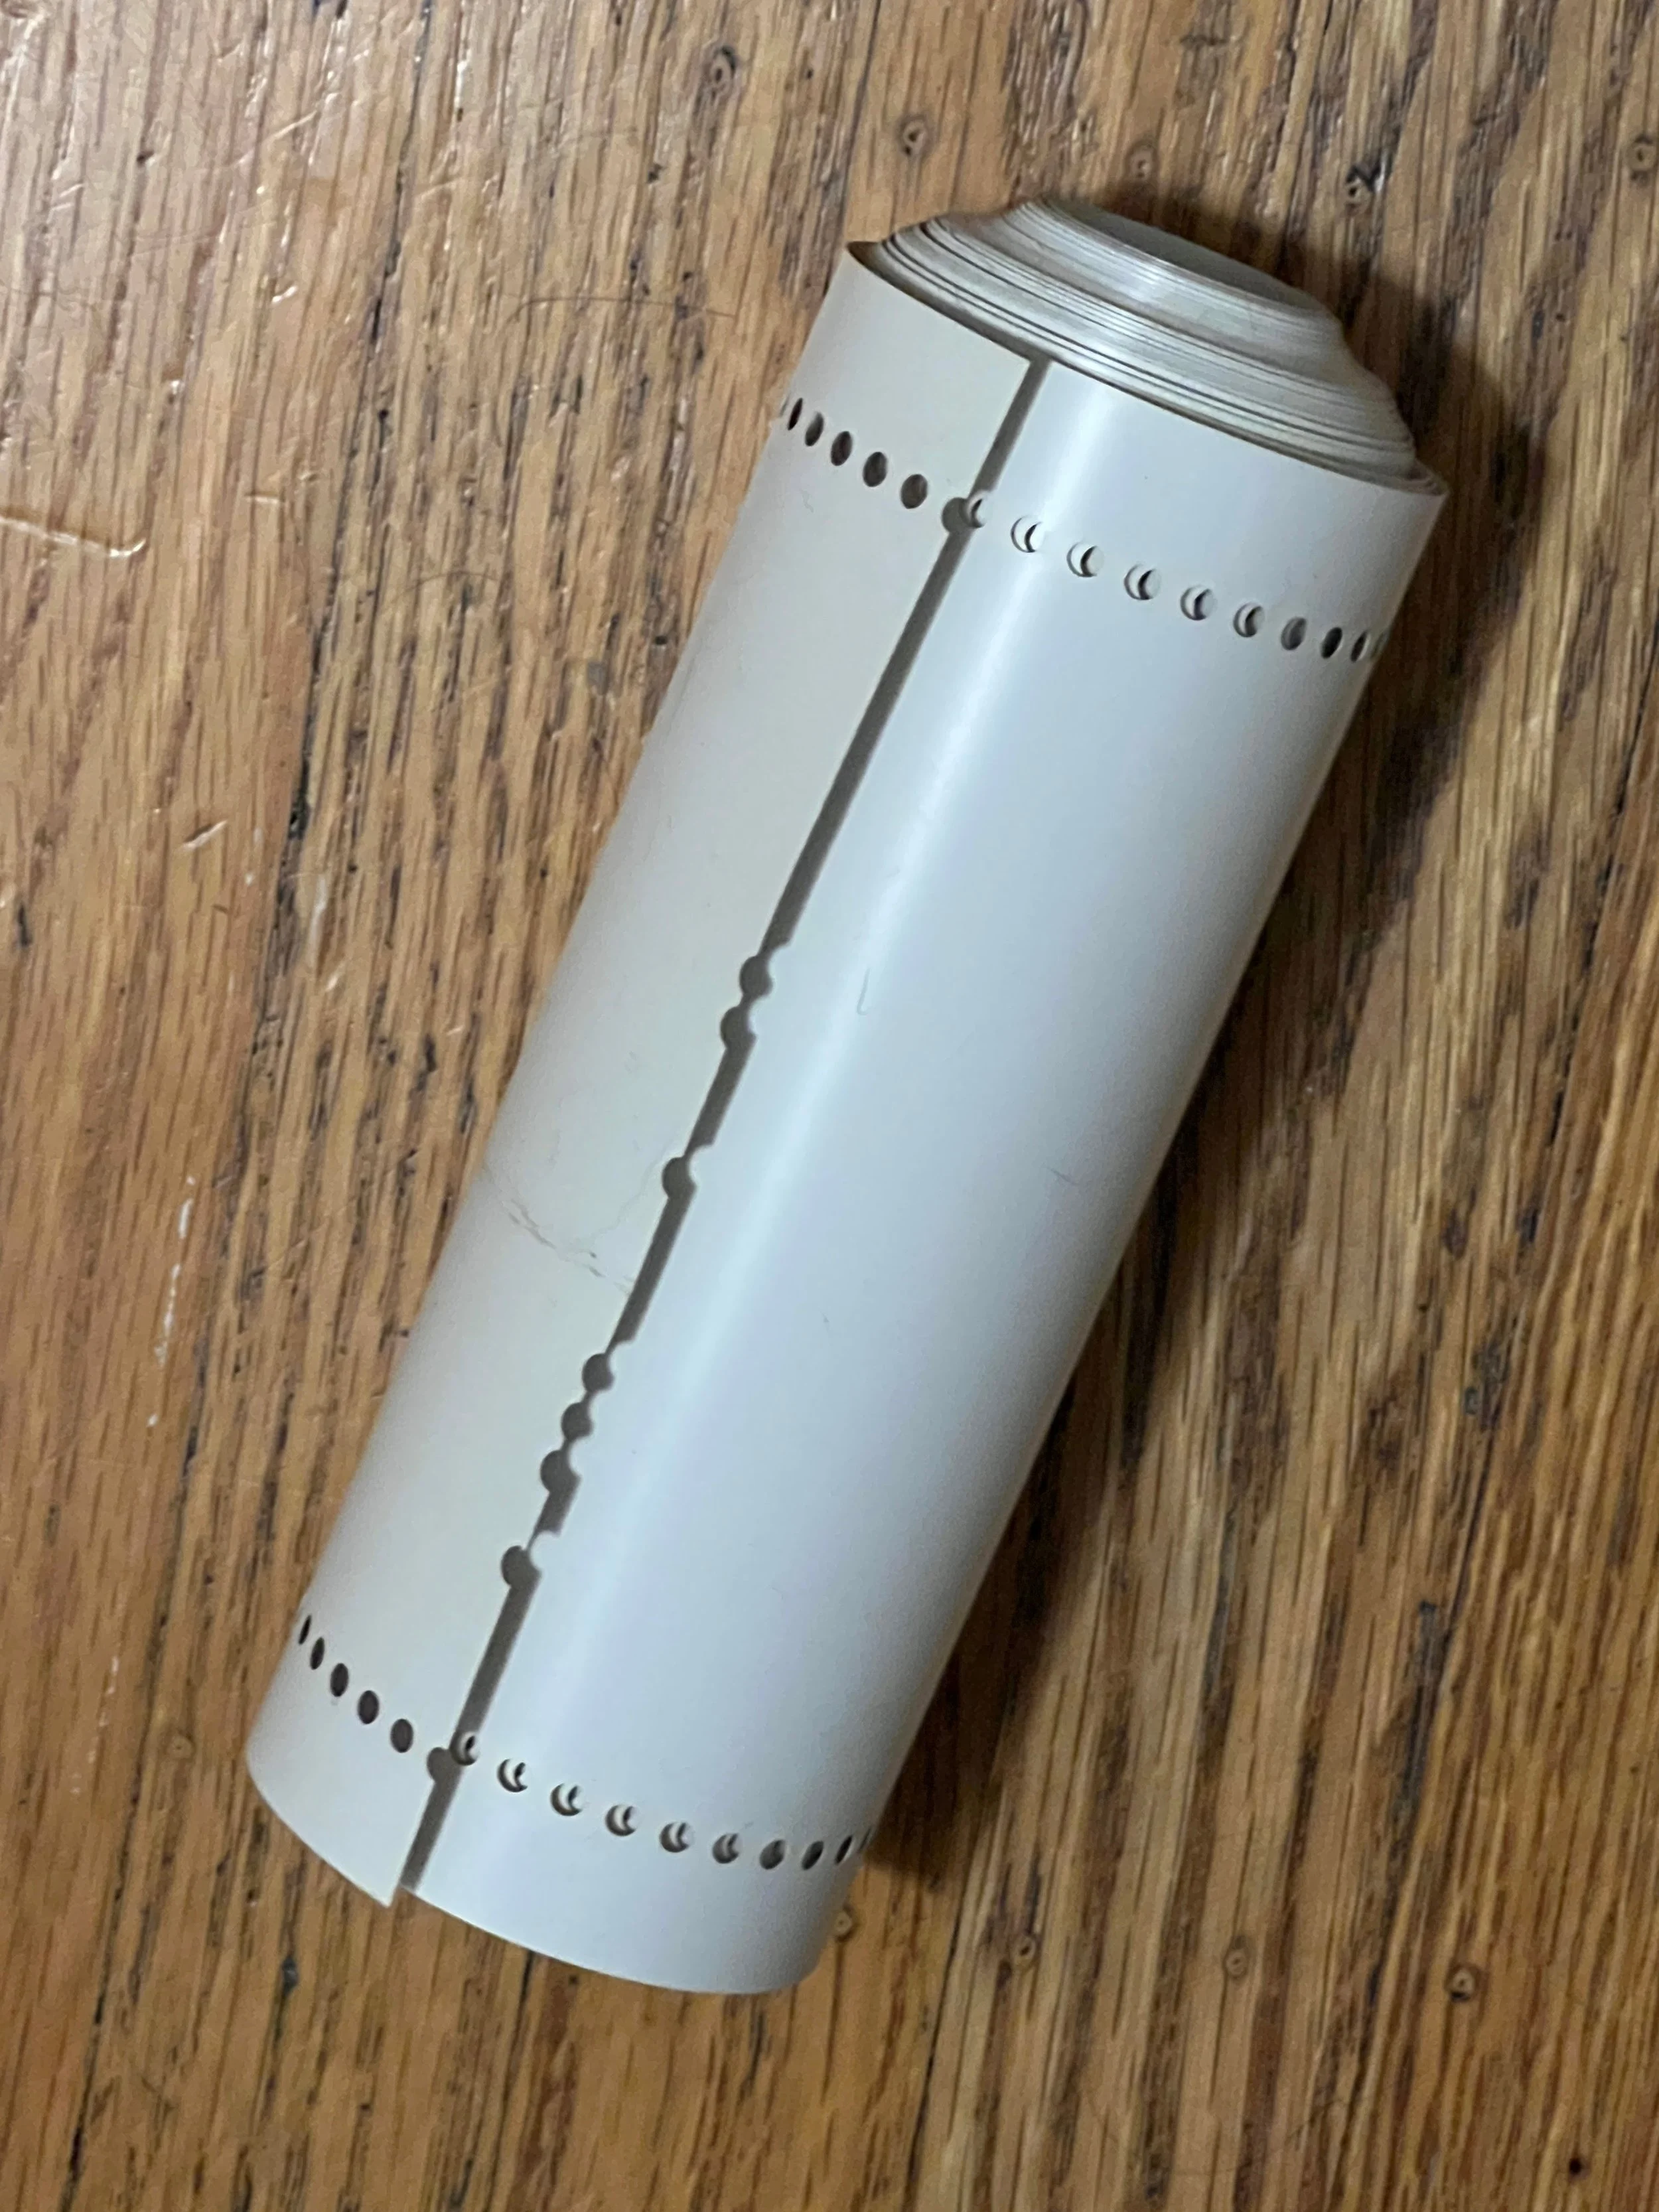
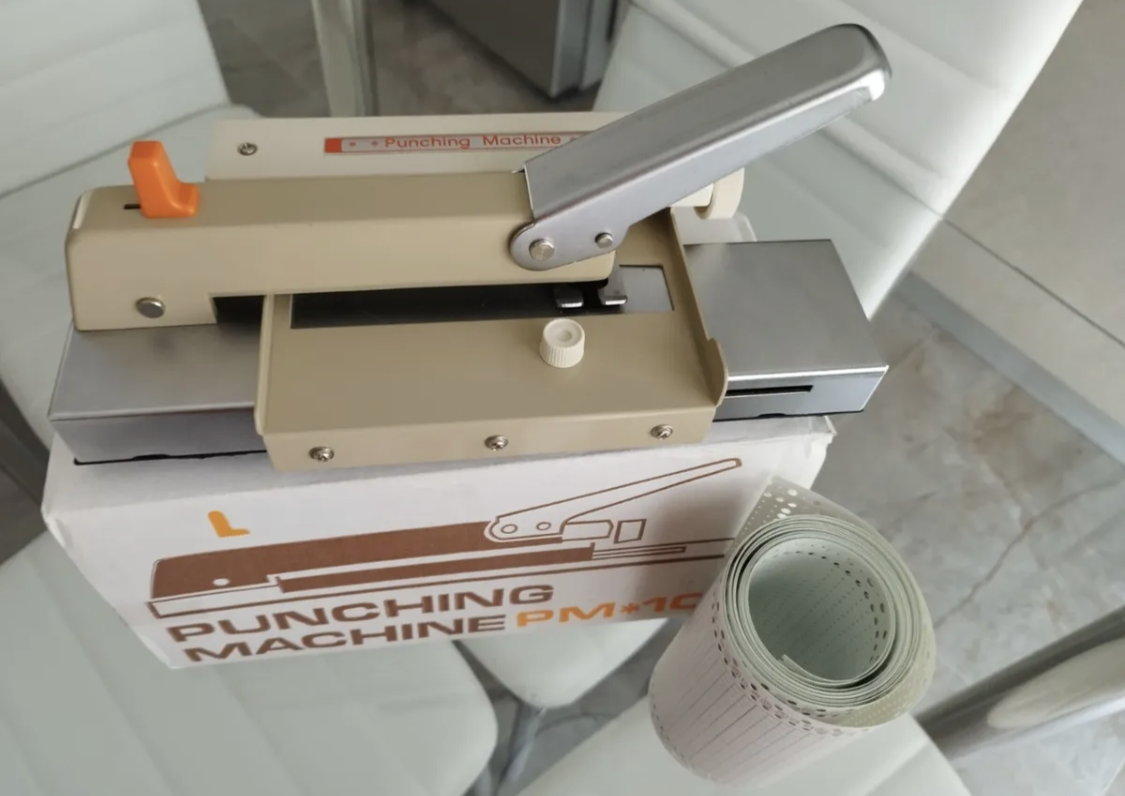
I’ve also found that the single hole punch that I have doesn’t like the plastic roll of punch card material so I’m pretty thankful for finding the “punching machine” shown in the first image.

VIDEO COMING - delayed for now with other priorities

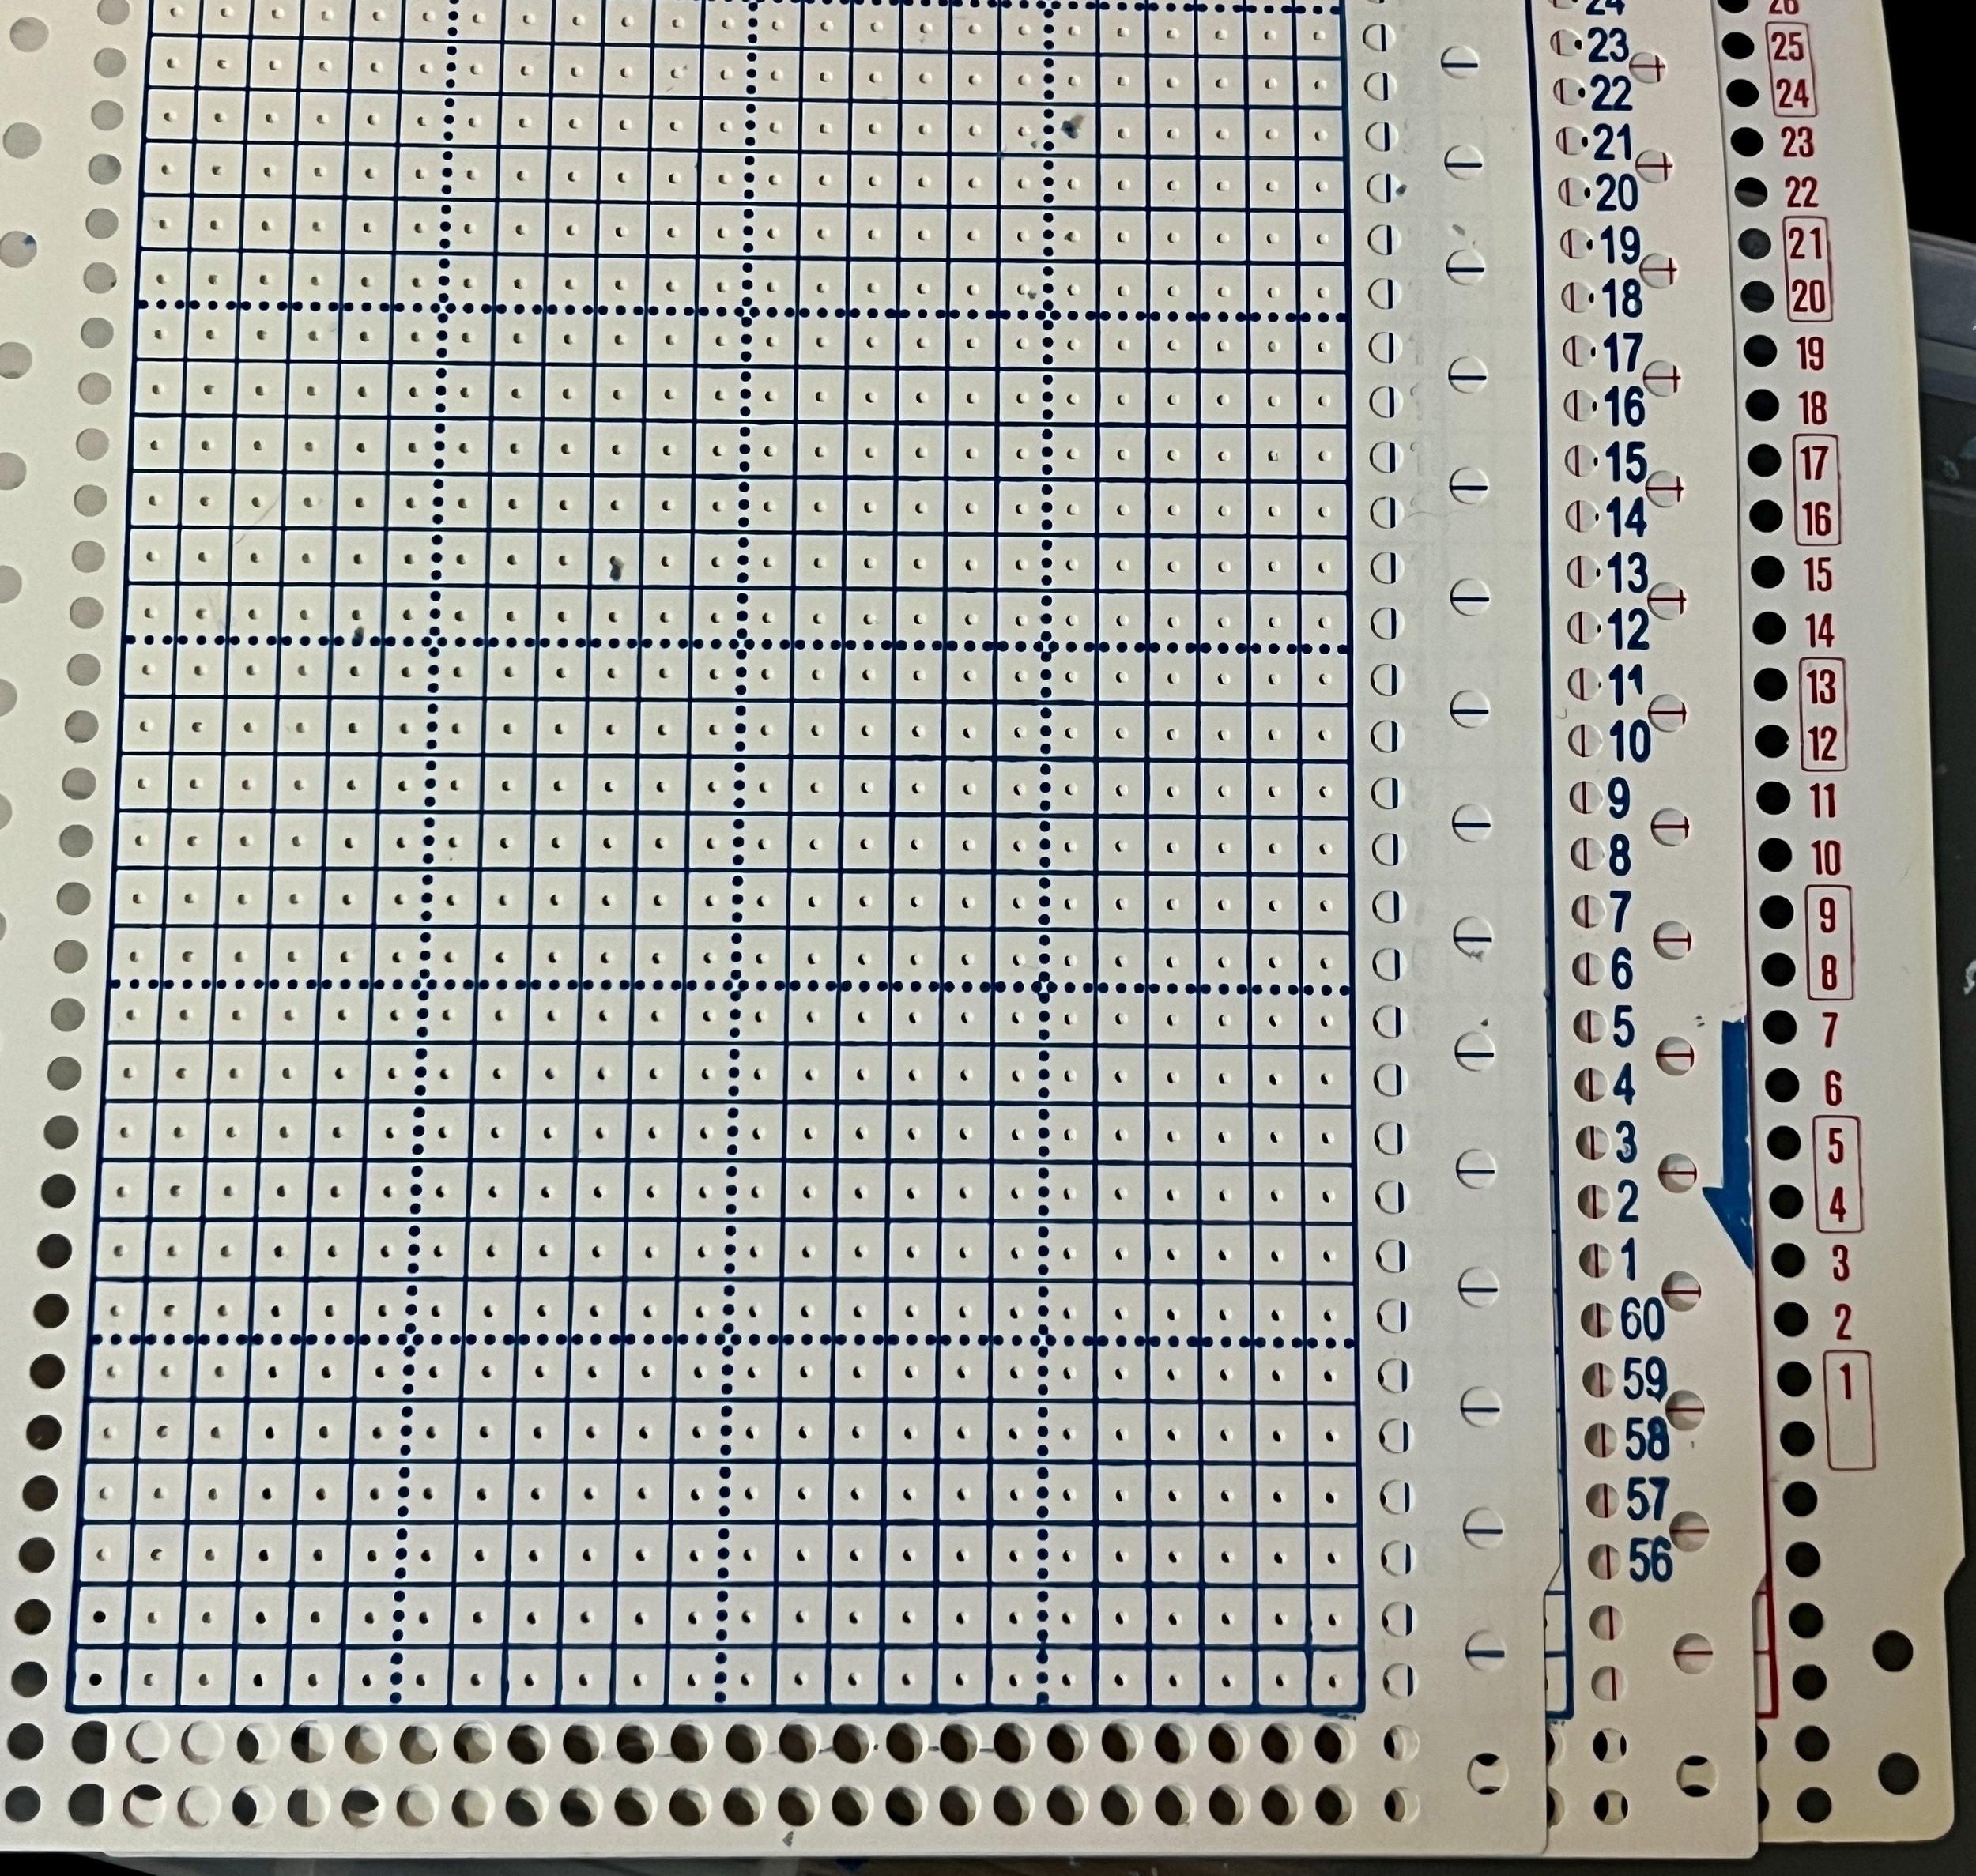
I’ve taken to using the blue Brother blank punch cards (that I removed the numbers) as a photocopy template “Transfer Template” for charting the printed punch card patterns. I’ve been using a red Singer blank punch card as a guide to trim the end of the card and outline the beginning of a new card onto the completely blank roll of punch card material.

2022 Nov 19 - Punch Cards: Brother & Singer?

The differences between a Singer and a Brother 24 stitch punch card.

Today I’m removing the numbers on the far right of the blank blue Brother punch cards. Brother cards have 7 rows before line one while Singer cards have 5. I intend on using my Singer so I’m prepping all the blank flat punch cards today - apparently I have quite a few.

2022 Nov 17 - New Book: Memo-Matic Patterns

A great inspirational and detailed punch card resource arrived today from eBay. :)

See my INSTAGRAM POST for more info.

2022 Nov 17 - Using Excel to plot Punch Card templates?

Today at work I was inspired. I thought what if I plotted the punch cards I want to punch by creating a template in Microsoft Excel which when printed could be placed over punch card material and cut.

Tonight I tried it. Wouldn’t you know it!? Excel won’t use exact measurements (even when set at those row height and column widths). Grrr.

How to make graph paper that will print in Excel


Does anyone out there know of a inexpensive/free plot a design/print and use like this? I have no interest in buying a cricut.


I came across the iOS iPhone app: STITCH SKETCH - which might be worth looking into.

Also I had Laura recommend the desktop computer application: KNIT BIRD which was discontinued in 2019 and now freely available. I tinker with it and was pleased it allowed customized rows and stitch counts

With each of the above: I’m unsure if charted patterns would print as a transfer template or not (to transfer onto an actual punch card)

2022 Nov 16 - Have a punch card making tip to share?

Have a punchcard making tip to share? Would love to hear it!

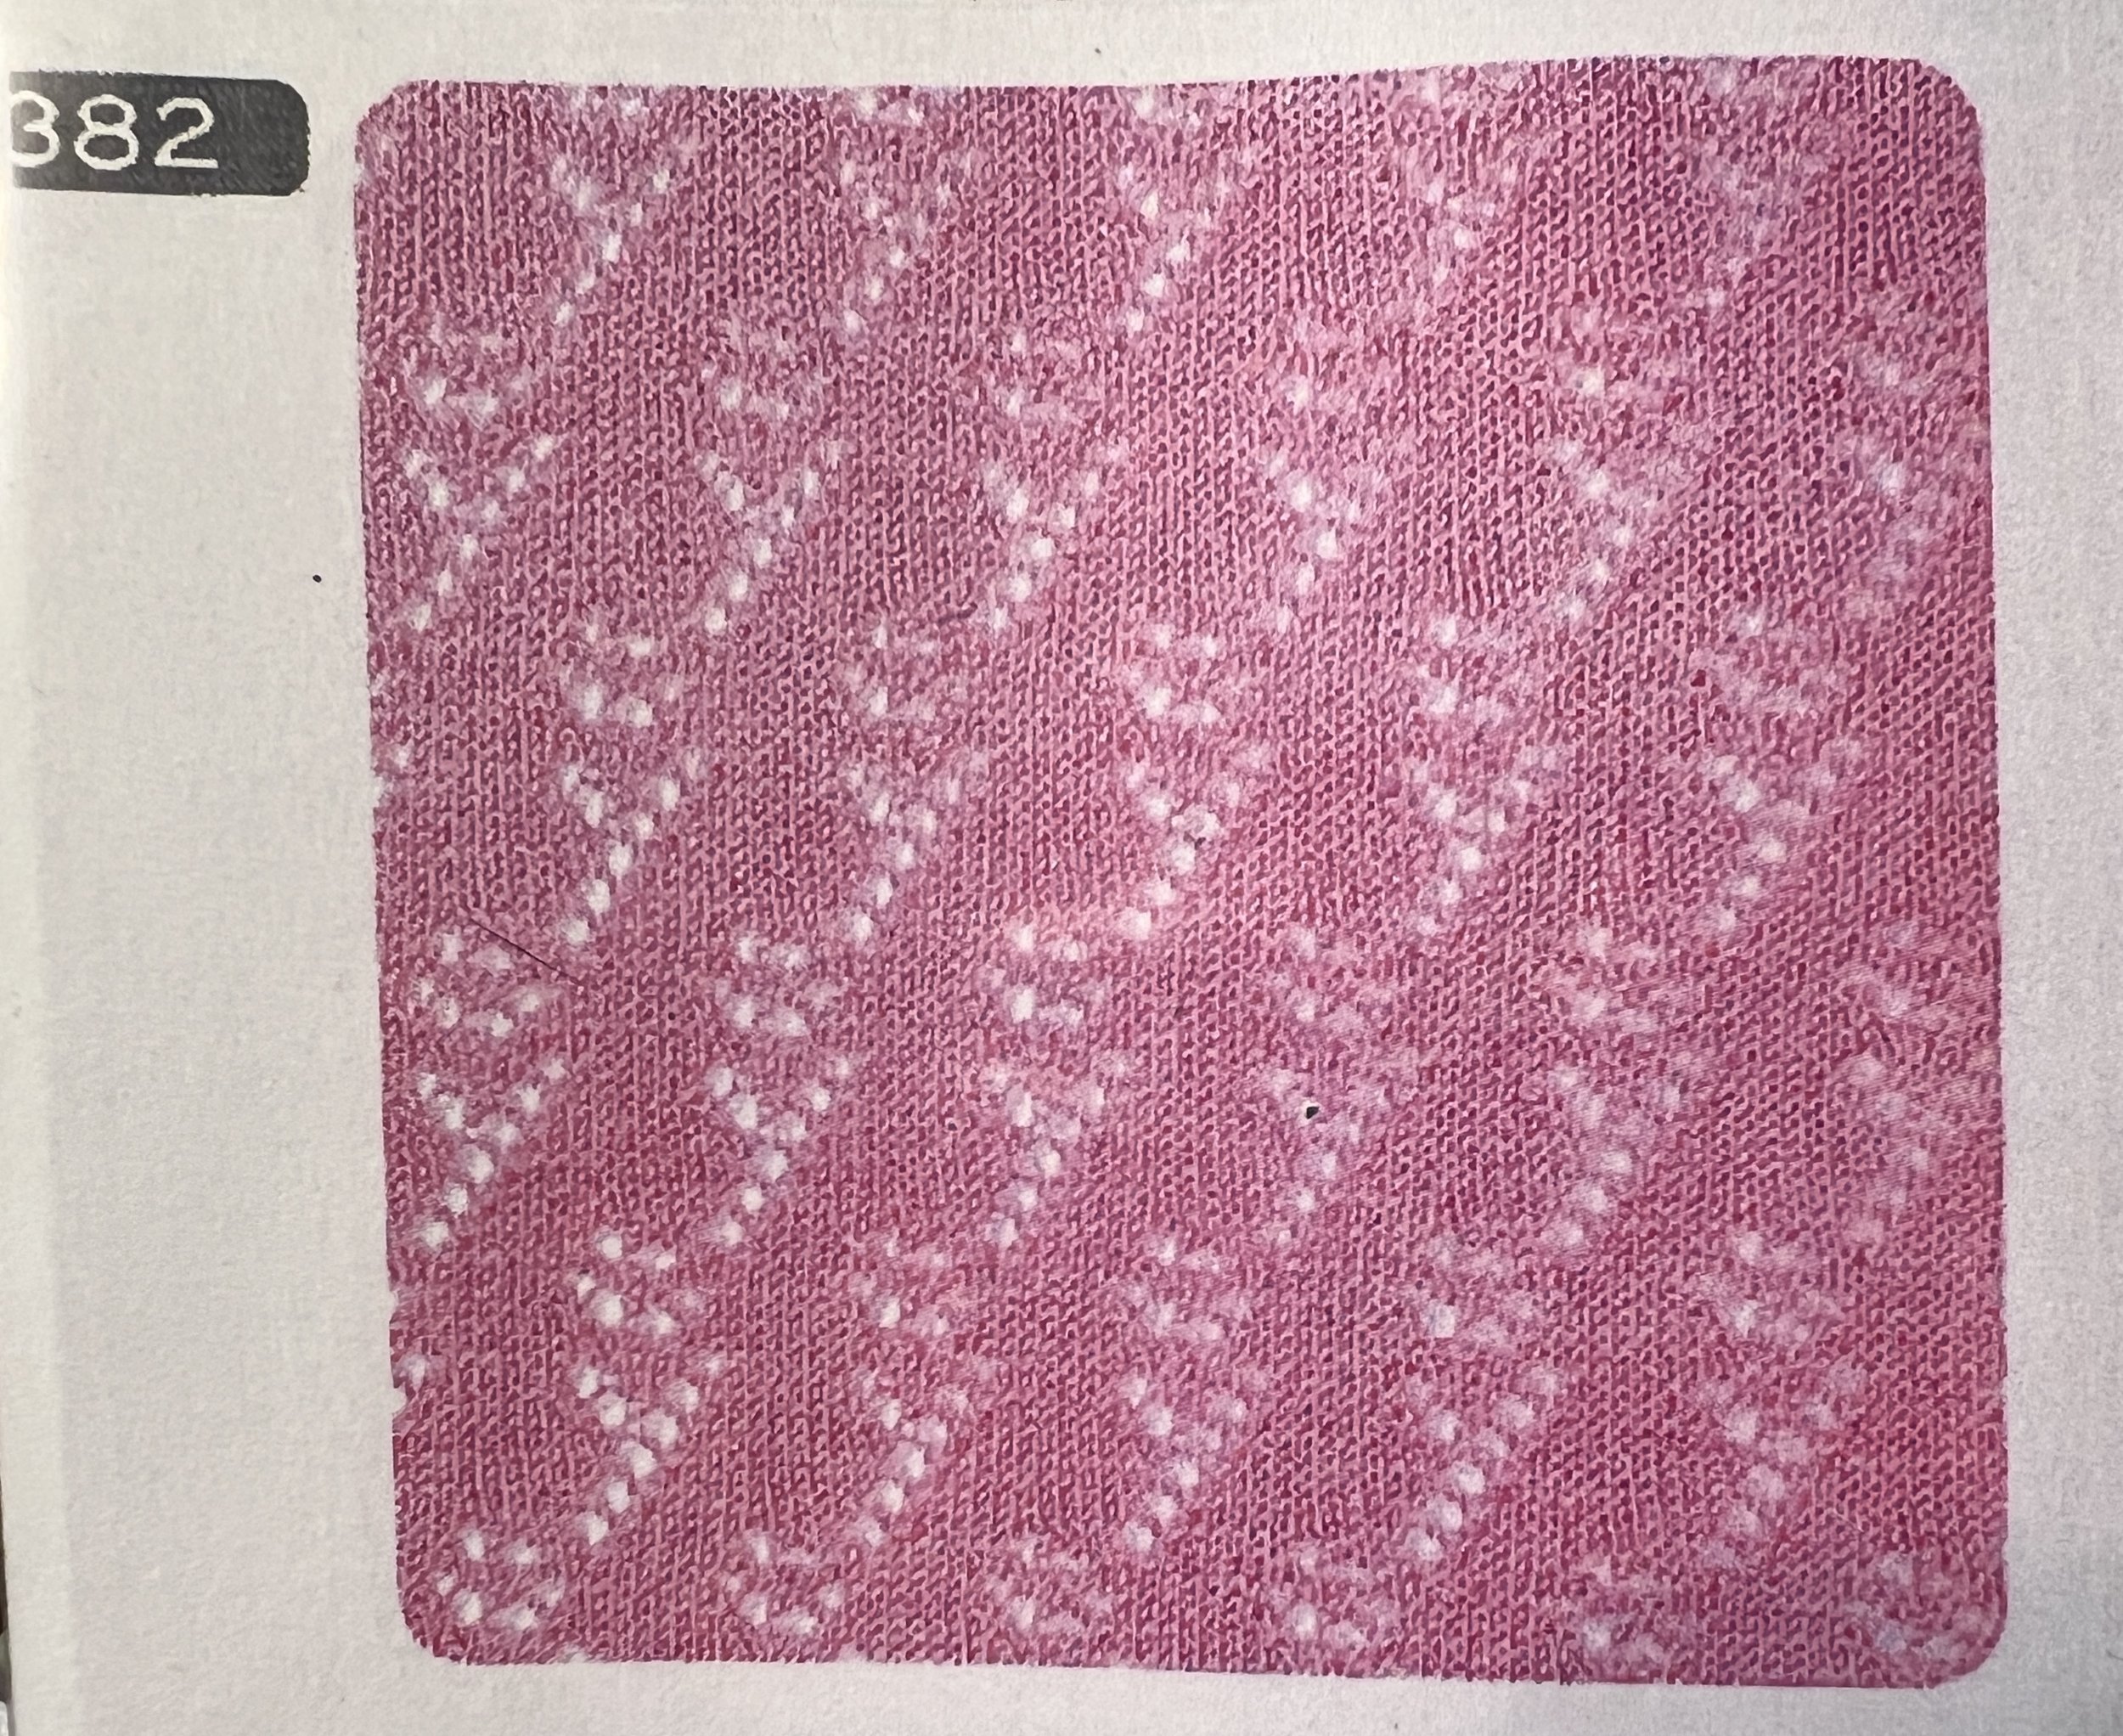
Last night I plotted and punched card 381 (having printed the reference document last week). I have blank flat cards and two rolls of blank card material. I have a single manual hole puncher and an easier “punching machine”. I laid a blank card over the roll as a template and penciled in dots, then plotted the pattern holes to punch. After that punching the card was quick but I t’s pretty laborious. Does anyone have any tricks?

I prefer to use the roll for non-full length cards and appreciate the extra length for cards longer than standard.

On Instagram we had these comments:

Crankyoma: “I always use pencil”

handmadeprojectlog “I use crayola super washable markers, but yeah, it takes a minute”.

2022 Nov 13 - Flat Bed goes to the Spa (Servicing!)

Today we dropped off the full Singer 700 Flat Bed with Lace Carriage at the lovely home of a “local” couple who service Flat Bed machines. They advised it may take a couple days to a week (or thereabouts) and that they would contact us prior to doing anything that would incur further costs - I asked them to go ahead with those repairs. They recommended using the silicone lubricant I found mentioned online (YouTube - theanswerladyknits) and also recommended minimally using sewing machine oil on a cloth to apply to the metal needle bed and rail that the carriage travels on (I already have that oil for my circular sock knitting machines).

Issues that I noted in the Nov 9, 2022 blog post: where the Lace Carriage was not fully patterning the full diamond pattern of the Lace Punchcard #2. User error added issues when I wrongly adjusted something where the needles align but this also could have been out of whack due to needle jams that irrevocably damaged two bed needles (which I later removed the needles and tossed for new ones).

Last night when packing up the machine I really noted again how damaged the case corners were when I received this amazing machine - that the plastic pieces are starting to basically disintegrate. I reinforced the broken corners with Gorilla Super Glue and duct tape and removed the rust you can see in this picture. It’ not sexy but its better?

Today when we dropped it off I noted that the bracket that is under the machine and is used to mount the machine to the table was missing the left plastic piece and when I touched the right, the plastic partly crumbled. Yikes. The plastic outer case is really showing its age!


The couple we brought the machine and Lace Carriage to said they will remove all the needles, clean everything everywhere and replace what they could with what they have. One of them noted how the main carriage (the K carriage?) had nicely moving patterning wheels on the back but that the Lace Carriage patterning wheels where more stiff. I related the issues noted with the Lace Carriage with need of realignment of the latch needle end movement area. There was comment on how “worn” the newly installed spongebar looked and how the utility tool compartment on the far right has broken bits that hold the lid in the hinge there.

ARGH!! I realized AFTER the fact that I should have brought the ribber too. Perhaps I will ask if we can bring it by once the first items are ready for retrieval.

At the end of this I received a receipt with serial numbers of what was dropped off (all accessories not related to the basic machine were returned to me prior to leaving the flat bed for servicing).

It was mentioned that they have two Autoknitters which they haven’t used yet but have the wish to know how to use the Autoknitter ribber function. I fully offered to help them know whatever they wish and noted my website and info to help in any way.

Now to go work on something else in the meantime. :)